Articles
How To Fix Electrical Cord On Vacuum
Modified: August 26, 2024
Learn how to fix a broken electrical cord on your vacuum with these helpful articles. Save money and extend the life of your appliance.
(Many of the links in this article redirect to a specific reviewed product. Your purchase of these products through affiliate links helps to generate commission for Storables.com, at no extra cost. Learn more)
Introduction
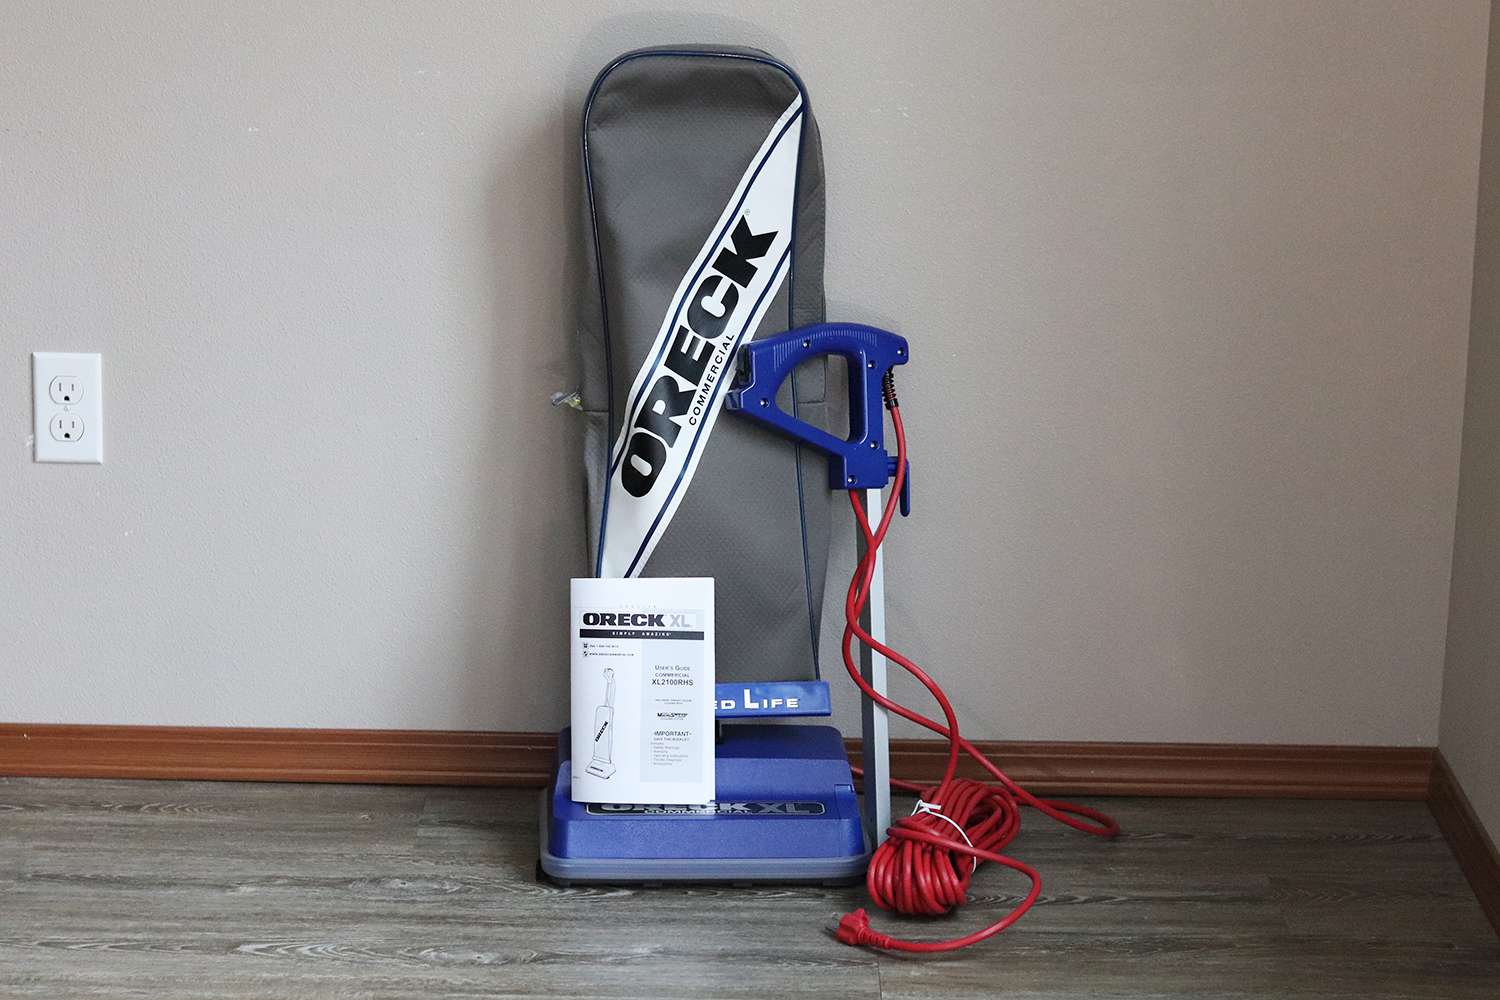
Electrical cords on household appliances can sometimes become damaged, rendering the equipment unusable. This is especially frustrating when it happens to an essential tool like a vacuum cleaner. However, with a little know-how and a few simple tools, you can easily fix an electrical cord on a vacuum and get it back in working order.
In this article, we will provide you with a step-by-step guide on how to fix an electrical cord on a vacuum. By following these instructions carefully, you can save yourself the time and money of buying a new vacuum or hiring a professional for repairs.
Before we delve into the steps, it’s important to note that safety should always be your top priority when working with electricity. Ensure that you have turned off and unplugged the vacuum before attempting any repairs. If you are unsure or uncomfortable with working on electrical components, it’s best to seek the assistance of a qualified electrician.
Now, let’s jump into the first step of repairing the electrical cord on your vacuum.
Key Takeaways:
- Easily fix a damaged vacuum cord by assessing, cutting, connecting, and insulating the wires. Test the repaired cord for safety and efficiency, saving time and money on a new vacuum.
- Prioritize safety when fixing a vacuum cord. Gather tools, assess damage, and follow step-by-step instructions for a successful repair. Test the cord and seek professional help if needed.
Read more: How To Replace A Vacuum Electrical Cord
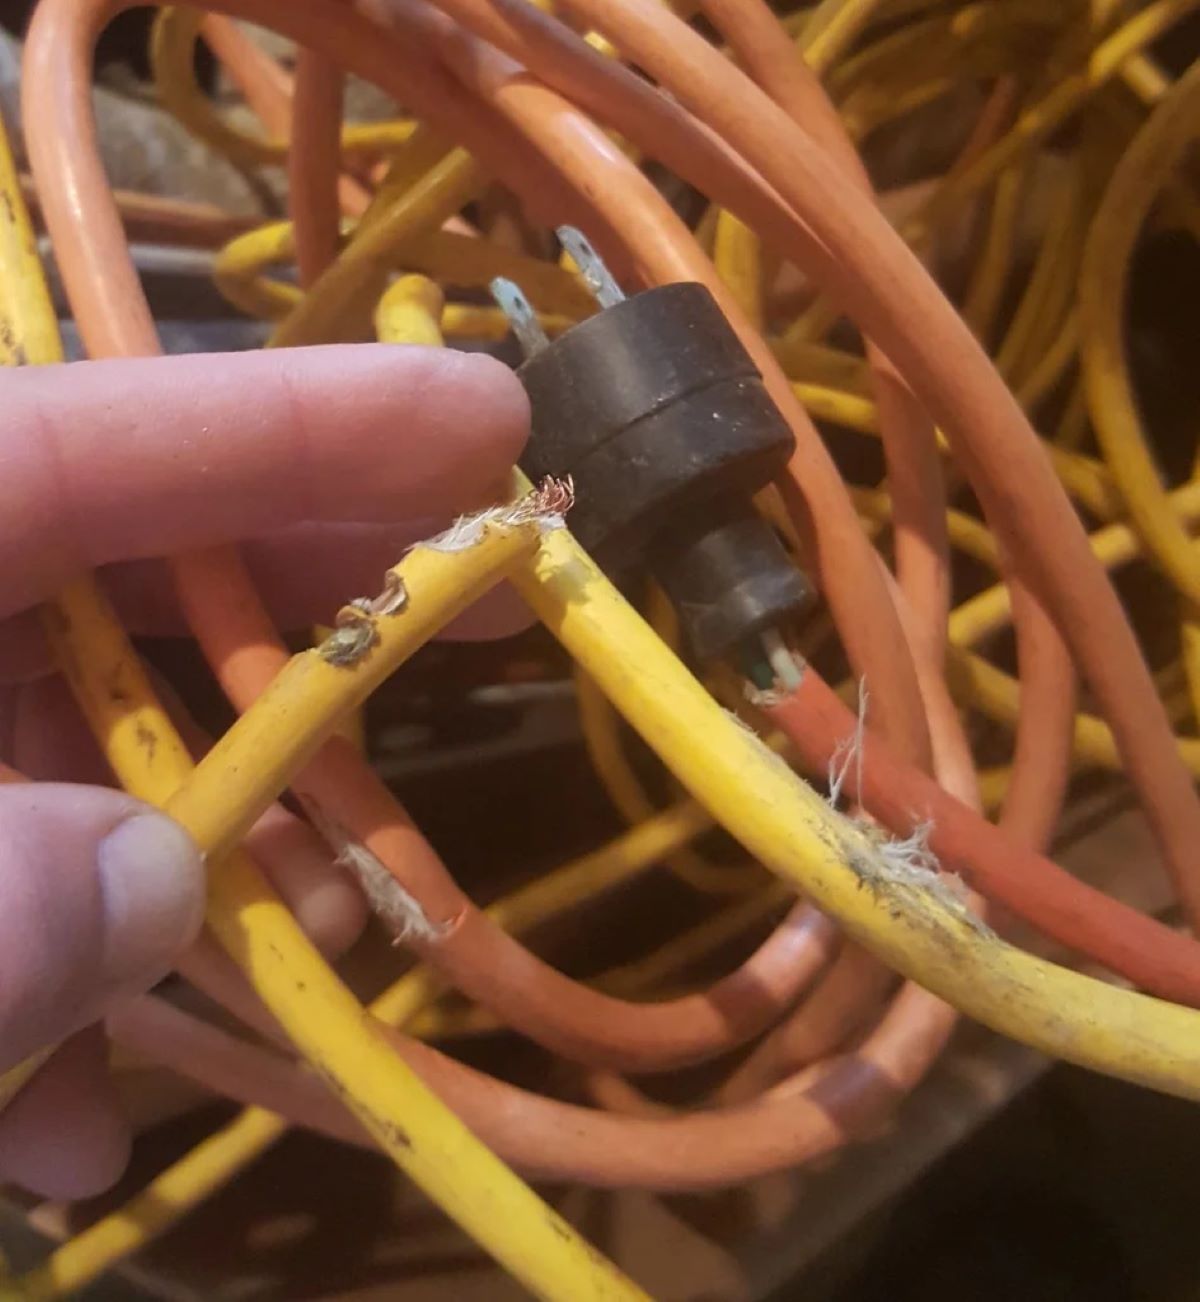
Step 1: Assess the damage
The first step in fixing an electrical cord on a vacuum is to assess the damage. Take a close look at the cord and identify any visible signs of wear or damage. Common issues include frayed wires, cuts, or exposed metal. It’s important to determine the extent of the damage before proceeding with repairs.
If the damage is limited to a small section of the cord, such as near the plug or where it connects to the vacuum, it may be possible to repair it yourself. However, if the damage is extensive or the cord is severely frayed, it’s recommended to replace the entire cord for safety reasons.
Additionally, you should consider the age and overall condition of your vacuum. If the vacuum is older or showing signs of other issues, it may be more cost-effective to invest in a new vacuum rather than repairing the cord.
After assessing the damage, gather the necessary tools to proceed with the repair.
Step 2: Gather the necessary tools
Before you can begin repairing the electrical cord on your vacuum, it’s important to gather the necessary tools. Having these tools readily available will make the repair process much smoother and more efficient.
Here are the tools you will need:
- Wire cutters or scissors
- Wire strippers
- Electrical tape or heat shrink tubing
- Insulating gloves (optional but recommended)
- A replacement plug (if needed)
Wire cutters or scissors will be used to cut the damaged section of the cord. Wire strippers are essential for removing the insulation from the cord to expose the wires for connection. Electrical tape or heat shrink tubing will be used to insulate and protect the repaired area. Insulating gloves are not mandatory, but wearing them can provide an added layer of safety when working with electrical components. Finally, a replacement plug may be necessary if the damage is near the plug end of the cord.
Once you have gathered all the necessary tools, you can move on to the next step of the repair process: cutting and stripping the damaged section of the cord.
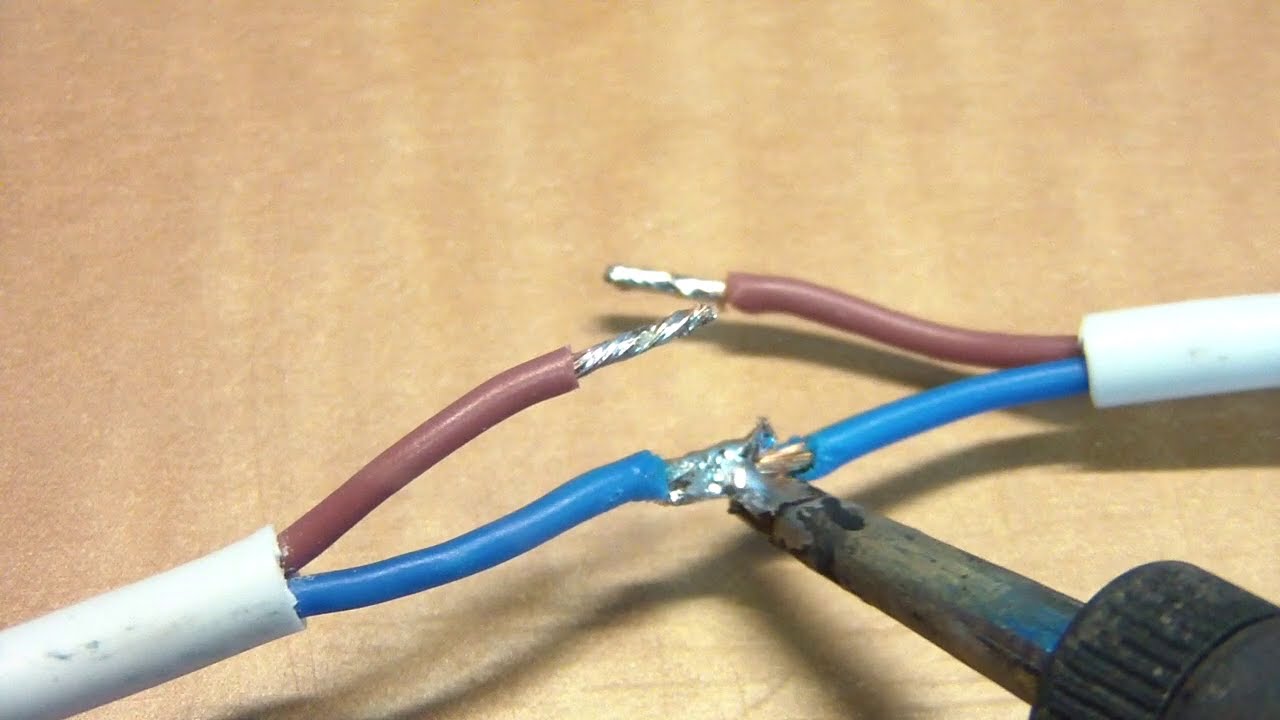
Step 3: Cut and strip the damaged section
Now that you have assessed the damage and gathered the necessary tools, it’s time to proceed with cutting and stripping the damaged section of the electrical cord on your vacuum.
Start by ensuring that the vacuum is turned off and unplugged from the power source to eliminate any risk of electric shock. Then, inspect the cord to pinpoint the damaged section. Using wire cutters or scissors, carefully cut the cord a few inches away from the damaged area. This will help ensure that you have enough room to work with and remove the damaged section.
Next, take your wire strippers and use them to remove the insulation from each end of the cut cord. Gently hold the cord in one hand and the wire strippers in the other. Position the strippers around the cord just below the insulation and apply gentle pressure as you rotate the strippers around the cord. This will cut through the insulation without damaging the inner wires.
Continue this process on both ends of the cut cord until you have removed the insulation, exposing the inner wires. Be cautious while using the wire strippers to avoid cutting through the wire strands. The goal is to remove only the outer insulation, not the wires themselves.
Once you have successfully cut and stripped the damaged section, you are ready to move on to the next step of the repair process: connecting the cord wires.
When fixing an electrical cord on a vacuum, always make sure to unplug the vacuum before attempting any repairs. Use electrical tape to secure any exposed wires and consider replacing the entire cord if it is damaged beyond repair.
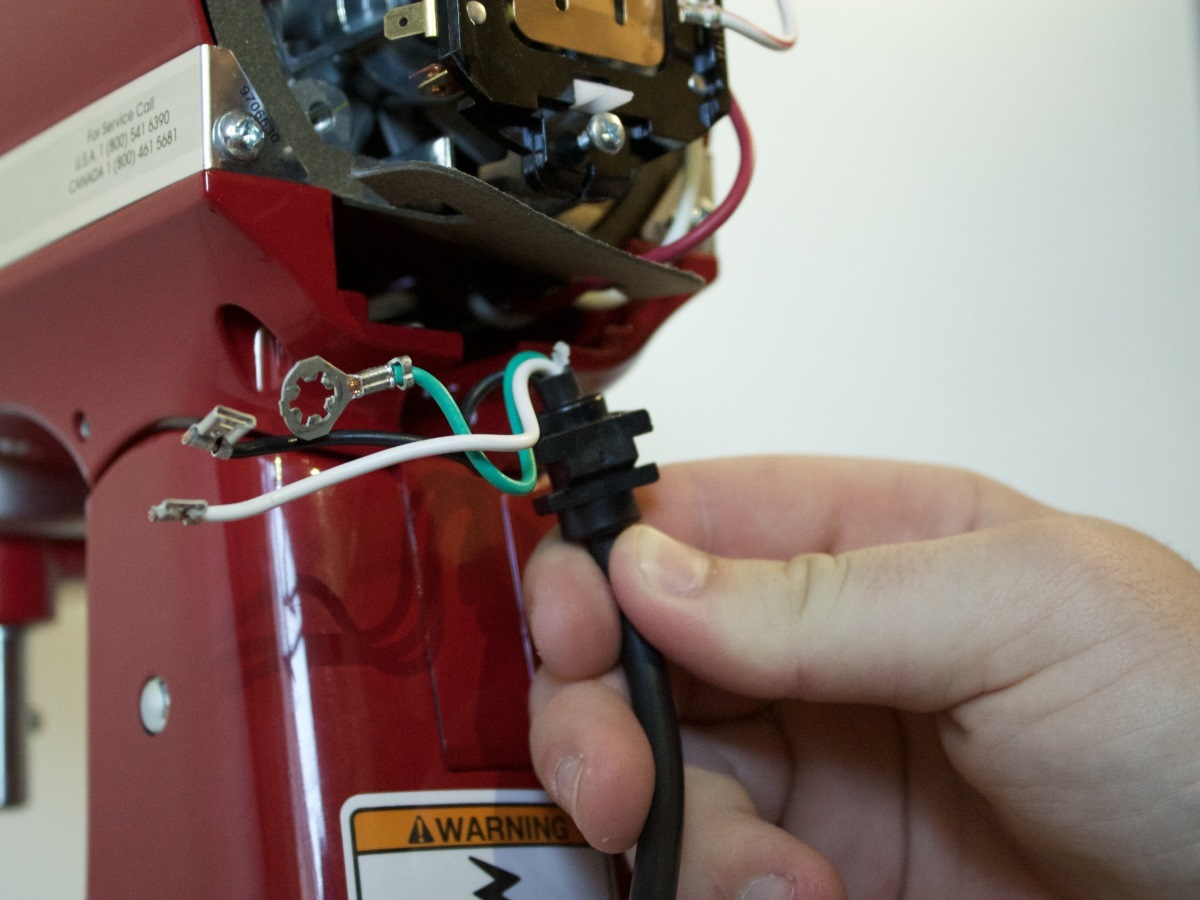
Step 4: Connect the cord wires
With the damaged section of the electrical cord cut and stripped, it’s time to connect the cord wires. This step requires precision and attention to detail to ensure a secure and reliable connection.
Start by identifying the wires within the cord. Typically, there will be two wires – one with a smooth outer covering (the “hot” wire) and one with ridges or markings (the “neutral” wire). It’s important to make sure you correctly identify these wires to ensure proper connection.
Once you have identified the wires, it’s time to connect them. You have two options for connecting the wires:
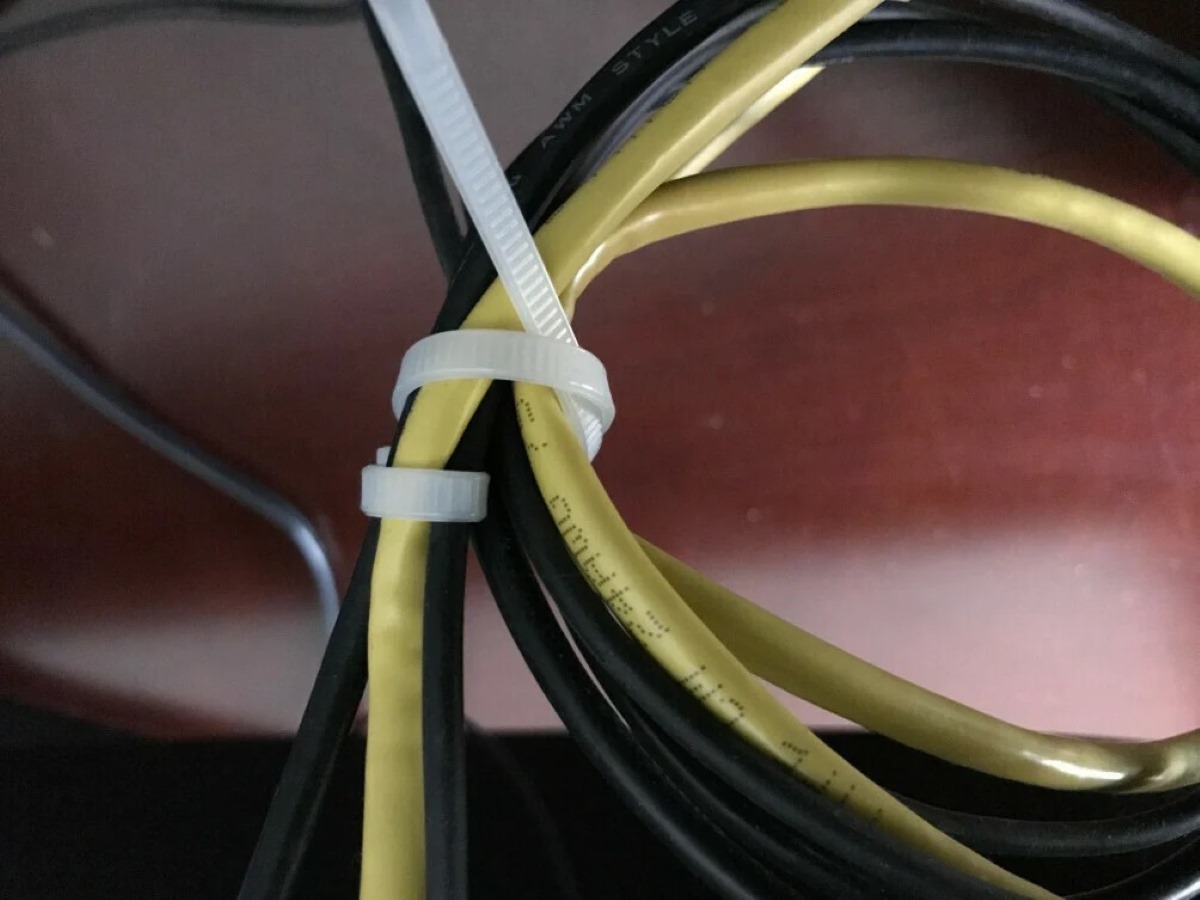
- Twist and tape: If the damage is minimal and the wires are in good condition, you can simply twist the corresponding wires together. Twist the exposed strands of the smooth wire with the exposed strands of the ridged wire and continue twisting until they are securely joined. Once twisted, wrap electrical tape tightly around the connection to insulate and protect it.
- Use a replacement plug: If the damage is near the plug end of the cord or the existing plug is damaged, it may be necessary to replace the plug. In this case, consult the instructions that come with the replacement plug to properly connect the wires. Typically, the replacement plug will have screws or clamps that you can loosen to reveal terminals for attaching the cord wires. Follow the instructions carefully to ensure a secure and correct connection.
Regardless of the method you choose, it’s crucial to ensure that the wire connections are tight and secure. Any loose or weak connections can lead to electrical hazards or malfunctions.
Once the cord wires are connected, it’s time to move on to the final step: insulating the connections.
Read more: How To Fix Chewed Electrical Cord
Step 5: Insulate the connections
Now that you have connected the cord wires, it’s essential to properly insulate the connections to ensure safety and prevent any potential electrical hazards. Insulation will protect the wires from exposure and reduce the risk of electrical shock.
If you opted for the “twist and tape” method in the previous step, start by wrapping electrical tape tightly around the twisted wires. Begin a few inches away from the connection and continue wrapping until you reach a few inches past the connection. Make sure to overlap the tape layers to create a secure seal. This will provide adequate insulation for the connection.
If you replaced the plug, follow the instructions that came with the replacement plug for proper insulation. It may involve using additional screws or clamps to secure the wires in place and provide insulation within the plug itself.
Another alternative for insulation is using heat shrink tubing. This tubing is placed over the connection and then heated with a heat gun or lighter. As it shrinks, it creates a tight and protective seal around the wires. This method provides excellent insulation and durability.
Regardless of the insulation method you choose, ensure that the exposed wires are completely covered and protected. This will prevent any accidental contact or exposure to moisture or other elements that could cause damage.
Once you have successfully insulated the connections, it’s time for the final step: testing the repaired cord.
Step 6: Test the repaired cord
After completing the previous steps to fix the electrical cord on your vacuum, it’s important to test the repaired cord to ensure that it is functioning properly and safe to use.
Begin by double-checking that the vacuum is still turned off and unplugged from the power source. This is crucial for your safety while testing the repaired cord.
Once you have confirmed the safety precautions, plug the vacuum back into a power outlet. Switch it on and carefully observe the performance of the vacuum. Pay attention to the cord and check for any signs of sparking, overheating, or other abnormal behavior.
If the vacuum turns on smoothly and operates without any issues, congratulations! You have successfully repaired the electrical cord. However, if you notice any unusual behavior or problems, immediately switch off the vacuum and unplug it from the power source.
If the cord does not perform as expected, you may need to revisit the previous steps and ensure that the connections are secure and properly insulated. Inspect the cord for any loose connections, exposed wires, or other issues.
If you are unable to identify and resolve the problem, it may be necessary to consult a professional electrician or consider replacing the vacuum altogether.
Remember, safety should always be your top priority. If at any point you feel unsure or uneasy about the repair process, it’s best to seek the help of a qualified electrician to avoid any potential risks.
With a properly repaired electrical cord, your vacuum cleaner will be back in working order, allowing you to maintain a clean and healthy home efficiently.
Conclusion
Fixing an electrical cord on a vacuum cleaner is a task that can be easily accomplished with a little know-how and the right tools. By following the step-by-step guide outlined in this article, you can save yourself the time and money of purchasing a new vacuum or hiring a professional for repairs.
Remember to always prioritize safety when working with electricity. Ensure that the vacuum is turned off and unplugged before beginning any repairs. If you are unsure or uncomfortable with working on electrical components, it’s best to seek the assistance of a qualified electrician.
Assess the damage to the cord and determine whether it can be repaired or if it needs to be replaced entirely. Gather the necessary tools, including wire cutters, wire strippers, insulation materials, and a replacement plug if needed.
Proceed with cutting and stripping the damaged section of the cord, taking care not to cut through the wire strands. Connect the cord wires securely using either the “twist and tape” method or by following the instructions provided with a replacement plug.
Insulate the connections using electrical tape or heat shrink tubing, ensuring that the exposed wires are completely covered and protected. This step is crucial for ensuring the safety of the repair.
Finally, test the repaired cord by plugging the vacuum back in and observing its performance. If the vacuum operates smoothly without any issues, then congratulations! You have successfully repaired the electrical cord.
If you encounter any problems or notice abnormal behavior during the testing process, turn off the vacuum immediately and reassess the connections and insulation. If necessary, seek the help of a professional electrician to resolve any issues.
By following these steps and exercising caution, you can restore your vacuum cleaner to working condition and continue to enjoy a clean and tidy home. Remember, if you are unsure or uncomfortable with any part of the repair process, it’s always best to seek professional assistance to ensure your safety and the longevity of your vacuum.
Now, armed with the knowledge and tools, go ahead and revive your vacuum cleaner by fixing its electrical cord!
Frequently Asked Questions about How To Fix Electrical Cord On Vacuum
Was this page helpful?
At Storables.com, we guarantee accurate and reliable information. Our content, validated by Expert Board Contributors, is crafted following stringent Editorial Policies. We're committed to providing you with well-researched, expert-backed insights for all your informational needs.


0 thoughts on “How To Fix Electrical Cord On Vacuum”