
Articles
How To Fix Severed Electrical Cord
Modified: February 22, 2024
Learn how to easily fix a severed electrical cord with these helpful articles. Find step-by-step instructions and expert tips for a safe and efficient repair.
(Many of the links in this article redirect to a specific reviewed product. Your purchase of these products through affiliate links helps to generate commission for Storables.com, at no extra cost. Learn more)
Introduction
In our modern world, electrical cords are an essential part of our daily lives. Whether we’re powering up our electronic devices, appliances, or tools, we rely on these cords to deliver the necessary electricity. However, accidents can happen, and sometimes these cords can become severed, rendering them ineffective and potentially dangerous.
Fortunately, fixing a severed electrical cord is a manageable task that can be done with a few basic tools and a little know-how. In this article, we will walk you through the step-by-step process of repairing a severed electrical cord, ensuring that you can safely and effectively restore power to your devices.
Before we dive into the repair process, it’s important to mention that safety should always be your top priority when working with electrical equipment. Be sure to wear appropriate safety gear, such as gloves and safety glasses, and ensure that you have disconnected the power source before beginning any repairs.
Now, let’s get started and learn how to fix a severed electrical cord!
Key Takeaways:
- Safety First
When fixing a severed electrical cord, prioritize safety by wearing protective gear, disconnecting the power source, and consulting a professional for severe damage. Your well-being is paramount in electrical repairs. - Step-by-Step Repair Process
Repairing a severed electrical cord is manageable with the right tools and knowledge. Assess damage, gather tools, disconnect power, prepare and connect wires, insulate, and test for functionality. You can do it!
Step 1: Assess the damage
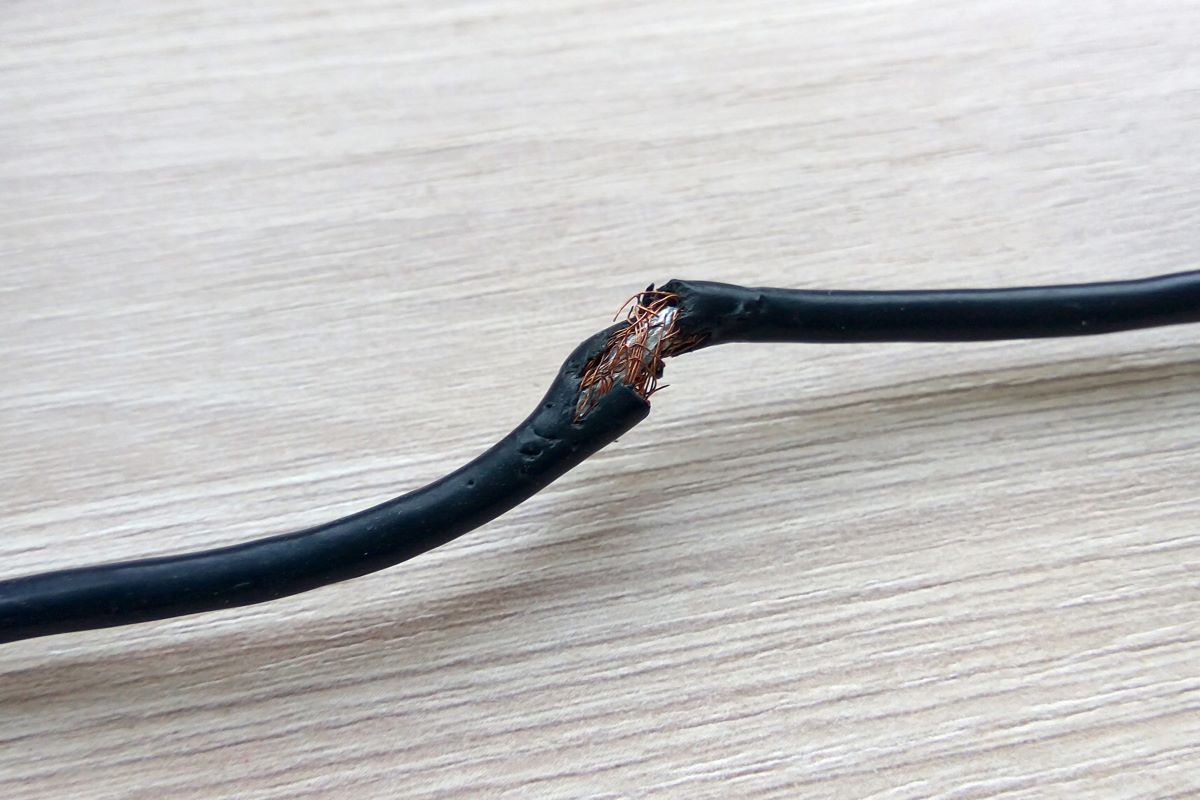
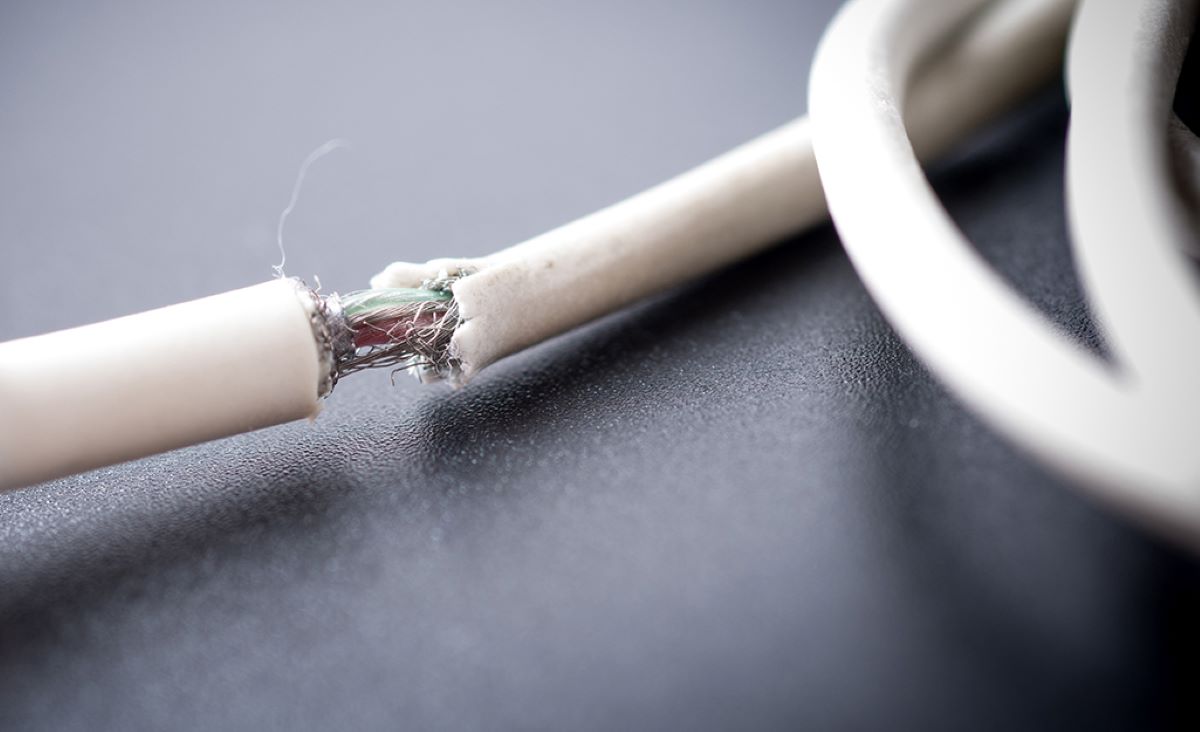
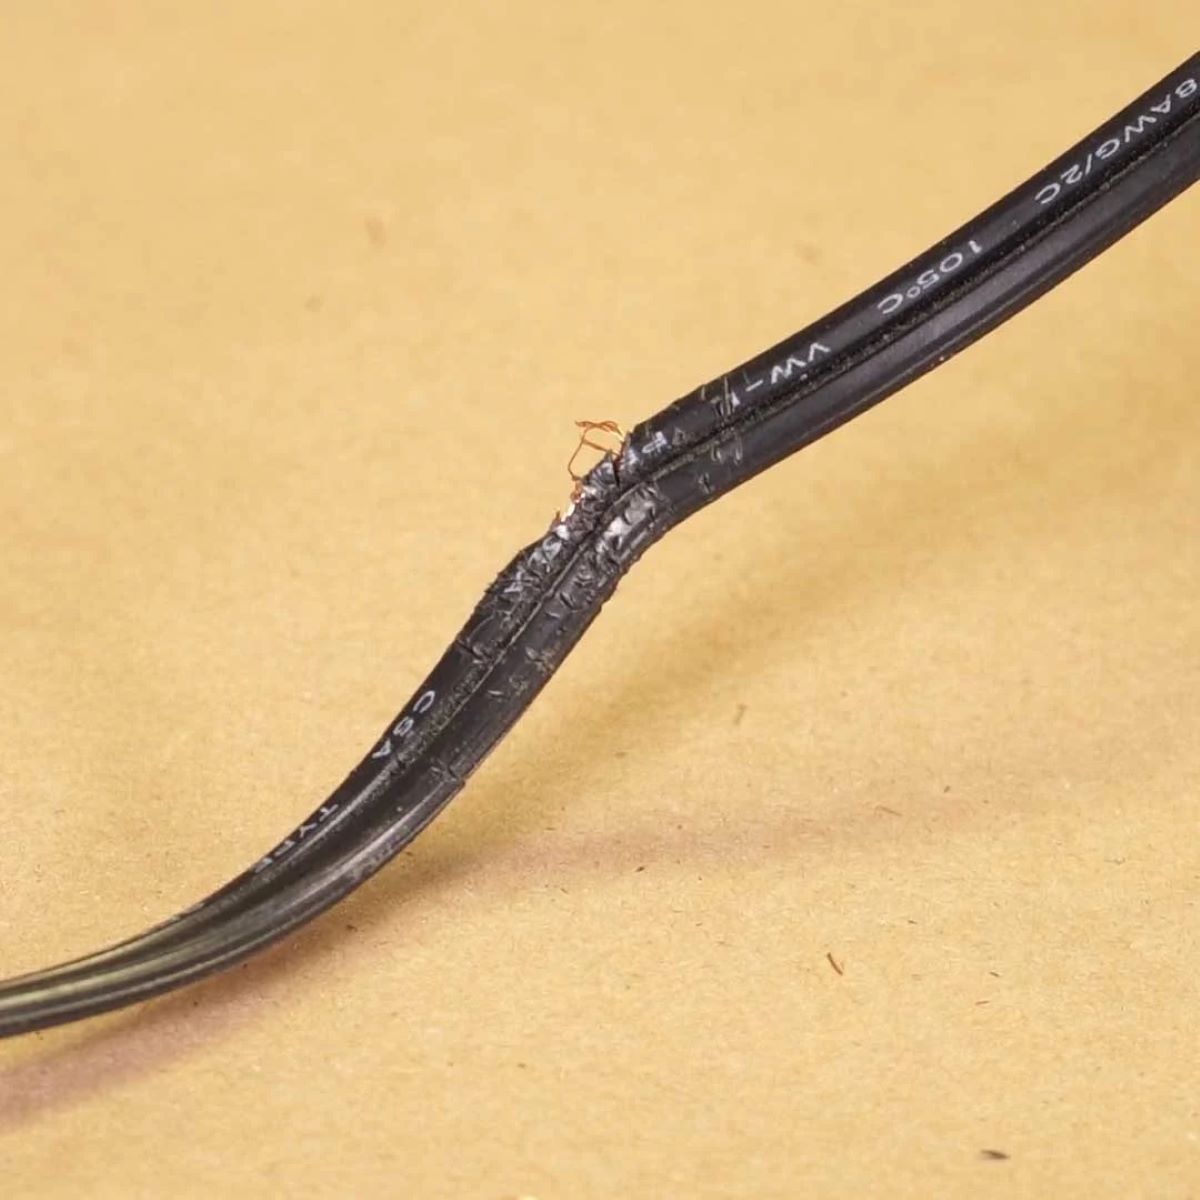
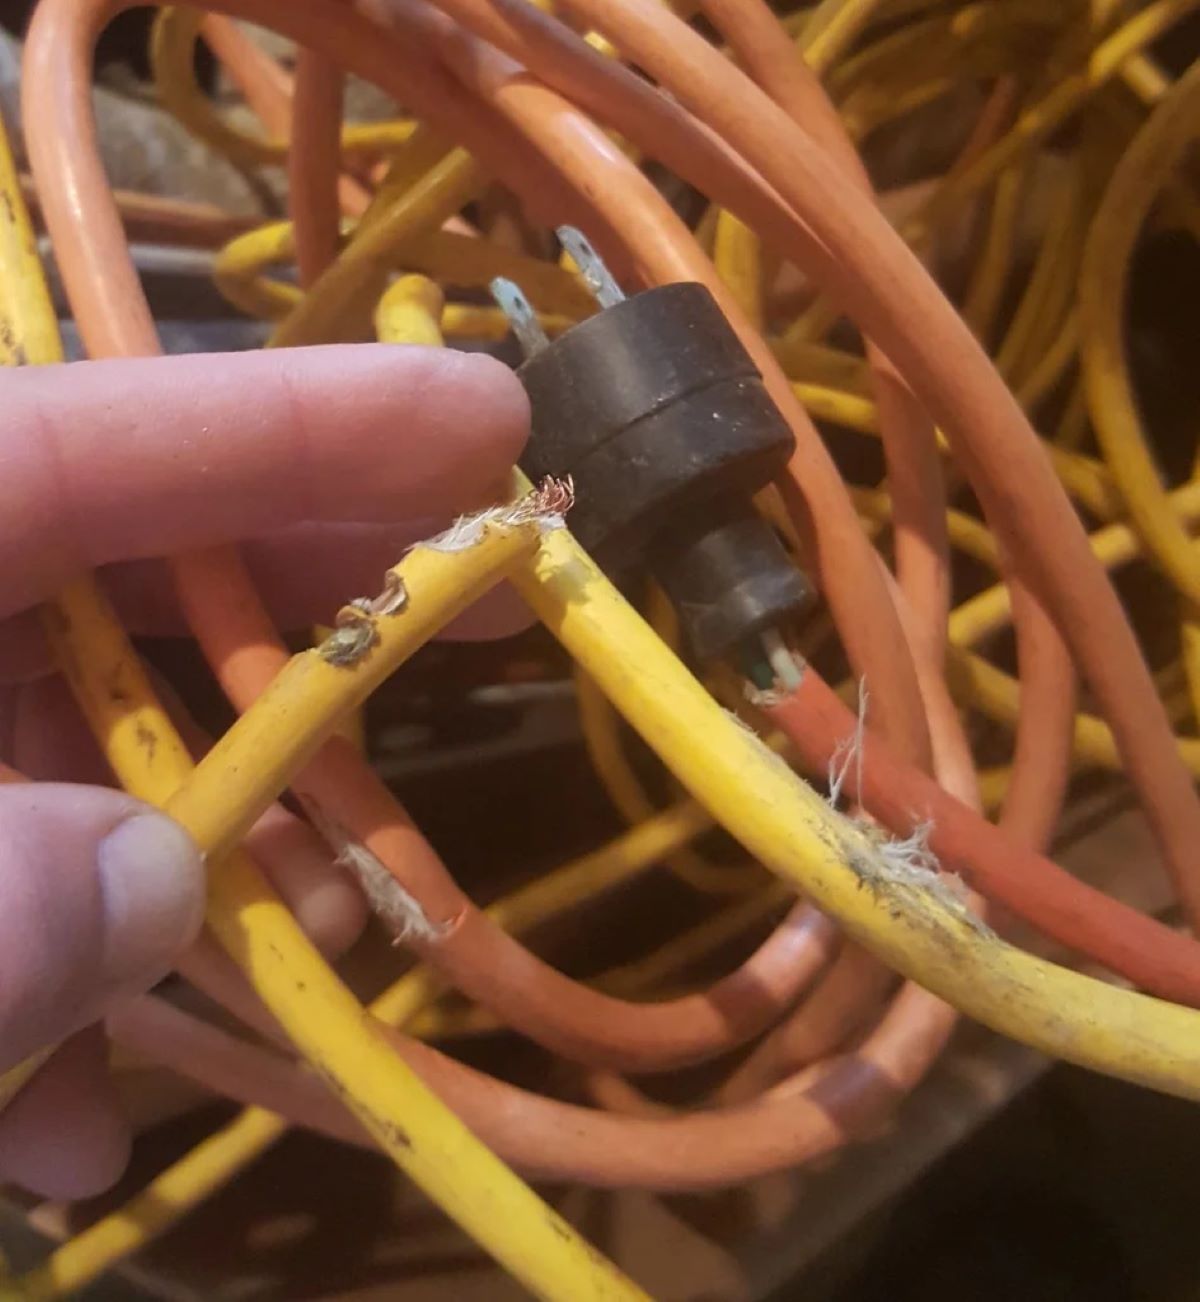
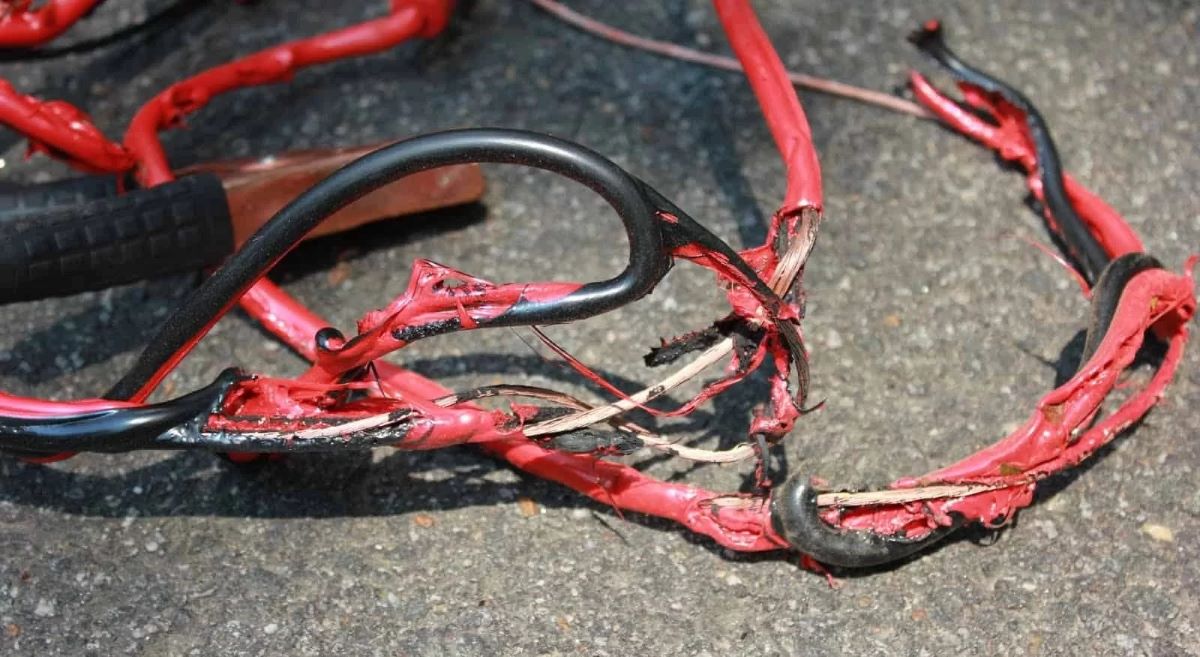
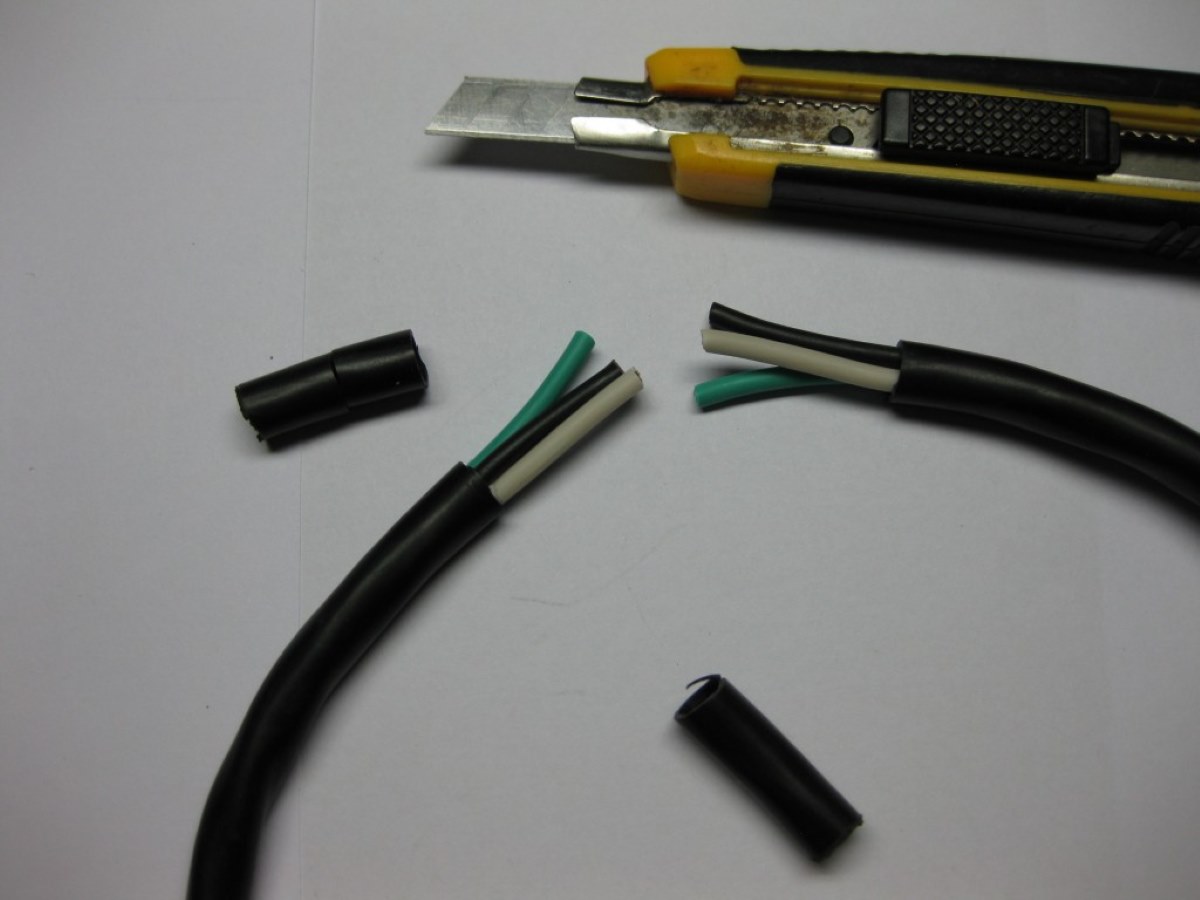
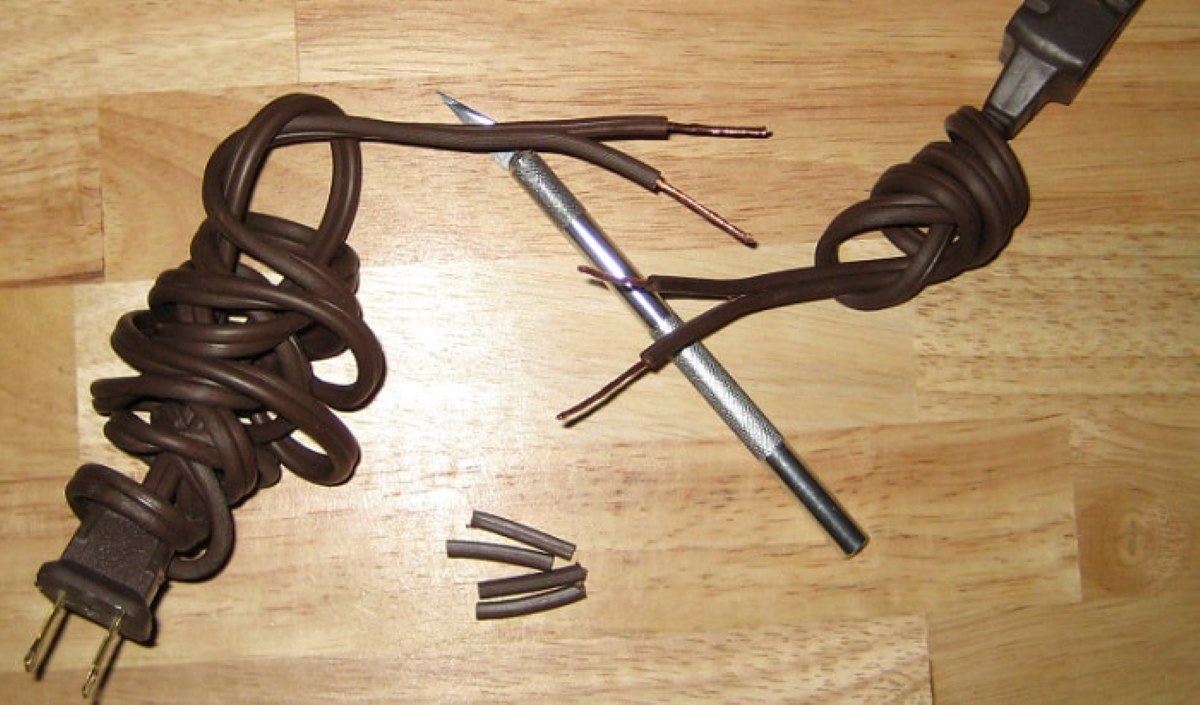
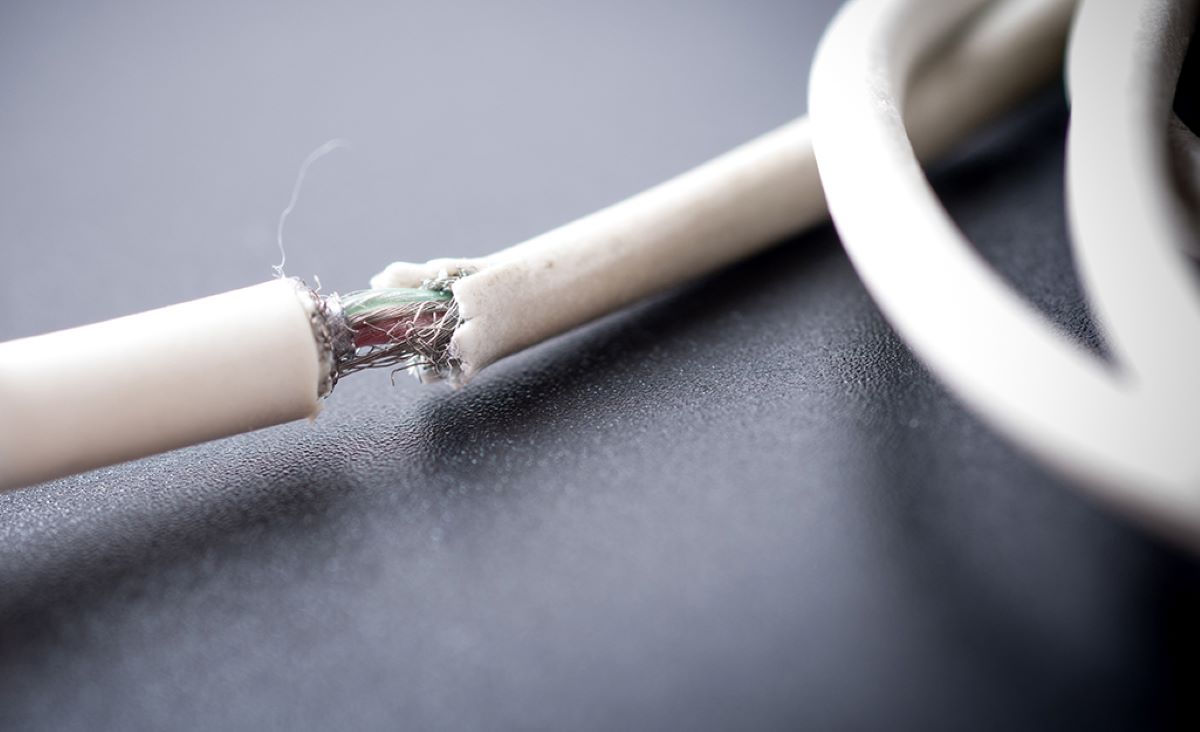
The first step in repairing a severed electrical cord is to assess the extent of the damage. Take a close look at the severed ends of the cord to determine if any insulation has been compromised, if there are any exposed wires, or if there are any other visible signs of damage.
If the damage is minimal, such as a clean cut with intact insulation, the repair process will be relatively straightforward. However, if the cord is heavily damaged or there are exposed wires, additional precautions may be necessary.
It’s important to note that attempting to repair a cord that is severely damaged or has exposed wires can be dangerous and should be avoided. In such cases, it’s best to consult a professional electrician or consider replacing the cord altogether.
Once you have assessed the damage and determined that it is safe to proceed with the repair, you can move on to the next step: gathering the necessary tools and safety equipment.
Step 2: Gather necessary tools and safety equipment
Before you can begin repairing a severed electrical cord, it’s important to gather all the necessary tools and safety equipment. Having everything on hand will ensure a smooth and efficient repair process.
Here are the tools and safety equipment you will need:
- Wire strippers – used to remove the outer insulation of the cord
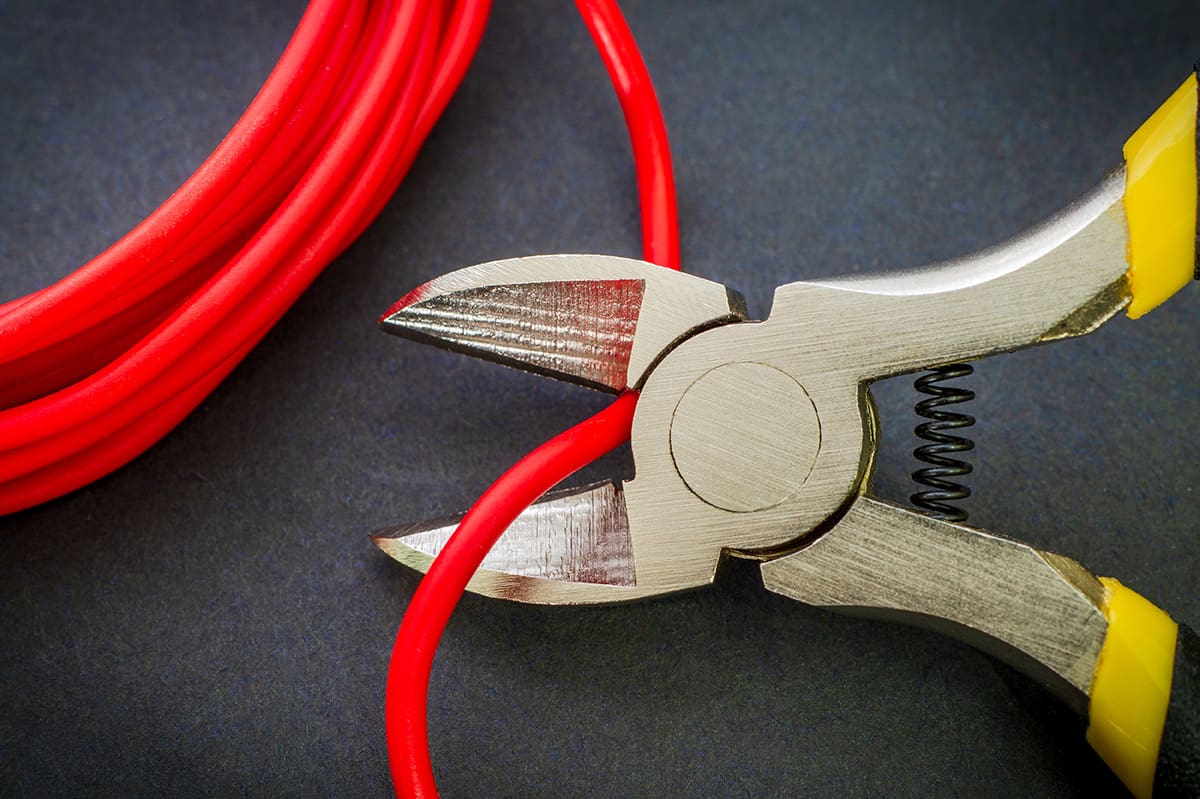
- Wire cutters – for cutting and preparing the severed ends of the cord
- Wire connectors – used to join the severed ends of the cord
- Electrical tape or heat shrink tubing – for insulating the repaired area
- Safety gloves – to protect your hands during the repair process
- Safety glasses – to protect your eyes from any potential debris
Make sure you have these tools readily available before you start the repair. It’s important to use high-quality tools and equipment to ensure a safe and effective repair.
Additionally, it’s crucial to remember to wear safety gloves and glasses throughout the repair process. These protective measures will reduce the risk of injury and ensure your safety.
Now that you have gathered all the necessary tools and safety equipment, you are ready to move on to the next step: disconnecting the power source.
Step 3: Disconnect power source
Before you begin working on a severed electrical cord, it is paramount to disconnect the power source to ensure your safety. This step will prevent any potential electrocution and avoid accidents during the repair process.
If you’re repairing a cord that is plugged into an outlet, simply unplug it from the power source. However, if the cord is hardwired or connected to a device that cannot be easily unplugged, you will need to turn off the circuit breaker or remove the relevant fuse to cut off the power.
Remember, never work on a live electrical cord. Even if you believe the power is off, it’s crucial to double-check by using a non-contact voltage tester or seeking professional assistance.
Once you have confirmed that the power source is disconnected, you can proceed to the next step: preparing the severed ends of the cord for repair.
Step 4: Strip and prepare the severed ends of the cord
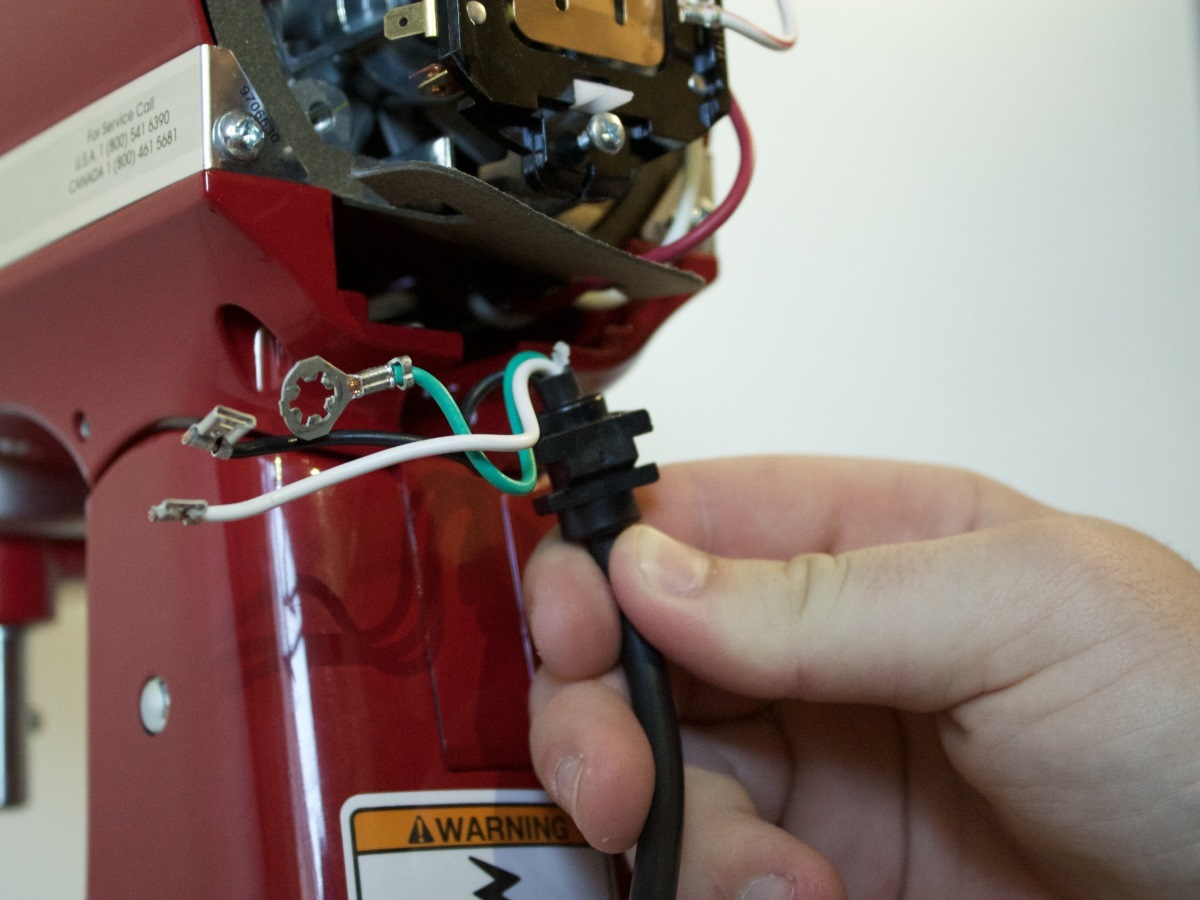
With the power source disconnected, it’s time to strip and prepare the severed ends of the cord for repair. This step involves removing the outer insulation and exposing the wires to create a clean surface for the repair.
Here’s how to strip and prepare the severed ends of the cord:
- Using wire strippers, carefully remove around 1 inch of the outer insulation from each severed end of the cord. Be cautious not to cut into the wires.
- Once the outer insulation is removed, you will see several smaller wires within. Untwist the strands gently to separate them.
- If the severed ends of the wires are frayed or damaged, use wire cutters to trim off the damaged portion, creating a clean and even surface.
- After trimming, make sure the wires are straight and aligned properly. This will ensure a secure and reliable connection during the repair process.
By stripping and preparing the severed ends of the cord, you are creating a solid foundation for the repair, ensuring effective electrical conductivity. With the ends properly prepared, you can now move on to the next step: connecting the cord using wire connectors.
When fixing a severed electrical cord, always make sure to unplug the cord from the power source before attempting any repairs. Use electrical tape to cover the exposed wires and consider replacing the cord if the damage is extensive.
Read more: How To Fix An Electrical Cord
Step 5: Connect the cord using wire connectors
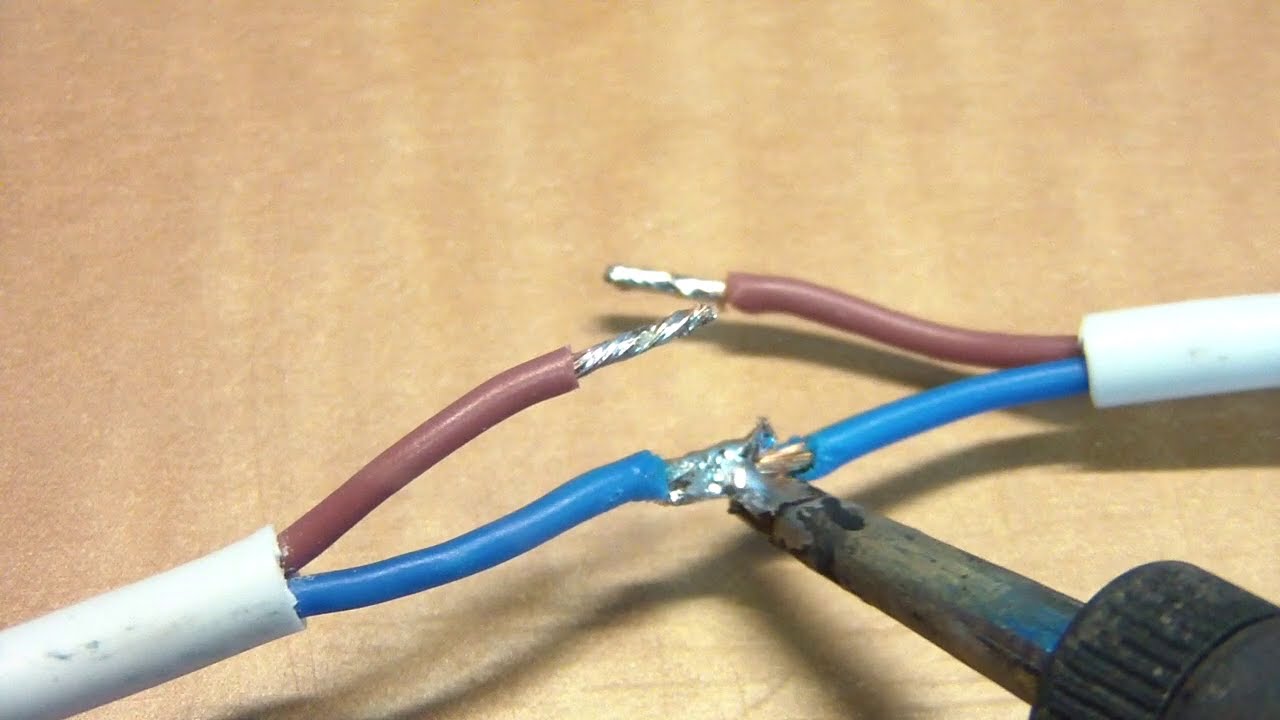
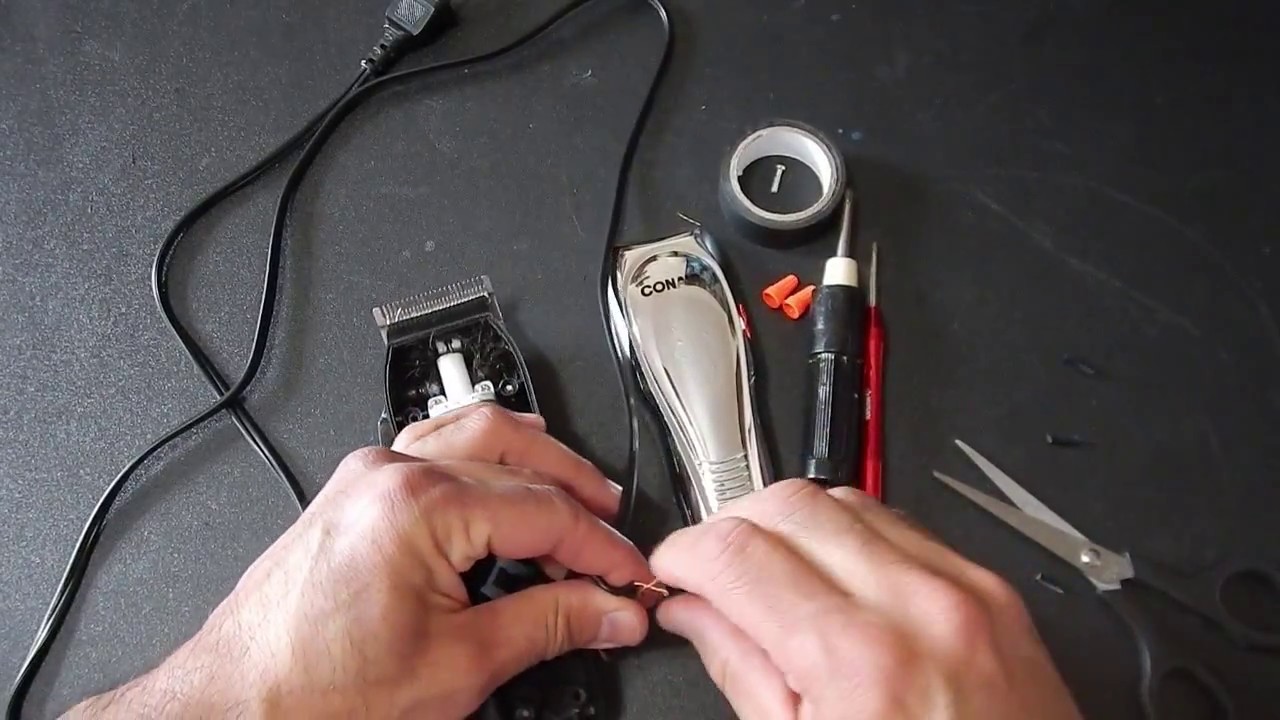
Now that you have prepared the severed ends of the cord, it’s time to connect them using wire connectors. Wire connectors are essential for creating a secure and reliable connection between the wires, ensuring a safe and effective repair.
To connect the cord using wire connectors, follow these steps:
- Select a wire connector that is appropriate for the size and number of wires you are working with. Twist the wires together tightly, ensuring they are aligned properly.
- Insert the twisted wires into the wire connector. Ensure that all the wires reach the bottom of the connector.
- Once inserted, twist the wire connector clockwise until it is securely fastened. This will create a tight connection and ensure proper conductivity.
- Repeat the process for the other set of wires on the opposite end of the cord. Connect them using the same procedure.
- After connecting both sets of wires, give them a gentle tug to ensure they are securely fastened. The connection should be tight and not come loose with minimal force.
By using wire connectors, you are creating a strong and reliable connection between the severed ends of the cord. This will allow electricity to flow through the repaired area without any disruptions or safety hazards.
With the cord successfully connected, it’s time to move on to the next step: insulating the repaired area.
Step 6: Insulate the repaired area
After connecting the severed ends of the electrical cord using wire connectors, the next crucial step is to insulate the repaired area. Insulation is essential for protecting the repaired connection from moisture, dust, and other potential hazards.
Here’s how to insulate the repaired area:
- If you are using electrical tape, start by wrapping several layers of tape tightly around the repaired area. Make sure to overlap the tape to ensure complete coverage.
- If you are using heat shrink tubing, slide the tubing over the repaired area, ensuring it extends past the wire connectors. Use a heat gun or lighter to shrink the tubing, creating a secure and watertight seal.
- Regardless of the insulation method you choose, it’s important to ensure that the repaired area is completely covered and protected.
- Inspect the insulation to ensure there are no gaps, loose connections, or exposed wires. This will prevent any potential electrical hazards and maintain the integrity of the repair.
Insulating the repaired area is critical for the long-term functionality and safety of the repaired electrical cord. It provides an extra layer of protection against potential damages and ensures the connection remains secure and reliable.
With the repaired area properly insulated, you’re almost done. The final step is to test the repaired cord to ensure it’s functioning correctly.
Step 7: Test the repaired cord
Now that you have completed the repair process and insulated the repaired area, it’s essential to test the functionality of the cord before putting it back into regular use.
Here’s how to test the repaired cord:
- Reconnect the power source to the cord. If it was unplugged, plug it back into the outlet. Ensure the circuit breaker or fuse is properly engaged.
- Safely turn on the device or appliance that the cord powers. If the cord is connected to multiple devices or appliances, test each one individually.
- Observe the device to ensure it is receiving power correctly and functioning as expected. Look out for any flickering, unusual sounds, or signs of instability.
- If the device is working properly and there are no issues, congratulations! Your repaired cord is ready to be used.
- If, however, the device does not work or there are any signs of electrical issues, immediately disconnect the power source and recheck the repair. It may be necessary to repeat the previous steps or seek professional assistance.
Testing the repaired cord is crucial to ensure that it is safe, reliable, and fully functional. By properly testing the cord, you can identify and address any issues before they become a more significant problem.
Remember, safety should always be your top priority. If you have any doubts or concerns about the functionality of the repaired cord, it’s best to consult a professional electrician for further assistance.
Congratulations on successfully repairing your severed electrical cord and restoring power to your devices!
Conclusion
Repairing a severed electrical cord may seem intimidating at first, but with the right tools, knowledge, and safety precautions, it is a manageable task. By following the step-by-step process outlined in this article, you can effectively and safely restore power to your devices.
Remember, safety should always be your top priority when working with electrical equipment. Be sure to wear appropriate safety gear, disconnect the power source, and consult a professional if you are unsure about any aspect of the repair.
Assessing the damage, gathering the necessary tools and safety equipment, disconnecting the power source, stripping and preparing the cord, connecting the severed ends with wire connectors, insulating the repaired area, and testing the repaired cord are all essential steps in the repair process.
By following these steps diligently and conducting thorough testing, you can ensure that the repaired cord is safe, reliable, and fully functional.
Remember, if at any point you feel unsure or uncomfortable with the repair process, it is best to seek the assistance of a professional electrician. They have the expertise and knowledge to handle more complex repairs and ensure that the electrical system remains safe and reliable.
Now that you have learned how to fix a severed electrical cord, you can save money, prevent unnecessary waste, and continue enjoying the convenience of your electrical devices without interruptions.
So, roll up your sleeves, gather your tools, and get ready to tackle any severed electrical cord with confidence. With the right approach and a little bit of know-how, you’ll be back up and running in no time!
Frequently Asked Questions about How To Fix Severed Electrical Cord
Was this page helpful?
At Storables.com, we guarantee accurate and reliable information. Our content, validated by Expert Board Contributors, is crafted following stringent Editorial Policies. We're committed to providing you with well-researched, expert-backed insights for all your informational needs.

0 thoughts on “How To Fix Severed Electrical Cord”