Articles
How To Fix Cut Electrical Cord
Modified: March 1, 2024
Learn how to fix a cut electrical cord with our informative articles. Find step-by-step instructions and expert tips to ensure your safety and restore functionality to your cord.
(Many of the links in this article redirect to a specific reviewed product. Your purchase of these products through affiliate links helps to generate commission for Storables.com, at no extra cost. Learn more)
Introduction
Having a cut electrical cord can be frustrating and potentially dangerous. Whether it happened due to an accidental mishap or wear and tear over time, it’s important to address the problem as soon as possible. Luckily, with the right tools and a little know-how, you can fix a cut electrical cord yourself. This article will guide you through the process of repairing a cut electrical cord safely and effectively.
Before we get started, it’s crucial to emphasize the importance of safety. Dealing with electricity can be hazardous, so always ensure the power is turned off and unplugged before attempting any repairs. If you’re unsure or uncomfortable handling electrical work, it’s best to consult a professional electrician.
In this article, we will cover the steps involved in repairing a cut electrical cord and provide helpful tips along the way. Make sure to gather the necessary tools before starting, and follow each step carefully to ensure a successful repair.
Key Takeaways:
- Safety First
Always prioritize safety when repairing a cut electrical cord. Turn off the power, gather the right tools, and take your time to ensure a secure and reliable repair. - Confidence in DIY Repairs
With the right knowledge and skills, you can successfully fix a cut electrical cord yourself. Prioritize safety, follow the steps carefully, and gain the satisfaction of DIY accomplishment.
Read more: How To Cut An Electrical Cord
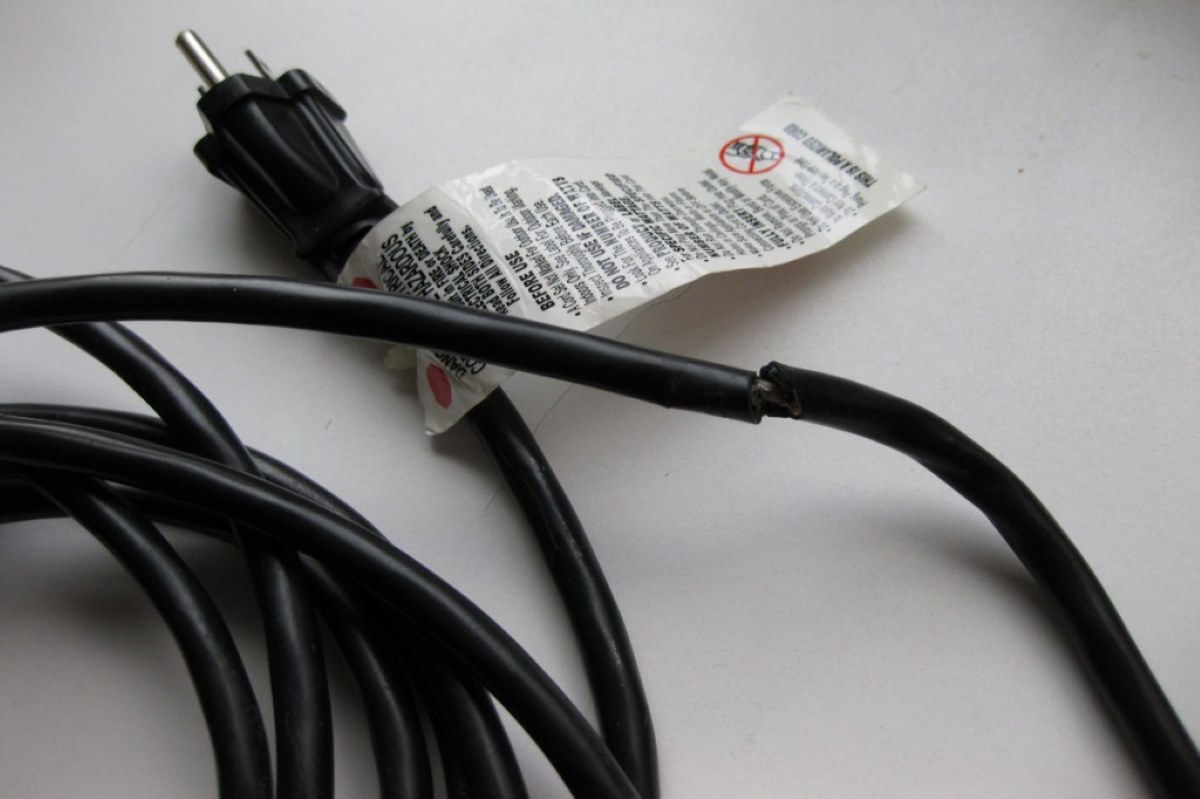
Assessing the Damage
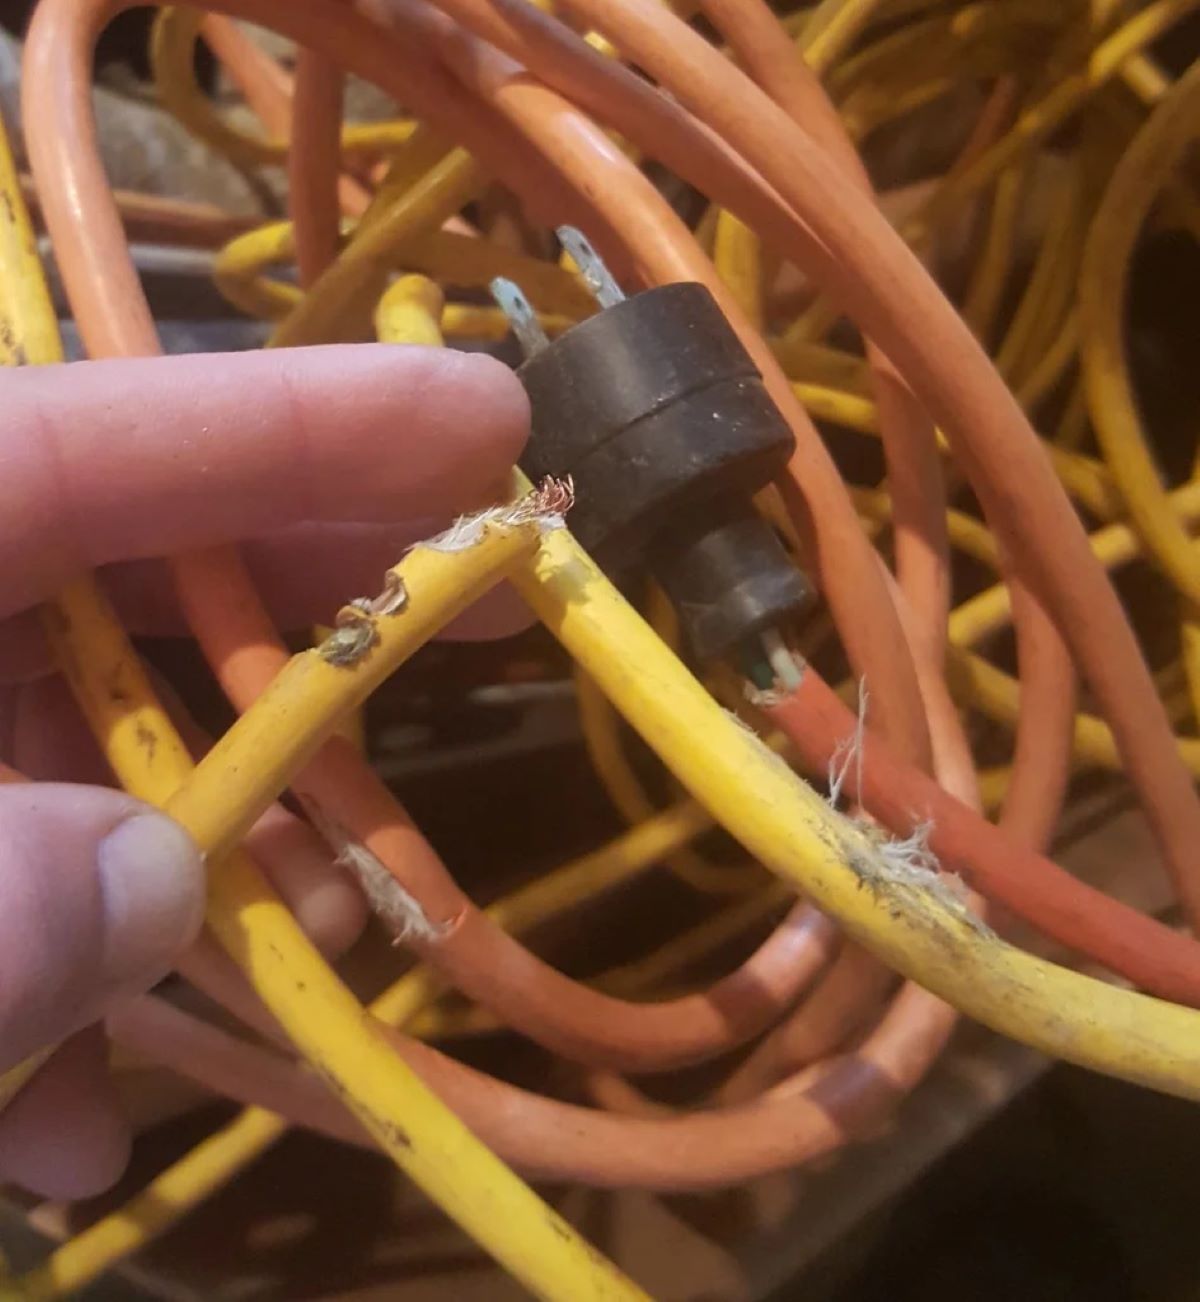
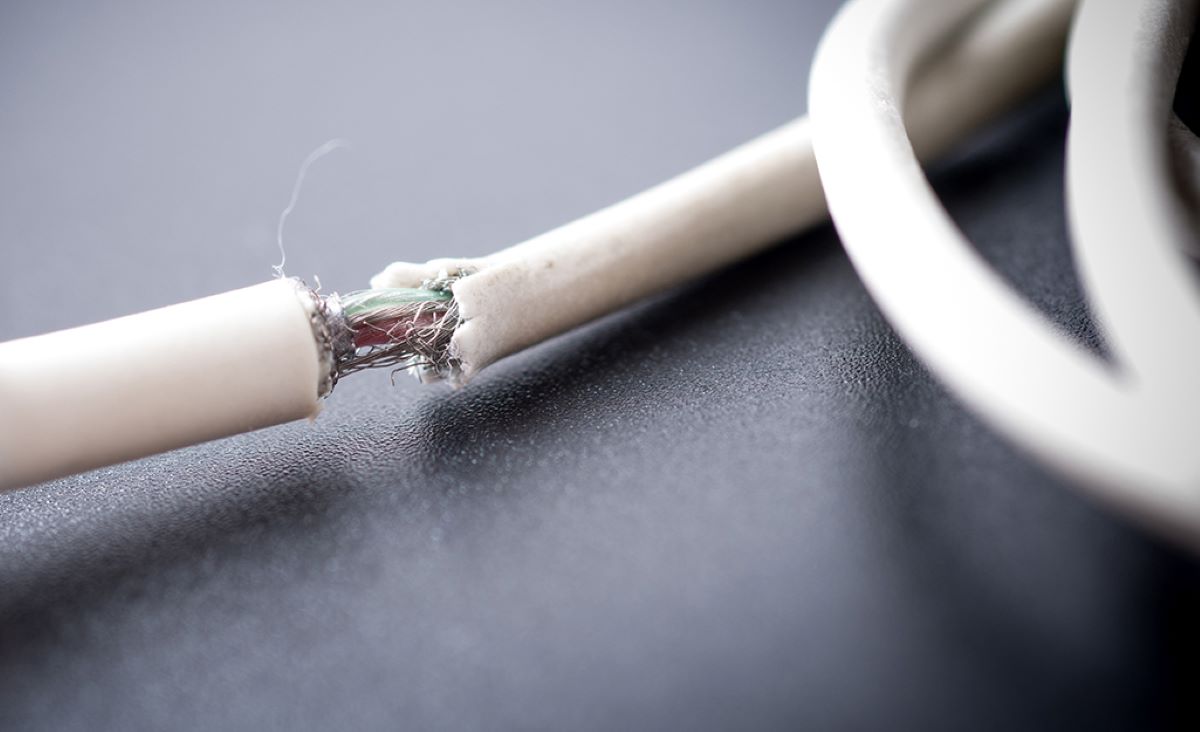
The first step in repairing a cut electrical cord is to assess the extent of the damage. Start by examining the cord and identifying where the cut or damage occurred. Look for any exposed wires or insulation that has been compromised.
Next, it’s essential to determine whether the damage is superficial or if it has affected the integrity of the wires. If the cut is small and has not penetrated the inner wires, the repair process will be relatively straightforward. However, if the wires themselves are damaged or if there is a significant cut, it may require more extensive repair or even replacement of the cord.
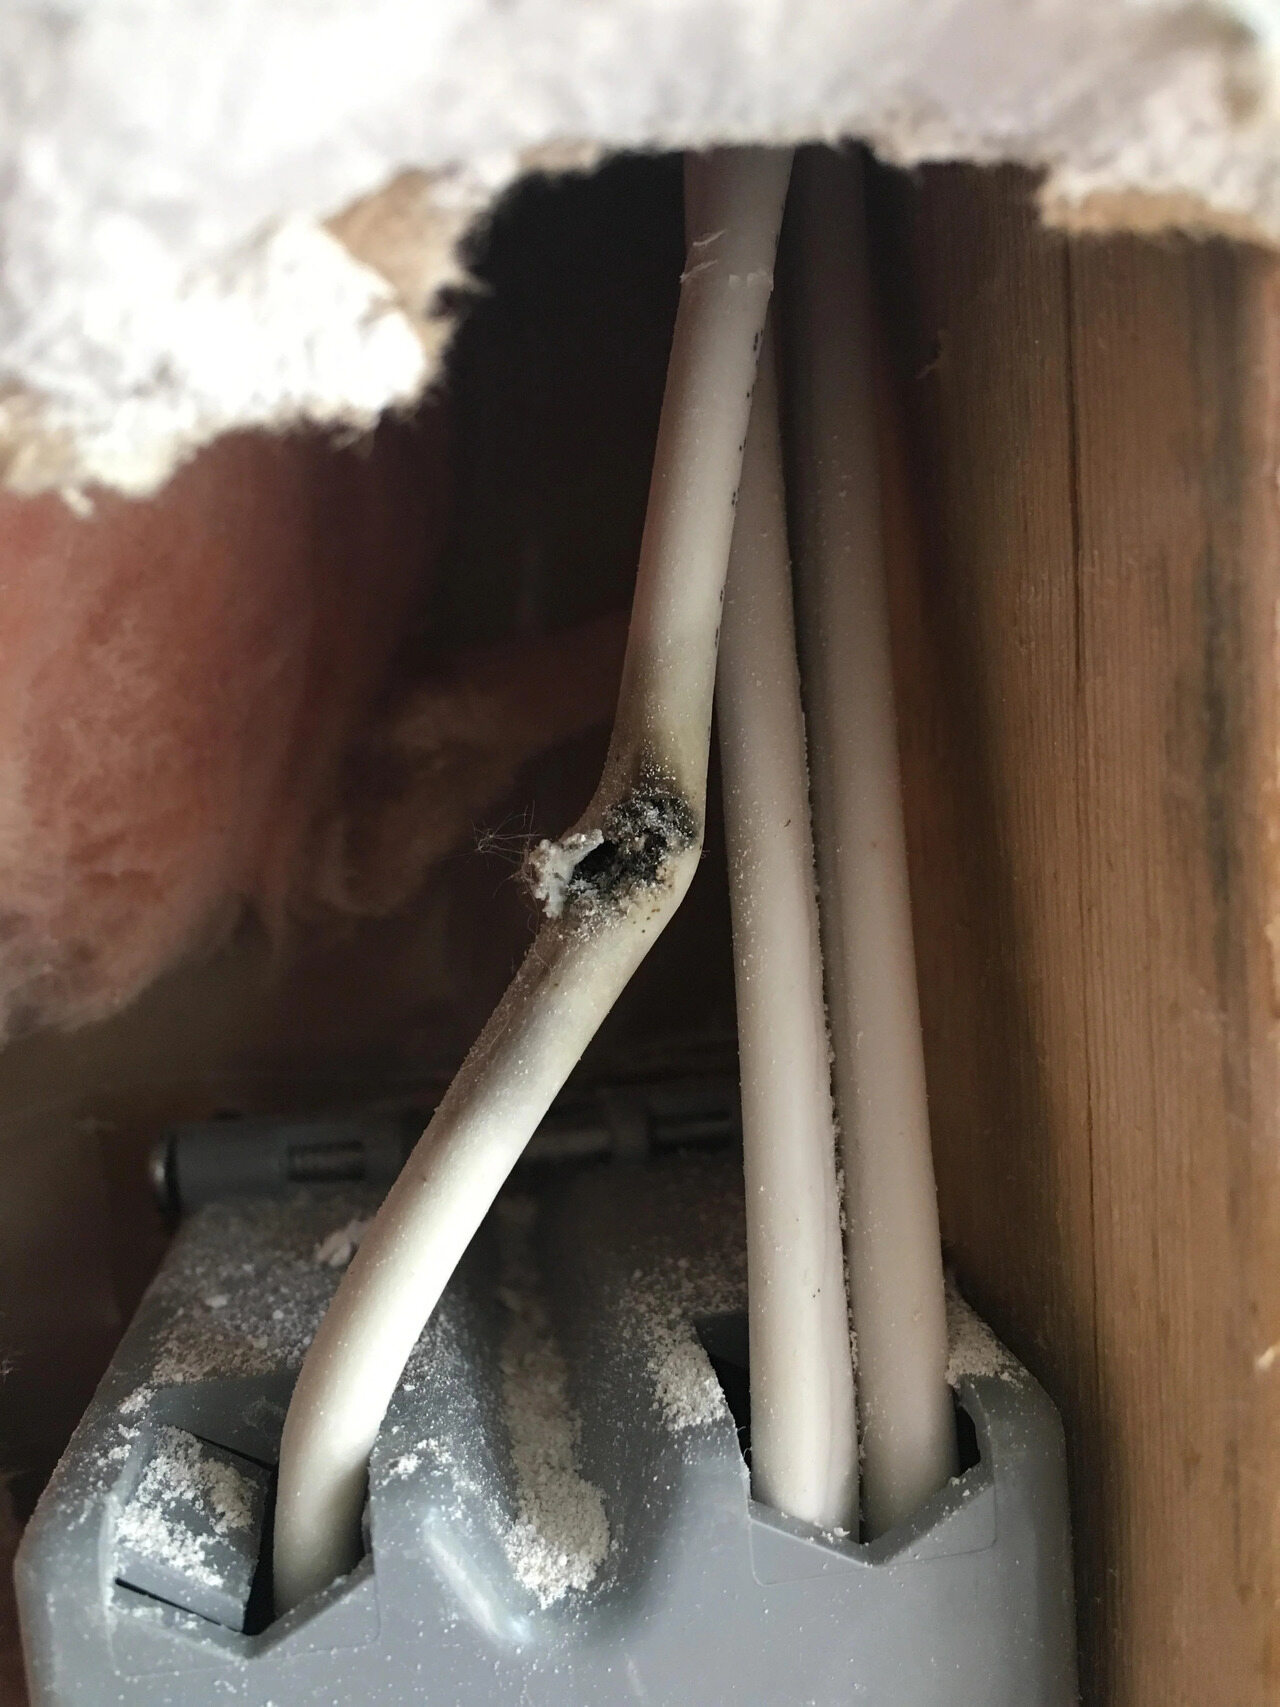
Additionally, it’s crucial to check for any other signs of damage, such as frayed wires or burn marks. These can indicate further issues that need to be addressed. Take note of any specific areas that require attention.
Once you’ve assessed the damage, you can move on to gathering the necessary tools for the repair process. Having the right tools on hand will ensure that the repair is done correctly and safely.
Gathering the Necessary Tools
Before you begin repairing the cut electrical cord, make sure you have the following tools readily available:
- Wire Cutters/Strippers: These tools are essential for cutting and stripping the wires of the cord. They allow you to remove the damaged portion and prepare the wires for the repair.
- Electrical Tape: Electrical tape is used to insulate the repaired area and ensure a secure connection. It provides protection against electrical shocks and helps to prevent further damage.
- Heat Shrink Tubing: Heat shrink tubing is an excellent alternative to electrical tape. It shrinks when heat is applied, creating a tight seal around the repaired area. This helps to provide additional insulation and protection.
- Heat Gun or Lighter: If you’re using heat shrink tubing, you’ll need a heat gun or lighter to heat it and activate the shrinking process. Make sure to follow safety guidelines and precautions when using heat sources.
- Marker or Tape: Having a marker or a piece of tape on hand can be helpful when marking the damaged area or identifying wires for proper reconnection.
Make sure to gather these tools before you start the repair process. Having everything prepared and readily accessible will save you time and ensure a smooth repair.
Now that you have the necessary tools, it’s time to move on to preparing for the repair itself.
Preparing for the Repair
Before diving into the repair process, it’s important to take a few steps to prepare for a successful fix. Here’s what you need to do:
- Turn off the Power: Ensure that the power to the electrical device or appliance connected to the cut cord is turned off and unplugged. This step is crucial to prevent any potential electrical hazards during the repair process.
- Clean the Area: Clear the workspace and ensure there are no obstructions around the area where the repair will take place. A clean and clutter-free environment will make the repair process easier and safer.
- Measure and Mark: Use a measuring tape or ruler to measure the damaged area of the cord. Mark the points where you will cut and strip the wires, ensuring proper alignment and connection.
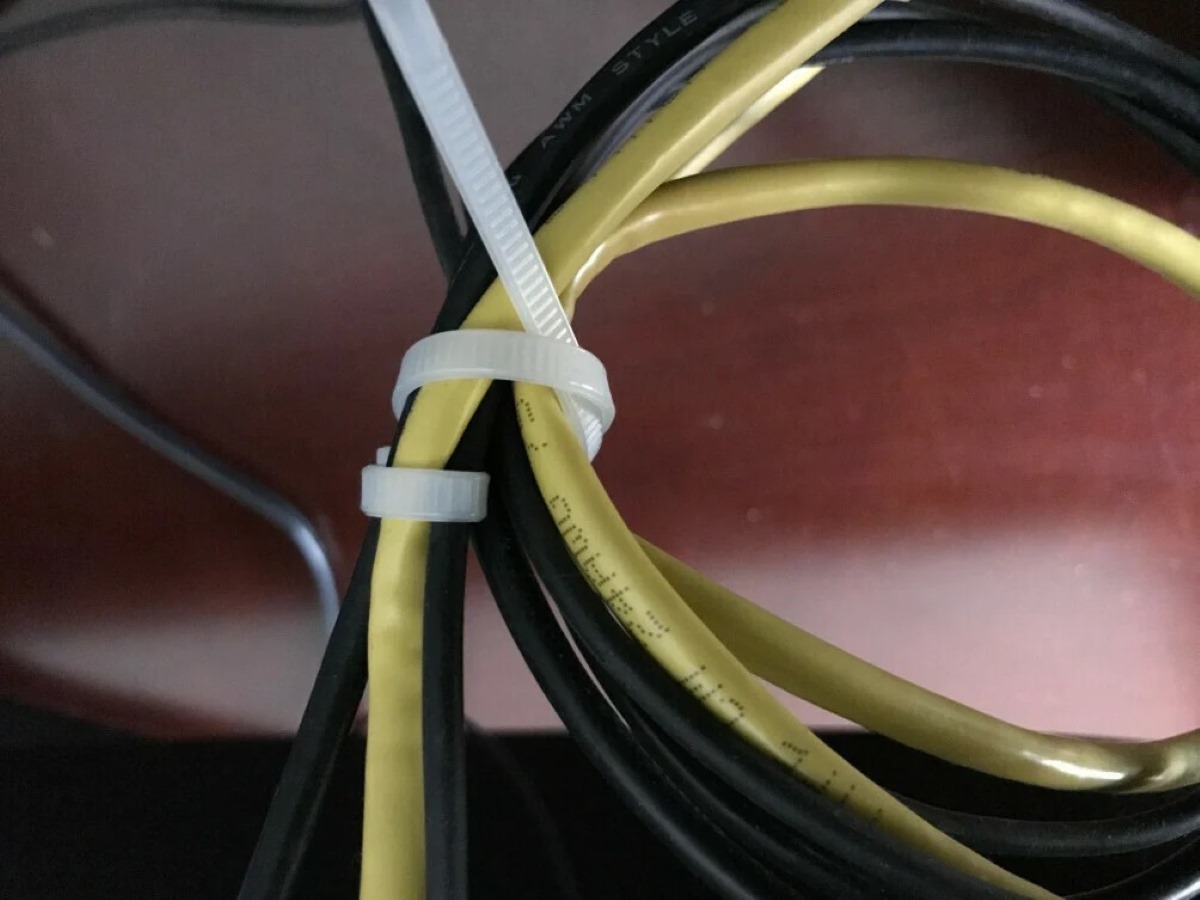
- Secure the Cord: If needed, use tape or clamps to hold the cord in place, keeping it steady while you work on it. This will prevent unnecessary movement and ensure accurate repairs.
By taking these preparatory steps, you’ll create a conducive environment for a successful repair. With everything set up and ready, you’re now ready to move on to the next steps: stripping the wires and making the connection.
Stripping the Wires
Once you’ve prepared the area and marked the damaged section of the cord, the next step is to strip the wires. Stripping the wires involves removing a portion of the insulation to expose the underlying copper wires for the repair. Here’s a step-by-step guide to stripping the wires:
- Measure Twice: Double-check the measurements and marks you made earlier to ensure accuracy.
- Use Wire Cutters/Strippers: With the cutters/strippers, carefully cut through the outer insulation of the cord at the marked points. Take your time and ensure the cut is clean and straight.
- Remove the Insulation: Gently slide the wire cutters/strippers along the length of the cord to strip away the damaged insulation. Be cautious not to cut into the wires themselves. Slowly and carefully remove the insulation, exposing about half an inch of the wire.
- Inspect the Wires: After stripping the insulation, check the exposed wires for any damage or breakage. If you notice any issues with the wires, it may be necessary to trim them and strip again.
- Repeat for Each Wire: If there are multiple wires in the cord, repeat the stripping process for each wire individually, keeping them separate and organized for the next steps.
Take your time during this process to ensure clean and accurate stripping. Properly exposed wires will allow for a solid connection in the next steps of the repair.
Now that you have stripped the wires, you’re ready to move on to making the connection and restoring the functionality of the cord.
When fixing a cut electrical cord, always make sure to unplug the cord before attempting any repairs. Use electrical tape to cover the exposed wires, or consider replacing the entire cord for safety.
Read more: How To Fix Chewed Electrical Cord
Making the Connection
With the wires exposed and ready, it’s time to make the connection and restore the functionality of the cut electrical cord. Follow these steps to ensure a secure and reliable connection:
- Identify the Correct Wires: Take a moment to identify the corresponding wires that need to be connected. Look for any markings or colors that differentiate the wires.
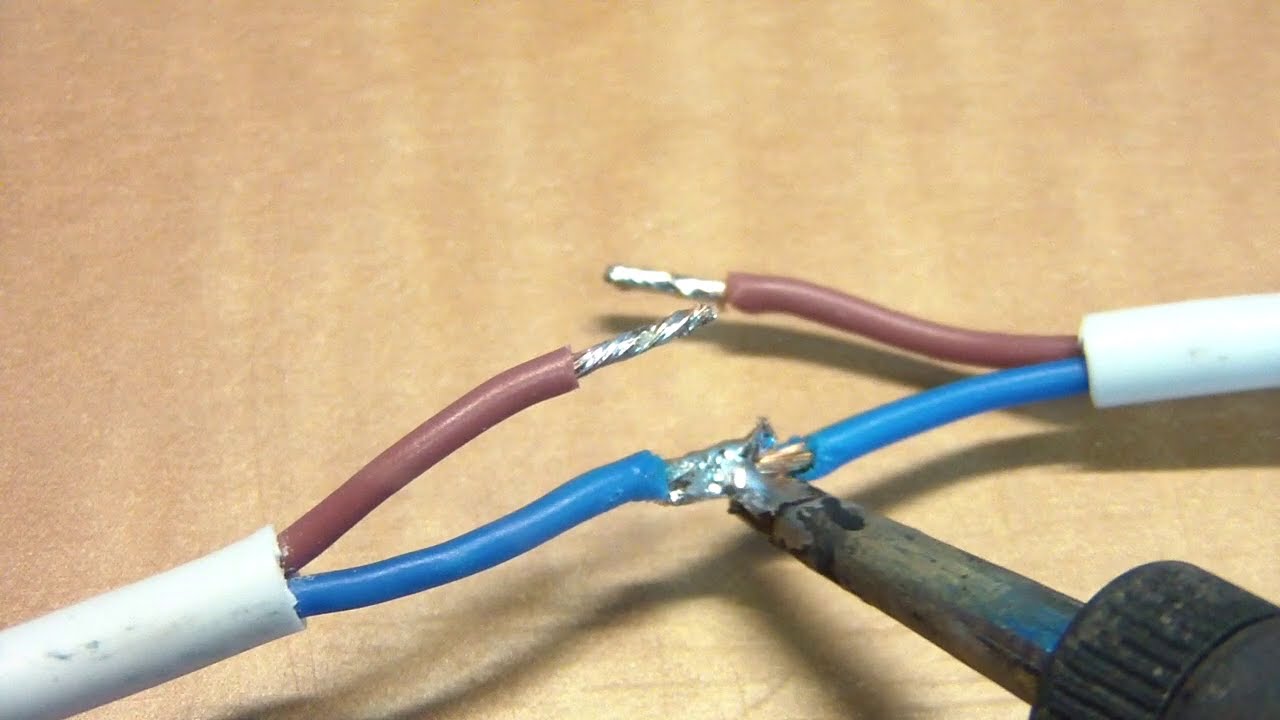
- Twist the Wires Together: Align the stripped ends of the wires and twist them together in a clockwise direction. This will create a tight and secure connection between the wires.
- Solder the Connection (Optional): If you have soldering skills and equipment, you can apply a small amount of solder to the twisted wires. Soldering provides additional strength and stability to the connection.
- Wrap with Electrical Tape: Once the wires are twisted or soldered together, wrap the exposed area with electrical tape. Start a few inches above the connection, overlapping the tape in a tight and uniform manner. Make sure to cover the entire exposed area to provide insulation and protect the connection.
- Use Heat Shrink Tubing (Optional): Alternatively, you can use heat shrink tubing instead of electrical tape. Slide the tubing over the twisted or soldered connection and apply heat using a heat gun or lighter. The tubing will shrink and create a tight seal around the connection.
Remember, ensuring a secure and reliable connection is vital for the safety and functionality of the electrical cord. Take your time during this step and make sure to follow the proper techniques to maintain a strong connection.
Next, we’ll move on to insulating the repaired area to provide additional protection and safety.
Insulating the Connection
After making the connection between the wires, the next crucial step is to insulate the repair to ensure safety and prevent any further damage. Here’s how to effectively insulate the connection:
- Wrap with Electrical Tape: If you haven’t already done so, wrap the entire exposed area and the connection with electrical tape. Start a few inches above the connection and wrap it tightly in a spiral motion, overlapping each layer to ensure full coverage.
- Apply Heat Shrink Tubing (Optional): Alternatively, if you chose to use heat shrink tubing, slide the tubing over the connection and any exposed wires. Make sure it covers the entire repair area. Use a heat gun or lighter to heat the tubing and shrink it in place.
- Inspect for Proper Insulation: After insulating the connection, visually inspect it to ensure there are no exposed wires or areas where the insulation might be loose. The connection should be well-covered and protected.
Insulating the connection is crucial in preventing electrical shocks, short circuits, and potential fire hazards. Take your time during this step to properly apply the insulation materials and ensure a long-lasting and secure repair.
Now that you’ve successfully insulated the connection, it’s time to move on to the final step: testing the repair to ensure its functionality.
Testing the Repair
Before considering the repair process complete, it is vital to test the repaired electrical cord to ensure its functionality and safety. Follow these steps to properly test the repair:
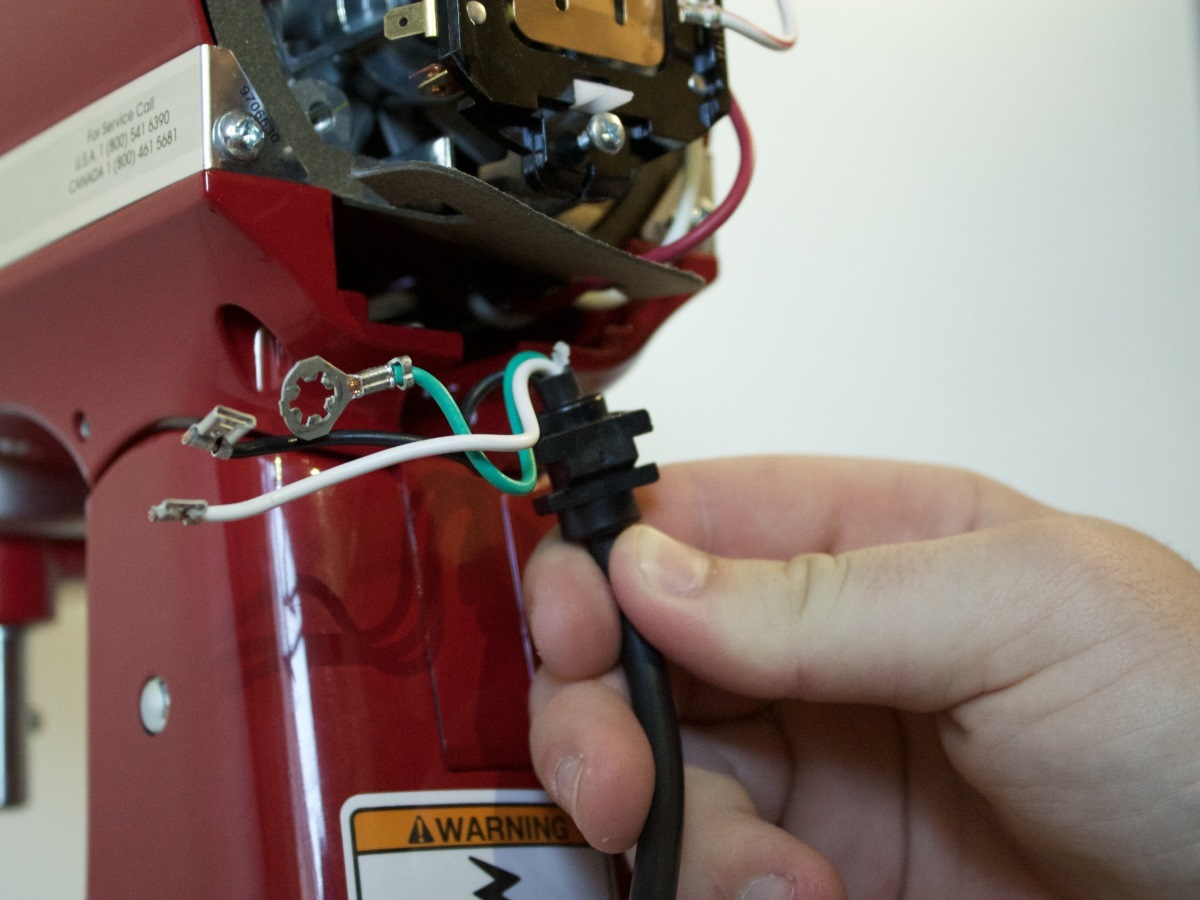
- Reconnect the Cord: Plug the repaired electrical cord back into its respective device or power source.
- Turn on the Power: Switch on the power supply to the device or appliance connected to the cord.
- Observe for Signs of Functionality: Look for any indications that the electrical cord is functioning properly. This may include the device turning on, lights illuminating, or any other expected outcomes depending on the device or appliance.
- Check for Stability: Gently move the cord and check for any signs of instability or flickering. Ensure that the connection remains secure and the repaired area does not show any signs of damage.
- Perform a Physical Inspection: Inspect the repaired area once again visually to check for any loose insulation or exposed wires.
- Use a Socket Tester (Optional): For an extra level of confirmation, you can use a socket tester to verify that the electrical connection is correct and functioning as expected. This device will indicate if there are any wiring faults or issues with the repaired cord.
If the repaired electrical cord passes all the tests and functions properly without any issues, congratulations! You have successfully repaired the cut cord. However, if you notice any problems during the testing phase, it is best to disconnect the cord and re-evaluate the repair. Double-check the connections, insulation, and any other factors that may have contributed to the issue. If you’re unable to resolve the problem, it’s advisable to seek professional assistance.
Keep in mind that even if the repair passes the initial testing, it’s important to monitor the cord during regular use and check for any signs of wear or damage. Regular inspections and maintenance will help ensure its ongoing functionality and safety.
Now that you have tested the repair and confirmed its success, you can confidently use the electrical cord once again.
Conclusion
Repairing a cut electrical cord may seem daunting at first, but with the right tools, techniques, and precautions, it is a task that can be accomplished safely and effectively. By following the step-by-step process outlined in this article, you’ll be able to fix a cut electrical cord on your own, saving time and money.
Remember to always prioritize safety throughout the repair process. Ensure that the power is turned off and the cord is unplugged before starting any work. Take your time to assess the damage, gather the necessary tools, and prepare the area for the repair. Stripping the wires carefully and making a secure connection is crucial for a successful repair.
Insulating the repaired area properly is essential to prevent electrical shocks and further damage. Whether you choose to use electrical tape or heat shrink tubing, ensure that the repaired area is fully covered and protected.
Testing the repair is the final step to ensure the functionality and safety of the electrical cord. Check for signs of proper operation, stability, and perform a visual inspection for any issues. Using a socket tester can provide an extra layer of reassurance.
Remember, if you feel uncertain or uncomfortable handling electrical work, it is always wise to seek assistance from a qualified professional. Your safety should always be the top priority.
By successfully repairing a cut electrical cord yourself, you not only save money but also gain the satisfaction and confidence of being able to handle basic electrical repairs. With the knowledge and skills gained from this article, you’ll be better equipped to address similar issues in the future.
Now that you have the know-how, go ahead and tackle that cut electrical cord with confidence!
Frequently Asked Questions about How To Fix Cut Electrical Cord
Was this page helpful?
At Storables.com, we guarantee accurate and reliable information. Our content, validated by Expert Board Contributors, is crafted following stringent Editorial Policies. We're committed to providing you with well-researched, expert-backed insights for all your informational needs.


0 thoughts on “How To Fix Cut Electrical Cord”