Articles
How To Fix A Melted Electrical Cord
Modified: May 6, 2024
Discover effective articles on how to fix a melted electrical cord. Take immediate action to address this safety hazard and prevent further damage.
(Many of the links in this article redirect to a specific reviewed product. Your purchase of these products through affiliate links helps to generate commission for Storables.com, at no extra cost. Learn more)
Introduction
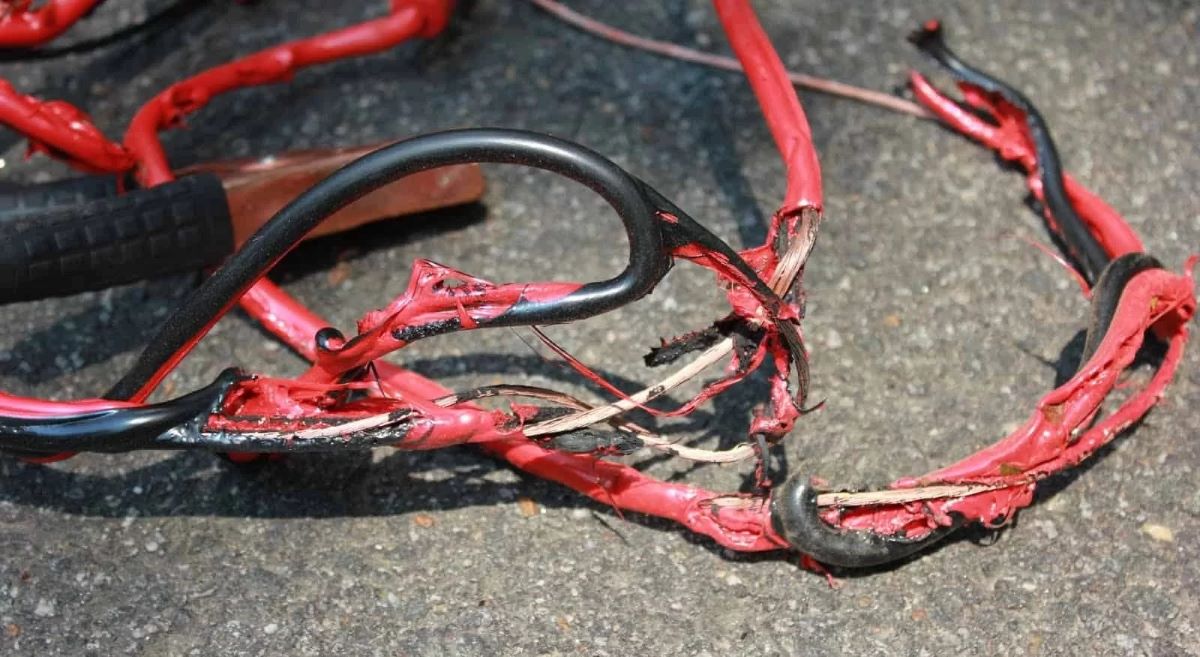
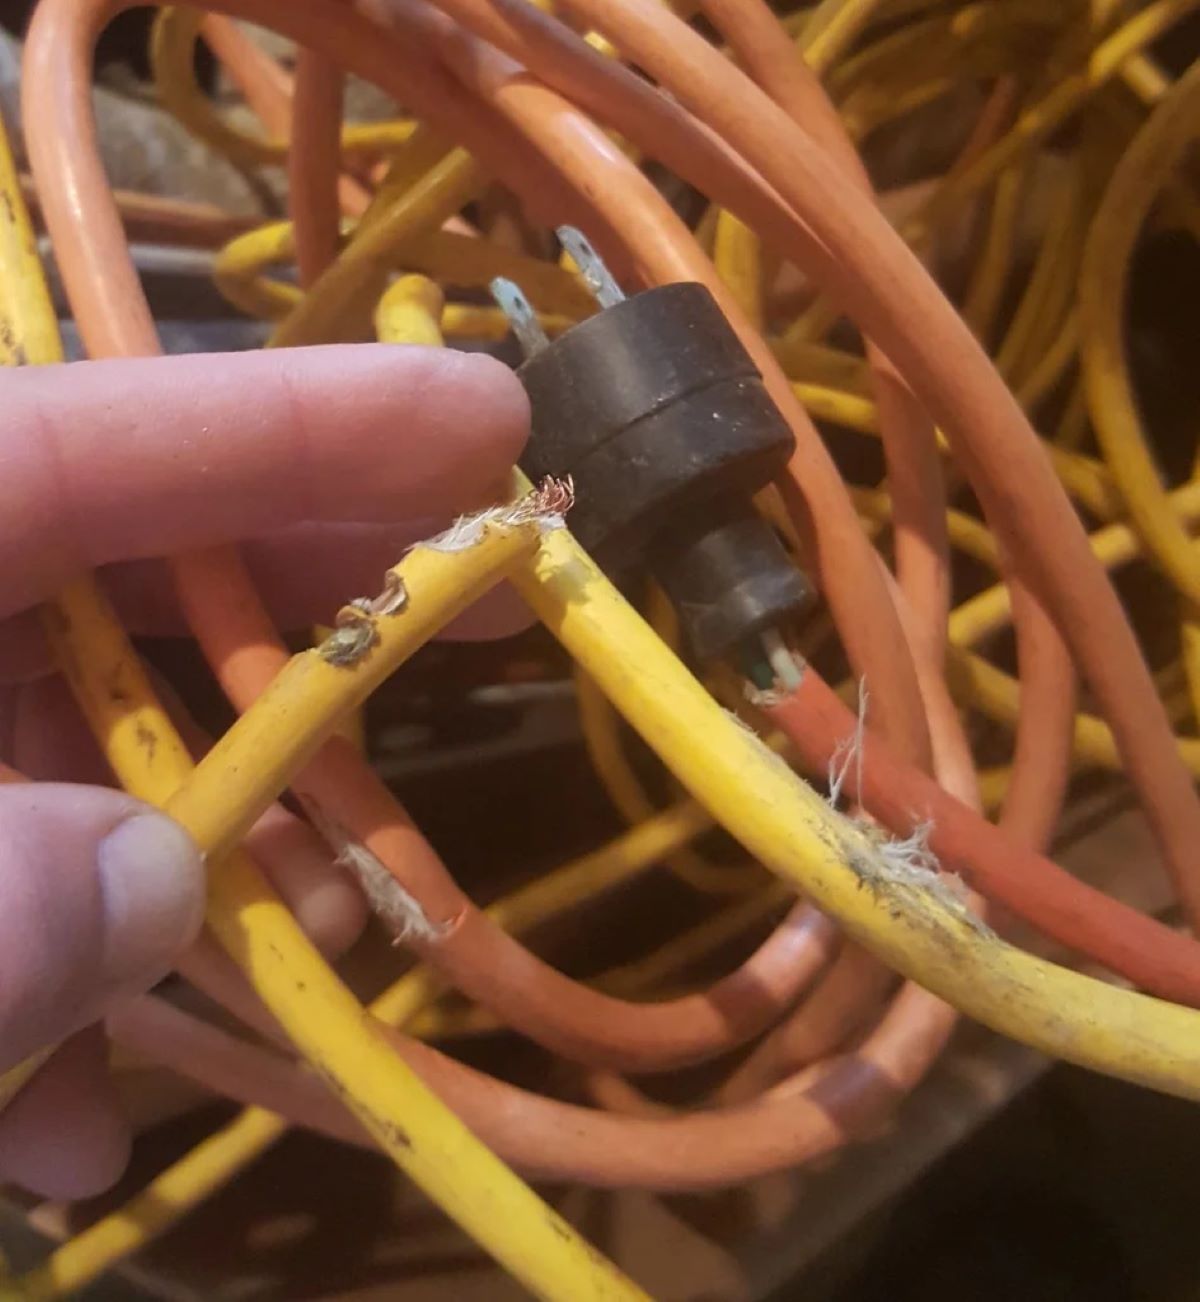
Electrical cords play a vital role in our daily lives, supplying power to our electronic devices and appliances. However, accidents can happen, and sometimes a cord can become melted or damaged due to various factors. A melted electrical cord not only poses a safety hazard but can also render the device useless. It is essential to fix a melted electrical cord promptly to ensure the safety of both individuals and property.
If you are facing the issue of a melted electrical cord, there is no need to panic. With the right tools and a little know-how, you can fix the cord and restore it to its functional state. This article will guide you through the necessary steps to fix a melted electrical cord, while also providing safety precautions and alternative options if the cord cannot be salvaged.
Before diving into the repair process, it’s crucial to emphasize the importance of safety. Working with electricity can be dangerous, so always prioritize safety measures. Make sure to unplug the device before attempting any repairs and wear appropriate protective gear, such as insulated gloves and goggles. If you are unsure or uncomfortable with the repair process, it is best to seek professional assistance.
In the following sections, we will discuss the essential safety precautions to take before repairing a melted electrical cord, the tools you will need for the job, and a step-by-step guide to fixing the cord. We will also highlight common mistakes to avoid during the repair process and provide alternative options if it is not possible to fix the cord. Let’s get started!
Key Takeaways:
- Safety is paramount when fixing a melted electrical cord. Prioritize protective gear, thorough inspection, and proper insulation to ensure a safe and effective repair process.
- If the cord cannot be fixed, consider alternatives such as professional assistance, warranty coverage, or using extension cords. Prioritize safety and explore the best option for your specific situation.
Read more: How To Fix An Electrical Cord
Safety Precautions Before Repairing a Melted Electrical Cord
Before embarking on the journey to fix a melted electrical cord, it is crucial to prioritize safety. Electricity can be hazardous if proper precautions are not taken. By following these safety measures, you can minimize the risk of accidents and ensure a safe repair process.
1. Unplug the Device: Before attempting any repairs, always ensure that the device is completely unplugged from the power source. This will eliminate the risk of electric shock during the repair process.
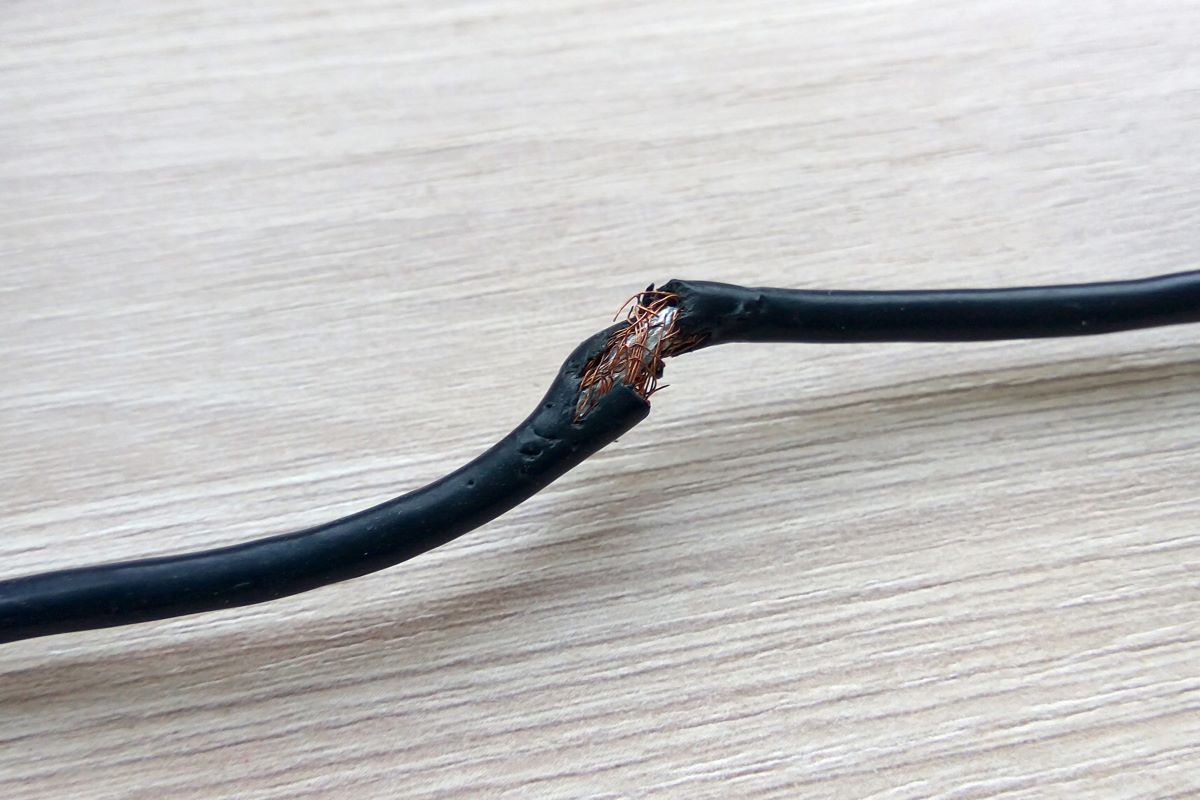
2. Inspect the Cord: Thoroughly inspect the melted cord to assess the extent of the damage. Look for any exposed wires, burns, or other signs of damage. If the damage appears severe, it is best to consult a professional electrician for repair.
3. Prepare the Work Area: Clear the surrounding area of any flammable materials or liquids that could pose a fire hazard. Ensure adequate lighting and a clean, dry workspace to perform the repair.
4. Wear Protective Gear: Safeguard yourself by wearing insulated gloves and goggles to protect against electric shock and potential sparks. Additionally, remove any metal jewelry or accessories that could come into contact with the live wires.
5. Use Proper Tools: Always use insulated tools specifically designed for electrical work. Avoid using tools with exposed metal parts as they can cause a short circuit or injury.
6. Avoid Moisture: Keep the repair area dry and avoid exposing the cord to moisture. Water and electricity do not mix well and can result in electric shock or damage to the device.
7. Do Not Overload the Circuit: When reconnecting the repaired cord, ensure that the device is not drawing more power than the circuit can handle. Overloading the circuit can lead to overheating and potential fire hazards.
8. Test the Repair: Once you have fixed the melted electrical cord, conduct a thorough test to ensure it is functioning properly. Plug in the device and observe if there are any signs of overheating or sparking. If any issues persist, discontinue use and consult a professional.
By following these safety precautions, you can proceed to fix a melted electrical cord with confidence. Remember, if you are unsure about any aspect of the repair process or doubt your abilities, it is always wise to seek professional help to avoid any potential risks.
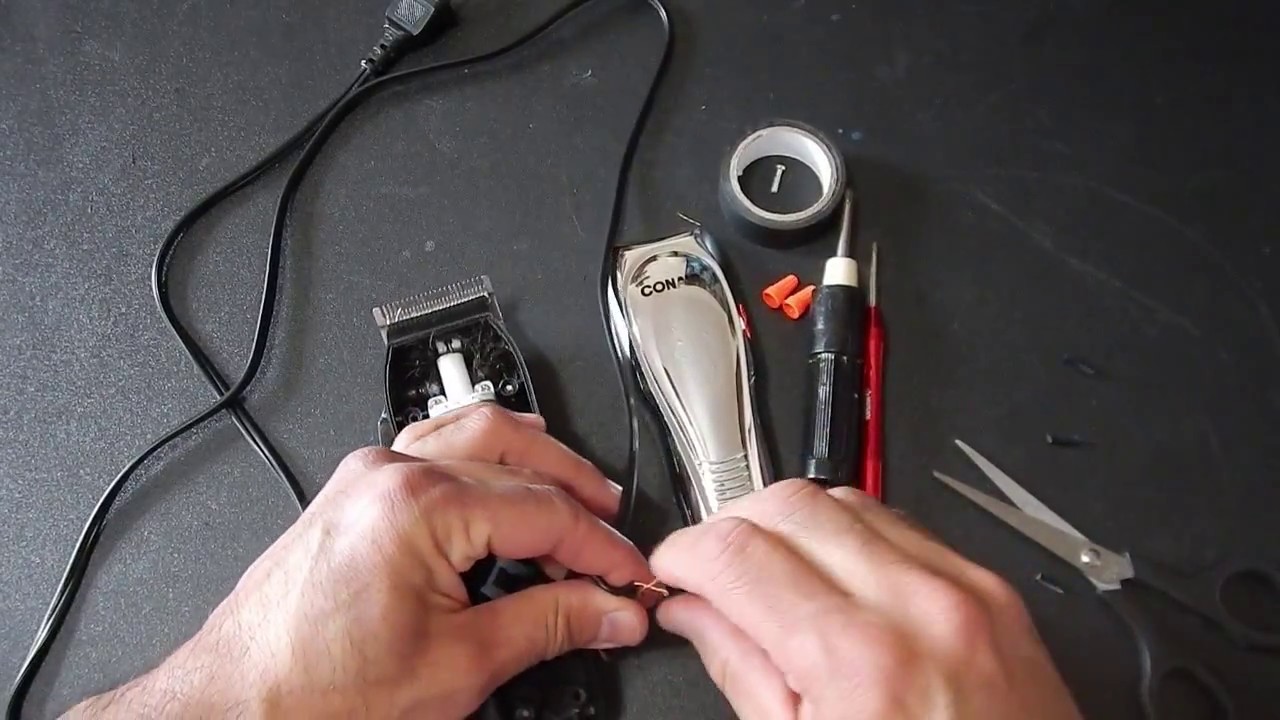
Tools Required for Fixing a Melted Electrical Cord
Fixing a melted electrical cord requires the use of specific tools to ensure a safe and effective repair. Before starting the repair process, gather the following tools to complete the job:
- Insulated Gloves: Insulated gloves are essential for protecting yourself from electric shock while working with live wires. Make sure the gloves are rated for electrical work and fit you properly.
- Goggles: Safety goggles provide eye protection from any sparks or debris that may occur during the repair process. Choose goggles that fit snugly and provide clear visibility.
- Wire Strippers: Wire strippers are used to remove the damaged insulation from the melted electrical cord. Make sure to use strippers with insulated handles to prevent accidental contact with the exposed wire.
- Electrical Tape: Electrical tape is used to insulate and secure the repaired sections of the cord. Choose high-quality electrical tape that is rated for the voltage of your device and provides good adhesion.
- Heat Shrink Tubing: Heat shrink tubing is an excellent alternative to electrical tape as it provides a more secure and professional-looking insulation. It shrinks when heat is applied, creating a tight seal around the repaired area. Use heat shrink tubing that matches the diameter of the cord.
- Heat Gun: A heat gun is necessary for activating the heat shrink tubing. It provides controlled heat to shrink the tubing and create a tight seal. Follow the manufacturer’s instructions for proper use and safety precautions.
- Wire Connectors: Wire connectors are used to join and secure the repaired wires together. Ensure that you choose connectors that are compatible with the size of the wire and provide a secure connection.
- Needle-nose Pliers: Needle-nose pliers are handy for manipulating small wires and connectors. They allow for precise handling and can be used to crimp wire connectors or hold wires in place during the repair process.
- Multimeter: A multimeter is an electrical testing tool used to measure voltage, resistance, and continuity. It is useful for checking the integrity of the repaired cord and ensuring proper electrical connectivity. Familiarize yourself with the functions and operation of the multimeter before use.
Having these tools readily available will make the process of fixing a melted electrical cord more efficient and safer. Remember to handle the tools with care and follow proper safety precautions while working with electricity.
Step-by-Step Guide to Fixing a Melted Electrical Cord
Fixing a melted electrical cord may seem daunting, but with the right approach and the following step-by-step guide, you can successfully repair the cord and restore it to a safe and functional state. Be sure to follow each step carefully to ensure a proper fix:
- Step 1: Safety First
- Step 2: Assess the Damage
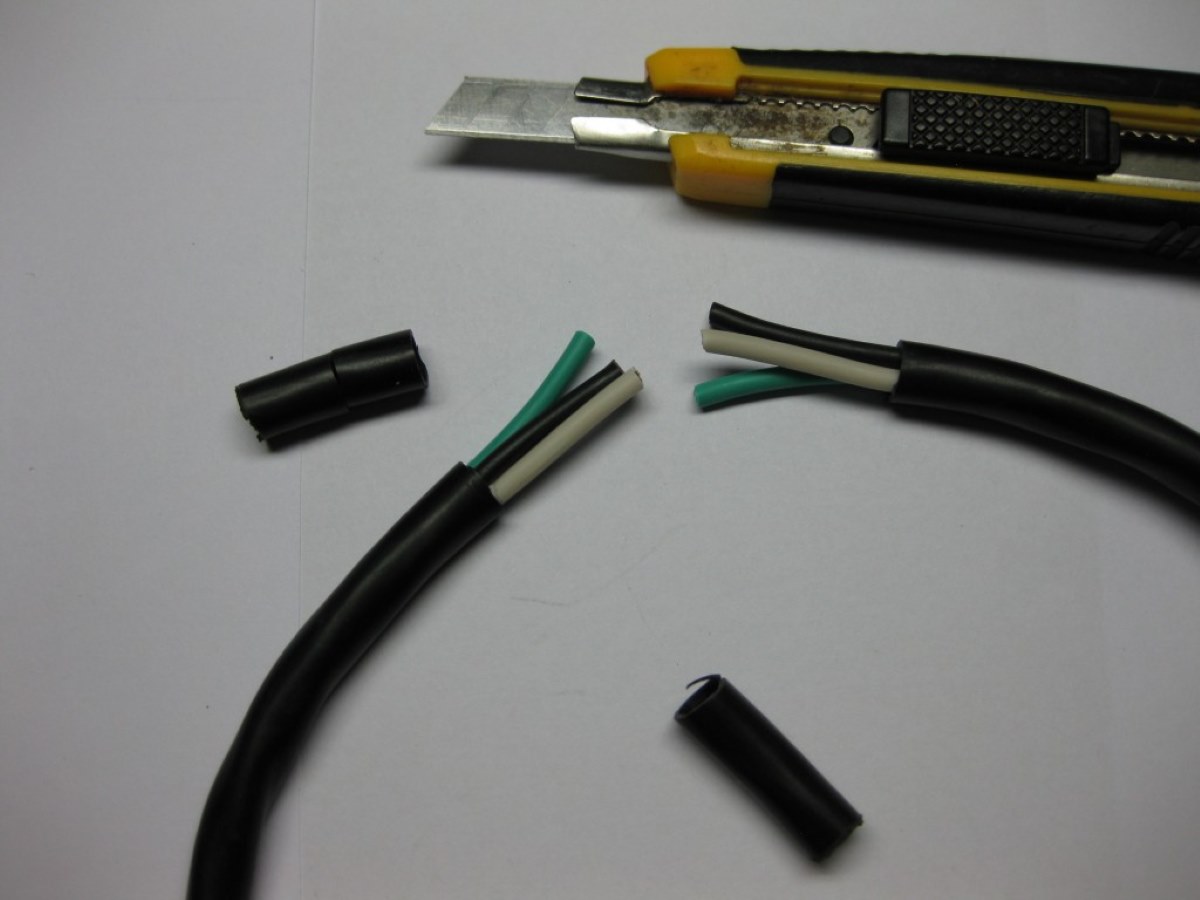
- Step 3: Cut Out the Damaged Section
- Step 4: Strip the Wires
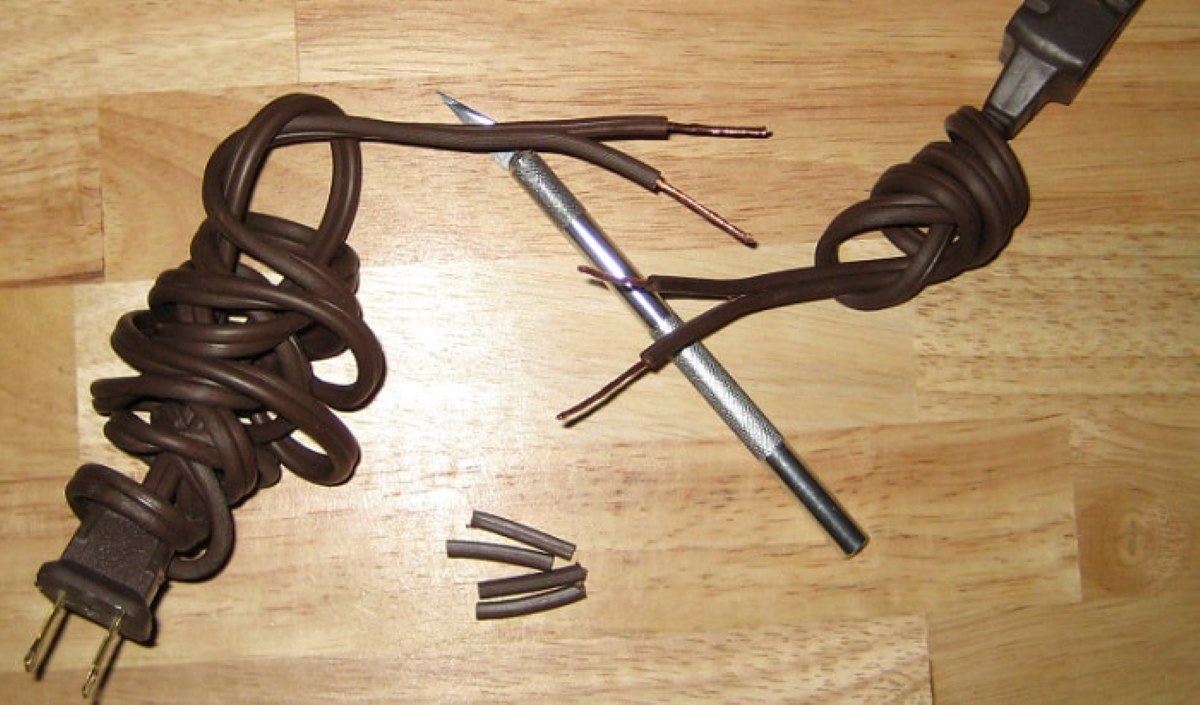
- Step 5: Twist the Wires
- Step 6: Insulate the Wires
- Step 7: Connect the Wires
- Step 8: Test the Repair
Prioritize safety precautions by wearing insulated gloves and goggles, ensuring the device is unplugged, and creating a safe workspace.
Thoroughly examine the melted cord to identify the extent of the damage. Look for exposed wires, burns, or any other signs of damage that need to be addressed.
Using wire strippers, carefully cut out the damaged section of the cord. Cut a few inches away from the melted or damaged area to ensure you have a clean section to work with.
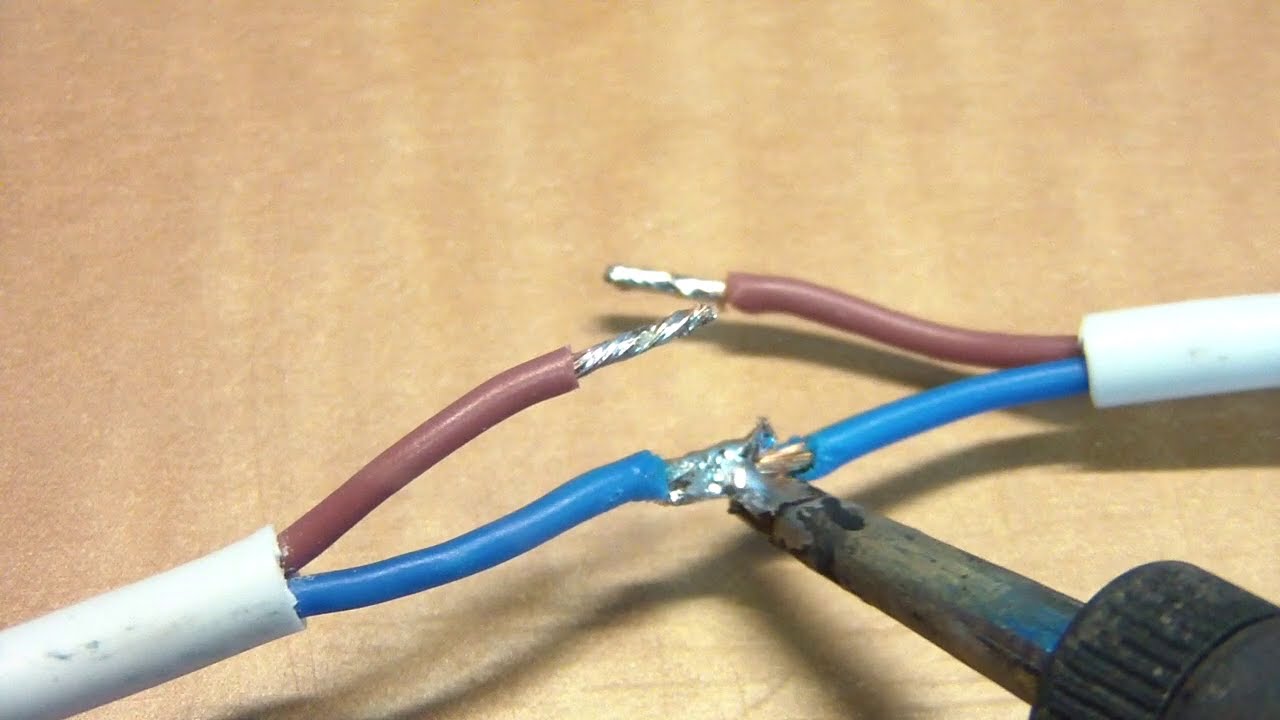
Strip the insulation from the cut ends of the wires using wire strippers. Strip approximately 1 inch of insulation to expose the bare wire.
Twist the strands of each wire tightly together to ensure a secure connection. Properly twisted wires will create a solid electrical connection and enhance the durability of the repair.
Option 1: Wrap electrical tape tightly around the exposed wires, covering them completely. Wind the tape in a spiral motion, overlapping each layer for optimum insulation.
Option 2: Alternatively, you can use heat shrink tubing. Slide the heat shrink tubing onto one of the wires before twisting the exposed ends together. Use a heat gun to apply heat evenly and shrink the tubing, creating a tight and secure seal.
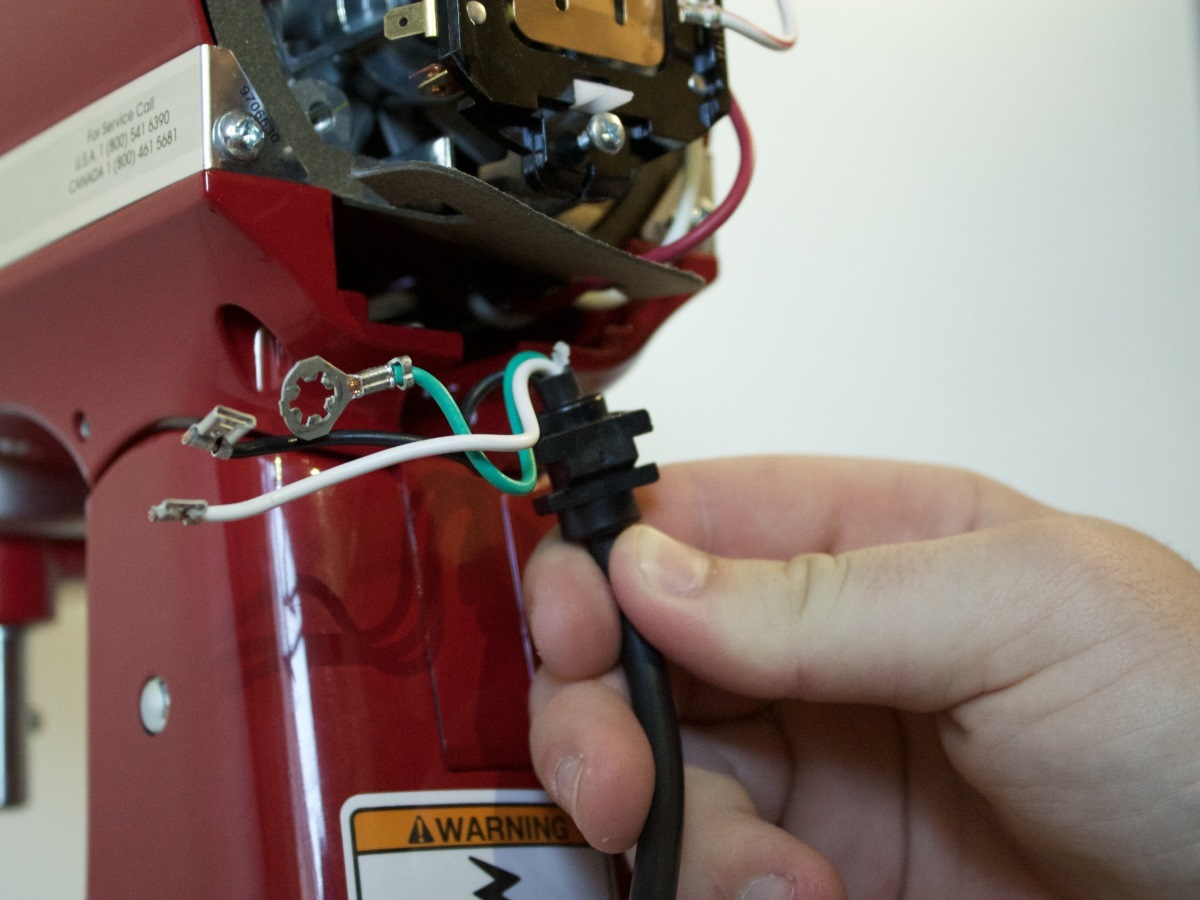
If necessary, connect the repaired wires using appropriate wire connectors. Align the stripped ends of the wires and insert them into the wire connector. Use needle-nose pliers to crimp the connector, ensuring a secure and reliable connection.
Once the repair is complete, plug in the device and test it to ensure it is functioning properly. Check for any signs of overheating, sparks, or other abnormalities. If everything seems normal, you have successfully fixed the melted electrical cord.
It is important to note that this guide provides a general overview of the repair process. The specific steps may vary depending on the type of cord and the nature of the damage. If you have any doubts or encounter difficulties during the repair, it is best to seek professional assistance to avoid any further complications.
If an electrical cord has melted, unplug it immediately and do not attempt to use it. Replace the cord with a new one to ensure safety.
Common Mistakes to Avoid While Fixing a Melted Electrical Cord
Fixing a melted electrical cord requires precision and attention to detail to ensure a safe and effective repair. However, certain mistakes can compromise the integrity of the fix or even pose additional hazards. To help you navigate the repair process smoothly, here are some common mistakes to avoid:
- Mistake 1: Neglecting Safety Precautions
Always prioritize safety when working with electricity. Failure to wear insulated gloves, goggles, or other protective gear can result in electric shock or injury. Additionally, avoiding proper grounding or failing to unplug the device before repairs can lead to accidents. Take the necessary safety precautions to protect yourself and others. - Mistake 2: Insufficiently Assessing the Damage
It is crucial to thoroughly assess the extent of the damage before attempting any repairs. Failing to identify additional issues, such as hidden burns or damaged internal wiring, can lead to incomplete repairs or recurring problems. Take the time to inspect the entire cord and adequately determine its condition. - Mistake 3: Cutting the Cord Too Short
When cutting out the damaged section, ensure that you do not remove too much cord length. Cutting too short can result in an inadequate length for repair, making it difficult to connect the ends or compromising the overall functionality of the device. Cut out only the necessary damaged portion of the cord. - Mistake 4: Improperly Stripping the Wires
When stripping the insulation from the wire ends, it is important to strip the correct amount. Stripping too much insulation may expose too much bare wire, increasing the risk of short circuits. Conversely, insufficient stripping may result in a weak electrical connection. Use wire strippers and ensure the appropriate length of exposed wire. - Mistake 5: Failing to Securely Connect the Wires
While reconnecting the wires, ensure they are tightly twisted and properly secured. Loose or poorly connected wires can lead to weak electrical connections and increased resistance, potentially causing overheating or device malfunctions. Use wire connectors or proper twisting techniques to ensure a secure and reliable connection. - Mistake 6: Choosing Incorrect Insulation Methods
Improper insulation can undermine the effectiveness of the repair. Avoid using inadequate or inappropriate materials to insulate the repaired area. For example, using regular tape instead of electrical tape or not properly applying heat shrink tubing can lead to poor insulation and potential electrical hazards. - Mistake 7: Overlooking Testing and Validation
After completing the repair, it is essential to thoroughly test the cord before considering it fixed. Failure to validate the repair can result in undetected issues that may cause further damage or pose safety risks. Plug in the device and observe its functionality carefully, ensuring there are no signs of overheating or abnormal behavior.
By avoiding these common mistakes, you can increase the likelihood of a successful repair and ensure the safety of both yourself and the repaired device. If you are uncertain about any aspect of the repair or encounter challenges along the way, do not hesitate to seek professional assistance.
Read more: How To Fix Chewed Electrical Cord
Alternative Options if the Cord Cannot be Fixed
While attempting to fix a melted electrical cord is the ideal solution, there may be instances where the damage is too severe or the cord cannot be safely repaired. In such cases, it is important to explore alternative options to address the issue. Here are some alternatives to consider if the cord cannot be fixed:
- 1. Replace the Cord
If the damage to the cord is extensive or if the repair attempts have been unsuccessful, it may be best to replace the entire cord. This involves purchasing a new cord that matches the specifications and voltage requirements of the device. Ensure that the replacement cord is compatible and properly installed to maintain the safety and functionality of the device. - 2. Seek Professional Assistance
If you are unsure about how to proceed or if the damage seems beyond your expertise, it is wise to seek professional assistance. A licensed electrician or technician can evaluate the situation and provide expert guidance or perform the necessary repairs. Professional assistance ensures that the damage is addressed properly, minimizing any safety risks. - 3. Consider Warranty Coverage
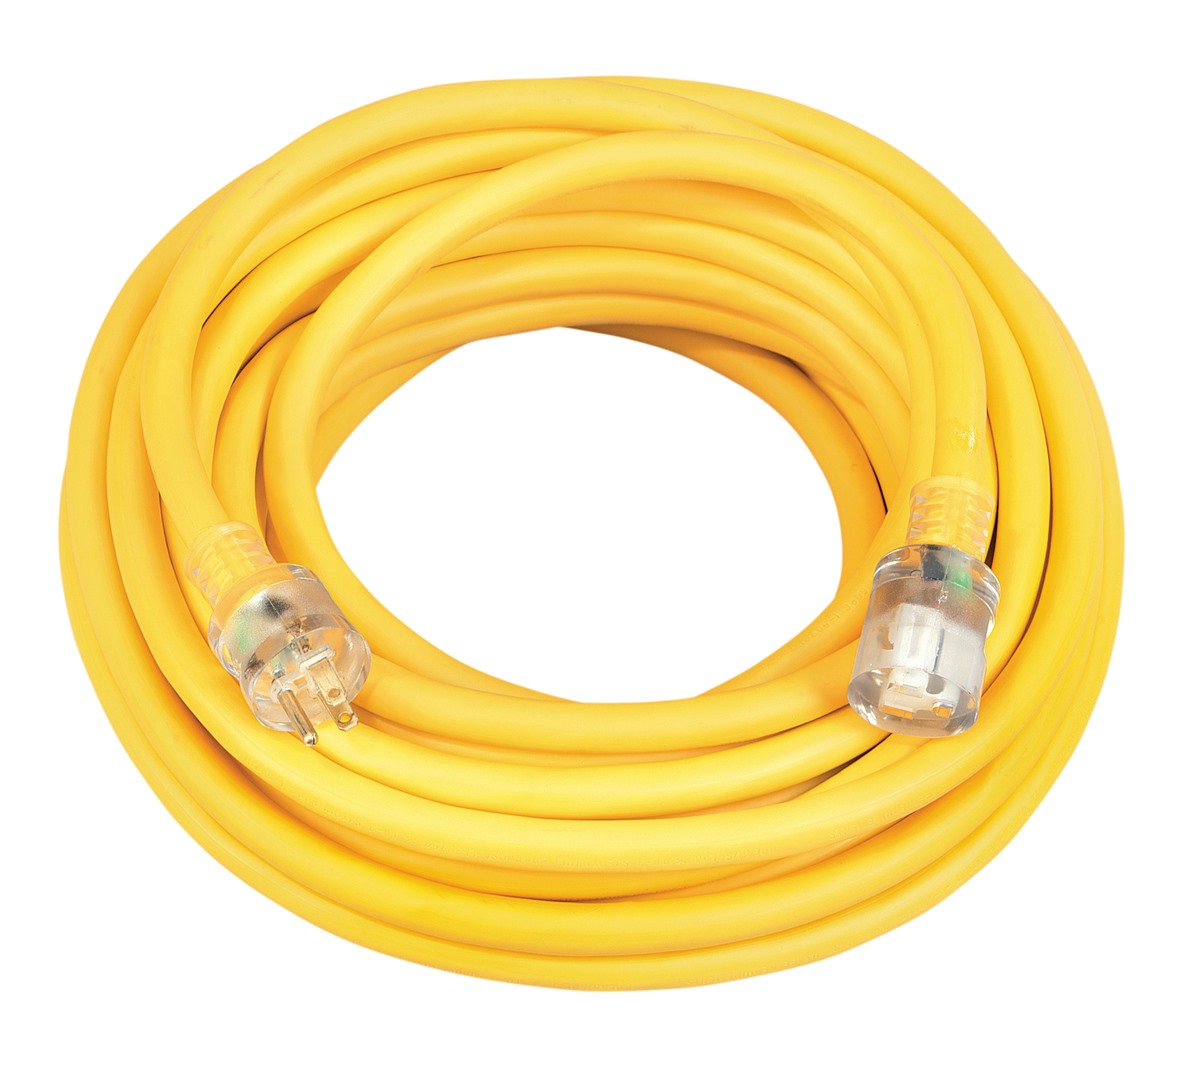
If the device with the melted cord is still under warranty, reach out to the manufacturer or the place of purchase. Warranty coverage may include repair or replacement services for damaged cords. Be sure to check the warranty terms and conditions to understand the extent of the coverage and any associated costs. - 4. Use Extension Cords or Power Strips
In some cases, if the damaged cord is not essential for the device’s operation, you may consider using an extension cord or a power strip. This allows you to connect the device to a power source while bypassing the melted cord. However, exercise caution and ensure the extension cord or power strip is in good condition and appropriate for the electrical load of the device. - 5. Dispose of the Device
If the melted cord poses significant safety risks, repeatedly malfunctions, or if it is an older device, it may be wise to dispose of the device altogether. Safely recycling or disposing of the device can prevent potential hazards and provide an opportunity to replace it with a newer, safer alternative.
It’s important to evaluate the severity of the damage and consider the cost-effectiveness of the alternatives. While trying to fix a melted cord is the preferred approach, sometimes it is necessary to explore other options to ensure safety and functionality. Choose the alternative that suits your specific situation best while prioritizing the well-being of yourself and your devices.
Conclusion
Fixing a melted electrical cord is a task that requires careful attention to detail, adherence to safety precautions, and the right tools. By following the step-by-step guide provided in this article, you can effectively repair a melted electrical cord and restore it to a safe and functional state.
Remember to prioritize safety throughout the repair process by wearing insulated gloves, goggles, and other protective gear. Take the time to assess the extent of the damage and cut out the affected section of the cord. Properly strip and twist the wires before insulating them using electrical tape or heat shrink tubing. Securely connect the wires and conduct a thorough testing phase to ensure that the repaired cord is functioning as intended.
However, there may be instances where the cord cannot be repaired due to severe damage or safety concerns. In such cases, it is important to consider alternative options such as replacing the cord, seeking professional assistance, utilizing warranty coverage, or using extension cords or power strips as a temporary solution. If necessary, disposing of the device and replacing it with a safer alternative may also be a viable option.
Regardless of the route you choose, it is crucial to prioritize safety and seek professional assistance if you are unsure about the repair process. Electricity can be dangerous, and it is always better to rely on expert advice when in doubt.
By applying the knowledge and tips provided in this article, you can confidently approach the task of fixing a melted electrical cord. Always remain cautious, meticulous, and prioritize safety to ensure a successful repair that protects both individuals and property.
Once you've tackled fixing a melted electrical cord, why stop there? Keeping your home in tip-top shape is equally vital. Dive into our comprehensive guide on routine home upkeep to ensure everything runs smoothly. Moreover, if extending power to a workshop or garage is on your to-do list, our detailed walkthrough on safely installing overhead electrical wiring will prove indispensable. Both articles provide practical, easy-to-follow advice that'll save you time and hassle.
Frequently Asked Questions about How To Fix A Melted Electrical Cord
Was this page helpful?
At Storables.com, we guarantee accurate and reliable information. Our content, validated by Expert Board Contributors, is crafted following stringent Editorial Policies. We're committed to providing you with well-researched, expert-backed insights for all your informational needs.


0 thoughts on “How To Fix A Melted Electrical Cord”