
Articles
How To Fix Water Pooling In Driveway
Modified: October 20, 2024
Learn effective strategies and expert tips on how to fix the troubling issue of water pooling in your driveway in our comprehensive articles.
(Many of the links in this article redirect to a specific reviewed product. Your purchase of these products through affiliate links helps to generate commission for Storables.com, at no extra cost. Learn more)
Introduction
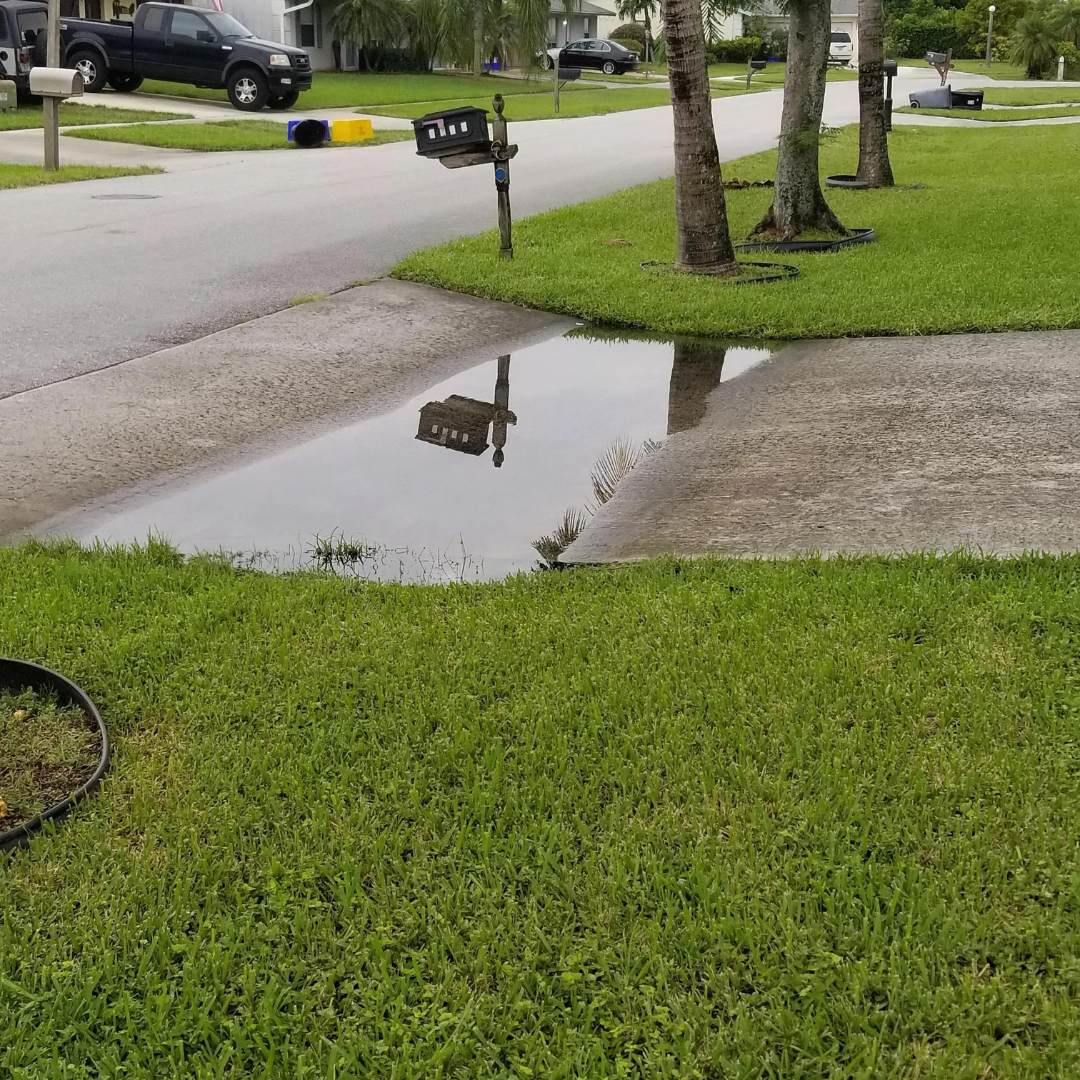
A driveway is an essential feature of any property, providing a convenient and accessible space for vehicles. However, one common issue that many homeowners face is water pooling in the driveway. This not only poses a safety hazard but can also lead to damage and deterioration of the driveway over time.
Water pooling occurs when there is inadequate drainage in the driveway, causing water to accumulate instead of being directed away. It can be a result of various factors, including improper slope, clogged or insufficient drainage systems, or even issues with the underlying soil composition.
In this article, we will explore the causes of water pooling in the driveway and discuss effective solutions to fix and prevent this problem. By addressing the root causes and implementing suitable measures, you can ensure a functional and water-free driveway.
Key Takeaways:
- Addressing water pooling in your driveway involves assessing drainage issues, clearing obstructions, adjusting the slope, and using effective solutions like French drains and gravel. Regular maintenance is crucial for long-term prevention.
- Sealing the driveway, maintaining proper slope, and seeking professional assistance when needed are essential steps to ensure a water-free and visually appealing driveway. By taking proactive measures, you can enjoy a functional and durable driveway.
Read more: How To Fix Driveway Erosion
Causes of Water Pooling in Driveway
There are several reasons why water may be pooling in your driveway. Understanding these causes is essential in order to identify the appropriate solution. Here are some common culprits:
- Improper Slope: A driveway should be designed with a slight slope to allow water to flow away from the surface. If the slope is insufficient or uneven, water may accumulate and form puddles.
- Clogged Drainage Systems: Driveways often have drainage systems, such as gutters or grates, to help divert water away. However, if these systems are clogged with debris like leaves, dirt, or twigs, water cannot flow freely and may gather instead.
- Inadequate Drainage Capacity: Sometimes, the size or capacity of the drainage system may not be sufficient to handle the amount of water generated during heavy rainfall. As a result, the excess water can pool on the driveway.
- Saturated or Compacted Soil: If the soil beneath the driveway is already saturated with water or is heavily compacted, it becomes less permeable. This restricts water drainage and can lead to pooling on the surface.
- Poor Driveway Design: In some cases, the driveway itself may not have been properly designed to facilitate water runoff. This can include inadequate edge construction or lack of proper channels to direct the water away.
Identifying the specific cause or combination of causes for water pooling in your driveway is crucial in order to implement the right solutions. Let’s explore the necessary steps to assess and rectify drainage issues in the next section.
Assessing the Drainage Issues
Before resolving the water pooling problem in your driveway, it’s important to assess the drainage issues and understand the extent of the problem. Here are the steps to help you in the assessment process:
- Observe the Water Flow: During rainfall, carefully observe the flow of water on your driveway. Note any areas where water tends to accumulate or form puddles. This will give you an idea of the problem areas that need to be addressed.
- Inspect the Drainage System: Take a closer look at the drainage elements in your driveway, such as gutters, grates, or drains. Check for any blockages, cracks, or damage that may be hindering the proper flow of water.
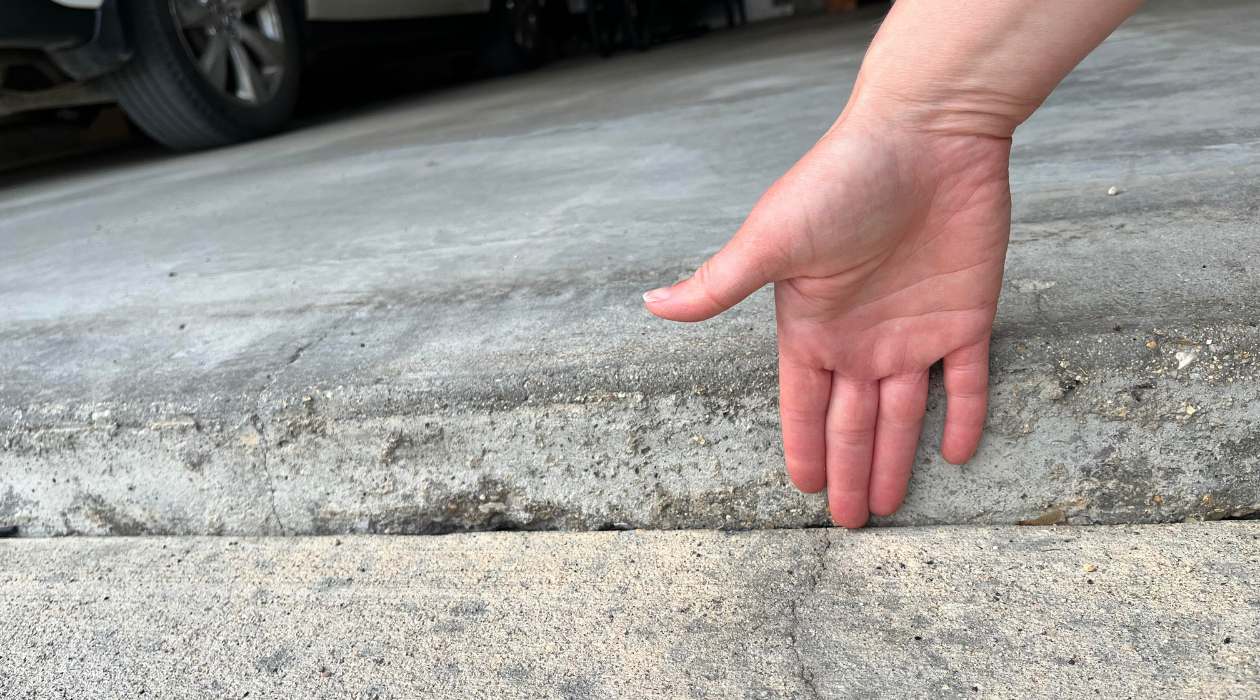
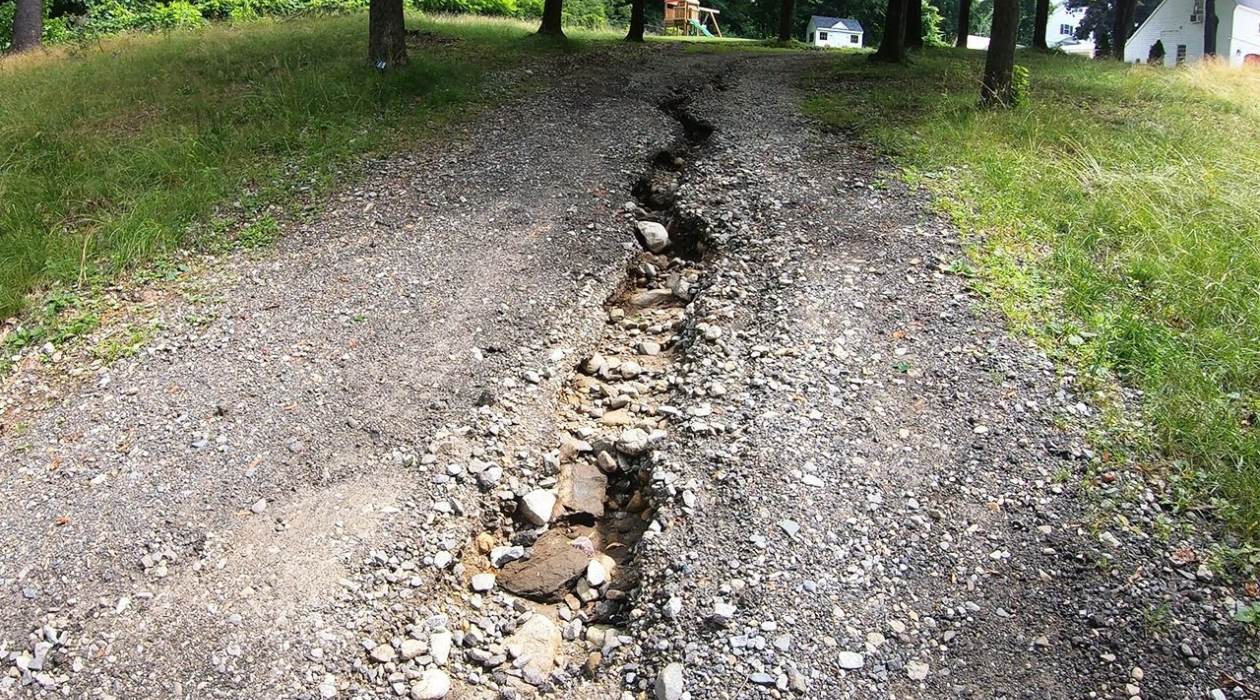
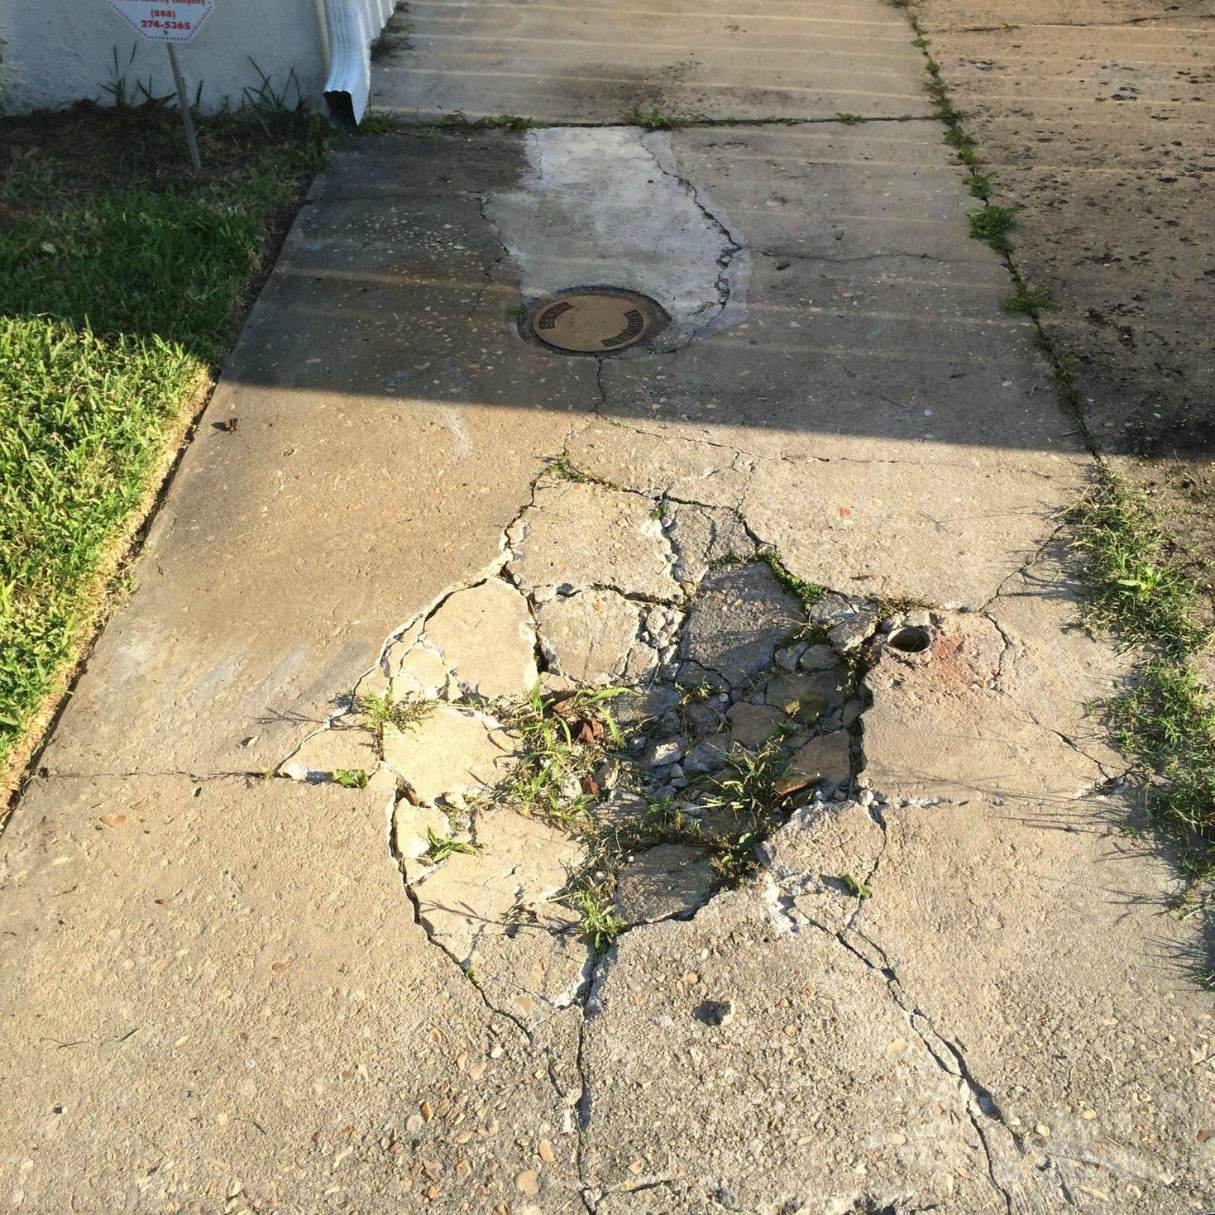
- Examine the Driveway Surface: Inspect the condition of your driveway surface. Look for any cracks, potholes, or uneven areas that may be affecting the water flow. These can contribute to water pooling and should be repaired as part of the solution.
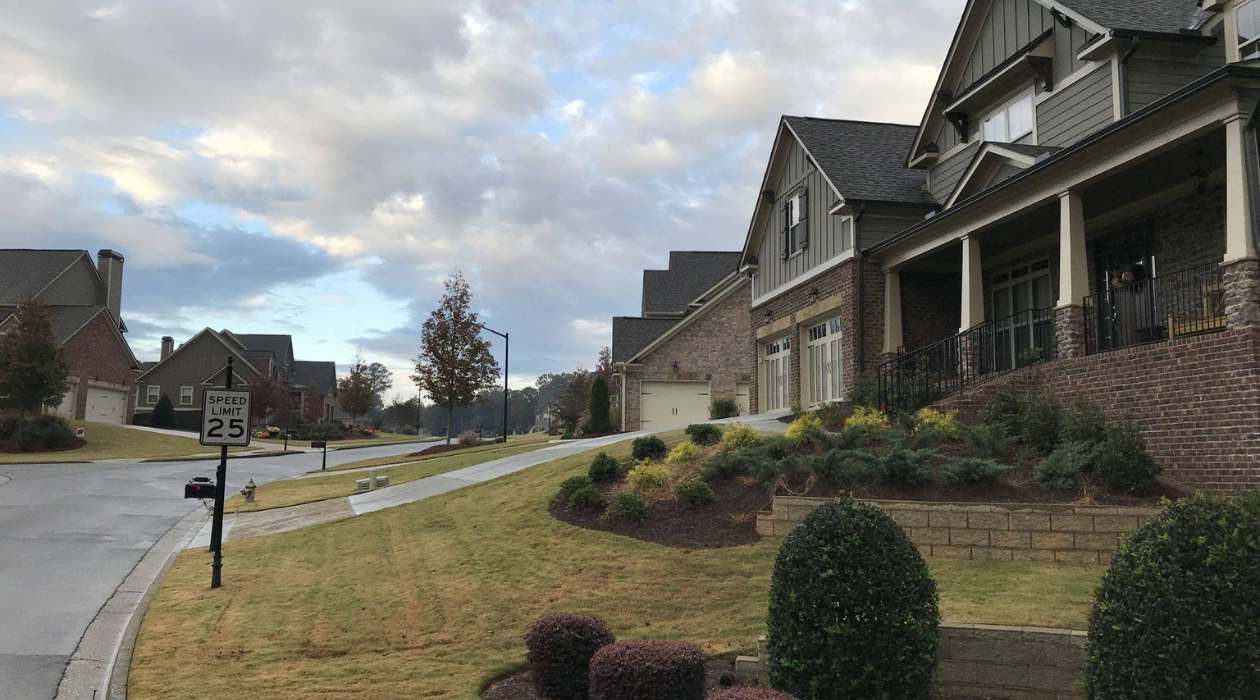
- Analyze the Surrounding Landscape: Consider the overall landscape around your driveway. Are there any factors contributing to poor drainage, such as the presence of trees, improper grading, or low-lying areas? Understanding these factors will help in determining the right solutions.
- Seek Professional Advice: If you’re unsure of the cause or extent of the drainage issues, it’s advisable to consult with a professional contractor or landscaper. They can provide expert insights and recommendations for fixing the problem effectively.
By thoroughly assessing the drainage issues in your driveway, you can gain a better understanding of the underlying problems and determine the most suitable solutions. In the following sections, we will discuss some effective methods to fix water pooling issues and prevent them from recurring.
Clearing Obstructions in the Drainage System
One of the common causes of water pooling in the driveway is a clogged or obstructed drainage system. Leaves, debris, and dirt can accumulate over time, blocking the flow of water and leading to pooling. Clearing these obstructions is an essential step in resolving the issue. Here’s how you can clear the drainage system:
- Remove Debris: Begin by manually removing any visible debris from the drainage system, such as leaves, twigs, or dirt. Use gloves and a small tool, like a trowel or a garden rake, to clear out the obstructions.
- Flush with Water: After removing the initial debris, use a hose or pressure washer to flush out the drainage system. Start from the higher end and work your way down, allowing the water to dislodge any remaining debris and push it out of the system. Be careful not to use excessive force that could damage the drains or pipes.
- Use a Drain Snake: If you’re still experiencing blockage in the drainage system, you can use a drain snake or auger to clear stubborn obstructions. Insert the tool into the drain and rotate it to break up and remove the blockage. Follow the manufacturer’s instructions for proper use.
- Inspect and Repair: Once you’ve cleared the obstructions, inspect the drainage system for any damage or cracks. Repair or replace any damaged components to ensure proper functioning and prevent future blockages.
- Maintain Regular Cleaning: To prevent future obstructions, it’s important to maintain regular cleaning of the drainage system. Clear out debris and flush the drains periodically to keep them free-flowing.
By clearing the obstructions in your drainage system, you can ensure that water flows smoothly and away from your driveway, reducing the chances of pooling. In the next section, we will explore the option of adjusting the slope of the driveway to improve drainage.
Adjusting the Slope of the Driveway
If your driveway has an inadequate slope, adjusting it can greatly help in preventing water pooling. A properly sloped driveway allows water to flow away from the surface, towards designated drainage areas. Here’s how you can adjust the slope of your driveway:
- Assess the Existing Slope: Begin by assessing the current slope of your driveway. Use a level or measuring tool to determine if it has a downward slope. Ideally, the slope should be around 1 to 2 inches per 6 feet, directing water away from the center and towards the edges.
- Add or Remove Material: To adjust the slope, you’ll need to add or remove material from specific areas of the driveway. For instance, if you need to increase the slope, you can add more gravel or pavement to the lower sections. Alternatively, if you need to decrease the slope, you can remove excess material from the higher sections.
- Compact the Material: Once you’ve made the necessary adjustments, use a compactor or tamper to compact the material evenly. This will ensure a firm and stable surface that maintains the desired slope.
- Consider Professional Help: Adjusting the slope of a driveway can be a complex task, especially if significant adjustments are required. If you’re unsure or do not have the necessary tools and expertise, it’s recommended to seek professional help. A contractor or landscaper can assess the situation and safely adjust the slope for optimal drainage.
Remember to regularly inspect and maintain the slope of your driveway to avoid any gradual changes or settling over time. By adjusting the slope, you can effectively redirect water away from the driveway’s surface, reducing the risk of water pooling. In the next section, we will discuss the installation of French drains as another effective solution.
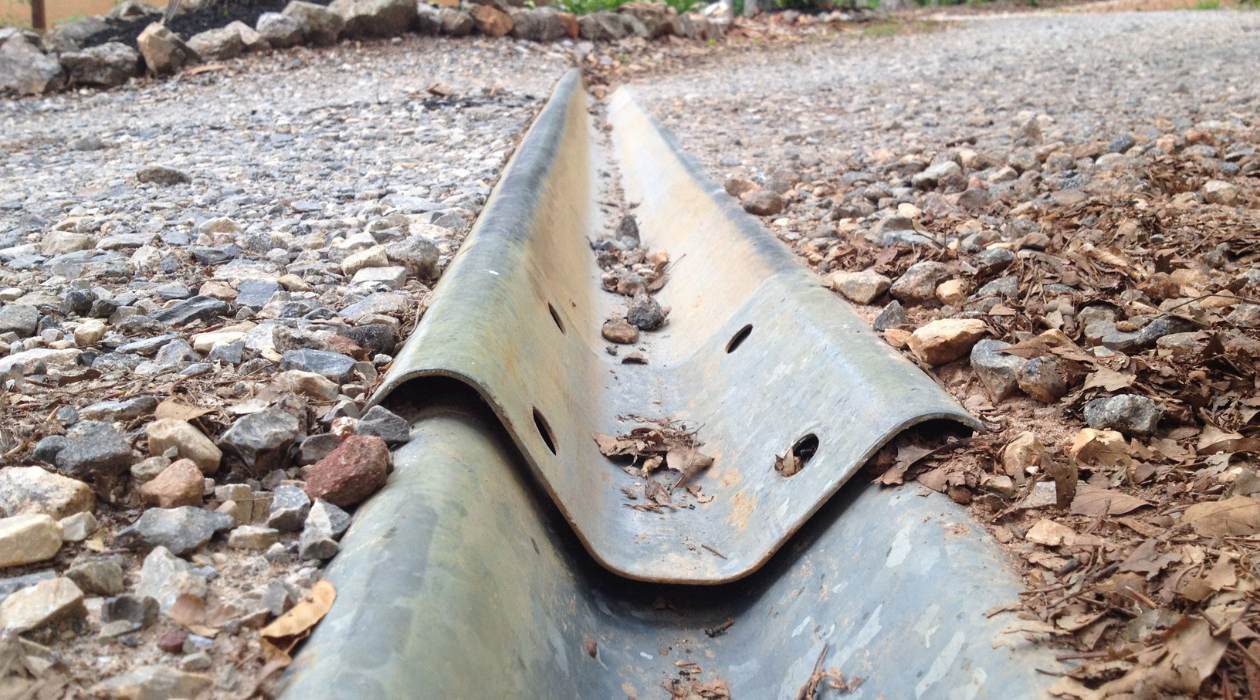
Ensure that the driveway is properly graded to allow water to flow away from the surface. Consider installing a French drain or adding a permeable surface to help with drainage.
Read more: How To Fix A Sinkhole In The Driveway
Installing French Drains
French drains are an effective solution for resolving water pooling issues in driveways. They are designed to redirect water away from the surface, ensuring proper drainage. Here’s a step-by-step guide to installing French drains:
- Plan the Drainage Route: Determine the path where you want to redirect the water. This can be towards a drainage ditch, a flower bed, or any other suitable location away from the driveway.
- Excavate the Trench: Dig a trench along the planned drainage route, ensuring it has a slight downward slope. The trench should be wide enough to accommodate the drain pipe and allow for proper water flow.
- Add a Perforated Drain Pipe: Place a perforated drain pipe in the trench, with the perforations facing down. This pipe will collect and carry away the water. Make sure the pipe is long enough to cover the entire length of the trench.
- Cover the Pipe: Surround the pipe with a layer of gravel or crushed stone. This will act as a filter to prevent dirt and debris from clogging the pipe while allowing water to pass through easily.
- Cover and Backfill: Cover the gravel layer with landscape fabric or geotextile fabric to further prevent debris from entering the trench. Then, backfill the trench with soil, ensuring it’s firmly packed to provide stability.
- Install a Drainage Outlet: At the end of the trench, install a drainage outlet to direct the water away from the driveway. This can be a catch basin, a pop-up emitter, or a simple exit point leading to a drainage system.
- Maintain the French Drain: Regularly inspect and clean the French drain to prevent clogging. Remove any accumulated debris and ensure the drain pipe and outlet are free-flowing.
- Consider Professional Assistance: Installing French drains can be challenging, especially if you lack the necessary tools or expertise. It’s advisable to seek professional assistance to ensure proper installation and functionality of the drainage system.
French drains provide an effective and long-term solution for diverting water away from your driveway, minimizing the risk of water pooling. However, it’s important to plan and install them correctly to ensure optimal performance. In the next section, we will explore the option of using gravel or permeable pavers to improve drainage in the driveway.
Using Gravel or Permeable Pavers
Gravel or permeable pavers offer an excellent solution for improving the drainage of your driveway. These materials allow water to penetrate the surface, preventing water pooling and allowing it to disperse naturally. Here are the steps to use gravel or permeable pavers:
- Prepare the Driveway: Start by clearing the driveway of any debris, vegetation, or existing pavement. Ensure the surface is clean and ready for the installation of gravel or permeable pavers.
- Lay a Geotextile Fabric: Lay down a geotextile fabric on the driveway surface. This fabric helps to stabilize the base and prevent the mixing of the underlying soil with the gravel or pavers.
- Add a Layer of Gravel: Spread a layer of gravel with a thickness of around 2 to 4 inches on top of the geotextile fabric. The size of the gravel should be appropriate to allow water to flow through easily.
- Compact the Gravel: Use a compactor or tamper to compact the gravel layer. This helps to create a stable base while maintaining the desired surface slope for water drainage.
- Install Permeable Pavers (Optional): If you prefer using permeable pavers instead of gravel, follow the manufacturer’s instructions for the proper installation. Permeable pavers are designed with gaps that allow water to seep through.
- Fine-Tune the Slope: Adjust the slope of the gravel or permeable paver surface to promote effective water drainage. Aim for a slope of about 1 to 2 inches per 6 feet to ensure proper water runoff.
- Maintain Regularly: Regularly inspect the surface and remove any debris that may accumulate on the gravel or permeable pavers. This will help maintain optimal drainage and prevent clogging.
- Consider Professional Installation: If you’re unsure about the installation process or if you prefer a more precise and durable result, it’s recommended to hire a professional contractor experienced in installing gravel or permeable pavers. They will ensure proper installation and long-term functionality.
Using gravel or permeable pavers is a practical and aesthetically pleasing solution to improve the drainage of your driveway. By allowing water to permeate the surface, you can effectively prevent water pooling and promote proper runoff. In the next section, we will discuss the importance of sealing the driveway.
Sealing the Driveway
Sealing your driveway is an important step in preventing water pooling and protecting the surface from damage caused by moisture. Driveway sealers provide a protective layer that helps to repel water and keep it from penetrating the pavement. Here’s how to seal your driveway effectively:
- Clean the Driveway: Start by thoroughly cleaning the driveway to remove any dirt, debris, or stains. Use a pressure washer or a driveway cleaner to ensure a clean surface.
- Repair Cracks and Potholes: Fill any cracks or potholes in the driveway using a suitable crack filler or patching compound. Smooth out the surface and allow it to dry completely before sealing.
- Choose the Right Sealer: Select a high-quality driveway sealer that is suitable for your driveway type, such as asphalt or concrete. Read the manufacturer’s instructions for application and drying time.
- Apply the Sealer: Use a brush, roller, or sprayer to apply an even coat of sealer on the driveway surface. Start from one end and work your way towards the other, ensuring complete coverage. Follow any specific instructions regarding drying time and additional coats.
- Allow Drying and Curing: After applying the sealer, allow it to dry and cure completely, as per the manufacturer’s instructions. This may take a few hours or even a couple of days, depending on the sealer and weather conditions.
- Maintain Regularly: Regularly inspect the condition of the sealed driveway and reapply the sealer as recommended by the manufacturer. This will help to maintain the protective layer and ensure continued water resistance.
- Consider Professional Sealing: If you’re unsure about the sealing process or prefer a more precise and durable result, it’s advisable to hire a professional contractor experienced in driveway sealing. They will ensure proper application and long-lasting protection for your driveway.
Sealing your driveway not only helps to prevent water pooling, but it also enhances the appearance of your property and extends the lifespan of the pavement. By creating a protective barrier against moisture, you can significantly reduce the risk of water-related damage. In the next section, we will provide some maintenance tips to keep your driveway in optimal condition.
Regular Maintenance Tips
Maintaining your driveway is essential to prevent water pooling and ensure its longevity. Here are some regular maintenance tips to keep your driveway in optimal condition:
- Clean Regularly: Remove debris, leaves, and dirt from your driveway on a regular basis. Use a broom or leaf blower to clear the surface, preventing any blockage in the drainage system.
- Repair Cracks and Potholes: Promptly repair any cracks or potholes that may develop in your driveway. Use suitable crack fillers or patching materials to prevent water from seeping into the pavement and causing further damage.
- Remove Oil Stains: If you notice any oil stains on your driveway, promptly clean them using an oil stain remover or a mixture of baking soda and hot water. Oil stains can deteriorate the pavement and affect water drainage.
- Keep Gutters and Downspouts Clean: Ensure that your gutter system is clear of debris and functioning properly. Clean your gutters and downspouts regularly to prevent water overflow that could contribute to water pooling on the driveway.
- Inspect and Maintain Drainage Systems: Regularly check your drainage systems, such as gutters, grates, or French drains, for any blockage or damage. Clean them out and repair as necessary to ensure proper water flow away from the driveway.
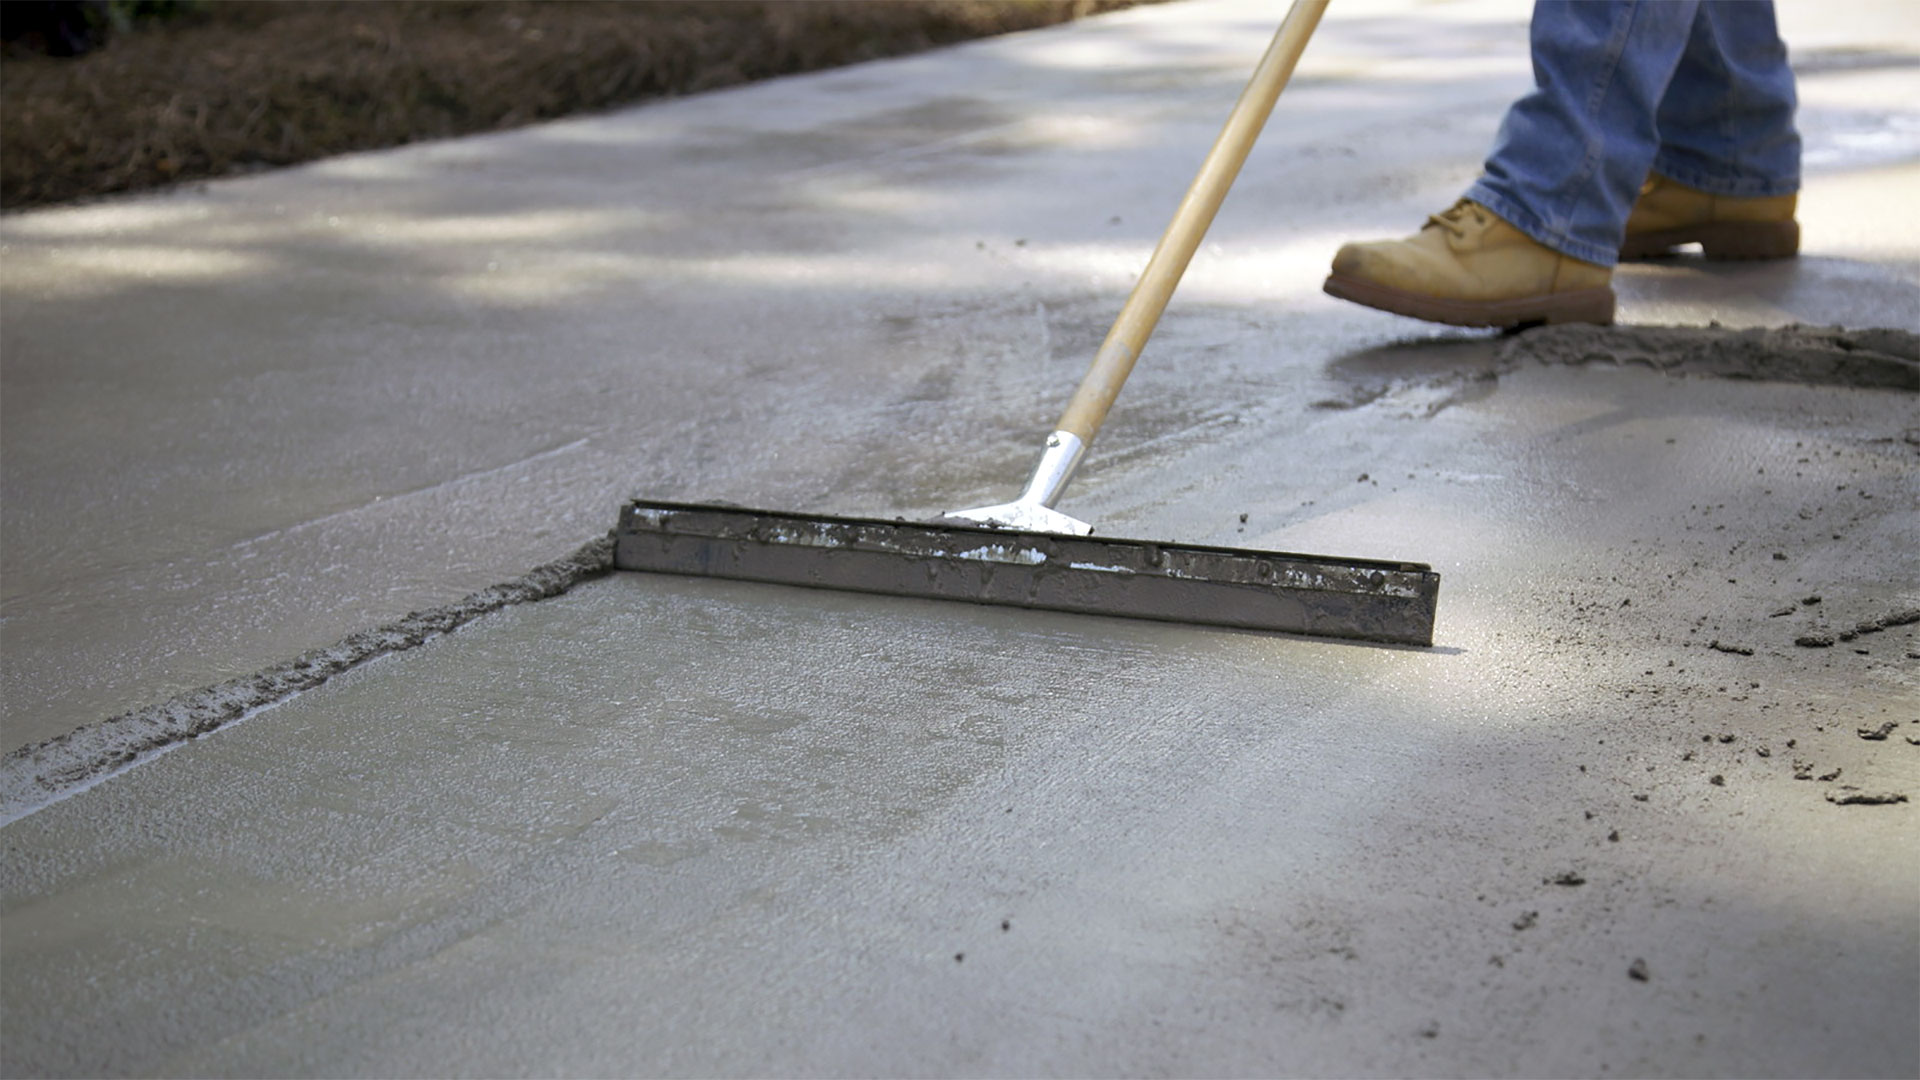
- Promptly Remove Standing Water: If you notice any standing water on your driveway after rainfall, use a broom or a squeegee to remove it. Standing water can lead to puddles and increase the risk of water pooling.
- Maintain the Slope: Periodically assess the slope of your driveway and make adjustments if needed. Ensure that the surface is sloped properly to allow water to flow away from the center and towards the edges.
- Seal the Driveway Periodically: Regularly apply a fresh coat of driveway sealer as recommended by the manufacturer. This will help to maintain the protective layer and prevent water from penetrating the pavement.
- Seek Professional Help: If you’re unsure about any maintenance tasks or if you encounter persistent water pooling issues, it’s advisable to seek professional help. A contractor or landscaper can provide expert advice and assistance in resolving any drainage or pavement-related problems.
By following these regular maintenance tips, you can ensure that your driveway remains in good condition and effectively drains water away. Preventing water pooling will not only improve the functionality and safety of your driveway but also enhance the overall appearance of your property.
Read more: How To Fix A Muddy Driveway
Conclusion
Water pooling in the driveway can be a frustrating and potentially damaging issue for homeowners. However, with the right knowledge and solutions, you can effectively address this problem and ensure proper drainage. By assessing the drainage issues, clearing obstructions, adjusting the slope, installing French drains, using gravel or permeable pavers, and sealing the driveway, you can minimize the risk of water pooling and protect the integrity of your driveway. Regular maintenance, such as cleaning, repairing cracks, and maintaining the slope, is crucial to prevent future issues and maintain optimal functionality. If you’re unsure or encounter persistent problems, seeking professional help is always a viable option.
Remember, maintaining a well-drained driveway not only enhances the safety and accessibility of your property but also improves its overall curb appeal. So, take the necessary steps to fix water pooling in your driveway and enjoy a functional, aesthetically pleasing, and long-lasting driveway for years to come.
Now that you've tackled water pooling on your driveway, why not ensure your gutters are up to scratch too? Proper gutter installation plays a crucial role in maintaining your home’s exterior and preventing water damage. If you're unsure who to call for this essential service, our next guide provides all the details you need for hiring skilled professionals in gutter installation. Don't let poor drainage compromise your home; make sure every part of your drainage system, including gutters, is functioning flawlessly.
Frequently Asked Questions about How To Fix Water Pooling In Driveway
Was this page helpful?
At Storables.com, we guarantee accurate and reliable information. Our content, validated by Expert Board Contributors, is crafted following stringent Editorial Policies. We're committed to providing you with well-researched, expert-backed insights for all your informational needs.


0 thoughts on “How To Fix Water Pooling In Driveway”