Articles
How To Enable Pc Wireless Adapter
Modified: December 7, 2023
Learn how to enable your PC wireless adapter with our informative articles. Get step-by-step instructions and troubleshooting tips to ensure a smooth wireless connection.
(Many of the links in this article redirect to a specific reviewed product. Your purchase of these products through affiliate links helps to generate commission for Storables.com, at no extra cost. Learn more)
Introduction
Welcome to the world of wireless connectivity! In today’s digital age, having a wireless adapter for your PC is essential for accessing the internet, connecting to networks, and enjoying the convenience of wireless technology. Whether you’re upgrading your existing desktop computer or setting up a new one, this article will guide you through the process of enabling a wireless adapter for your PC.
With a wireless adapter, you can say goodbye to tangled cables and enjoy the freedom to browse the web, stream videos, and play online games without being tied down to a physical connection. Setting up a wireless adapter may seem daunting at first, especially if you’re not familiar with the process, but fear not! By following a few simple steps, you’ll have your PC wirelessly connected in no time.
Before we dive into the steps to enable a wireless adapter, it’s important to ensure that your PC is compatible with wireless connectivity. Most modern desktop computers come equipped with built-in wireless capabilities, but if your PC doesn’t have a built-in adapter, don’t worry! You can easily install an external wireless adapter to enable wireless connectivity.
In the following sections, we’ll explore the step-by-step process of checking compatibility, installing an adapter, and connecting to a Wi-Fi network. We’ll also provide troubleshooting tips in case you encounter any connectivity issues along the way.
So, let’s get started and unleash the power of wireless technology for your PC!
Key Takeaways:
- Say goodbye to tangled cables and embrace the freedom of wireless connectivity for your PC. Follow simple steps to enable a wireless adapter and enjoy seamless internet access and online experiences.
- Ensure compatibility, install the adapter, connect to a Wi-Fi network, and troubleshoot any issues to unleash the power of wireless technology for your PC. Enjoy the convenience and flexibility of wireless connectivity for work, entertainment, and staying connected.
Step 1: Checking Compatibility
Before proceeding with the installation of a wireless adapter, it’s crucial to ensure that your PC is compatible with wireless connectivity. Here are a few key factors to consider:
- Operating System Compatibility: Check if your operating system supports wireless networking. Most modern operating systems, such as Windows, macOS, and Linux, include built-in support for wireless networking.
- Available Expansion Slots: If you’re installing an internal wireless adapter, check if your PC has an available expansion slot to accommodate the adapter. Common expansion slots include PCI, PCI Express, and M.2 slots.
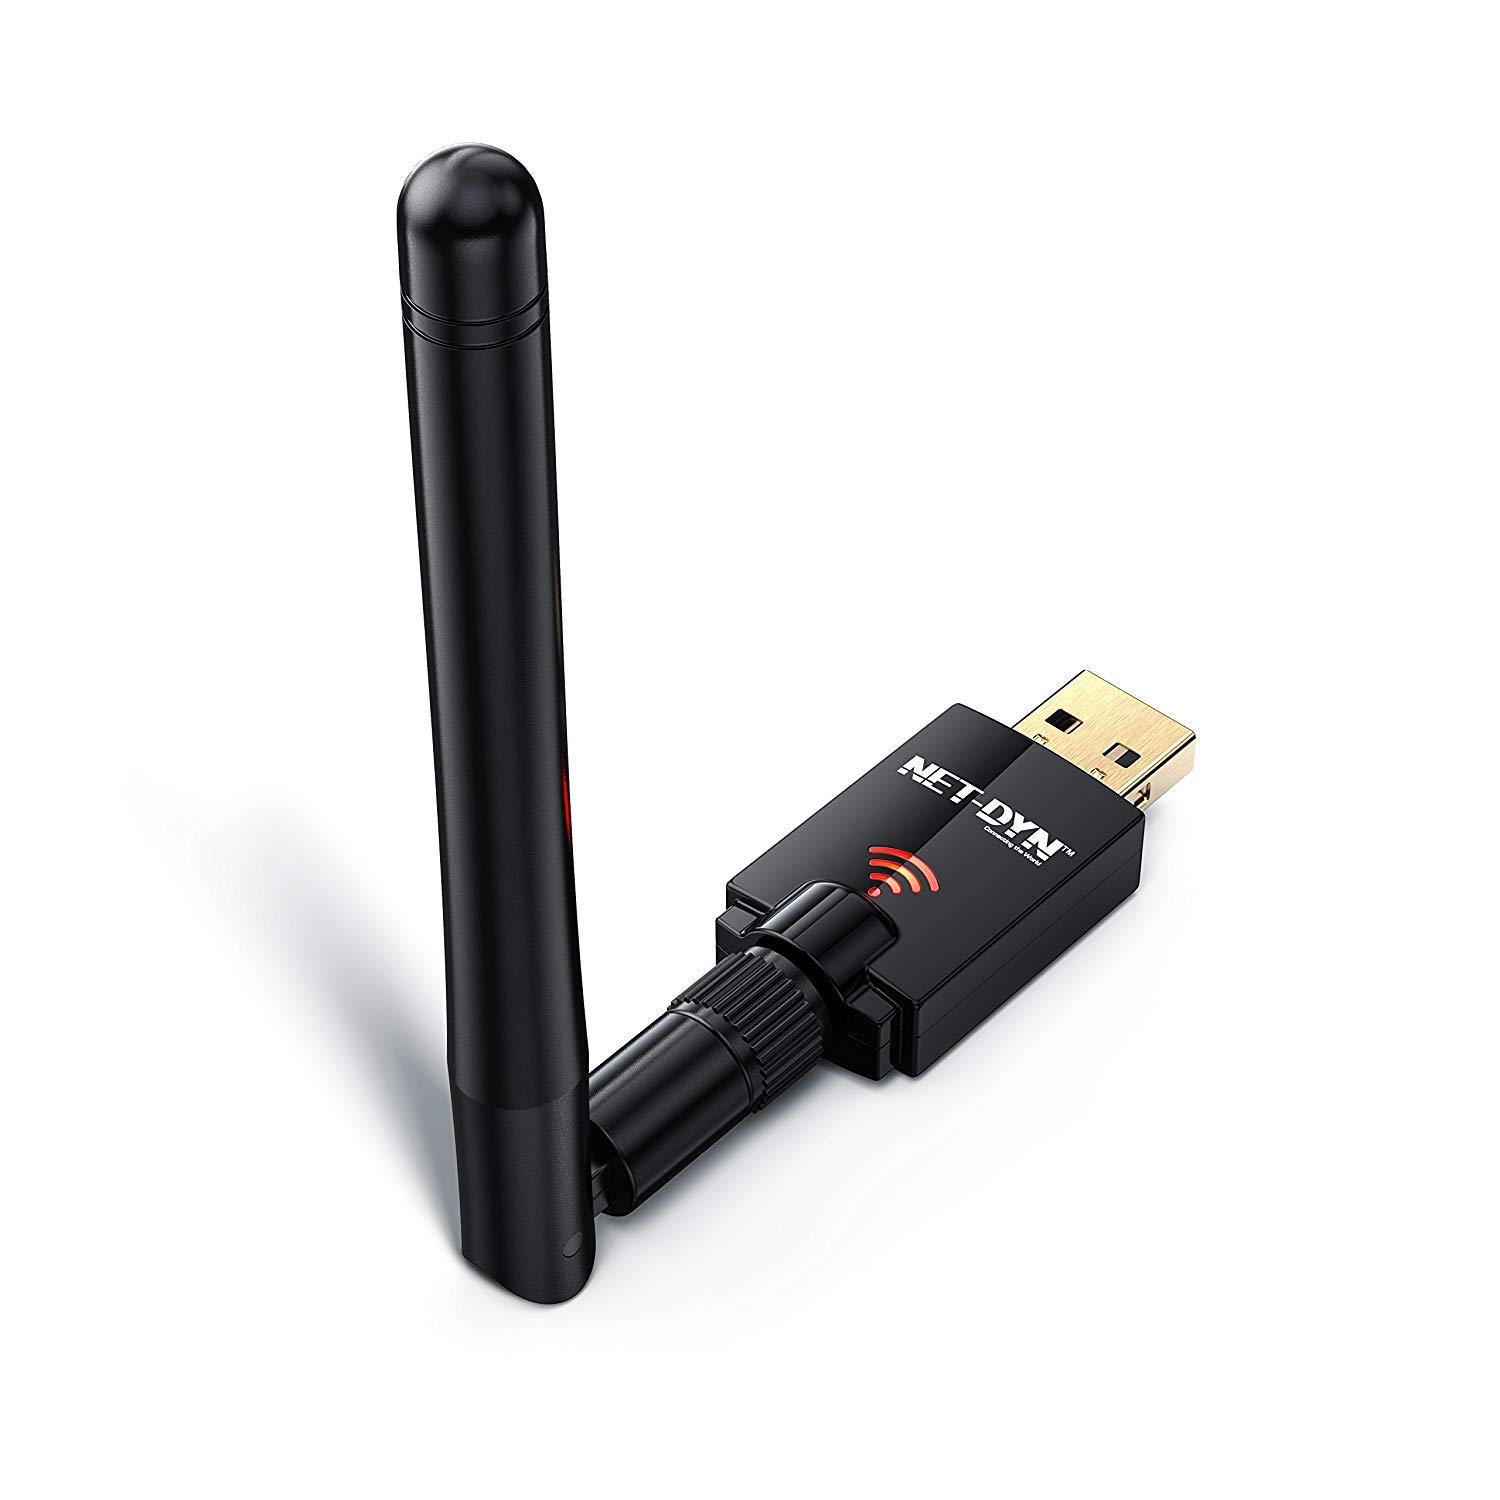
- USB Ports: If you’re opting for an external wireless adapter, make sure your PC has available USB ports to connect the adapter.
- Wireless Standards: Determine the wireless standards supported by your PC and the available Wi-Fi networks in your area. The most common standards are 802.11n, 802.11ac, and 802.11ax. If your PC supports the latest standards, you’ll benefit from faster speeds and better network performance.
Once you’ve confirmed the compatibility of your PC, you’re ready to move on to the next step: installing the wireless adapter.
It’s important to note that if your PC already has a built-in wireless adapter, you may not need to install an additional one. However, if you’re experiencing connectivity issues or want to upgrade to a faster adapter, installing a new one can be a viable solution.
Now that you have ensured the compatibility of your PC, let’s proceed to the next step: installing the wireless adapter.
Step 2: Installing the Adapter
Installing a wireless adapter is a straightforward process that can be done by following these steps:
- Turn off your PC: Before installing any hardware components, ensure that your PC is powered off and disconnected from any power sources.
- Locate the expansion slot: If you’re installing an internal wireless adapter, open your PC’s case and locate an available expansion slot that is compatible with the adapter. Common expansion slots include PCI, PCI Express, and M.2 slots. If you’re unsure which slot to use, consult your PC’s documentation or the manufacturer’s website.
- Insert the adapter: Gently insert the wireless adapter into the selected expansion slot. Make sure it is properly aligned with the slot and firmly seated. Avoid using excessive force to prevent damaging the adapter or the motherboard.
- Secure the adapter: Once the adapter is inserted, use the included screws or brackets to secure it in place. This helps to ensure a stable connection and prevents any accidental dislodging.
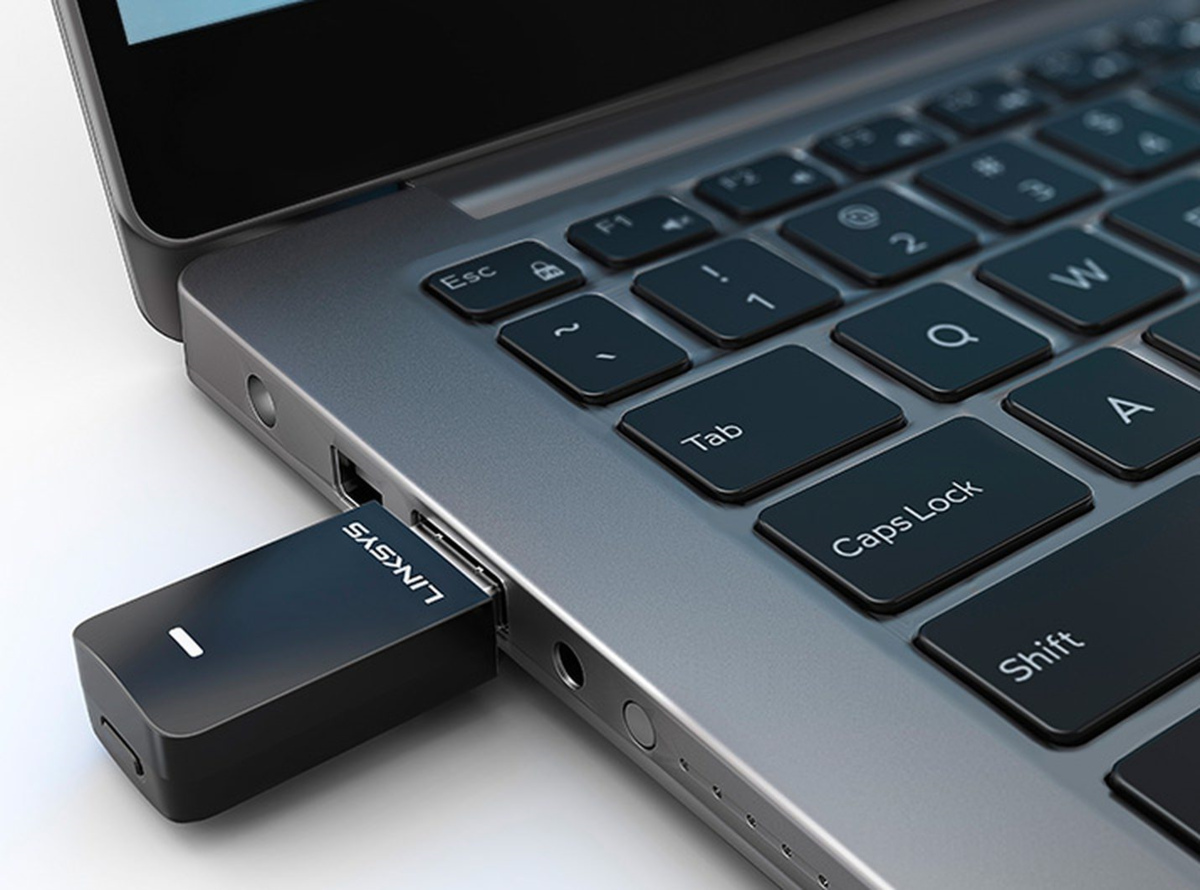
- If using an external adapter: If you’re using an external wireless adapter that connects via USB, simply plug it into an available USB port on your PC. The operating system should automatically detect the adapter and install the necessary drivers.
- Closing the case: If you installed an internal adapter, carefully close your PC’s case and secure it with screws or clips as required.
Once the wireless adapter is installed, you’re ready to move on to the next step: connecting to a Wi-Fi network.
It’s important to note that if you’re using an internal wireless adapter, you may need to install the driver software provided by the manufacturer. This software enables communication between the adapter and your operating system, allowing it to recognize and utilize the wireless capabilities. Refer to the manufacturer’s instructions or website for specific driver installation steps.
Now that you have successfully installed the wireless adapter, let’s proceed to the next step: connecting to a Wi-Fi network.
To enable a PC wireless adapter, go to the Control Panel, then Network and Sharing Center. Click on Change adapter settings, right-click on the wireless adapter, and select Enable.
Step 3: Connecting to a Wi-Fi Network
Now that you have installed the wireless adapter, it’s time to connect to a Wi-Fi network. Here’s how you can do it:
- Turn on your PC: Power on your PC and wait for it to boot up.
- Open Network Settings: Depending on your operating system, navigate to the network settings menu. In Windows, you can typically find it in the system tray or by searching for “Network Settings” in the Start menu. On a Mac, go to the Apple menu, select “System Preferences,” and then click on “Network.”
- Enable Wi-Fi: In the network settings menu, make sure the Wi-Fi option is turned on. This will allow your PC to search for available Wi-Fi networks.
- Scan for Wi-Fi networks: Click on the “Scan” or “Refresh” button to scan for available Wi-Fi networks in your vicinity. Wait for the list of networks to populate.
- Select a network: From the list of available networks, choose the Wi-Fi network you want to connect to. If the network is secured with a password, you will be prompted to enter it.
- Enter the password: If the Wi-Fi network requires a password, enter it when prompted. Make sure to enter the correct password to establish a successful connection.
- Connect to the network: Click on the “Connect” or “Join” button to connect to the selected Wi-Fi network. Your PC will attempt to establish a connection with the network.
- Wait for the connection: Give your PC a few moments to establish a connection with the Wi-Fi network. You may see a loading or connecting icon during this process.
- Confirmation: Once the connection is established, you will typically see a notification or Wi-Fi icon indicating a successful connection. You’re now connected to the Wi-Fi network!
Congratulations! You have successfully connected your PC to a Wi-Fi network using the installed wireless adapter. Now you can enjoy the benefits of wireless connectivity, such as browsing the internet, streaming content, and accessing online services without the need for a physical connection.
If you encounter any issues during the connection process, such as a failed connection or being unable to locate Wi-Fi networks, refer to the troubleshooting section in the next step for assistance.
Now that you’re connected to a Wi-Fi network, let’s move on to the final step: troubleshooting connection issues.
Step 4: Troubleshooting Connection Issues
While connecting to a Wi-Fi network is usually a smooth process, there may be times when you encounter connection issues. Here are some troubleshooting steps to help you resolve common Wi-Fi connection problems:
- Check your signal strength: Ensure that your PC is within range of the Wi-Fi network. Walls, distance, and other obstructions can weaken the signal. Consider moving closer to the router or accessing points with a stronger signal.
- Restart your PC and router: Sometimes, a simple reboot can resolve connectivity issues. Start by restarting your PC and then restart your router. This can help refresh the connection and clear any temporary glitches or conflicts.
- Verify the network password: Double-check that you’ve entered the correct password for the Wi-Fi network. Passwords are case-sensitive, so ensure that you’ve correctly capitalized letters if needed.
- Update your wireless adapter driver: Outdated or incompatible drivers can cause connection problems. Visit the manufacturer’s website for your wireless adapter and download the latest driver version. Install it on your PC to ensure optimal compatibility and performance.
- Disable and enable the wireless adapter: In your PC’s network settings, you can disable and then re-enable the wireless adapter. This can help refresh the connection and resolve any temporary issues.
- Check for interference: Other electronic devices or appliances, such as cordless phones, microwave ovens, and Bluetooth devices, can interfere with Wi-Fi signals. Make sure your PC is away from such devices to avoid interference.
- Try a different Wi-Fi channel: If you’re experiencing interference from other Wi-Fi networks in your area, you can try changing the Wi-Fi channel on your router. This can help minimize interference and improve connectivity.
- Reset your router: If all else fails, you can perform a factory reset on your router. Consult the router’s manual or website for instructions on how to reset it to its default settings. Note that this will erase any custom settings, so proceed with caution.
- Seek technical support: If you’ve tried all the troubleshooting steps and still can’t establish a reliable Wi-Fi connection, it may be best to reach out to your internet service provider or the manufacturer of your wireless adapter for further assistance.
By following these troubleshooting steps, you can overcome common Wi-Fi connection issues and ensure a stable and reliable connection for your PC.
Congratulations! You have successfully enabled your PC’s wireless adapter, connected to a Wi-Fi network, and resolved any connection issues you encountered along the way. Now you can fully enjoy the benefits of wireless connectivity, whether it’s for work, entertainment, or staying connected with friends and family.
Remember to keep your wireless adapter drivers up to date and periodically check for firmware updates for your router to ensure optimal performance and security.
Thank you for following this guide, and happy browsing!
Read more: What Is A Bluetooth Adapter For Pc
Conclusion
Enabling a wireless adapter for your PC opens up a world of convenience and flexibility. Gone are the days of being tied down by cables and limited to a single location for internet connectivity. With a wireless adapter, you can easily connect to Wi-Fi networks, access the internet, and enjoy seamless online experiences.
In this article, we explored the step-by-step process of enabling a wireless adapter for your PC. We began by checking compatibility, ensuring that your PC supports wireless connectivity and determining the appropriate adapter type. We then moved on to installing the adapter, whether internal or external, and securing it properly within your PC.
Next, we discussed connecting to a Wi-Fi network, navigating your PC’s network settings, and selecting and joining a network of your choice. We also covered troubleshooting steps to address common connectivity issues, such as signal strength, incorrect passwords, driver updates, interference, and more.
By following these steps and troubleshooting tips, you can successfully enable your PC’s wireless adapter and establish a reliable and efficient Wi-Fi connection.
Remember to keep your wireless adapter drivers up to date and periodically optimize your Wi-Fi network for optimal performance. Stay informed about new wireless standards and technologies to take advantage of the latest advancements in wireless connectivity.
Thank you for reading this guide on how to enable a wireless adapter for your PC. We hope that it has been helpful in guiding you through the process. Now, go ahead and enjoy the freedom of wireless connectivity on your PC!
Frequently Asked Questions about How To Enable Pc Wireless Adapter
Was this page helpful?
At Storables.com, we guarantee accurate and reliable information. Our content, validated by Expert Board Contributors, is crafted following stringent Editorial Policies. We're committed to providing you with well-researched, expert-backed insights for all your informational needs.


0 thoughts on “How To Enable Pc Wireless Adapter”