Home>Construction & Tools>Building Materials>How To Replace Brick Molding On Windows
Building Materials
How To Replace Brick Molding On Windows
Modified: October 19, 2024
Learn how to replace brick molding on windows with our step-by-step guide. Find the best building materials and expert tips for a successful DIY project.
(Many of the links in this article redirect to a specific reviewed product. Your purchase of these products through affiliate links helps to generate commission for Storables.com, at no extra cost. Learn more)
Introduction
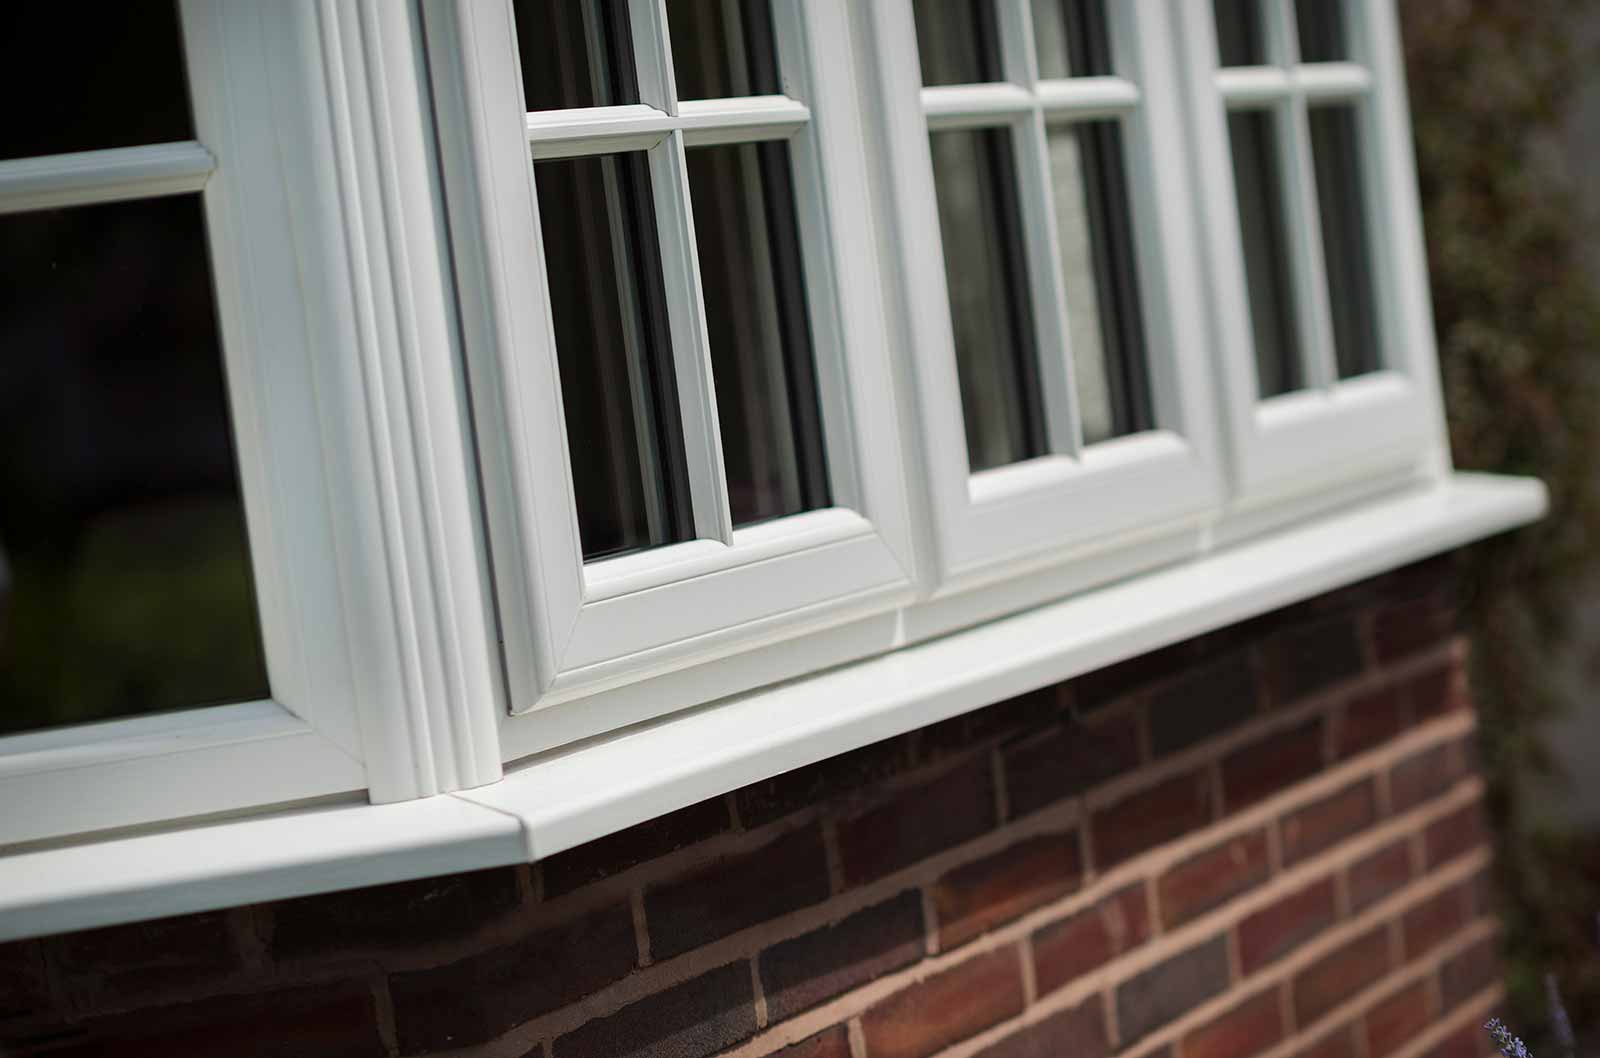
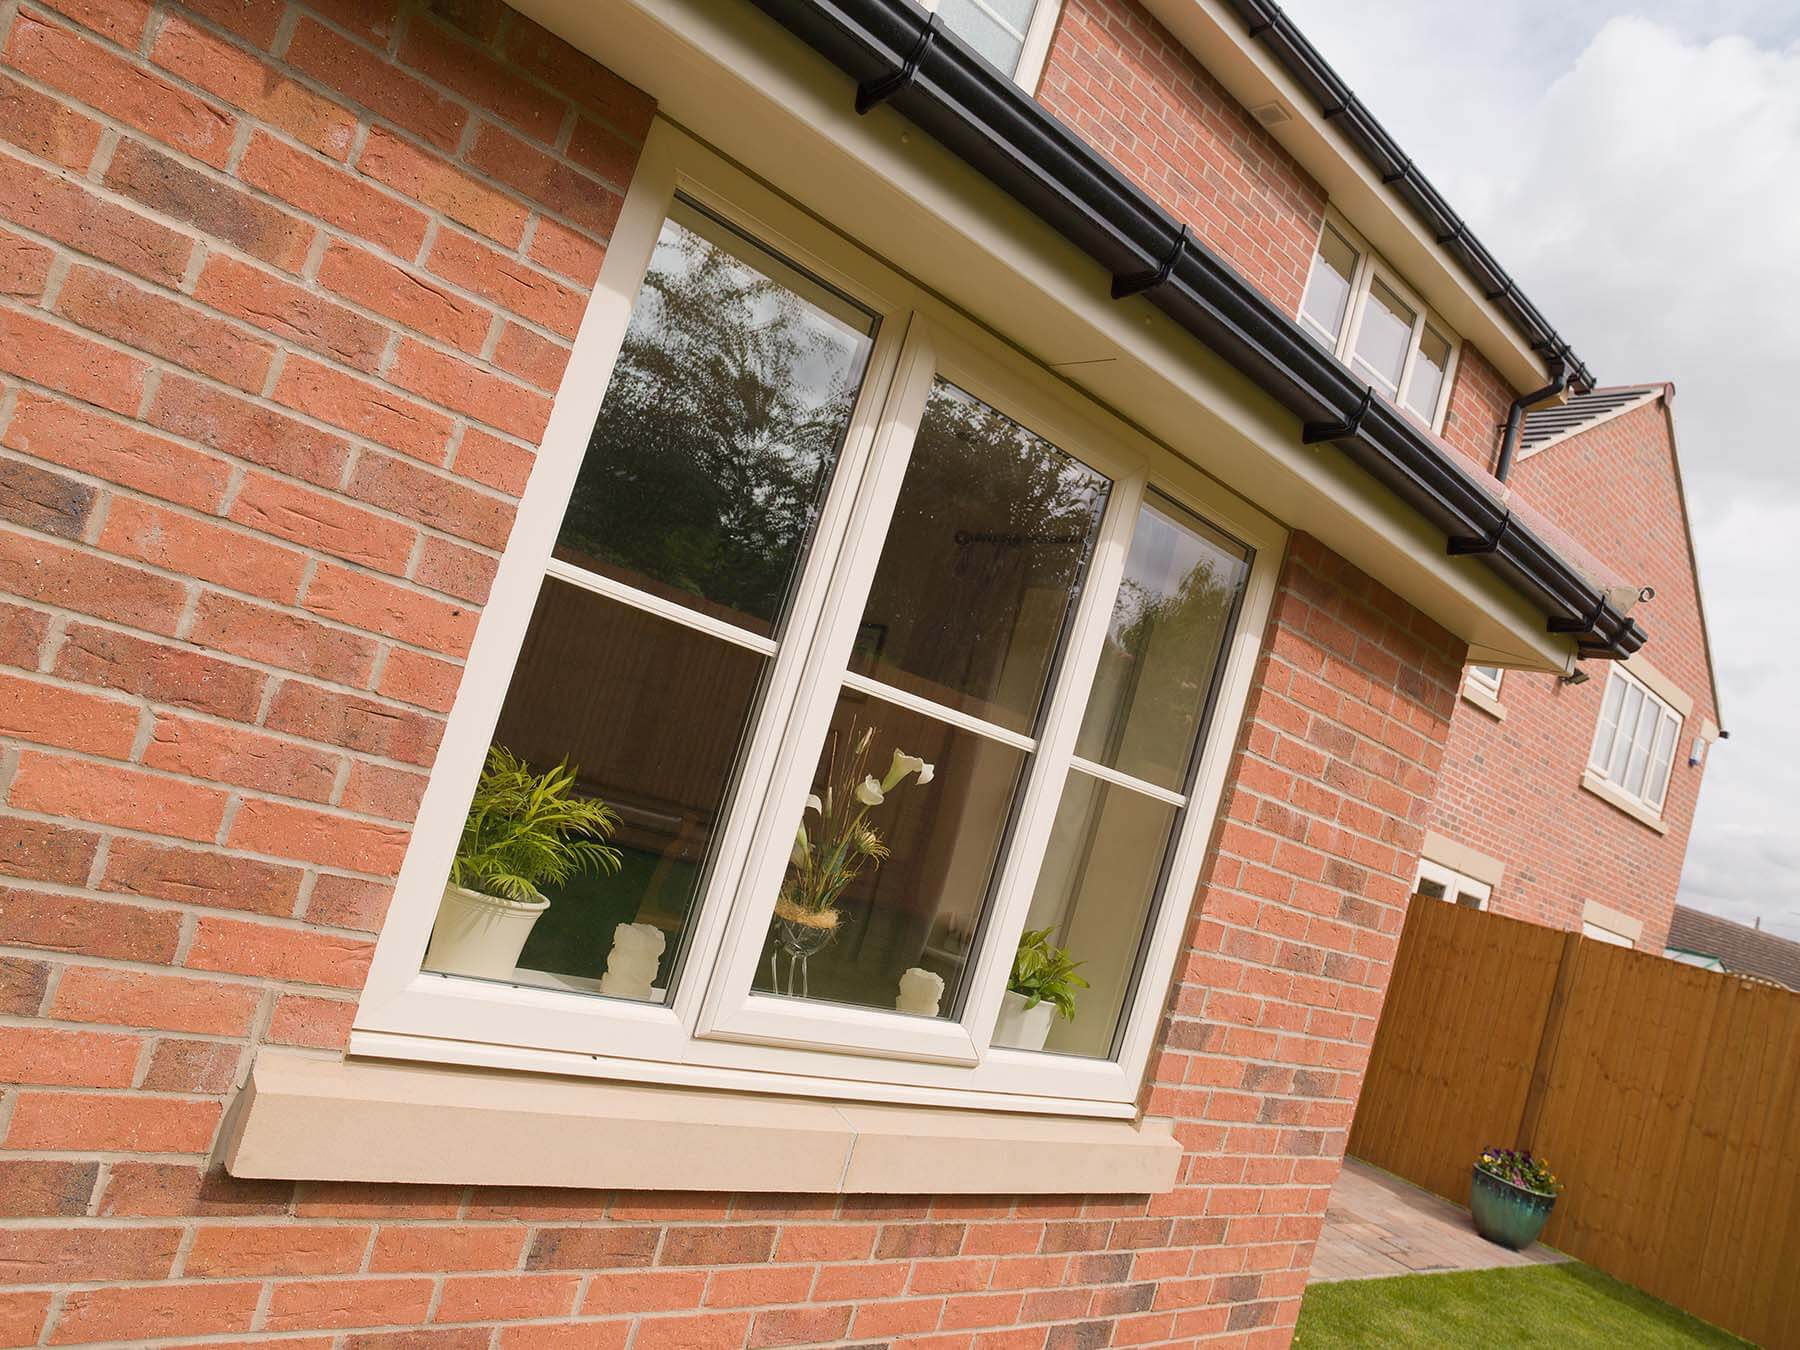
Welcome to the comprehensive guide on how to replace brick molding on windows. Brick molding is an essential component of a window, serving as a decorative trim that also helps to seal the window frame. Over time, exposure to the elements can cause brick molding to deteriorate, leading to issues such as air leaks and water infiltration. In such cases, it becomes necessary to replace the old brick molding with new, durable material to ensure the continued functionality and aesthetic appeal of the window.
In this guide, we will walk you through the step-by-step process of replacing brick molding on windows, providing valuable insights and practical tips to help you achieve professional-looking results. Whether you are a seasoned DIY enthusiast or a homeowner looking to tackle this project for the first time, this guide will equip you with the knowledge and confidence to successfully complete the task.
By following the detailed instructions and recommendations outlined in this guide, you will not only enhance the visual appeal of your windows but also contribute to the overall energy efficiency and weather resistance of your home. So, gather your tools and let's embark on this rewarding home improvement journey together.
Key Takeaways:
- Replacing brick molding on windows involves careful removal of old molding, precise preparation of the window frame, and professional installation of new molding. This DIY project enhances window aesthetics and weather resistance.
- After installing new brick molding, regular maintenance, painting, and inspection ensure long-lasting beauty and functionality. Proper care preserves the enhanced appearance and weather-resistant properties of the windows.
Read more: How To Replace Windows On A Brick House
Tools and Materials Needed
Before you begin the process of replacing brick molding on windows, it’s essential to gather the necessary tools and materials to ensure a smooth and efficient workflow. Here’s a comprehensive list of what you’ll need:
Tools:
- Utility knife: For cutting and removing old caulking and paint.
- Pry bar: To carefully detach the old brick molding from the window frame.
- Hammer: For gently tapping and loosening stubborn sections of the old molding.
- Measuring tape: To accurately measure the dimensions of the window and new molding pieces.
- Miter saw: For cutting precise angles on the new molding pieces.
- Caulking gun: To apply fresh caulking for sealing the new molding in place.
- Nail gun or hammer and finishing nails: For securing the new molding to the window frame.
- Sandpaper: For smoothing rough edges and surfaces.
- Paintbrushes and paint: If you plan to paint the new molding for a finished look.
- Safety goggles and gloves: To protect your eyes and hands during the removal and installation process.
Materials:
- New brick molding: Ensure that the dimensions match the existing molding and are suitable for exterior use.
- Exterior-grade caulk: To seal the gaps between the new molding and the window frame.
- Wood shims: For adjusting and leveling the new molding during installation.
- Exterior-grade paint (optional): If you choose to paint the new molding to match the exterior color scheme of your home.
- Caulk or wood filler: For filling nail holes and any small gaps in the molding.
- Primer (if painting): To prime the new molding before applying the final coat of paint.
By ensuring that you have these tools and materials on hand, you’ll be well-prepared to tackle the project with confidence and precision. Now that you’re equipped with everything you need, it’s time to move on to the next steps of the brick molding replacement process.
Removing the Old Brick Molding
Before you can install new brick molding, the old, deteriorated molding must be carefully removed. Follow these steps to ensure a safe and effective removal process:
Step 1: Prepare the Work Area
Start by clearing any obstructions around the window and creating a safe, clutter-free work zone. This may involve moving outdoor furniture or plants away from the immediate vicinity of the window to allow ample space for maneuvering.
Step 2: Inspect the Old Molding
Carefully examine the existing brick molding for signs of damage, such as rot, warping, or decay. Use a utility knife to score along the edges where the molding meets the window frame, as this will help prevent any paint or caulking from peeling off the frame during the removal process.
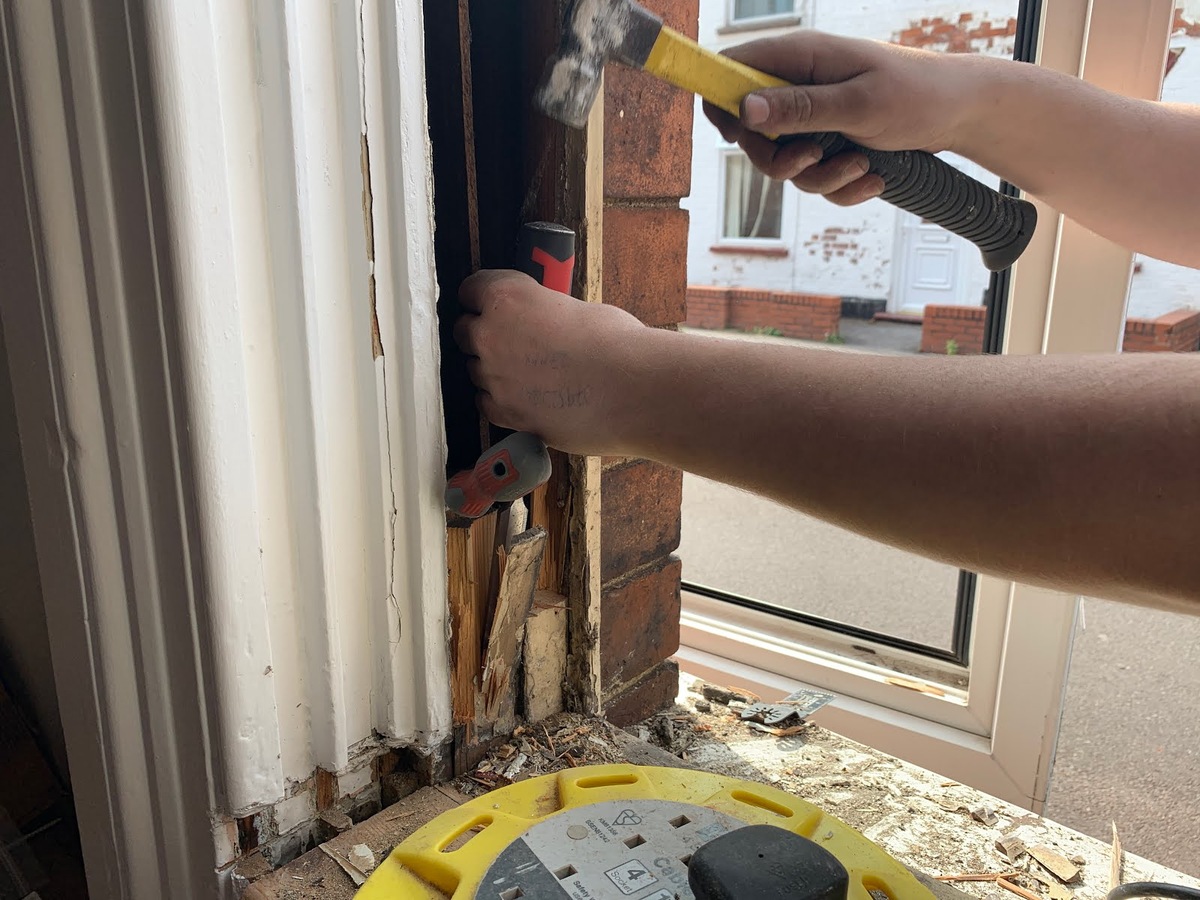
Step 3: Loosen the Molding
Using a pry bar and hammer, gently begin to loosen the old brick molding from the window frame. Start at a corner or an inconspicuous edge to avoid causing damage to the frame. Take your time and work methodically to prevent splintering or breaking the molding as you detach it.
Step 4: Remove Nails and Trim Caulking
As you continue to pry off the molding, be mindful of any nails or screws securing it to the frame. Use a hammer or pry bar to carefully remove any fasteners, taking care not to damage the window frame. Additionally, trim away any remaining caulking or adhesive to ensure a clean surface for the new molding.
Read more: How To Attach Brick Molding
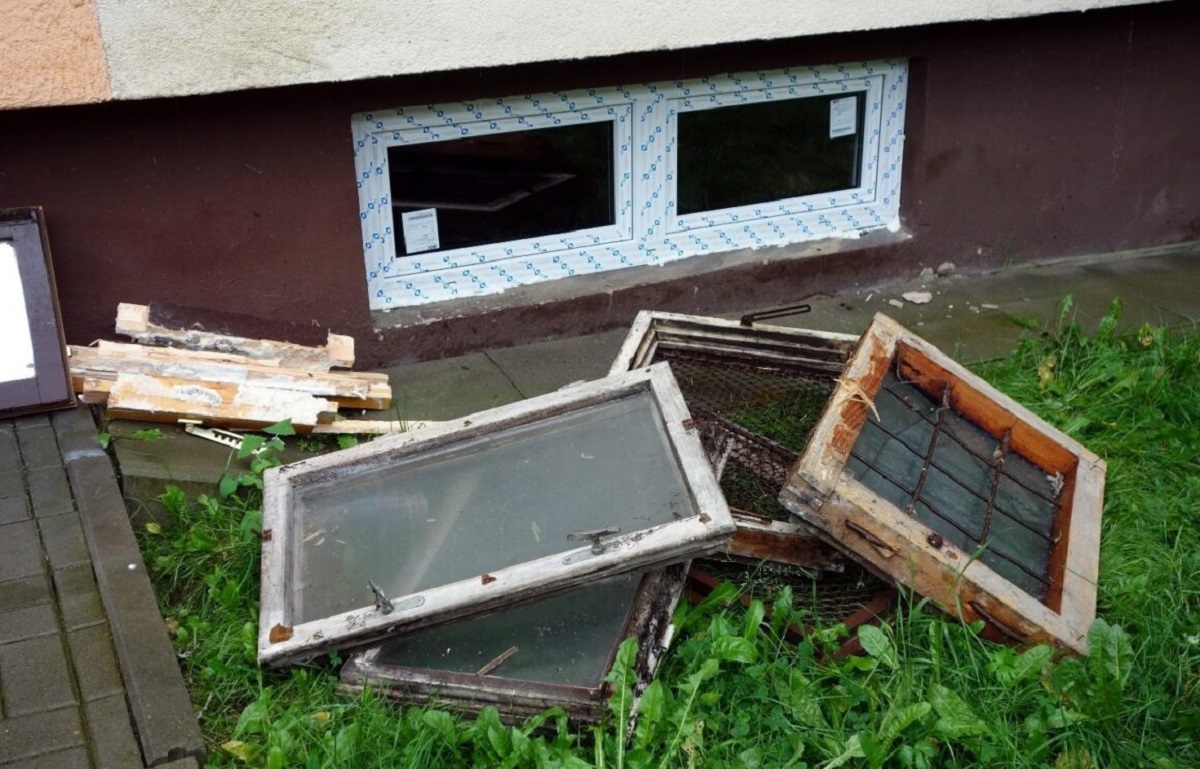
Step 5: Dispose of Old Molding
Once the old brick molding has been completely removed, safely dispose of it according to local waste disposal guidelines. If the old molding is salvageable, consider repurposing it for other DIY projects or recycling it if possible.
By following these steps, you can effectively remove the old brick molding from your window, paving the way for the installation of new, durable molding that will enhance the functionality and aesthetic appeal of your windows. With the old molding out of the way, you can now focus on preparing the window frame for the installation of the new brick molding.
Preparing the Window Frame
With the old brick molding successfully removed, it’s time to prepare the window frame for the installation of the new molding. Proper preparation is crucial for ensuring a secure and long-lasting fit. Follow these steps to ready the window frame for the next phase of the project:
Step 1: Clean the Window Frame
Thoroughly clean the exposed window frame to remove any dirt, debris, or remnants of the old caulking or adhesive. Use a brush or vacuum to ensure the surface is free of any obstructions that could hinder the proper placement of the new molding.
Step 2: Inspect for Damage
Carefully inspect the window frame for any signs of damage, such as rot, moisture infiltration, or structural issues. Address any concerns promptly to prevent them from affecting the integrity of the new brick molding once installed.
Read more: How To Make Brick Molds
Step 3: Apply Caulk or Sealant (If Necessary)
Depending on the condition of the window frame and the specific requirements of your chosen molding material, apply a suitable exterior-grade caulk or sealant to any areas that may require additional weatherproofing or sealing. This step is particularly important for ensuring a tight, moisture-resistant fit for the new molding.
Step 4: Check for Level and Square
Use a level to verify that the window frame is plumb and square. Adjust the frame as needed, using shims to ensure that it is perfectly aligned and ready to receive the new brick molding. A well-aligned frame will contribute to a seamless and professional-looking installation.
Step 5: Prime the Frame (If Painting)
If you plan to paint the new brick molding, consider applying a coat of primer to the prepared window frame. Priming the frame will promote better adhesion for the final coat of paint and contribute to a more uniform and durable finish.
By diligently preparing the window frame, you are laying the groundwork for a successful and visually appealing installation of the new brick molding. With the frame primed and ready, you can now proceed to the exciting phase of installing the fresh, revitalized molding that will breathe new life into your windows and enhance the overall charm of your home.
Installing the New Brick Molding
Now that the window frame is prepped and ready, it’s time to embark on the exciting phase of installing the new brick molding. This step is crucial in revitalizing the appearance and functionality of your windows. Follow these detailed steps to ensure a precise and professional installation:
Read more: How To Brick In A Window
Step 1: Measure and Cut the Molding
Carefully measure the dimensions of each section of the window frame that requires molding. Use a miter saw to cut the new brick molding with precision, ensuring that the angles are accurate for a seamless fit. Remember to measure twice and cut once to avoid unnecessary waste or errors.
Step 2: Dry Fit the Molding
Before applying any adhesive or fasteners, dry fit the cut molding pieces onto the window frame. This step allows you to confirm the accuracy of the cuts and make any necessary adjustments before proceeding with the final installation.
Step 3: Apply Adhesive and Secure the Molding
Using an exterior-grade adhesive or caulking, apply a thin, even bead along the back of the molding pieces. Carefully press the molding into place on the window frame, ensuring a snug fit. Use a nail gun or hammer and finishing nails to secure the molding, placing the fasteners at regular intervals along the length of each piece.
Step 4: Fill Nail Holes and Gaps
Once the molding is securely in place, use wood filler or exterior-grade caulk to fill any visible nail holes and gaps between the molding and the window frame. This step contributes to a polished and weather-resistant finish, preventing moisture and drafts from penetrating the newly installed molding.
Read more: How To Make A Wooden Brick Mold
Step 5: Allow for Proper Drying and Settling
Give the newly installed brick molding adequate time to dry and settle into place. Follow the manufacturer’s recommendations for the specific adhesive or caulking used, ensuring that the molding is firmly affixed and ready for the finishing touches.
By meticulously following these steps, you can achieve a professional and visually appealing installation of the new brick molding. With the molding securely in place, your windows will exude a refreshed and polished look, enhancing the overall curb appeal and value of your home. Now, let’s move on to the final steps of the process, adding the finishing touches and ensuring proper maintenance for long-lasting results.
Finishing Touches and Maintenance
With the new brick molding securely installed, it’s time to add the finishing touches and implement a maintenance plan to ensure the longevity and visual appeal of your windows. Follow these essential steps to complete the project and maintain the newly installed molding:
Step 1: Paint and Seal (If Desired)
If you’ve opted for a painted finish, apply a high-quality exterior-grade paint to the new brick molding. Choose a color that complements the exterior of your home and provides a polished, cohesive look. Additionally, ensure that all exposed surfaces are adequately sealed with paint to protect the molding from the elements.
Step 2: Inspect and Maintain Regularly
Make it a habit to inspect the newly installed brick molding periodically. Check for any signs of wear, damage, or deterioration, especially at the joints and seams. Address any issues promptly to prevent potential water infiltration or air leaks that could compromise the integrity of the molding and the window frame.
Read more: How To Get Rid Of Mold On Brick
Step 3: Clean and Protect
Regularly clean the brick molding to remove dirt, dust, and environmental residues. Use a mild detergent and water solution to gently scrub the surface, taking care not to damage the paint or finish. Additionally, consider applying a protective sealant or clear coat to safeguard the molding from UV exposure and inclement weather.
Step 4: Address Maintenance Issues Promptly
If you notice any areas where the caulk or sealant is deteriorating or separating from the window frame, take immediate action to reseal and reinforce these areas. Prompt maintenance will prevent moisture intrusion and maintain the structural integrity of the new brick molding.
Step 5: Enjoy the Enhanced Aesthetics and Functionality
With the new brick molding in place and properly maintained, take pride in the enhanced aesthetics and functionality it brings to your windows and home exterior. The revitalized appearance and weather-resistant properties of the molding will contribute to a welcoming and well-maintained facade.
By incorporating these finishing touches and implementing a proactive maintenance approach, you can ensure that the newly installed brick molding continues to enhance the beauty and performance of your windows for years to come. With proper care and attention, your windows will remain a standout feature of your home, exuding charm and durability.
Frequently Asked Questions about How To Replace Brick Molding On Windows
Was this page helpful?
At Storables.com, we guarantee accurate and reliable information. Our content, validated by Expert Board Contributors, is crafted following stringent Editorial Policies. We're committed to providing you with well-researched, expert-backed insights for all your informational needs.


0 thoughts on “How To Replace Brick Molding On Windows”