

Articles
How To Hang Curtains With Sheers
Modified: October 28, 2024
Learn how to perfectly hang curtains with sheers in our comprehensive articles. Get step-by-step instructions and tips for creating a beautiful window treatment.
(Many of the links in this article redirect to a specific reviewed product. Your purchase of these products through affiliate links helps to generate commission for Storables.com, at no extra cost. Learn more)
Introduction
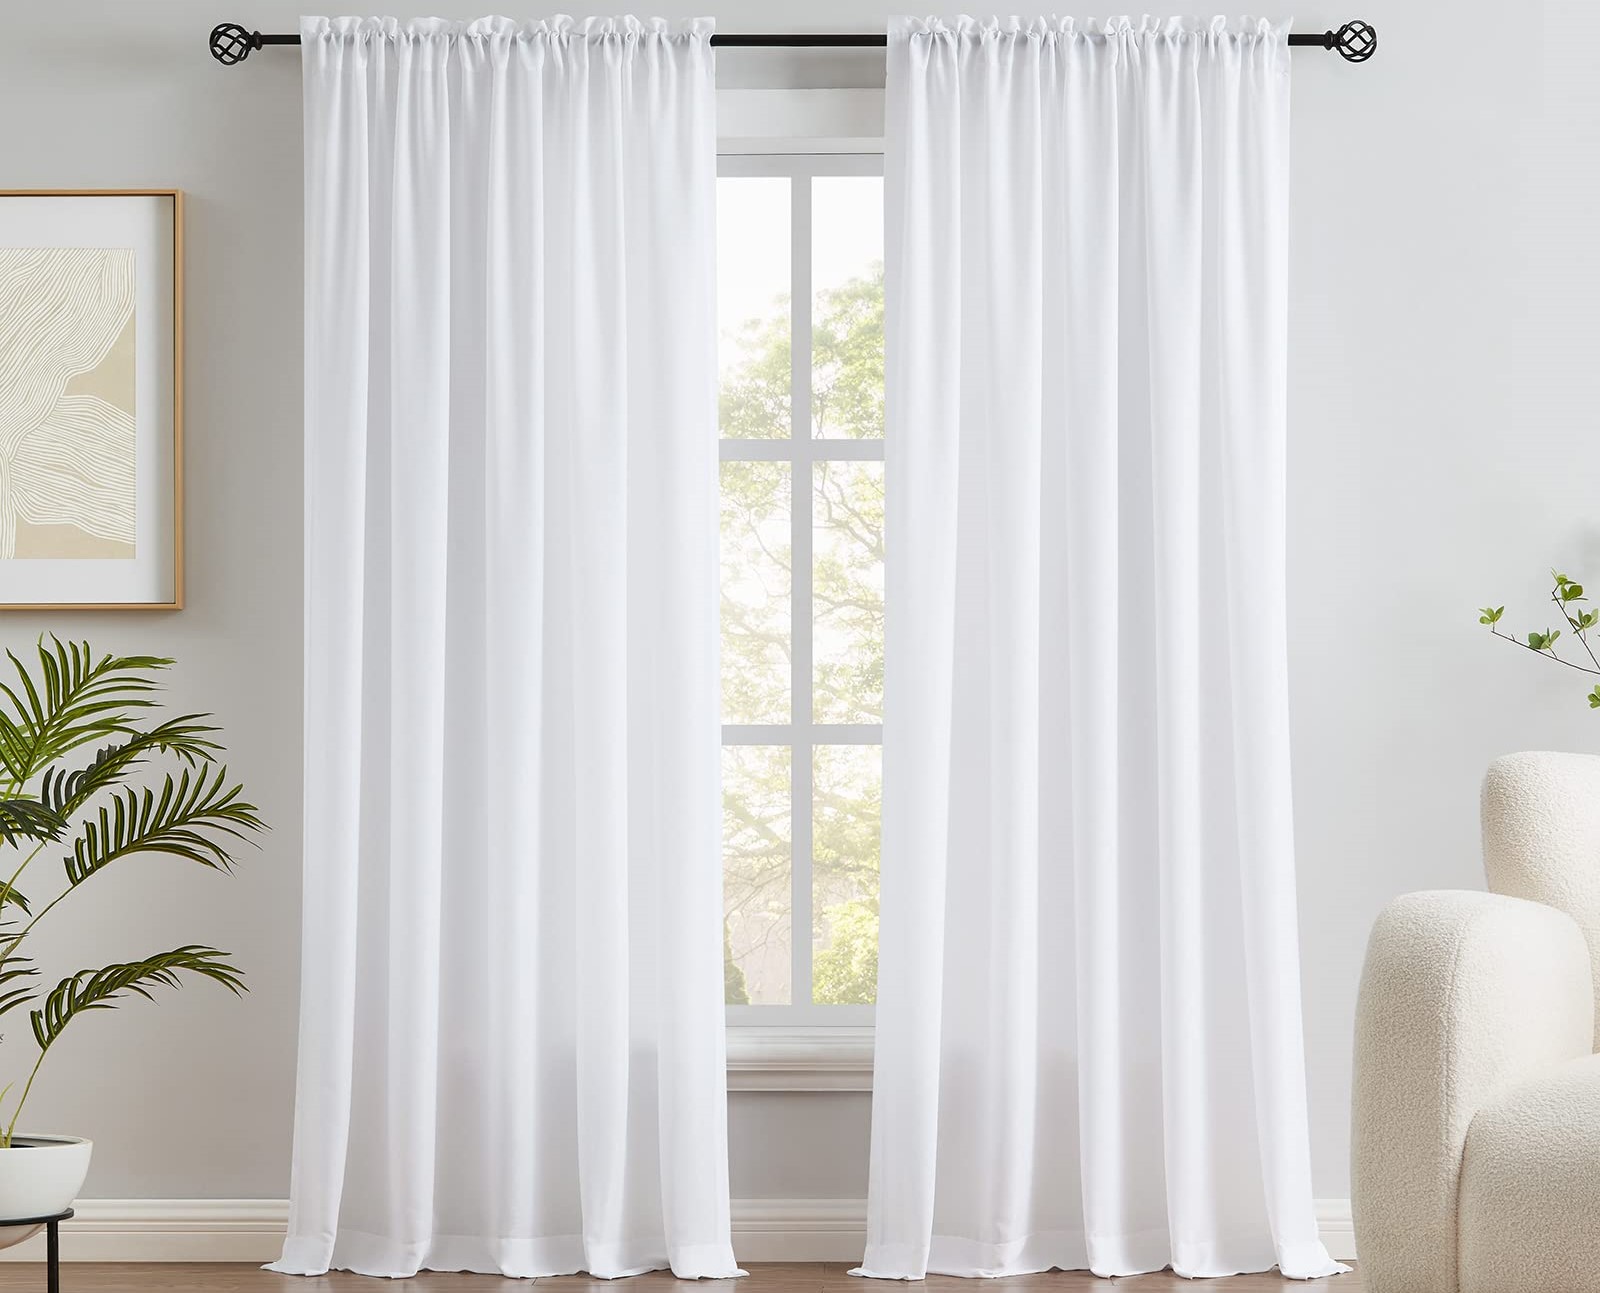
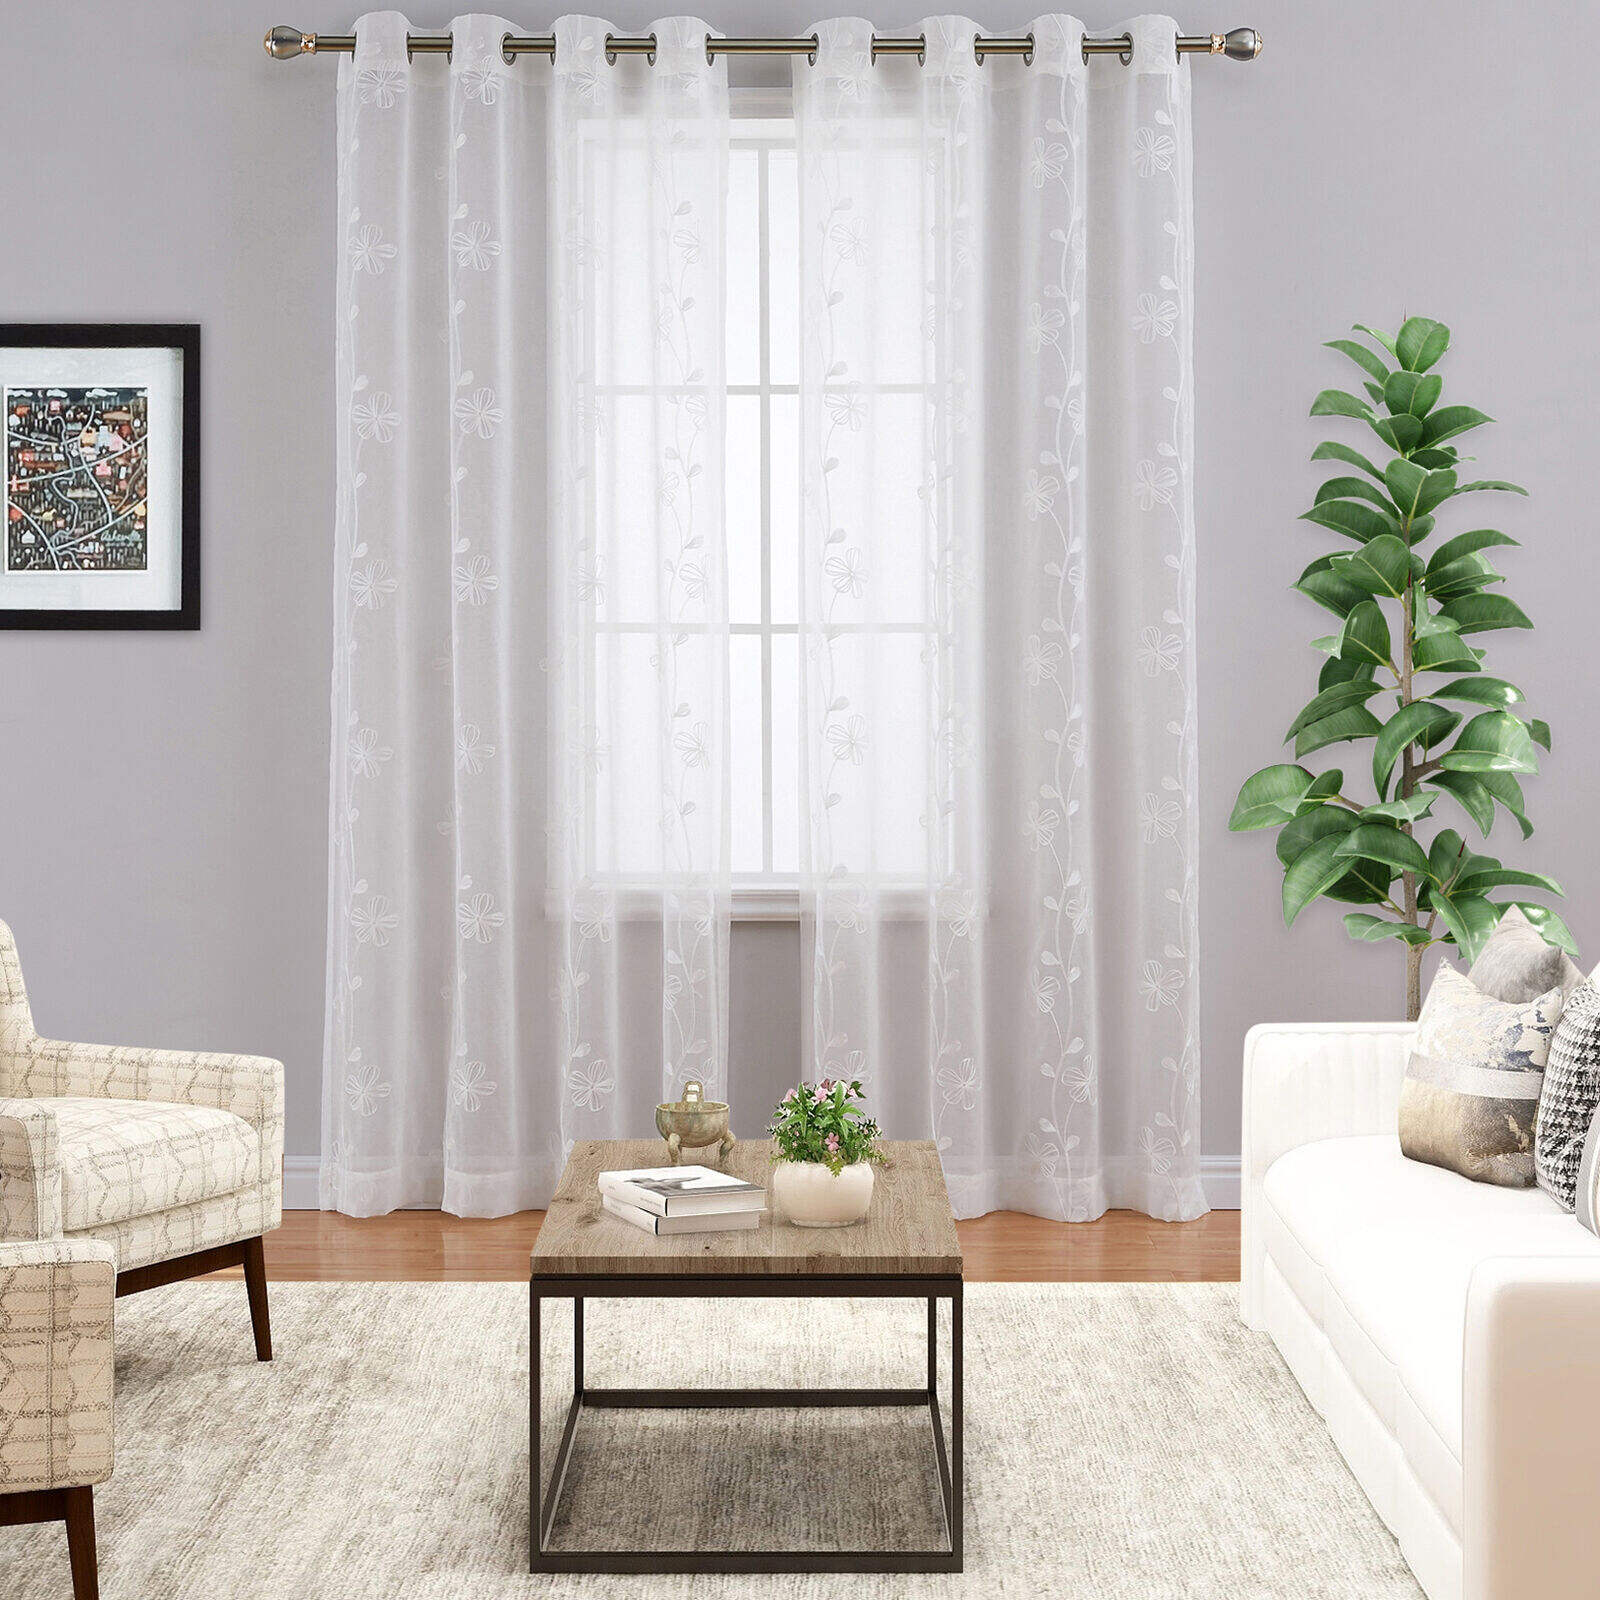
Welcome to our comprehensive guide on how to hang curtains with sheers! Sheer curtains are a fantastic addition to any room, offering style, privacy, and a soft, delicate touch. In this article, we will walk you through the step-by-step process of installing and arranging sheer curtains to create a beautiful and functional window treatment.
Whether you’re a seasoned DIY enthusiast or a novice trying your hand at home improvement projects, hanging curtains with sheers is a relatively simple task that can be accomplished with a few basic tools and some careful measurements. By following our detailed instructions, you’ll be able to transform your windows into stunning focal points that enhance the overall design aesthetic of your space.
Before we dive into the step-by-step process, let’s take a moment to understand the purpose and benefits of using sheer curtains. Sheer curtains are made from lightweight fabric that allow natural light to filter through while still providing a level of privacy. They add an ethereal and romantic touch to any room, creating a soft and inviting atmosphere.
Additionally, sheer curtains can help to reduce glare from sunlight, protect your furniture and belongings from UV rays, and even help to insulate your windows, keeping your space cooler in the summer and warmer in the winter. With their versatility and functionality, it’s no wonder that sheer curtains are such a popular choice among homeowners and interior designers alike.
Now that we have a clear understanding of the benefits of sheer curtains let’s dive into the step-by-step process of hanging them. We’ll cover everything from measuring and marking to installing the curtain rod and arranging the sheer curtains for a polished and professional look. So, let’s get started on transforming your windows with the elegance and charm of sheer curtains!
Key Takeaways:
- Transform your windows with elegance and charm by following our step-by-step guide to hanging curtains with sheers. Achieve a stunning window treatment that adds style, privacy, and functionality to any room.
- Embrace the ethereal and romantic touch of sheer curtains while reducing glare, protecting your space from UV rays, and creating a soft and inviting atmosphere. Follow our guide for a seamless and hassle-free installation process.
Read more: How To Hang A Sheer Curtain With Drapes
Step 1: Measure and Mark
The first step in hanging curtains with sheers is to measure and mark the area where you plan to install the curtain rod. Proper measurements are crucial to ensure that your curtains fit perfectly and hang at the right height.
Here’s what you’ll need:
- Tape measure
- Pencil or marker
Start by determining the width of your window. Measure the width of the window frame from left to right and add a few inches on each side to allow the curtains to overlap when closed for maximum privacy and light control. This additional width will also create a more full and luxurious look.
Next, measure the height from the top of the window frame to where you want the curtains to end. This will depend on your personal preference and the overall style of your space. Keep in mind that curtains typically hang about six inches above the window frame to create a visually appealing effect.
Once you have your measurements, use a pencil or marker to mark the desired height and width on the wall. Make sure the marks are level and straight, using a spirit level if necessary. These marks will serve as your guide for installing the curtain rod.
Take a step back and double-check your measurements to ensure accuracy. It’s always better to be precise from the beginning to avoid any mistakes or rework later on. Once you’re satisfied with the measurements and marks, it’s time to move on to the next step: installing the curtain rod.
Step 2: Install Curtain Rod
Now that you have your measurements and marks in place, it’s time to install the curtain rod. The curtain rod provides the foundation for hanging your curtains and sheers, so it’s crucial to ensure it is securely mounted.
Here are the tools you’ll need:
- Drill
- Level
- Screws or brackets
Start by selecting the appropriate curtain rod for your window. Consider the weight of your curtains and sheers to choose a rod that can support the load. Also, make sure the rod matches the style and aesthetic of your space.
Using your marks as a guide, hold the curtain rod against the wall to determine the placement. Use a level to ensure the rod is straight. Once you’re satisfied with the positioning, mark the spots where the brackets or screws will be installed.
Next, using a drill, create holes in the marked spots. If you’re drilling into drywall, insert anchors to provide extra support. Then, attach the brackets or screws to the wall. Make sure they are secure and level.
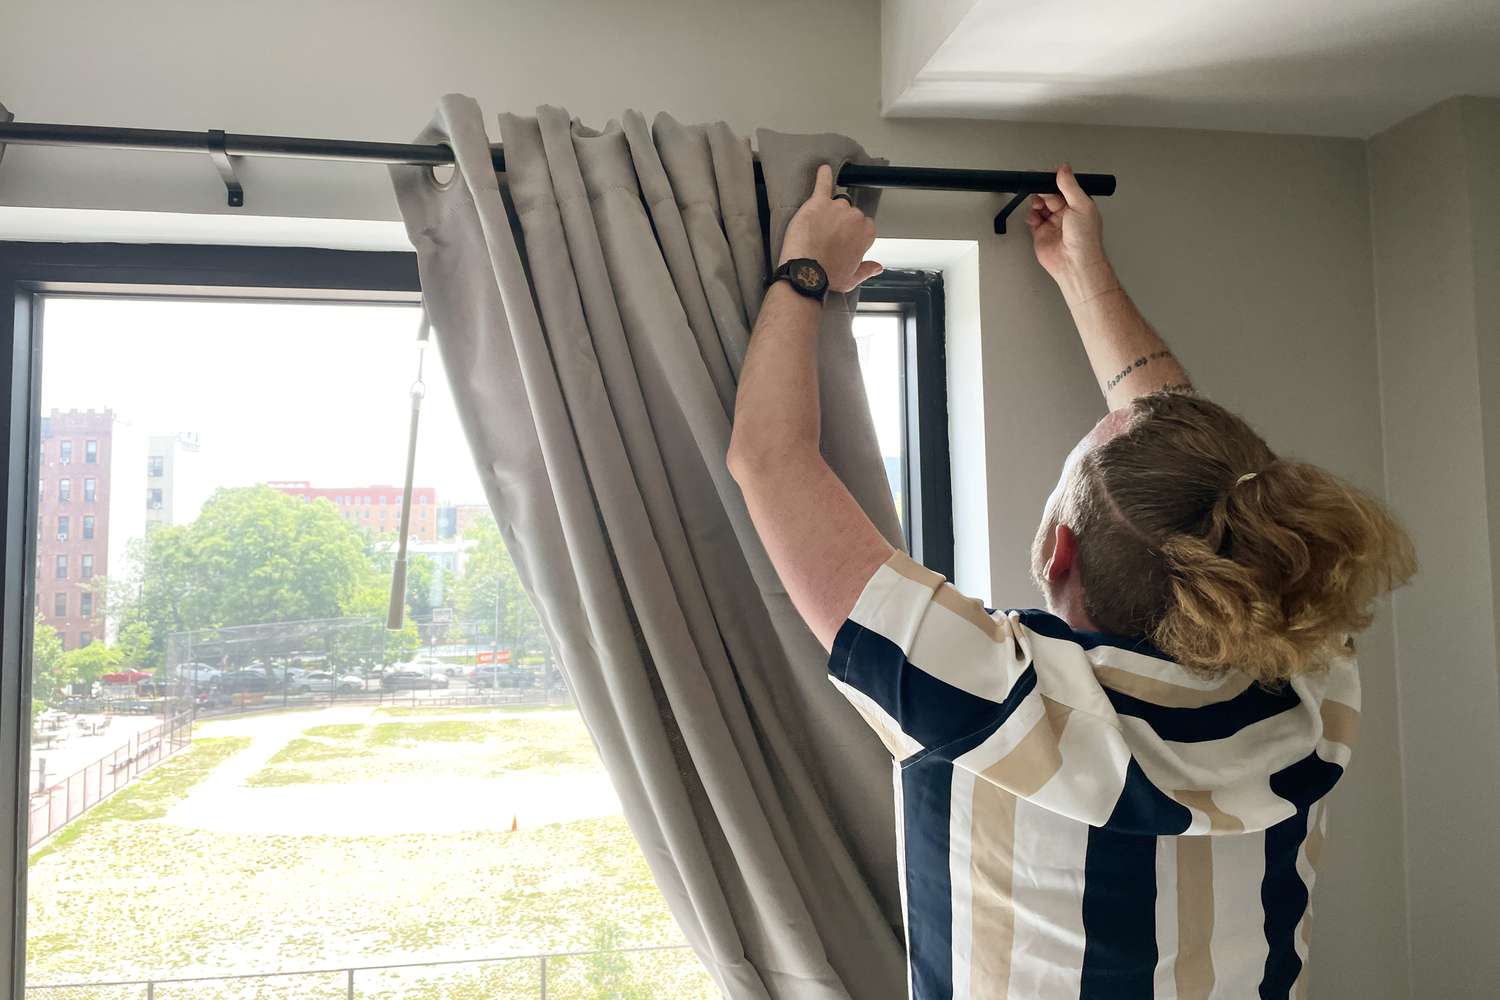
Once the brackets or screws are in place, slide the curtain rod onto them. If your rod has separate finials or decorative ends, attach them now. Double-check that the rod is level and properly secured before moving on to the next step.
Installing the curtain rod may seem simple, but it’s a critical step that ensures your curtains hang properly and remain stable. Take the time to do it correctly, and you’ll enjoy a seamless and hassle-free curtain hanging experience.
Now that the curtain rod is securely in place, it’s time to move on to the next step: attaching the curtain rings.
Step 3: Attach Curtain Rings
With the curtain rod securely installed, it’s time to attach the curtain rings. Curtain rings play an essential role in hanging your curtains and sheers, allowing them to glide smoothly along the rod and ensuring easy opening and closing.
Here’s what you’ll need:
- Curtain rings
- Sheers or curtains
Start by determining the number of curtain rings you’ll need. This will depend on the width of your curtains and the spacing you desire between each ring. As a general rule of thumb, place a ring every 4 to 6 inches for even distribution.
Attach the curtain rings to the top edge of your curtains or sheers. Slide the rings onto the rod, spacing them evenly along the length. Make sure the rings are securely closed to avoid any mishaps while hanging the curtains.
As you attach the rings, take a moment to consider the style and arrangement of your curtains. If you plan to have multiple layers, such as sheers and solid curtains, make sure to hang the sheers on the innermost rings closest to the window. This allows for easy adjustment and creates a layered effect.
Once all the rings are attached, step back and ensure the curtains are evenly distributed and hanging straight. If necessary, make any adjustments before moving on to the next step.
Attaching curtain rings may seem like a simple task, but it’s essential to ensure smooth and effortless curtain movement. By taking the time to properly attach the rings, you’ll create a polished and professional look for your curtains and sheers.
Now that the curtain rings are in place, it’s time to move on to the exciting part: hanging the sheers!
When hanging curtains with sheers, make sure to use double curtain rods to easily layer the two types of curtains. This will create a beautiful and functional window treatment.
Step 4: Hang Sheer Curtains
Now that the curtain rings are securely attached to the curtain rod, it’s time to hang the sheer curtains. Sheer curtains add a touch of elegance and softness to any room, creating a beautiful and airy ambiance.
Here’s what you’ll need:
- Sheer curtains
- Curtain rings
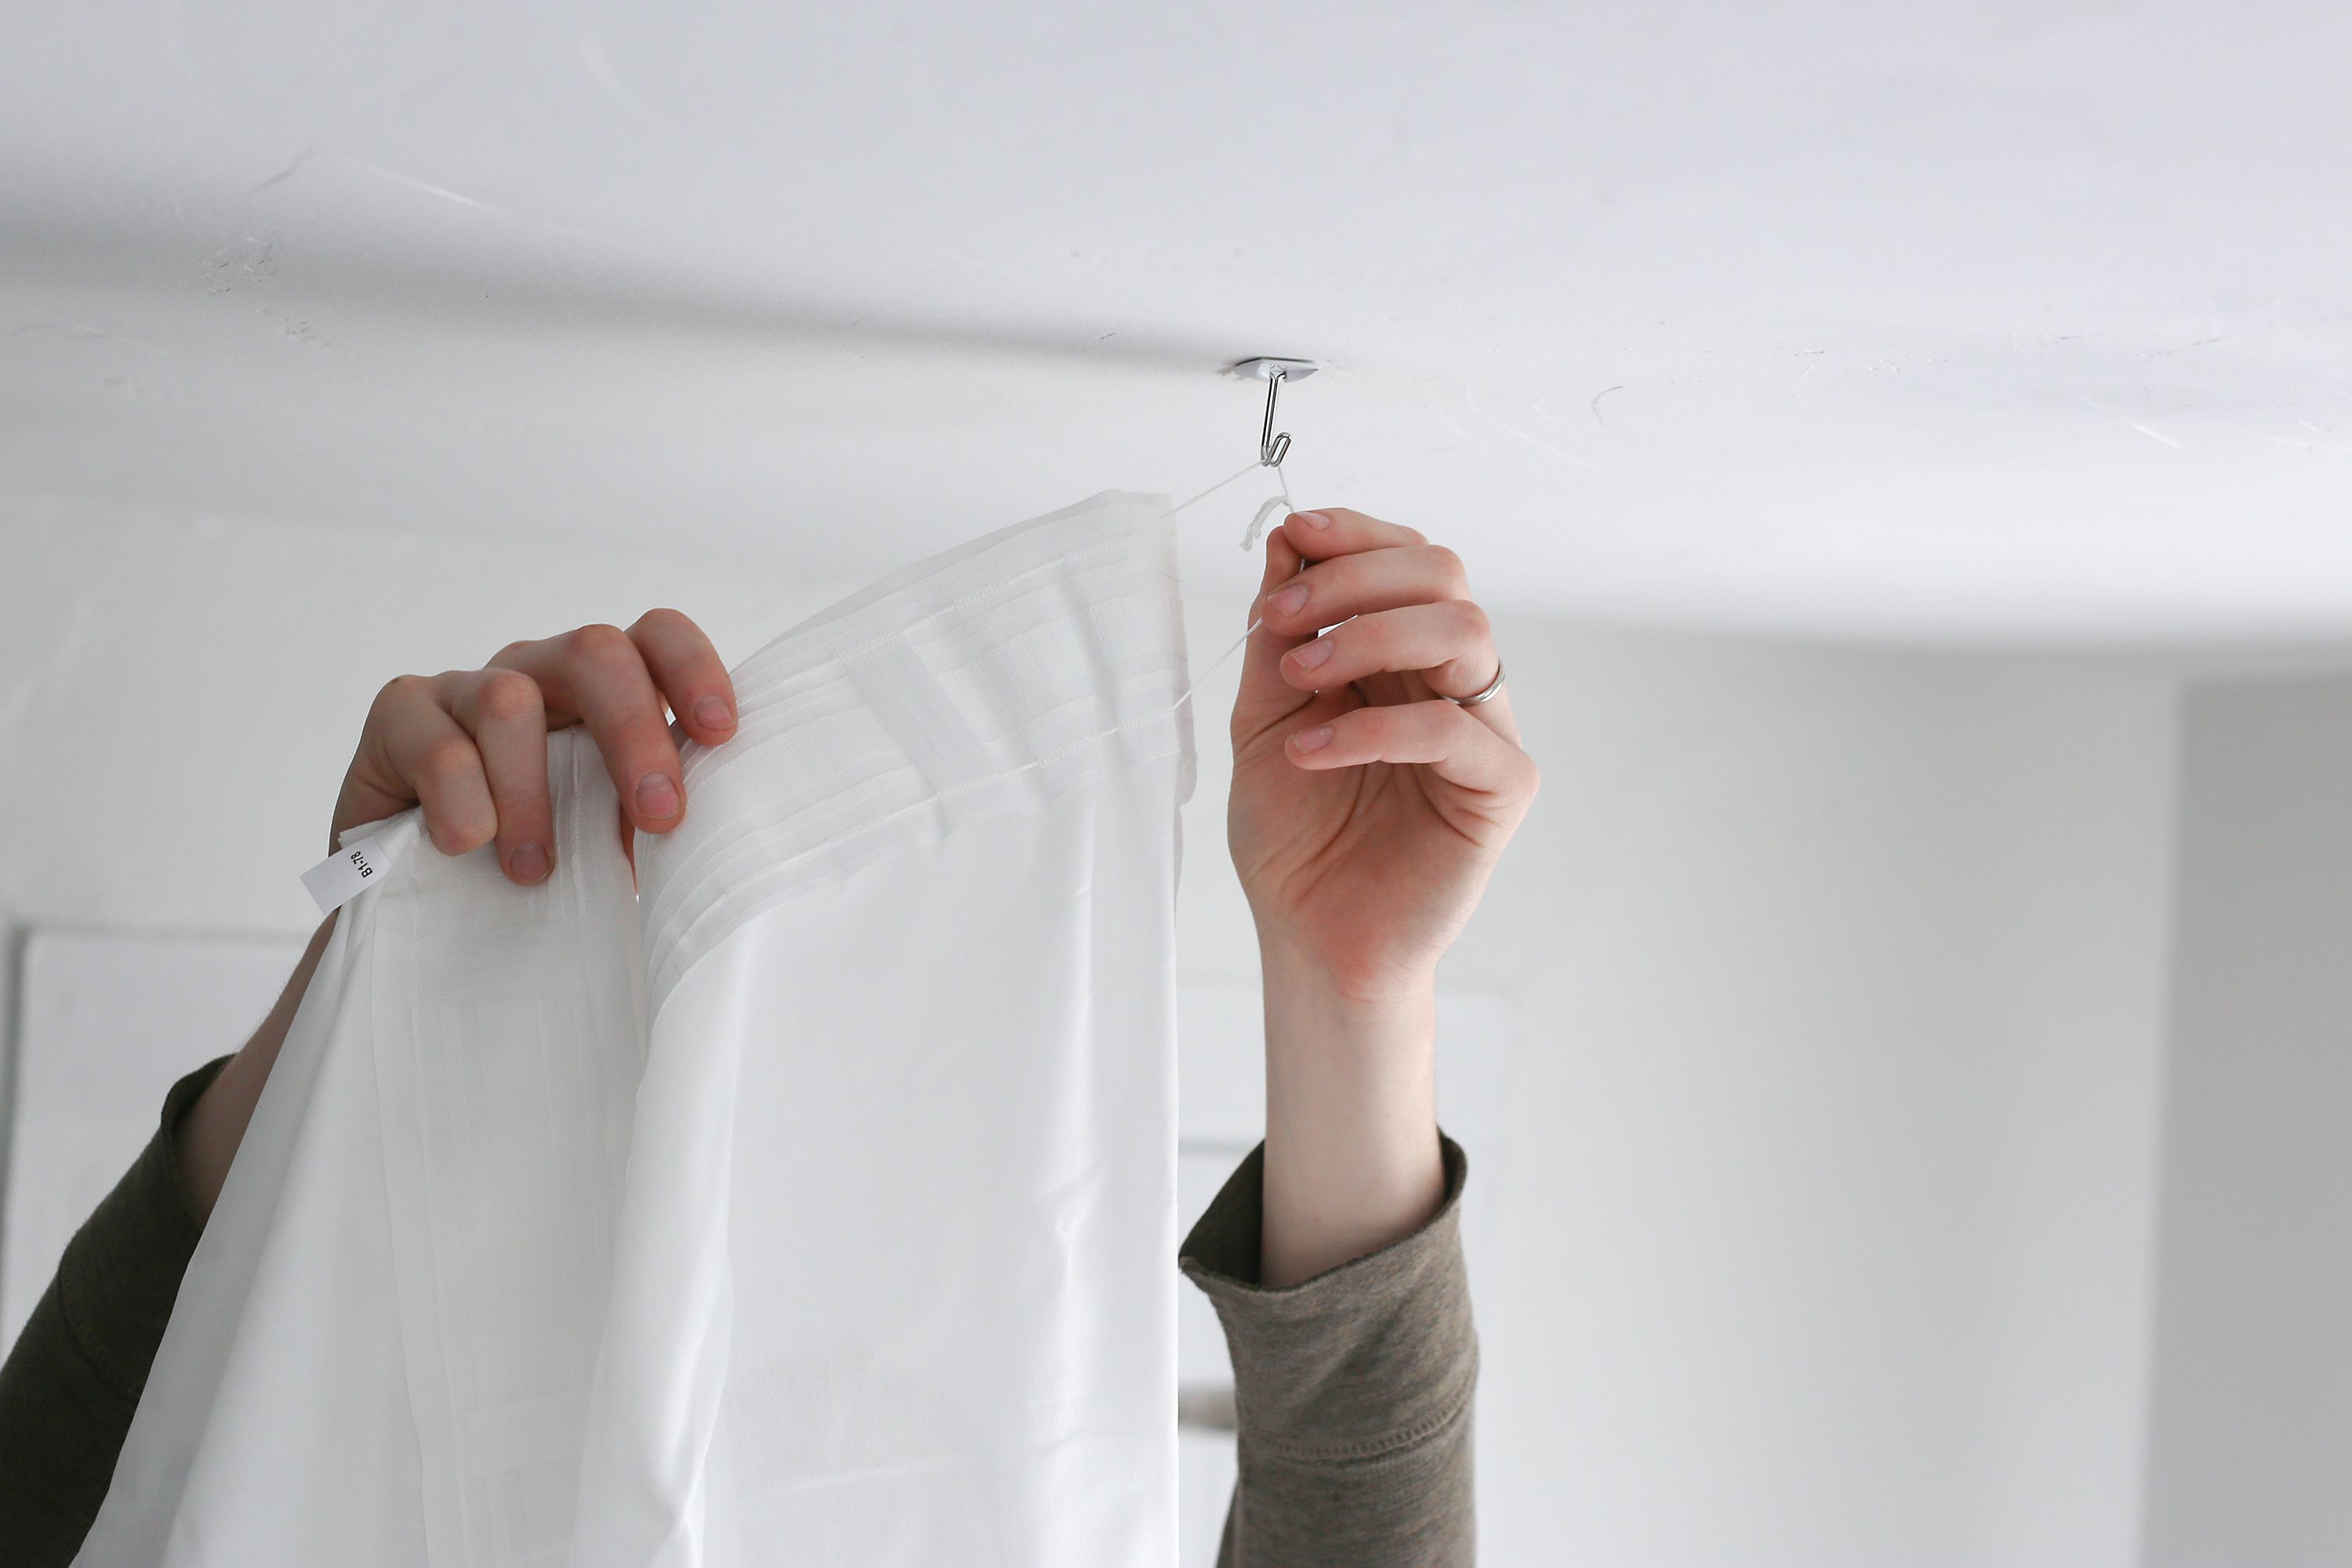
Start by gently sliding the curtain rings along the curtain rod until they are positioned at the desired location. If you are using multiple layers, such as sheers and solid curtains, make sure the sheers are positioned on the innermost rings closest to the window.
Next, carefully drape the sheer curtains over the curtain rod, allowing them to flow naturally. Make sure the curtains are evenly distributed and hanging straight. If necessary, make any adjustments to achieve the desired look.
If your sheer curtains are longer than your desired length, you can easily hem them to the appropriate size. Use fabric tape or a sewing machine to create a clean and finished edge for your curtains. This step will give your sheers a tailored and professional appearance.
Once the sheer curtains are hung, step back and assess the overall look. Take the time to arrange and adjust the fabric to ensure it falls gracefully and creates the desired effect. This may involve smoothing out any wrinkles or gently arranging the folds.
Remember, sheer curtains are meant to be light and flowing, so avoid pulling them too tightly or restricting their movement. Allow them to drape naturally for an ethereal and romantic look.
Now that your sheer curtains are hanging beautifully, it’s time to move on to the final step: adjusting and arranging.
Step 5: Adjust and Arrange
With the sheer curtains hanging in place, the final step is to adjust and arrange them for a polished and cohesive look. This step ensures that your curtains create the desired ambiance and enhance the overall aesthetic of your space.
Here are some tips for adjusting and arranging your sheer curtains:
- Start by stepping back and assessing the overall appearance of the curtains. Check for any wrinkles, unevenness, or areas that may require adjustment.
- If you notice any wrinkles in the fabric, gently smooth them out using your hands or a fabric steamer. This will give the curtains a more pristine and polished look.
- Arrange the folds of the sheer curtains to create an even and balanced appearance. Experiment with different arrangements, such as side sweeps or gentle pleats, to find the style that best suits your space.
- Consider the natural light coming into the room and adjust the curtains accordingly. If you want to maximize natural light, arrange the sheers to allow more light to filter through. If you prefer more privacy, adjust the curtains to create a denser coverage.
- Take into account the overall design aesthetic of your space. Ensure that the sheer curtains complement the furniture, colors, and decor in the room. Aim for a cohesive and harmonious look.
- Don’t be afraid to make small adjustments and tweaks as needed. It may take some trial and error to achieve the perfect arrangement, so take the time to fine-tune the look until you are satisfied.
Remember, the goal is to create a visually appealing and inviting space with your sheer curtains. By paying attention to the details and making necessary adjustments, you can achieve a beautiful and seamless window treatment that enhances the overall ambiance of your room.
Congratulations! You have successfully learned how to hang curtains with sheers. By following these step-by-step instructions and adding your own personal touch, you have created a stunning window treatment that not only adds style but also enhances the functionality of your space.
Now sit back, relax, and enjoy the beautiful transformation of your windows with the elegance and charm of sheer curtains!
Conclusion
Hanging curtains with sheers is a simple yet impactful way to add style, privacy, and a touch of elegance to any room. By following the step-by-step process outlined in this guide, you can confidently install and arrange sheer curtains to create a beautiful and functional window treatment.
Throughout this guide, we covered the importance of measuring and marking, installing the curtain rod, attaching curtain rings, hanging the sheer curtains, and adjusting and arranging them for a polished look. Each step plays a crucial role in achieving the desired outcome.
Sheer curtains offer a myriad of benefits, including filtering natural light, providing privacy, reducing glare, and adding a soft and romantic touch to your space. Their versatility and functionality make them a popular choice among homeowners and interior designers alike.
Remember to take your time during the installation process, ensuring accurate measurements and securely mounting the curtain rod. Attaching curtain rings and hanging the sheer curtains should be done with precision to ensure smooth movement and an even distribution of fabric.
Finally, don’t forget to adjust and arrange the sheer curtains for a cohesive and visually appealing look. Smooth out any wrinkles, experiment with different folds and arrangements, and consider the natural light and overall design aesthetic of your room.
By following these steps and adding your own personal touch, you can create a stunning window treatment that transforms your space. Enjoy the softness and elegance of sheer curtains as they enhance the ambiance of your room and make a statement.
We hope this comprehensive guide has been helpful in your journey to hang curtains with sheers. Now, go ahead and showcase your newfound knowledge as you create a space that is both stylish and functional!
Frequently Asked Questions about How To Hang Curtains With Sheers
Was this page helpful?
At Storables.com, we guarantee accurate and reliable information. Our content, validated by Expert Board Contributors, is crafted following stringent Editorial Policies. We're committed to providing you with well-researched, expert-backed insights for all your informational needs.







0 thoughts on “How To Hang Curtains With Sheers”