Articles
How To Hang Up A Tool Belt
Modified: August 31, 2024
Learn the step-by-step process of hanging up a tool belt with our informative articles. Increase your efficiency and organization on the job site.
(Many of the links in this article redirect to a specific reviewed product. Your purchase of these products through affiliate links helps to generate commission for Storables.com, at no extra cost. Learn more)
Introduction
Welcome to the world of do-it-yourself projects and handyman tasks! Whether you’re a professional tradesperson or a dedicated DIY enthusiast, having a tool belt is an essential accessory that can make your work more efficient and organized. With a tool belt, you can keep your tools within easy reach, allowing you to focus on the task at hand without constantly searching for misplaced tools.
In this article, we will guide you through the simple, yet important, process of hanging up your tool belt. A properly hung tool belt not only ensures easy access to your tools but also preserves the belt’s lifespan by preventing unnecessary wear and tear. So, let’s dive in and learn how to hang up your tool belt like a pro!
Key Takeaways:
- Choose a high-quality, comfortable, and durable tool belt that fits your needs to enhance efficiency and enjoyment of your DIY projects or professional work.
- Properly adjust, organize, and hang up your tool belt to ensure easy access to tools, prolong its lifespan, and reflect professionalism and commitment to your craft.
Read more: How To Set Up Electrician Tool Belt
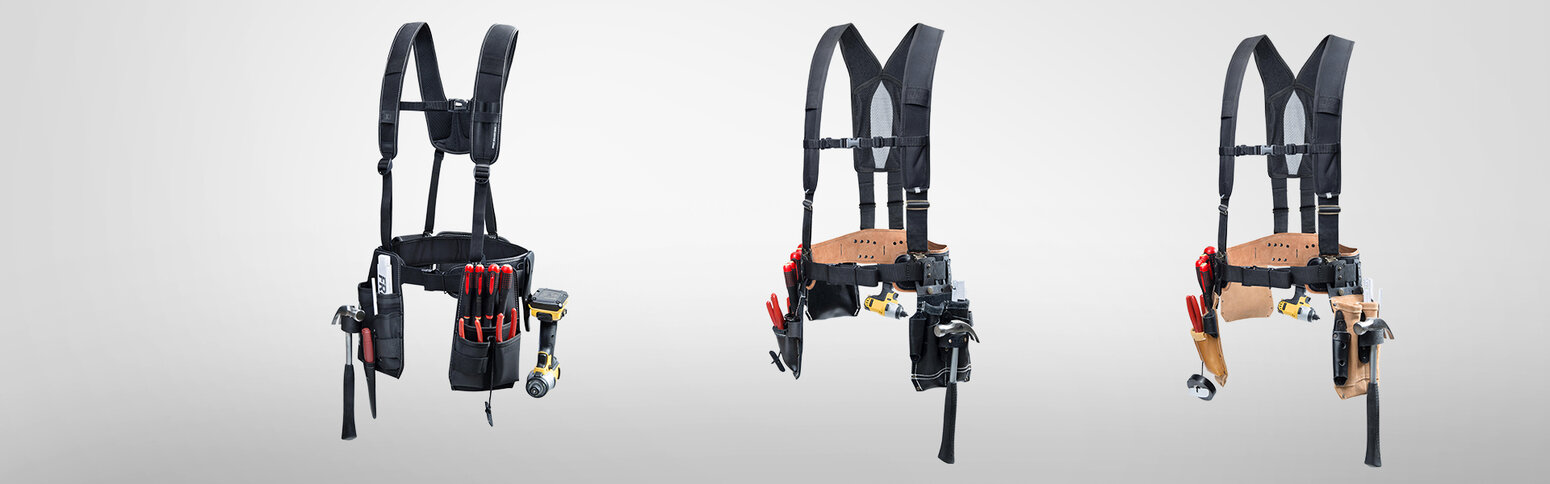
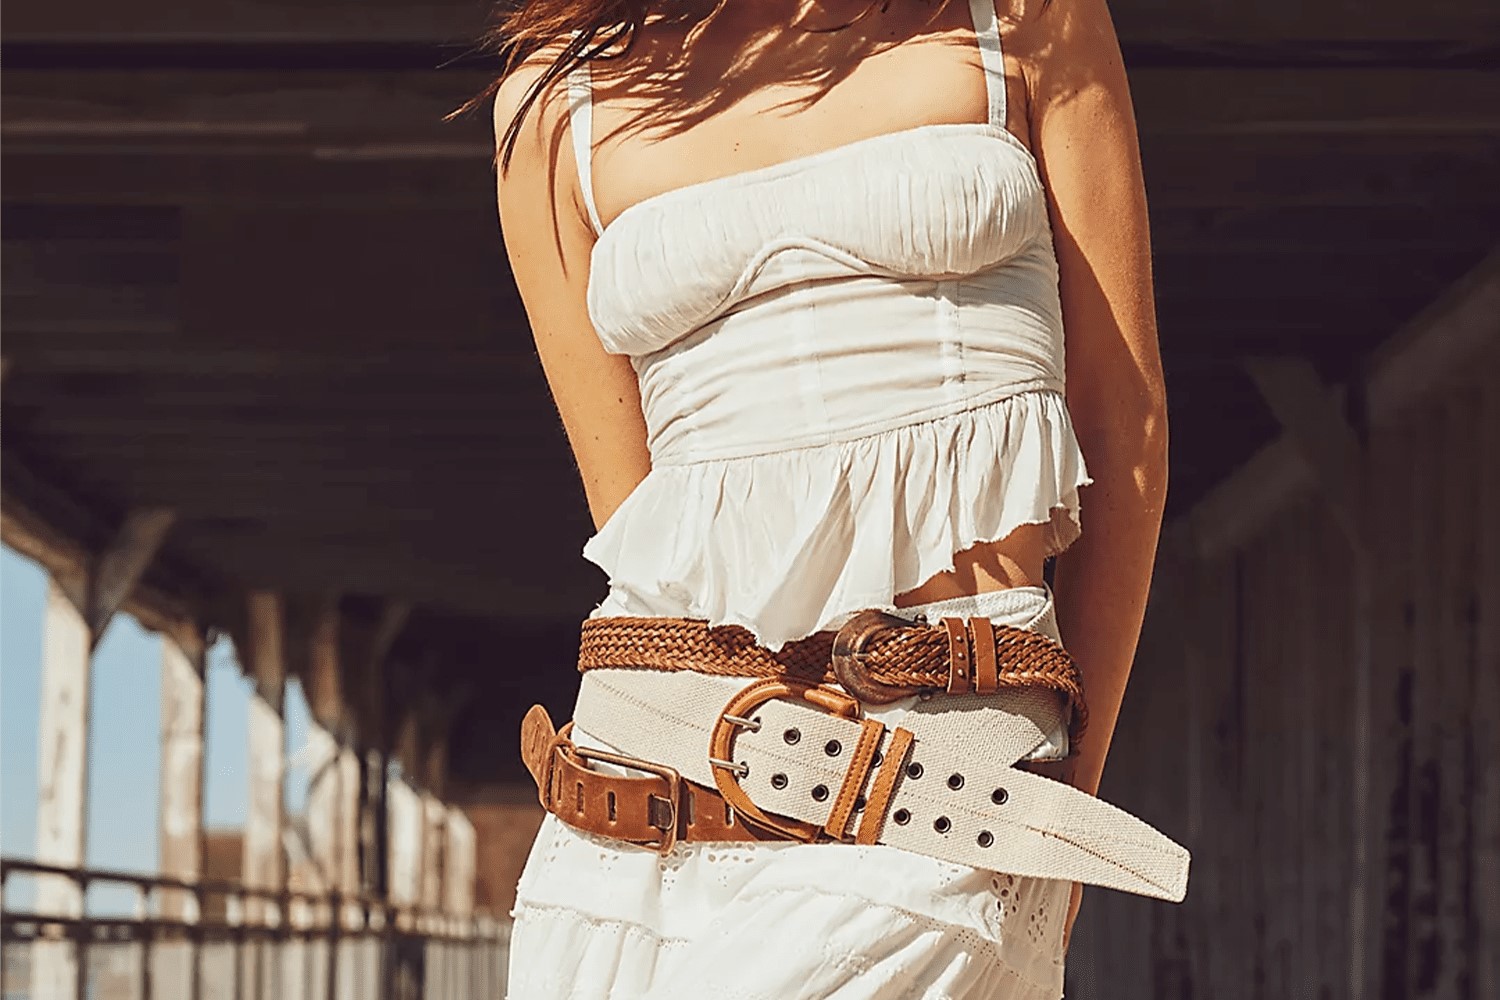
Step 1: Choosing the Right Tool Belt
Before you can start hanging up your tool belt, it’s crucial to choose the right one for your needs. Tool belts come in various styles, materials, and sizes, so consider the following factors when making your selection:
- Functionality: Determine the type of work you’ll be doing and the tools you’ll need to carry. Look for a tool belt with enough pockets and compartments to accommodate your tools.
- Comfort: A comfortable tool belt will allow you to work for extended periods without strain or discomfort. Look for adjustable straps, padding, and breathable materials to ensure a comfortable fit.
- Durability: Your tool belt should be able to withstand the rigors of your work environment. Look for belts made from high-quality materials like leather or heavy-duty nylon.
- Size: Measure your waist or hip size accurately to choose a tool belt that fits snugly but comfortably around your waist. Avoid belts that are too loose or too tight, as they can impede your movement or become uncomfortable.
Take the time to research different brands and read customer reviews to find a tool belt that meets your requirements. Remember that investing in a high-quality tool belt will ensure longevity and make your work much more enjoyable and efficient.
Step 2: Adjusting the Tool Belt for a Perfect Fit
Once you’ve chosen the right tool belt, it’s essential to adjust it for a perfect fit. A properly adjusted tool belt will not only be more comfortable but also prevent unnecessary movement and keep your tools securely in place. Follow these steps to adjust your tool belt:
- Measure and adjust the straps: Start by measuring your waist or hip size to determine the correct position for the belt. Loosen the belt straps and fasten the buckle in the middle of your waist. Adjust the straps accordingly, ensuring a snug fit without restricting your movement or causing discomfort.
- Check the balance: Put on the tool belt and evaluate its balance. It should sit evenly around your waist without tilting to one side. Adjust the straps as necessary to achieve a balanced fit.
- Position the pockets: Once you’ve achieved the desired fit, position the pockets in a way that allows easy access to your most frequently used tools. Experiment with different arrangements until you find the most convenient setup.
- Secure loose straps: After adjusting the belt to your liking, secure any loose straps using the provided fasteners or clips. This will prevent them from dangling and interfering with your work.
Remember to periodically check the fit of your tool belt and make any necessary adjustments. It’s not uncommon for adjustments to be required over time as the belt settles and stretches with use. A properly fitted tool belt will enhance your comfort and efficiency as you work on various projects.
When hanging up a tool belt, make sure to use sturdy hooks or pegs that can support the weight of the belt and tools. It’s also a good idea to organize the tools on the belt in a way that distributes the weight evenly.
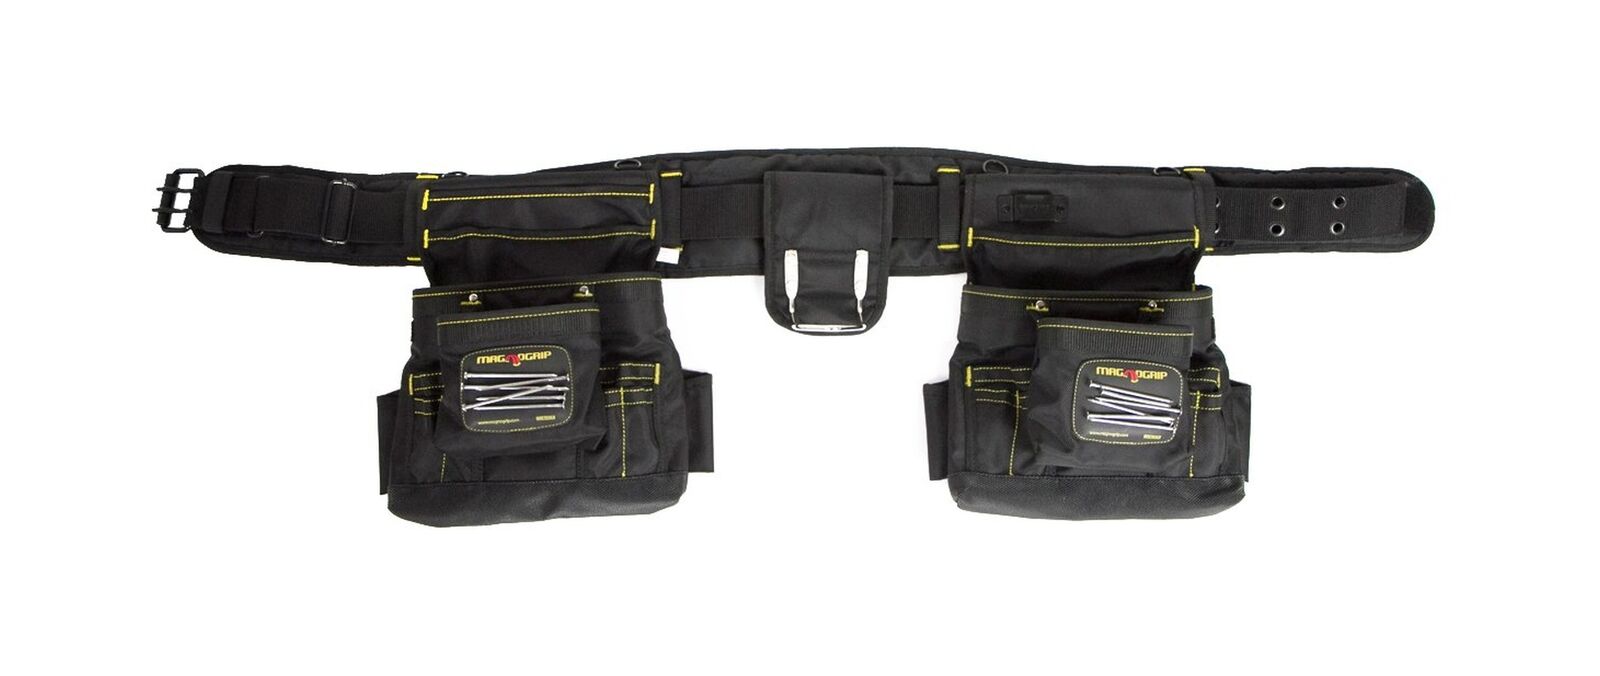
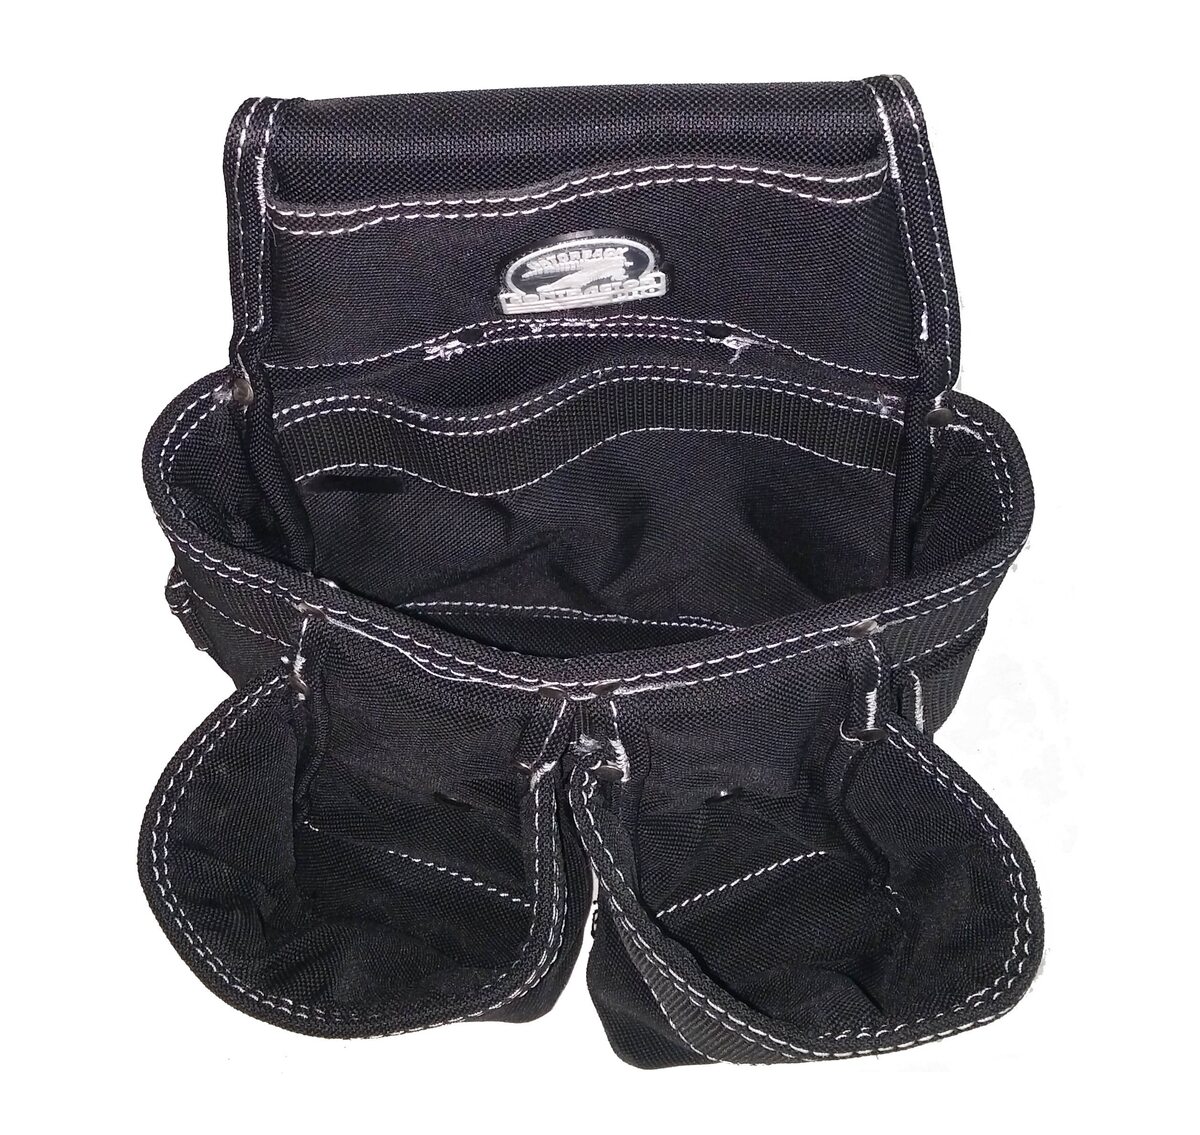
Step 3: Placing Tools in the Tool Belt
Now that you have a properly adjusted tool belt, it’s time to organize and place your tools in the designated pockets. Proper placement of tools will ensure easy access and prevent them from falling out while you work. Here’s how to do it:
- Categorize your tools: Group your tools into categories based on their size and function. This will help you determine which pockets to assign to each category.
- Assign pockets: Assign specific pockets for each category of tools based on your personal preference and the tools’ frequency of use. Place frequently used tools in easily accessible pockets, while less frequently used tools can be placed in pockets further away.
- Avoid overloading: Be mindful of the weight of your tools and avoid overloading a single pocket. Distribute the weight evenly to maintain balance and prevent strain on your waist and back.
- Secure small tools: For small tools like screws or nails, consider using additional pouches, holders, or magnetic strips within the tool belt. These will prevent small items from getting lost or falling out.
- Ensure tool stability: Before starting your work, double-check that each tool is securely placed in its pocket. A loose tool can become a safety hazard and hinder your productivity.
Remember, the goal is to have an organized tool belt where you can easily find the right tool when you need it. Take the time to arrange your tools in a logical and efficient manner, and you’ll save valuable time and energy while working on your projects.
Step 4: Properly Hanging Up the Tool Belt
Properly hanging up your tool belt not only keeps your workspace organized but also prolongs the life of the belt by preventing unnecessary wear and tear. Follow these steps to ensure your tool belt is appropriately stored:
- Clean and inspect: Before hanging up your tool belt, give it a quick clean to remove any dirt or debris. This will help maintain the belt’s quality and prevent stains or odors. Additionally, inspect the belt for any signs of damage or wear, such as loose stitching or torn pockets.
- Choose a storage location: Find a suitable storage location for your tool belt. Ideally, it should be a dry and well-ventilated area, away from direct sunlight or extreme temperatures. Consider using a hook or pegboard to hang up your tool belt, ensuring it is easily accessible when needed.
- Hang it up: Place your tool belt on the hook or pegboard, ensuring it is secure and won’t fall off. If using a hook, hang it by the belt itself rather than hanging it by the pockets or tool loops, as this can cause unnecessary stress on these areas.
- Store additional tools: If you have any larger tools that do not fit in the tool belt, consider storing them in a separate toolbox or storage container nearby. This will keep all your tools in one convenient location.
- Maintain regular checks: Periodically check your tool belt for any signs of damage or wear. Replace any worn-out pockets or straps to ensure the belt remains in good condition.
By following these steps, you’ll ensure your tool belt stays organized and in good condition, ready for your next project. A properly hung tool belt not only saves you time by keeping your tools within reach but also reflects your professionalism and commitment to your craft.
Read more: How To Hang Up Wall Art
Conclusion
Congratulations! You have learned how to effectively hang up your tool belt, bringing organization and ease to your DIY projects or professional work. By choosing the right tool belt, adjusting it for a perfect fit, placing tools in designated pockets, and properly hanging it up, you have set yourself up for success in any task that requires easy access to your tools.
Remember, a tool belt is more than just a functional accessory; it is a tool organizer that enhances your productivity and efficiency. By keeping your tools within reach and maintaining the belt’s condition, you can complete projects with ease and confidence.
Don’t forget to periodically inspect and clean your tool belt, ensuring it remains in optimum working condition. Replace any damaged or worn parts to extend the life of your belt and keep it functioning at its best.
Now that you have mastered the art of hanging up your tool belt, go out there and tackle your next project with confidence and ease. Happy DIY-ing!
Frequently Asked Questions about How To Hang Up A Tool Belt
Was this page helpful?
At Storables.com, we guarantee accurate and reliable information. Our content, validated by Expert Board Contributors, is crafted following stringent Editorial Policies. We're committed to providing you with well-researched, expert-backed insights for all your informational needs.


0 thoughts on “How To Hang Up A Tool Belt”