Articles
How To Hang Up Multiple Picture Frames
Modified: August 26, 2024
Learn how to hang up multiple picture frames with our step-by-step guide! Our articles provide expert tips and advice to make your gallery wall installation a breeze.
(Many of the links in this article redirect to a specific reviewed product. Your purchase of these products through affiliate links helps to generate commission for Storables.com, at no extra cost. Learn more)
Introduction
Welcome to our guide on how to hang up multiple picture frames! Displaying a collection of pictures or artwork on your walls can greatly enhance the aesthetic appeal of your home or office. Whether you have a series of family photos, a collection of art prints, or a combination of both, arranging and hanging them can be a creative and satisfying task. However, it can also be a bit daunting if you’re unsure where to start or how to achieve a cohesive and balanced display.
In this article, we will provide you with step-by-step instructions on how to hang up multiple picture frames with precision and style. We’ll cover everything from choosing the right frames to final touches and tips for a professional-looking arrangement. By following these guidelines, you can create a visually stunning gallery wall, showcase your cherished memories, or exhibit your favorite artwork with confidence.
Before we dive into the details, it’s important to note that the process of hanging multiple picture frames requires careful planning and preparation. It’s essential to have a clear vision of how you want the finished display to look. Consider the overall theme, the size and shape of the frames, and the layout that best suits your space. With this in mind, let’s get started on transforming your empty walls into stunning showcases of visual delight!
Key Takeaways:
- Transform your walls into captivating showcases by carefully choosing frames, measuring, and aligning with attention to detail and balance. Enjoy the process and let your creativity shine!
- Create visually stunning displays that reflect your style and personality. Experiment with different arrangements, add personal touches, and maintain your display for longevity and visual appeal.
Read more: How To Hang Up Picture Frames Without Nails
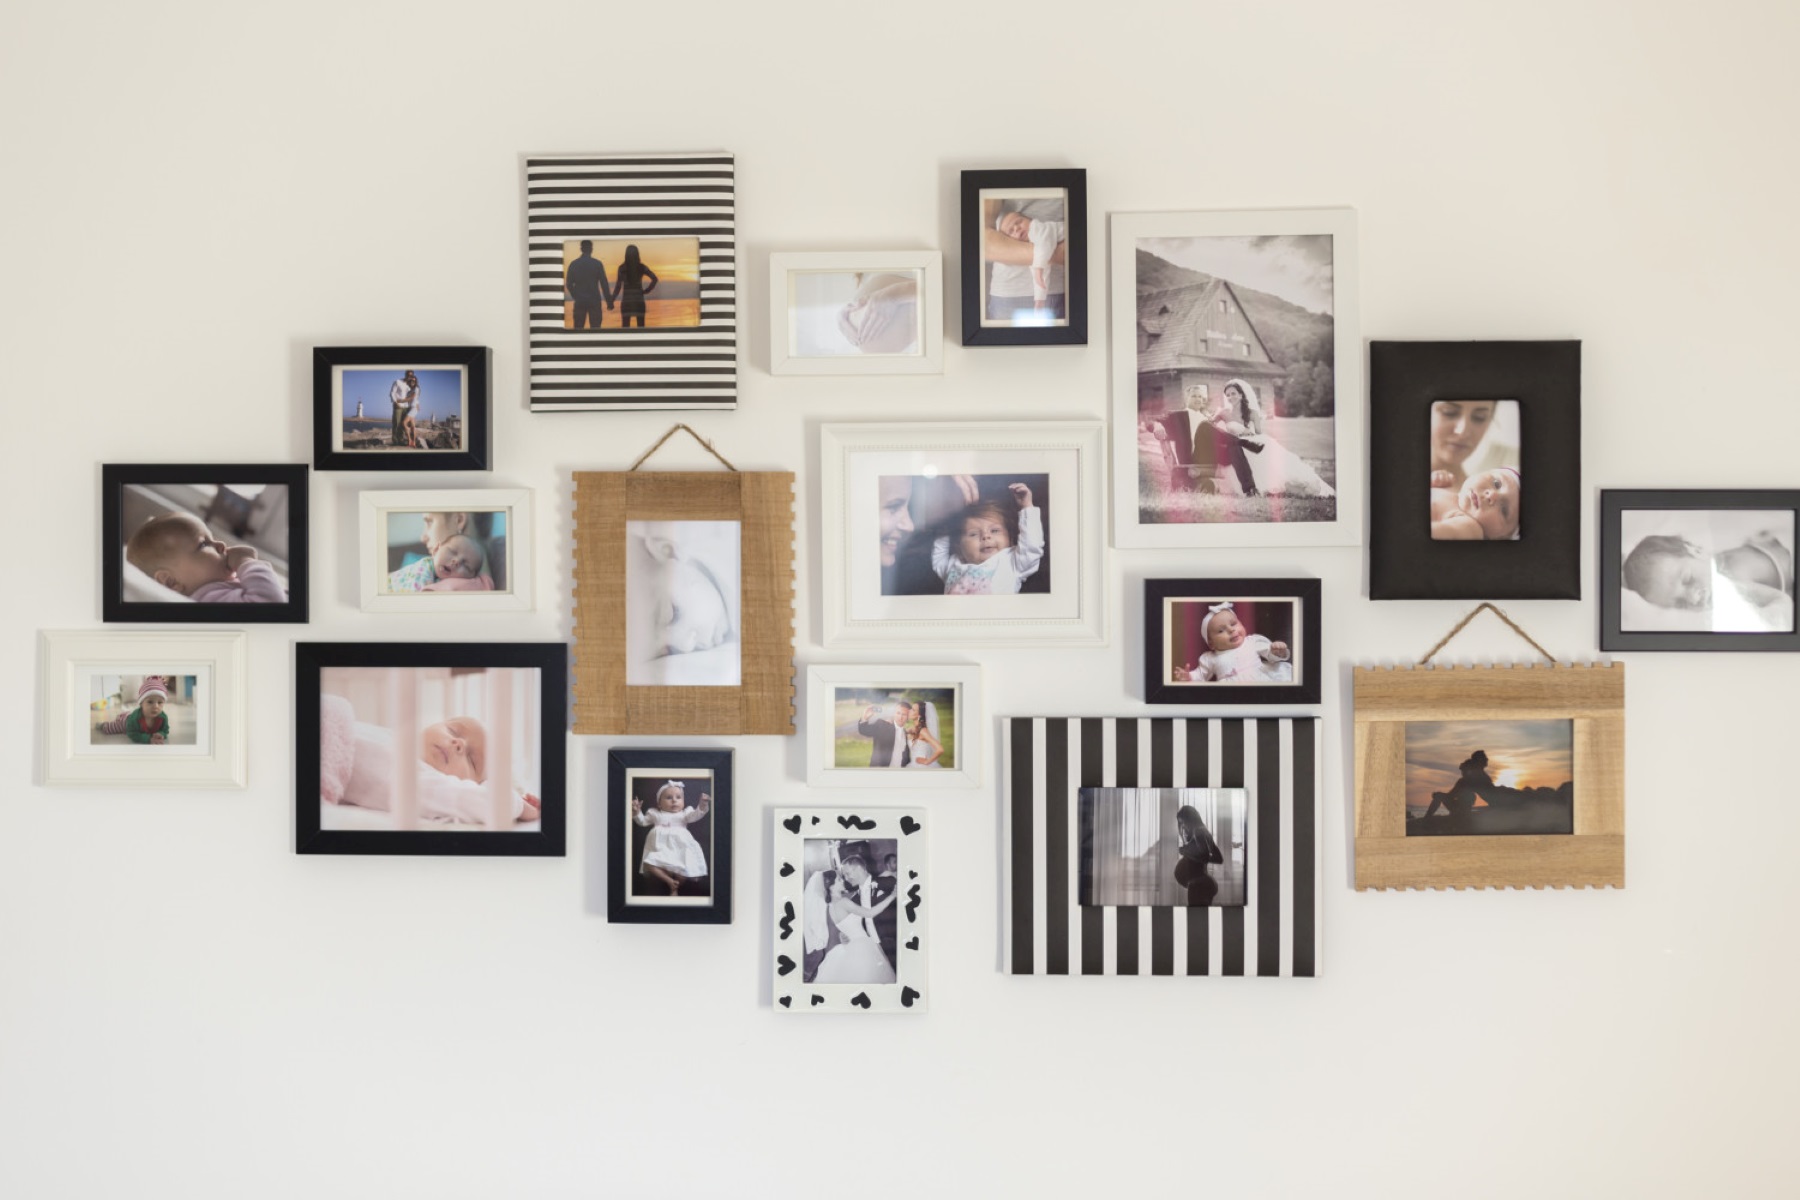
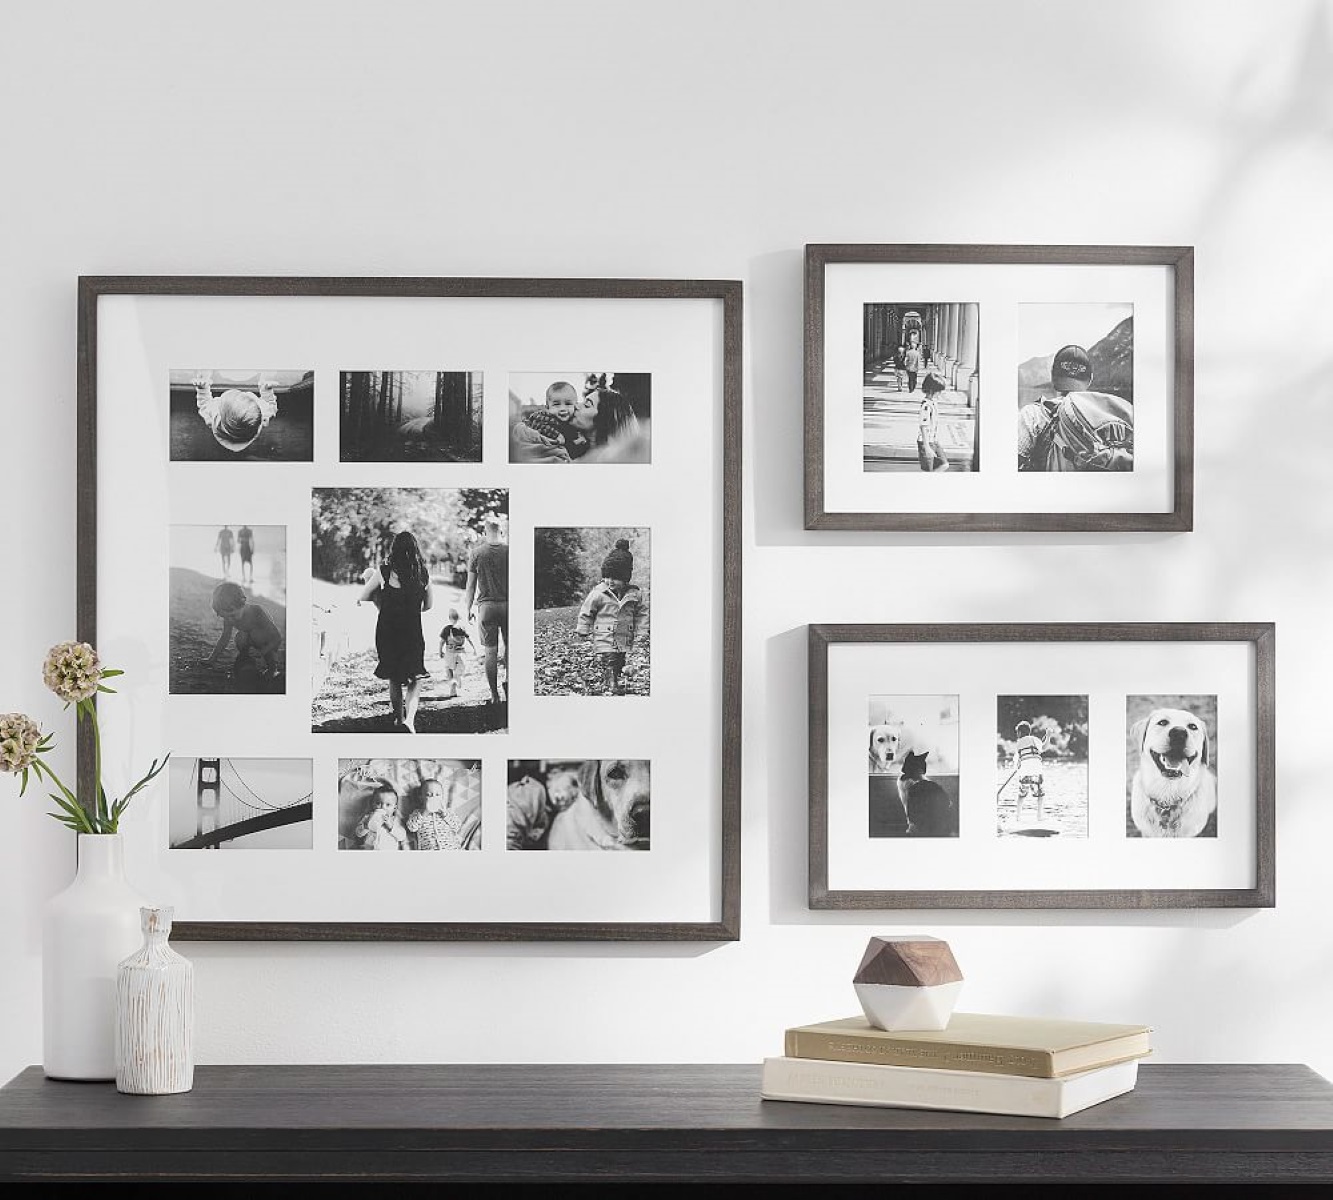
Choosing the Right Picture Frames
When it comes to hanging multiple picture frames, one of the first steps is selecting the right frames for your display. The frames you choose will greatly influence the overall look and feel of your wall arrangement. Here are some factors to consider when making your decision:
1. Style and Aesthetic: Think about the style and aesthetic you want to achieve with your picture frames. Are you going for a modern and sleek look or a vintage and eclectic vibe? Consider the colors, materials, and finishes that will complement the existing decor in your space.
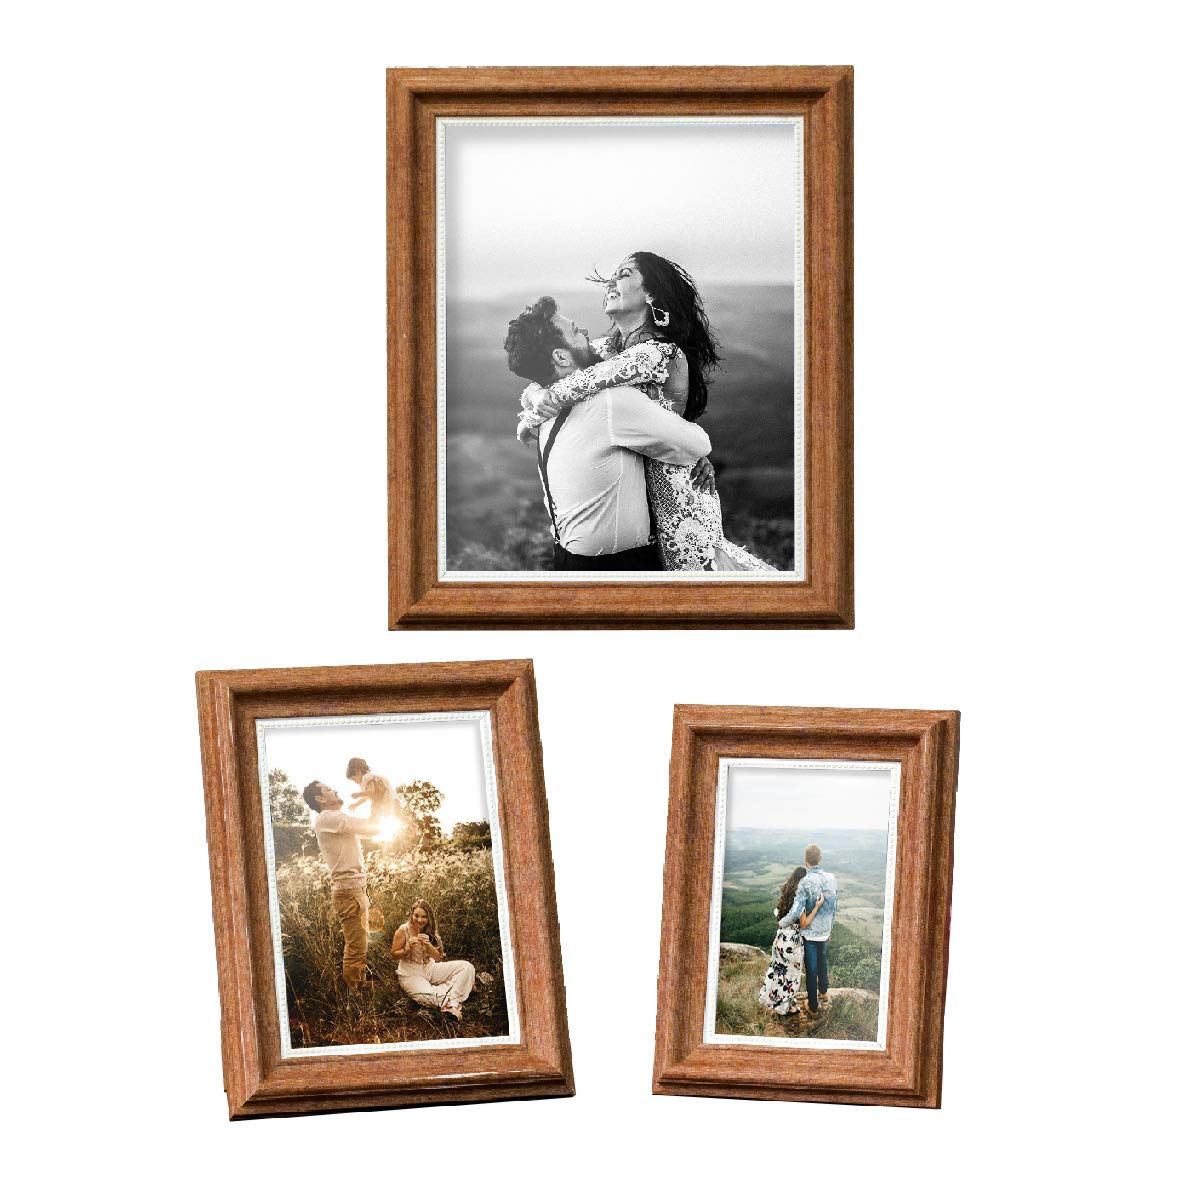
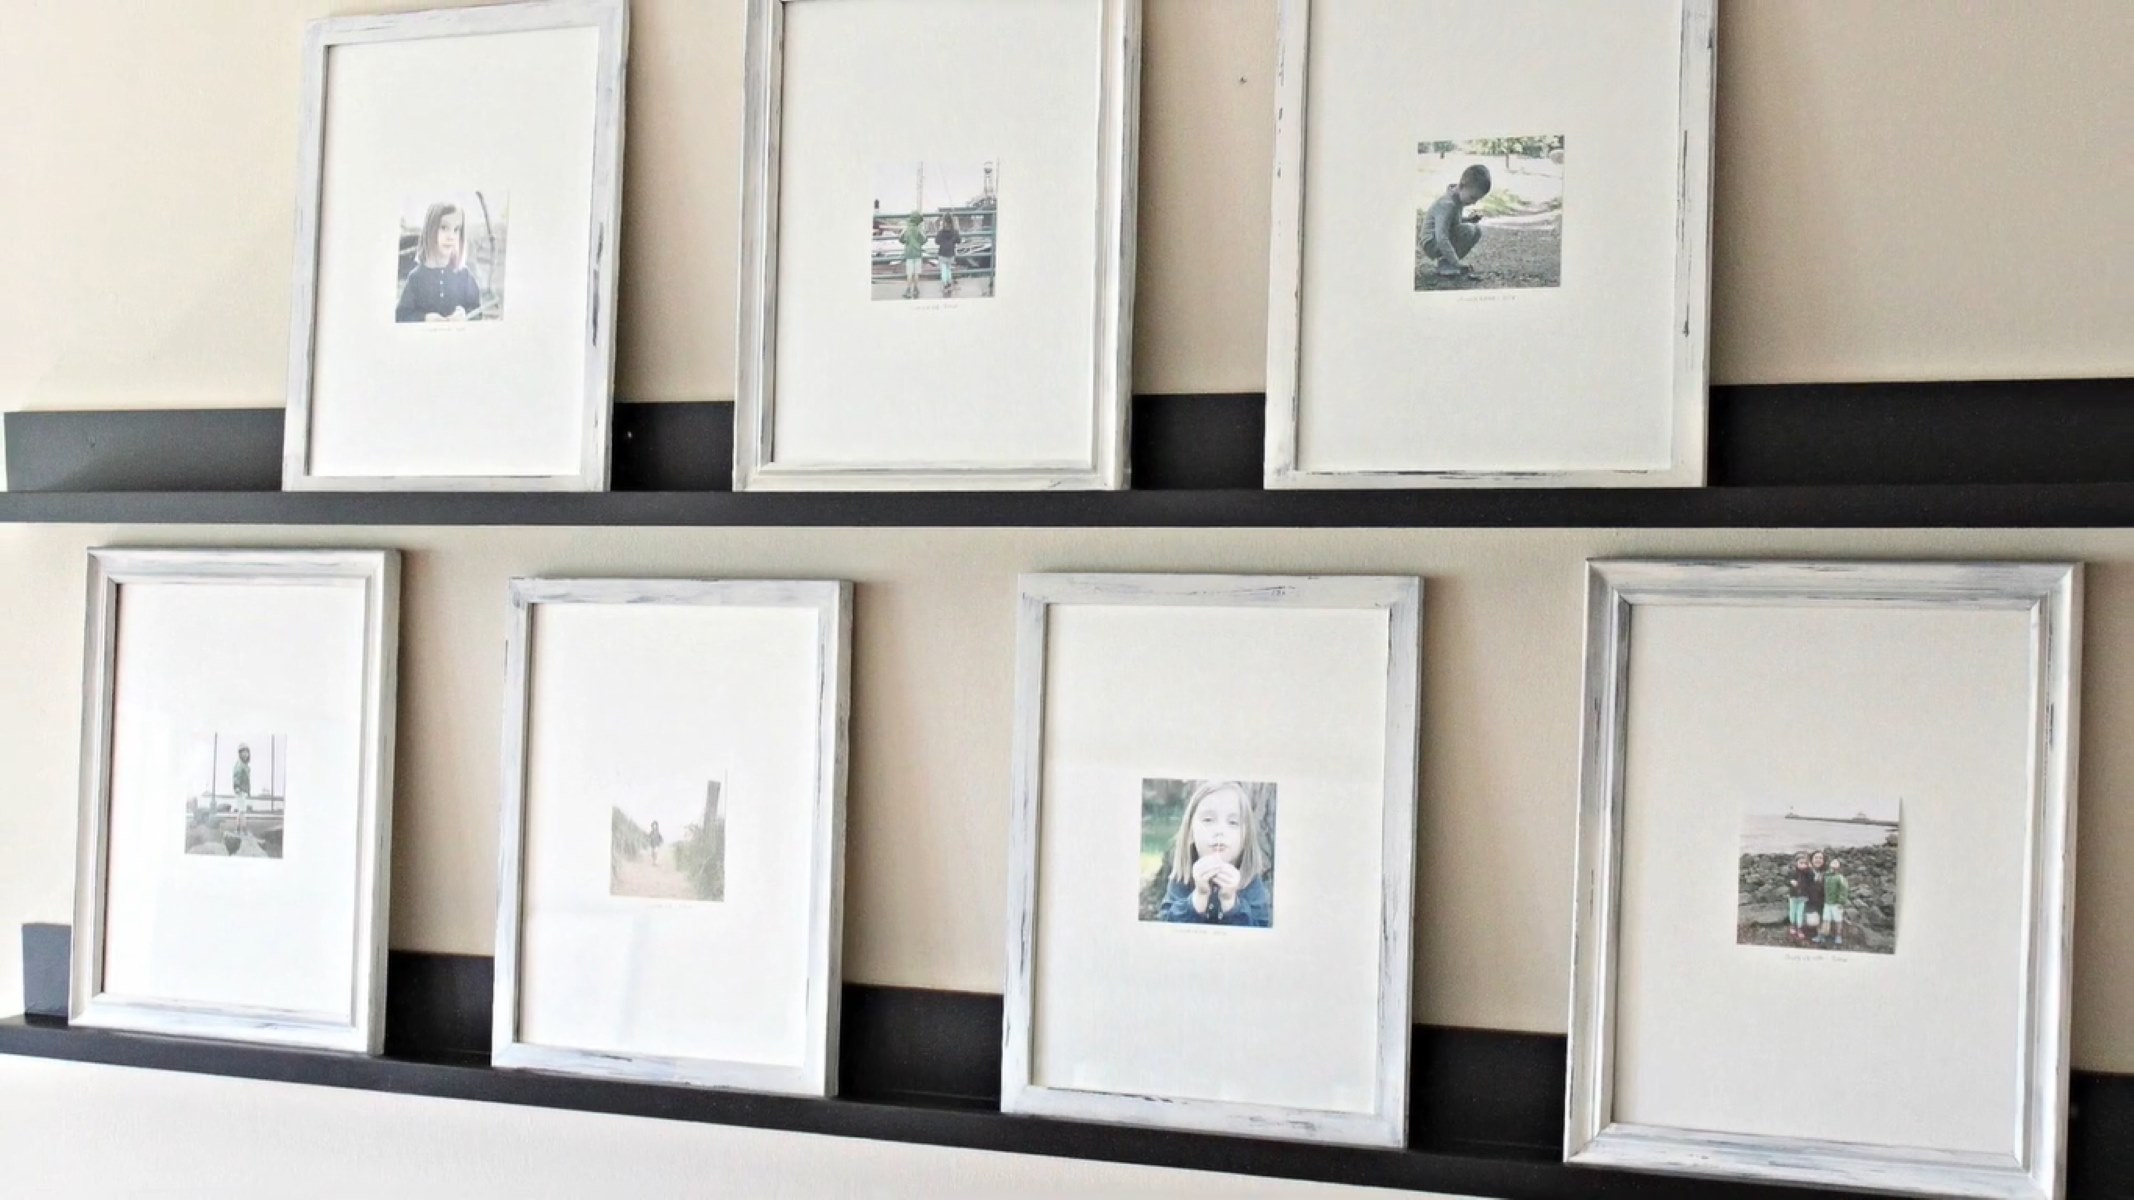
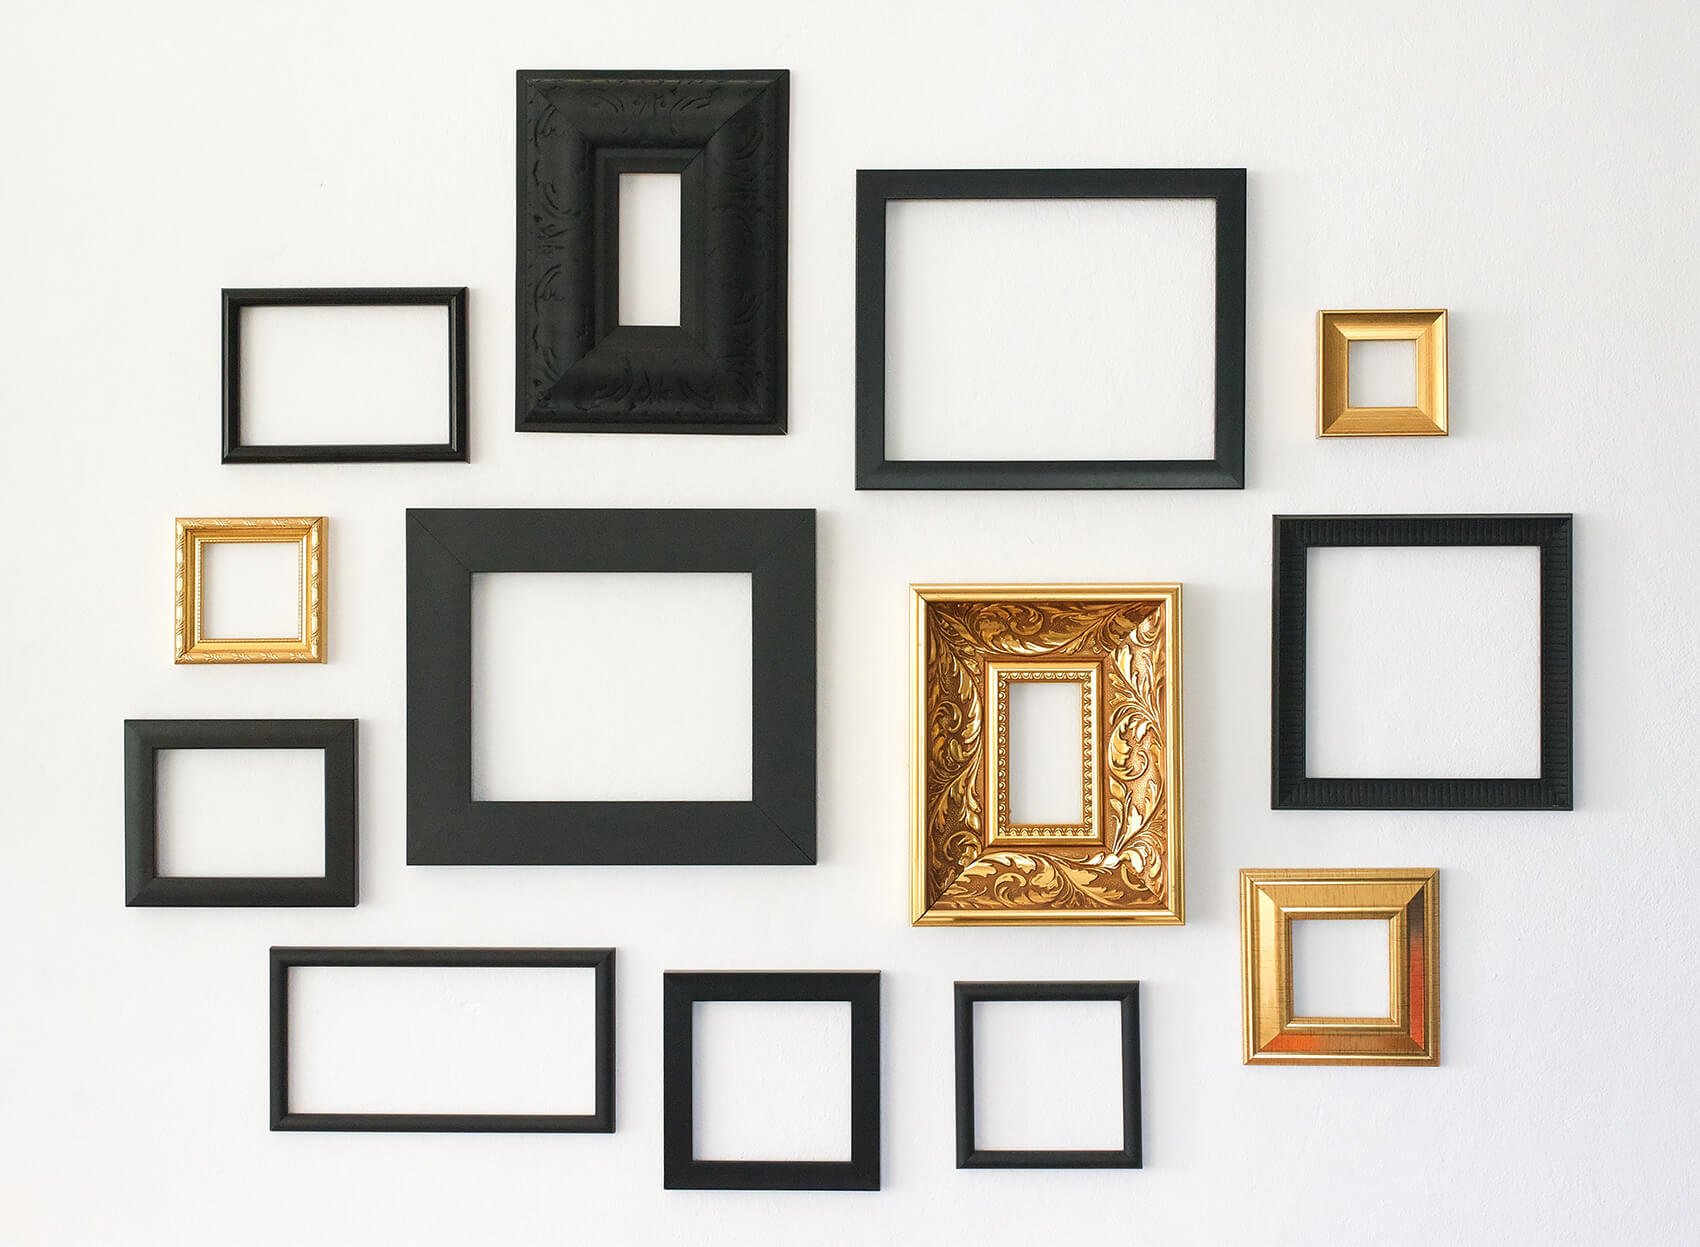
2. Frame Size and Shape: The size and shape of the frames will play a crucial role in determining the layout and visual balance of your gallery wall. Decide if you want all the frames to be the same size and shape for a uniform look, or if you prefer a mix of different sizes and shapes for a more eclectic display.
3. Matting: Matting can add depth and visual interest to your picture frames. Consider whether you want to include mats around your pictures, and if so, choose colors and widths that enhance the overall aesthetic of your display.
4. Frame Material: Picture frames are available in a variety of materials, including wood, metal, and plastic. Each material gives a different look and feel. Wood frames can add warmth and a classic touch, while metal frames can provide a sleek and sophisticated look. Choose a material that complements your chosen style and the decor of your space.
5. UV Protection: If you’re displaying photographs or artwork that are sensitive to light, consider frames with UV-protective glass or acrylic. This will help prevent fading and damage caused by harmful UV rays.
6. Budget: Determine your budget for picture frames and try to find options that fit within your price range. Remember, there are frames available at various price points, so you don’t have to break the bank to have a beautiful display.
By carefully considering these factors, you can choose picture frames that not only showcase your pictures and artwork but also enhance the overall aesthetic and ambiance of your space. Next, we’ll move on to measuring and marking the wall to ensure accurate placement of your frames.
Measuring and Marking the Wall
Before hanging your picture frames, it’s important to take accurate measurements and mark the wall accordingly. This will ensure that your frames are evenly spaced and aligned. Here’s how to go about it:
1. Clear the Wall: Start by removing any existing artwork or decorations from the wall where you plan to hang your frames. This will give you a clean canvas to work with.
2. Determine the Layout: Decide on the layout and arrangement of your frames. You may choose to have them evenly spaced in rows or create a more organic and artistic composition. Visualize how you want the finished display to look and plan accordingly.
3. Measure and Mark: Using a tape measure, measure the width and height of each frame. Then, transfer those measurements to the wall using a pencil or painter’s tape. Mark the top left corner of where each frame will be placed.
4. Add Spacing: Determine the desired spacing between each frame. This will depend on your personal preference and the size of the frames. Use a level or ruler to ensure that the spacing is consistent throughout the arrangement.
5. Double-Check Measurements: Before proceeding further, double-check your measurements and markings to ensure accuracy. It’s better to catch any errors at this stage than after you’ve started hanging the frames.
6. Consider the Center: If you’re hanging frames in a specific area, such as above a piece of furniture or centered on a wall, consider the center point of that area. Start by hanging the middle frame at the desired height and work outward from there.
By taking the time to measure and mark your wall with precision, you’ll ensure that your picture frames are positioned exactly as you envisioned. Once the wall is properly marked, you’re ready to gather the necessary tools for hanging the frames.
Gathering the Necessary Tools
Before you can start hanging your picture frames, it’s important to gather the necessary tools to make the process easier and more efficient. Here are some essential tools you’ll need:
1. Hammer: A hammer is an indispensable tool for hanging picture frames. Make sure to choose a hammer with a comfortable grip and a claw for removing nails if needed.
2. Nails: Select nails that are appropriate for the weight and size of your frames. For lighter frames, consider using picture hanging nails or small finishing nails. For heavier frames, use nails with appropriate weight-bearing capacity.
3. Picture Hanging Hooks: Picture hanging hooks are specially designed hooks with nails attached. They provide a secure and easy way to hang frames on the wall. Choose hooks that are suitable for the weight of your frames.
4. Level: A level is an essential tool for ensuring that your frames are properly aligned and straight. It will help you achieve a professional and visually pleasing display on your wall.
5. Pencil or Marker: You’ll need a pencil or marker to mark the placement of the hooks or nails on the wall. Make sure to choose one that is easily visible and erasable, especially if you’re marking on light-colored walls.
6. Measuring Tape or Ruler: A measuring tape or ruler will come in handy for accurately measuring the spacing between frames and ensuring precise placement on the wall.
7. Wall Anchors (if necessary): If you’re hanging frames on drywall or a plaster wall, it’s important to use wall anchors to provide extra support. Choose anchors that are appropriate for the weight of your frames.
8. Safety Equipment: Although not directly related to hanging picture frames, it’s always a good idea to have proper safety equipment on hand. This may include safety goggles, gloves, and a ladder or step stool if needed.
By having these tools readily available, you’ll be well-prepared to hang your picture frames efficiently and securely. With the tools in hand, let’s move on to determining the hanging method for your frames.
Determining the Hanging Method
When it comes to hanging multiple picture frames, there are various methods you can use to ensure that your frames are securely mounted on the wall. The method you choose will depend on the weight and size of your frames, as well as the type of wall you’re working with. Here are some common hanging methods to consider:
1. Picture Hanging Hooks: Picture hanging hooks are a popular and easy-to-use option for hanging frames. They typically have built-in nails or hooks that you insert into the wall at the desired location. Choose hooks that are suitable for the weight of your frames and follow the manufacturer’s instructions for installation.
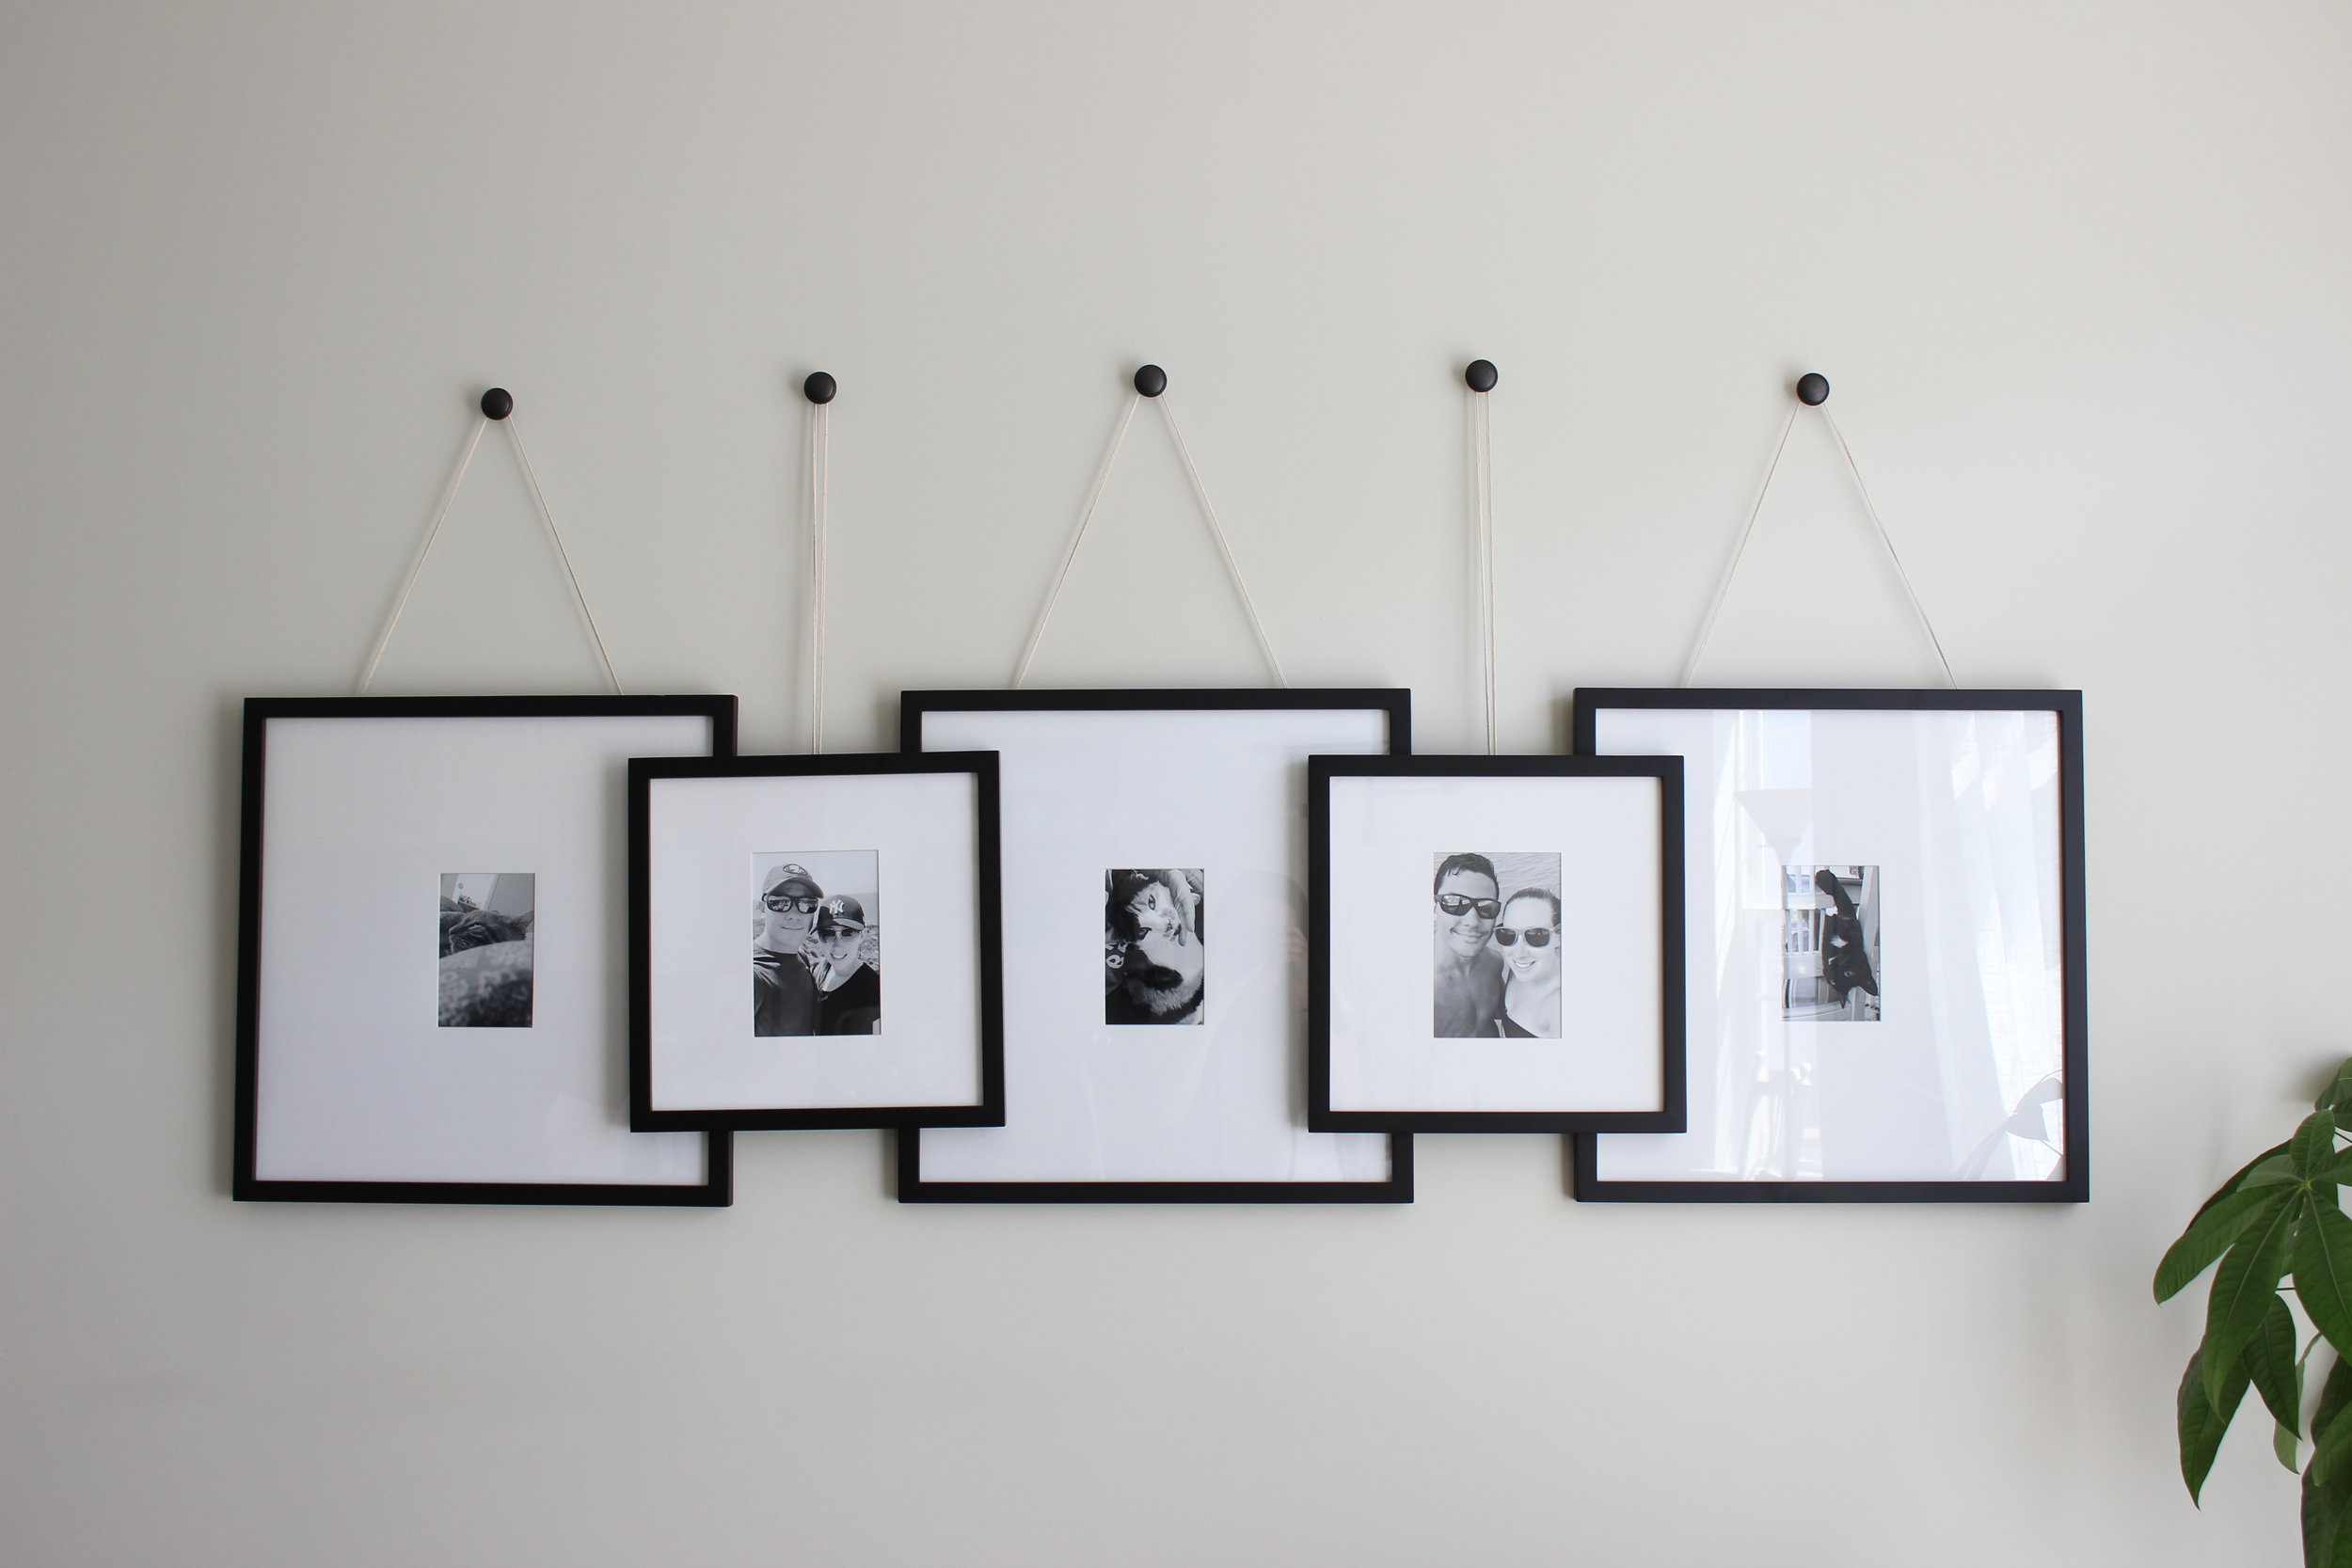
2. Nail and Wire Method: If your frames have wire or sawtooth hangers on the back, you can use the nail and wire method for hanging them. Insert nails into the marked spots on the wall and hang the frames by their wires or hangers.
3. Adhesive Hooks: Adhesive hooks can be a good option for lightweight frames or if you don’t want to put nails or holes in the wall. Make sure to choose adhesive hooks that are designed for hanging pictures and follow the instructions for applying them to the wall.
4. Wall Anchors: For heavier frames or if you’re working with drywall or plaster walls, it’s important to use wall anchors for added support. Drill a hole into the wall, insert the anchor, and then screw in the hook or hanger for hanging the frame.
5. French Cleat System: The French cleat system is a more robust and secure method for hanging larger, heavier frames. It involves two interlocking brackets—one attached to the frame and the other to the wall. This method provides excellent stability and prevents the frame from tilting or falling.
Consider the weight, size, and style of your frames when determining the appropriate hanging method. If you’re unsure or have delicate or valuable artwork, it’s always best to consult with a professional art installer or a knowledgeable hardware store employee for guidance.
Once you’ve determined the hanging method for your frames, you’re ready to move on to actually hanging the first picture frame on the wall.
Use a level to ensure your picture frames are hung straight. Start by hanging the center frame at eye level, then work outward, spacing frames evenly. Use picture hanging hooks for easy adjustment.
Read more: How To Put Up Picture Frames
Hanging the First Picture Frame
Now that you’ve chosen the right picture frames and determined the hanging method, it’s time to hang the first frame on the wall. This step will serve as the starting point for arranging and aligning the rest of your frames. Follow these steps for a successful first hanging:
1. Locate the Marked Spot: Find the marked spot on the wall where you plan to hang the first picture frame. This should be the top left corner of the frame, as marked during the measuring and marking stage.
2. Insert the Nail, Hook, or Anchor: Depending on the hanging method you’ve chosen, gently insert the nail, hook, or anchor into the wall at the marked spot. If using a nail or hook, angle it slightly upward for added stability.
3. Hang the Frame: Carefully lift the picture frame and place it onto the nail, hook, or anchor. Ensure that the frame is level and align it with the markings on the wall. Gently adjust the position until you’re satisfied with the placement.
4. Check for Levelness: Use a level to confirm that the picture frame is perfectly level. If it’s not, make slight adjustments until it is. This will ensure that the subsequent frames will also be level and aligned.
5. Secure the Frame: Once you’re satisfied with the placement and levelness, press the frame against the wall to secure it firmly in place. If necessary, apply gentle pressure or use a small hammer to further secure the nail, hook, or anchor.
By taking your time and following these steps, you’ll successfully hang the first picture frame on the wall. Now, it’s time to move on to aligning and hanging the additional picture frames to create a cohesive and visually appealing arrangement.
Aligning and Hanging Additional Picture Frames
With the first picture frame securely hung on the wall, it’s time to align and hang the additional frames to create a visually appealing arrangement. Follow these steps to ensure proper alignment and spacing:
1. Measure and Mark Spacing: Measure and mark the desired spacing between the first frame and the one next to it. Use a level or ruler to ensure the measurements are accurate. This will help maintain consistency throughout the arrangement.
2. Hang the Adjacent Frame: Using the same hanging method as before, hang the adjacent frame on the marked spot. Make sure it is level and aligns with the previous frame. Adjust as needed to achieve proper alignment.
3. Repeat the Process: Continue measuring, marking, and hanging the remaining frames, working your way across or down the wall. Use a level to confirm that each frame is straight and aligned with the others in the arrangement.
4. Step Back and Assess: Once all the frames are hung, step back and assess the overall look of the arrangement. Make any necessary adjustments to ensure the frames are evenly spaced and visually harmonious.
5. Consider Alternative Arrangements: If you’re not satisfied with the initial arrangement, don’t be afraid to experiment with different layouts. You can try different spacing, angles, or even create a grid or asymmetrical arrangement for added visual interest.
Remember, the goal is to create a cohesive and balanced display that showcases your pictures or artwork. Take your time with the alignment and spacing, and don’t hesitate to make adjustments until you achieve the desired look.
Next, let’s move on to ensuring proper leveling of the picture frames for a polished and professional appearance.
Ensuring Proper Leveling
Proper leveling of your picture frames is crucial for achieving a polished and professional appearance. A well-leveled arrangement not only enhances the visual appeal but also shows attention to detail. Follow these steps to ensure that your frames are level:
1. Use a Level: Start by using a level to check each individual frame for levelness. Place the level on top of the frame or along its edges to determine if it is perfectly horizontal or vertical.
2. Make Adjustments: If a frame is not level, gently adjust it by lifting or lowering one side until it aligns with the level indicator. This may require slight repositioning or tapping the frame into place with a soft hammer or your hand.
3. Check Alignment: Once individual frames are level, step back and check the alignment of the entire arrangement. Use a level to ensure that the tops and sides of the frames are in perfect alignment with each other.
4. Use Hanging Hardware: If your frames have built-in hanging hardware like wire, ensure that it is properly tightened and adjusted. Uneven tension in the wire can cause frames to hang crookedly, even if they are level individually.
5. Reassess: After making any adjustments, take a step back again and assess the overall leveling and alignment. Recheck each frame and make additional tweaks as necessary until you are satisfied with the final result.
Remember, achieving perfect levelness may require some trial and error, but it’s worth the effort. It’s important to be patient and meticulous during this process, as proper leveling will greatly enhance the visual impact of your arrangement.
With the frames properly leveled, you’re almost done! Let’s move on to the final touches and some additional tips to help you create a stunning display.
Final Touches and Tips
As you near the completion of hanging multiple picture frames, there are a few final touches and additional tips to consider for a truly impressive display. Let’s explore them below:
1. Finishing Nails: If there are any visible nails or hooks on the wall, you can use decorative finishing nails or hooks to enhance the overall aesthetics. Choose styles that complement the frames and add a touch of elegance to the display.
2. Arrange with Balance: When arranging your frames, strive for balance and symmetry. Consider the sizes, shapes, and colors of the frames to create a visually pleasing composition. You can play with arrangements like a focal point, a grid pattern, or an asymmetrical design. Trust your instincts and experiment until you achieve the desired balance.
3. Add Personal Touches: Consider adding personal touches to your picture frame display. This can include small decorative items or mementos that relate to the pictures or artwork being showcased. These personal touches can add a unique and meaningful element to your arrangement.
4. Lighting: Proper lighting can significantly enhance the impact of your picture frames. Consider incorporating ambient or accent lighting to highlight certain frames or create a cozy ambiance. This will draw attention to your display and add depth to the overall arrangement.
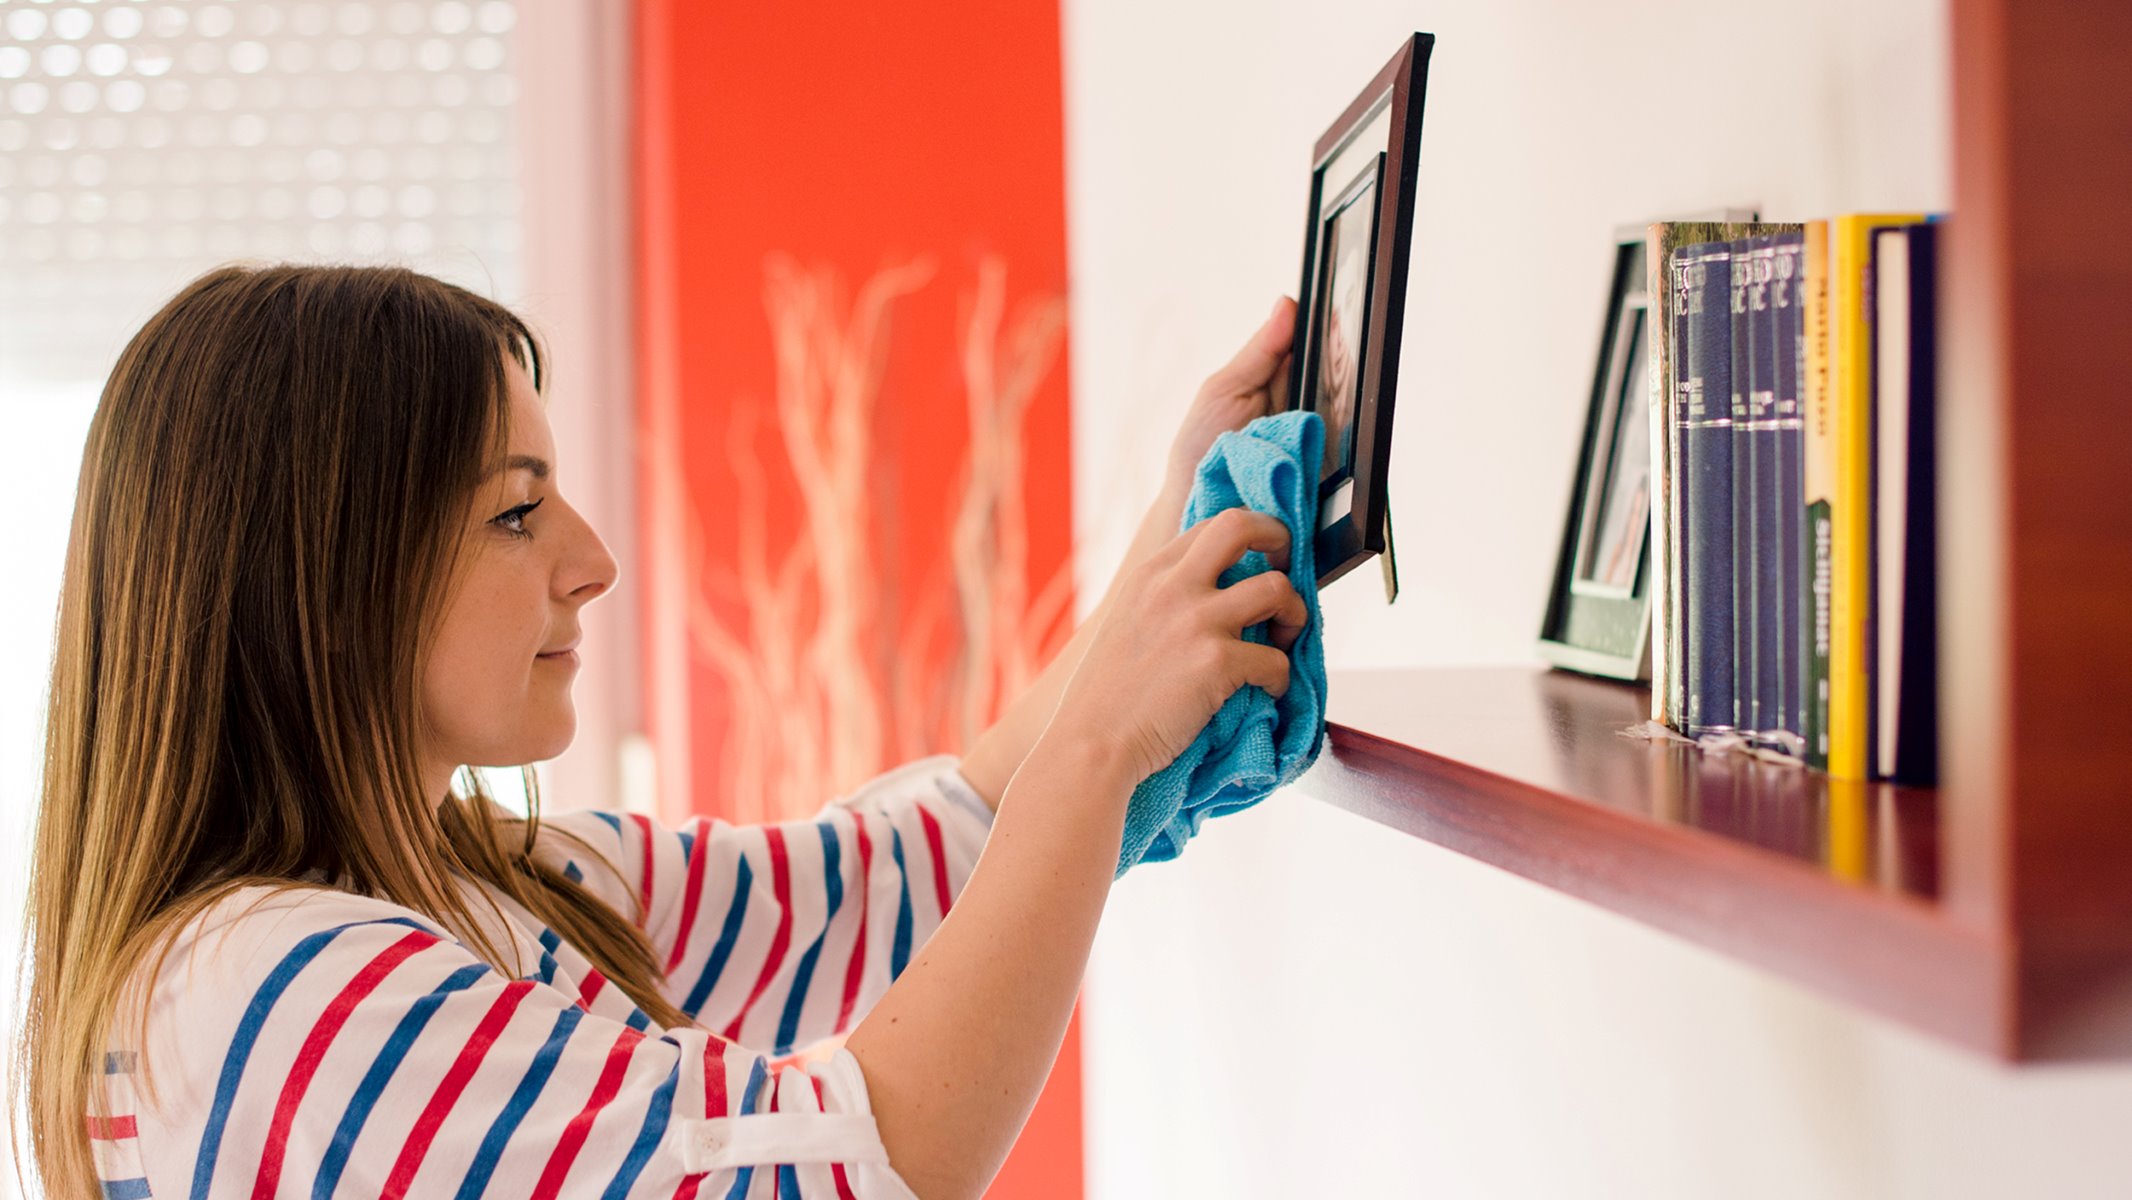
5. Regular Maintenance: Keep your picture frames looking their best by regularly dusting and cleaning them. This will help preserve the integrity of the frames and ensure that your display remains visually appealing over time.
6. Step Back and Appreciate: Once all the finishing touches are in place, take a step back and appreciate your beautifully arranged display. Admire the memories captured in the pictures or the beauty of the artwork. Your efforts in hanging multiple picture frames have transformed your walls into a captivating and personal gallery.
Remember, the key to successfully hanging multiple picture frames is careful planning, attention to detail, and patience. By following these tips and guidelines, you’ll create a visually pleasing display that reflects your unique style and showcases your cherished memories or favorite artwork.
Now it’s time to step back, enjoy your handiwork, and bask in the joy of a beautifully arranged collection of picture frames.
Wrap up the article with a concluding sentence.
Read more: How To Hang Pictures Up Stairs
Conclusion
Hanging up multiple picture frames can transform your walls into stunning displays that capture cherished memories or showcase your favorite artwork. By carefully choosing the right frames, measuring and marking the wall, gathering the necessary tools, determining the hanging method, and following proper leveling techniques, you can create a visually appealing arrangement that enhances the overall aesthetics of your space.
Throughout the process, it’s important to pay attention to detail and strive for balance and symmetry in your arrangement. Take the time to step back and assess the alignment and spacing of the frames, making necessary adjustments to achieve a cohesive look. Don’t forget to add personal touches, consider lighting options, and regularly maintain your display for longevity and visual appeal.
Remember, hanging multiple picture frames is not just about displaying pictures or artwork; it’s about creating a meaningful and visually stunning gallery that reflects your style and personality. Enjoy the process, experiment with different arrangements, and let your creativity shine!
Now that you have the knowledge and guidance, it’s time to grab your tools, select your favorite frames, and turn your walls into captivating showcases of memories and art. Have fun and enjoy the transformative power of multiple picture frames!
Frequently Asked Questions about How To Hang Up Multiple Picture Frames
Was this page helpful?
At Storables.com, we guarantee accurate and reliable information. Our content, validated by Expert Board Contributors, is crafted following stringent Editorial Policies. We're committed to providing you with well-researched, expert-backed insights for all your informational needs.


0 thoughts on “How To Hang Up Multiple Picture Frames”