
Articles
How To Hang Up Picture Frames Without Nails
Modified: August 26, 2024
Discover the best tips and tricks for hanging up picture frames without nails in our informative articles. Transform your space with these simple and creative solutions!
(Many of the links in this article redirect to a specific reviewed product. Your purchase of these products through affiliate links helps to generate commission for Storables.com, at no extra cost. Learn more)
Introduction
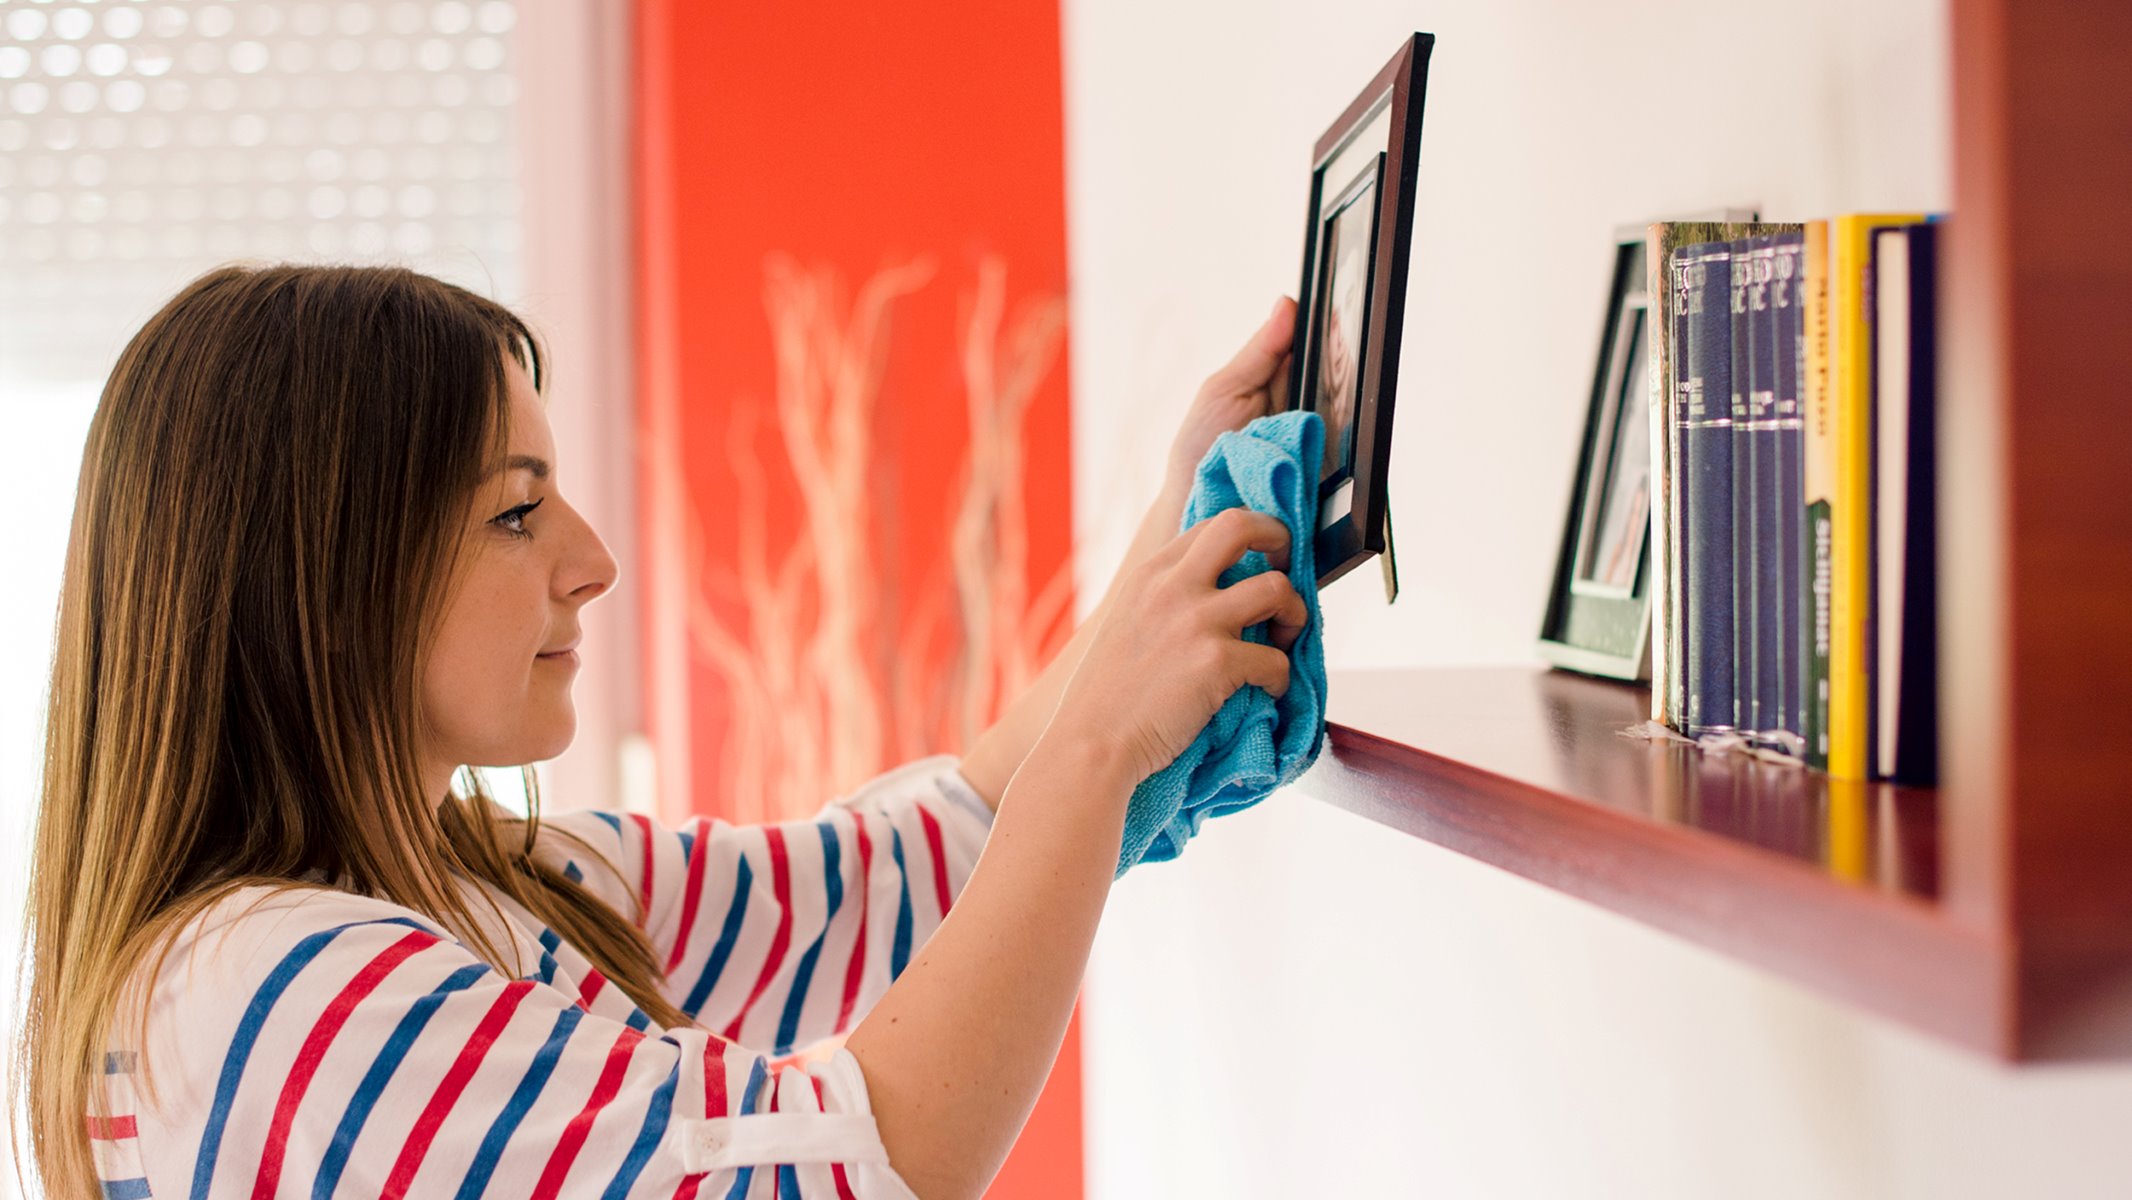
When it comes to decorating your home or office, hanging up picture frames is a great way to add a personal touch and showcase your favorite memories. However, many people are hesitant to use nails or screws to hang their frames, especially if they are renting or worried about damaging the walls.
The good news is that there are several alternative methods for hanging up picture frames without nails, which are not only convenient but also do not require any drilling or permanent damage to your walls. In this article, we will explore eight different options that will allow you to securely hang your picture frames, regardless of the surface you are working with.
Key Takeaways:
- Say goodbye to nails and screws! From adhesive hooks to over-the-door hangers, there are numerous non-permanent options for hanging picture frames without damaging your walls. Get creative and personalize your space hassle-free.
- Versatile and damage-free solutions abound! Whether you’re a renter or simply prefer non-permanent options, explore adhesive hooks, tension rods, wire hanging systems, and more to securely hang picture frames without nails.
Read more: How To Hang Up Multiple Picture Frames
Option 1: Adhesive Hooks
One of the simplest and most popular methods for hanging up picture frames without nails is by using adhesive hooks. These hooks are designed with sticky backing that adheres to various surfaces, including painted walls, tiles, glass, and more.
To use adhesive hooks, start by cleaning the surface where you want to hang your picture frame. Make sure it is free of dust and debris. Then, remove the backing from the hook and press it firmly against the wall for a few seconds to ensure proper adhesion.
It is important to choose adhesive hooks that are strong enough to hold the weight of your picture frame. Consult the packaging or labels to determine the weight capacity of the hooks. If you have a heavier frame, consider using multiple hooks spaced evenly along the top edge to distribute the weight.
When you are ready to remove the adhesive hooks, gently pull down the tab or use a hairdryer to apply heat to the adhesive. This will soften the glue and make it easier to remove without damaging the wall surface. However, it is always a good idea to test a small area first to ensure that the adhesive does not cause any damage.
Adhesive hooks are available in a variety of sizes and designs, allowing you to choose the most suitable option for your picture frame. Some hooks even come with decorative features, such as brushed metal finishes or colorful patterns, adding an extra touch of style to your hanging display.
Keep in mind that adhesive hooks may not be suitable for all surfaces, such as rough or textured walls. It is always a good idea to read the instructions and recommendations provided by the manufacturer to ensure proper usage and avoid any potential damage.
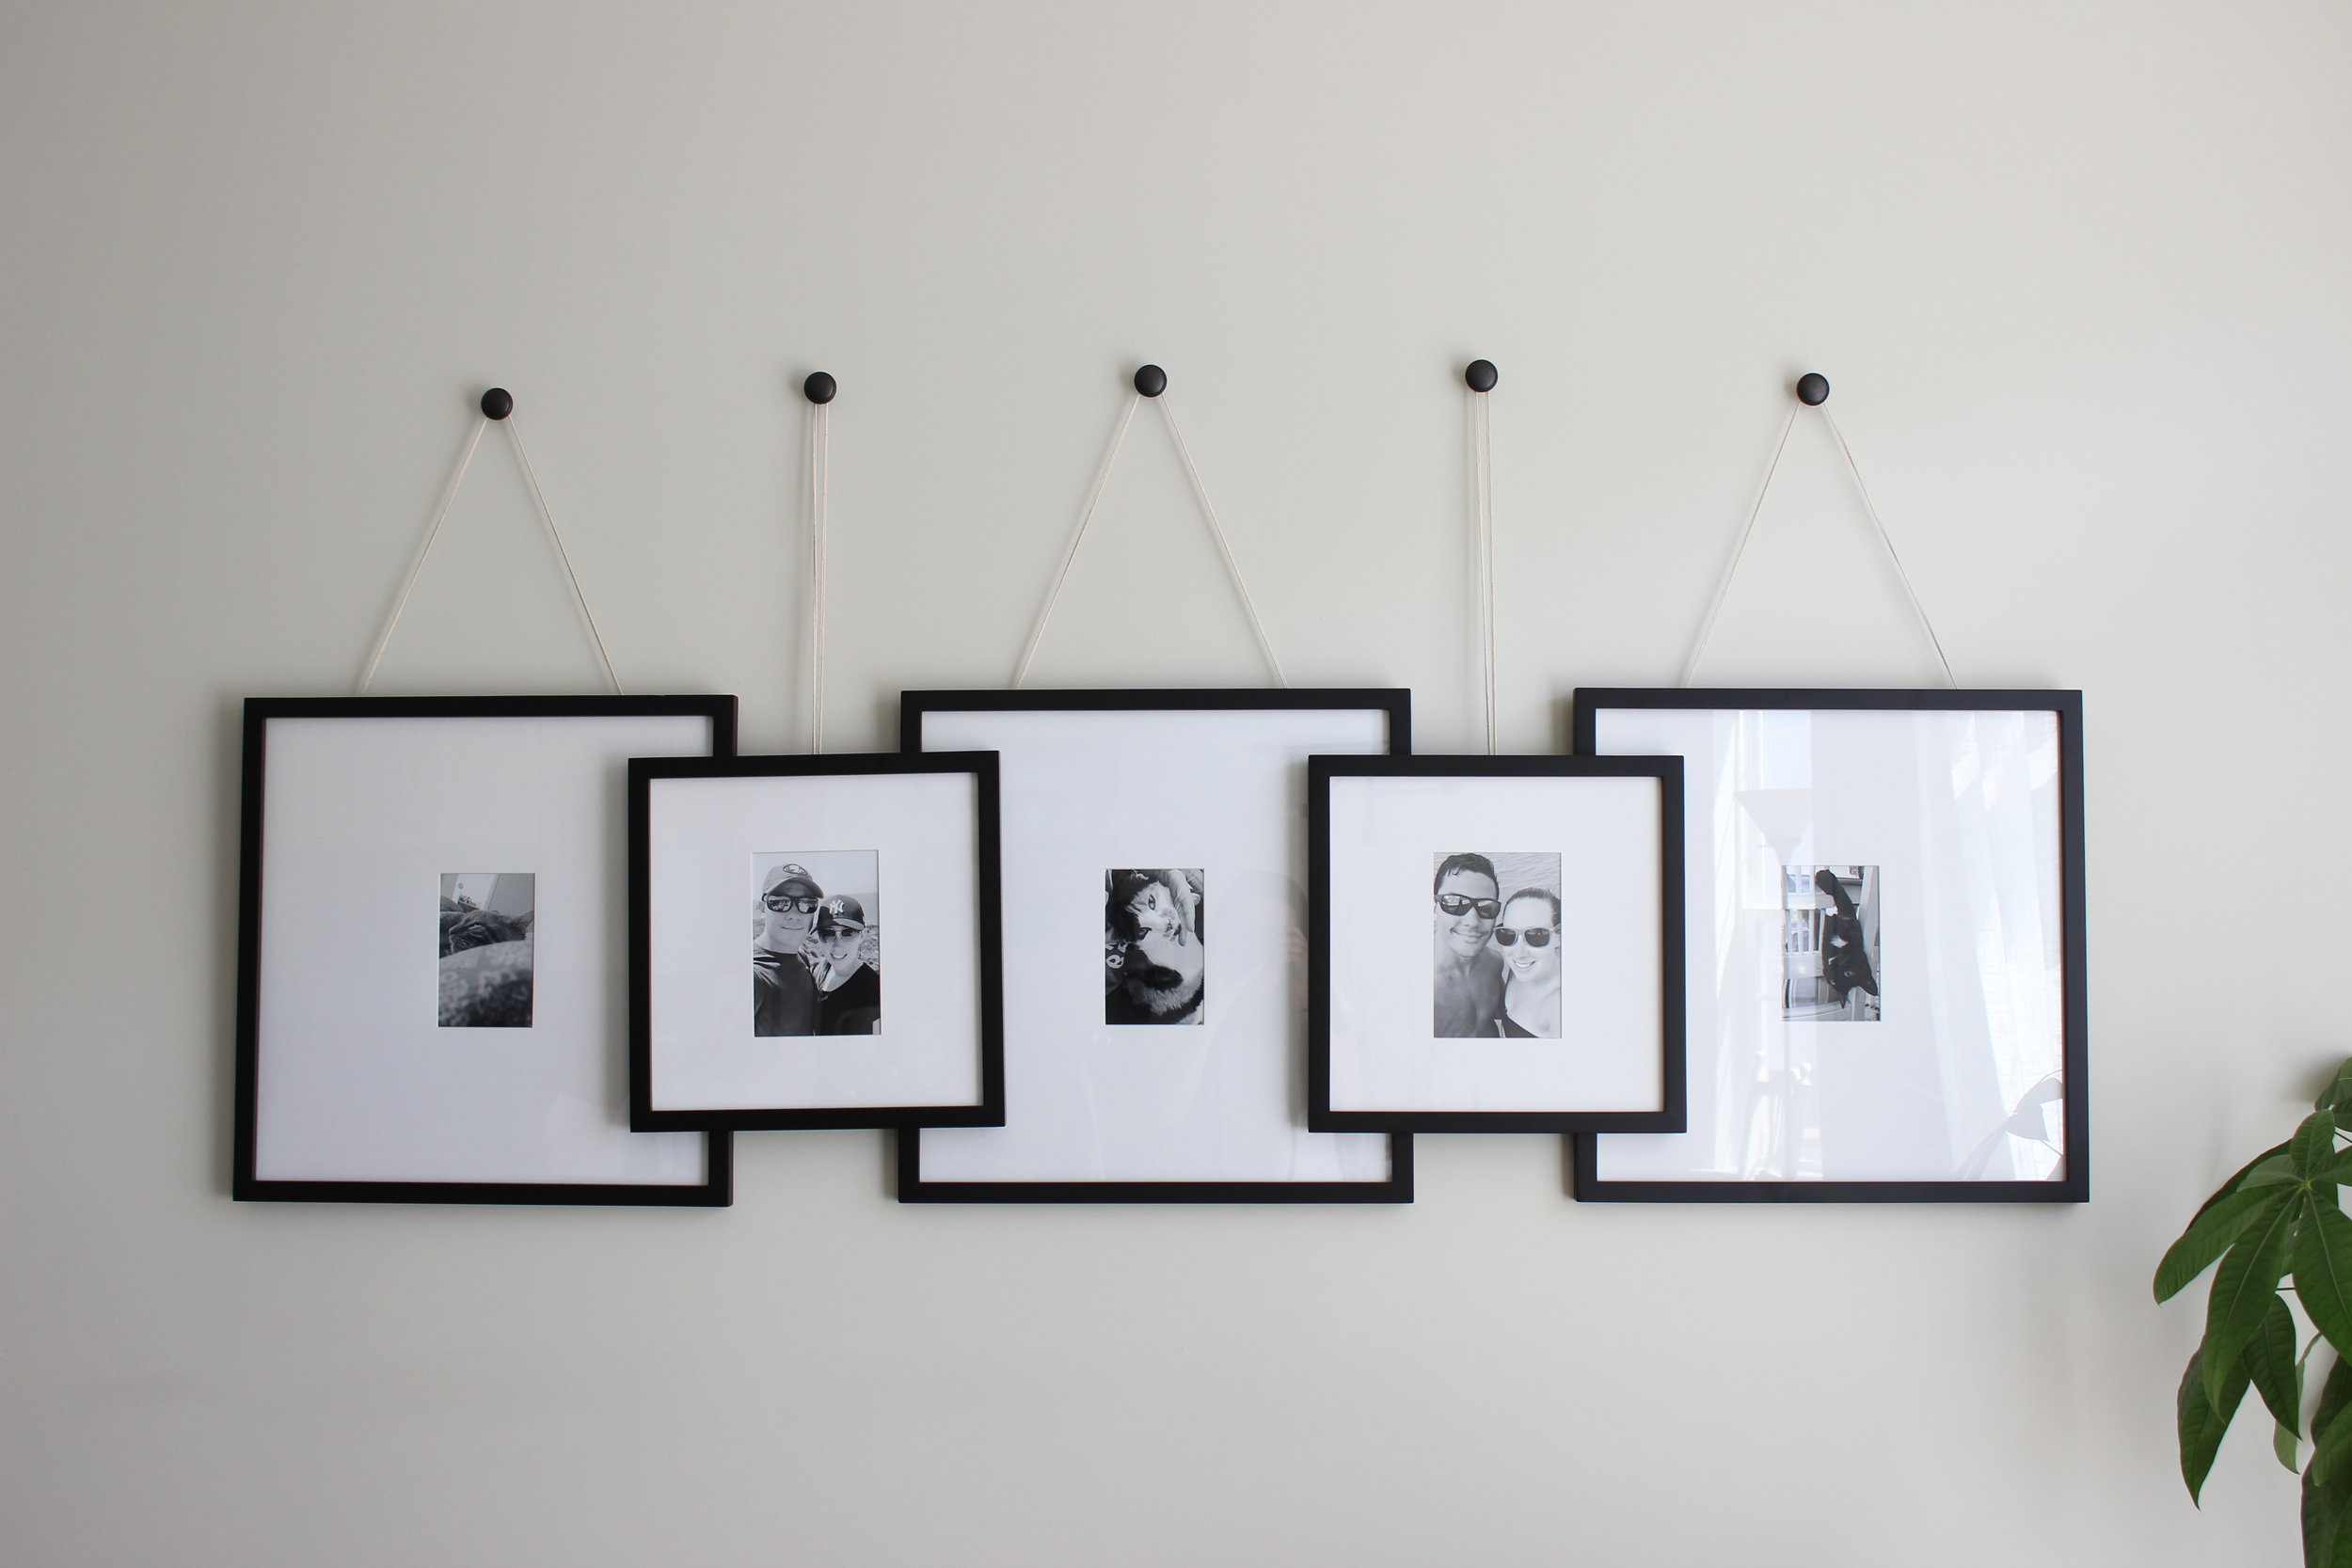
Option 2: Picture Hanging Strips
If you’re looking for a hassle-free and damage-free option for hanging up picture frames, picture hanging strips are an excellent choice. These strips are specially designed to securely hold your frames and can be easily removed without leaving any residue or marks on your walls.
Picture hanging strips consist of two parts: one part attaches to the back of your picture frame, while the other part adheres to the wall surface. The strips are interlocked together, creating a strong bond that keeps your frame securely in place.
To use picture hanging strips, start by cleaning the wall surface with rubbing alcohol to ensure optimal adhesion. Then, apply the strips to the back of your frame, following the instructions provided by the manufacturer. Make sure to press firmly to ensure a secure attachment.
When hanging your picture frame, align the strips on the frame with those on the wall and press them together firmly. The adhesive strength of picture hanging strips allows them to hold a significant amount of weight, so you can confidently display even larger or heavier frames.
One of the advantages of picture hanging strips is their versatility. They can be used on various surfaces, including painted walls, tiles, and even wood. Additionally, they can easily be adjusted or repositioned if you want to change the placement of your frames without hassle.
If you decide to remove your picture frame, simply grasp the bottom corners and gently pull the frame away from the wall. The adhesive strips will release their grip, and you can remove them without any damage or residue left behind.
It’s worth mentioning that picture hanging strips come in different weight capacities. Be sure to choose the appropriate strips for your frame’s weight and follow the manufacturer’s guidelines to ensure a secure hanging experience.
Overall, picture hanging strips provide a convenient and reliable solution for hanging up picture frames without nails. They offer the flexibility to reposition frames and provide a clean and damage-free removal option, making them a great choice for renters or those who frequently change their wall decor.
Option 3: Command Hooks
Command hooks are another popular and versatile option for hanging up picture frames without nails. These hooks are designed with a unique adhesive backing that allows them to be securely attached to a variety of surfaces, including painted walls, wood, and tiles.
To use command hooks, start by cleaning the surface where you want to attach the hook with rubbing alcohol. This will help ensure a strong bond between the adhesive and the wall. Then, remove the backing from the adhesive strip and press the hook firmly against the wall for about 30 seconds to ensure proper adhesion.
Command hooks come in various sizes and weight capacities, making it easy to choose the right hook for your picture frame. Be sure to check the packaging or labels to determine the maximum weight that a specific hook can hold. If you have a larger or heavier frame, consider using multiple hooks to distribute the weight evenly.
One of the advantages of using command hooks is that they can be easily removed without leaving any residue or damage to the wall surface. To remove the hook, simply hold the base and pull the tab downward slowly and evenly, parallel to the wall. This will stretch the adhesive strip, releasing its grip and allowing you to remove the hook without any hassle.
If you ever need to reposition the hook or want to remove it permanently, command hooks offer excellent flexibility and won’t damage the wall surface when properly removed. It is always a good idea to follow the instructions provided by the manufacturer to ensure proper usage and removal.
In addition to the basic adhesive hooks, command hooks also come in various styles and designs to suit different needs. Some hooks have a more decorative appearance, making them an attractive option for displaying your picture frames while providing the functionality you need.
Whether you want to hang up small frames or larger artworks, command hooks offer a secure and convenient solution without the need for nails or screws. They are a great option for anyone looking for a temporary or non-permanent method to hang picture frames in their home or office.
Option 4: Tension Rods
Tension rods are a clever and versatile option for hanging up picture frames without nails or hooks. These rods rely on the principle of tension to stay securely in place, making them an ideal choice for lightweight frames and temporary displays.
To use tension rods, start by measuring the width of the area where you want to hang your frames. Choose a tension rod that matches or slightly exceeds that width. Tension rods typically have an adjustable design, allowing you to easily customize their length to fit your space.
Once you have chosen the appropriate tension rod, position it horizontally within the desired area. Apply gentle pressure on each end of the rod, causing it to press firmly against the surrounding walls or frames. As the tension increases, the rod will stay securely in place, creating a stable support for your picture frames.
If you want to hang multiple frames, you can use additional tension rods vertically to create a grid-like display. This can be a creative and visually appealing arrangement that adds depth and interest to your wall.
One of the advantages of using tension rods is the ease with which they can be adjusted or removed. If you want to change the position of your frames or remove them altogether, simply release the pressure on the rods by gently pulling them apart or unscrewing them depending on the specific tension rod design.
Tension rods are particularly useful in spaces where you cannot use adhesive hooks or prefer not to put any holes in the walls. They are also a great option for temporary displays, such as seasonal decorations or art exhibitions.
Keep in mind that tension rods work best on smooth and flat surfaces. If your walls have texture or are uneven, the rods may not hold as securely. It is important to test the tension and stability of the rod before hanging valuable or delicate frames.
Overall, tension rods offer a flexible and non-permanent solution for hanging picture frames. They can be easily adjusted and removed without leaving any marks or damaging the walls, making them a practical option for renters or anyone who wants to change their wall decor frequently.
Use adhesive hooks or strips designed for hanging picture frames without nails. Make sure to clean the wall surface before applying the adhesive and follow the weight limit guidelines for the hooks or strips.
Read more: How To Put Up Picture Frames
Option 5: Wire Hanging System
If you have larger and heavier picture frames that require a more secure hanging solution, a wire hanging system is an excellent choice. This system involves attaching a wire to the back of the frame, which is then suspended from hooks or nails on the wall.
To use a wire hanging system, start by attaching D-rings or picture wire to the back of your frame. D-rings are small metal loops that are screwed onto the frame, while picture wire is a strong and flexible wire that is attached to the frame using screws or hooks.
Once the D-rings or picture wire are securely attached to the frame, measure and mark the desired position on the wall where you want to hang your frame. Install hooks or nails into the wall at these marked positions, making sure they are level and properly spaced to support the weight of the frame.
Gently hang and adjust the wire or D-rings onto the hooks or nails, allowing the frame to hang securely. It is important to ensure that the wire is evenly distributed on the hooks or nails to maintain balance and prevent the frame from tilting.
The wire hanging system offers stability and durability, making it suitable for larger or heavier frames. It is important to consider the weight capacity of the hooks or nails and choose ones that can support the weight of your frame.
One of the advantages of using a wire hanging system is the flexibility it offers in terms of positioning and arranging your frames. You can easily adjust the height of the frame by sliding the wire up or down on the hooks or nails, allowing you to create an aesthetically pleasing display.
If you ever want to change the position of the frame or remove it, simply lift the frame off the hooks or nails and reposition or remove the wire or D-rings from the back of the frame. This method allows for easy adjustments and leaves minimal marks on the walls, making it a great option for renters.
Overall, the wire hanging system provides a sturdy and reliable solution for hanging larger or heavier picture frames. It offers flexibility in positioning and can be adjusted or removed with minimal damage to the walls, making it a popular choice for professional art galleries and home decorators alike.
Option 6: Velcro Strips
Velcro strips offer a convenient and non-damaging solution for hanging picture frames without nails or hooks. The hook-and-loop fastening system of Velcro provides a secure attachment, allowing you to easily hang and rearrange your frames.
To use Velcro strips, start by cleaning the back of your picture frame and the desired area on the wall with rubbing alcohol. This will ensure that the adhesive on the Velcro strips adheres properly. Then, attach one side of the Velcro strip to the back of your frame and the corresponding side to the wall.
Press the strips together firmly, making sure they are aligned properly. The adhesive backing of the Velcro strips creates a strong bond, securely holding your frame in place. It is recommended to use multiple Velcro strips to distribute the weight evenly, especially for larger or heavier frames.
Velcro strips are versatile and can be used on various surfaces, including painted walls, tiles, glass, and wood. However, it’s important to note that Velcro may not adhere well to textured surfaces. Make sure to choose the appropriate Velcro strips and test their adhesion on a small area before hanging valuable or delicate frames.
One of the advantages of using Velcro strips is the ease with which frames can be removed and repositioned. Simply peel the Velcro strips apart to release the frame from the wall. This allows you to change the display or reposition the frames as desired without leaving any residue or damage on the wall.
If you ever need to remove the Velcro strips completely, start by gently peeling them off the wall. In some cases, using a hairdryer to heat the adhesive can make the removal process easier. However, be sure to test a small area first to avoid damaging the wall surface.
Velcro strips are available in various sizes and strengths, allowing you to choose the most suitable option for your frames. Additionally, some Velcro strips are designed with a removable adhesive, making them reusable and adjustable.
Overall, Velcro strips offer a flexible and non-permanent solution for hanging picture frames. They provide a strong hold, easy removal, and allow for effortless rearrangement, making them a popular option for both temporary and long-term displays.
Option 7: Brick Clips
If you have brick walls and want to hang picture frames without drilling or damaging the surface, brick clips are an excellent option. These innovative clips are specifically designed to securely attach to bricks, allowing you to hang frames and other decorations with ease.
To use brick clips, start by choosing the appropriate size for your brick. Measure the width and height of the brick to ensure a proper fit. Brick clips typically have adjustable mechanisms that allow them to accommodate different brick sizes.
Once you have selected the right size, simply squeeze the two ends of the clip together and slide it onto the top edge of the brick. Make sure the clip is securely attached and properly aligned with the brick.
Brick clips provide a sturdy and reliable support for picture frames and other items. Depending on the design of the clip, it may have a hook or a hanging mechanism that allows you to easily hang your frames without the need for any additional tools or materials.
One of the advantages of using brick clips is their ability to hold heavier frames securely. The clip grips onto the brick tightly, ensuring that your frames will stay in place even in windy or high-traffic areas.
In addition to their functional benefits, brick clips are also easy to install and remove. When you want to remove the clip, simply squeeze the two ends together and slide it off the brick. This makes it convenient to change or reposition your frames whenever desired.
Brick clips are designed specifically for bricks and may not work on other types of surfaces. It’s important to note that they may not be suitable for all brick textures or sizes. It’s always a good idea to test the clip on a small area of the brick before fully installing it to ensure proper fit and adhesion.
Overall, brick clips offer a simple and effective solution for hanging picture frames on brick walls. They provide a secure attachment and easy removal, making them a popular choice for anyone who wants to decorate their brick walls without drilling or damaging the surface.
Option 8: Over-the-Door Hangers
If you’re looking for a versatile and non-permanent option for hanging picture frames, over-the-door hangers are an excellent choice. These hangers are designed to fit over standard-sized doors, allowing you to hang frames without the need for any additional hardware or installation.
To use over-the-door hangers, simply place the hanger over the top edge of your door. The hanger should fit securely and snugly without damaging the door or affecting its ability to open and close smoothly.
Once the hanger is in place, you can hang your picture frames directly from it. Depending on the design of the hanger, it may have hooks, clips, or slots where you can securely hang your frames. Make sure the frames are balanced and evenly distributed on the hanger for stability.
Over-the-door hangers are typically made of durable materials, such as metal or plastic, ensuring that they can support the weight of your frames. However, it’s important to keep in mind the weight limit specified by the manufacturer to prevent any damage to the hanger or the door.
One of the advantages of using over-the-door hangers is their versatility. They can be easily removed or repositioned without leaving any marks or residue on the door. This makes them a great option for those who like to frequently change their wall decor or live in rental properties where drilling or using nails is not an option.
Over-the-door hangers can accommodate multiple frames, allowing you to create a visually appealing display. You can experiment with different frame sizes, shapes, and arrangements to create a unique and personalized look.
In addition to hanging picture frames, over-the-door hangers can also be used to hang other items, such as mirrors, wreaths, or decorative signs. They provide a convenient and adaptable solution for various hanging needs without the need for permanent fixtures.
Before purchasing an over-the-door hanger, make sure to measure the thickness of your door to ensure a proper fit. Also, consider the design and style of the hanger to ensure it complements your decor and enhances the overall aesthetic appeal of the room.
Overall, over-the-door hangers provide a practical and non-permanent solution for hanging picture frames. They are easy to install, versatile, and allow for hassle-free rearrangement, making them a popular choice for both homeowners and renters.
Read more: How To Hang Pictures Up Stairs
Conclusion
Hanging up picture frames without nails or damaging your walls is not only possible but also quite simple with the wide range of options available. Whether you are a renter, want to avoid drilling holes, or simply prefer a non-permanent solution, there are many alternatives to choose from.
Adhesive hooks provide a convenient and easy solution, allowing you to hang frames on various surfaces. Picture hanging strips offer a damage-free option that is adjustable and removable. Command hooks offer versatility and easy removal without leaving marks. Tension rods provide a flexible option for lightweight frames and temporary displays.
For larger and heavier frames, wire hanging systems offer stability and durability. Velcro strips provide a secure and adjustable attachment for hanging frames without damaging the walls. Brick clips offer a unique solution for hanging frames on brick walls. Over-the-door hangers provide a versatile option for temporary displays.
Each option has its own advantages and considerations, so choose the method that best suits your needs and preferences. Consider factors such as the weight of the frames, the type of surface you are working with, and the level of flexibility or adjustability you desire.
Regardless of the option you choose, always follow the manufacturer’s instructions for proper installation and removal. This will ensure a secure and safe hanging experience while protecting your walls and frames.
By exploring these alternative methods for hanging picture frames, you can personalize your living space and showcase your cherished memories without the need for nails or permanent fixtures. Embrace your creativity and enjoy the process of transforming your walls into a gallery that reflects your unique style and personality.
Frequently Asked Questions about How To Hang Up Picture Frames Without Nails
Was this page helpful?
At Storables.com, we guarantee accurate and reliable information. Our content, validated by Expert Board Contributors, is crafted following stringent Editorial Policies. We're committed to providing you with well-researched, expert-backed insights for all your informational needs.


0 thoughts on “How To Hang Up Picture Frames Without Nails”