
Articles
How To Square Up Wood With Hand Tools
Modified: December 7, 2023
Learn how to square up wood using only hand tools in this informative article. Transform your woodworking projects with these essential techniques.
(Many of the links in this article redirect to a specific reviewed product. Your purchase of these products through affiliate links helps to generate commission for Storables.com, at no extra cost. Learn more)
Introduction
When working with wood, achieving precise and accurate cuts is crucial. One of the fundamental aspects of woodworking is squaring up the wood, ensuring that all edges and faces are perfectly perpendicular to each other. While power tools can make this task easier, there’s something inherently satisfying about using hand tools to square up wood.
Hand tools provide a higher level of control and precision, allowing you to fine-tune your cuts and achieve an impeccable finish. In this article, we will guide you through the process of squaring up wood using only hand tools. Whether you’re a beginner or an experienced woodworker, learning how to square up wood with hand tools is a valuable skill to have.
Before diving into the process, let’s take a look at the tools you’ll need.
Key Takeaways:
- Mastering the art of squaring up wood with hand tools allows for precise cuts and beautifully crafted pieces, elevating woodworking skills to new heights.
- Properly preparing the wood, marking a reference edge, and fine-tuning squareness are crucial steps in achieving professional results when squaring up wood with hand tools.
Read more: How Cut Steel Square With Hand Tools
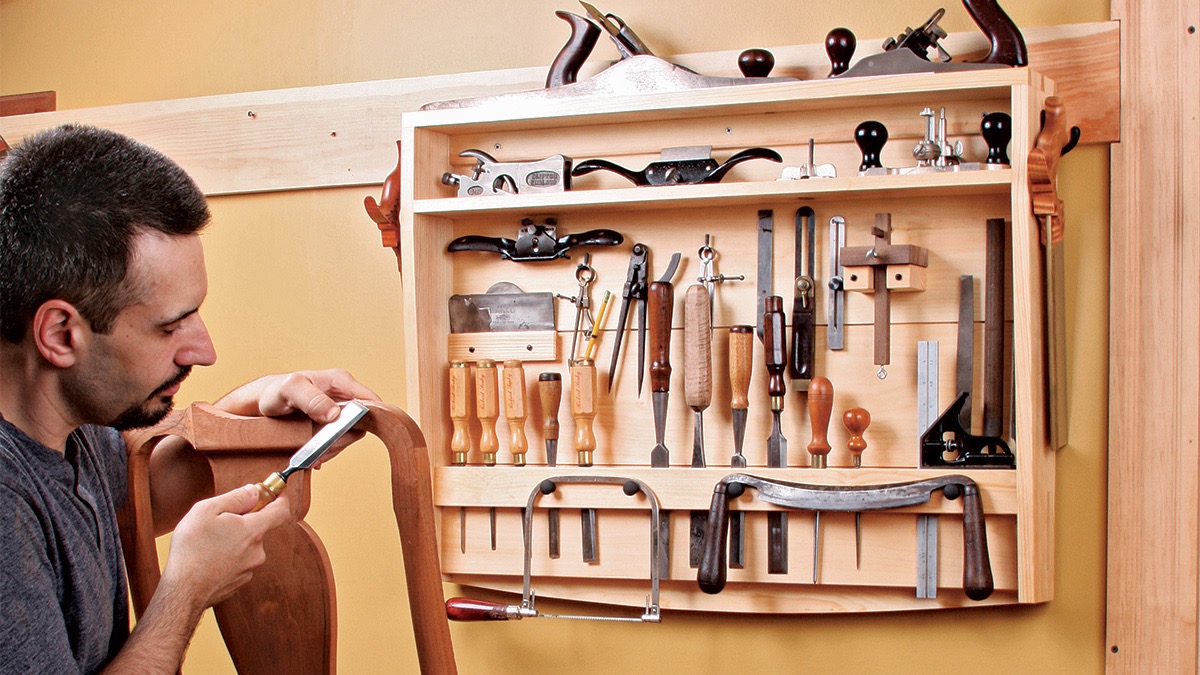
Tools Required
To square up wood with hand tools, you will need the following tools:
- Hand plane: A good quality hand plane is essential for smoothing and straightening the wood.
- Marking tools: You’ll need a pencil or a marking knife to make accurate markings on the wood.
- Square: A reliable square is necessary to ensure that the edges and faces are perfectly perpendicular.
- Measuring tape or ruler: These tools will help you measure and mark the wood accurately.
- Clamps: Clamps are useful for securing the wood in place while you work on it.
- Saw: A hand saw or a miter saw will be needed to cut the wood to size.
- Sanding block or sandpaper: Sanding tools are necessary for smoothing the wood after making the cuts.
- Safety equipment: Don’t forget to wear safety goggles and a dust mask to protect yourself from flying debris and dust particles.
Having these tools ready will ensure that you can successfully square up the wood with hand tools.
Preparing the Wood
Before you begin squaring up the wood, it’s important to ensure that it is properly prepared. Here are a few steps to follow:
- Inspect the wood: Start by carefully examining the wood for any visible defects, such as knots, cracks, or warps. If there are any major imperfections, it’s best to choose a different piece of wood.
- Remove any rough edges: If the wood has rough edges or uneven surfaces, use a hand plane or sandpaper to smooth them out. This will make the squaring process easier and more accurate.
- Check for moisture content: Wood with high moisture content can warp or shrink over time. Use a moisture meter to ensure that the wood is properly dried and suitable for your project.
- Acclimate the wood: If the wood has been stored in a different environment, allow it to acclimate to the temperature and humidity of your workspace for a few days. This will minimize any potential changes in dimension during the squaring process.
By properly preparing the wood, you’ll set yourself up for success when it comes to squaring it up with hand tools. Taking the time to prepare the wood will ensure that you achieve accurate and precise cuts.
Marking the Reference Edge
Once the wood is prepared, the next step is to mark the reference edge. The reference edge will serve as a guide throughout the squaring process, ensuring that all subsequent measurements and cuts are made accurately.
To mark the reference edge, follow these steps:
- Select one straight edge: Examine the wood and identify the straightest edge. This edge will become the reference edge.
- Mark the reference edge: Use a marking tool, such as a pencil or a marking knife, to make a clear and visible mark along the entire length of the reference edge.
- Avoid ambiguity: To avoid confusion later on, mark the face of the wood that corresponds to the reference edge. This will help you maintain orientation during the squaring process.
By marking the reference edge, you establish a consistent and reliable point of reference for all subsequent measurements and cuts. This step is crucial in ensuring that the wood is squared up accurately.
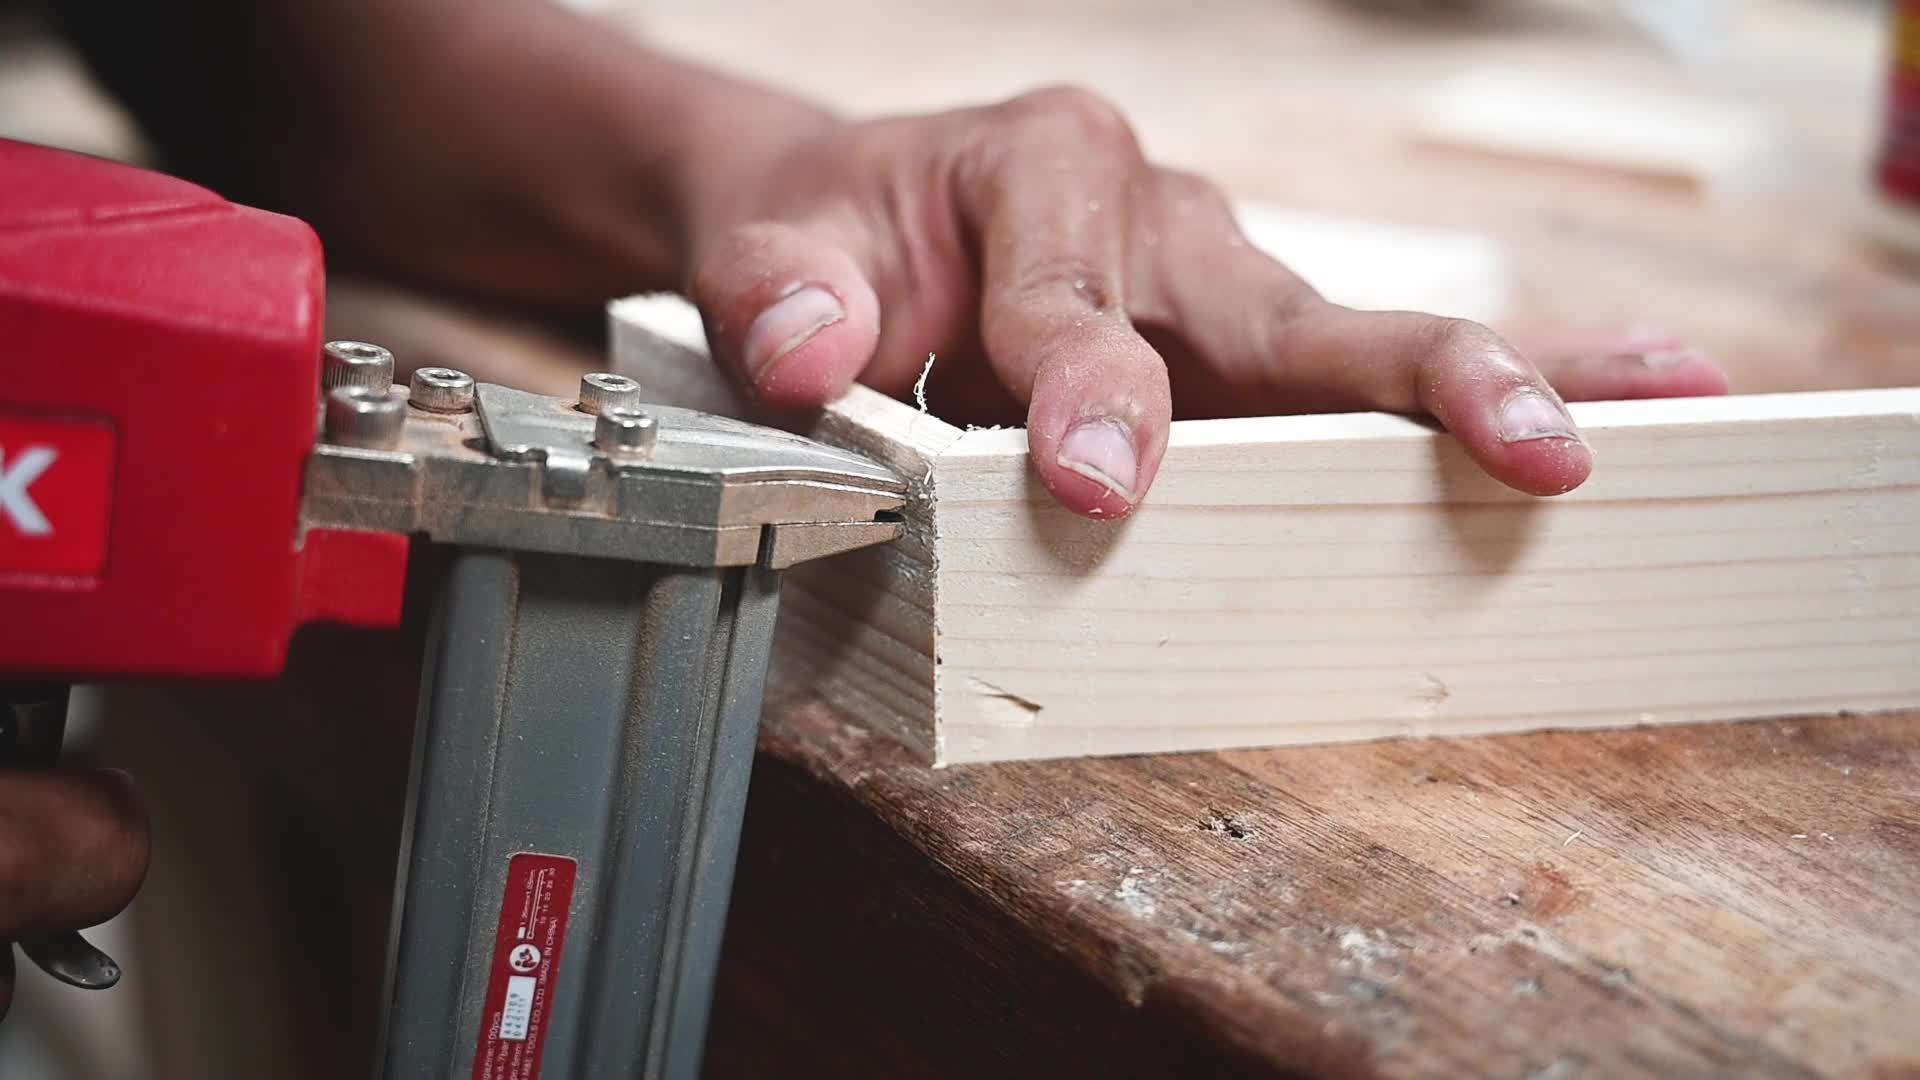
Making the First Cut
With the reference edge marked, you’re ready to make the first cut to start squaring up the wood. Follow these steps:
- Measure and mark: Measure the desired width of the wood and make a mark on the opposite edge from the reference edge.
- Position the saw: Using a hand saw or a miter saw, position the saw blade just to the waste side of the mark you made.
- Start the cut: With a firm grip on the saw, align the blade with the mark and begin making the cut. Apply steady and controlled pressure to guide the saw through the wood.
- Keep the saw perpendicular: Ensure that the saw remains perpendicular to the surface of the wood to achieve a straight cut.
- Continue the cut: Cut along the marked line until you reach the opposite edge. Take your time and maintain a steady pace.
Once you’ve made the first cut, you’ve established a flat and square edge on one side of the wood. This initial cut will serve as a reference for the remaining squaring process.
Remember to take all necessary safety precautions when using saws and other cutting tools. Always wear safety goggles and follow proper techniques to ensure a safe and successful cut.
When squaring up wood with hand tools, always use a sharp marking knife to make precise and clean layout lines. This will help ensure accurate cuts and a squared-up final piece.
Read more: How To Carve Wood With Hand Tools
Creating the Second Face
Now that you have one straight and square edge, it’s time to create the second face that is perpendicular to the reference edge. Follow these steps to achieve this:
- Measure and mark the desired thickness: Use a measuring tape or ruler to determine the desired thickness of the wood. Make a mark on one of the adjacent faces of the wood.
- Secure the wood: Use clamps to firmly secure the wood to a workbench or a stable surface, ensuring that it won’t move during the cutting process.
- Make the cut: Using a hand plane, start by removing small amounts of wood at a time. Begin at one corner of the wood and work your way across, constantly checking for squareness and adjusting as needed.
- Check for flatness: As you plane the wood, periodically check for flatness by using a straightedge or a square. This will ensure that the second face is perfectly perpendicular to the reference edge.
- Repeat if necessary: If the second face is not perfectly flat or perpendicular, continue to plane the wood until it meets the desired specifications.
Creating the second face is a crucial step in squaring up the wood. Take your time and pay close attention to detail to ensure that the wood is properly squared and ready for your woodworking project.
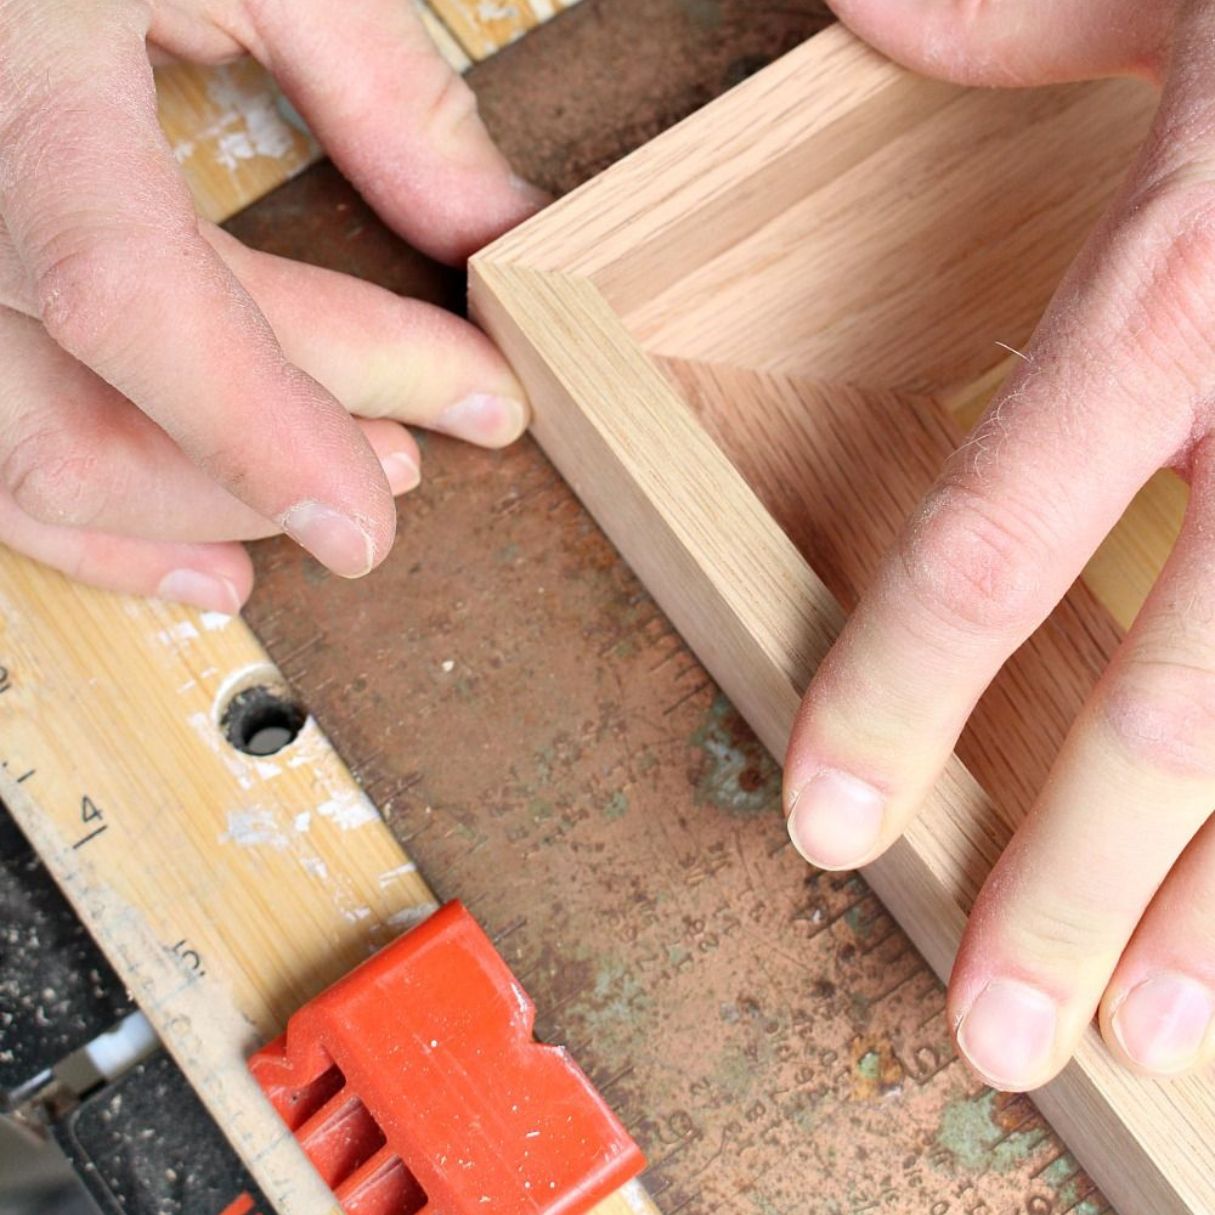
Checking for Squareness
After creating the second face, it’s important to check for squareness to ensure that the wood is perfectly squared up. Here’s how to do it:
- Using a square: Place a reliable square against the reference edge and check if it aligns perfectly with both the first and second faces of the wood. The square should sit flush against both surfaces without any gaps or overlap.
- Inspecting the corners: Examine the corners created by the reference edge and the second face. They should form right angles that are perfectly square. Use a square to double-check the corners and make any necessary adjustments.
- Verifying diagonals: Measure the diagonals of the wood by placing a measuring tape or ruler from one corner to the opposite corner. Both diagonals should measure the same length, indicating that the wood is square. If the measurements differ, make adjustments until they are equal.
Checking for squareness is a crucial step in ensuring the accuracy and quality of your woodworking projects. Taking the time to verify squareness will save you from potential problems down the line and help you achieve professional results.
Fine-Tuning the Squareness
Even after checking for squareness, there may be slight imperfections that need to be fine-tuned. Here are a few ways to achieve precise squareness:
- Adjusting the reference edge: If the reference edge is not perfectly straight or square, you can use a hand plane to carefully remove small amounts of wood until it is corrected. Take your time and make precise adjustments to ensure a straight and square reference edge.
- Double-checking measurements: Measure and mark the desired dimensions on each side of the wood to confirm that they are equal. If there are any discrepancies, make minor adjustments using a hand plane or sandpaper until the measurements match.
- Using templates or guides: To ensure consistent squareness across multiple pieces of wood, create templates or guides that can be used as references for future projects. These templates can help you quickly and accurately square up pieces, saving time and ensuring consistency in your work.
- Utilizing a shooting board: A shooting board is a handy woodworking tool that can help fine-tune squareness. It provides a controlled and flat surface for planing or trimming the edges of the wood, ensuring a precise and square result.
By fine-tuning the squareness, you’ll achieve a high level of precision and accuracy in your woodworking projects. Paying attention to these details will elevate the quality of your work and result in professional-looking end products.
Conclusion
Squaring up wood with hand tools is a rewarding and essential skill for any woodworker. It allows you to achieve precise cuts and create beautifully crafted pieces. By following the steps outlined in this article, you can successfully square up wood with confidence and accuracy.
Remember to start with properly prepared wood, marking a reference edge for consistency throughout the process. Making the first cut establishes a straight edge, which serves as a guide for creating the second face. Checking for squareness is crucial in ensuring that all edges and corners align perfectly. Fine-tuning the squareness further enhances the accuracy of the wood, allowing you to achieve professional results.
Throughout the squaring process, it’s important to work patiently and pay attention to detail. Take your time and make precise adjustments as needed. Additionally, always prioritize safety by wearing protective gear and using tools properly.
By mastering the art of squaring up wood with hand tools, you open the doors to endless possibilities in your woodworking endeavors. You’ll have the skills to create furniture, cabinets, and other woodworking projects that boast clean lines and perfectly square edges.
So, grab your hand tools and start practicing the techniques outlined in this article. With dedication and practice, you’ll soon become proficient in squaring up wood and elevate your woodworking skills to new heights.
Frequently Asked Questions about How To Square Up Wood With Hand Tools
Was this page helpful?
At Storables.com, we guarantee accurate and reliable information. Our content, validated by Expert Board Contributors, is crafted following stringent Editorial Policies. We're committed to providing you with well-researched, expert-backed insights for all your informational needs.


0 thoughts on “How To Square Up Wood With Hand Tools”