Articles
How To Hang Pictures Up Stairs
Modified: May 6, 2024
Discover the best articles on how to hang pictures up stairs, including step-by-step guides and expert tips. Enhance your home's decor and create a stunning gallery wall with these helpful resources.
(Many of the links in this article redirect to a specific reviewed product. Your purchase of these products through affiliate links helps to generate commission for Storables.com, at no extra cost. Learn more)
Introduction
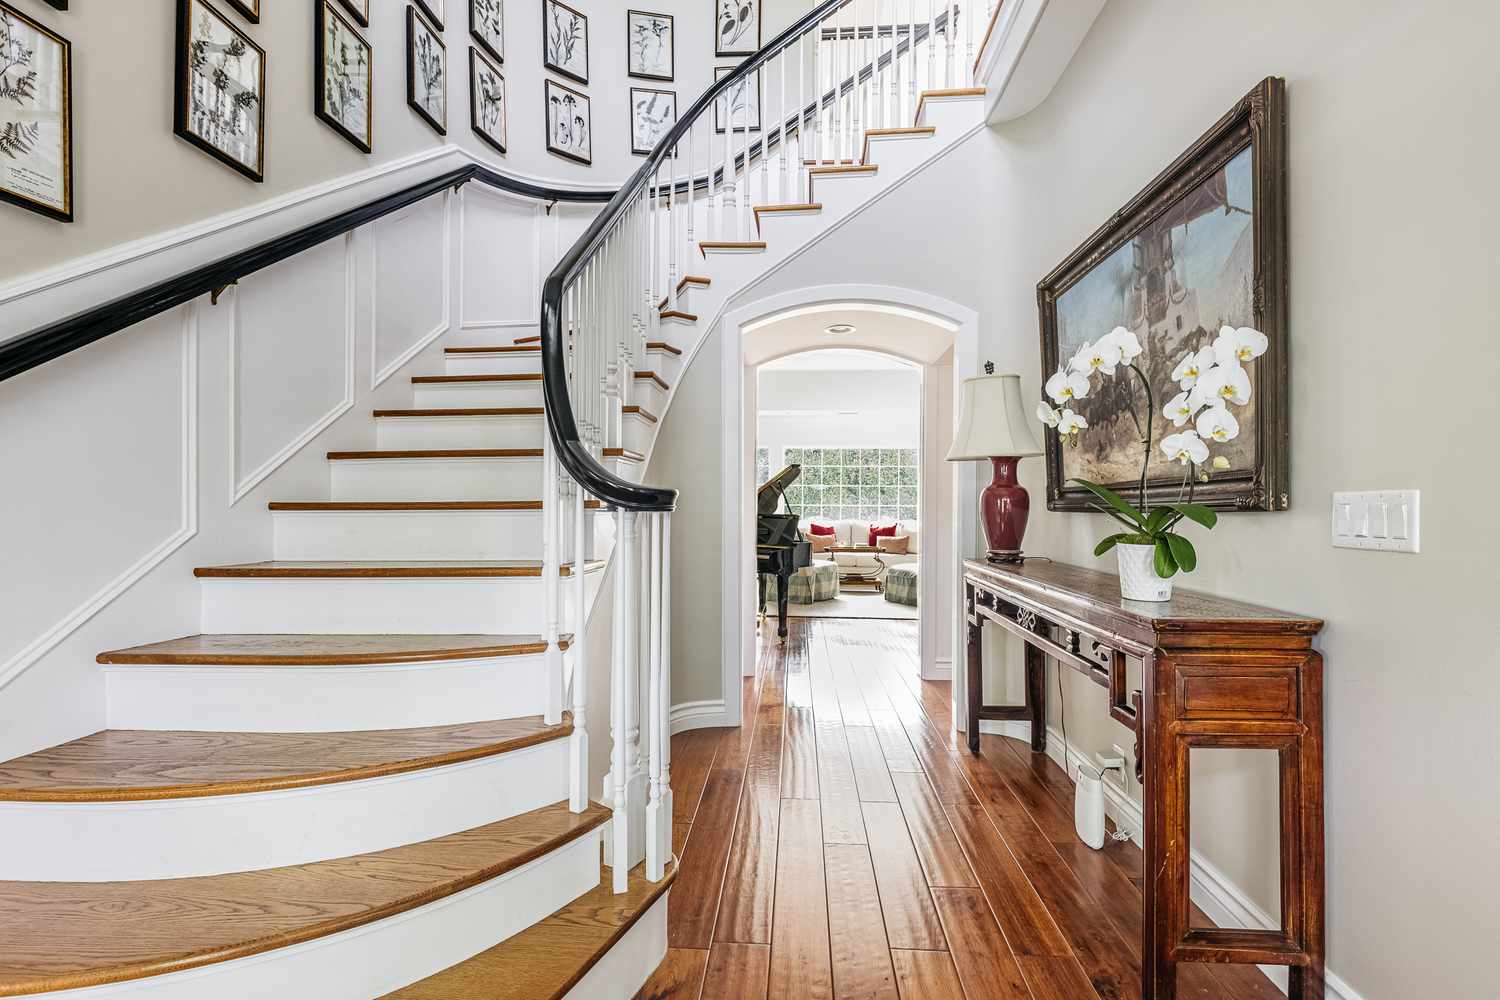
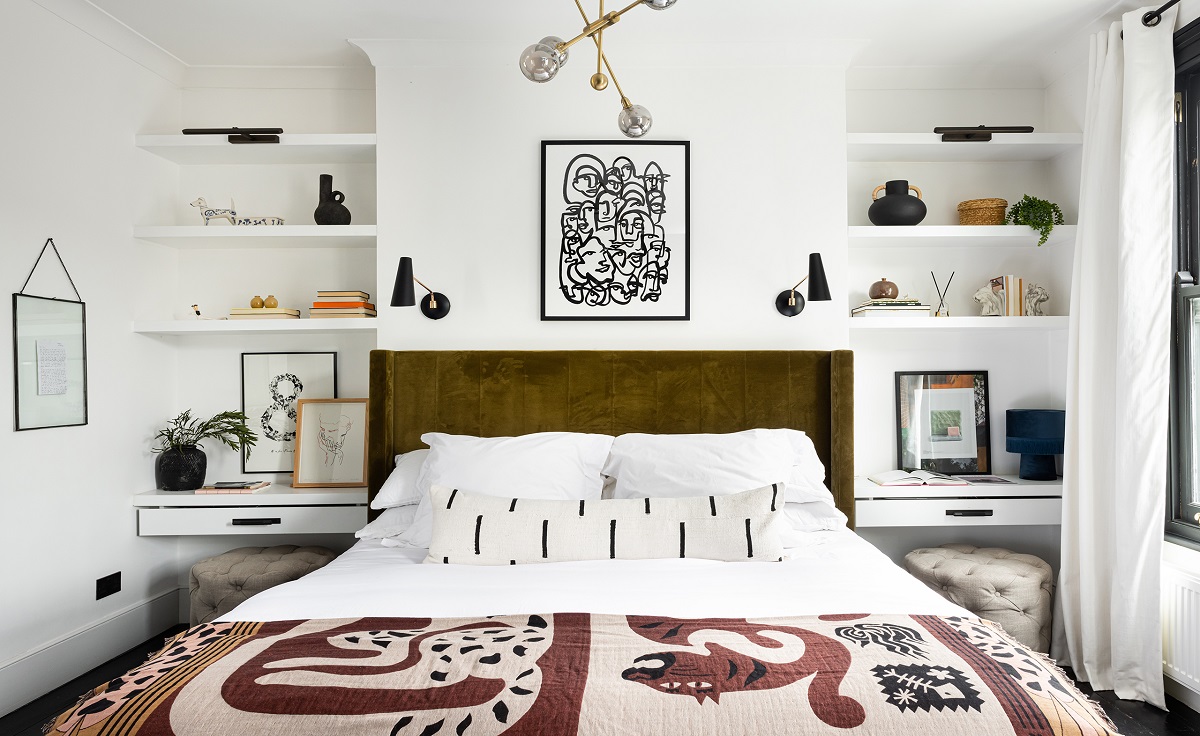
Hanging pictures on your stairway walls can be a fantastic way to add personality, style, and character to your home. Whether you want to display family photos, artwork, or decorative prints, strategically placed pictures can transform a dull staircase into a captivating gallery. However, hanging pictures on stairway walls can be a bit challenging, as the angle and height can make it difficult to properly position and secure the frames. In this article, we will guide you through the process of hanging pictures on your stairway walls, providing you with valuable tips and techniques to help you achieve a visually pleasing arrangement.
Before you begin, it is important to consider the overall aesthetic you want to achieve. Are you going for a symmetrical or asymmetrical arrangement? Do you want to create a gallery wall with different-sized frames and artwork, or do you prefer a more uniform arrangement? Understanding your desired outcome will help you make informed decisions during the hanging process.
Additionally, it is essential to choose the right location for your pictures. The stairway walls offer a unique space for displaying artwork, as they are often a focal point in the home. Consider the height, lighting, and visibility of the wall when selecting your hanging location. A well-placed picture can add depth and interest to your staircase, while the wrong placement can create a cluttered and unbalanced look.
Preparing the wall is the next step to ensure a secure and long-lasting installation. It’s important to clean the wall surface, remove any dust or debris, and patch any holes or imperfections. A smooth and clean wall will provide a solid foundation for your pictures and prevent any damage to the frames or wall in the future.
Gathering the necessary tools upfront is crucial for a seamless hanging process. You will need a tape measure, level, pencil, hanging hardware, hammer or drill, and picture hooks or nails. Having all these tools ready will save you time and keep you organized as you move through the process.
Stay tuned as we dive deeper into measuring and marking your stairway wall, installing the hanging hardware, and actually hanging the pictures. We will also discuss arranging a gallery wall and provide additional tips and considerations to ensure a stunning and well-balanced display.
By the end of this article, you will have the knowledge and confidence to transform your staircase walls into a captivating gallery that reflects your personal style and aesthetic.
Key Takeaways:
- Transform your staircase into a captivating gallery by carefully choosing the right location, preparing the wall, and gathering the necessary tools for a visually appealing and well-balanced display.
- Create a stunning gallery wall on your stairway by experimenting with layouts, incorporating personal touches, and prioritizing safety and stability for a unique and personalized display.
Read more: How To Hang Up Multiple Picture Frames
Choosing the Right Location
When it comes to hanging pictures on your stairway walls, choosing the right location is key. The stairway walls offer a unique opportunity to showcase your artwork, photographs, or decorative prints. The following considerations will help you select the optimal spot to create a visually pleasing display:
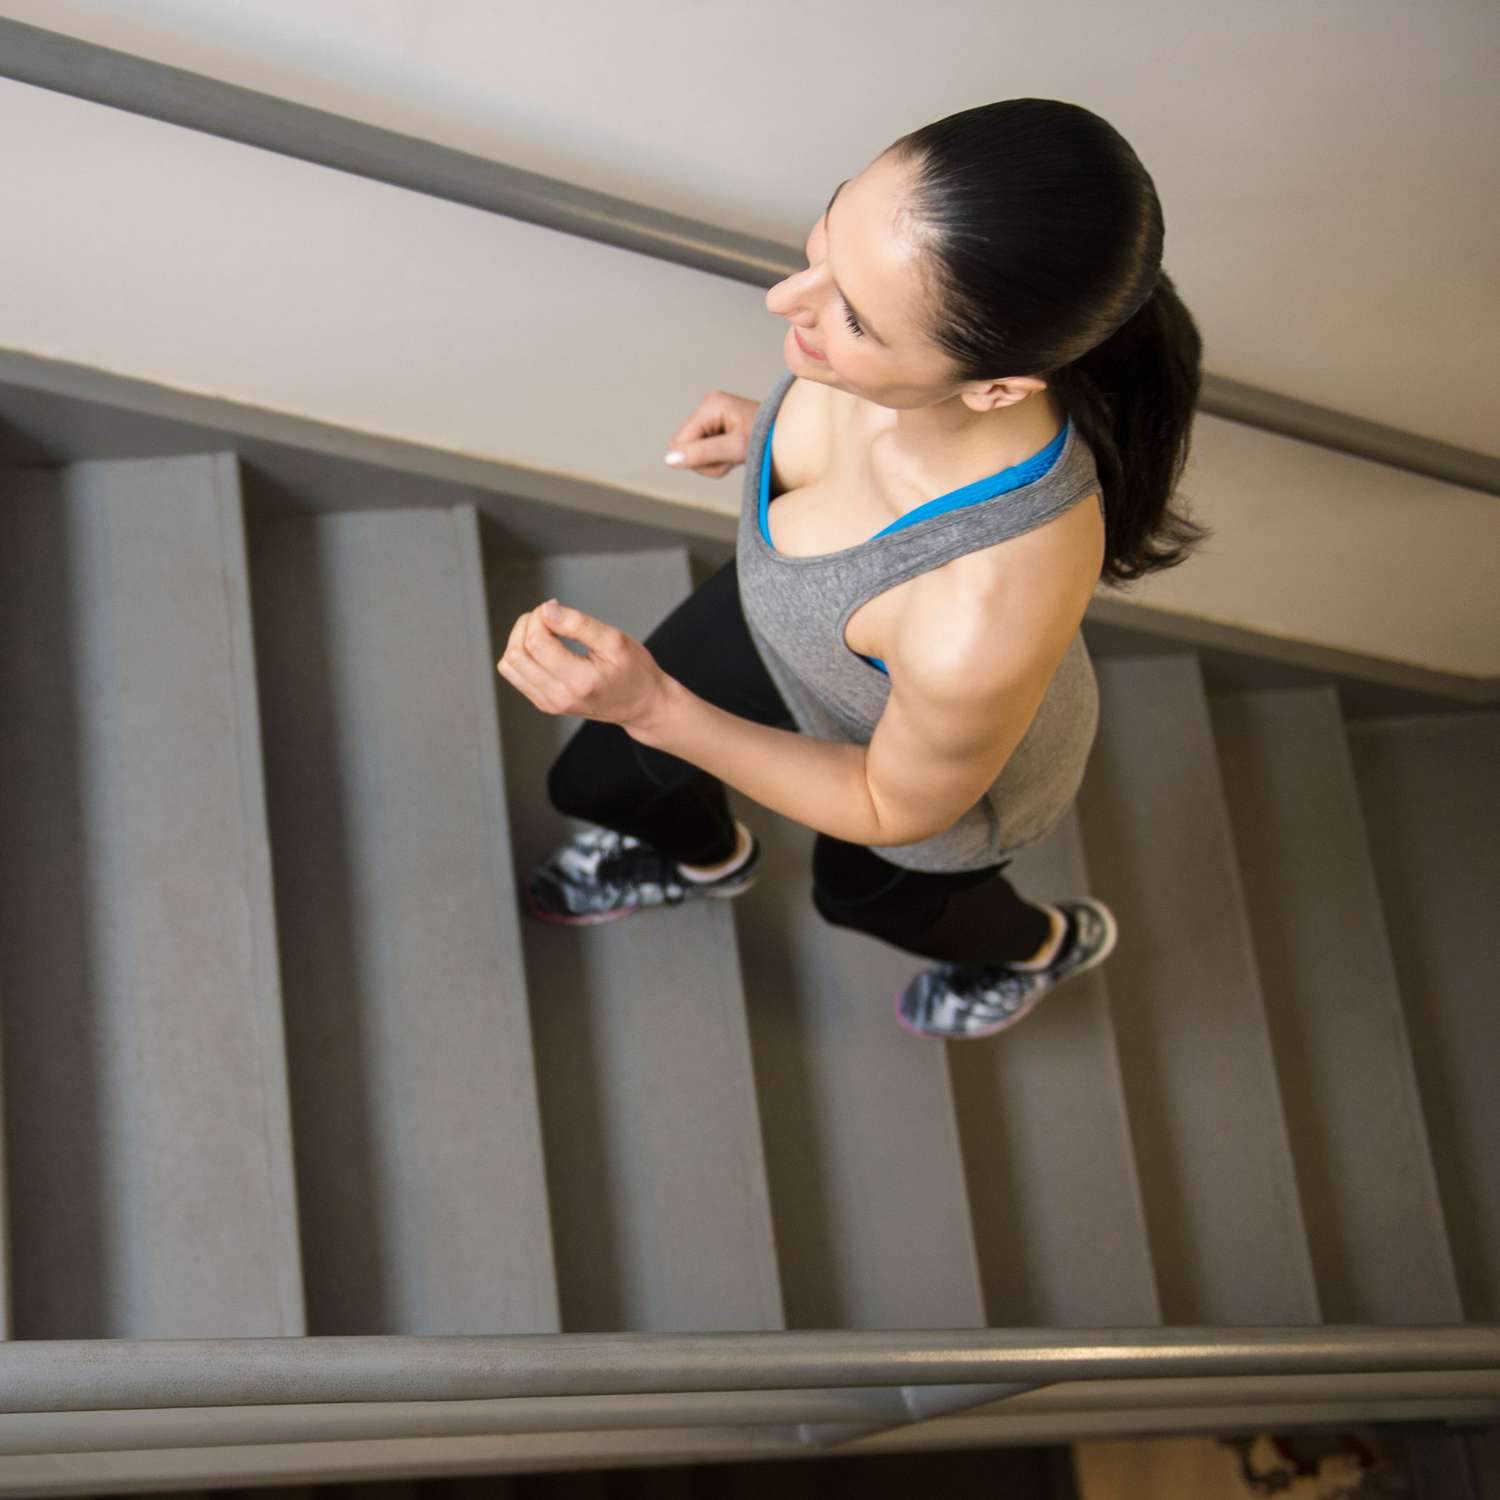
Height: Take into account the height of your staircase when selecting the location for your pictures. You want the artwork to be easily visible and at eye level, so avoid placing pictures too high or too low on the wall. Aim for a comfortable viewing height that can be appreciated as you ascend or descend the stairs.
Lighting: Consider the amount of natural or artificial light that illuminates your staircase. Pictures placed in areas with adequate lighting will enhance their visibility and make them more visually appealing. Avoid areas where there may be shadows or glare that could detract from the artwork.
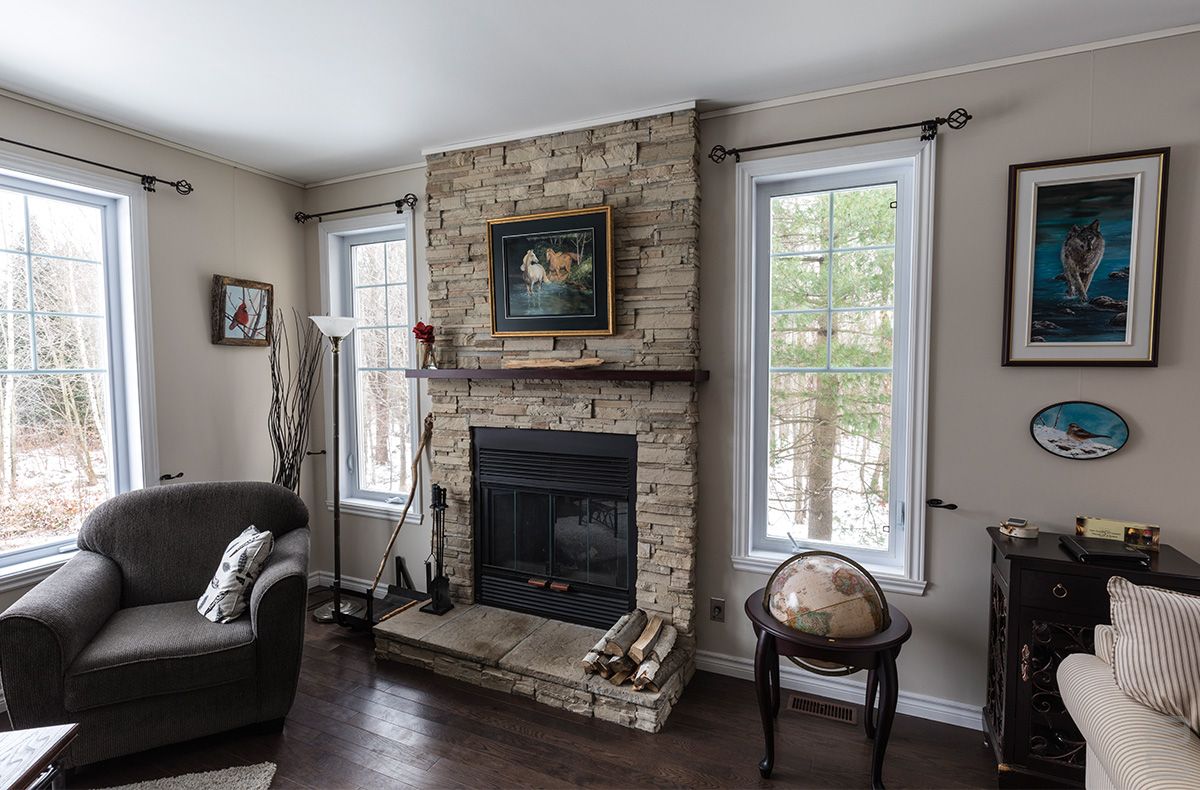
Focal Point: The stairway walls often serve as a focal point in the home, drawing the eye as you enter or move through the space. Choose a location that emphasizes this focal point and complements the overall aesthetics of the staircase and surrounding area. Placing a larger or more attention-grabbing piece of artwork at the center of the wall can create a focal point that anchors the entire display.
Visibility: Consider the line of sight when determining the location. You want to ensure that the pictures are visible and can be appreciated from various angles, including both the top and bottom of the stairs. Avoid placing pictures where they may be obstructed by railings, furniture, or other decorative elements.
Symmetry vs. Asymmetry: Decide whether you want to create a symmetrical or asymmetrical arrangement on your stairway walls. A symmetrical arrangement involves hanging identical or similar-sized frames in a balanced pattern. This can create a sense of order and formality. On the other hand, an asymmetrical arrangement allows for more creativity and freedom, mixing different-sized frames and artwork to create a dynamic and visually interesting display.
By carefully considering these factors, you can choose the right location for your pictures. Remember, your goal is to create a visually appealing and harmonious arrangement that enhances the overall aesthetics of your staircase and home.
Preparing the Wall
Before you start hanging pictures on your stairway walls, it’s essential to properly prepare the wall surface. A well-prepared wall will not only ensure a secure and long-lasting installation but also provide a clean and polished backdrop for your artwork. Follow these steps to prepare your wall:
Clean the Wall: Begin by cleaning the wall surface to remove any dust, dirt, or grease. Use a soft, damp cloth or sponge to gently wipe down the wall, paying attention to any areas that may be particularly dirty or stained. This step ensures that the hanging hardware adheres properly to the wall and prevents any debris from affecting the appearance of your pictures.
Patch Holes and Imperfections: Inspect the wall for any holes, cracks, or imperfections. If you find any, use a spackling compound or putty knife to fill in the holes and smooth out the surface. Allow the compound to dry completely, and then lightly sand the patched areas to create a smooth and even finish. This will ensure that your pictures hang evenly and securely, without any wobbling or tilting.
Prime and Paint: If the wall needs a fresh coat of paint, now is the time to do it. Choose a paint color that complements your staircase and the overall aesthetic of your home. Prime the wall before applying the paint to create a smooth and even surface. Allow the paint to dry completely before moving forward with the hanging process. A freshly painted wall will make your pictures stand out and add a touch of freshness to your staircase.
Consider Wall Texture: Take into account the texture of your wall when preparing it for picture hanging. If you have a textured wall, such as stucco or textured wallpaper, you may need to use specialized hanging hardware to ensure a secure installation. Consult with your local hardware store or a professional if you are unsure about the best methods for hanging pictures on textured walls.
By taking the time to properly prepare your stairway walls, you are setting the stage for a successful picture hanging project. A clean, smooth, and well-maintained wall will provide a solid foundation for your artwork and ensure that your pictures are displayed beautifully and securely.
Gathering the Necessary Tools
Before you begin hanging pictures on your stairway walls, it’s important to gather all the necessary tools. Having the right tools at your disposal will not only make the process smoother and more efficient but also ensure a secure and professional installation. Here are the essential tools you’ll need:
Tape Measure: A tape measure is an indispensable tool for accurately measuring the dimensions of your stairway wall and determining the ideal placement for your pictures. Measure the height and width of the wall to determine the spacing and arrangement of your frames.
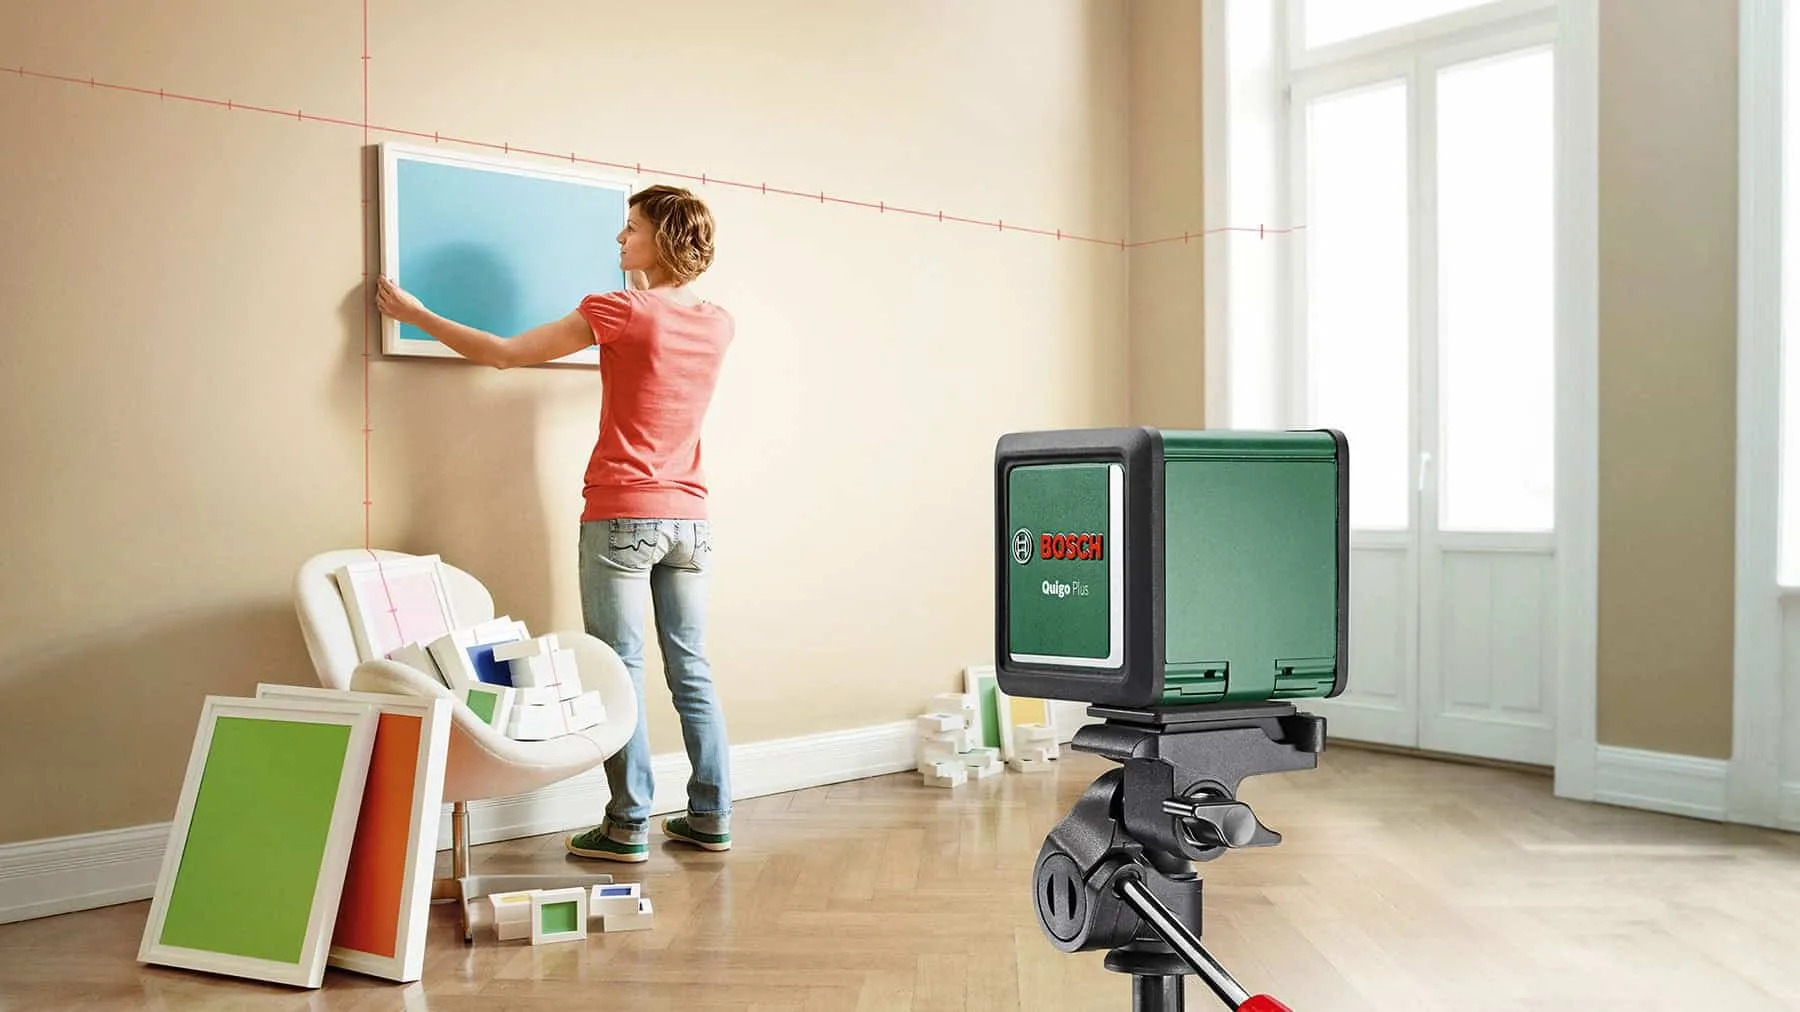
Level: A level is crucial for ensuring that your pictures are hung straight and aligned properly. It helps you avoid crooked or slanted installations, providing a balanced and visually appealing presentation. Use a bubble or laser level to ensure precise horizontal and vertical positioning.
Pencil: Keep a pencil handy to mark the desired locations for your picture hooks or nails. You can lightly mark the wall with a pencil to guide you during the hanging process, ensuring accurate placement and symmetry.
Hanging Hardware: Depending on the weight and size of your pictures, you’ll need appropriate hanging hardware. Picture hooks, nails, or wall anchors are typically used to secure the frames to the wall. Make sure to choose hardware that can support the weight of your pictures and provide a stable and reliable hanging solution.
Hammer or Drill: A hammer is essential for driving nails into the wall for lighter or smaller frames. However, for larger or heavier pictures, it may be necessary to use a drill to create pilot holes for screws or wall anchors. Select the appropriate tool based on the weight and size of your pictures.
Screwdriver: If you are using screws for the hanging hardware, a screwdriver will be necessary to tighten them securely into the wall. Make sure you have the correct size and type of screwdriver for the screws you are using.
Protective Equipment: It’s always a good idea to wear protective gloves and safety glasses when handling tools or working with hanging hardware. This will protect your hands from accidental injuries and ensure your safety throughout the process.
By gathering all the necessary tools before you start hanging pictures, you’ll be well-prepared and equipped to achieve a professional and secure installation. Having the right tools on hand saves you time and allows you to focus on creating a stunning and visually appealing arrangement on your stairway walls.
Measuring and Marking
Measuring and marking your stairway wall is a crucial step in the picture hanging process. Accurate measurements and precise markings will ensure that your pictures are hung at the desired height and spacing, resulting in a visually pleasing and well-balanced display. Here are the steps to follow:
1. Measure the Wall: Use a tape measure to determine the height and width of your stairway wall. Measure from the floor to the desired picture height for a consistent and visually appealing arrangement. Take note of these measurements and use them as a reference when marking the wall.
2. Determine the Spacing: Deciding on the spacing between your pictures is an important aspect of achieving a well-balanced arrangement. Consider whether you want equal spacing between each frame or prefer a more relaxed and varied spacing. As a general guideline, aim for about 2-3 inches of space between each picture for a visually appealing arrangement.
3. Mark the Wall: Using a pencil, lightly mark the desired locations for your picture hooks or nails on the wall. Start with the top-center point and then move outward, marking the horizontal and vertical positions of each picture. Use a level to ensure that your markings are straight and aligned properly. Double-check your measurements and adjust the markings if needed before moving on to the next step.
4. Ensure Symmetry: If you’re aiming for a symmetrical arrangement, it’s essential to check that the distance between the top of the staircase and the top of each frame is consistent. This will help create a balanced and visually appealing display. Double-check your measurements and adjust the markings if necessary to ensure symmetry.
5. Review the Overall Design: Take a step back and review the markings on your stairway wall. Visualize how the pictures will look once they are hung. Assess the spacing, alignment, and overall design to ensure that it aligns with your desired aesthetic and complements your staircase and home decor.
6. Consider Anchoring Points: If your stairway wall is made of plaster or drywall, it’s important to consider the wall’s structure and weight-bearing capabilities. Identify and mark stud locations or use wall anchors for added stability and support, especially for heavier frames. This will help prevent the pictures from sagging or falling over time.
By carefully measuring and marking your stairway wall, you set yourself up for a successful picture hanging project. Accurate measurements and precise markings will result in a visually pleasing and well-balanced display that enhances the beauty of your staircase and home.
When hanging pictures up stairs, use a laser level to ensure the pictures are straight and evenly spaced. Start from the bottom and work your way up for a more balanced look.
Read more: How To Hang Up Picture Frames Without Nails
Installing the Hanging Hardware
Installing the hanging hardware is a critical step in ensuring that your pictures are securely mounted on your stairway walls. Properly installed hardware will provide a stable and reliable support system for your frames, allowing you to enjoy your artwork without the worry of them falling or shifting. Here’s how to install the hanging hardware:
1. Determine the Hanging Method: Depending on the weight and size of your pictures, you may choose to use picture hooks, nails, screws, or wall anchors. Select the appropriate hanging method that can adequately support the weight of your frames and provide a secure installation.
2. Mark the Hanging Points: Refer to the markings you made during the measuring and marking stage. Use a pencil to mark the exact spots where you will be installing the hanging hardware. This will ensure accurate placement and alignment.
3. Follow Package Instructions: If you are using specific hanging hardware, carefully read and follow the instructions provided by the manufacturer. Different types of hardware may require different installation methods. For example, some hardware may require pre-drilled holes or specific placement techniques.
4. Use a Level: Before installing the hanging hardware, use a level to ensure that your marks are straight and aligned properly. This will help you achieve a visually balanced arrangement and prevent your pictures from hanging crookedly.
5. Install the Hanging Hardware: Once you have confirmed the correct placement, install the picture hooks, nails, screws, or wall anchors according to the package instructions. Make sure they are firmly secured to the wall and can support the weight of your frames. If using screws, make pilot holes using a drill for better stability.
6. Test the Stability: After you have installed the hanging hardware, give it a gentle tug to ensure that it is securely attached to the wall. Check for any loose or wobbly fittings, and make any necessary adjustments to ensure stability.
7. Confirm Levelness: Once all the hanging hardware is in place, use a level to confirm that they are still aligned properly. Adjust as needed to maintain a straight and level arrangement.
By following these steps, you can ensure that the hanging hardware is installed securely and effectively on your stairway walls. This will provide a solid foundation for your pictures, allowing you to showcase your artwork with confidence and peace of mind.
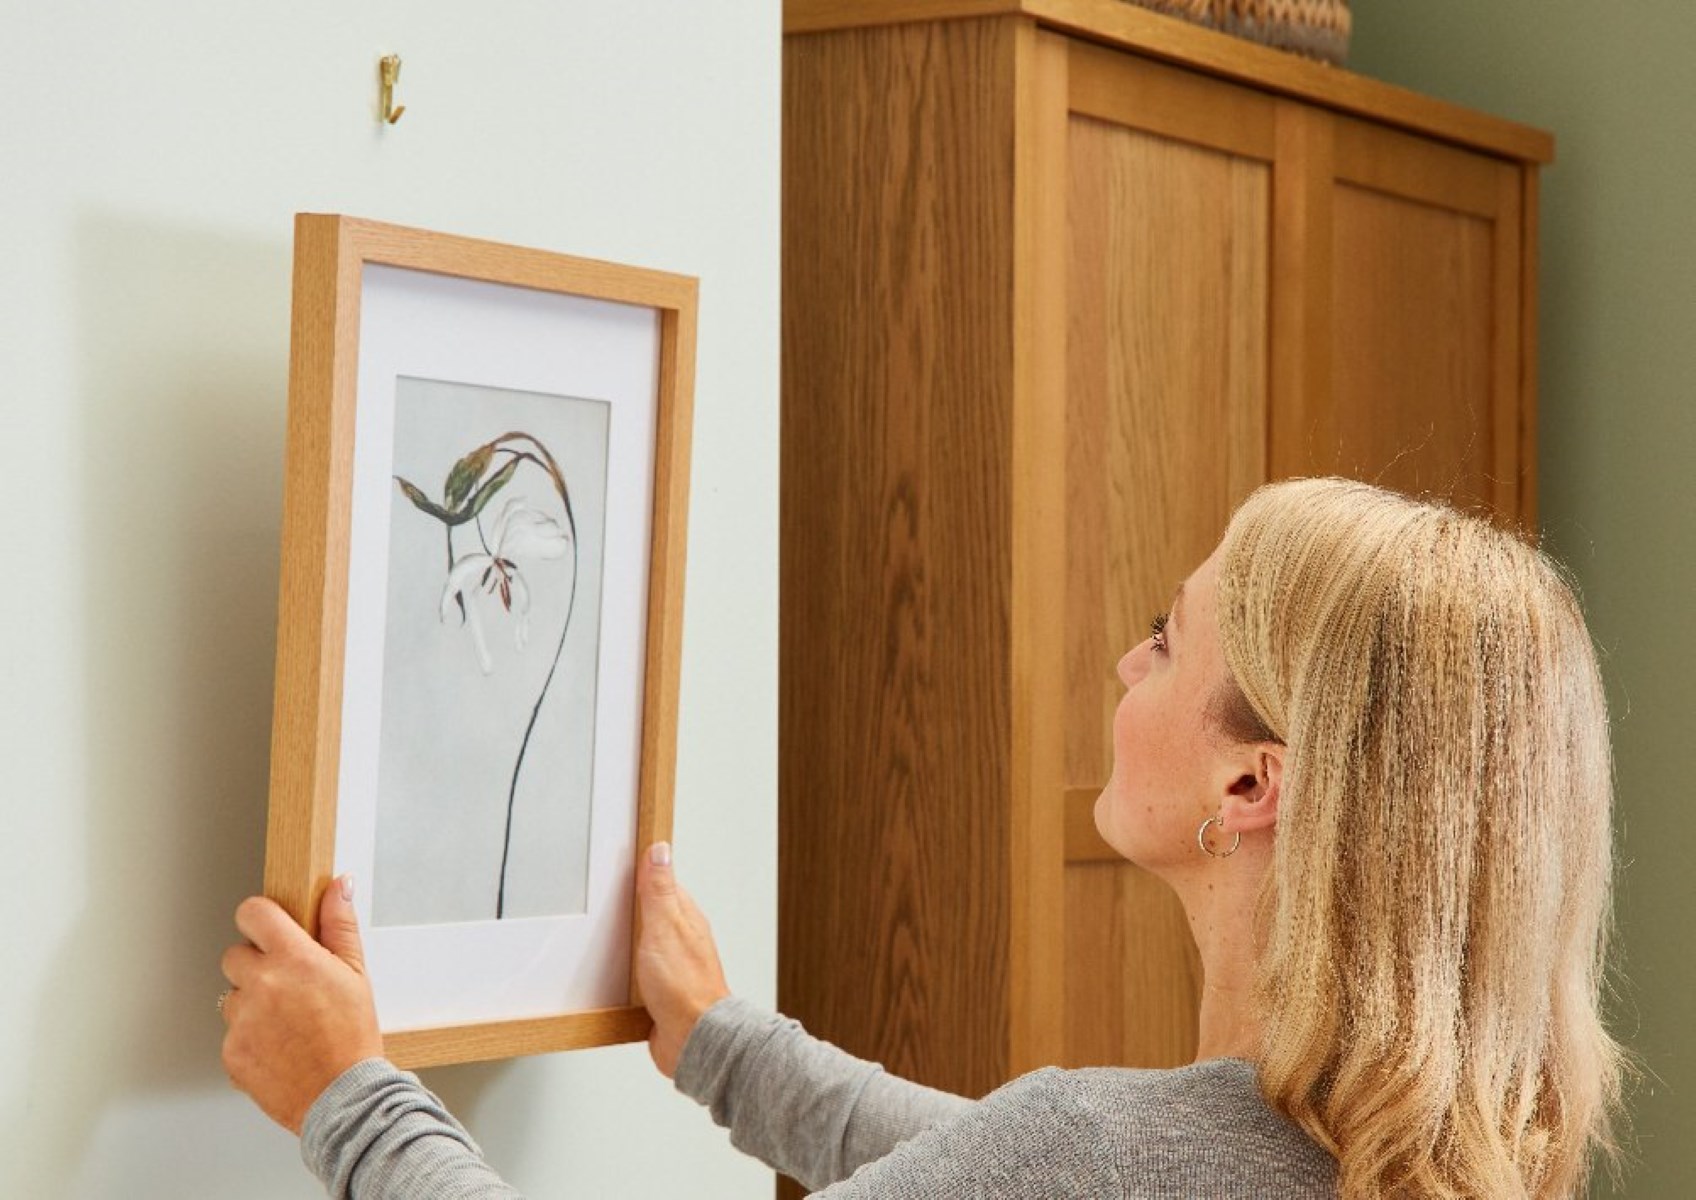
Hanging the Picture
Now that you have prepared the wall and installed the hanging hardware, it’s time to hang your pictures on your stairway walls. This is the exciting moment where your artwork comes to life and transforms your staircase into a captivating gallery. Follow these steps to hang your pictures:
1. Prepare the Picture: Ensure that your picture is clean and free from any dust or smudges. Double-check the frame for any loose screws or fittings and tighten them if necessary. If your frame has a wire or sawtooth hanger, ensure that it is securely attached and centered.
2. Hook or Hang: For pictures with wire hangers, hold the wire and hook it onto the picture hook or nail already installed on the wall. For sawtooth hangers, align the hanger with the appropriate picture hook or nail and lower the picture onto the hook, making sure it sits securely in place.
3. Check Levelness: Once the picture is hung, step back and use a level to ensure that it is straight. Adjust as needed by gently tilting or shifting the picture until it is level. Use the markings on the wall as a reference to help you with alignment.
4. Adjust Spacing: If you are hanging multiple pictures, check the spacing between each frame. Ensure that the spacing is consistent and visually pleasing. If needed, make minor adjustments by gently sliding the pictures horizontally along the wall until you achieve the desired arrangement.
5. Secure, Adjust, and Enjoy: If necessary, use a small nail or adhesive hook to secure the bottom corners of your pictures to the wall. This will prevent the pictures from tilting or shifting as people walk up and down the stairs. Step back, admire your work, and make any final adjustments or tweaks as needed.
Remember to take your time when hanging the pictures. It’s essential to achieve a visually balanced and level arrangement. Once you’re satisfied with the placement and levelness, step back and enjoy the visual impact your pictures have on your staircase walls.
If you have a gallery wall with multiple pictures, it’s often helpful to start with the center picture and work your way outward, gradually adding the surrounding frames. This will allow you to maintain symmetry and achieve a cohesive and visually appealing display.
Don’t be afraid to experiment and reposition the pictures until you achieve the desired look. The beauty of hanging pictures on your stairway walls is that you have the freedom to create a unique and personalized gallery that reflects your style and personality.
By following these steps, you can confidently hang your pictures on your stairway walls, creating a stunning display that will make your staircase a focal point in your home.
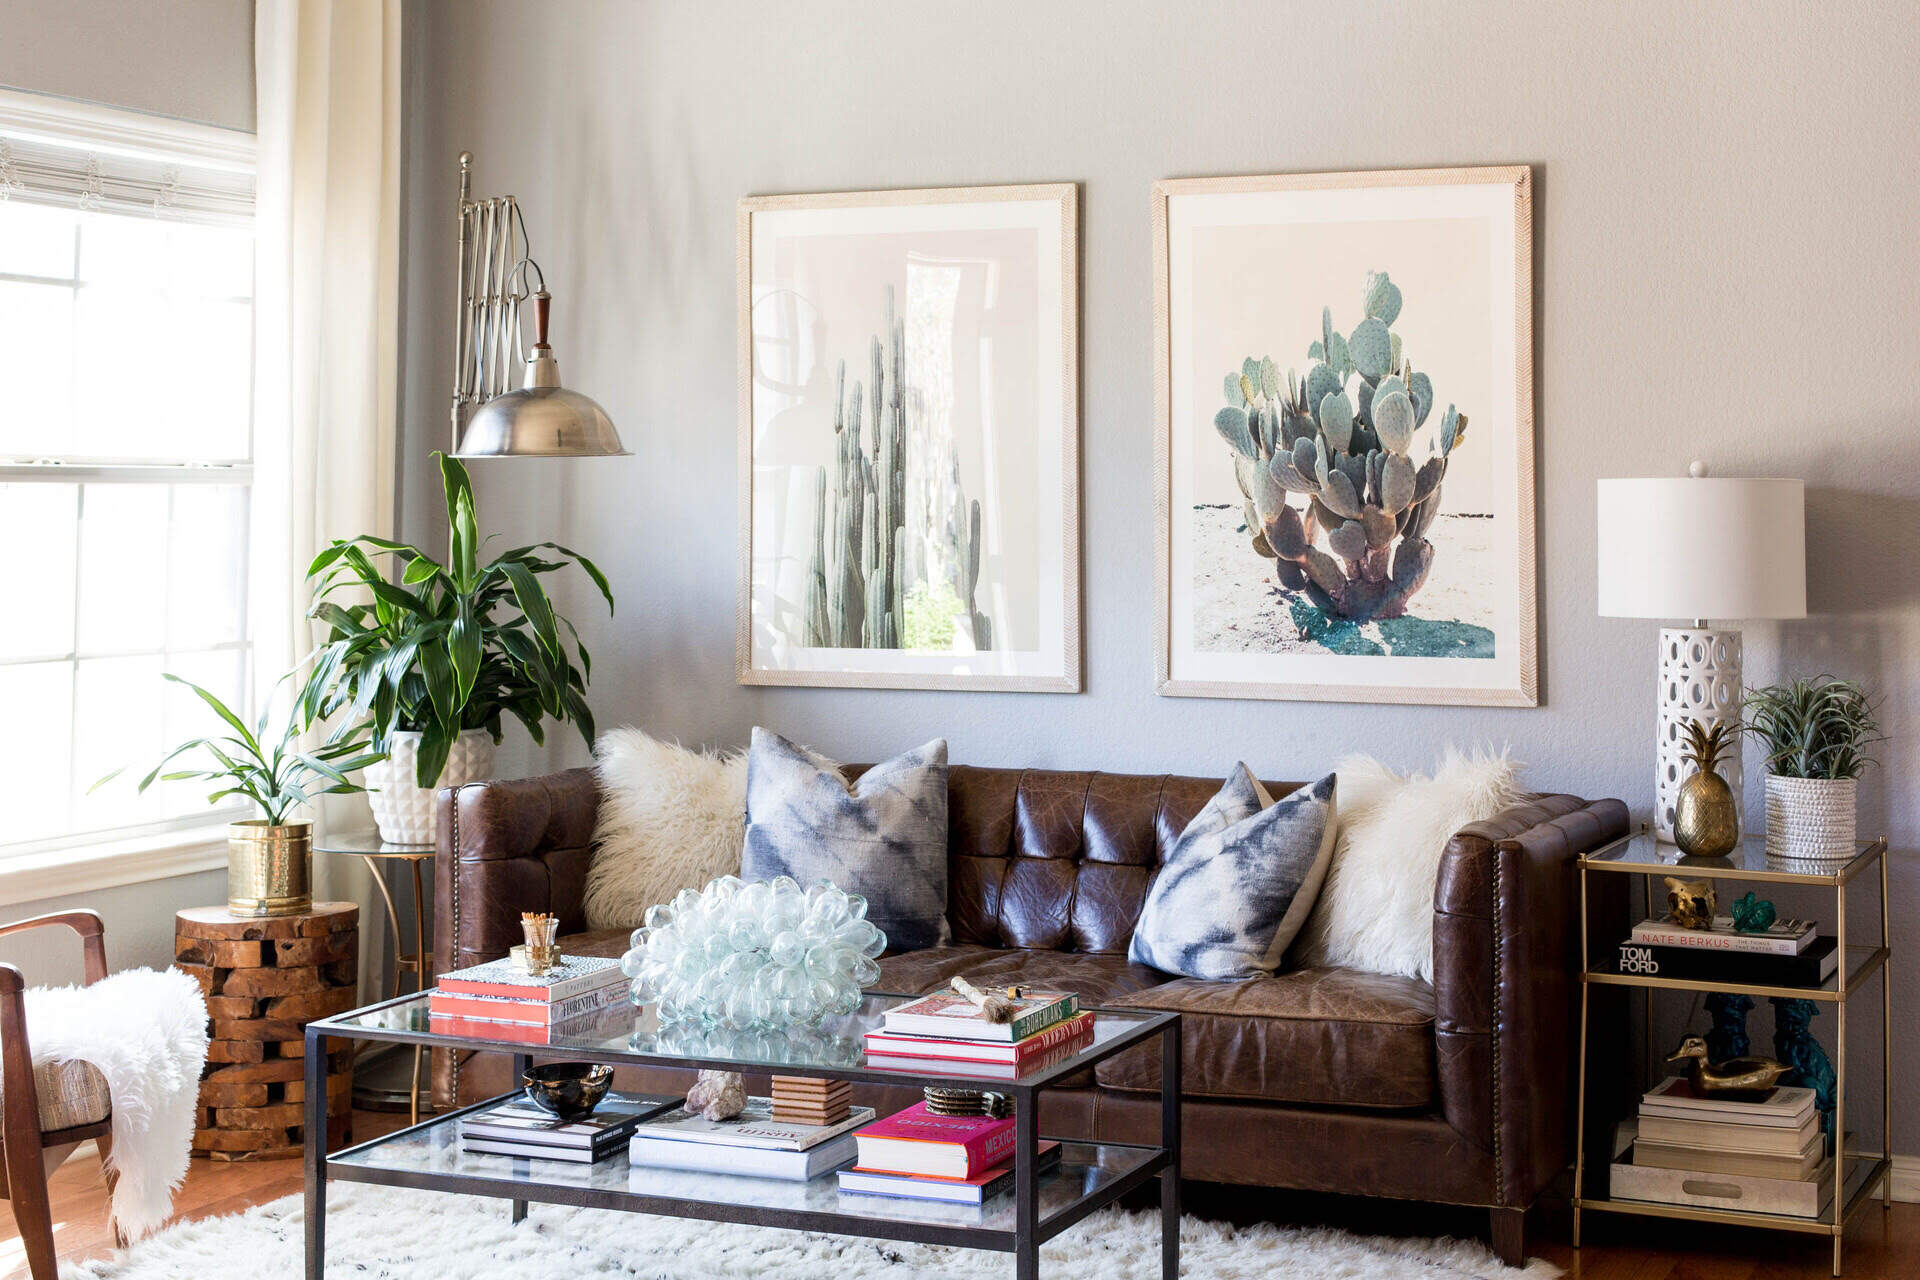
Arranging a Gallery Wall
A gallery wall on your stairway walls can create a captivating and visually stunning display. It allows you to showcase multiple pictures, artwork, and decorative prints, adding personality and style to your staircase. Here are some tips on arranging a gallery wall:
1. Plan and Visualize: Before you start hanging your pictures, take the time to plan and visualize the arrangement you want to create. Lay out your frames and artwork on the floor or a large surface to experiment with different compositions. Consider the size, color, and theme of each piece and how they will work together as a cohesive arrangement.
2. Create a Focal Point: Every gallery wall should have a focal point—a central piece that draws the eye and anchors the entire display. Choose a larger or more attention-grabbing artwork or picture to serve as the focal point. Surround it with smaller frames and artwork to create a visually interesting arrangement.
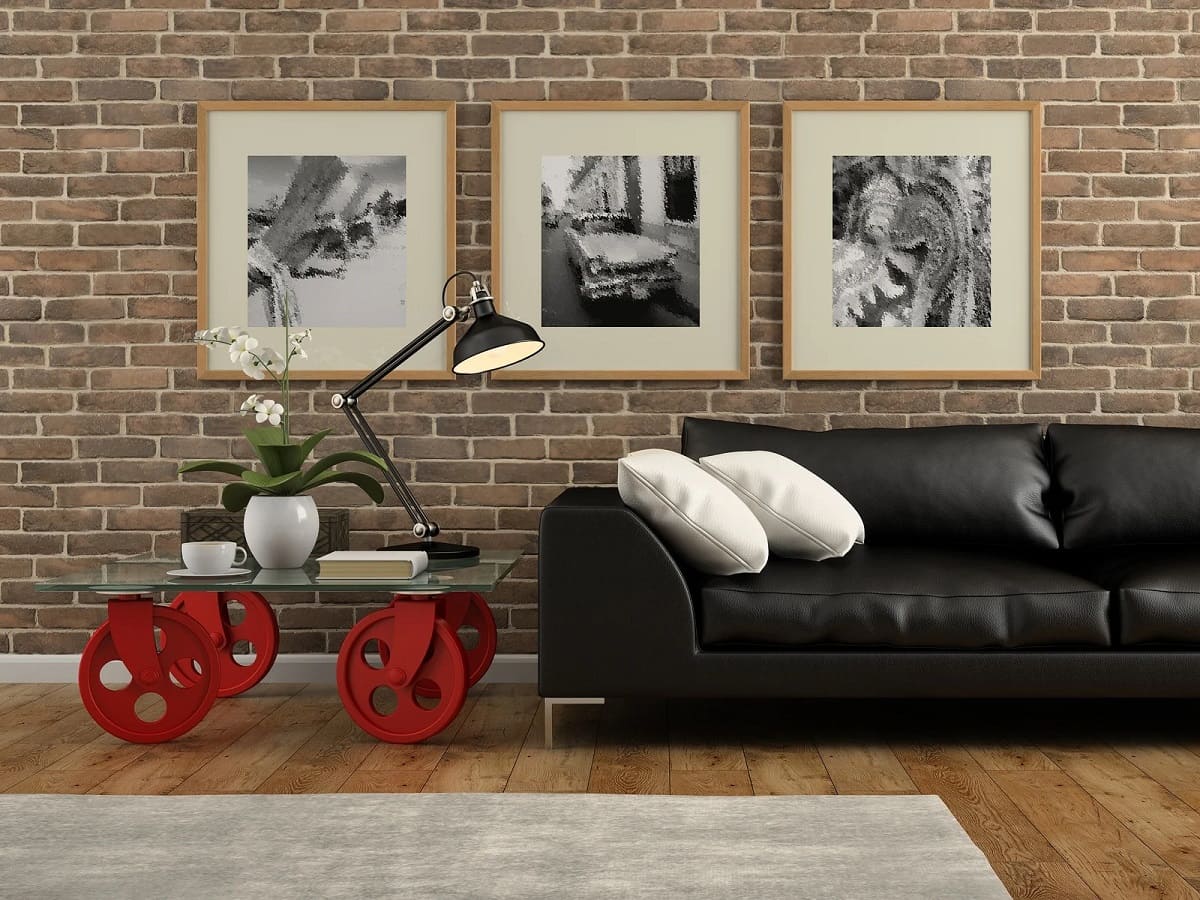
3. Experiment with Layouts: Play around with different layouts and arrangements until you find one that speaks to you. Try symmetrical or asymmetrical arrangements, horizontal or vertical orientations, or a mix of different-sized frames. Don’t be afraid to mix different colors, textures, and styles to add depth and visual interest to your gallery wall.
4. Consider Spacing and Balance: Pay attention to the spacing and balance between each picture. Aim for consistent spacing between frames to create a harmonious display. Use a measuring tape or ruler to ensure an even distance between frames, or simply eyeball it for a more organic and relaxed feel. Step back often and reassess the arrangement to check for balance and visual cohesion.
5. Mix and Match: Don’t limit yourself to just pictures—consider incorporating other decorative elements into your gallery wall. Mix in mirrors, clocks, wall sconces, or other unique pieces to add variety and visual interest. This will create a gallery wall that is not only visually appealing but also showcases your personal style and creativity.
6. Test Before Hanging: Before you start hanging your pictures, use kraft paper or newspapers to create templates of the frames. Cut out shapes that match the size and dimensions of each frame and tape them to the wall. This will allow you to visualize the arrangement and make adjustments without any damage to the wall. Once you’re satisfied with the placement, you can easily replace the paper templates with the actual pictures.
7. Hang with Precision: When hanging each frame, use your markings from earlier as a guide to ensure proper placement. Use a level to ensure that the frames are straight and aligned. Start with the central piece or focal point, and gradually work your way outward, hanging the surrounding frames. Step back frequently to assess the arrangement and make any necessary adjustments.
A gallery wall on your stairway walls can be a beautiful and meaningful addition to your home. It provides an opportunity to showcase your favorite artwork, photographs, and memories while adding character and charm to your staircase. By carefully planning, experimenting, and hanging with precision, you can create a gallery wall that is uniquely yours and tells your story.
Additional Tips and Considerations
When hanging pictures on your stairway walls, there are several additional tips and considerations to keep in mind. These will help ensure a successful and visually appealing display. Here are some guidelines to follow:
1. Test the Height: Consider the average eye level of people using the stairs when determining the height to hang your pictures. Aim for the center of the frames to be at eye level or slightly above. This will allow for comfortable viewing and appreciation of the artwork as you ascend or descend the stairs.
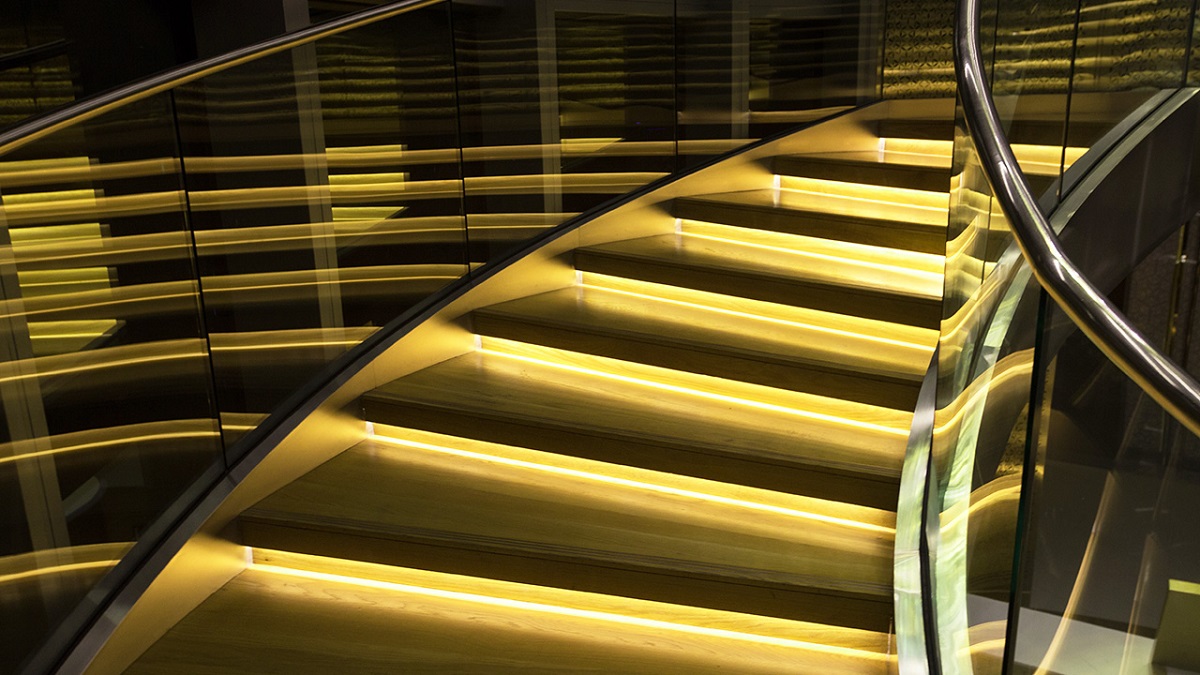
2. Use Proper Lighting: Adequate lighting can greatly enhance the impact of your pictures. Consider adding wall sconces, track lighting, or recessed lighting to illuminate your gallery wall. Soft, warm lighting will create a cozy atmosphere, while bright, natural lighting will highlight the details of the artwork.
3. Vary Frame Sizes and Orientation: To add visual interest to your gallery wall, mix up the sizes and orientations of the frames. Combine different frame shapes, such as squares, rectangles, and circles, to create a dynamic display. This will add depth and dimension to your gallery wall.
4. Incorporate Personal Touches: Don’t be afraid to incorporate personal touches into your gallery wall. Include family photos, favorite quotes, or artwork created by your loved ones. This will make the display more meaningful and unique to you and your family.
5. Regularly Update and Rotate: Consider refreshing your gallery wall every now and then by adding new artwork or swapping out existing pieces. This allows you to keep the display fresh and change the aesthetic of your staircase without significant effort or expense.
6. Secure Heavy Frames: For heavier frames, use wall anchors or toggle bolts to ensure a secure installation. These hardware options provide extra support and prevent damage to the wall over time. Consult with a professional if you are uncertain about the weight-bearing capacity of your stairway walls.
7. Protect Against Vibrations: If your staircase experiences a lot of foot traffic or vibrations, consider using adhesive putty or museum putty to secure the bottom corners of the frames. This will help prevent the pictures from shifting or tilting due to the movement.
8. Respect Stairway Safety: Keep in mind the safety of those using the stairs. Avoid hanging pictures too low or too high, as they may interfere with the staircase handrail or obstruct the view of the steps. Ensure that the hanging hardware and frames are securely attached to the wall to prevent accidents or damage.
By taking these additional tips and considerations into account, you can create a stunning and well-balanced display on your stairway walls. With careful planning, proper installation, and regular maintenance, your gallery wall will continue to bring beauty and joy to your staircase for years to come.
Read more: How To Hang A Picture From The Ceiling
Conclusion
Hanging pictures on your stairway walls can transform a mundane staircase into a captivating gallery that reflects your personal style and adds character to your home. With the right approach and careful planning, you can create a visually stunning display that showcases your artwork, photographs, and memories. Throughout this article, we have provided you with a comprehensive guide to hanging pictures on your stairway walls, covering everything from choosing the right location to arranging a gallery wall.
By considering the height, lighting, and visibility of your stairway walls, you can select the optimal location for your pictures. Preparing the wall ensures a clean and solid surface for installation, while gathering the necessary tools saves you time and keeps you organized during the hanging process. Proper measuring and marking ensure accuracy and alignment, while the installation of hanging hardware provides the foundation for secure and stable picture hanging.
When it comes to hanging the pictures, take your time to ensure proper alignment and levelness. Experiment with different layouts, spacing, and arrangements to create a visually appealing and well-balanced gallery wall. Consider incorporating personal touches, varying frame sizes, and updating the display periodically to keep it fresh and interesting.
Throughout the process, it’s important to prioritize safety and stability. Secure heavier frames properly and protect against vibrations. Respect the stairway’s functionality and avoid obstructing handrails or compromising visibility of the steps.
In conclusion, hanging pictures on your stairway walls is a creative and enjoyable way to enhance the aesthetics of your staircase. It allows you to showcase your favorite artwork, photographs, and memories in a unique and personalized way. By following the tips and guidelines provided in this article, you can confidently create a visually stunning gallery that transforms your staircase into a true centerpiece of your home.
Ready to take your picture-hanging skills to new heights? Dive deeper into the world of interior aesthetics with our article on how high to hang pictures from interior design experts. This guide offers expert advice on the optimal height for showcasing your artwork, ensuring every piece makes a statement. If you're also a fan of personal touches around the home, don't miss our insights on what is so great about DIY projects. Learn why rolling up your sleeves and tackling projects yourself can be incredibly rewarding. Both articles promise valuable tips that'll transform your space and your skills.
Frequently Asked Questions about How To Hang Pictures Up Stairs
Was this page helpful?
At Storables.com, we guarantee accurate and reliable information. Our content, validated by Expert Board Contributors, is crafted following stringent Editorial Policies. We're committed to providing you with well-researched, expert-backed insights for all your informational needs.
0 thoughts on “How To Hang Pictures Up Stairs”