Articles
How To Hang Up Wall Art
Modified: December 7, 2023
Learn how to hang up wall art with these informative articles. Find tips, tricks, and expert advice for displaying your favorite pieces beautifully in your home.
(Many of the links in this article redirect to a specific reviewed product. Your purchase of these products through affiliate links helps to generate commission for Storables.com, at no extra cost. Learn more)
Introduction
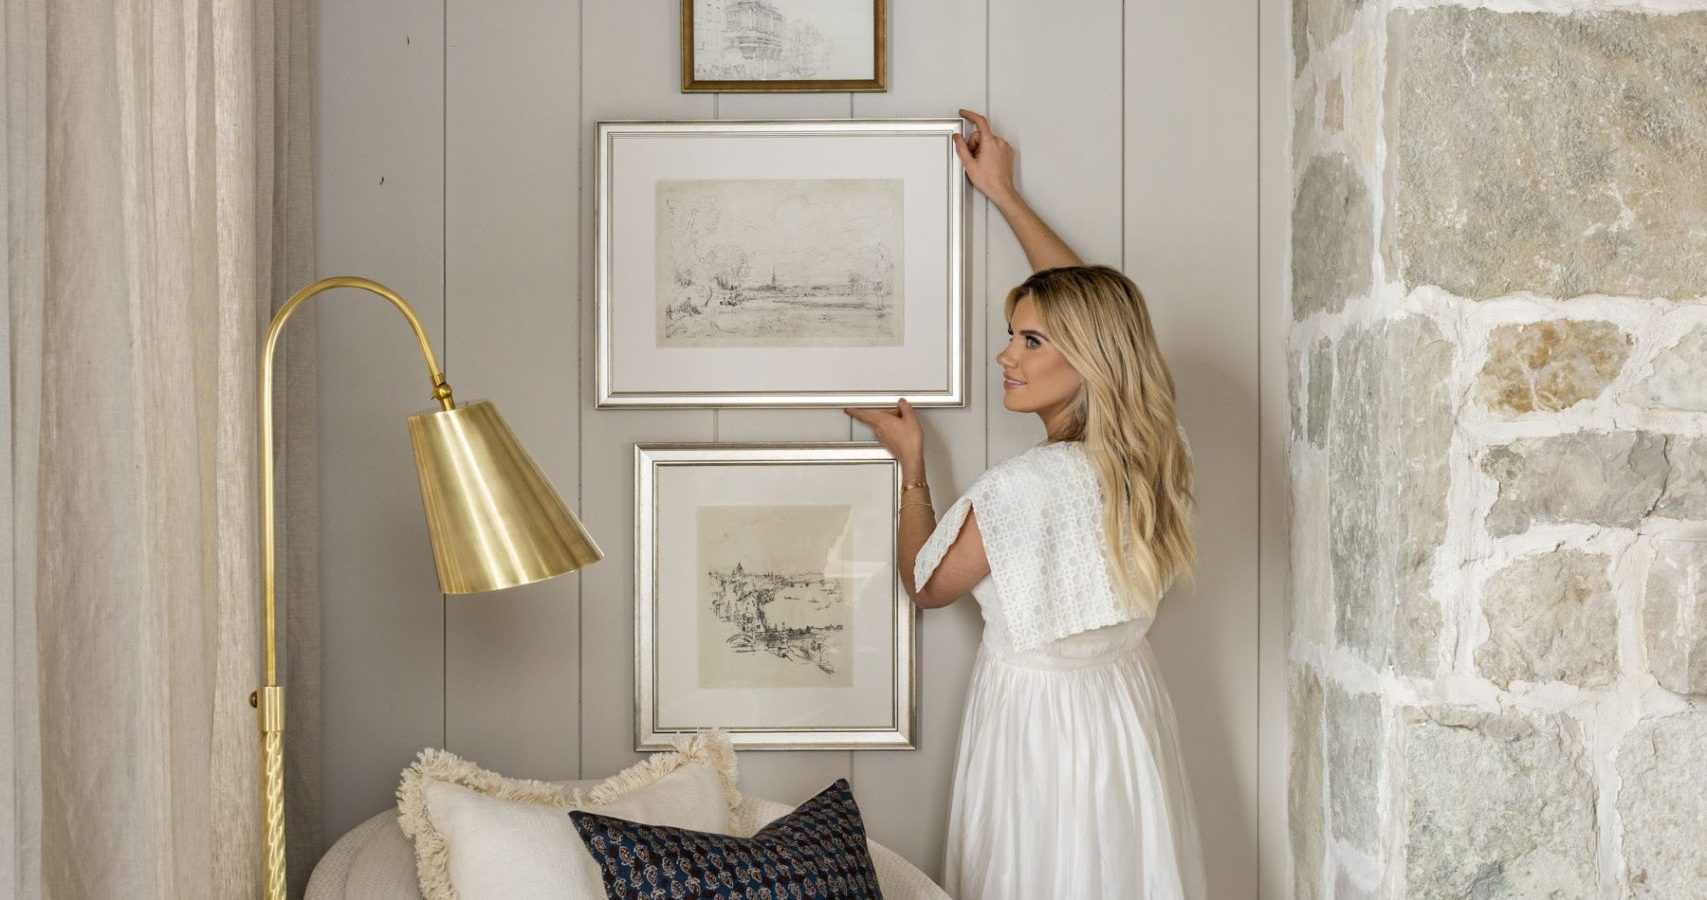
Wall art is an excellent way to add personality and style to any space. Whether you’re decorating your home or sprucing up your office, hanging wall art can instantly transform a room and create a focal point. However, the task of hanging wall art may seem daunting, especially if you’re unsure of where to start.
In this article, we will guide you through the process of hanging up wall art, step by step. From choosing the right artwork to securing it firmly on the wall, we will provide you with all the necessary tips and techniques to ensure a successful and visually pleasing display.
So, let’s dive in and discover how to hang up wall art like a pro!
Key Takeaways:
- Choosing the right wall art involves considering size, style, and color to complement your space. Experiment with different arrangements and mediums to create a visually captivating and personalized display.
- Hanging wall art requires careful measurement, preparation, and secure installation. Take the time to level and adjust the artwork, ensuring a visually pleasing and harmonious display that reflects your personal style and creativity.
Read more: How To Hang Metal Wall Art
Step 1: Choose the Right Wall Art
The first step in hanging up wall art is to choose the right pieces that bring your vision to life. Consider the style and theme of your space to ensure that the artwork complements the overall aesthetic.
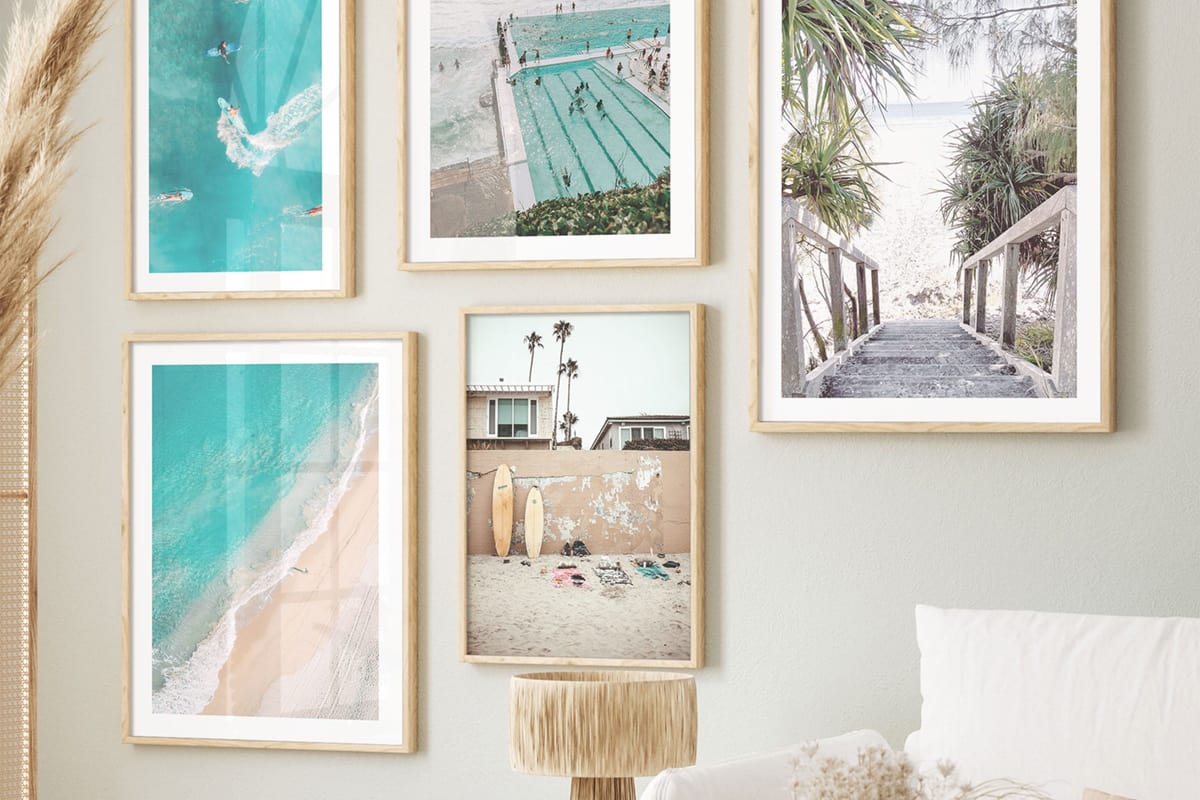
When selecting wall art, take into account the size of the wall and the surrounding furniture. Larger pieces can make a bold statement, whereas smaller pieces may work well in gallery walls or clustered arrangements. It’s important to strike a balance between the size of the artwork and the space it occupies.
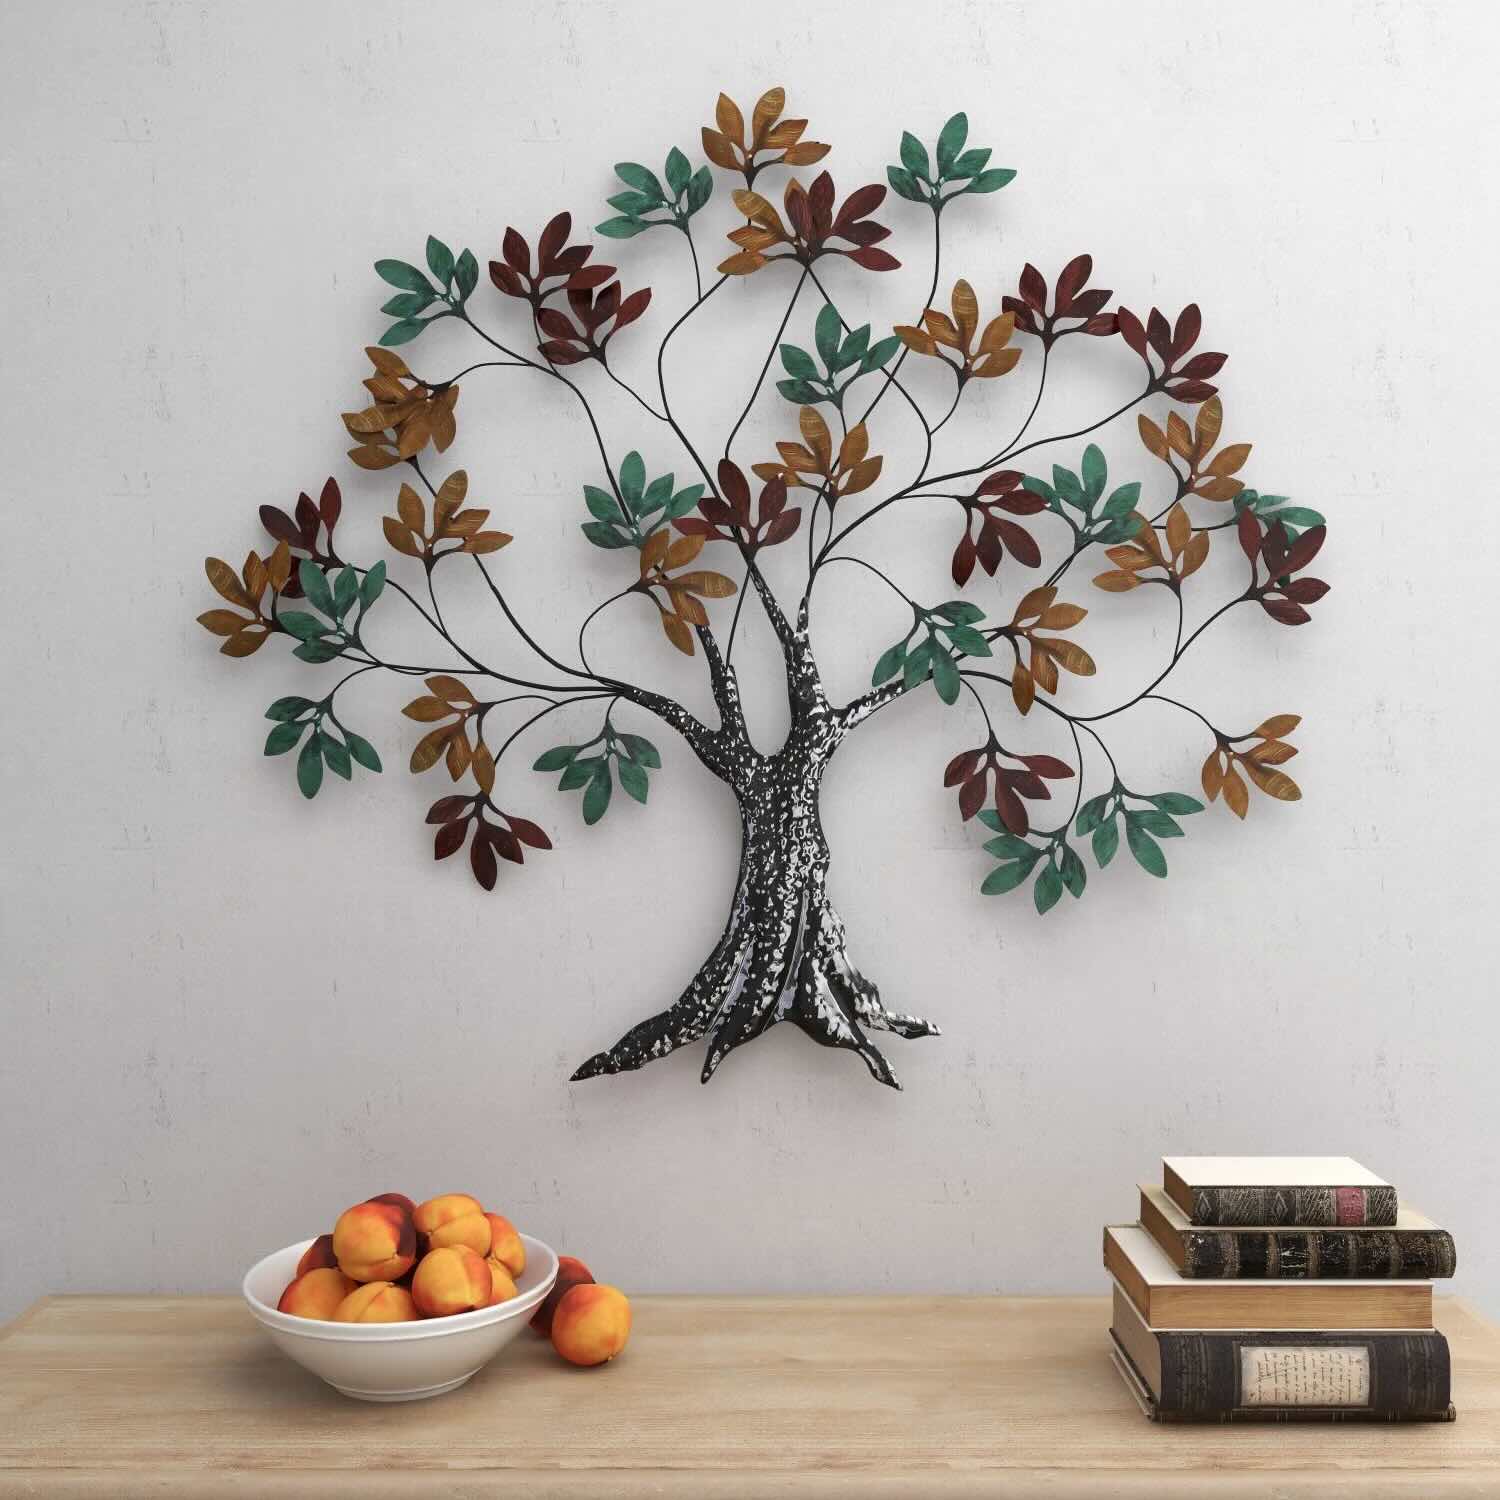
Additionally, consider the colors and patterns in the room. Wall art can serve as a focal point or tie different elements together. Look for artwork that complements or contrasts with the existing color palette, providing visual interest and harmony.
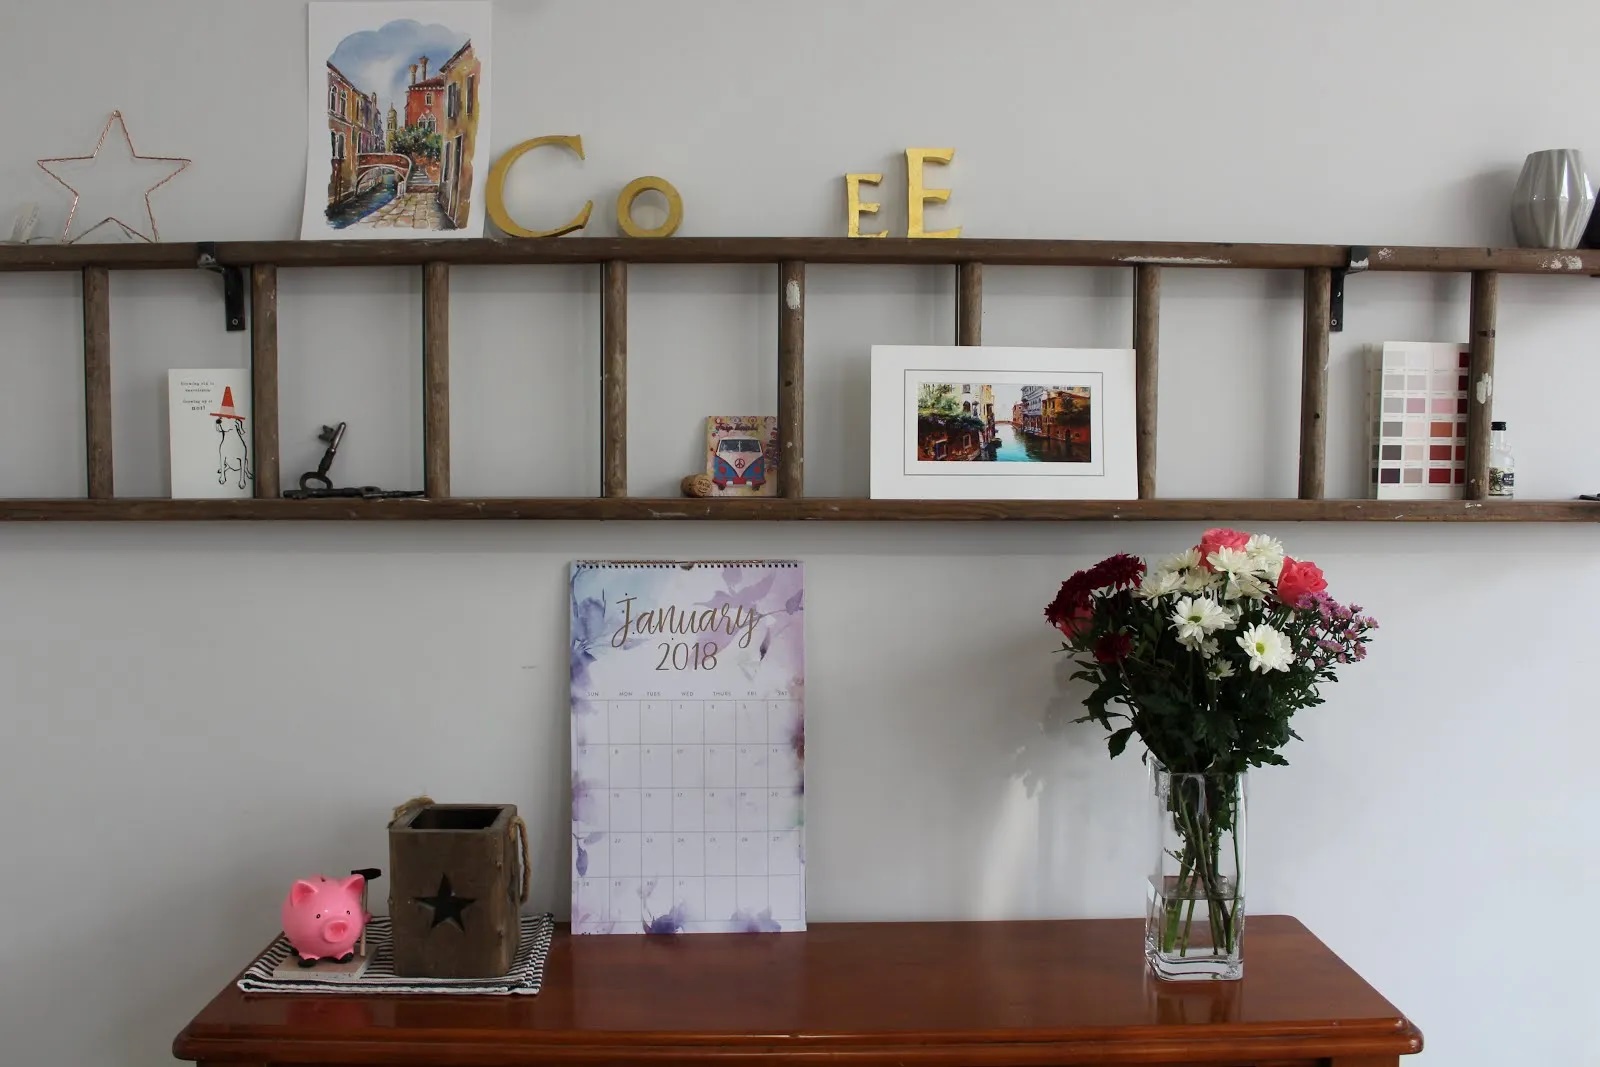
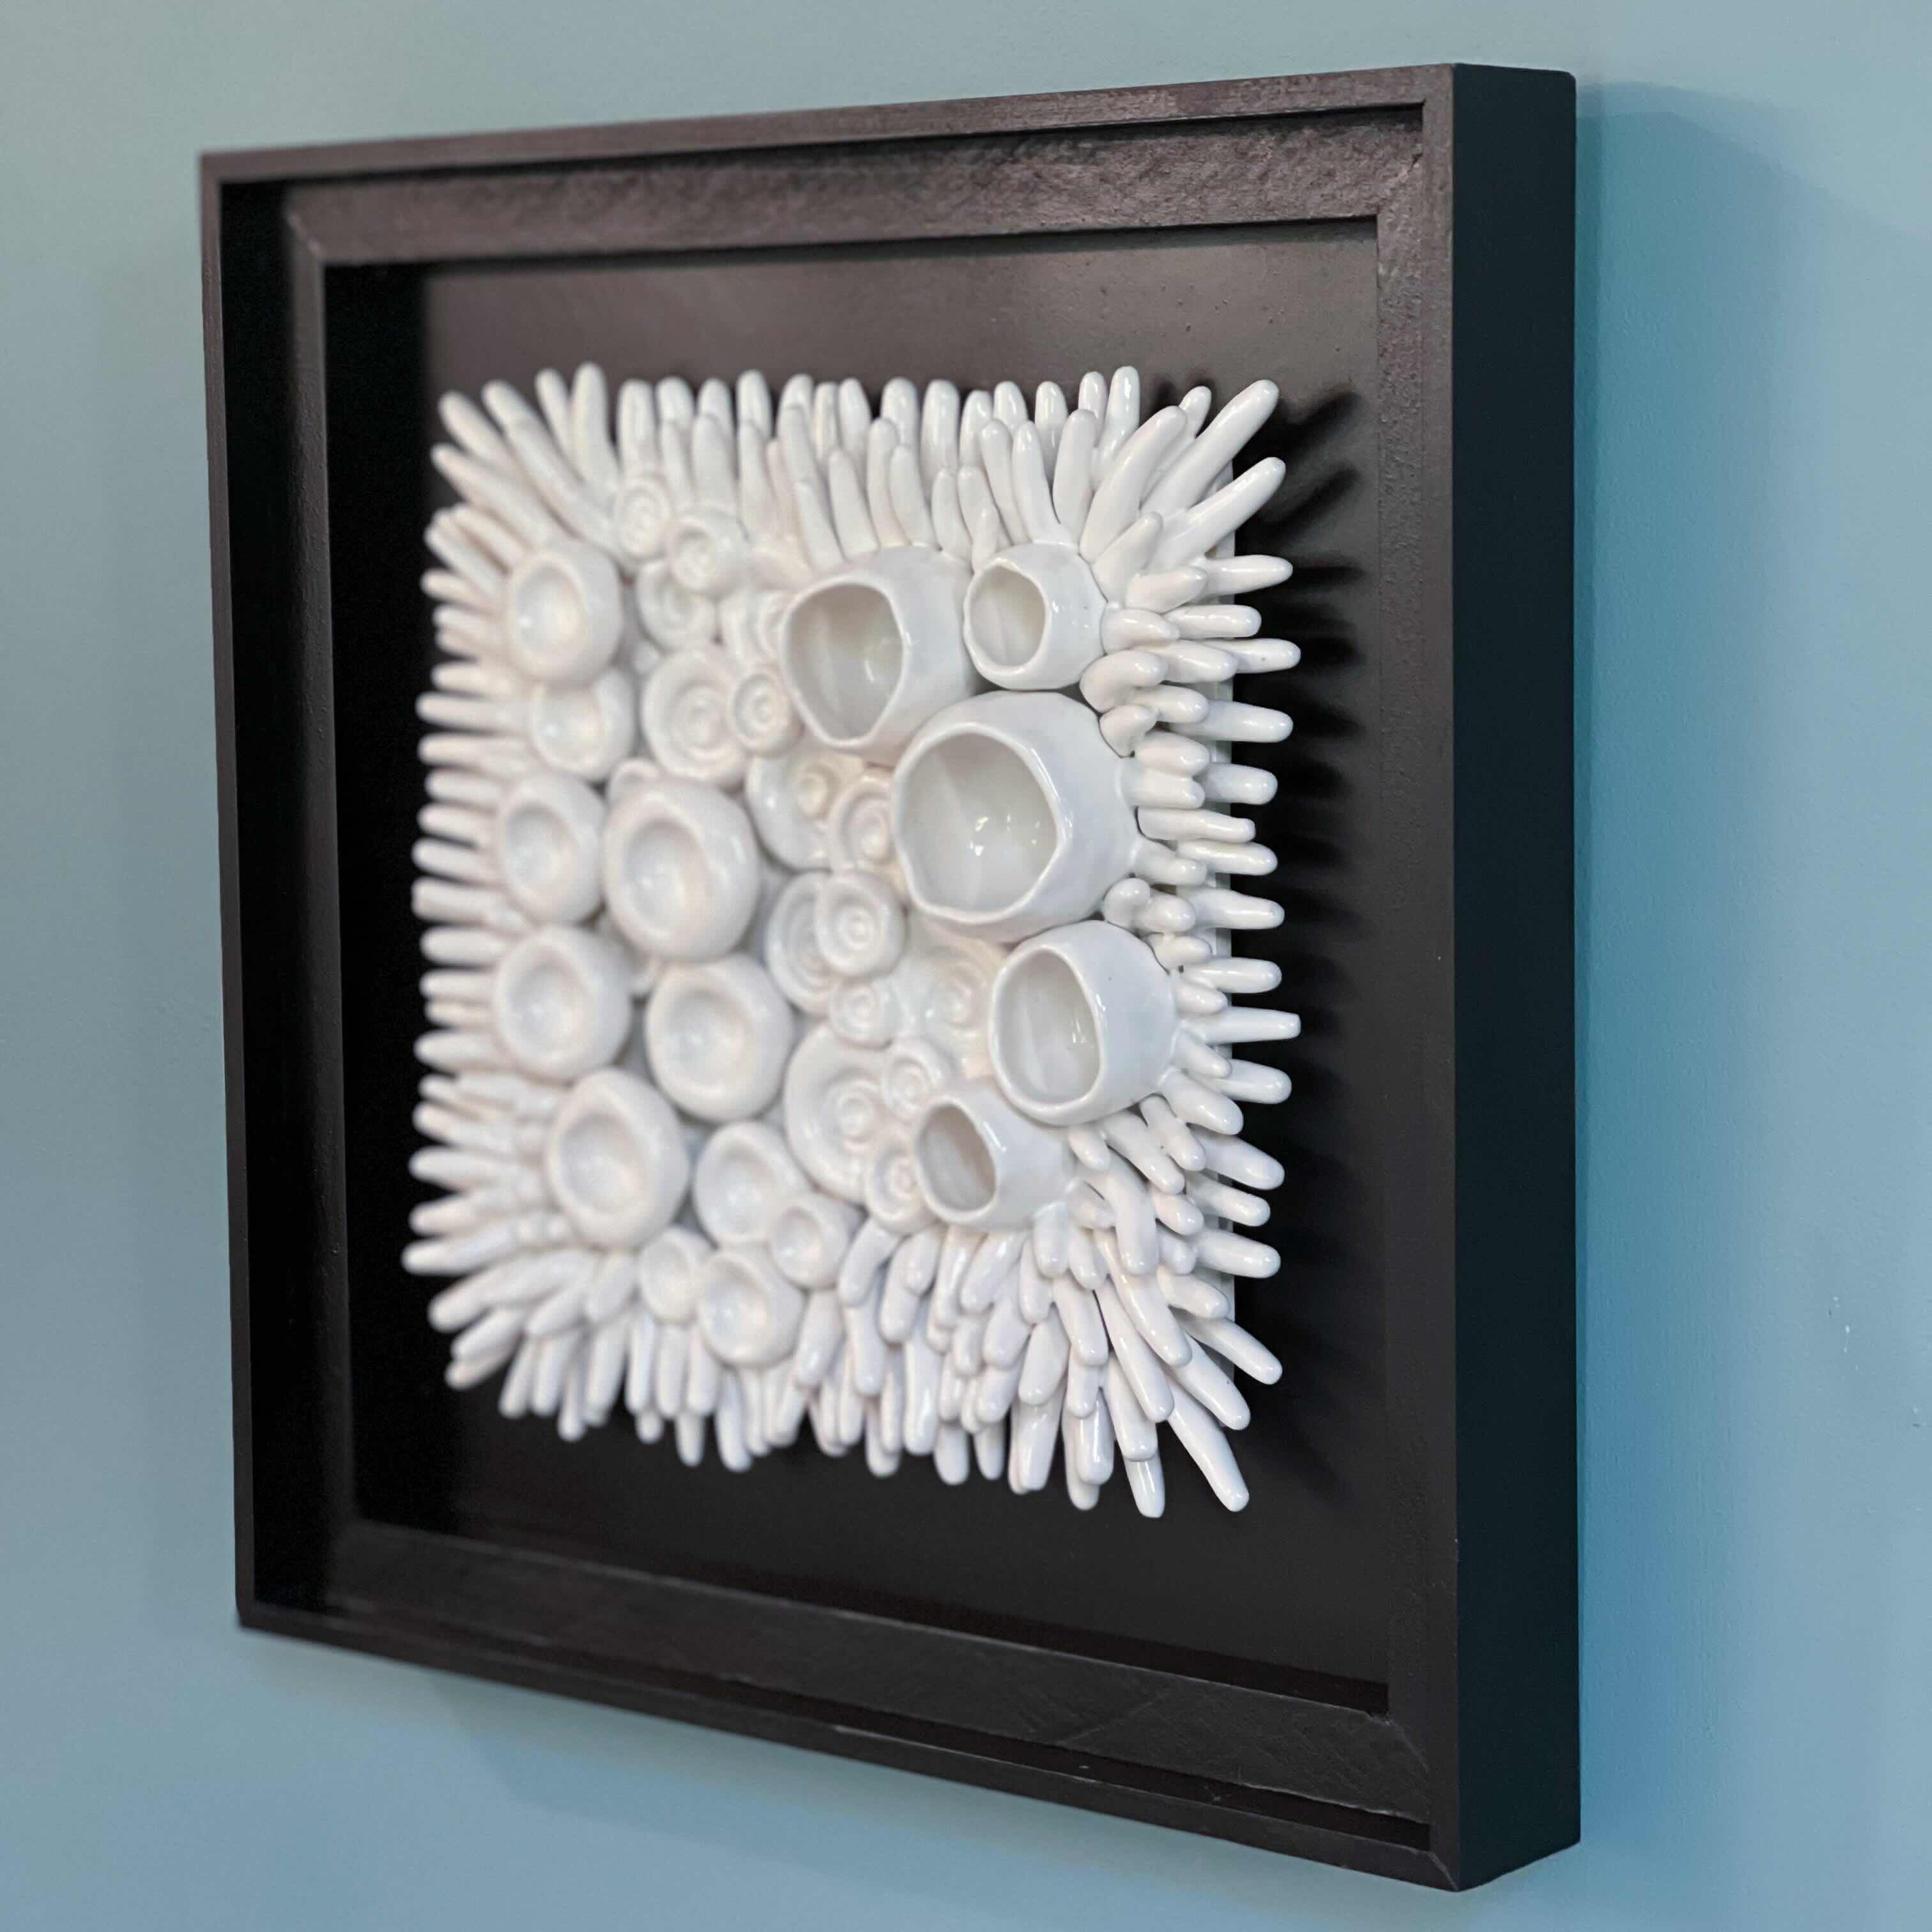
Remember that wall art doesn’t have to be limited to paintings or prints. Explore different mediums such as sculptures, tapestries, or even wall decals to add texture and dimension to your space.
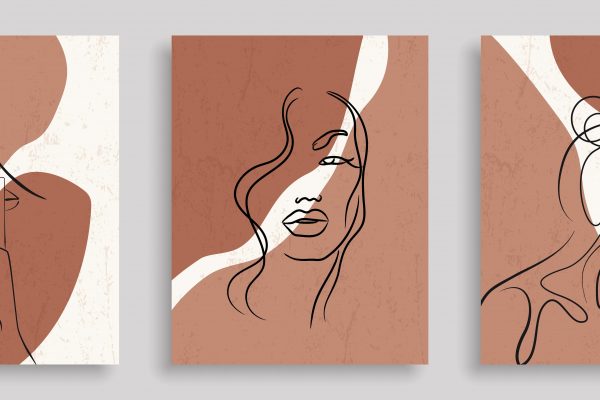
Ultimately, choose wall art that speaks to you and evokes the desired emotions in the room. Whether you prefer abstract designs, landscapes, or contemporary pieces, the artwork should reflect your personal taste and enhance the ambiance of your space.
Step 2: Measure the Wall
Before you start hanging up your chosen wall art, it’s crucial to measure the wall and identify the ideal placement. This step ensures that your artwork will be perfectly positioned and visually balanced.
Start by using a measuring tape to determine the height and width of the wall space where you intend to hang the artwork. Take note of any architectural features, such as windows or doors, that may impact the placement of the art.
Next, consider the height at which you want the artwork to be positioned. As a general guideline, artwork should be hung at eye level. However, this can vary depending on the height of the ceiling and the furniture placement.
A common approach is to hang the center of the artwork at eye level, which is approximately 57-60 inches from the floor. This ensures that the art is easily visible and creates a balanced visual effect. However, feel free to adjust this height based on your personal preference and the layout of the room.
When measuring the wall, also consider the scale of the artwork. If you’re planning to create a gallery wall or hang multiple pieces together, take into account the spacing between them. You can use painter’s tape or cut out pieces of paper to create mock-ups and experiment with different arrangements.
Finally, make sure to measure any existing furniture or fixtures that the artwork will be placed above or near. Take note of their dimensions, so you can position the art in a way that complements and harmonizes with the surrounding elements.
By taking the time to measure the wall and plan the placement of your artwork, you’ll ensure a seamless and visually pleasing display.
Step 3: Determine Placement
Once you have measured the wall and have a clear understanding of the dimensions, it’s time to determine the exact placement of your wall art. This step involves considering the layout of the room, the furniture arrangement, and the overall visual balance.
Start by visualizing where you would like the artwork to be positioned on the wall. Consider the focal points of the room and choose a spot that will draw attention and enhance the overall aesthetic.
If you’re hanging a single piece of art, the center of the wall is often a good starting point. However, don’t be afraid to experiment with off-center placements or asymmetrical arrangements for a more dynamic and unique look.
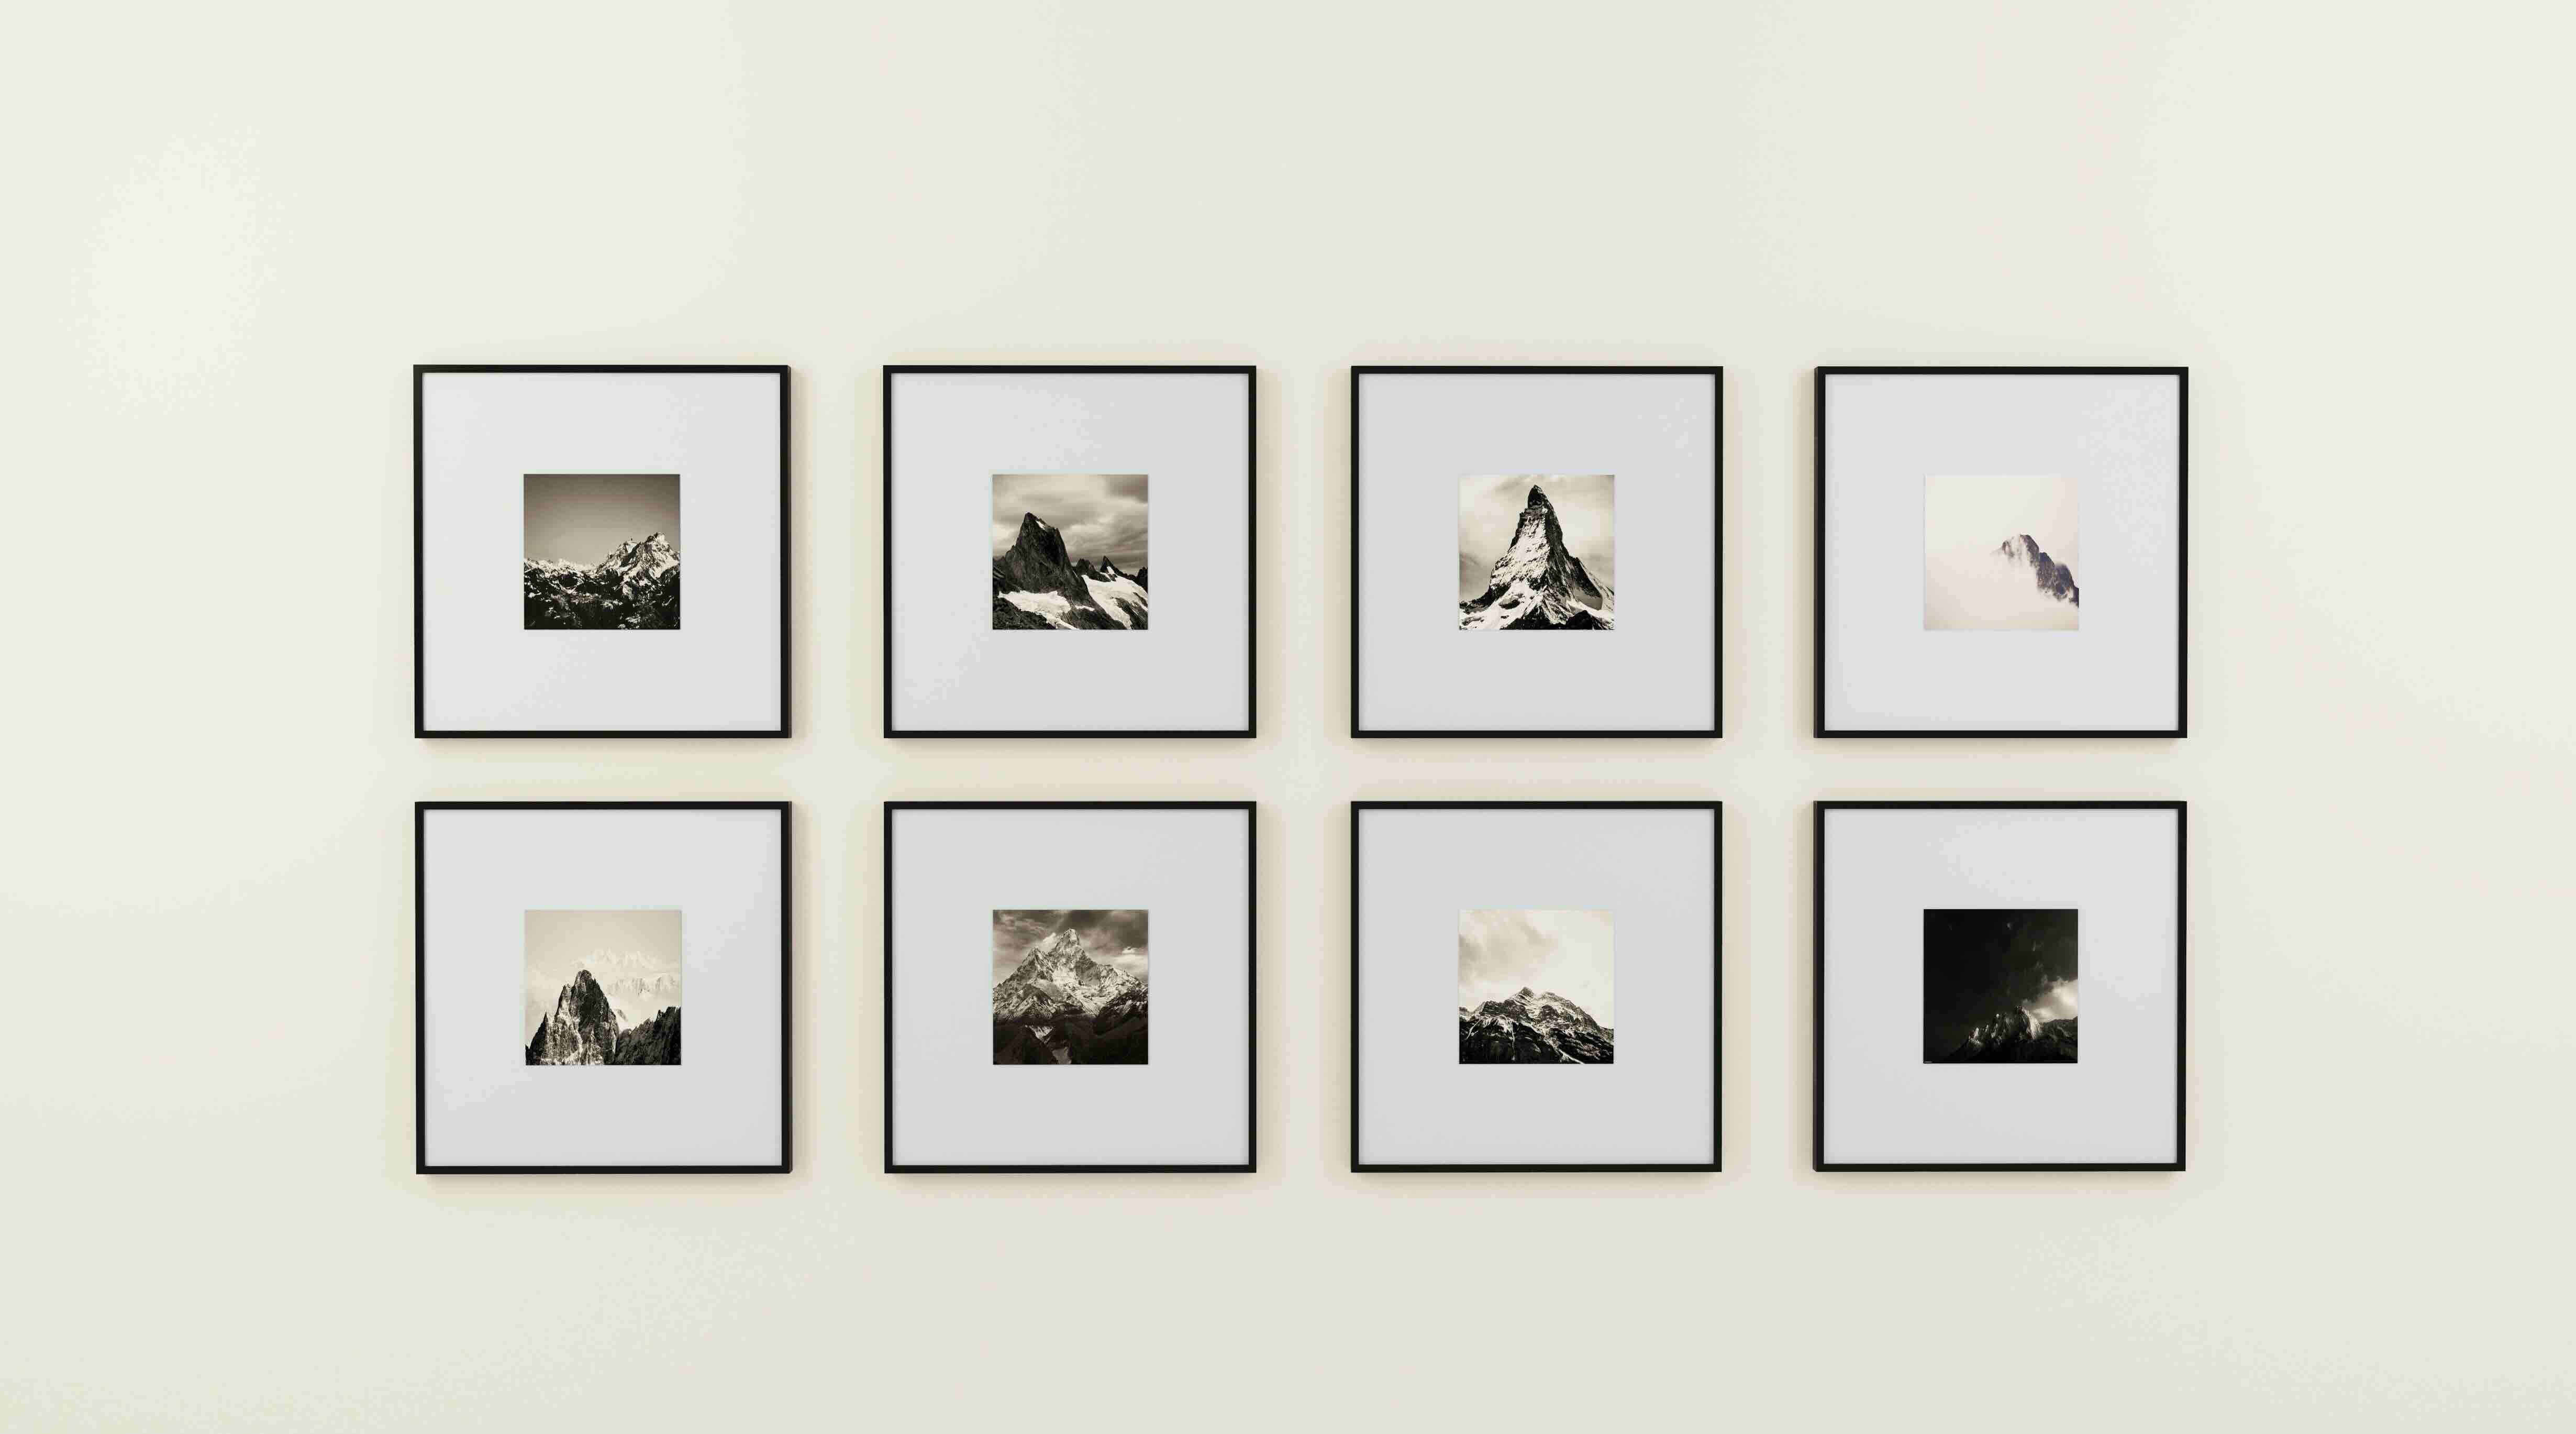
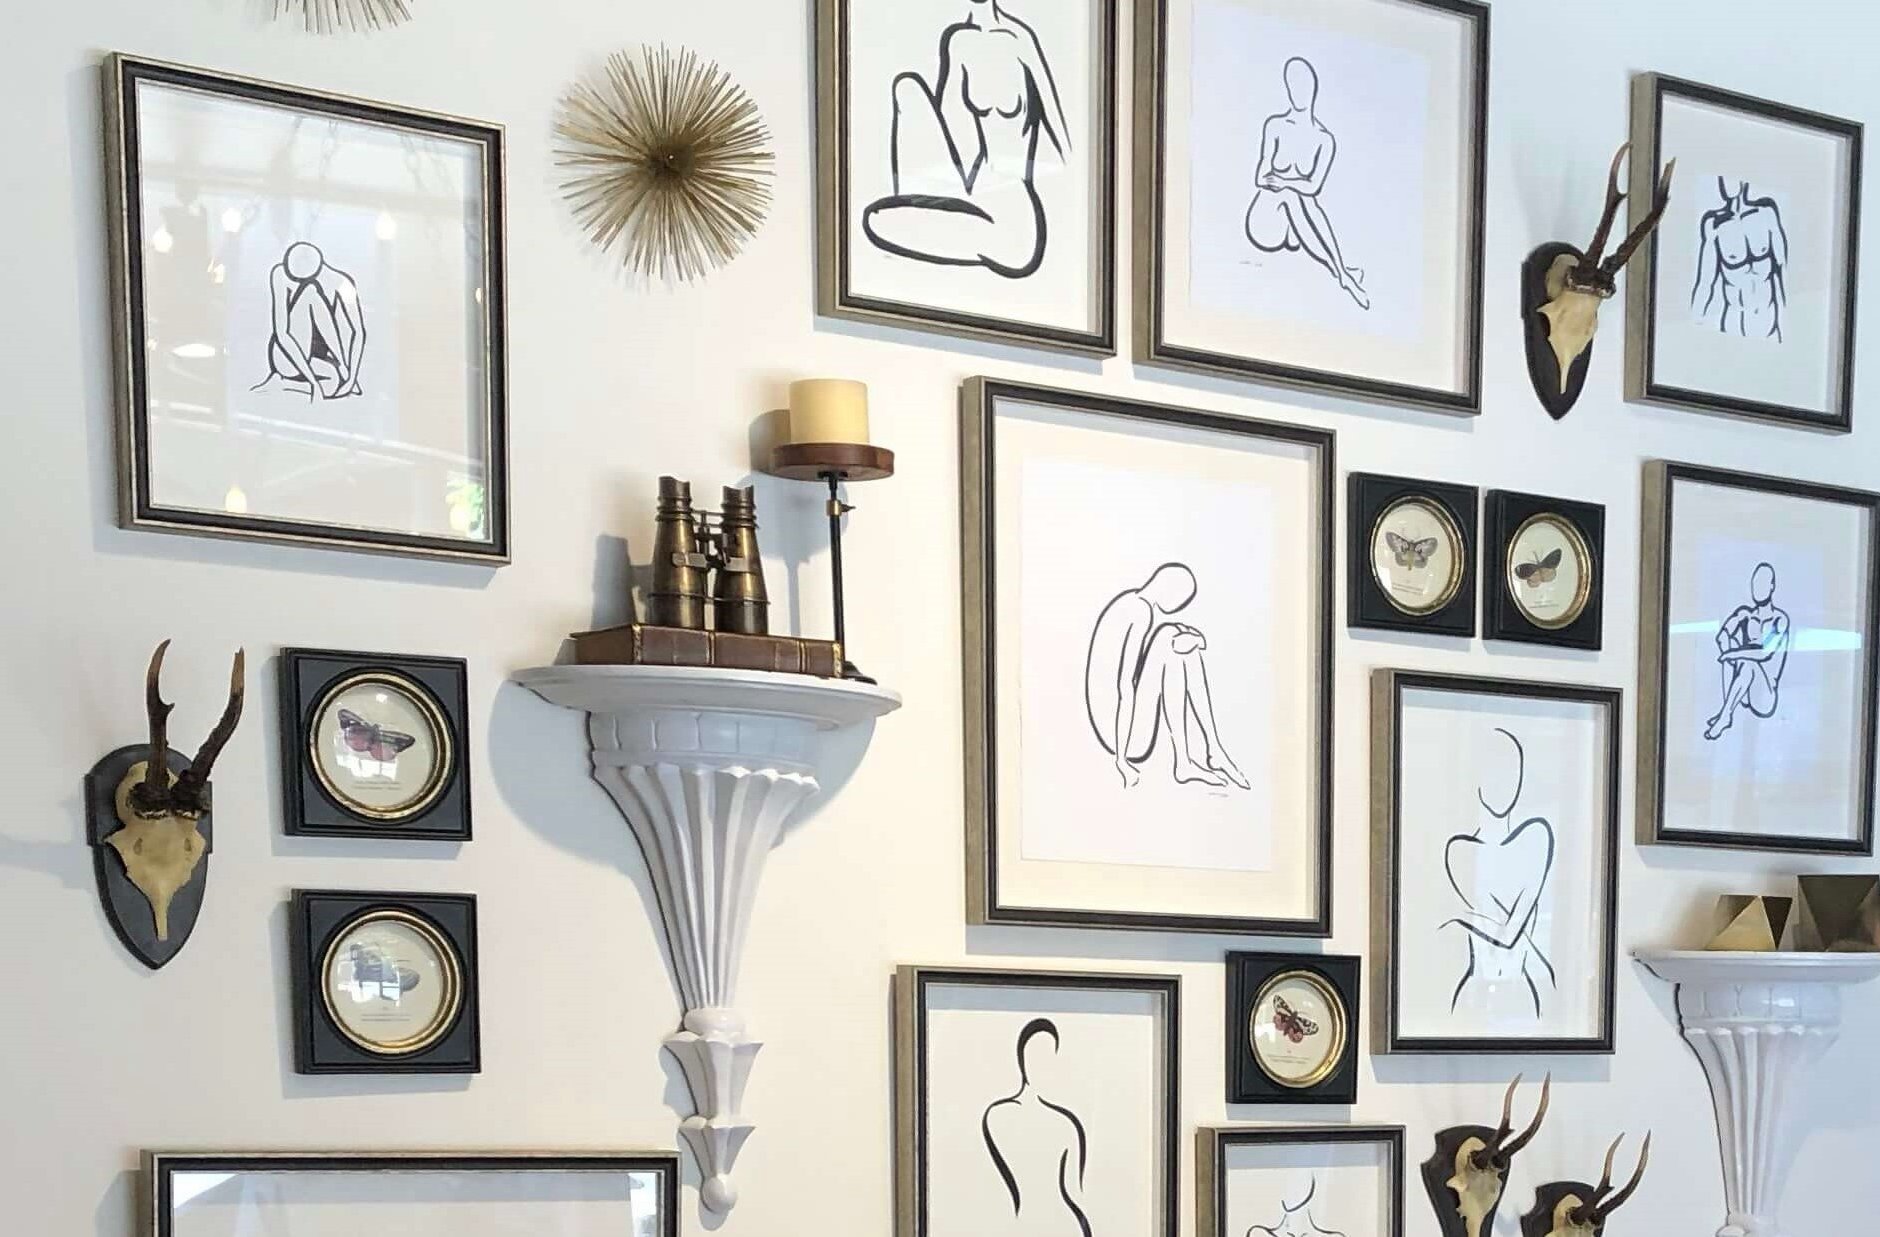
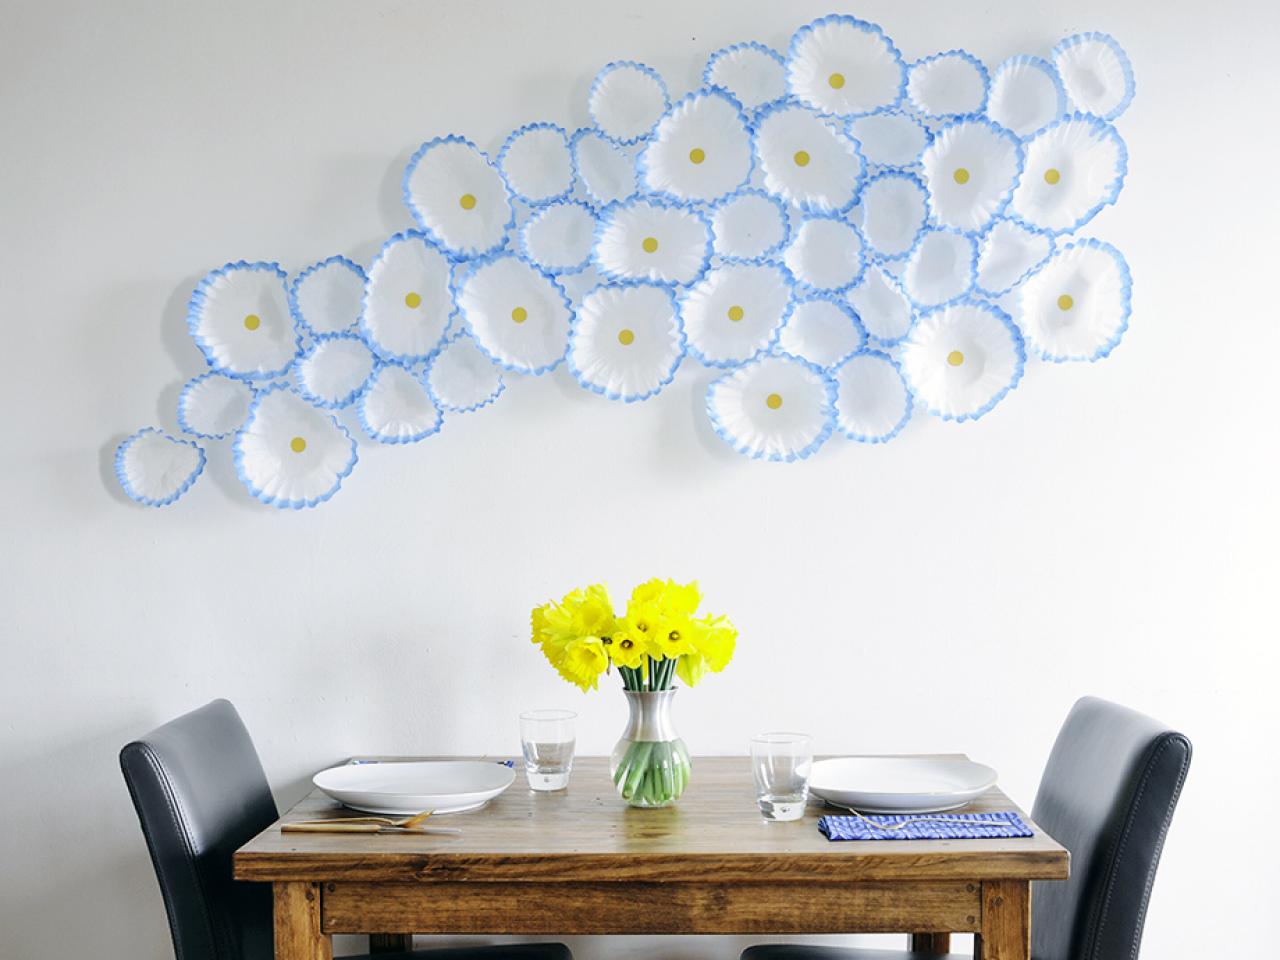
If you’re working with multiple pieces of art, take into account their size, shape, and theme. Arrange them in a way that creates a cohesive and visually appealing composition. You can opt for a grid-like arrangement, a salon-style arrangement with varying heights and sizes, or even a staggered arrangement for a more eclectic feel.
Consider how the artwork will interact with the surrounding furniture and architectural features. Aim for a balance in terms of proportions and spacing. Make sure that the art is neither overwhelmed by the furniture nor floating in empty space.
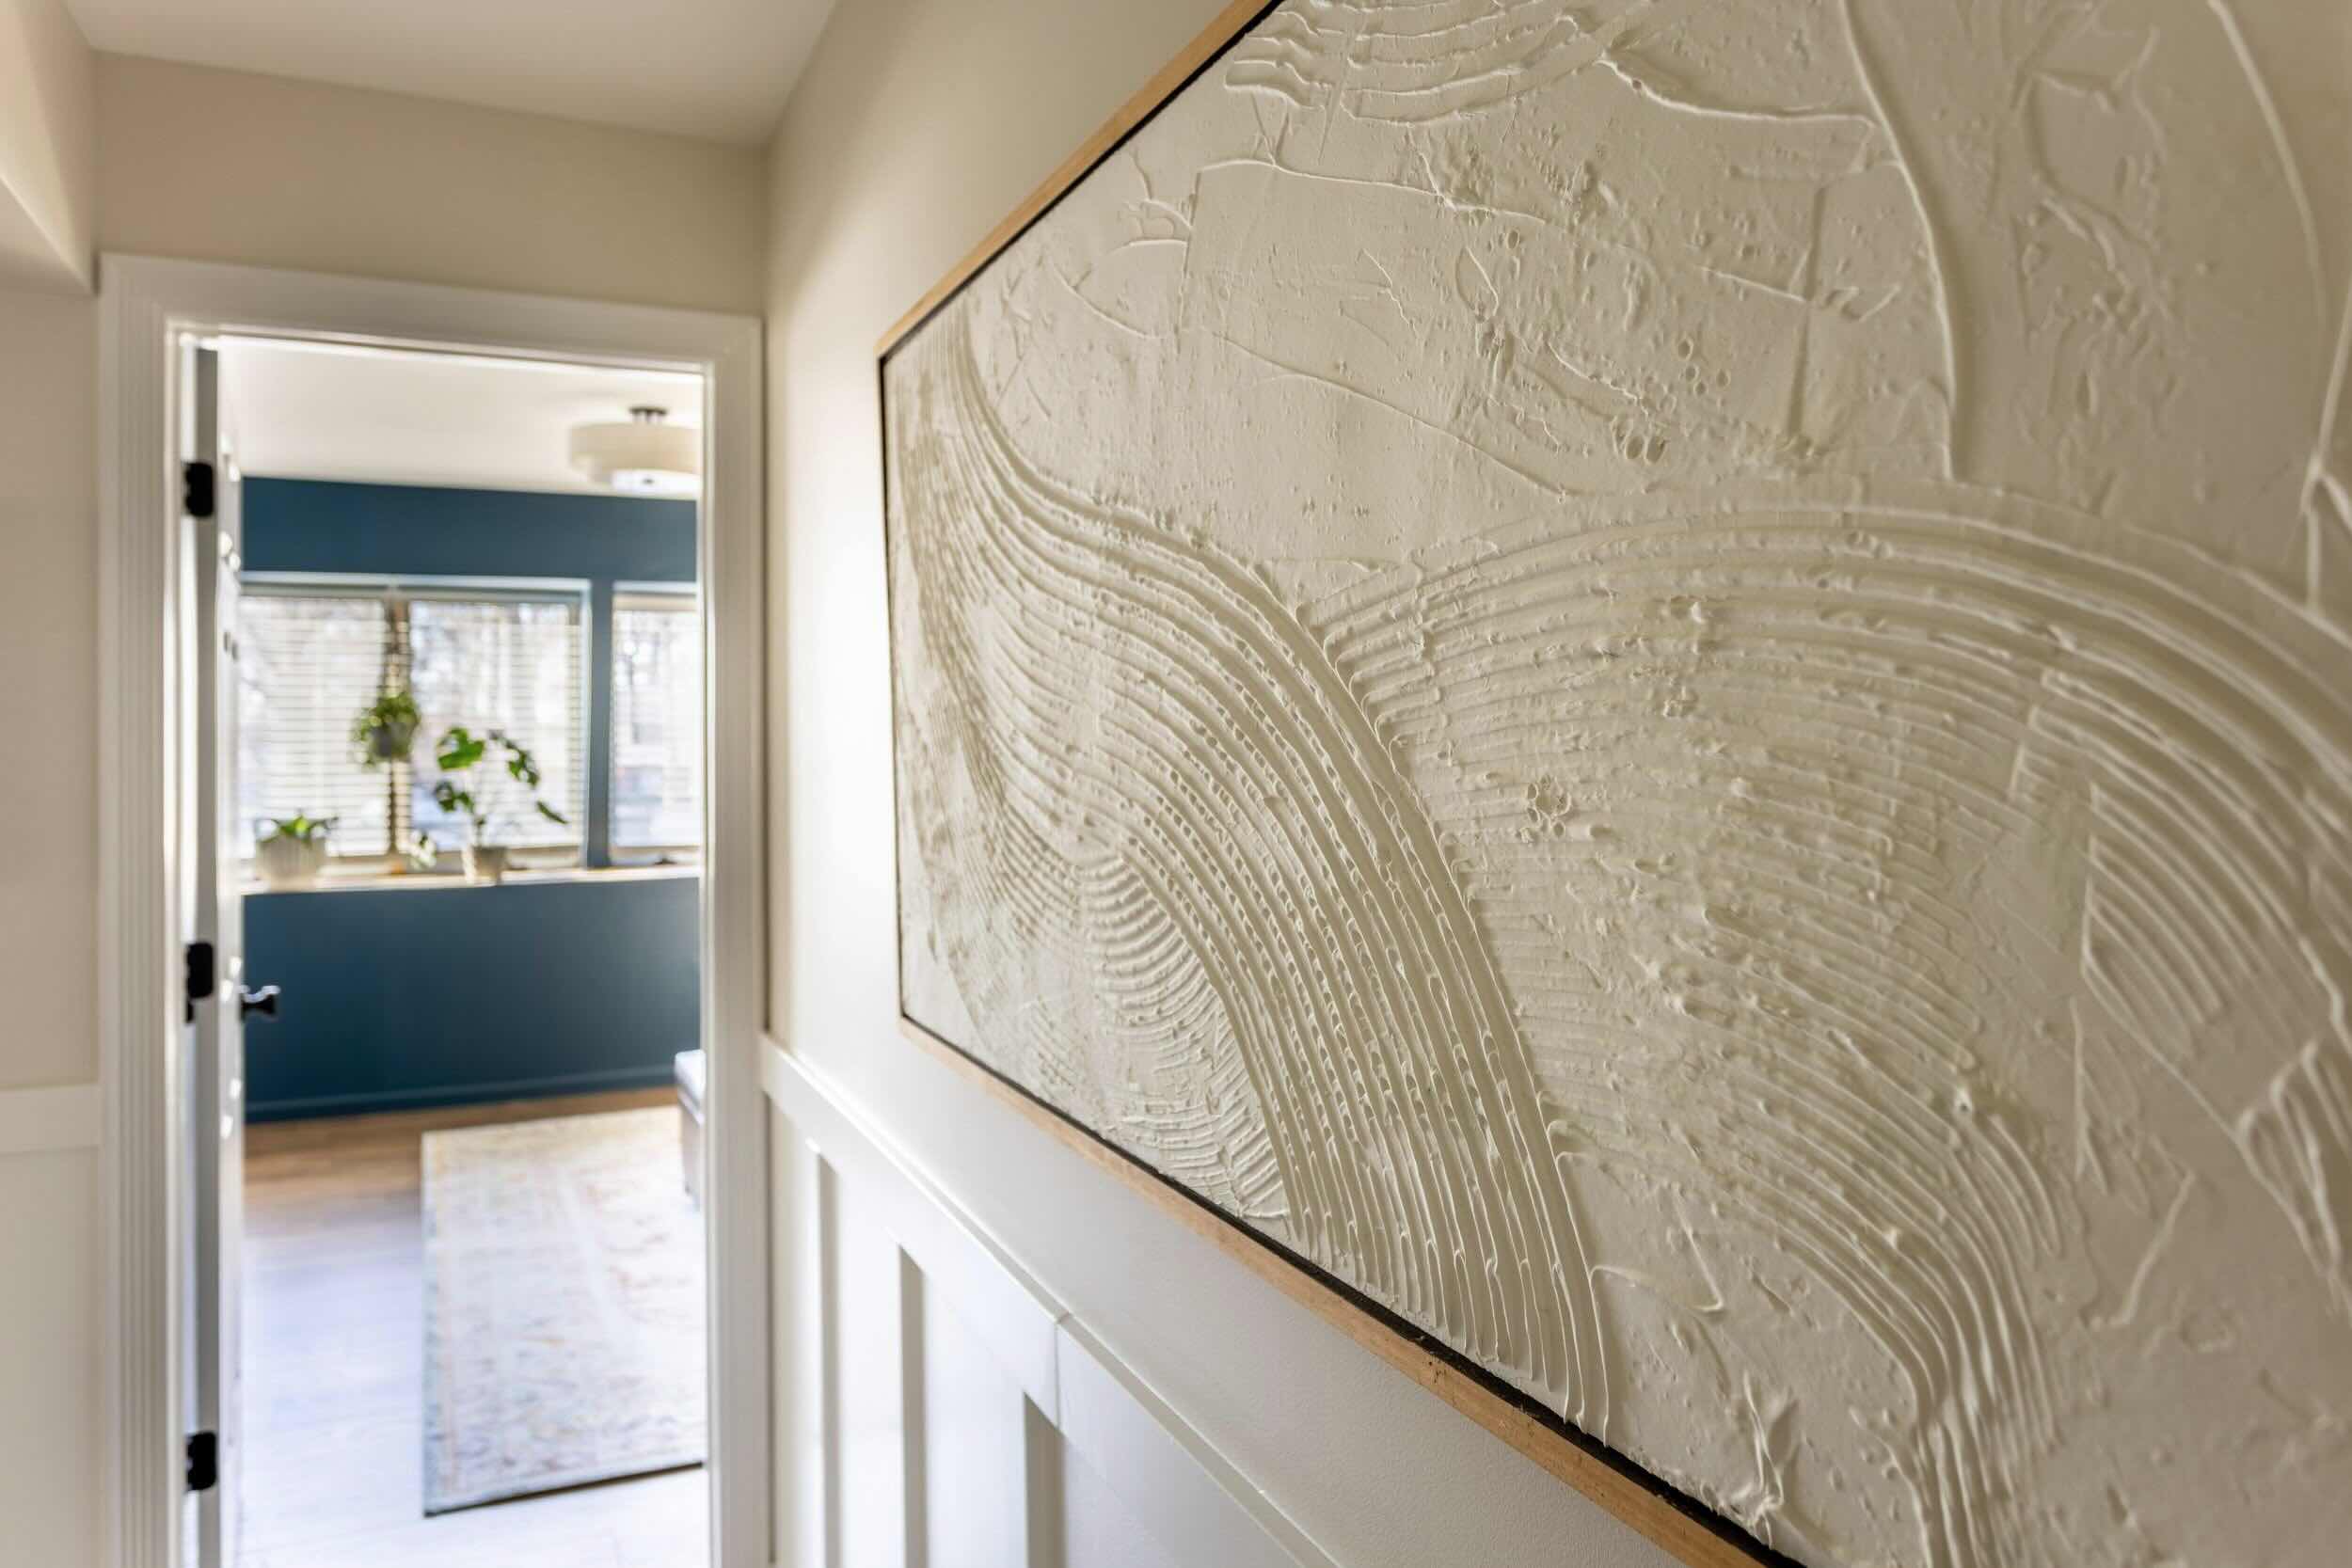
Another important factor to consider is the viewing distance. If the art will be viewed primarily from a distance, such as in a hallway or foyer, ensure that it is easily visible and makes an impact from that vantage point. On the other hand, if the art will be viewed up close, such as in a reading nook, you might want to choose pieces that invite closer inspection.
It’s important to take your time in determining the placement of your wall art. Use the measurements you took earlier, as well as your personal taste and style preferences, to find the perfect position that enhances the overall ambiance of the space.
Step 4: Prepare the Wall
Once you have determined the placement of your wall art, it’s time to prepare the wall to ensure a secure and solid hanging. This step involves checking the condition of the wall, cleaning it if necessary, and making any repairs or reinforcements.
Start by examining the wall for any visible damage, such as cracks, holes, or flaking paint. Fill any holes or cracks with spackling paste or putty, and use a scraper to remove any loose paint or debris. Allow the filling material to dry completely, and then sand it smooth. This will provide a clean and even surface for hanging your artwork.
Next, consider the weight and size of the artwork. If you’re hanging a particularly heavy or large piece, it may require additional support. In this case, consider using wall anchors, toggle bolts, or picture-hanging hardware designed for heavier objects. These will provide the necessary strength and stability to hold the art securely on the wall.
If you’re hanging art in a rented space or prefer to avoid making holes in the wall, there are alternative options available. Command strips or adhesive hooks can be used to hang lighter pieces without damaging the wall surface. Just make sure to follow the manufacturer’s instructions and use the appropriate weight capacity for the art.
Before attaching any hardware or adhesive to the wall, it’s a good idea to clean the surface with a mild detergent or a wall-friendly cleaning solution. This will remove any dirt or grease that may interfere with the adhesive’s ability to stick securely to the wall.
By preparing the wall properly, you’ll ensure that your wall art stays securely in place and avoids any potential damage to the artwork or the wall surface.
Read more: How To Hang 3 Piece Wall Art
Step 5: Gather Necessary Tools
Before you start hanging up your wall art, it’s important to gather all the necessary tools and equipment. Having the right tools on hand will make the process easier and ensure a secure and accurate installation.
Here are some essential tools and materials you may need:
- Measuring tape: To accurately measure the wall and determine the placement of the art.
- Pencil or chalk: To mark the desired placement on the wall.
- Level: To ensure that the artwork is hanging straight and aligned.
- Hammer: For driving nails or hanging hardware into the wall.
- Screwdriver: To install screws or other hardware.
- Wall anchors or toggle bolts: If needed for heavier or larger pieces of art.
- Nails or picture-hanging hardware: Depending on the weight and size of the artwork and the wall surface.
- Painter’s tape: To create mock-ups or templates for arranging multiple pieces of art.
- Cleaning supplies: To clean the wall surface before hanging the art.
Having these tools ready before you begin will save you time and frustration during the hanging process. It’s a good idea to gather them all in one place, so you have everything within reach as you work.
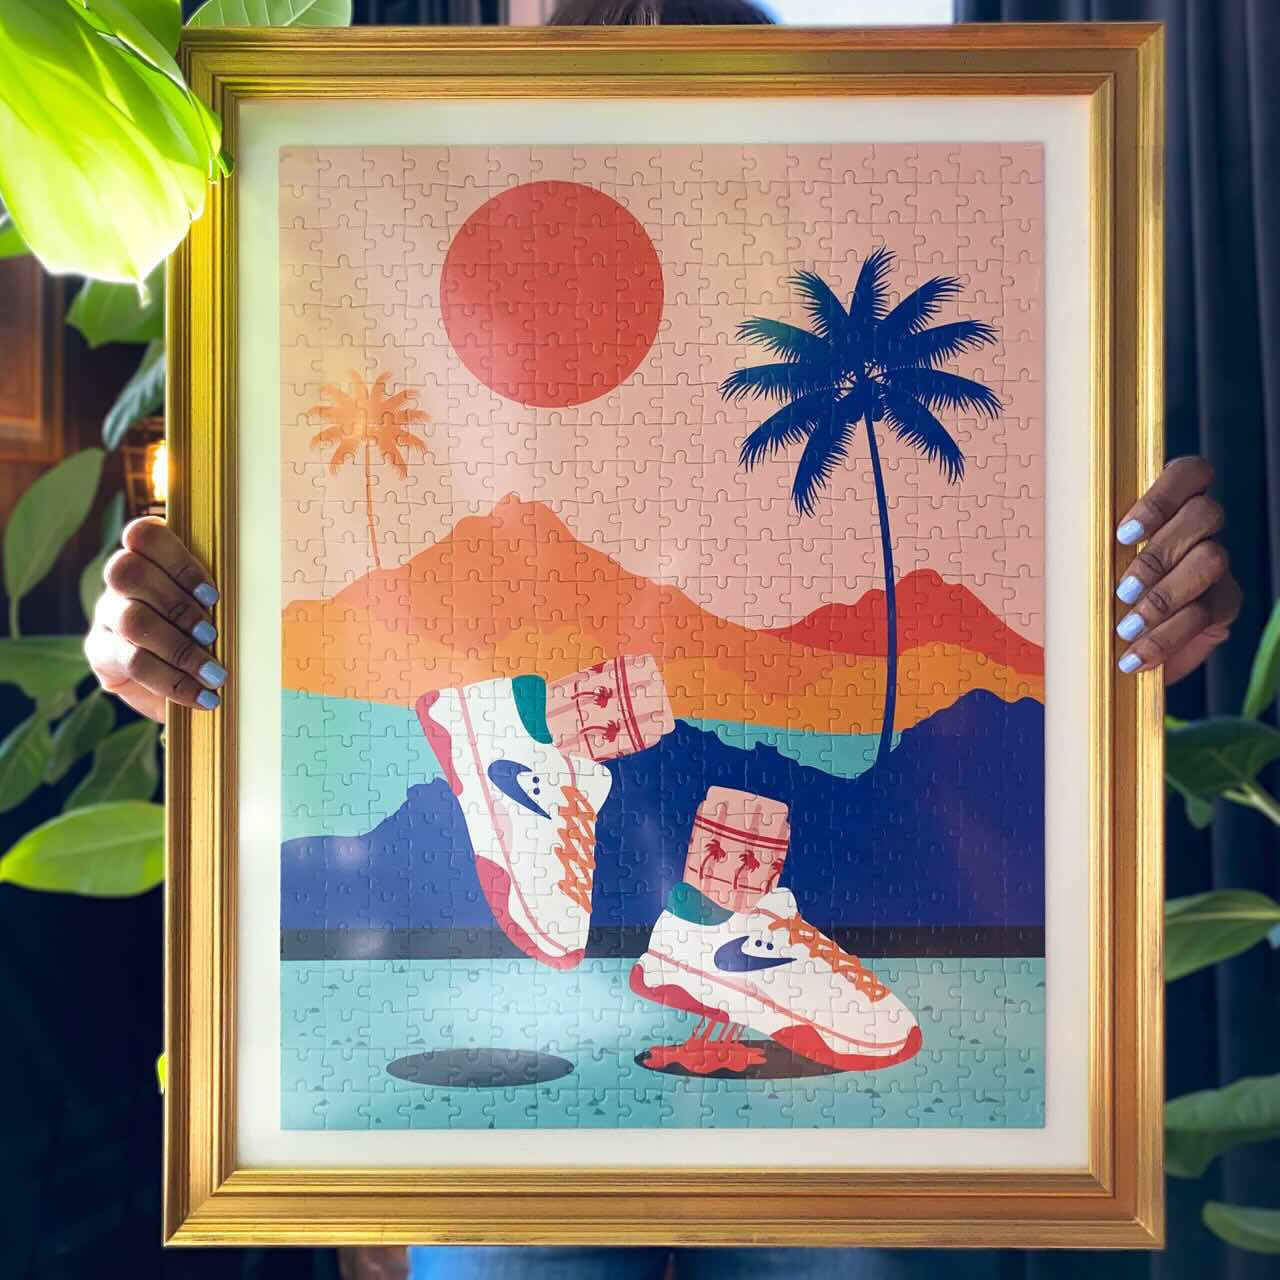
In addition to the tools, consider any specific hanging hardware or accessories that may be required for the type of wall art you are hanging. For example, if you have a framed print or canvas, you may need wire or D-rings to hang it securely.
Remember, having the right tools not only ensures a successful installation but also minimizes the risk of damaging the artwork or the wall. So, take the time to gather all the necessary tools and materials before you embark on hanging your wall art.
Use a level to ensure your wall art is hung straight. Measure the distance between the top of the frame and the hanging hardware to determine the placement of the nail or hook on the wall.
Step 6: Hang the Artwork
Now that you have measured the wall, determined the placement, prepared the surface, and gathered all the necessary tools, it’s time to hang your artwork. Follow these steps to ensure a secure and precise installation:
- Hold the artwork against the wall in the desired position. Use a pencil or chalk to lightly mark the top center of the art, as well as any additional markings for multiple pieces.
- If you’re using a hanging wire or D-rings on the back of the artwork, measure and mark the distance from the top of the art to where the wire or D-rings will hang.
- Hold the artwork up to the wall again and align the top center mark with the desired placement. If you’re hanging multiple pieces, use painter’s tape or templates to experiment with the arrangement.
- Using a hammer or screwdriver, carefully drive nails or install wall anchors and screws into the marked spots on the wall. Ensure that the hardware is positioned at the appropriate height and level.
- If you’re using a hanging wire, attach it securely to the appropriate hooks or nails. If your artwork has D-rings, hang them directly on the hooks or screws.
- Gently lower the artwork onto the hanging hardware, making sure it’s secure and level. Use a level to double-check the alignment and adjust if necessary.
When hanging multiple pieces, it’s important to maintain consistent spacing and alignment. Use a measuring tape or template to ensure that the pieces are evenly spaced and create a visually pleasing arrangement.
Take your time during this step to ensure precision and accuracy. It may be helpful to have a friend or family member assist you in holding the artwork while you secure it to the wall.
Remember, it’s always a good idea to step back and assess the placement as you go. This will allow you to make any necessary adjustments and ensure that the artwork is positioned exactly as you envisioned.
By following these steps, you’ll be able to hang your artwork with confidence, knowing that it’s secure and visually appealing.
Step 7: Level the Artwork
After hanging your artwork, it’s important to ensure that it is level to maintain a professional and visually pleasing display. Leveling the artwork will help create a balanced and harmonious look on your wall.
Here’s how to level your artwork:
- Using a level, place it horizontally or vertically against the artwork.
- Adjust the artwork slightly by tilting or shifting it until the bubble in the level is centered.
- If you don’t have a level, you can also use your eye to determine if the artwork appears straight. Stand back and observe the placement from different angles to make adjustments as needed.
- Double-check the levelness by measuring the distance from the top of the artwork to the ceiling or a fixed reference point. Ensure that the measurement is consistent on both sides or multiple pieces if applicable.
If you’re hanging multiple pieces of art, it’s crucial to ensure that they are all level with each other. Use a level or measure from a fixed reference point to achieve consistent alignment among the pieces.
Take the time to make any necessary adjustments to ensure that the artwork is perfectly level. This step will not only enhance the overall appearance but also showcase your attention to detail and craftsmanship.
Remember to stand back and assess the artwork’s levelness from various viewpoints. This will help you confirm that the artwork is aligned and balanced within the space.
By leveling the artwork, you’ll create a polished and cohesive presentation that elevates the overall aesthetic of your room.
Step 8: Secure the Artwork
Once you have hung and leveled your artwork, it’s important to secure it properly to ensure it stays safely in place. Properly securing your artwork will provide peace of mind and prevent any accidents or damage in the future.
Here are some tips for securely mounting your artwork:
- If you used nails, double-check that they are hammered in securely and fully inserted into the wall. Give them a gentle tug to ensure they won’t easily come out.
- If you used screws and wall anchors, make sure they are tight and secure against the wall. Use a screwdriver or drill to tighten them if necessary.
- If you’re hanging larger or heavier artwork, consider using additional security measures such as security hooks or wall brackets. These will provide extra support and stability, especially in high-traffic areas or in homes with small children or pets.
- For framed artwork, make sure that the brackets, wire, or D-rings on the back of the frame are properly attached and secured. Check that the wire is evenly and securely looped onto the hanging hardware.
- If your artwork has glass or acrylic, use bumpers or adhesive strips on the bottom corners of the frame to prevent it from shifting or scratching the wall. These can also help stabilize the artwork.
- Consider adding a final layer of protection by placing clear adhesive bumpers or rubber pads on the back corners of the artwork. This will create a slight gap between the artwork and the wall, preventing damage from direct contact.
By taking the time to secure your artwork properly, you can enjoy it with confidence, knowing that it will stay in place and be protected from unintentional movement or damage.
Remember to periodically check the hardware and the stability of your artwork, especially if you live in an area prone to earthquakes or if there are vibrations in your space from nearby construction or heavy traffic.
With the artwork securely mounted, you can fully appreciate its beauty and enjoy the ambiance it brings to your space.
Read more: How To Light Up Wall Art
Step 9: Step Back and Adjust if Needed
After securely hanging and leveling your artwork, it’s important to step back and assess the overall look and placement. This step allows you to make any necessary adjustments to ensure that the artwork is positioned perfectly and complements the surrounding space.
Here’s what you can do to evaluate and adjust your artwork:
- Take a few steps back and view the artwork from different angles and distances. Observe how it interacts with the surrounding furniture, decor, and natural light.
- Assess the balance and visual flow of the room. Does the artwork feel centered and aligned with the overall aesthetic? Is it too crowded or too spaced out within the space?
- If you have multiple pieces of art, consider the spacing between them. Do they feel evenly distributed? Are they at the desired height in relation to each other?
- Observe how the colors, patterns, and style of the artwork integrate with the room. Does it create a cohesive and harmonious look?
- Evaluate the lighting and reflections on the artwork. Consider adjusting the positioning or adding additional lighting if necessary to enhance the visibility and impact.
- Make any necessary adjustments to the placement, levelness, or spacing based on your observations. Use a tape measure, level, or your eye to fine-tune the positioning.
Remember, the placement of your artwork is subjective and should ultimately reflect your personal taste and style. Don’t be afraid to experiment and make changes until you’re satisfied with the overall presentation.
It’s also worth consulting with others for a fresh perspective. Seek feedback from family members, friends, or design professionals to gather insights and opinions on the artwork’s placement and impact.
By stepping back and adjusting if needed, you can ensure that your artwork is showcased in the best possible way and adds beauty and personality to your space.
Step 10: Enjoy Your Beautiful Wall Art
Congratulations! You have successfully hung and perfected the placement of your wall art. Now it’s time to step back, relax, and fully enjoy the beauty and impact it adds to your space.
Here are a few suggestions on how to savor your wall art:
- Take a moment to admire how the artwork transforms the atmosphere of the room. Notice how it draws attention and becomes a focal point that sparks conversation and captivates the eye.
- Appreciate the emotions and feelings that the artwork evokes. Art has the power to inspire, uplift, and provoke thought. Allow yourself to be immersed in the story and message that the art conveys.
- Explore new perspectives by observing the art from different angles and under various lighting conditions. Notice how the colors and details may change depending on the time of day or the position from which you view it.
- Consider incorporating the artwork into your daily routines. For example, if it’s placed in a living room, create a cozy reading nook nearby where you can enjoy both the art and your favorite books.
- Share your artwork with others. Invite family and friends over to appreciate and discuss the artwork. Encourage conversations about the artist’s style, techniques used, and their interpretation of the piece.
- Regularly clean and maintain the artwork to preserve its beauty. Dust the surface gently with a soft cloth or use a brush designed for delicate art. Follow any specific cleaning instructions that may have come with the artwork.
- Consider rotating your art periodically. Swapping out pieces or rearranging the display can keep your space feeling fresh and invigorating. This allows you to rediscover the beauty of your collection and appreciate it from a different perspective.
Remember, wall art is not only a decorative element but also an expression of your personal style and creativity. Each piece has its own unique story and significance.
By following these steps, you have not only successfully hung your wall art but also created a visually captivating and meaningful display. So sit back, relax, and immerse yourself in the beauty of your new wall art. Enjoy!
Conclusion
Hanging up wall art is a creative and rewarding process that allows you to express your personal style and enhance the aesthetic of your space. By following the steps outlined in this article, you have learned how to choose the right artwork, measure and determine placement, prepare the wall, gather necessary tools, hang and level the artwork, secure it properly, and step back to make adjustments if needed. Taking the time to carefully hang and position your wall art ensures a visually pleasing and harmonious display.
Remember, the beauty of wall art lies not only in its visual appeal but also in the emotions and stories it evokes. Take the opportunity to appreciate and enjoy the art that now adorns your walls. Let it become a point of conversation and inspiration for both you and your guests.
Don’t be afraid to experiment and have fun with your wall art. Try different arrangements, mix and match pieces, and rotate them periodically for a refreshed look. As your tastes and style evolve, your wall art can reflect those changes and continue to enhance the ambiance of your space.
Lastly, take care of your wall art by keeping it clean and maintaining its condition. Regular dusting and gentle cleaning will ensure that it continues to shine and be enjoyed for years to come.
So, with all the knowledge and steps provided in this article, it’s time to embark on your wall art hanging journey. Let your creativity soar and your walls come to life with beautiful and meaningful artwork.
Frequently Asked Questions about How To Hang Up Wall Art
Was this page helpful?
At Storables.com, we guarantee accurate and reliable information. Our content, validated by Expert Board Contributors, is crafted following stringent Editorial Policies. We're committed to providing you with well-researched, expert-backed insights for all your informational needs.


0 thoughts on “How To Hang Up Wall Art”