
Articles
How To Install A Mantel On A Brick Fireplace
Modified: October 19, 2024
Learn how to install a stylish mantel on your brick fireplace with our informative articles. Enhance the look of your space and create a focal point that adds charm and warmth to your home.
(Many of the links in this article redirect to a specific reviewed product. Your purchase of these products through affiliate links helps to generate commission for Storables.com, at no extra cost. Learn more)
Introduction
Installing a mantel on a brick fireplace can instantly transform the look and feel of your living space. A mantel not only provides a focal point for your room but also offers a functional space to display decor items, family photos, and other cherished belongings. Whether you’re looking to add a touch of elegance or create a cozy atmosphere, installing a mantel on your brick fireplace is a relatively simple and rewarding DIY project.
In this article, we will guide you through the step-by-step process of installing a mantel on a brick fireplace. We will discuss the necessary tools and materials, how to measure and mark the placement of the mantel, preparing the installation area, attaching the mantel support brackets, securing the mantel in place, and finishing touches.
Before we begin, it is important to note that safety should be your top priority. Make sure you have a stable and secure working platform, wear protective gear such as safety goggles and gloves, and take necessary precautions to prevent any damage to yourself or your property. If you are not confident in your abilities or have any doubts, it is recommended to seek professional help.
Now, let’s dive into the step-by-step process of installing a mantel on a brick fireplace!
Key Takeaways:
- Elevate your living space by installing a mantel on your brick fireplace. Follow the step-by-step guide for a rewarding DIY project that adds elegance and functionality to your home.
- Prioritize safety, gather the right tools, and take the time to measure and prepare the installation area. Enjoy the transformation and cozy ambiance your new mantel brings to your living space!
Read more: How To Remove A Fireplace Mantel From Brick
Step 1: Gather the necessary tools and materials
Before you begin the installation process, it’s important to gather all the necessary tools and materials. Having everything prepared will make the installation smoother and more efficient. Here is a list of the tools and materials you will need:
- Measuring tape
- Pencil
- Level
- Power drill
- Masonry drill bit
- Screwdriver
- Toggle bolts or masonry screws
- Metal mantel brackets
- Safety goggles
- Gloves
Once you have gathered all the necessary tools and materials, double-check to ensure you have everything you need before proceeding to the next step.
Tip: It’s advisable to use a power drill with a masonry drill bit to make the installation process easier on the brick surface. Masonry drill bits are specifically designed to penetrate hard materials like brick.
Now that you have all your tools and materials ready, you can move on to the next step: measuring and marking the placement of the mantel on the brick fireplace.
Step 2: Measure and mark the placement of the mantel
Before you start attaching the mantel to the brick fireplace, it’s important to measure and mark the precise placement of the mantel. This will ensure that it is installed at the correct height and centered on the fireplace. Follow these steps to measure and mark the placement:
- Start by determining the desired height of the mantel. Measure from the hearth or the floor up to the desired height and make a mark with a pencil.
- Next, measure the width of your fireplace opening and divide it in half to find the center. Mark the center point on the wall.
- Using a level, draw a horizontal line on the wall at the marked height of the mantel. This will serve as a reference line for installation.
- To ensure the mantel is centered, measure the length of the mantel and mark the midpoint. Align this midpoint with the center point marked on the wall.
- Double-check all the measurements and marks to ensure accuracy before moving on to the next step.
Tip: When measuring and marking the placement, take into consideration any architectural features or obstructions such as electrical outlets, switches, or vents that might affect the installation. Adjust your measurements and mark the placement accordingly.
Once you have measured and marked the placement of the mantel, you are ready to move on to the next step: preparing the installation area.
Step 3: Prepare the installation area
Preparing the installation area is an important step to ensure a smooth and secure installation of the mantel on the brick fireplace. Follow these steps to prepare the area:
- Clear the area around the fireplace and remove any furniture, decorations, or obstacles that might hinder the installation process.
- Place drop cloths or protective covering on the floor and nearby furniture to protect against accidental damage or debris.
- Inspect the brick surface for any dirt, dust, or loose mortar. Use a stiff brush or a vacuum cleaner to clean the surface and remove any debris.
- If the brick surface is particularly dirty or greasy, you may need to use a mild detergent solution and a scrub brush to clean it thoroughly. Rinse the surface with clean water and allow it to dry completely.
- Inspect the installation area for any cracks, loose bricks, or structural issues. Address any repairs or necessary reinforcements before proceeding with the installation.
- Ensure that the area is well-ventilated and wear safety goggles and gloves to protect yourself during the installation process.
Tip: If you are planning to paint or stain the mantel, it’s best to do so before installing it. This will prevent any accidental paint spills or damage to the brick surface during the installation process.
Once you have prepared the installation area, it’s time to move on to the next step: attaching the mantel support brackets.
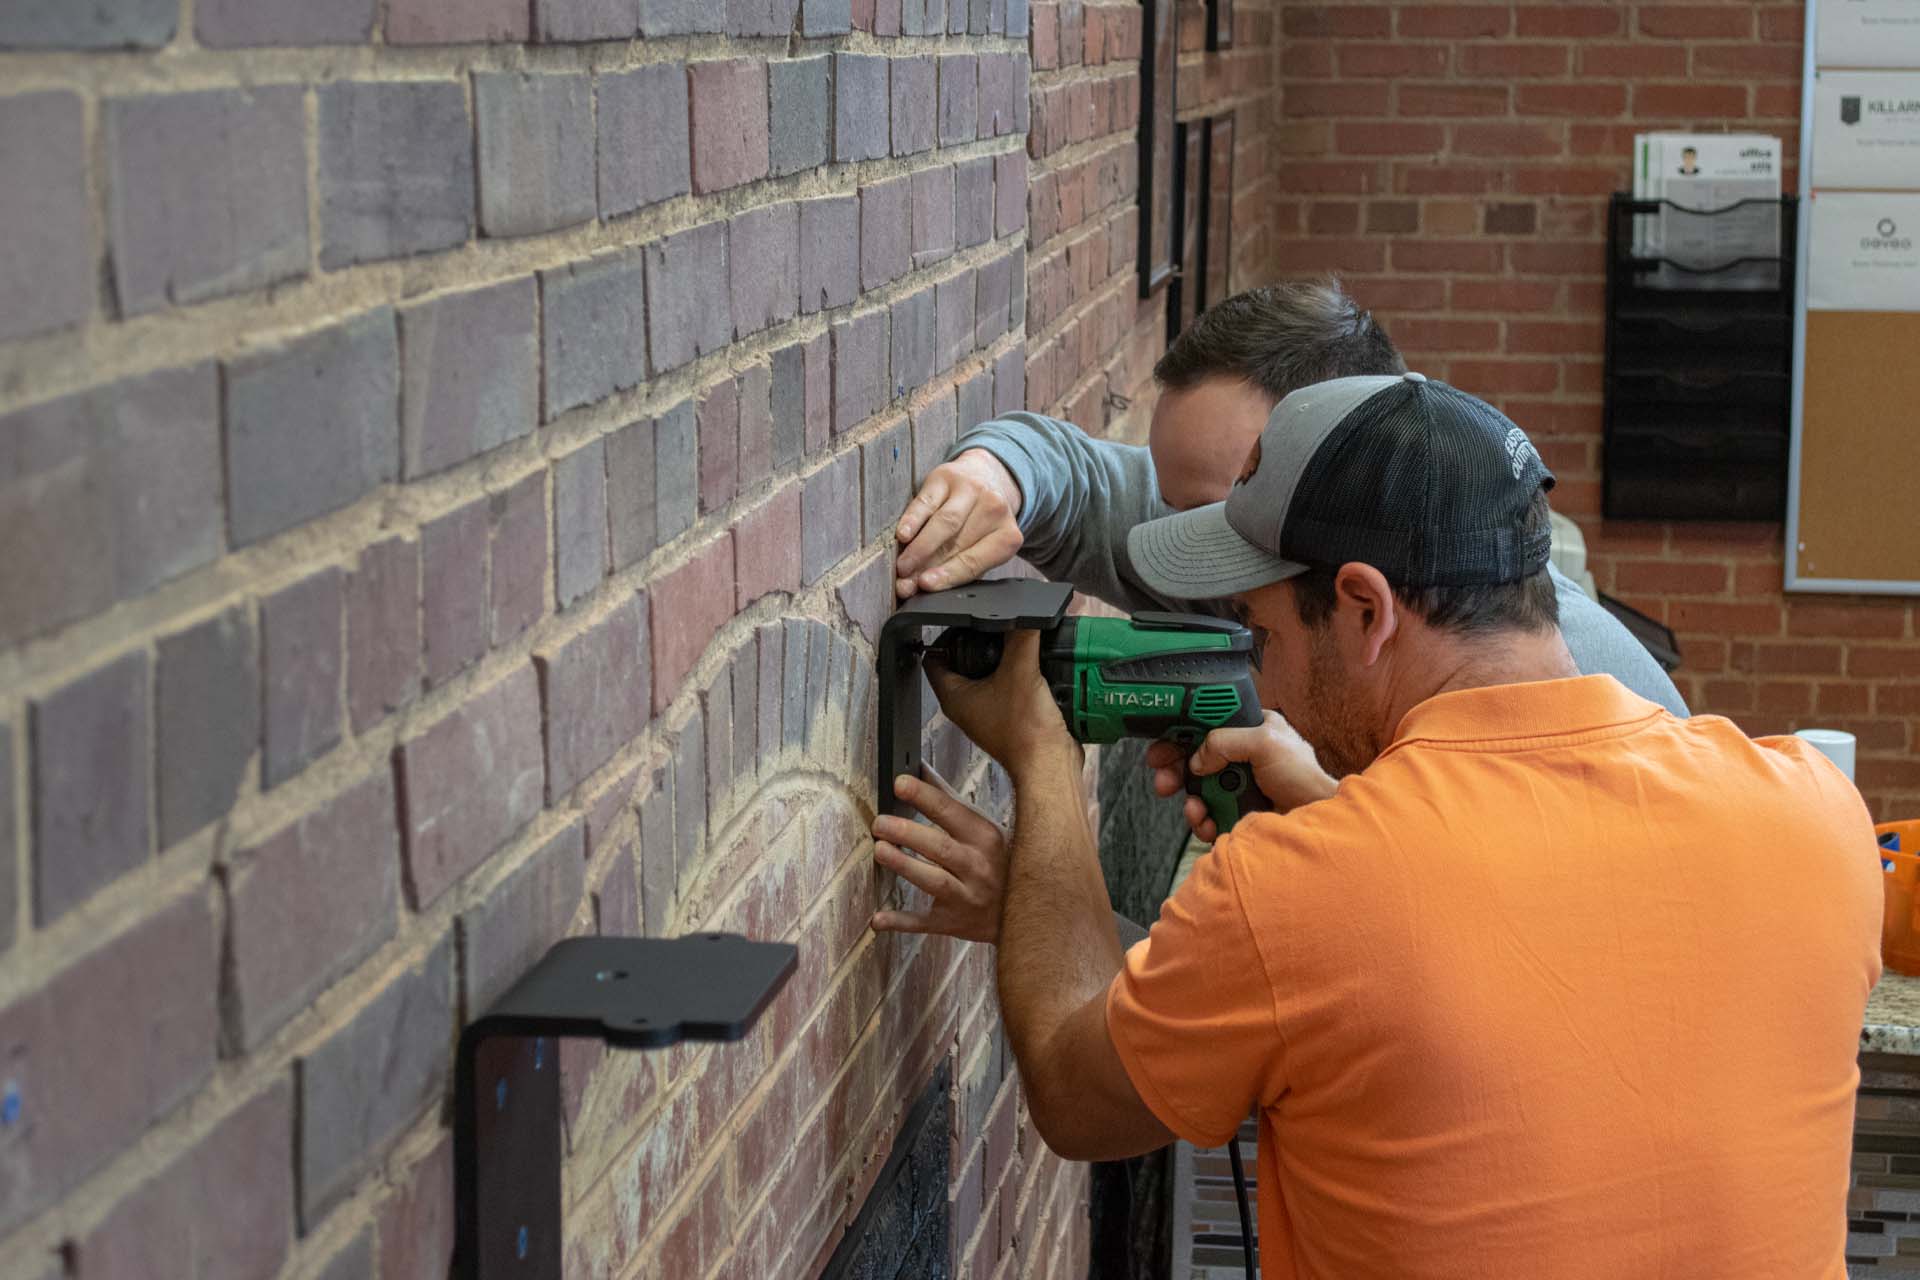
Step 4: Attach the mantel support brackets
The mantel support brackets play a crucial role in providing stability and support to the mantel on the brick fireplace. Follow these steps to attach the mantel support brackets:
- Position the metal mantel support brackets on the wall, aligning them with the marked placement lines. Make sure the brackets are level and centered.
- Using a pencil, mark the screw holes on the wall through the holes in the brackets.
- Remove the brackets and set them aside.
- Choose the appropriate drill bit size for the wall anchors (toggle bolts or masonry screws) you will be using. Drill pilot holes into the marked screw hole locations.
- Insert the wall anchors into the pilot holes. This will provide extra strength and stability when attaching the brackets to the wall.
- Align the brackets with the pilot holes and secure them in place by inserting the screws through the bracket holes and into the wall anchors.
- Tighten the screws using a screwdriver or a power drill, ensuring that the brackets are firmly attached to the wall.
- Double-check the levelness and alignment of the brackets to ensure they are securely in place.
Tip: If you are using toggle bolts as wall anchors, make sure to follow the manufacturer’s instructions for proper installation. Toggle bolts provide extra support for heavier mantels.
With the mantel support brackets securely attached to the wall, you are now ready to proceed to the next step: installing the mantel on the brick fireplace.
Before installing a mantel on a brick fireplace, make sure to use a stud finder to locate the wooden studs behind the brick. This will ensure a secure and stable installation.
Read more: How To Update A Fireplace Mantel
Step 5: Install the mantel on the brick fireplace
Now that the mantel support brackets are securely attached to the wall, it’s time to install the mantel onto the brick fireplace. Follow these steps to install the mantel:
- Place the mantel onto the brackets, ensuring that it is centered and level. Make any necessary adjustments to the position to ensure a perfect fit.
- Mark the location of the screw holes on the mantel using a pencil. This will serve as a guide for drilling the pilot holes.
- Remove the mantel from the brackets and set it aside in a safe place.
- Choose the appropriate drill bit size for the screws you will be using to attach the mantel to the brackets. Drill pilot holes into the marked locations on the mantel.
- Position the mantel back onto the brackets, aligning the pilot holes on the mantel with the brackets.
- Secure the mantel to the brackets by inserting screws through the pilot holes and into the brackets.
- Tighten the screws using a screwdriver or a power drill, ensuring that the mantel is securely attached to the brackets.
- Double-check the levelness and alignment of the mantel to ensure it is properly installed.
Tip: If your mantel is particularly heavy or if you want added stability, you may consider using construction adhesive in addition to screws when attaching the mantel to the brackets. Follow the adhesive manufacturer’s instructions for proper use.
With the mantel successfully installed onto the brackets, you are now ready to proceed to the next step: securing the mantel in place.
Step 6: Secure the mantel in place
Now that the mantel is installed on the brick fireplace, it’s important to secure it in place to ensure stability and safety. Follow these steps to secure the mantel:
- Double-check the alignment and levelness of the mantel to ensure it is properly positioned. Make any adjustments if necessary.
- Using a level, check that the mantel is perfectly horizontal and adjust if needed.
- If your mantel has a hollow cavity, fill it with adhesive or construction adhesive to provide additional support.
- Inspect the mantel brackets and screws to ensure they are tight and secure. Tighten any loose screws as needed.
- If desired, you can add decorative wood plugs or caps to cover the screw holes for a more polished look.
- Carefully inspect the mantel to ensure it is stable and there are no wobbles or movements. If you notice any instability, adjust the brackets or screws as necessary.
- Step back and visually inspect the mantel to ensure it is visually appealing and aligned with the rest of the room.
Tip: It’s important to regularly check and maintain the mantel’s stability over time. Changes in temperature or humidity can affect the brick and cause the mantel to shift. Periodically inspect and tighten any screws or brackets if necessary.
With the mantel securely in place, you have successfully completed the installation process. Now, you can move on to the final steps: adding finishing touches and considering additional considerations.
Step 7: Finishing touches and additional considerations
Congratulations! You have successfully installed a mantel on your brick fireplace. Now, it’s time to add some finishing touches and consider additional considerations to ensure the mantel looks and functions beautifully. Follow these final steps:
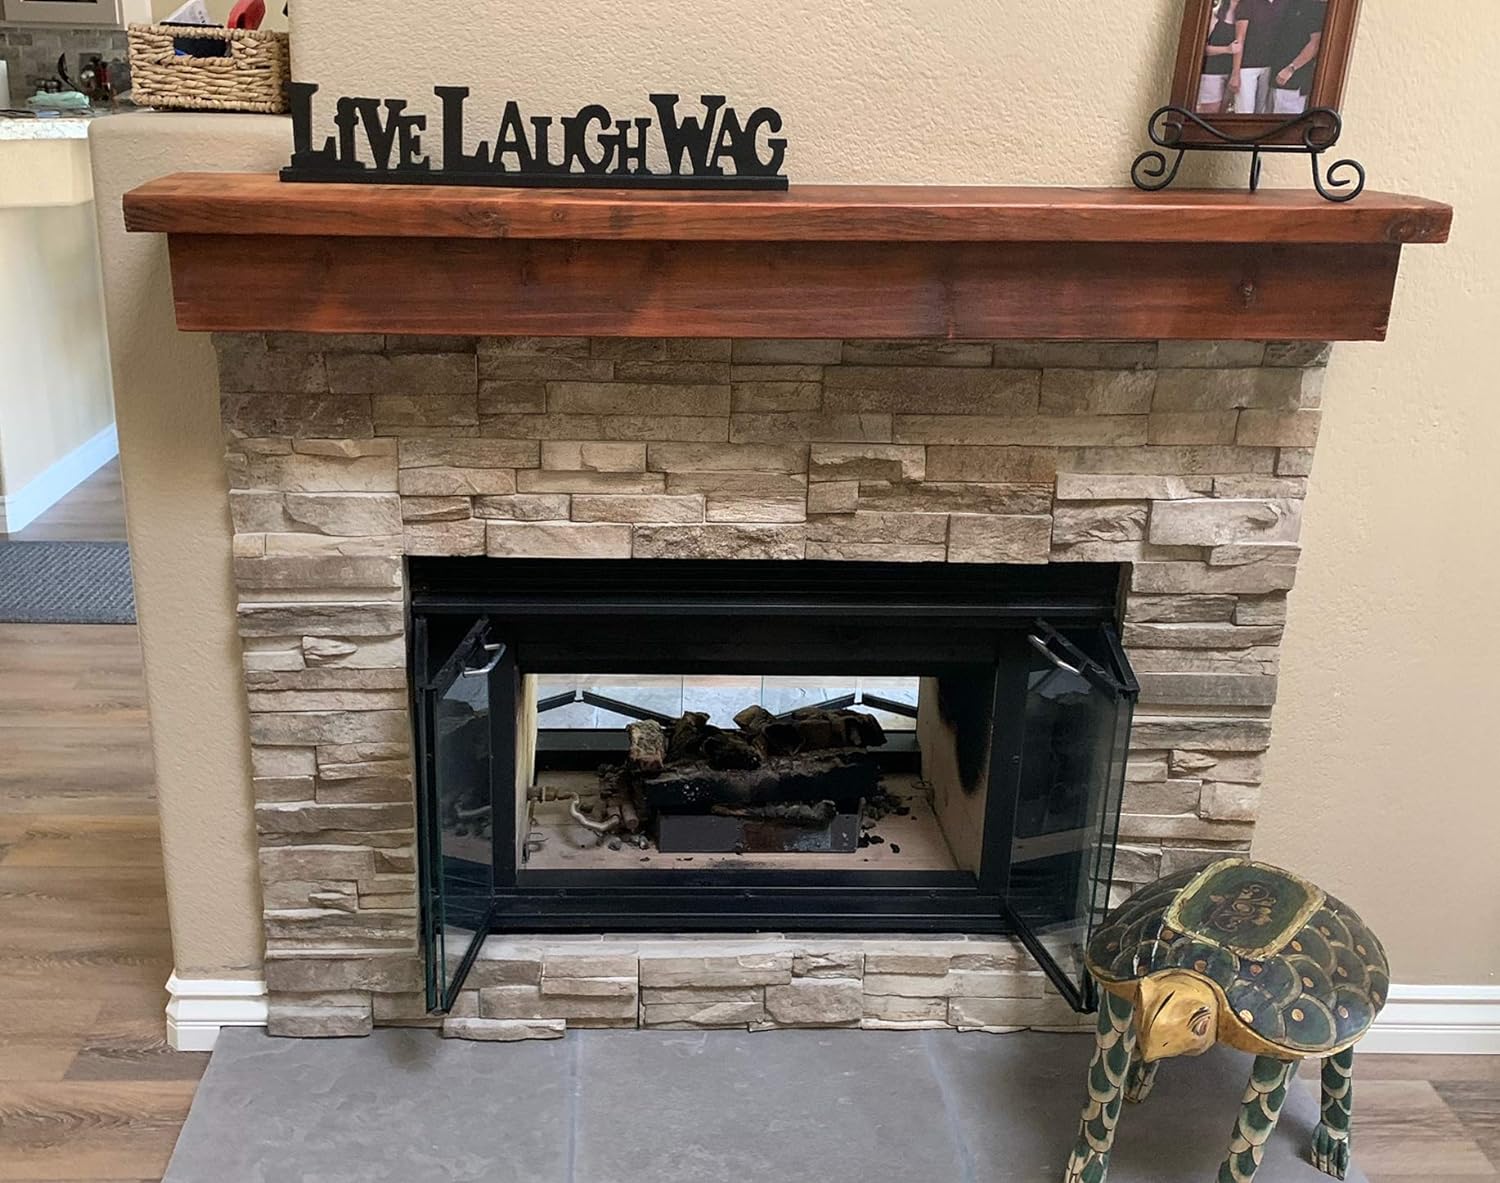
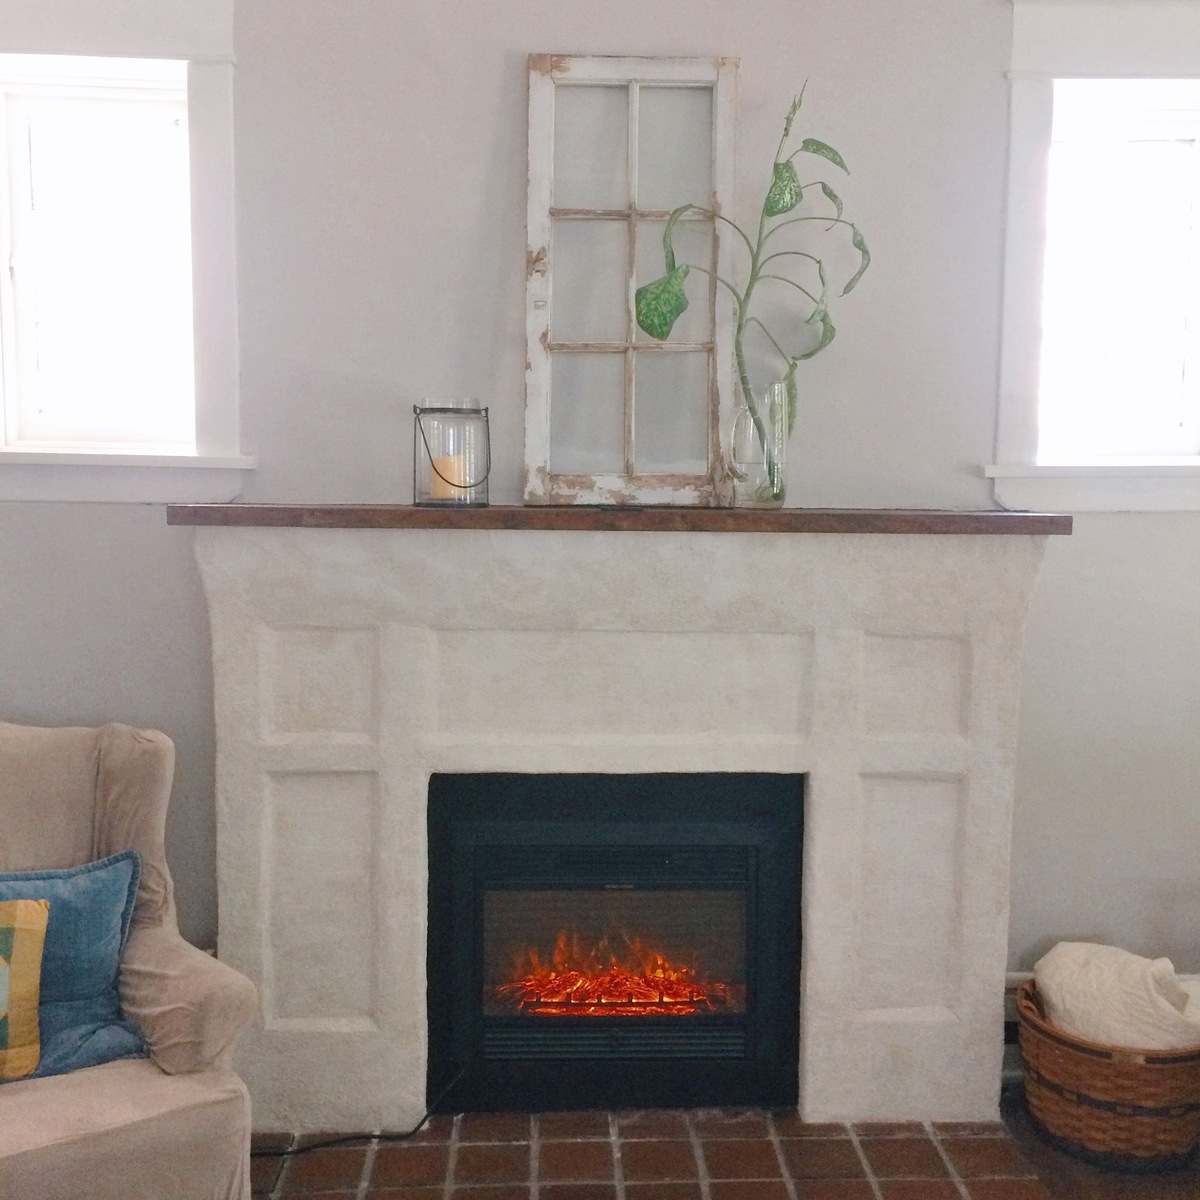
- Decorate the mantel: Add decor items, such as candles, vases, artwork, or family photos, to personalize the mantel and enhance the overall aesthetic appeal of the fireplace.
- Consider fireplace safety: If your fireplace is operational, always follow proper safety procedures when using it. Keep flammable items away from the mantel and ensure there is a safe distance between the fireplace opening and any decorative objects on the mantel.
- Paint or stain the mantel: If desired, you can paint or stain the mantel to match your room’s decor or personal preference. Choose a high-quality paint or stain suitable for wood surfaces and follow the manufacturer’s instructions for proper application.
- Maintain the mantel: Regularly dust and clean the mantel to keep it looking fresh and beautiful. Use a soft cloth or dusting brush to remove any dirt or debris. Avoid using harsh chemicals or abrasive cleaners that can damage the finish of the mantel.
- Consider mantel decorations for different seasons: Change up the decor on the mantel to reflect different seasons or holidays. This can add a festive touch and keep the mantel visually appealing throughout the year.
- Seek professional assistance if needed: If you are unsure about any aspect of the installation process or if you encounter any difficulties, it is always best to seek professional assistance. They can provide guidance, ensure proper installation, and address any issues that may arise.
Tip: Regularly inspect the mantel and surrounding area for any signs of wear, damage, or instability. Address any issues promptly to maintain the safety and aesthetics of your mantel and fireplace.
With these finishing touches and additional considerations in mind, you now have a beautifully installed mantel on your brick fireplace. Enjoy the enhanced ambiance and decorative possibilities your new mantel brings to your living space!
Remember, safety is paramount. Always exercise caution and follow recommended guidelines when working with tools, drilling into brick surfaces, and installing mantels.
Happy decorating!
Conclusion
Installing a mantel on a brick fireplace is a fantastic way to add style, elegance, and functionality to your living space. By following the step-by-step guide outlined in this article, you can successfully install a mantel that enhances the visual appeal of your fireplace and provides a beautiful focal point for your room.
Remember to gather all the necessary tools and materials before you begin, including a measuring tape, level, power drill, and mantel support brackets. Take the time to measure and mark the precise placement of the mantel, ensuring it is centered and at the desired height. Properly prepare the installation area by cleaning the brick surface and addressing any repairs or reinforcements that may be needed.
Attach the mantel support brackets securely to the wall using appropriate wall anchors and screws, ensuring they are level and properly aligned. Install the mantel onto the brackets, securing it in place by drilling pilot holes and tightening screws. Double-check the levelness and stability of the mantel before adding the finishing touches.
Consider decorating the mantel with items that reflect your personal style and complement your room’s decor. Take into account fireplace safety and maintain the mantel’s stability over time by regularly inspecting and tightening screws or brackets, if necessary. Additionally, you can paint or stain the mantel to match your room’s color scheme or change the decor seasonally to keep it fresh and visually appealing.
If you have any doubts or encounter difficulties during the installation process, it is always advisable to seek professional assistance. They can provide guidance and ensure proper installation, ensuring the safety and longevity of your mantel.
With the installation complete, take a step back and admire the transformation of your brick fireplace with a beautiful mantel. Enjoy the warmth, beauty, and functionality it brings to your living space and take pride in your DIY accomplishment!
Remember, always prioritize safety and exercise caution when working with tools and installing a mantel on a brick fireplace.
Now, it’s time to sit back, relax, and enjoy the cozy atmosphere and enhanced aesthetics of your newly installed mantel on your brick fireplace!
Frequently Asked Questions about How To Install A Mantel On A Brick Fireplace
Was this page helpful?
At Storables.com, we guarantee accurate and reliable information. Our content, validated by Expert Board Contributors, is crafted following stringent Editorial Policies. We're committed to providing you with well-researched, expert-backed insights for all your informational needs.







0 thoughts on “How To Install A Mantel On A Brick Fireplace”