Home>Construction & Tools>Building Materials>How To Reface A Brick Fireplace
Building Materials
How To Reface A Brick Fireplace
Modified: August 20, 2024
Learn how to reface a brick fireplace with the right building materials and step-by-step instructions. Transform your space with this DIY project!
(Many of the links in this article redirect to a specific reviewed product. Your purchase of these products through affiliate links helps to generate commission for Storables.com, at no extra cost. Learn more)
Introduction
Refacing a brick fireplace is an excellent way to revitalize the look of a room. Whether you're aiming for a modern, sleek appearance or a rustic, traditional feel, refacing can transform the entire aesthetic of your living space. Not only does it enhance the visual appeal, but it also provides an opportunity to upgrade the functionality and safety of the fireplace.
Fireplace refacing involves covering the existing brick with a new material, such as stone, tile, or a decorative concrete overlay. This process can be a rewarding DIY project, allowing you to personalize your living space and showcase your creativity. With the right materials, tools, and a step-by-step guide, you can achieve a stunning fireplace transformation that complements your home's style.
In this comprehensive guide, we will walk you through the process of refacing a brick fireplace, from gathering the necessary materials and tools to applying mortar, installing the new facing material, grouting the joints, and adding the finishing touches. Whether you're a seasoned DIY enthusiast or a novice looking to embark on your first home improvement project, this article will equip you with the knowledge and confidence to tackle the task with precision and finesse.
So, roll up your sleeves, unleash your creativity, and get ready to breathe new life into your living space as we delve into the art of refacing a brick fireplace.
Key Takeaways:
- Refacing a brick fireplace involves gathering materials, cleaning the brick surface, applying mortar, installing new facing material, grouting joints, and adding finishing touches. It’s a creative DIY project that enhances the aesthetic and functionality of your living space.
- By meticulously preparing the area, cleaning the brick surface, and attending to finishing touches, you can achieve a stunning fireplace transformation. The process not only enhances the visual appeal but also prioritizes safety and personalizes your home.
Read more: How To Stain A Brick Fireplace
Step 1: Gather Materials and Tools
Before embarking on the fireplace refacing journey, it’s essential to gather all the necessary materials and tools. Here’s a comprehensive list to ensure you’re well-prepared for the project:
Materials:
- New facing material (such as stone veneer, tile, or decorative concrete overlay)
- Mortar mix
- Grout
- Concrete backer board
- Primer
- Painter's tape
- Sealer (for natural stone)
- Painter's plastic or drop cloths
- Fireplace door and trim (optional)
Tools:
- Hammer
- Chisel
- Wire brush
- Trowel
- Notched trowel
- Level
- Tape measure
- Bucket
- Masonry saw or tile cutter
- Grout float
- Utility knife
- Safety goggles
- Work gloves
- Dust mask
It’s crucial to select high-quality materials that align with your desired aesthetic and meet safety standards. Additionally, ensure that your tools are in good condition and that you have the necessary safety gear to protect yourself during the project.
By gathering these materials and tools, you’ll set the stage for a successful fireplace refacing endeavor. With everything at your fingertips, you’ll be ready to move on to the next step: preparing the area for the refacing process.
Step 2: Prepare the Area
Preparing the area surrounding the fireplace is a crucial preliminary step that sets the foundation for a seamless refacing process. Here’s a detailed guide on how to prepare the space:
Read more: How To Stucco A Brick Fireplace
Clear the Surrounding Space:
Start by removing any furniture, decor, or flammable items from the vicinity of the fireplace. Clearing the area will provide ample space to work and minimize the risk of damage to your belongings during the refacing process.
Protect the Surrounding Surfaces:
Use painter’s plastic or drop cloths to cover the floor and nearby furniture. This protective layer will shield surfaces from dust, debris, and potential spills, ensuring that your living space remains clean and unscathed.
Masking and Taping:
Apply painter’s tape to the edges of adjacent walls, mantels, and any areas that won’t be refaced. This step ensures clean, precise lines and prevents unintended contact with the new facing material during installation.
Ensure Proper Ventilation:
If the refacing process involves the use of adhesives, primers, or sealers, ensure that the room is well-ventilated. Open windows and use fans to promote airflow, expelling any fumes and maintaining a comfortable working environment.
Read more: How To Cover A Brick Fireplace
Inspect the Fireplace Structure:
Take a close look at the existing fireplace structure to identify any areas that require repair or reinforcement. Addressing structural issues at this stage will contribute to the long-term integrity and safety of the refaced fireplace.
By meticulously preparing the area, you’ll create an optimal workspace for the refacing project while safeguarding your home and furnishings. With the space primed and ready, you’ll be poised to embark on the next phase: cleaning the brick surface in preparation for the new facing material.
Step 3: Clean the Brick Surface
Before applying the new facing material, it’s essential to thoroughly clean the existing brick surface to ensure proper adhesion and a flawless end result. Here’s a comprehensive guide on how to clean the brick surface effectively:
Remove Debris and Loose Material:
Begin by using a wire brush to remove loose mortar, dirt, and debris from the brick surface. Pay close attention to the mortar joints, ensuring that they are free of any obstructions that could hinder the bonding of the new facing material.
Address Stubborn Stains:
For stubborn stains or discoloration, consider using a brick cleaner or a mixture of mild detergent and water. Apply the cleaning solution to the affected areas and scrub gently with the wire brush. Rinse thoroughly to remove any residue, allowing the brick surface to dry completely before proceeding.
Read more: How To Demolish A Brick Fireplace
Inspect for Efflorescence:
Efflorescence, characterized by white, powdery deposits on the brick surface, can detract from the aesthetic appeal of the fireplace. If efflorescence is present, use a stiff brush to remove the deposits, followed by rinsing with clean water. Addressing efflorescence is crucial to prevent it from affecting the new facing material.
Allow Sufficient Drying Time:
After cleaning the brick surface, allow ample time for it to dry completely. Adequate drying is essential to ensure that the new facing material adheres securely and that moisture does not compromise the integrity of the refacing project.
Inspect for Cracks and Damage:
While the brick surface is exposed, carefully inspect it for any cracks, chips, or structural damage. Address any issues by filling cracks with mortar and repairing damaged areas, ensuring that the surface is sound and ready for the next phase of the refacing process.
By meticulously cleaning the brick surface and addressing any imperfections, you’ll create an optimal foundation for the application of the new facing material. With the surface primed and prepared, you’ll be ready to embark on the next step: applying mortar to facilitate the installation of the new facing material.
Step 4: Apply Mortar
Applying mortar is a critical step in the fireplace refacing process, as it serves as the adhesive that facilitates the installation of the new facing material. Here’s a detailed guide on how to apply mortar effectively:
Read more: How To Repair Brick In A Fireplace
Prepare the Mortar Mix:
Begin by mixing the mortar according to the manufacturer’s instructions. Consistency is key, so aim for a smooth, workable blend that adheres well without being overly runny or dry. A proper mortar mix is essential for ensuring the stability and longevity of the refacing project.
Apply the Mortar to the Brick Surface:
Using a trowel, apply a generous layer of mortar to a small section of the cleaned brick surface. Spread the mortar evenly, ensuring that it covers the area where the new facing material will be installed. Work in manageable sections to maintain control over the application process.
Use a Notched Trowel for Even Distribution:
After applying the mortar, use a notched trowel to create grooves in the mortar bed. This process, known as “combing” the mortar, ensures even distribution and enhances the bond between the brick surface and the new facing material.
Work in Small Sections:
To prevent the mortar from drying out before the new facing material is installed, work in small sections and apply the mortar as needed. This approach ensures that the mortar remains workable and provides a strong foundation for the facing material.
Read more: How To Whitewash A Brick Fireplace
Check for Consistent Thickness:
As you apply the mortar, periodically check for consistent thickness across the surface. Uniform mortar application is crucial for achieving a level, professional-looking result that enhances the visual appeal of the refaced fireplace.
Allow the Mortar to Cure:
Once the mortar is applied, allow it to cure according to the manufacturer’s recommendations. Proper curing time is essential for ensuring the strength and stability of the mortar bed, setting the stage for the successful installation of the new facing material.
By following these steps and paying close attention to the application of the mortar, you’ll establish a solid foundation for the installation of the new facing material. With the mortar in place, you’ll be ready to embark on the next phase: installing the new facing material to transform the fireplace’s appearance.
Step 5: Install the New Facing Material
Installing the new facing material is a transformative phase in the fireplace refacing process, allowing you to bring your vision to life and enhance the aesthetic appeal of the space. Here’s a comprehensive guide on how to install the new facing material effectively:
Prepare the New Facing Material:
If you’re using stone veneer or tile, carefully lay out the pieces in the desired pattern before installation. This step allows you to visualize the arrangement and make any necessary adjustments before adhering the material to the mortar bed.
Read more: How To Limewash A Brick Fireplace
Apply Adhesive to the Back of the Material:
Depending on the type of facing material, apply the appropriate adhesive to the back of each piece. For stone veneer, a mortar mix or specialized stone veneer adhesive may be used, while tile typically requires thin-set mortar. Ensure thorough coverage to promote strong adhesion.
Press the Material Firmly into the Mortar:
Place each piece of the facing material onto the mortar bed, pressing firmly to ensure a secure bond. If you’re working with stone veneer, wiggle the piece slightly to help the mortar establish a strong grip. For tile installation, use spacers to maintain even spacing between tiles.
Maintain Consistent Joints and Alignment:
As you install the facing material, pay close attention to joint spacing and alignment. Consistent joints and precise alignment contribute to a polished, professional finish that elevates the overall appearance of the refaced fireplace.
Trim and Cut Material as Needed:
If the facing material requires trimming or cutting to fit specific areas, use a masonry saw or tile cutter to achieve precise cuts. Accurate measurements and careful cutting ensure a seamless integration of the facing material, resulting in a cohesive and visually appealing outcome.
Read more: How To Tile A Brick Fireplace
Allow the Adhesive to Set:
Once the new facing material is installed, allow the adhesive to set and cure according to the manufacturer’s instructions. This crucial step ensures that the material bonds securely to the mortar bed, laying the groundwork for the next phase of the refacing process.
By following these guidelines and exercising precision during the installation of the new facing material, you’ll bring your vision to fruition and witness a remarkable transformation in the appearance of your fireplace. With the facing material in place, you’ll be ready to proceed to the next step: grouting the joints to achieve a polished, cohesive look.
Step 6: Grout the Joints
Grouting the joints is a pivotal step in the fireplace refacing process, as it adds the finishing touch to the installation of the new facing material, creating a polished and cohesive appearance. Here’s a comprehensive guide on how to grout the joints effectively:
Select the Right Grout:
Choose a grout color that complements the new facing material and enhances the overall aesthetic of the fireplace. Whether you opt for a contrasting or matching grout color, ensure that it harmonizes with the design scheme and contributes to the desired visual impact.
Prepare the Grout Mixture:
Mix the grout according to the manufacturer’s instructions, achieving a smooth, lump-free consistency. Properly mixed grout is essential for achieving clean, professional-looking joints that accentuate the beauty of the facing material.
Read more: How To Lay Brick For A Fireplace
Apply the Grout to the Joints:
Using a grout float, apply the grout to the joints, pressing it firmly into the spaces between the facing material. Work in small sections, ensuring thorough coverage and smooth, even application to achieve a seamless, uniform finish.
Clean Excess Grout from the Surface:
After applying the grout, use a damp sponge to gently wipe away excess grout from the surface of the facing material. Rinse the sponge frequently to maintain a clean, effective cleaning process, taking care not to remove grout from the joints.
Shape and Smooth the Joints:
Once the excess grout is removed, use a jointing tool or your finger to shape and smooth the grout in the joints. This step contributes to the refined, professional appearance of the grouted joints, ensuring a visually appealing result.
Allow the Grout to Cure:
After grouting the joints, allow the grout to cure according to the manufacturer’s recommendations. Proper curing time is crucial for achieving durable, long-lasting joints that enhance the structural integrity and visual appeal of the refaced fireplace.
By following these steps and paying meticulous attention to the grouting process, you’ll add the final touch to the installation of the new facing material, elevating the overall appearance of the fireplace. With the joints expertly grouted, you’ll be ready to proceed to the final step: adding the finishing touches that complete the refacing project.
Read more: How To Seal A Brick Fireplace
Step 7: Finishing Touches
As you near the completion of the fireplace refacing project, attending to the finishing touches will elevate the overall aesthetic and functionality of the revamped fireplace. Here’s a comprehensive guide on how to add the final touches effectively:
Seal the Facing Material (if applicable):
If you’ve used natural stone or porous facing material, consider applying a sealer to protect the surface from stains and moisture. The sealer enhances the durability and longevity of the facing material, preserving its beauty for years to come.
Inspect and Clean the Surrounding Area:
Thoroughly inspect the surrounding area for any residual grout, adhesive, or debris. Clean the area meticulously, ensuring that the refaced fireplace and its surroundings are immaculate and free from any remnants of the refacing process.
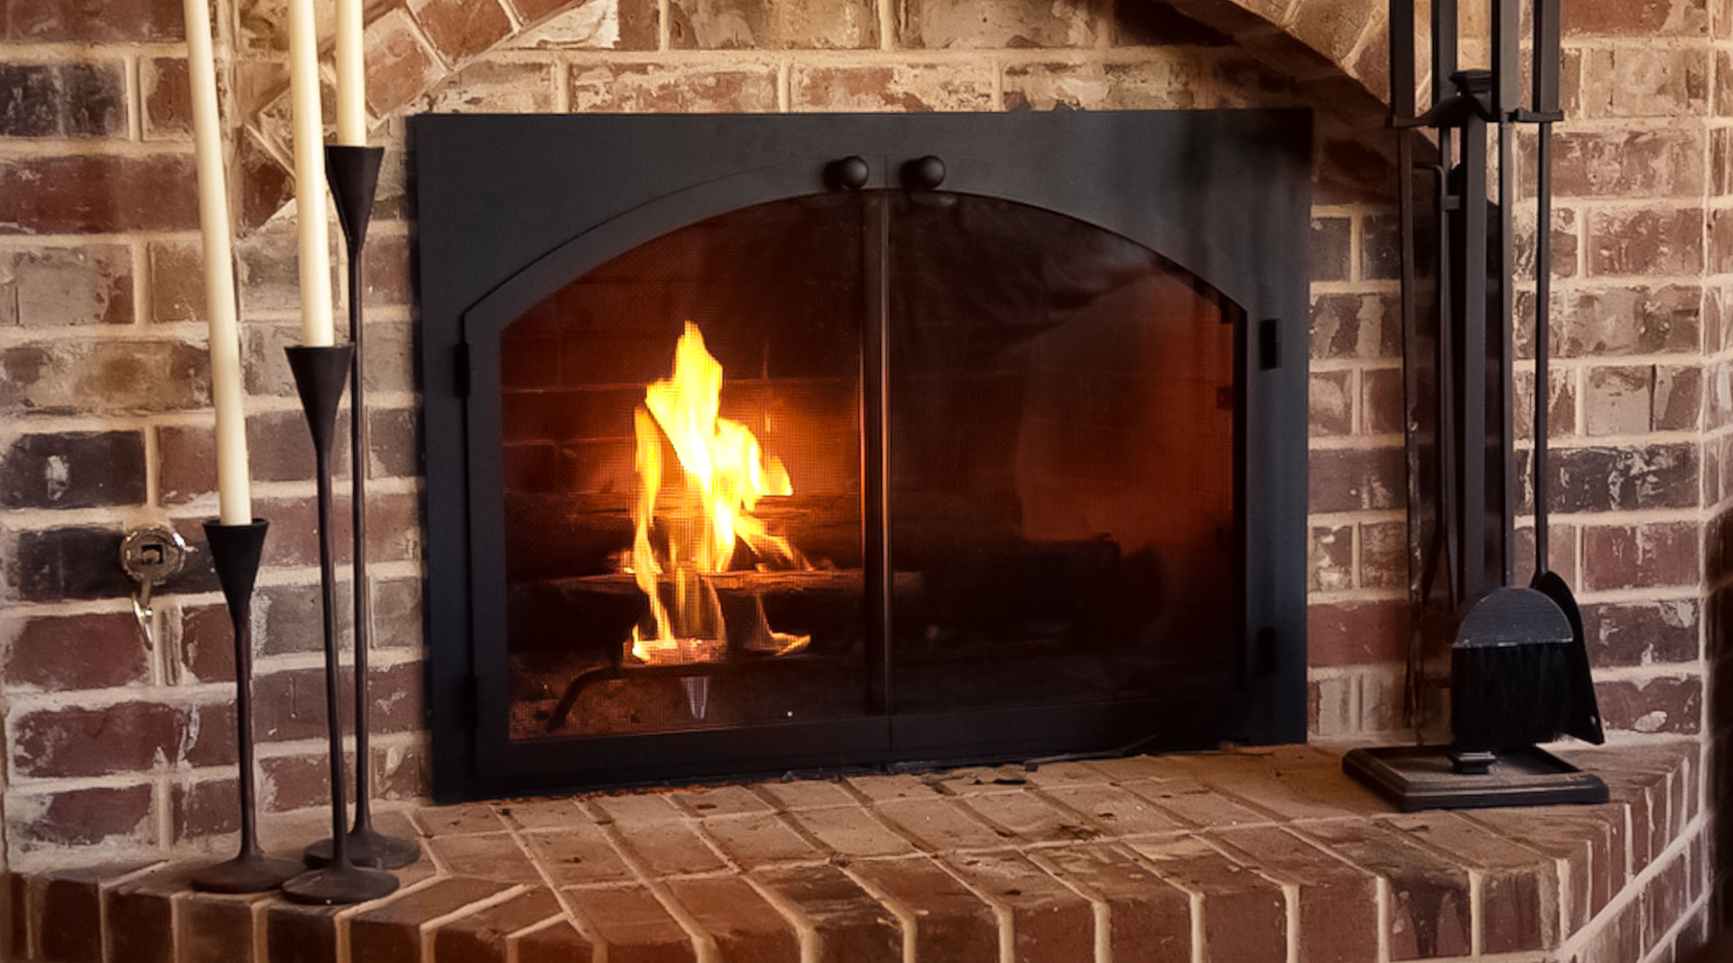
Consider Adding a Fireplace Door and Trim:
Enhance the functionality and visual appeal of the fireplace by installing a stylish fireplace door and trim. Choose a design that complements the refaced fireplace, adding a touch of sophistication and serving as a practical accent that enhances the overall ambiance of the room.
Read more: How To Build A Brick Fireplace Surround
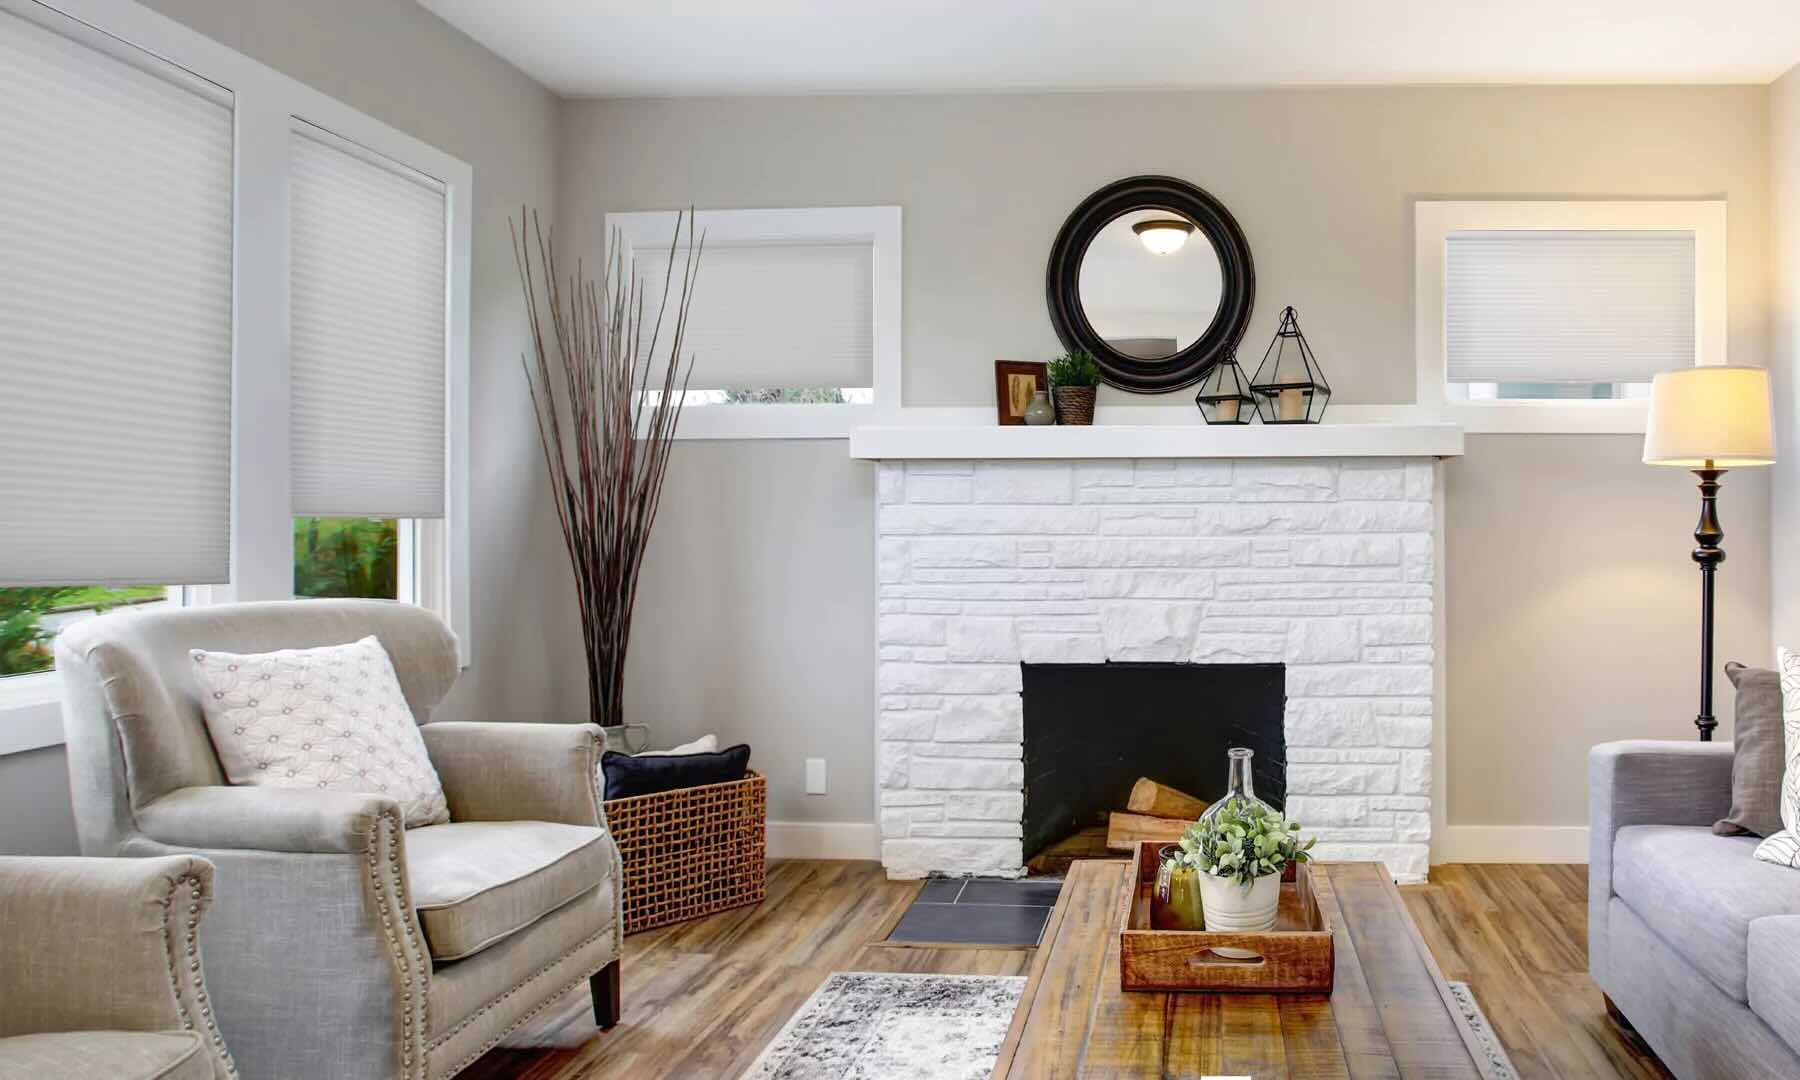
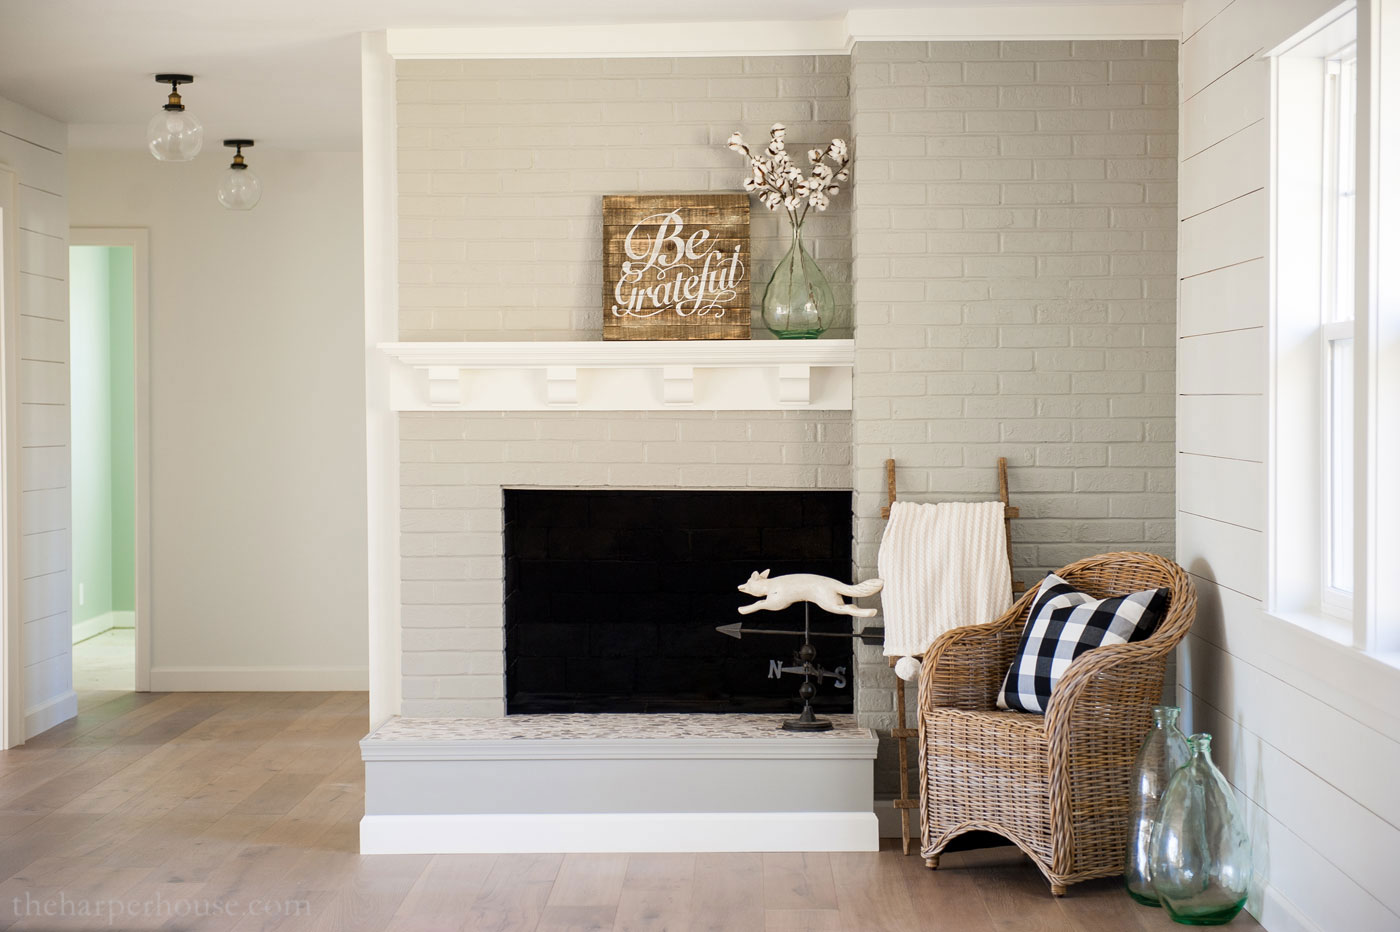
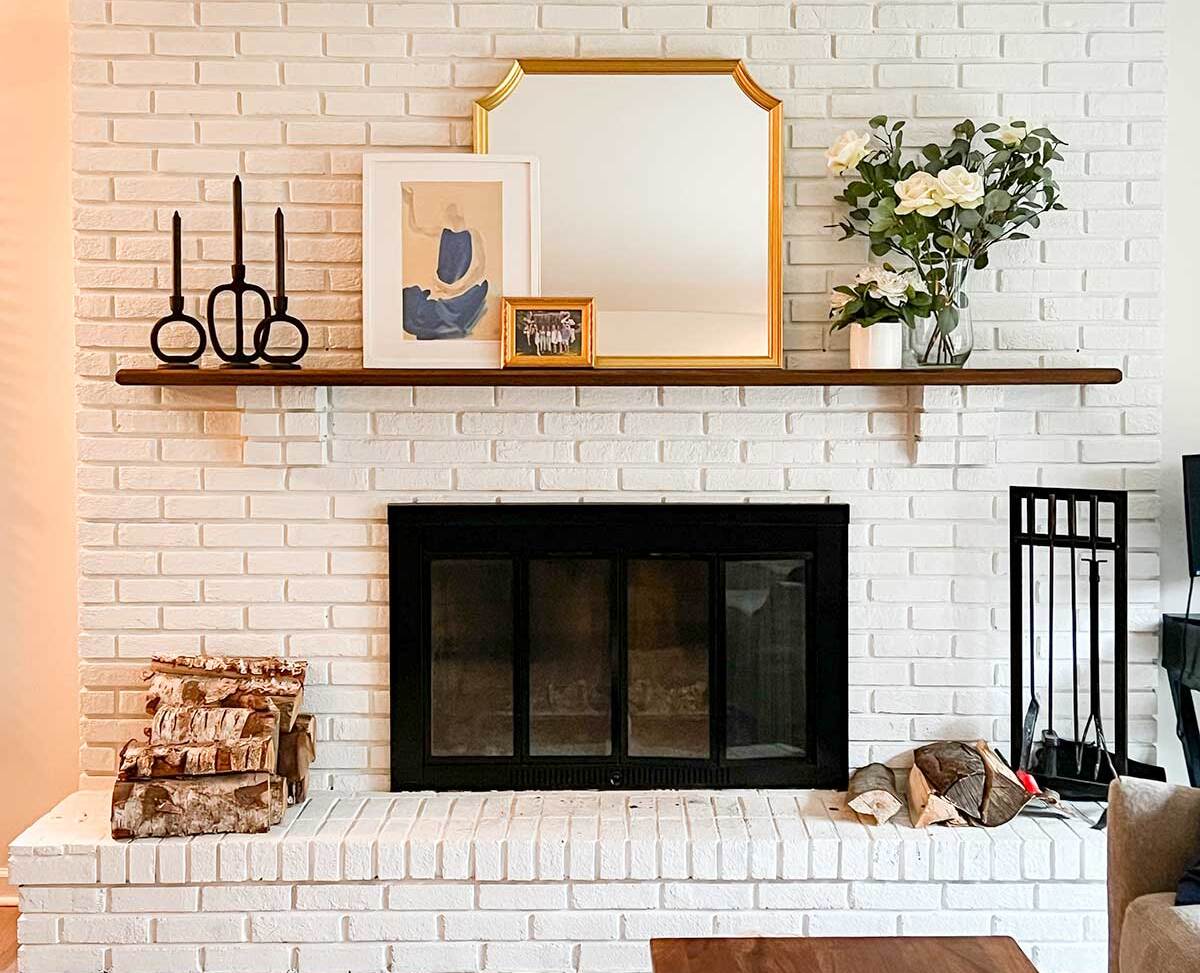
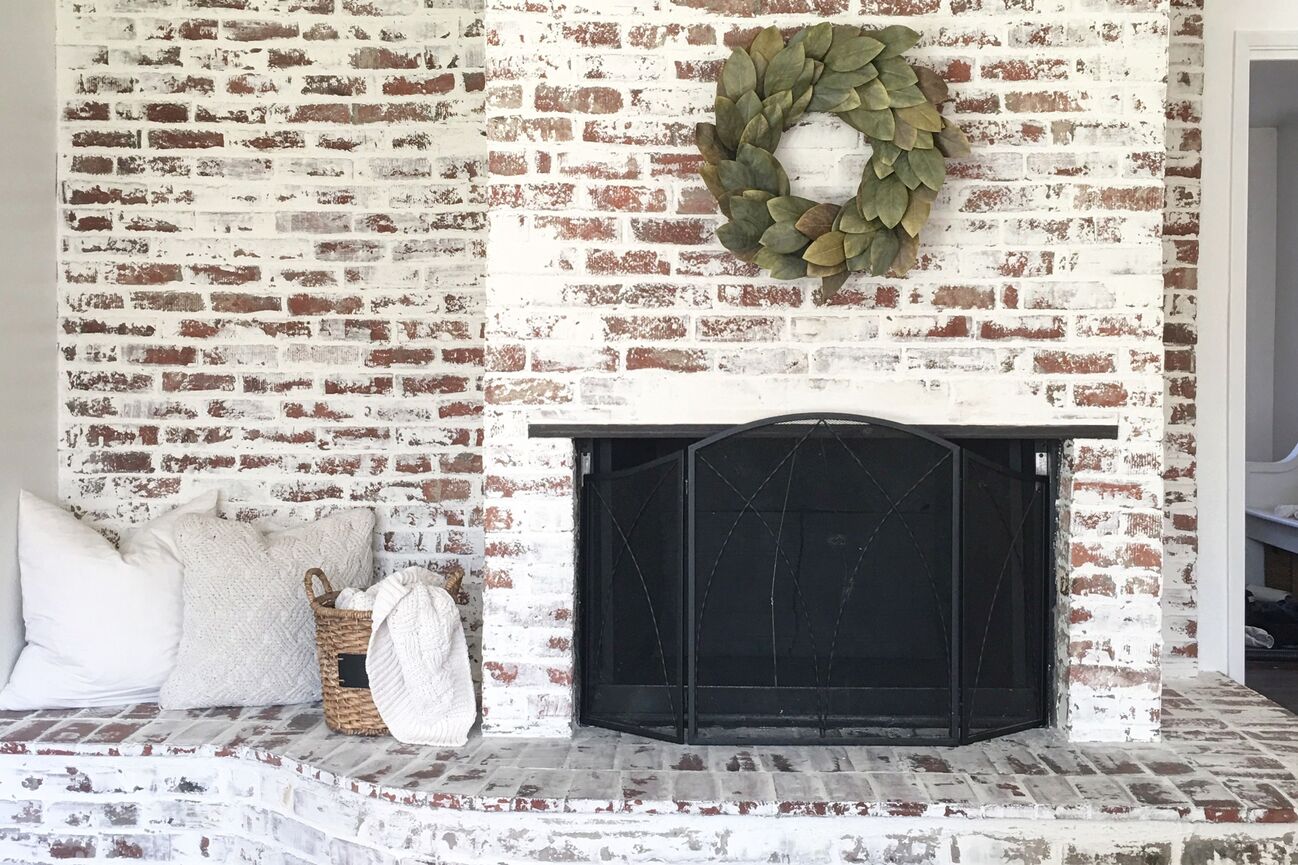
Personalize with Decor and Accessories:
Infuse your personal style into the refaced fireplace by adding decor and accessories that reflect your taste and complement the new aesthetic. Whether it’s a decorative screen, mantel decor, or artwork above the fireplace, these elements contribute to a cohesive, inviting space.
Conduct a Safety Check:
Before enjoying the newly refaced fireplace, ensure that it complies with safety standards. Verify that the flue is functioning correctly, the chimney is clear, and all components are in optimal working condition, prioritizing the safety of your household.
Admire and Enjoy the Transformation:
Step back and admire the remarkable transformation of your fireplace. Take a moment to appreciate the craftsmanship, creativity, and dedication that have culminated in a stunning focal point that enriches the ambiance of your living space.
By attending to these finishing touches, you’ll bring the fireplace refacing project to its culmination, achieving a remarkable transformation that enhances the beauty, functionality, and character of your home. With the final details in place, you’ll be ready to bask in the warmth and allure of your newly refaced fireplace, savoring the tangible impact of your home improvement endeavor.
Conclusion
Refacing a brick fireplace is a gratifying endeavor that allows you to breathe new life into your living space, infusing it with personalized style and renewed allure. Through the meticulous process of gathering materials, preparing the area, cleaning the brick surface, applying mortar, installing the new facing material, grouting the joints, and adding the finishing touches, you’ve embarked on a transformative journey that culminates in a captivating focal point within your home.
As you reflect on the journey from the initial vision to the realization of a refaced fireplace, you’ve not only enhanced the aesthetic appeal of your living space but also imbued it with your creativity and craftsmanship. The attention to detail, precision in execution, and dedication to achieving a remarkable outcome have resulted in a stunning centerpiece that elevates the ambiance of the room and reflects your unique style.
Furthermore, the fireplace refacing project has provided an opportunity to enhance the functionality and safety of the fireplace, ensuring that it remains a source of warmth, comfort, and visual delight for years to come. By attending to the final details and conducting a safety check, you’ve created a space that not only captivates the eye but also prioritizes the well-being of your household.
As you admire the remarkable transformation of your fireplace, take pride in the craftsmanship, ingenuity, and dedication that have brought your vision to fruition. Whether you’ve opted for a modern, sleek design or a rustic, traditional aesthetic, the refaced fireplace stands as a testament to your ability to revitalize and personalize your living environment.
With the completion of the fireplace refacing project, you’re poised to savor the warmth and allure of the revamped fireplace, reveling in the tangible impact of your home improvement endeavor. As the heart of the home, the refaced fireplace embodies the spirit of creativity, transformation, and the pursuit of a living space that resonates with your individuality.
Embrace the beauty and functionality of your newly refaced fireplace, and let it serve as a source of pride, comfort, and inspiration within your home.
Frequently Asked Questions about How To Reface A Brick Fireplace
Was this page helpful?
At Storables.com, we guarantee accurate and reliable information. Our content, validated by Expert Board Contributors, is crafted following stringent Editorial Policies. We're committed to providing you with well-researched, expert-backed insights for all your informational needs.
0 thoughts on “How To Reface A Brick Fireplace”