Home>Construction & Tools>Building Materials>How To Repair Brick In A Fireplace
Building Materials
How To Repair Brick In A Fireplace
Modified: October 20, 2024
Learn how to repair brick in a fireplace using building materials. Follow our step-by-step guide to restore your fireplace to its former glory.
(Many of the links in this article redirect to a specific reviewed product. Your purchase of these products through affiliate links helps to generate commission for Storables.com, at no extra cost. Learn more)
Introduction
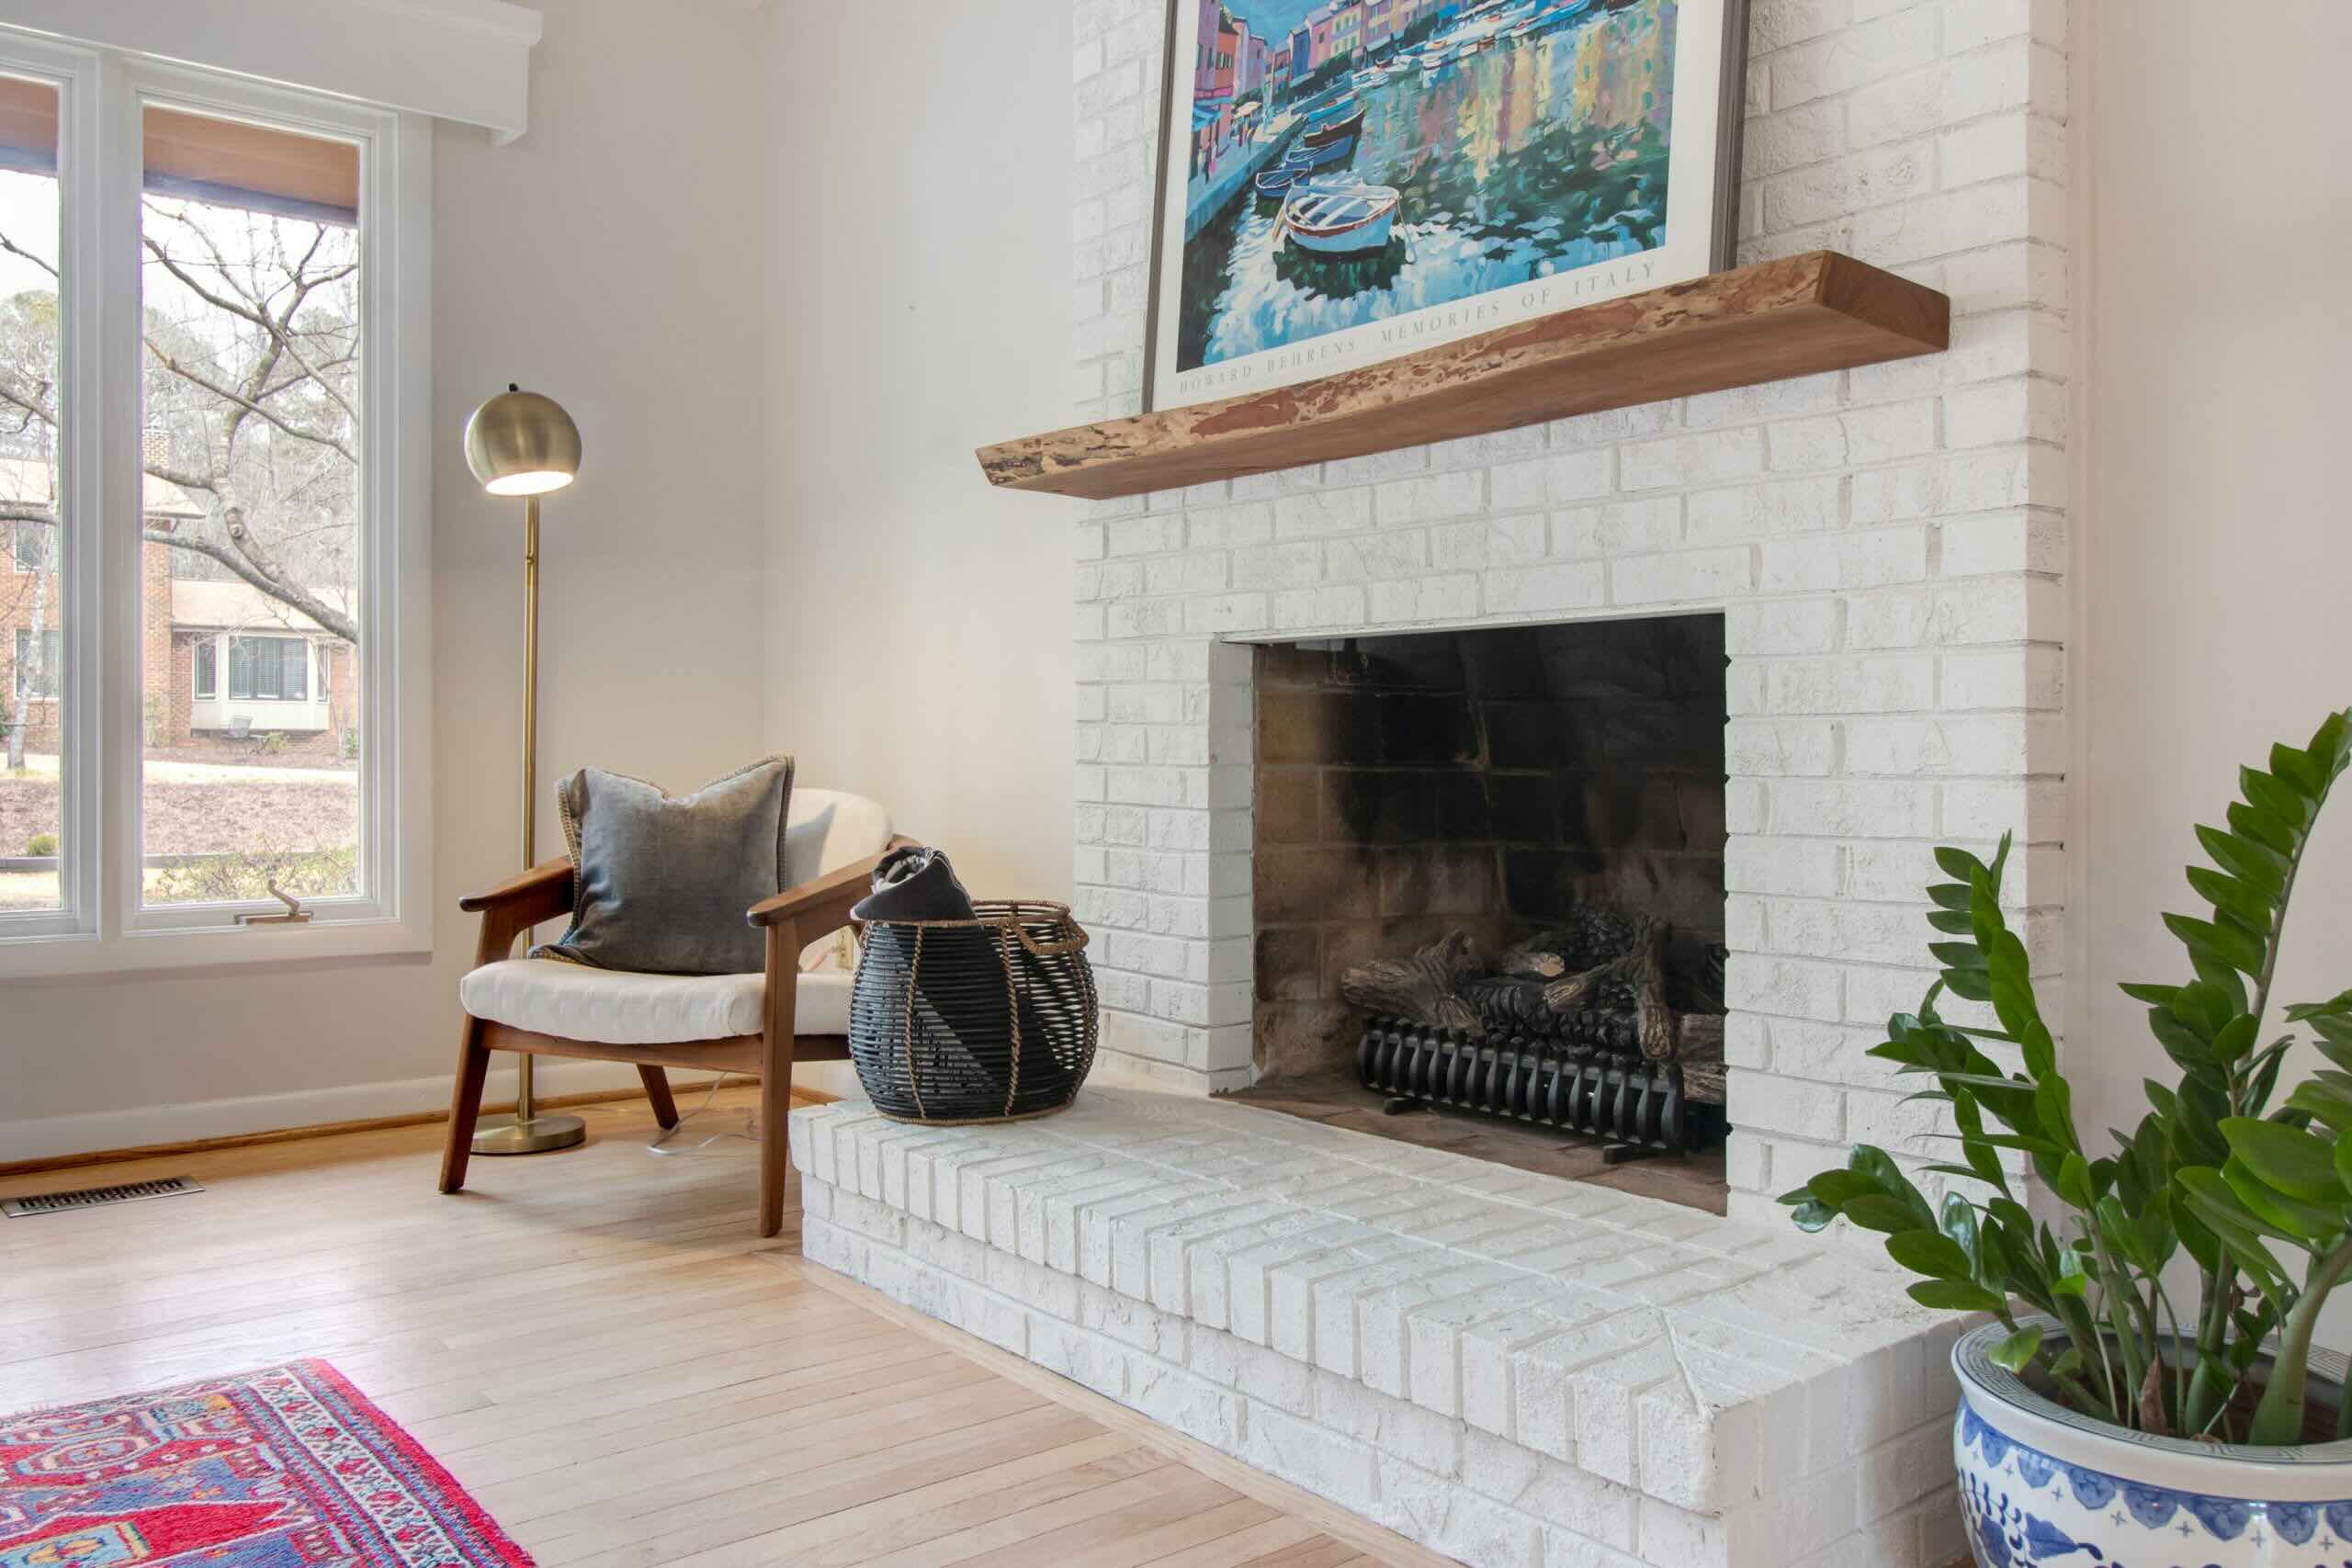
Welcome to the heart of the home, where the crackling of the fire creates a warm and inviting ambiance. A fireplace not only provides physical warmth but also adds a touch of charm and comfort to any living space. However, over time, the bricks in a fireplace may start to show signs of wear and tear, detracting from its aesthetic appeal and structural integrity. Whether it’s due to age, weathering, or other factors, damaged bricks can diminish the overall allure of the fireplace.
Fortunately, the art of brick repair allows homeowners to restore the beauty and functionality of their fireplace, breathing new life into this cherished feature. In this comprehensive guide, we will delve into the intricacies of repairing brick in a fireplace, empowering you with the knowledge and skills to undertake this rewarding endeavor.
From assessing the extent of the damage to gathering the necessary materials and executing the repair process with precision, we will walk you through each step, ensuring that your fireplace is revitalized with enduring strength and visual appeal. So, roll up your sleeves, gather your tools, and let’s embark on a journey to rejuvenate your fireplace, infusing your home with timeless warmth and character.
Key Takeaways:
- Assess the damage and gather materials before repairing your fireplace’s bricks. Look for structural issues and gather replacement bricks, mortar, and essential tools for a successful restoration.
- Prepare the area, mix mortar, and repair the bricks with precision. Add finishing touches to seamlessly integrate the repaired area with the existing brickwork, revitalizing your fireplace.
Read more: How To Stain A Brick Fireplace
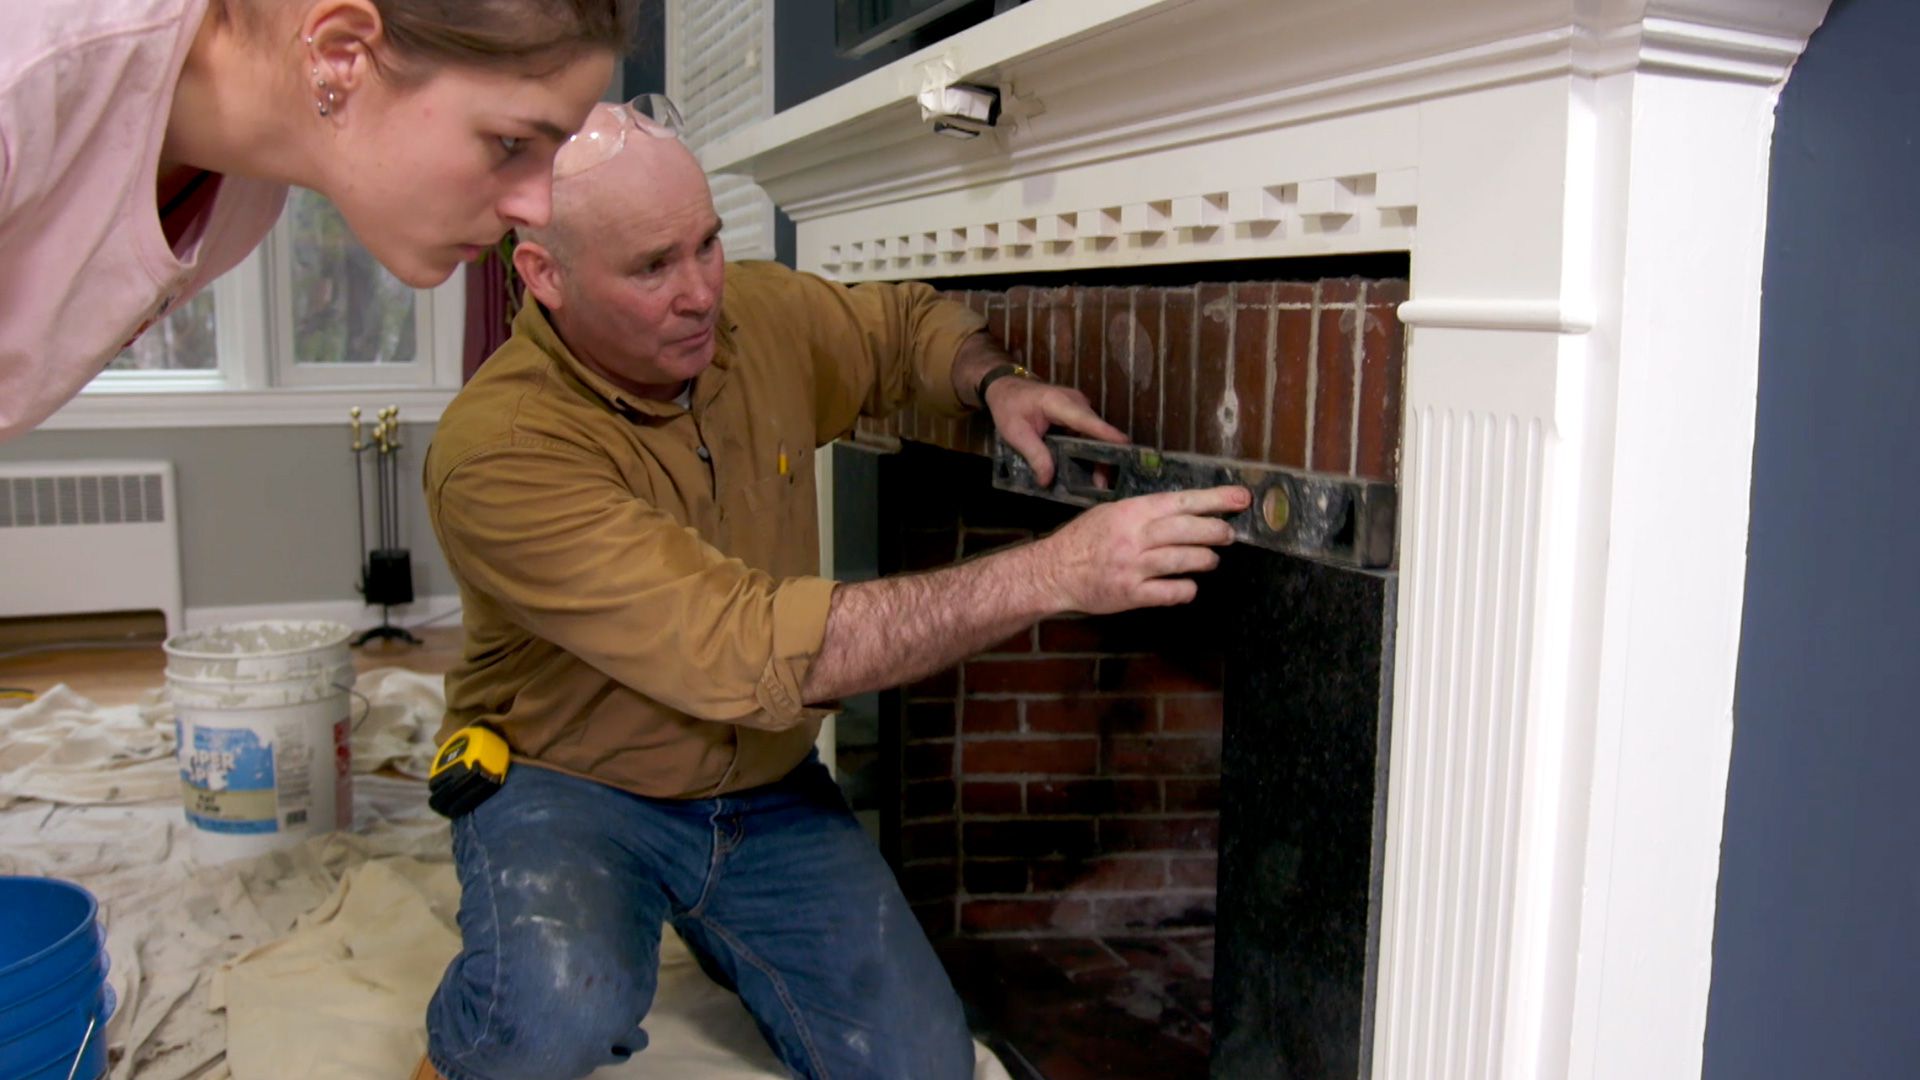
Assessing the Damage
Before embarking on the repair process, it’s crucial to conduct a thorough assessment of the brickwork in your fireplace. Carefully inspect the entire structure, paying close attention to any visible cracks, spalling, or areas of deterioration. Additionally, check for signs of moisture damage, as water infiltration can exacerbate brick deterioration over time.
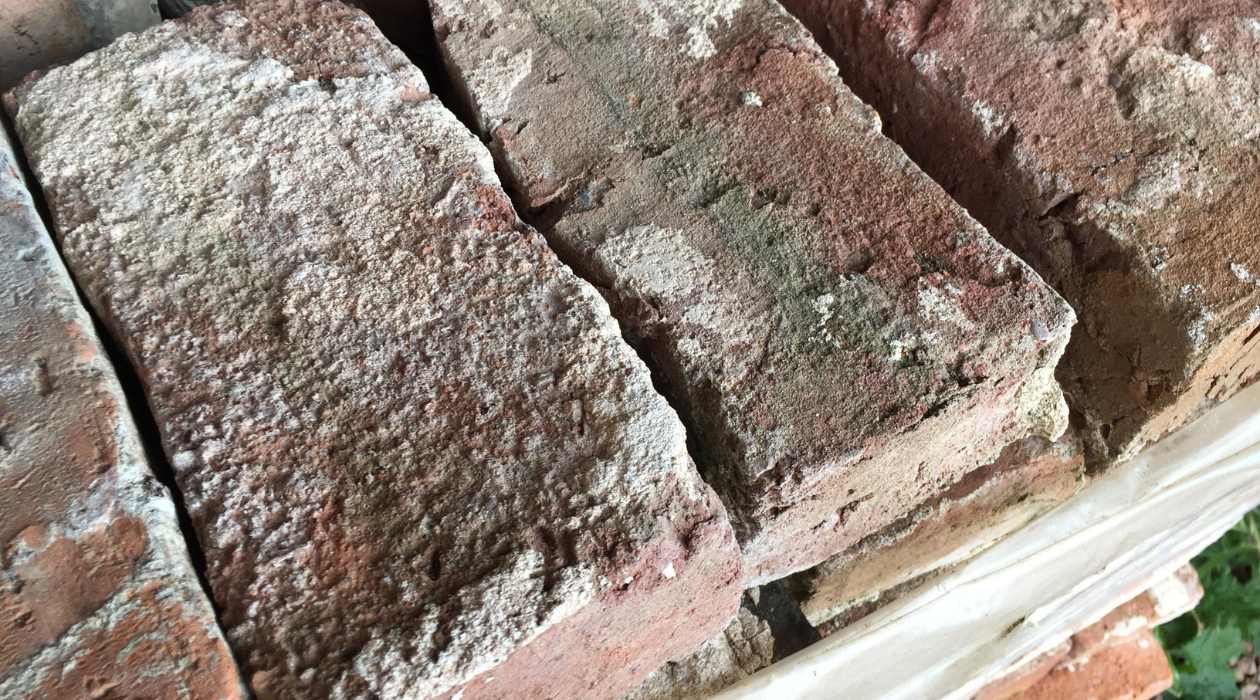
Start by examining the mortar joints between the bricks. Look for any gaps, crumbling mortar, or areas where the mortar has pulled away from the bricks. These issues can compromise the stability of the fireplace and should be addressed promptly. Next, focus on the individual bricks themselves. Note any cracks, chips, or instances of spalling, where the surface of the brick has begun to flake or crumble.
It’s essential to differentiate between cosmetic imperfections and structural damage. Superficial blemishes, such as minor surface cracks or discoloration, may not necessarily require immediate repair, especially if they do not affect the integrity of the fireplace. However, any indications of structural compromise, such as significant cracks or loose bricks, demand prompt attention to prevent further deterioration and ensure the safety of the fireplace.
Take note of the location and extent of the damage, as this will inform your repair strategy. Is the damage concentrated in a specific area, such as the hearth or the firebox, or is it spread across the entire fireplace? Understanding the scope of the damage will guide your approach and help you determine the quantity of materials needed for the repair.
By meticulously evaluating the condition of the brickwork, you’ll gain a comprehensive understanding of the repairs required, setting the stage for a methodical and effective restoration process. With a keen eye and a clear assessment in hand, you’re ready to move on to the next step: gathering the materials necessary for the repair.
Gathering Materials
With a thorough assessment of the damage completed, it’s time to gather the essential materials and tools needed to restore the brickwork in your fireplace. Equipping yourself with the right supplies is crucial for executing a successful repair, ensuring that the fireplace regains its structural integrity and visual appeal.
Here’s a list of materials and tools you’ll likely need for the repair process:
- Bricks: Procure replacement bricks that match the size, color, and texture of the existing ones in your fireplace. It’s important to maintain uniformity to achieve a seamless repair.
- Mortar: Select a high-quality mortar mix that complements the original mortar used in the fireplace. Consider factors such as color, strength, and composition to achieve a cohesive blend with the existing mortar.
- Masonry Chisel and Hammer: These tools are essential for carefully removing damaged bricks and old mortar, allowing for precise and controlled demolition.
- Trowel: A trowel is indispensable for applying mortar to the brick joints and achieving a smooth, even finish.
- Wire Brush: Use a wire brush to clean the surfaces of the bricks and remove any loose debris, old mortar, or contaminants that could hinder the adhesion of new mortar.
- Masonry Saw: In some cases, you may need to cut bricks to fit specific dimensions. A masonry saw enables you to make precise cuts for a tailored fit.
- Protective Gear: Prioritize safety by wearing gloves, safety goggles, and a dust mask to shield yourself from potential hazards during the repair process.
Before purchasing materials, take precise measurements of the damaged areas in your fireplace to determine the quantity of bricks and mortar mix required. It’s advisable to procure a slightly larger quantity of materials than estimated to account for any unforeseen needs during the repair.
When sourcing materials, consider seeking guidance from professionals at local hardware stores or masonry supply centers. They can offer valuable insights and recommendations, ensuring that you acquire the most suitable products for your specific repair project.
By assembling the necessary materials and tools, you’ll be well-prepared to embark on the next phase of the repair process: preparing the area for the restoration of your fireplace’s brickwork.
Preparing the Area
Before diving into the actual brick repair, it’s essential to prepare the workspace and the damaged area within the fireplace. Adequate preparation sets the stage for a smooth and efficient repair process, ensuring that the new bricks and mortar adhere securely and seamlessly integrate with the existing structure.
Here are the key steps involved in preparing the area for the repair:
- Clean the Surrounding Surfaces: Begin by thoroughly cleaning the surfaces surrounding the damaged brickwork. Use a wire brush to remove any loose debris, soot, or residues from the bricks and mortar joints. This step is crucial for promoting strong adhesion and a clean, uniform finish.
- Protect Adjacent Surfaces: Shield adjacent surfaces, such as the hearth and surrounding walls, with drop cloths or plastic sheeting to prevent them from being stained or damaged during the repair process. Securing the work area safeguards the overall aesthetics of your fireplace.
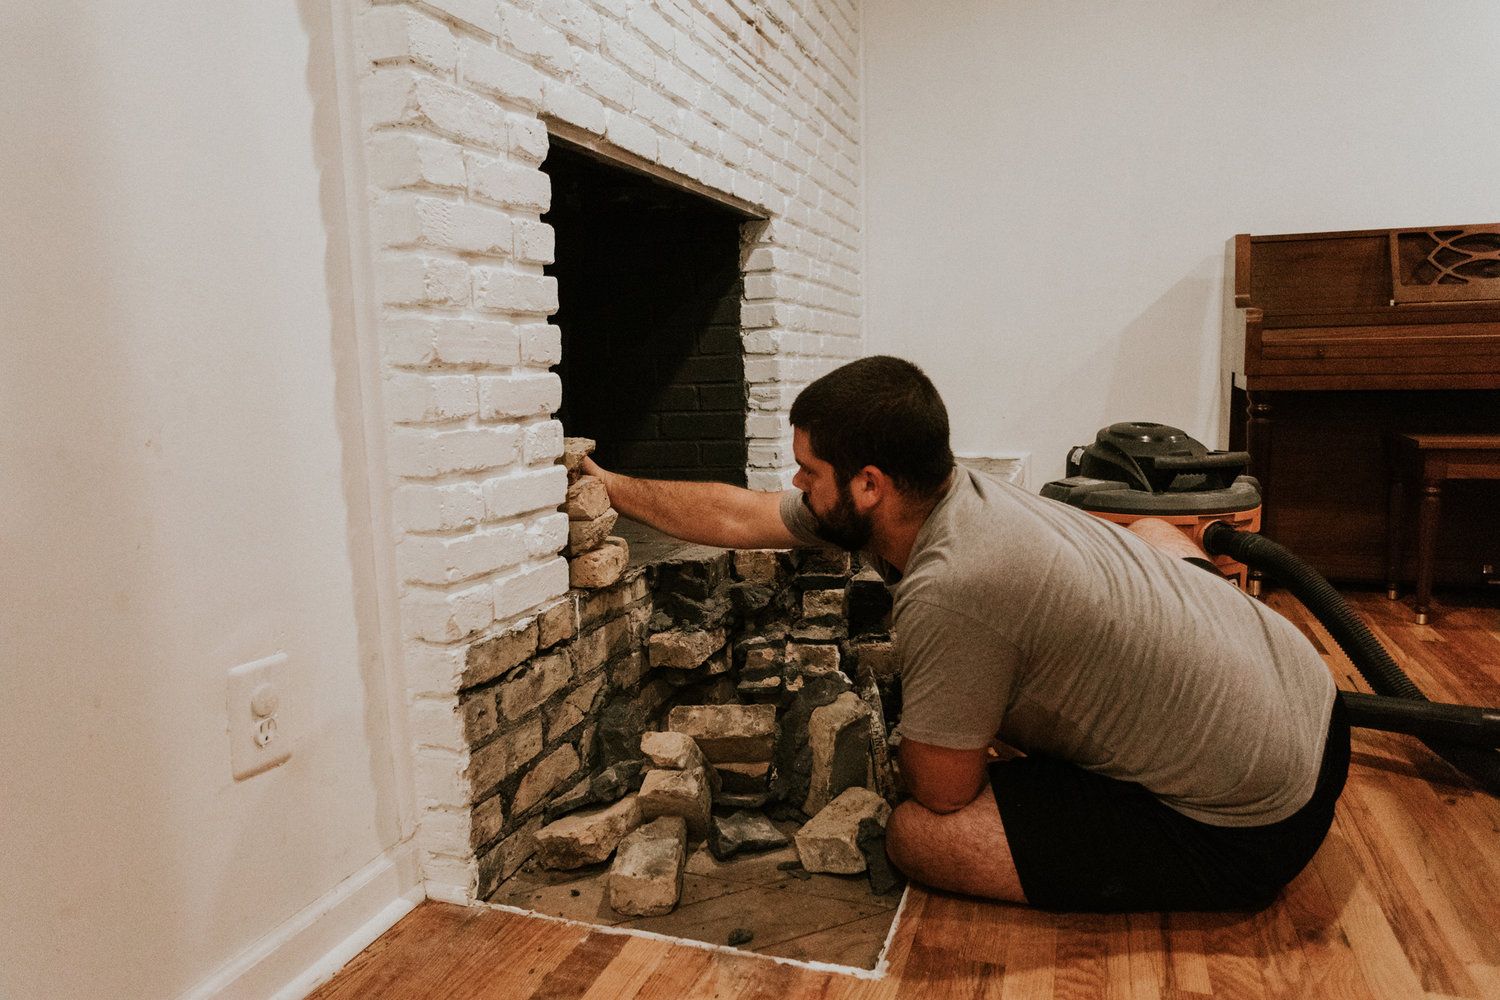
- Remove Damaged Bricks and Mortar: Carefully extract the damaged bricks using a masonry chisel and hammer, ensuring precision to avoid unnecessary disturbance to the surrounding bricks. Once the damaged bricks are removed, use the chisel to clear away any residual mortar from the surrounding joints, creating a clean and level surface for the new bricks.
- Moisten the Substrate: Dampen the exposed masonry substrate with water before applying new mortar. This helps prevent rapid absorption of moisture from the fresh mortar, promoting proper curing and adhesion.
- Inspect for Structural Issues: While preparing the area, take the opportunity to inspect the underlying structure for any signs of structural compromise. Look for indications of moisture damage, deteriorated support materials, or other issues that may impact the long-term stability of the fireplace.
By meticulously preparing the area, you create an optimal foundation for the repair, setting the stage for a seamless integration of new bricks and mortar. With the workspace primed and the damaged area meticulously prepped, you’re now ready to delve into the next phase: mixing mortar for the restoration process.
Use a chisel and hammer to remove damaged bricks. Clean the area and apply mortar to the back of the new brick before placing it in the hole. Smooth the mortar and let it dry for 24 hours.
Mixing Mortar
As you venture into the heart of the repair process, mastering the art of mixing mortar is pivotal for achieving durable and visually appealing results. Mortar serves as the binding agent that holds the bricks together, providing structural stability and cohesiveness to the fireplace. A well-prepared mortar mix is essential for ensuring the longevity and integrity of the restored brickwork.
Here’s a step-by-step guide to effectively mix mortar for your fireplace repair:
- Select the Right Mortar Mix: Choose a mortar mix that aligns with the composition and color of the original mortar in your fireplace. Opt for a high-quality mortar that offers excellent adhesion and long-term durability. Consider factors such as strength, composition, and compatibility with the existing mortar.
- Measure the Ingredients: Follow the manufacturer’s instructions to determine the appropriate ratio of mortar mix to water. Use a bucket or mixing trough to measure the required quantity of dry mortar mix, ensuring accuracy in the proportions.
- Add Water Gradually: Pour clean water into the mixing container, then gradually incorporate the dry mortar mix while stirring continuously. Use a trowel or mixing paddle to blend the ingredients, ensuring a smooth and homogeneous consistency without lumps or dry pockets.
- Attain the Desired Consistency: Aim for a workable consistency that allows the mortar to be easily spread and shaped without being overly runny or stiff. The mortar should hold its form when scooped with a trowel and exhibit good adhesion properties.
- Let the Mortar Rest: Once the mortar is thoroughly mixed, allow it to rest for a few minutes to attain the ideal workability. This brief resting period enables the mortar to hydrate fully and attain the proper adhesive properties.
Throughout the mixing process, maintain a keen eye on the consistency and texture of the mortar, adjusting the water or dry mix as needed to achieve the optimal blend. Consistency is key, as a well-mixed mortar ensures strong bonds and a professional finish for the brick repair.
Armed with a meticulously prepared mortar mix, you’re now poised to proceed with the hands-on task of repairing the damaged bricks in your fireplace, ushering in a renewed sense of beauty and resilience to this cherished feature of your home.
Read more: How To Stucco A Brick Fireplace
Repairing the Brick
With the groundwork laid and the mortar mixed to perfection, it’s time to delve into the art of repairing the damaged bricks in your fireplace. This hands-on phase of the restoration process allows you to breathe new life into the structure, revitalizing its aesthetic appeal and structural soundness.
Here’s a comprehensive guide to effectively repairing the brickwork in your fireplace:
- Apply Mortar to the Joints: Using a trowel, carefully apply a layer of mortar to the cleaned and dampened joints between the existing bricks. Ensure that the mortar fills the joints evenly, providing a solid foundation for the placement of new bricks.
- Position the Replacement Bricks: Place the replacement bricks into the freshly applied mortar, pressing them firmly and evenly to seat them securely within the structure. Pay close attention to alignment and spacing, maintaining a consistent and visually appealing layout.
- Tool the Joints: Once the replacement bricks are in position, use a jointing tool or the edge of the trowel to shape and compact the mortar in the joints. This process creates a uniform and professional finish, ensuring that the mortar bonds effectively with the bricks and blends seamlessly with the existing masonry.
- Address Surface Imperfections: If the repaired area requires a smooth or textured finish to match the surrounding brickwork, use a trowel or appropriate tool to achieve the desired surface texture. This step is crucial for achieving a cohesive and aesthetically pleasing result.
- Allow for Proper Curing: After completing the repair, allow the mortar to cure and set according to the manufacturer’s recommendations. Protect the repaired area from disturbances or excessive moisture during the curing period to facilitate the development of strong and resilient bonds.
Throughout the repair process, maintain a meticulous approach, ensuring precision and attention to detail at every step. By seamlessly integrating the replacement bricks and mortar with the existing structure, you’ll breathe new life into your fireplace, restoring its allure and functionality.
With the bricks repaired and the mortar curing, the final phase of the restoration process entails adding the finishing touches that elevate the visual appeal of your fireplace, culminating in a revitalized centerpiece for your living space.
Finishing Touches
As the repair process nears its completion, it’s time to add the finishing touches that will elevate the visual appeal and cohesiveness of your fireplace. These final steps contribute to the overall aesthetic harmony of the structure, ensuring that the repaired area seamlessly integrates with the existing brickwork, culminating in a captivating and revitalized focal point for your living space.
Here are the key elements to consider when adding the finishing touches to your fireplace repair:
- Clean the Surfaces: Thoroughly clean the repaired area and the surrounding brickwork to remove any residual mortar, dust, or debris. Use a soft brush or cloth to gently wipe the surfaces, unveiling the renewed beauty of the restored brickwork.
- Match the Finish: If the original brick surfaces exhibit a particular texture or finish, strive to replicate this consistency in the repaired area. Use appropriate tools or techniques to achieve a cohesive visual blend, ensuring that the repaired section seamlessly merges with the existing brickwork.
- Seal the Repaired Area: Consider applying a suitable masonry sealer to the repaired section, enhancing its durability and resistance to moisture and staining. The sealer helps protect the mortar and bricks, prolonging the longevity of the repair and preserving its pristine appearance.
- Inspect and Refine: Conduct a meticulous inspection of the repaired area, ensuring that the mortar joints are uniform, the bricks are securely seated, and the overall finish meets your expectations. Address any minor imperfections or inconsistencies to achieve a polished and professional outcome.
- Restore Hearth and Mantel: If the repair process involved the hearth or mantel, take the opportunity to restore these elements to their original luster. Clean, polish, or refinish the hearth and mantel as needed, enhancing the overall charm and allure of the fireplace.
By attending to these finishing touches, you infuse the repaired area with a renewed sense of vitality and cohesion, ensuring that your fireplace stands as a captivating centerpiece within your home. The meticulous attention to detail in this final phase crowns the restoration process, leaving you with a fireplace that exudes timeless warmth and visual allure.
With the finishing touches complete, step back and admire the transformation that has taken place, reveling in the revitalized beauty and enduring strength of your fireplace. As you savor the fruits of your labor, take pride in knowing that your skillful repair has bestowed new life upon this cherished feature, enriching the ambiance and character of your living space.
Conclusion
Embarking on the journey to repair the brickwork in your fireplace has not only revitalized a cherished feature of your home but has also empowered you with the knowledge and skills to undertake a gratifying restoration project. As the warmth of the fire once again graces your living space, the renewed allure and enduring strength of your fireplace stand as a testament to your dedication and craftsmanship.
Throughout the repair process, you’ve ventured into the art of brickwork restoration, meticulously assessing the damage, gathering materials, and preparing the area with precision and care. Mixing mortar to the ideal consistency and seamlessly integrating replacement bricks with the existing structure has allowed you to breathe new life into the fireplace, infusing it with timeless allure and resilience.
As you added the finishing touches, meticulously refining the repaired area and harmonizing it with the surrounding brickwork, you’ve elevated the visual appeal and cohesiveness of the structure, culminating in a captivating centerpiece for your living space. The attention to detail and the commitment to excellence have transformed a once-damaged area into a seamless and visually captivating part of your home.
Beyond the tangible results, the restoration of your fireplace represents a journey of creativity, craftsmanship, and the joy of revitalizing a beloved space within your home. It’s a testament to the transformative power of hands-on restoration, where dedication and skill converge to breathe new life into an essential element of your living environment.
As you bask in the warmth and beauty of your revitalized fireplace, may this experience serve as a reminder of the rewarding nature of hands-on restoration and the enduring charm of a well-crafted space. Your fireplace stands as a symbol of resilience, beauty, and the timeless allure of a skillfully restored feature within your home.
With the repair process complete and the fireplace radiating with renewed allure, you’ve not only revived a cherished element of your living space but have also cultivated a newfound appreciation for the art of brickwork restoration. As the flames dance within the hearth, they illuminate the craftsmanship and dedication that have brought new life to this beloved feature, enriching your home with enduring warmth and character.
Frequently Asked Questions about How To Repair Brick In A Fireplace
Was this page helpful?
At Storables.com, we guarantee accurate and reliable information. Our content, validated by Expert Board Contributors, is crafted following stringent Editorial Policies. We're committed to providing you with well-researched, expert-backed insights for all your informational needs.


0 thoughts on “How To Repair Brick In A Fireplace”