Home>Construction & Tools>Building Materials>How To Whitewash A Brick Fireplace
Building Materials
How To Whitewash A Brick Fireplace
Modified: August 20, 2024
Learn how to whitewash a brick fireplace with our step-by-step guide using common building materials. Transform your fireplace with ease!
(Many of the links in this article redirect to a specific reviewed product. Your purchase of these products through affiliate links helps to generate commission for Storables.com, at no extra cost. Learn more)
Introduction
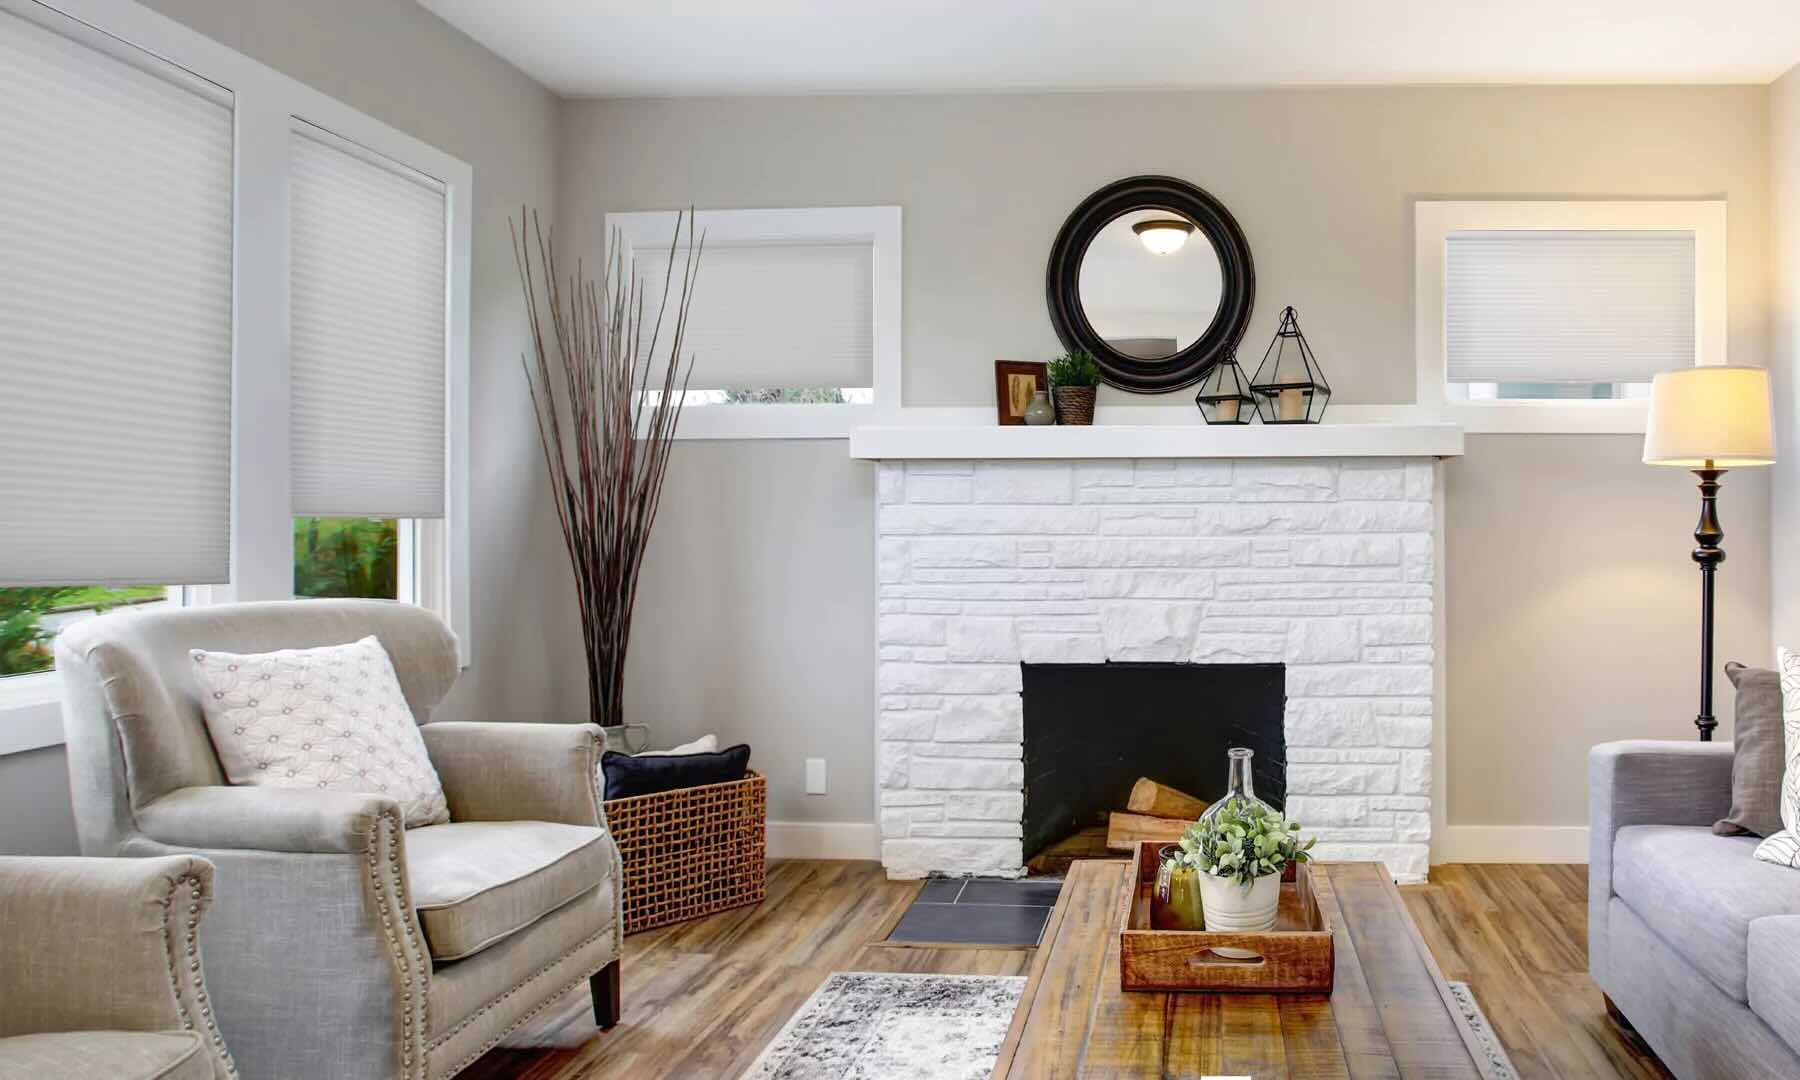
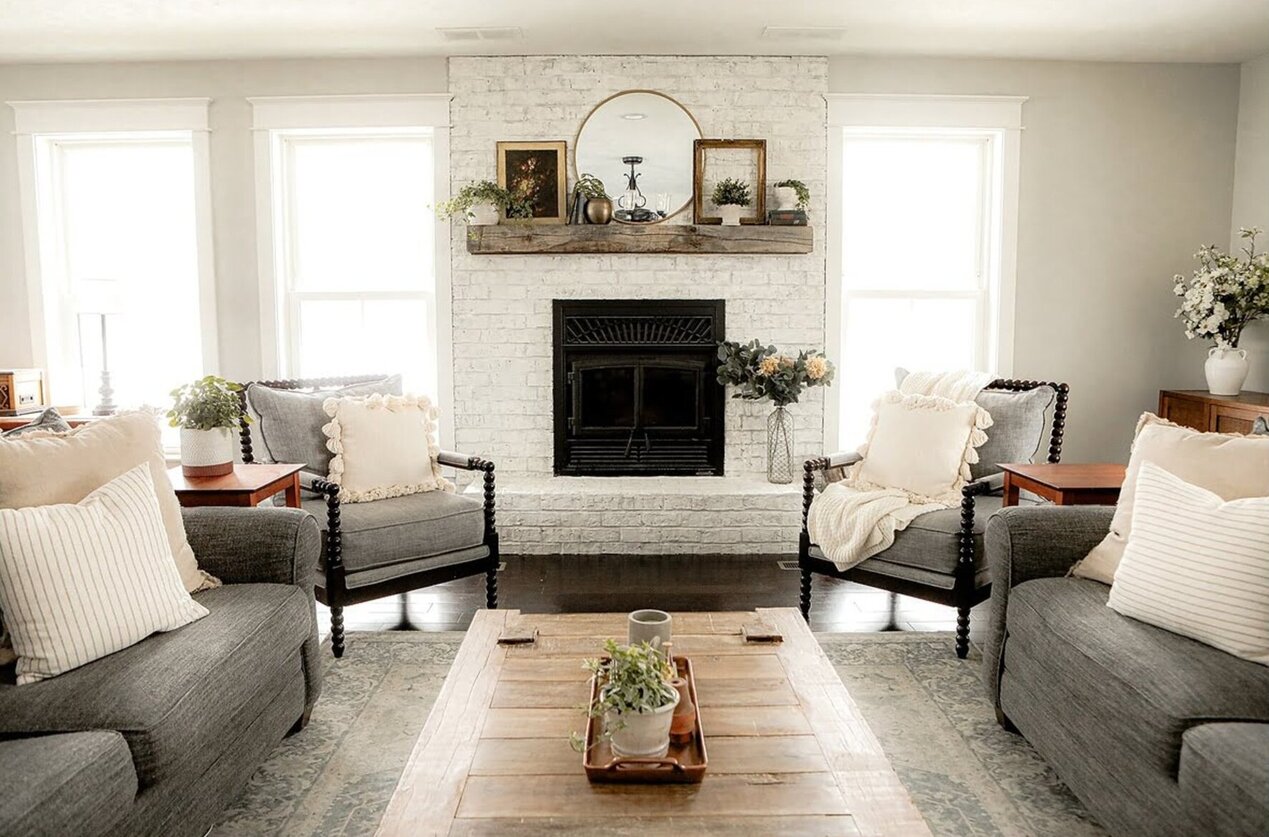
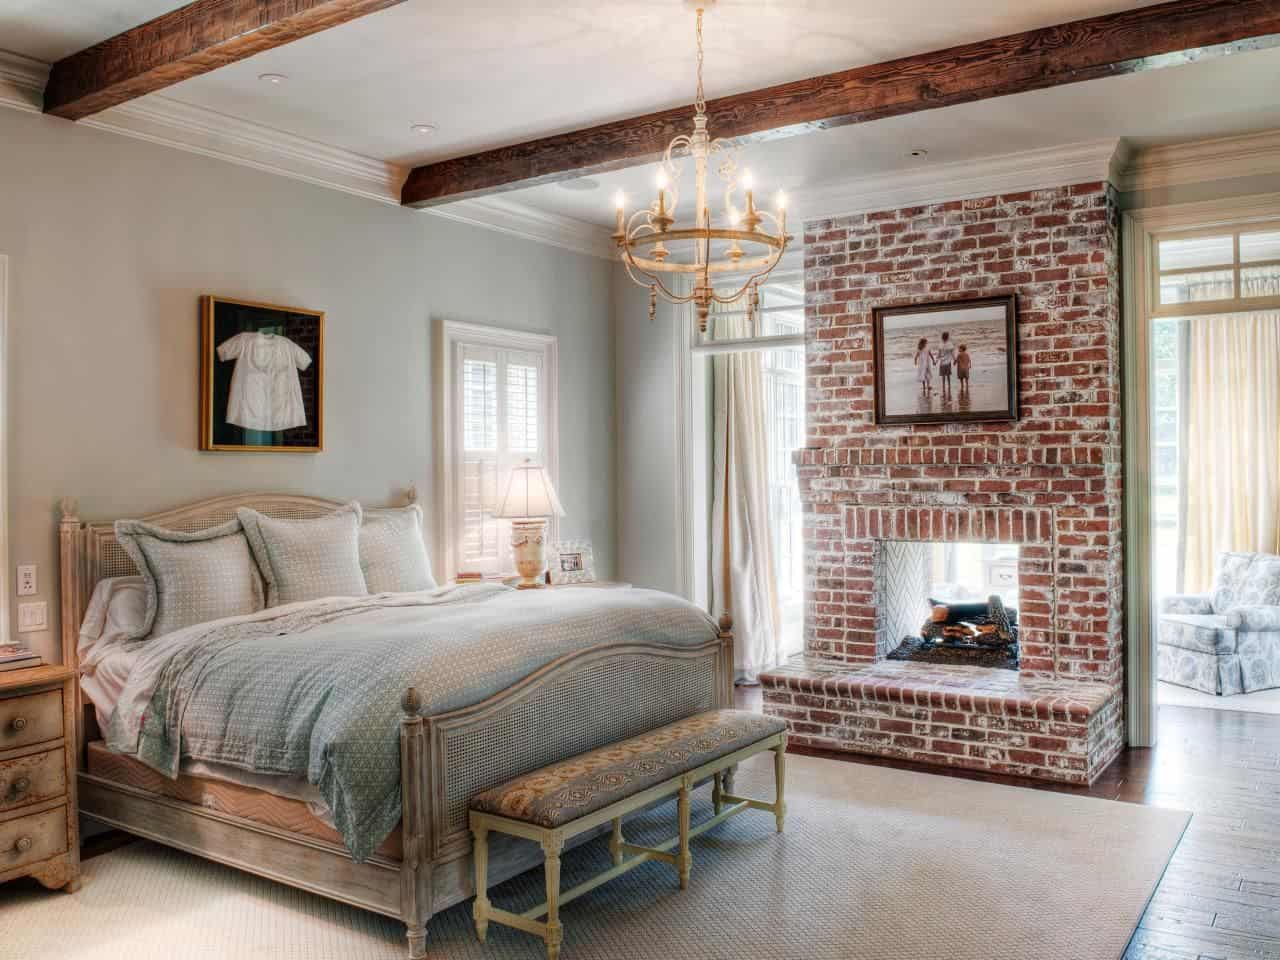
So, you've got a brick fireplace that's seen better days, and you're itching to give it a fresh, new look. Well, you're in luck! Whitewashing is a fantastic way to breathe new life into your fireplace, giving it a charming, rustic appeal that's perfect for cozy nights by the fire. This timeless technique not only adds character to your fireplace but also complements a wide range of interior design styles, from farmhouse chic to coastal cottage.
Whitewashing a brick fireplace is a relatively simple and cost-effective DIY project that can yield stunning results. Whether you're aiming for a subtle, weathered finish or a more dramatic, distressed look, this article will guide you through the process, from gathering the necessary materials to adding the finishing touches. With a bit of creativity and elbow grease, you can transform your fireplace into a focal point that exudes warmth and character.
So, roll up your sleeves, gather your supplies, and get ready to embark on a rewarding journey of fireplace transformation. With the right techniques and a touch of inspiration, you'll soon be enjoying the cozy ambiance of your newly whitewashed brick fireplace. Let's dive into the details and bring your vision to life!
Key Takeaways:
- Transform your brick fireplace with a charming whitewash, adding rustic appeal and cozy ambiance to your living space. Follow the DIY guide for stunning results and a captivating focal point.
- Prepare, mix, apply, and finish – the key steps to achieve a beautifully whitewashed brick fireplace. Embrace creativity and attention to detail for a timeless transformation.
Read more: How To Whitewash A Stone Fireplace
Materials Needed
Before diving into the whitewashing process, it’s essential to gather the necessary materials. Here’s what you’ll need to embark on this fireplace transformation:
- Drop Cloths or Tarps: Protect the surrounding area from splatters and spills by laying down drop cloths or tarps.
- Cleaning Solution: Prepare a mixture of warm water and mild detergent or a specialized brick cleaner to thoroughly clean the fireplace surface.
- Scrub Brush: Use a stiff-bristled brush to scrub away dirt, soot, and any other residues from the bricks.
- Painter’s Tape: Protect the walls and mantel surrounding the fireplace by applying painter’s tape to the edges.
- Whitewash Solution: Create a whitewash solution using hydrated masonry lime, water, and optional pigment for tinting.
- Mixing Container: Use a large bucket or mixing container to blend the whitewash solution thoroughly.
- Paintbrushes: Select a variety of paintbrushes, including a wide brush for larger areas and smaller brushes for detailed work.
- Rags or Sponges: Have rags or sponges on hand for wiping away excess whitewash and achieving the desired finish.
- Protective Gear: Wear gloves, safety goggles, and a mask to shield yourself from cleaning chemicals and dust particles.
- Sealer (Optional): Consider applying a sealer to protect the whitewashed surface and enhance durability.
By ensuring that you have all these materials at your disposal, you’ll be well-prepared to tackle the whitewashing process with confidence and efficiency. Now that the materials are ready, it’s time to prepare the fireplace for its stunning makeover.
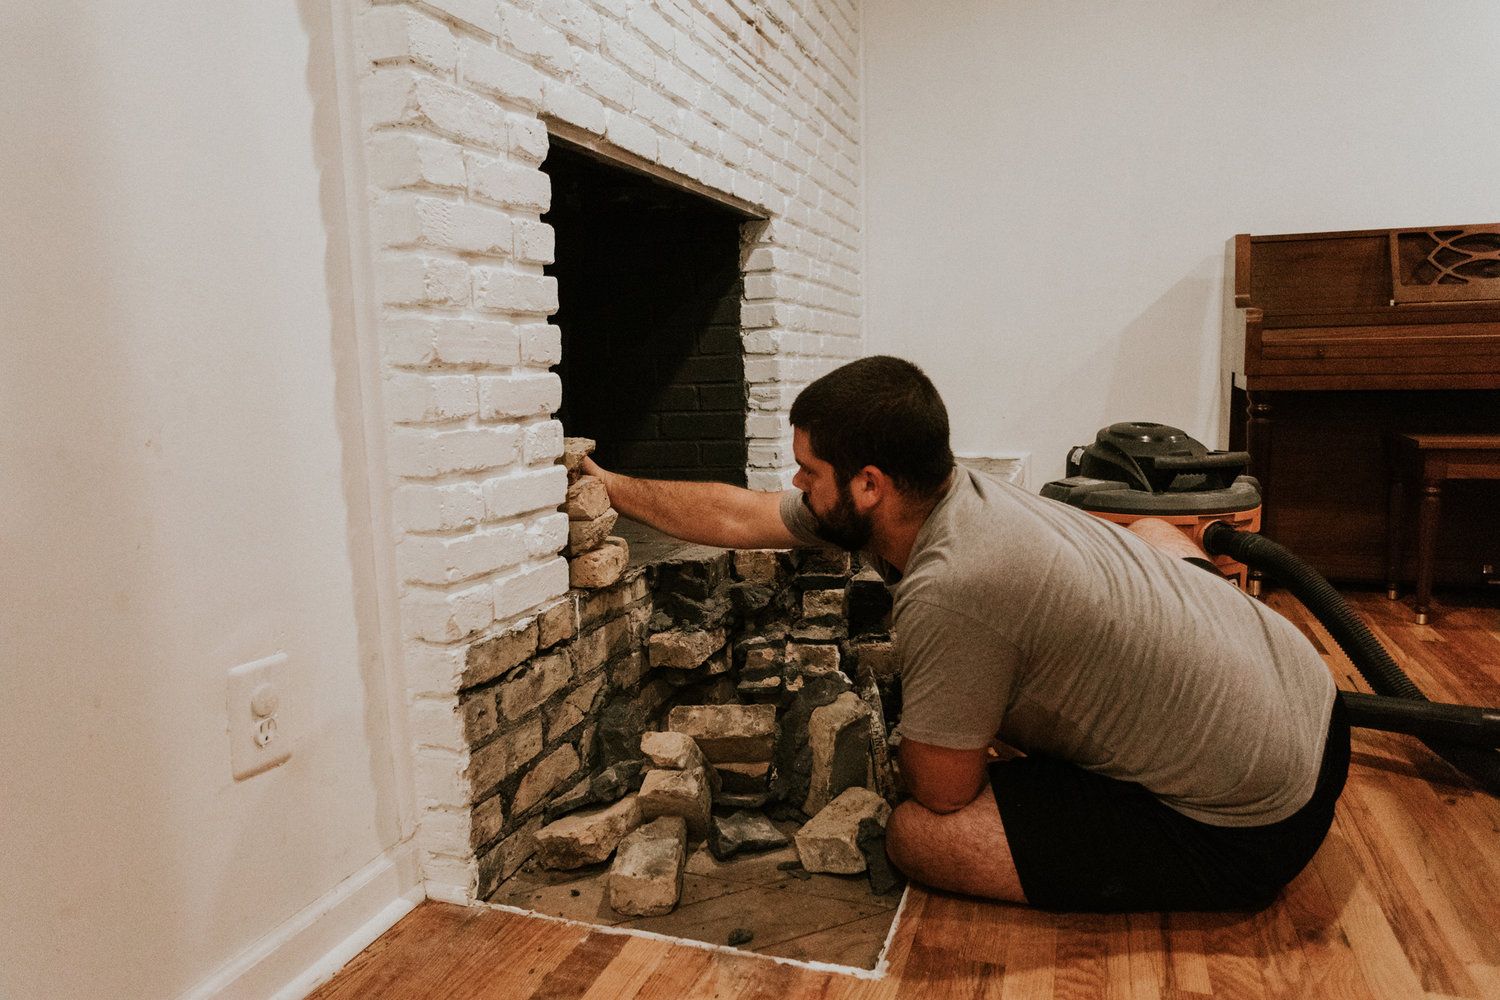
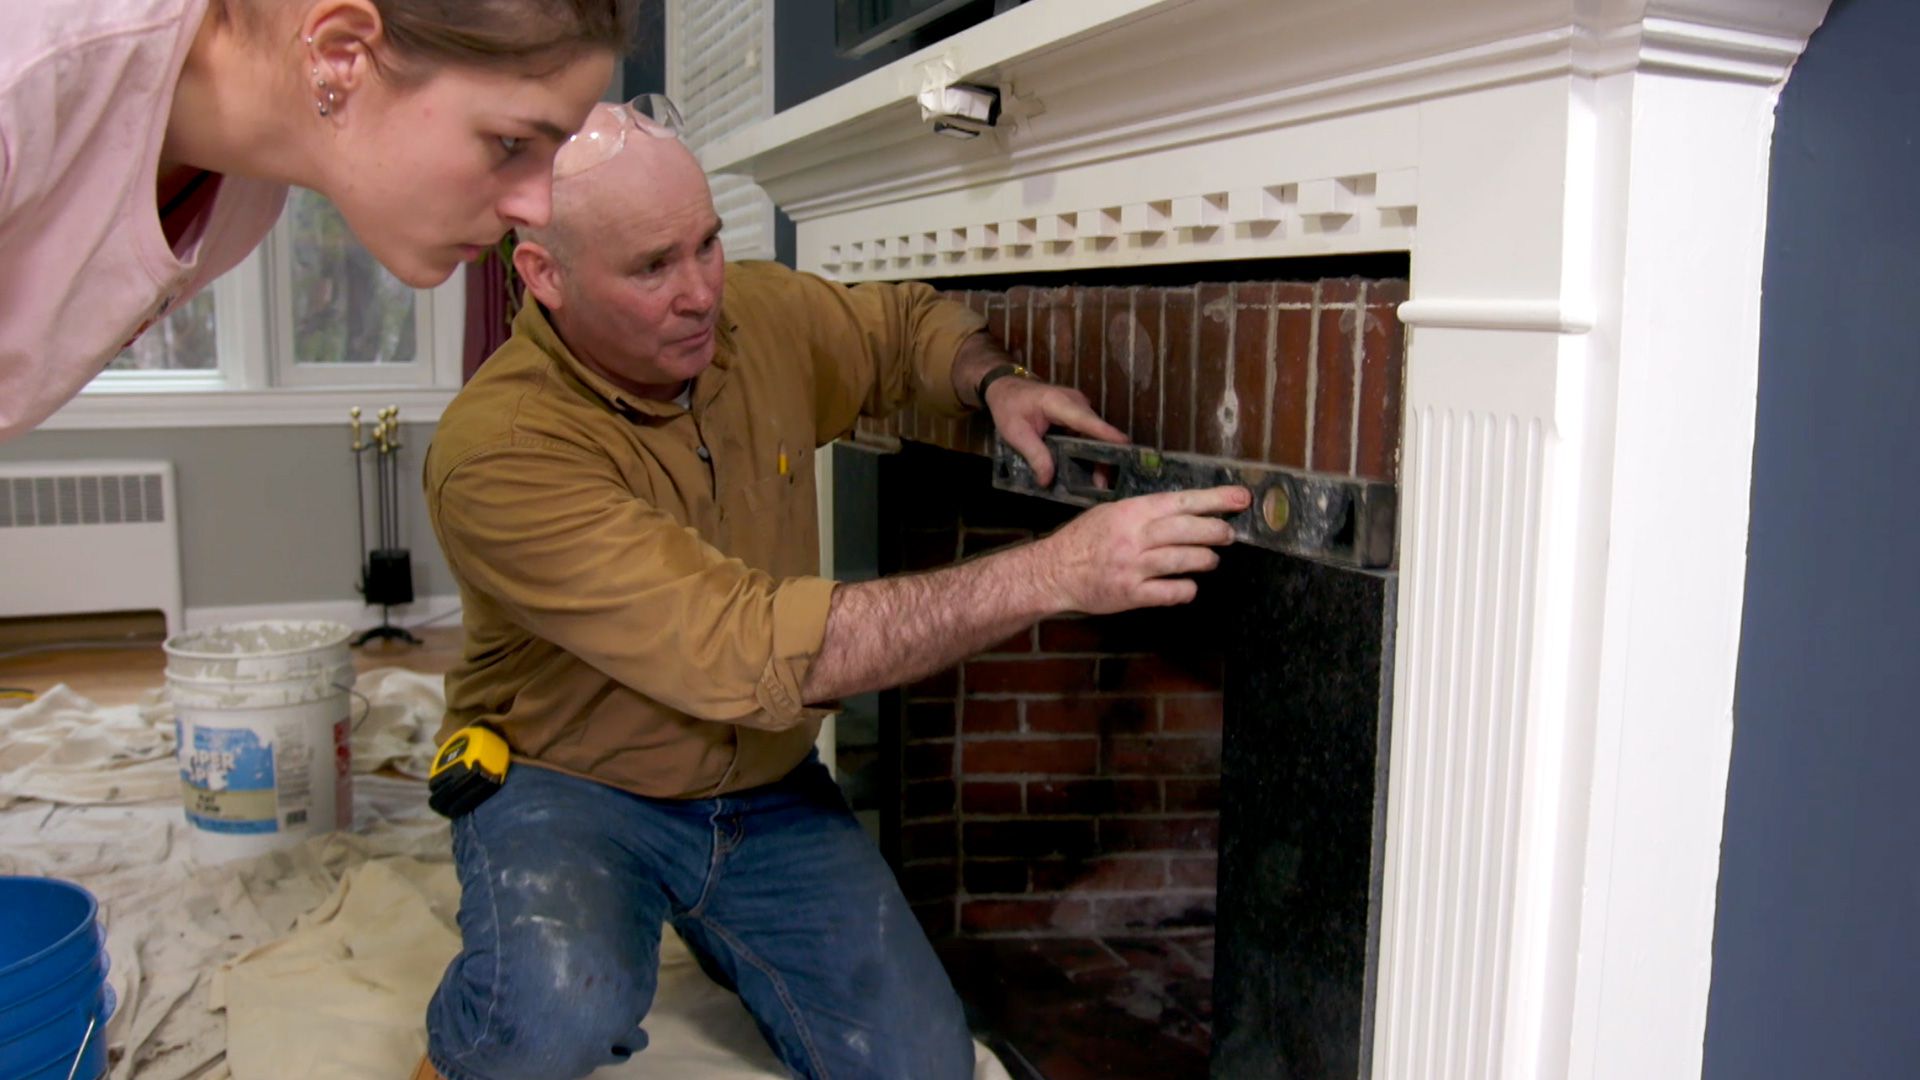
Preparing the Fireplace
Before delving into the exciting whitewashing process, it’s crucial to prepare the fireplace to ensure optimal results. This preparation phase involves thorough cleaning and meticulous attention to detail. Here’s a step-by-step guide to preparing the fireplace for its stunning transformation:
- Clear the Surrounding Area: Begin by removing any furniture, decor, or objects near the fireplace. Clearing the space will provide ample room to work and minimize the risk of accidental spills or damage.
- Protect the Surroundings: Safeguard the area around the fireplace by laying down drop cloths or tarps. Cover the floor, furniture, and any nearby surfaces to prevent them from coming into contact with cleaning solutions and whitewash.
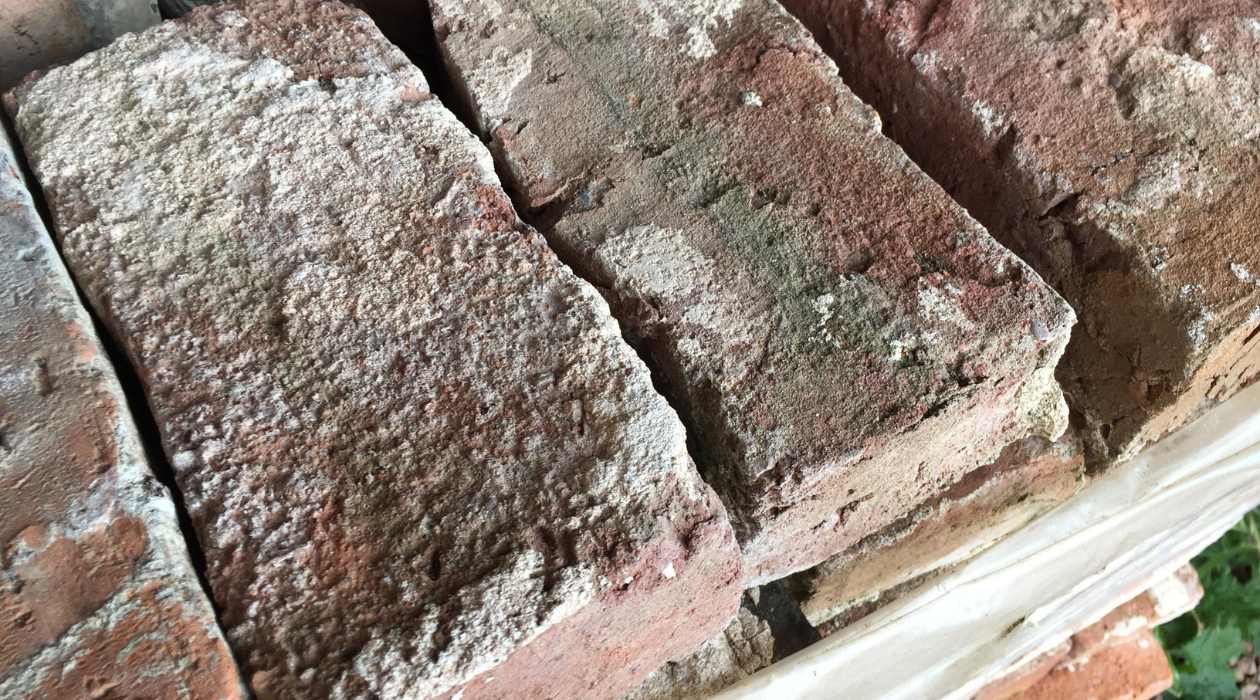
- Clean the Fireplace Surface: Prepare a cleaning solution by mixing warm water with a mild detergent or using a specialized brick cleaner. Dip a stiff-bristled brush into the solution and scrub the bricks thoroughly to remove dirt, soot, and any other residues. Rinse the bricks with clean water and allow them to dry completely.
- Apply Painter’s Tape: Use painter’s tape to carefully mask off the edges of the walls, mantel, and any other adjacent surfaces. This step will protect these areas from accidental splatters and ensure clean, crisp lines.
- Inspect for Damage: Take the time to inspect the fireplace for any signs of damage, such as loose mortar or cracks in the bricks. Addressing these issues before whitewashing will help maintain the structural integrity of the fireplace.
- Remove Excess Debris: Clear away any loose debris, such as cobwebs or accumulated dust, from the fireplace and its surroundings. A clean workspace is essential for achieving professional-looking results.
By meticulously preparing the fireplace, you’ll create an optimal canvas for the whitewashing process. This attention to detail sets the stage for a successful transformation, ensuring that the whitewash adheres smoothly and beautifully to the bricks. With the fireplace primed and ready, it’s time to mix the whitewash solution and bring your vision to life!
Mixing the Whitewash Solution
Now that the fireplace is prepped and ready, it’s time to prepare the whitewash solution. This crucial step sets the stage for achieving the desired aesthetic and ensures that the whitewash adheres effectively to the brick surface. Here’s a detailed guide to mixing the whitewash solution:
- Gather the Ingredients: To create the whitewash solution, you’ll need hydrated masonry lime, water, and optional pigment for tinting. The lime should be of high quality to ensure a smooth and consistent mixture.
- Measure the Ingredients: Begin by measuring the hydrated masonry lime according to the desired ratio. A common starting point is to mix one part lime with two parts water. Adjust the proportions based on the coverage and opacity you wish to achieve.
- Add Pigment (Optional): If you prefer a tinted whitewash, incorporate pigment into the mixture. Earthy tones such as raw umber or sienna can impart warmth and depth to the whitewash, complementing the overall ambiance of the space.
- Mix Thoroughly: Place the hydrated masonry lime in a large mixing container and gradually add water while stirring continuously. Use a stirring stick or whisk to blend the ingredients thoroughly, ensuring a smooth and lump-free consistency.
- Check the Consistency: The whitewash should have a fluid yet substantial consistency, similar to that of heavy cream. Test the mixture’s opacity by applying a small amount to a test surface. Adjust the ratio of lime to water as needed to achieve the desired coverage and translucency.
- Allow the Mixture to Set: Let the whitewash solution rest for a brief period, allowing the lime to fully hydrate and the pigment to disperse evenly. This resting period contributes to the stability and workability of the whitewash.
By following these steps, you’ll create a high-quality whitewash solution that’s tailored to your preferences and the unique characteristics of your fireplace. The carefully crafted mixture will serve as the artistic medium for transforming the brick surface, infusing it with timeless charm and visual allure. With the whitewash solution prepared, it’s time to apply it to the fireplace and witness the captivating metamorphosis unfold!
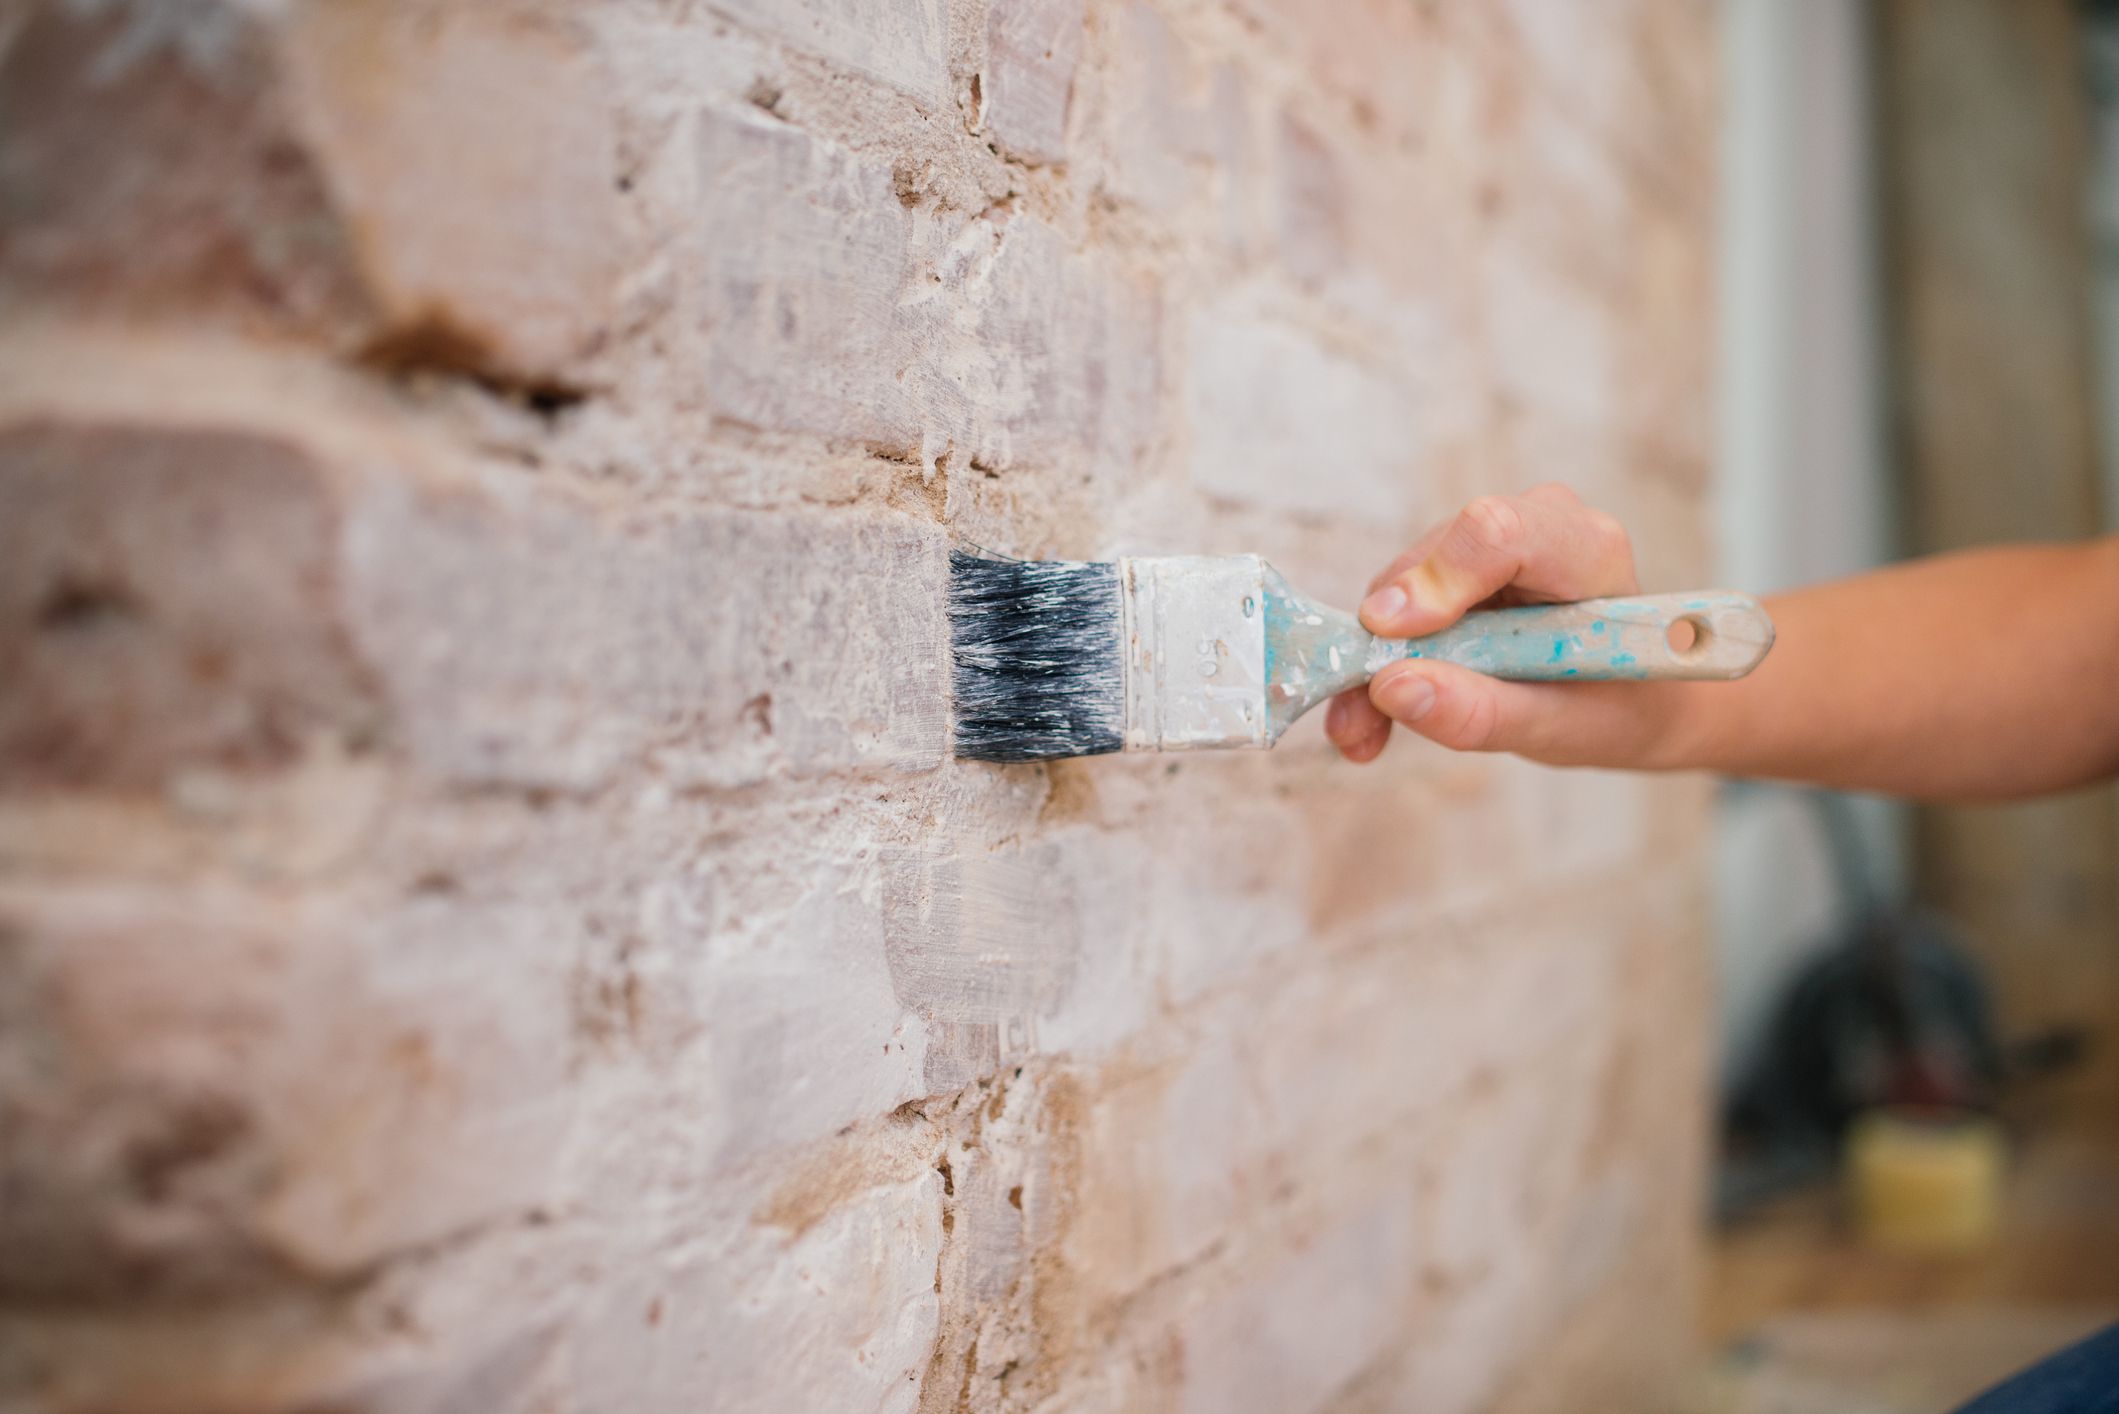
Before whitewashing a brick fireplace, make sure to clean the bricks thoroughly to remove any dirt, dust, or soot. This will help the whitewash adhere better and result in a more even finish.
Applying the Whitewash
With the whitewash solution meticulously prepared, it’s time to embark on the transformative process of applying it to the fireplace. This step is where the magic happens, as the bricks begin to take on a fresh, inviting appearance. Here’s a comprehensive guide to applying the whitewash and achieving a stunning result:
- Begin with a Test Area: Before proceeding with the entire fireplace, it’s advisable to test the whitewash on a discreet section of the bricks. This allows you to assess the coverage, opacity, and overall aesthetic before committing to the entire surface.
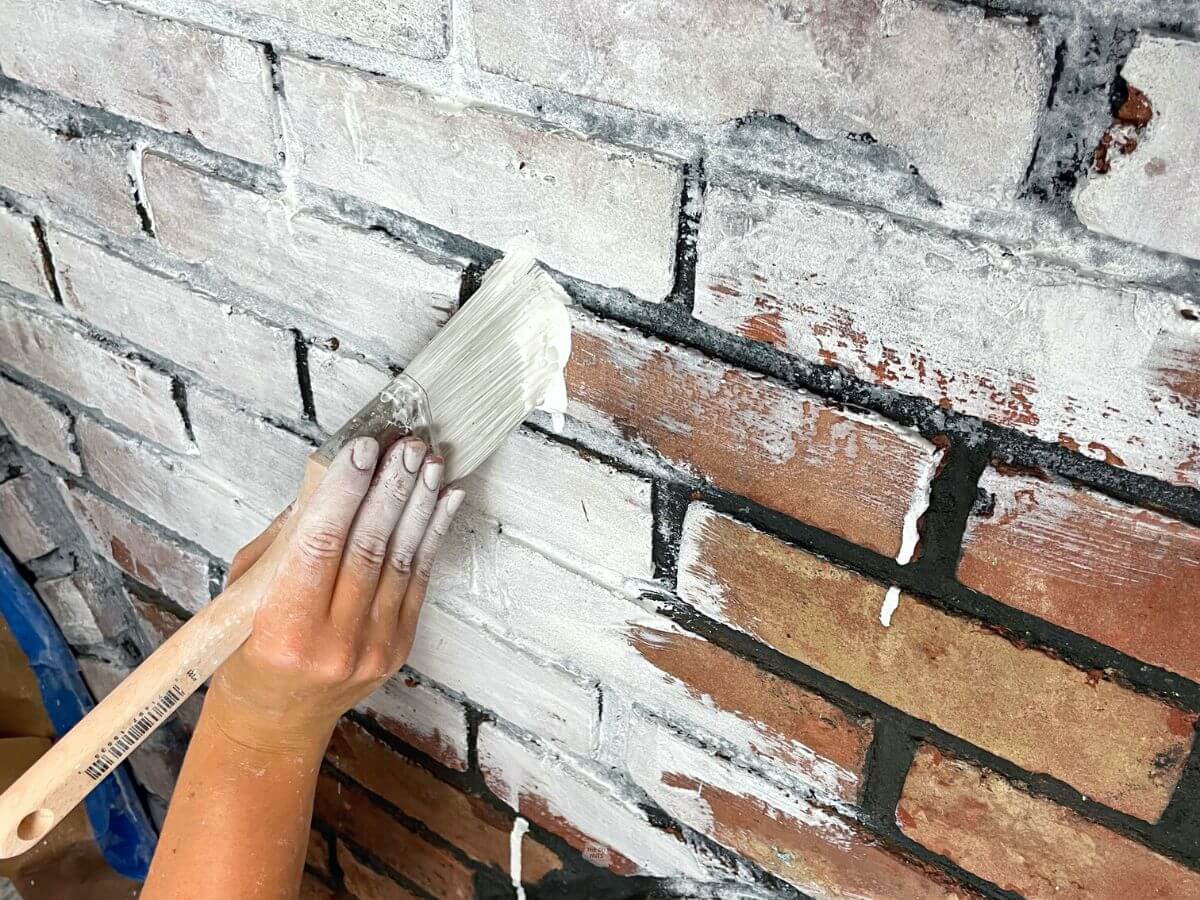
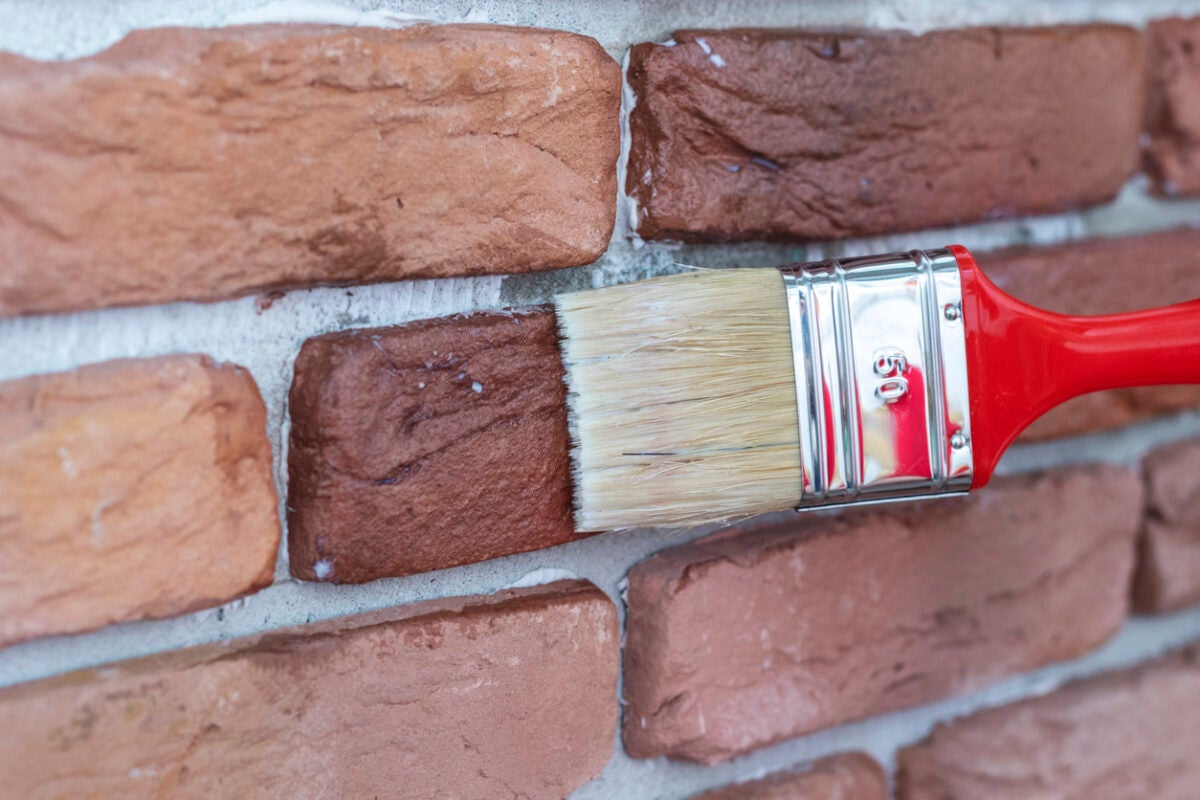
- Apply the Whitewash: Using a wide paintbrush, start applying the whitewash to the bricks in smooth, even strokes. Work in manageable sections, ensuring that the whitewash is distributed uniformly across the surface. For intricate areas and grout lines, switch to smaller brushes or use a sponge for greater precision.
- Work in Layers: To achieve the desired effect, consider applying the whitewash in multiple layers. Each layer adds depth and dimension to the finish, allowing you to customize the level of translucency and texture. Allow each layer to dry partially before adding the next, creating a nuanced and captivating result.
- Blend and Feather: As you apply the whitewash, blend and feather the edges to create a seamless transition between the whitewashed and untreated areas. This technique imparts a natural, weathered look, enhancing the authenticity of the finish.
- Remove Excess Whitewash: Throughout the application process, periodically step back to assess the coverage and texture. Use a rag or sponge to gently remove any excess whitewash, refining the finish and achieving the desired level of subtlety and character.
- Embrace Artistic Freedom: Don’t be afraid to experiment and embrace artistic freedom as you apply the whitewash. Adjust the intensity of the finish, create subtle variations in color, and incorporate texture to evoke a sense of timeless elegance and rustic charm.
By following these steps and infusing the process with creativity and attention to detail, you’ll bring the vision of your whitewashed brick fireplace to fruition. Each brushstroke contributes to the fireplace’s newfound allure, creating a captivating focal point that enriches the ambiance of your living space. With the whitewash elegantly adorning the bricks, it’s time to add the finishing touches that will elevate the transformation to its full potential.
Read more: How To Whitewash A Brick House
Finishing Touches
As the whitewash adorns the fireplace with its inviting allure, it’s time to add the finishing touches that will elevate the transformation to its full potential. These final steps contribute to the overall cohesiveness and visual impact of the whitewashed brick fireplace, ensuring that it becomes a captivating focal point within your living space. Here’s a guide to the essential finishing touches:
- Assess the Overall Finish: Step back and assess the whitewashed fireplace from various angles to ensure that the coverage and texture align with your vision. Make any necessary adjustments to achieve a harmonious and balanced finish.
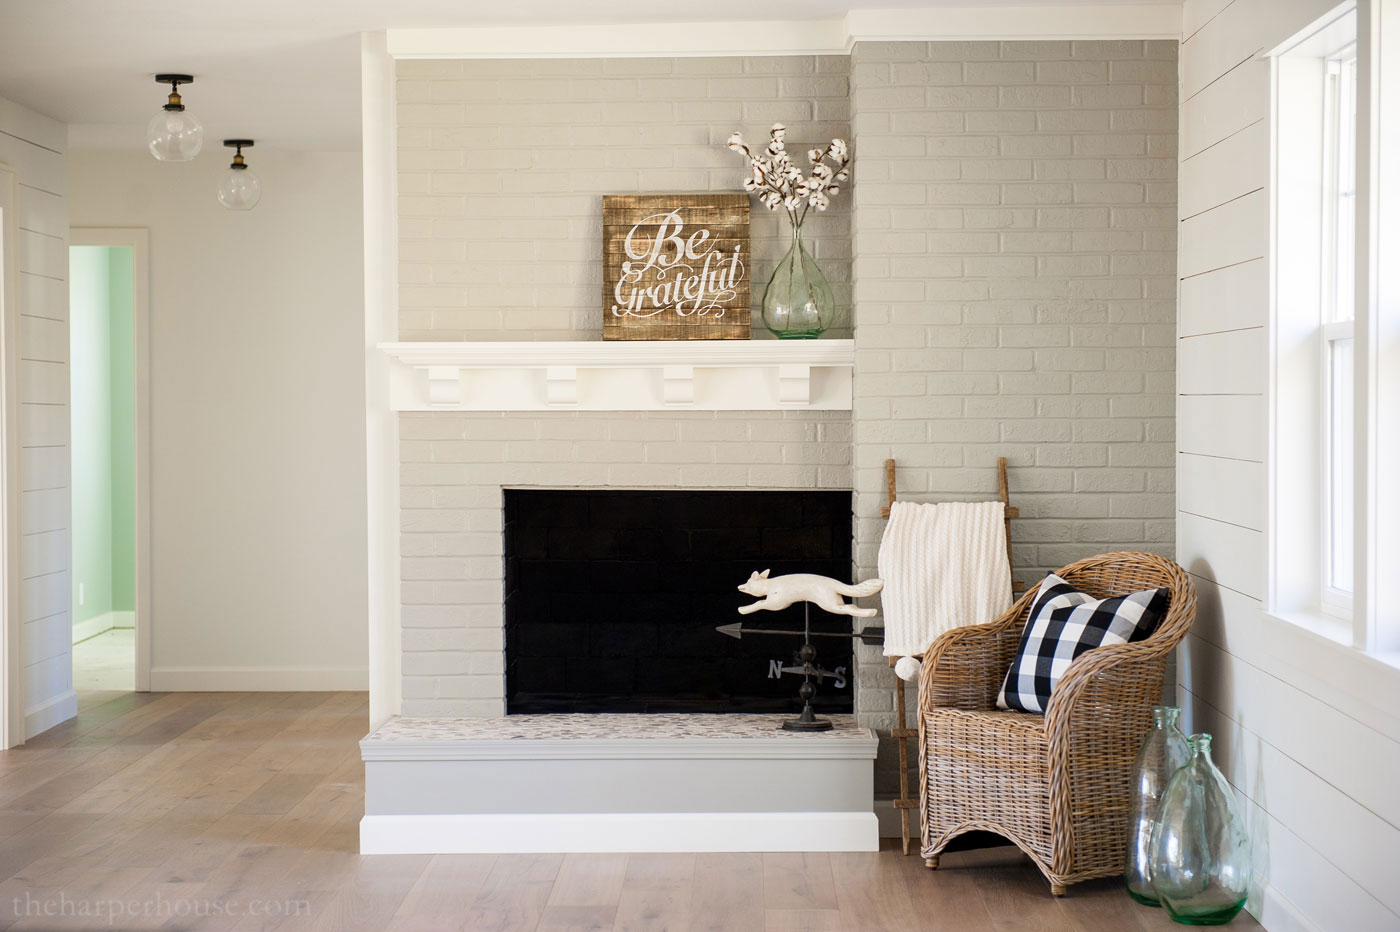
- Enhance the Mantel and Hearth: Consider refinishing or updating the mantel and hearth to complement the newly whitewashed bricks. Whether through staining, painting, or refinishing, these elements can enhance the overall aesthetic and create a cohesive look.
- Accessorize Thoughtfully: Introduce decor elements that harmonize with the whitewashed fireplace, such as rustic candle holders, botanical accents, or art pieces that accentuate the charm of the space. Thoughtful accessorizing adds depth and personality to the overall ambiance.
- Illuminate the Space: Strategically place lighting fixtures to accentuate the whitewashed bricks and create a warm, inviting atmosphere. Whether through wall sconces, pendant lights, or candles, effective lighting enhances the fireplace’s visual impact.
- Consider a Sealer (Optional): If desired, apply a sealer to the whitewashed surface to enhance its durability and protect it from wear and tear. Select a sealer that complements the finish and provides long-lasting protection.
- Embrace Personal Touches: Infuse the space with personal touches that reflect your unique style and preferences. Whether through family photos, heirlooms, or meaningful artwork, these elements contribute to a warm and inviting atmosphere.
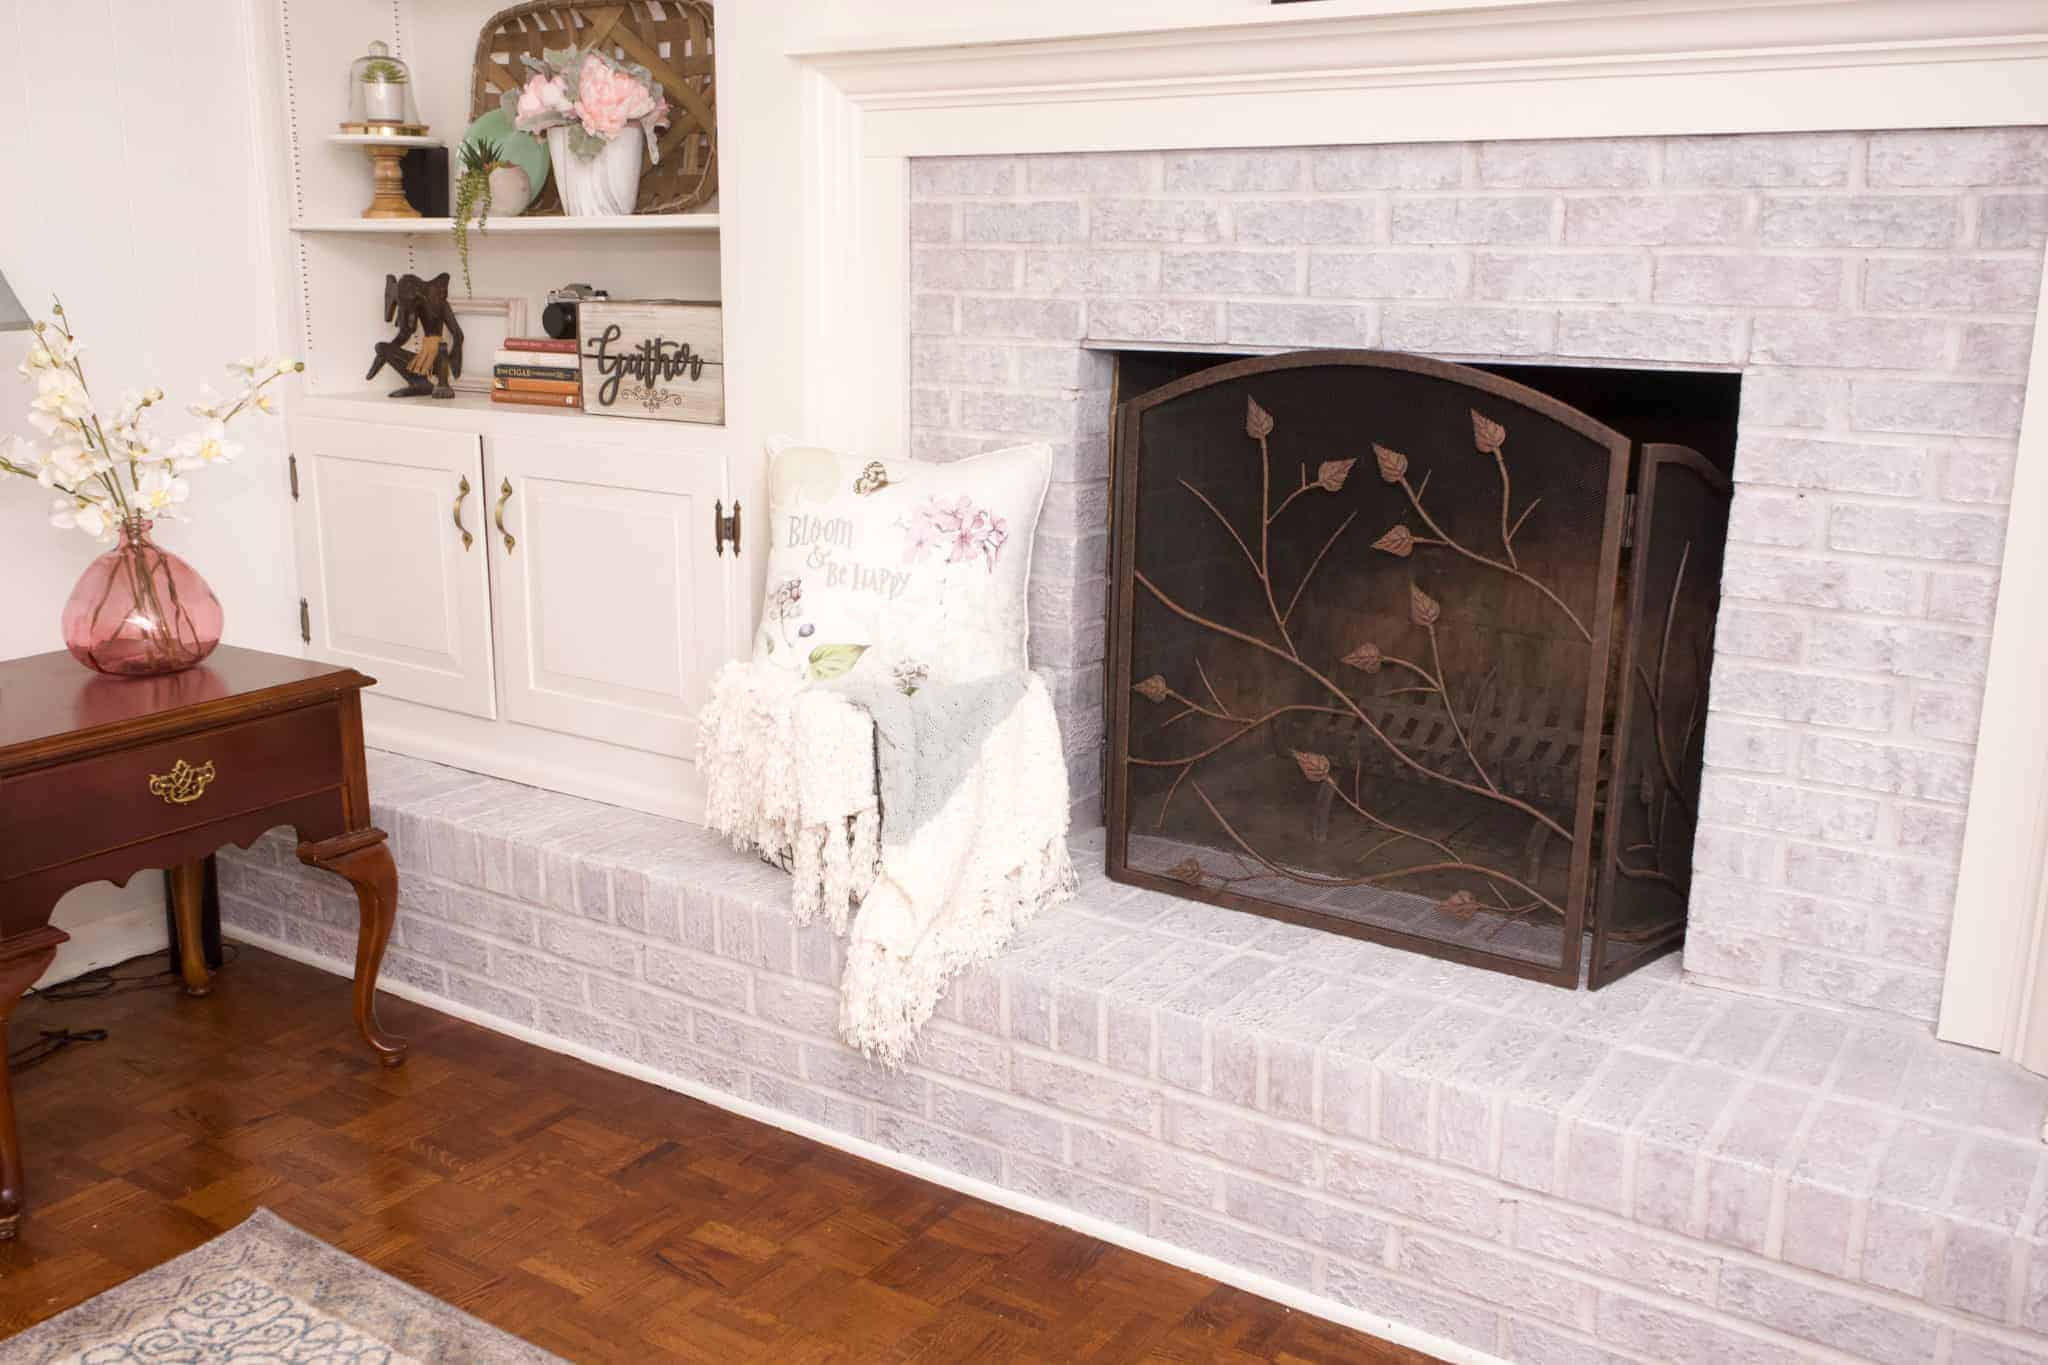
By attending to these finishing touches, you’ll elevate the whitewashed brick fireplace into a captivating focal point that exudes warmth, character, and timeless appeal. Each detail contributes to the overall ambiance, creating a space that beckons with its inviting charm and visual allure. With the transformation now complete, it’s time to revel in the cozy ambiance and enjoy the captivating presence of your newly whitewashed brick fireplace.
Conclusion
Congratulations on successfully embarking on the transformative journey of whitewashing your brick fireplace! Through meticulous preparation, artistic application, and thoughtful finishing touches, you’ve revitalized this focal point, infusing it with timeless charm and inviting allure. As the whitewashed bricks now exude a fresh, weathered elegance, they serve as a captivating centerpiece within your living space, beckoning with warmth and character.
By embracing the art of whitewashing, you’ve not only revitalized the fireplace but also imbued the entire room with a sense of rustic sophistication and cozy ambiance. The subtle variations in texture and the nuanced interplay of light and shadow across the whitewashed surface create a captivating visual narrative, enriching the space with enduring allure.
As you gather around the newly transformed fireplace, whether for quiet moments of reflection or lively gatherings with loved ones, its timeless appeal will serve as a backdrop for cherished memories and meaningful experiences. The character and warmth emanating from the whitewashed bricks create an inviting atmosphere, inviting you to savor the simple joys of hearth and home.
Remember, the process of whitewashing extends far beyond the physical act of applying paint to bricks; it’s a journey of creativity, personal expression, and the art of transformation. Your dedication to meticulous detail and your artistic vision have culminated in a space that reflects your unique style and resonates with warmth and character.
As you revel in the cozy ambiance and captivating presence of your newly whitewashed brick fireplace, may it continue to inspire moments of comfort, connection, and cherished gatherings for years to come. Embrace the enduring allure of this timeless technique, and let the charm of your whitewashed fireplace serve as a testament to the artistry and creativity that enrich your living space.
Frequently Asked Questions about How To Whitewash A Brick Fireplace
Was this page helpful?
At Storables.com, we guarantee accurate and reliable information. Our content, validated by Expert Board Contributors, is crafted following stringent Editorial Policies. We're committed to providing you with well-researched, expert-backed insights for all your informational needs.

0 thoughts on “How To Whitewash A Brick Fireplace”