Articles
How To Install A Towel Ring With A Set Screw
Modified: August 27, 2024
Learn how to easily install a towel ring with a set screw with step-by-step instructions and expert tips. Read more in our informative articles on towel ring installation.
(Many of the links in this article redirect to a specific reviewed product. Your purchase of these products through affiliate links helps to generate commission for Storables.com, at no extra cost. Learn more)
Introduction
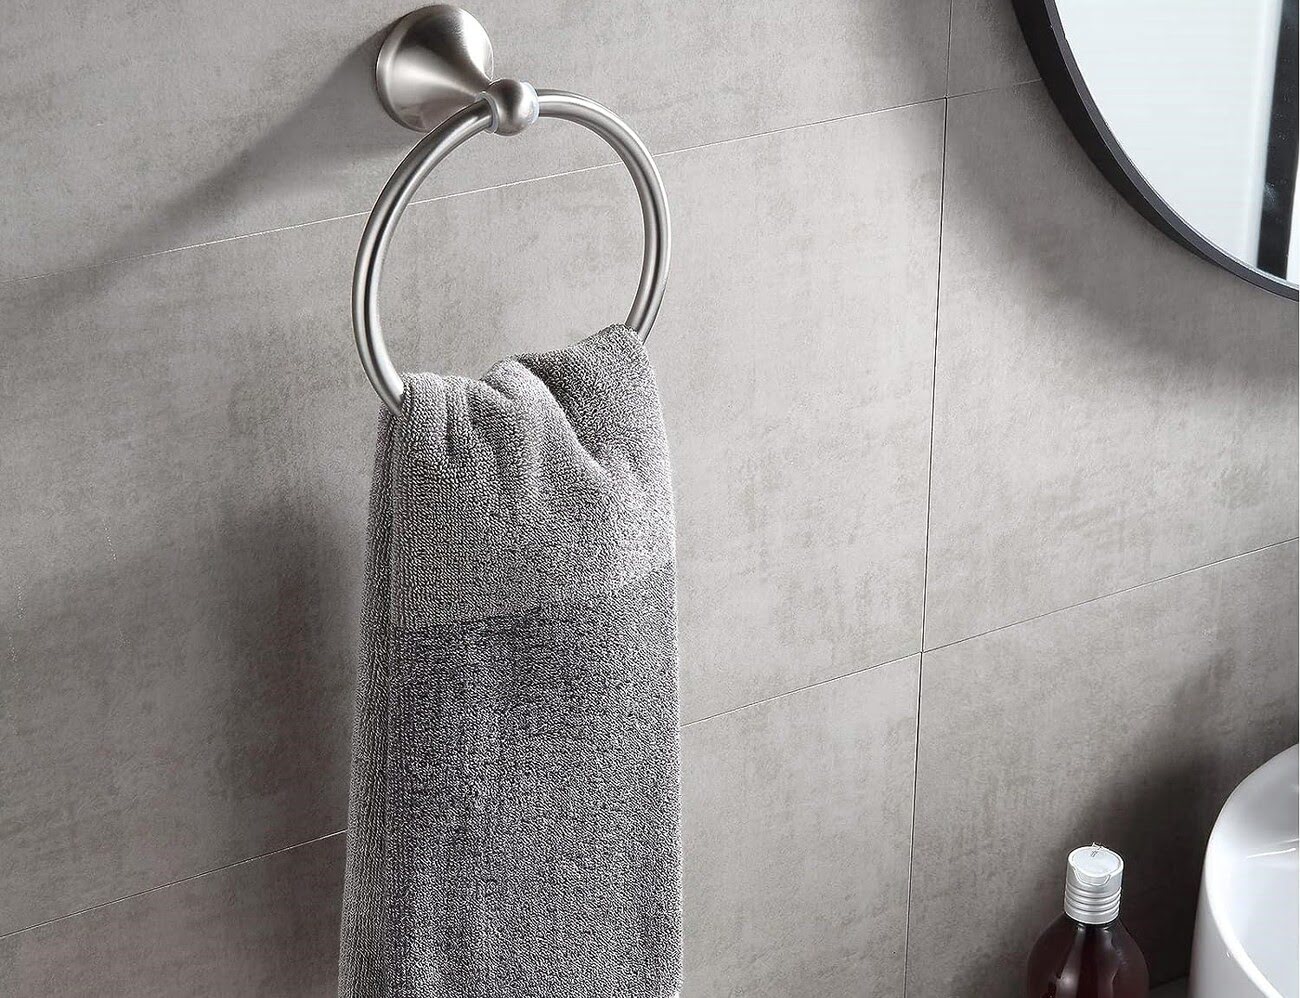
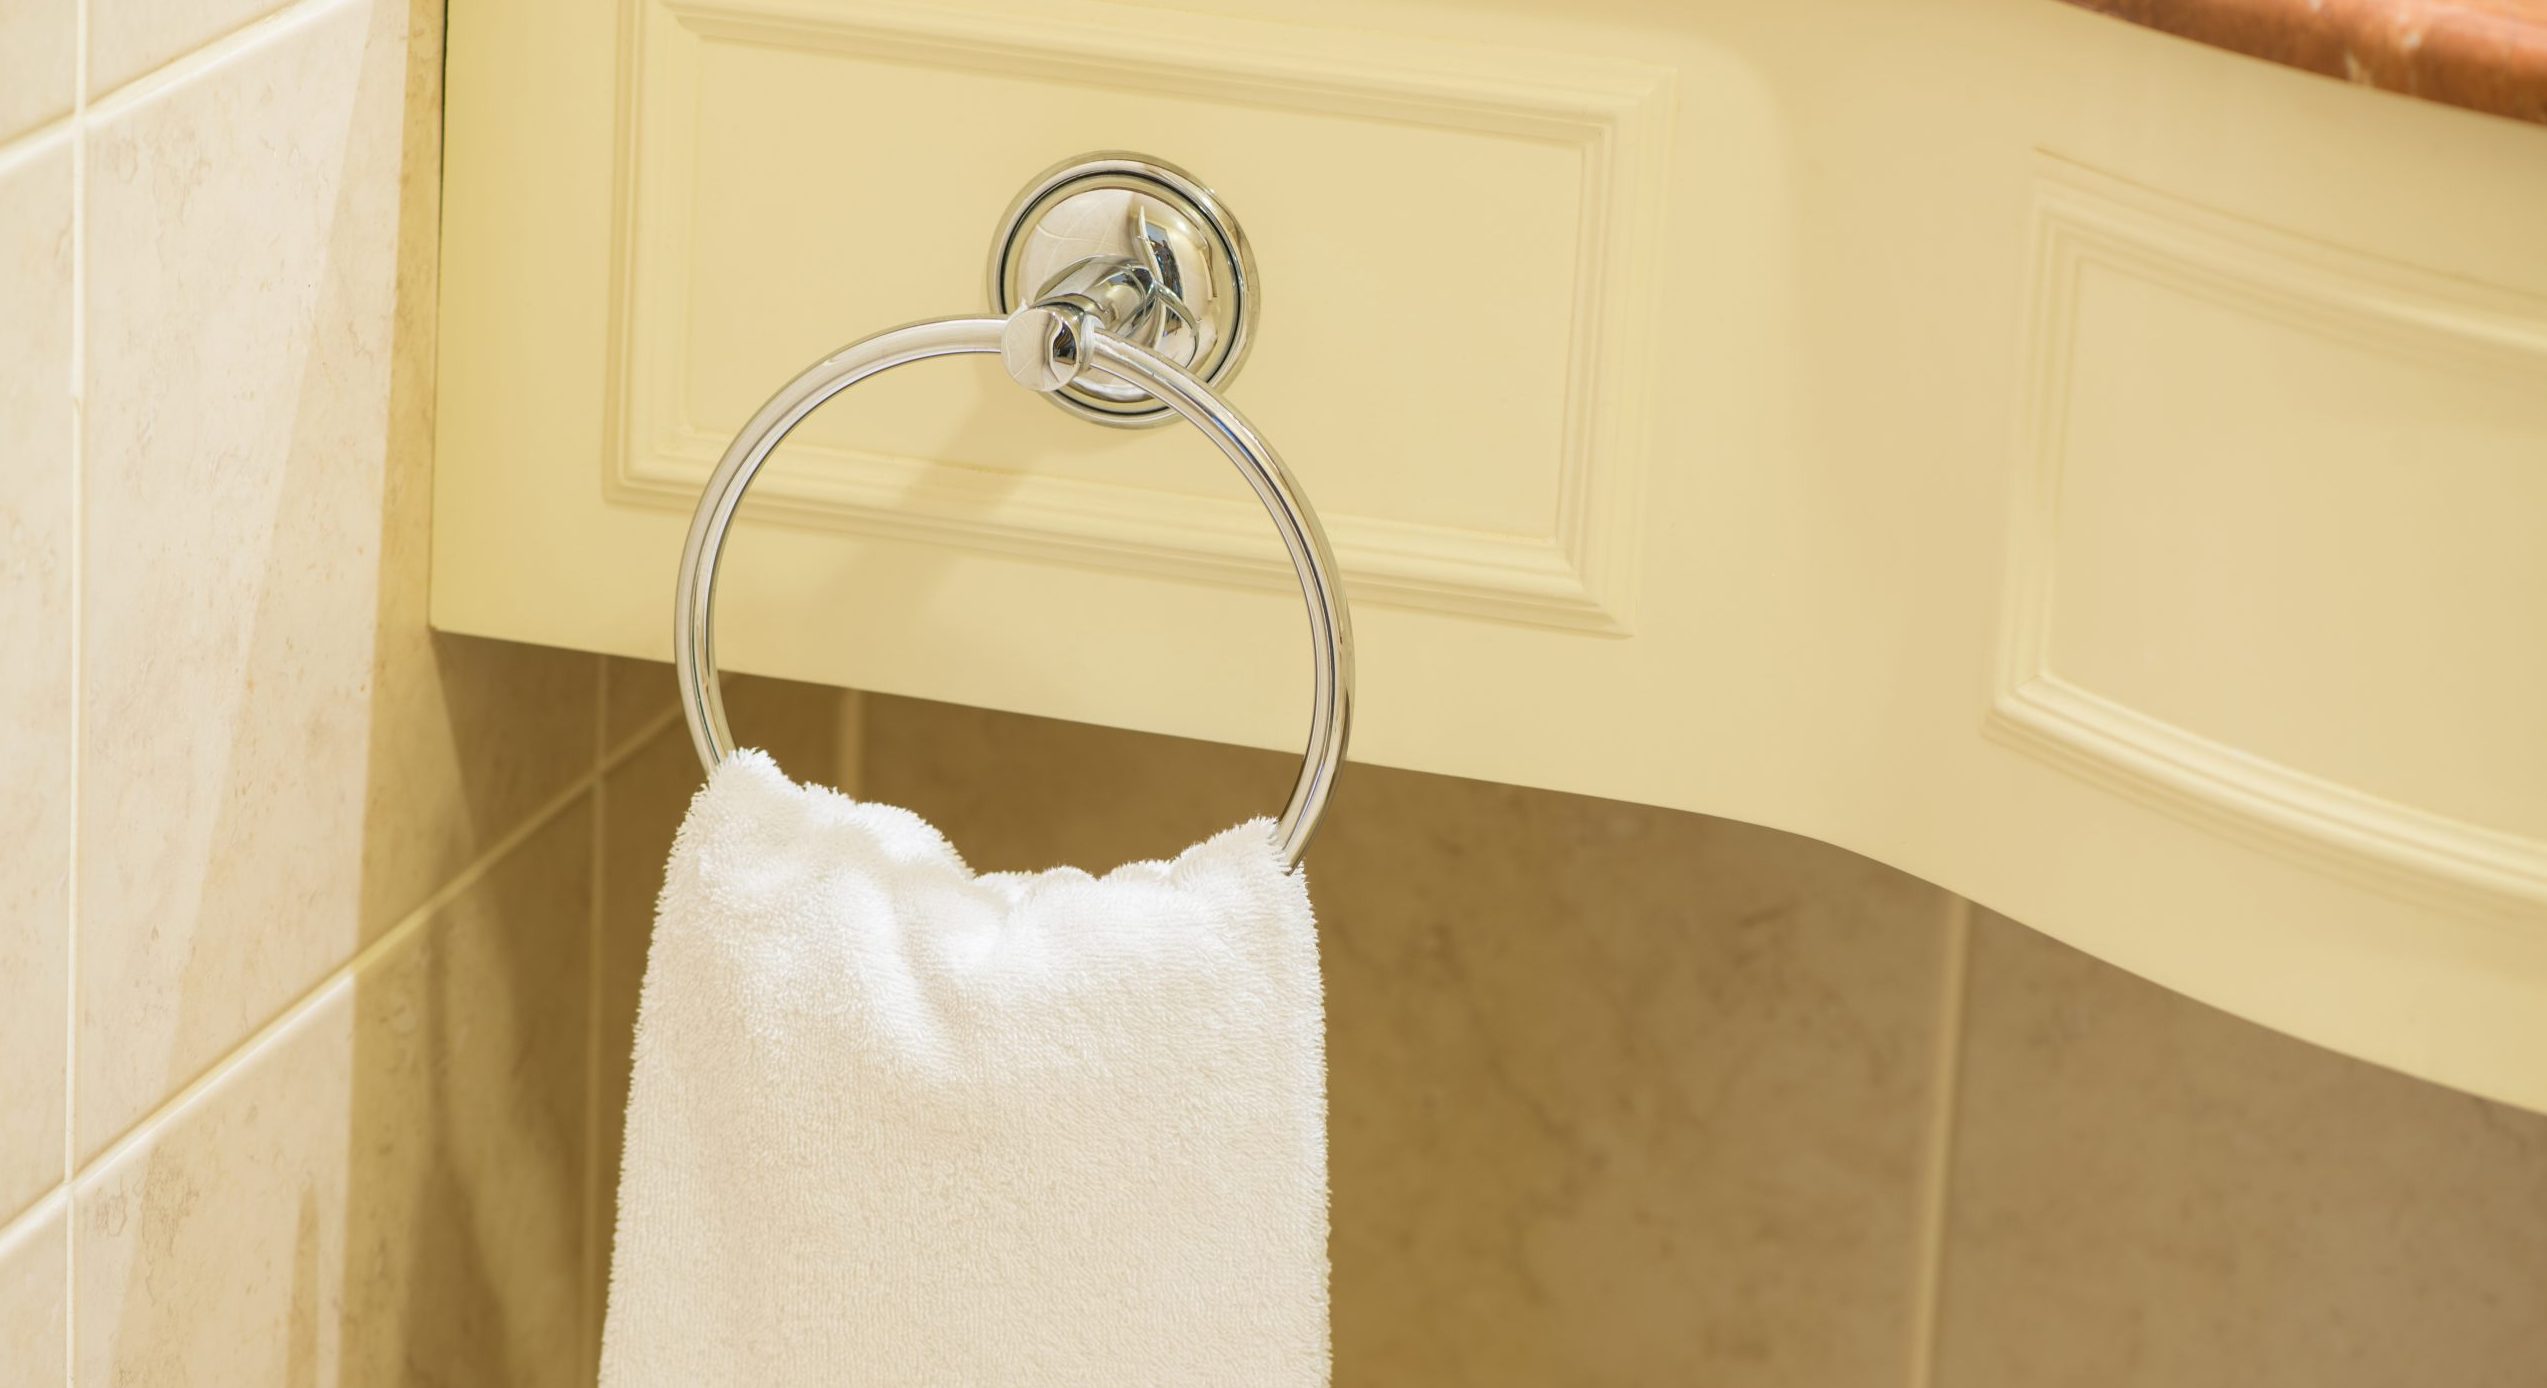
Installing a towel ring with a set screw is a simple and straightforward process that can add both functionality and style to your bathroom. A towel ring provides a convenient place to hang and display your towels, keeping them easily accessible and reducing clutter in your bathroom space.
In this article, we will guide you through the step-by-step process of installing a towel ring with a set screw. We will also outline the tools and materials you’ll need to complete the installation successfully. So, whether you’re a do-it-yourself enthusiast or a beginner, follow along with this guide to learn how to install a towel ring and elevate the look of your bathroom.
Before we dive into the installation process, let’s quickly go over the tools and materials you’ll need:
Key Takeaways:
- Elevate your bathroom’s functionality and style by following our step-by-step guide to installing a towel ring with a set screw. Enjoy the convenience of easily accessible towels and an organized space.
- With the right tools and careful attention to detail, you can successfully complete a DIY towel ring installation. Secure it with set screws, level it, and enjoy the convenience it brings to your daily routine.
Read more: How To Install A Towel Ring Without Screws
Tools and Materials Needed
Before you get started with the towel ring installation, make sure you have the following tools and materials on hand:
- Power drill
- Drill bit (appropriate size for wall anchors)
- Level
- Measuring tape
- Pencil or marker
- Phillips screwdriver
- Wall anchors
- Screws
- Towel ring kit (including mounting bracket and set screw)
Having these tools and materials readily available will ensure a smooth installation process.
Step 1: Gather the Necessary Equipment
Before you begin the towel ring installation, it’s important to gather all the necessary equipment in one place. This will help you stay organized and ensure that you have everything you need to complete the installation successfully.
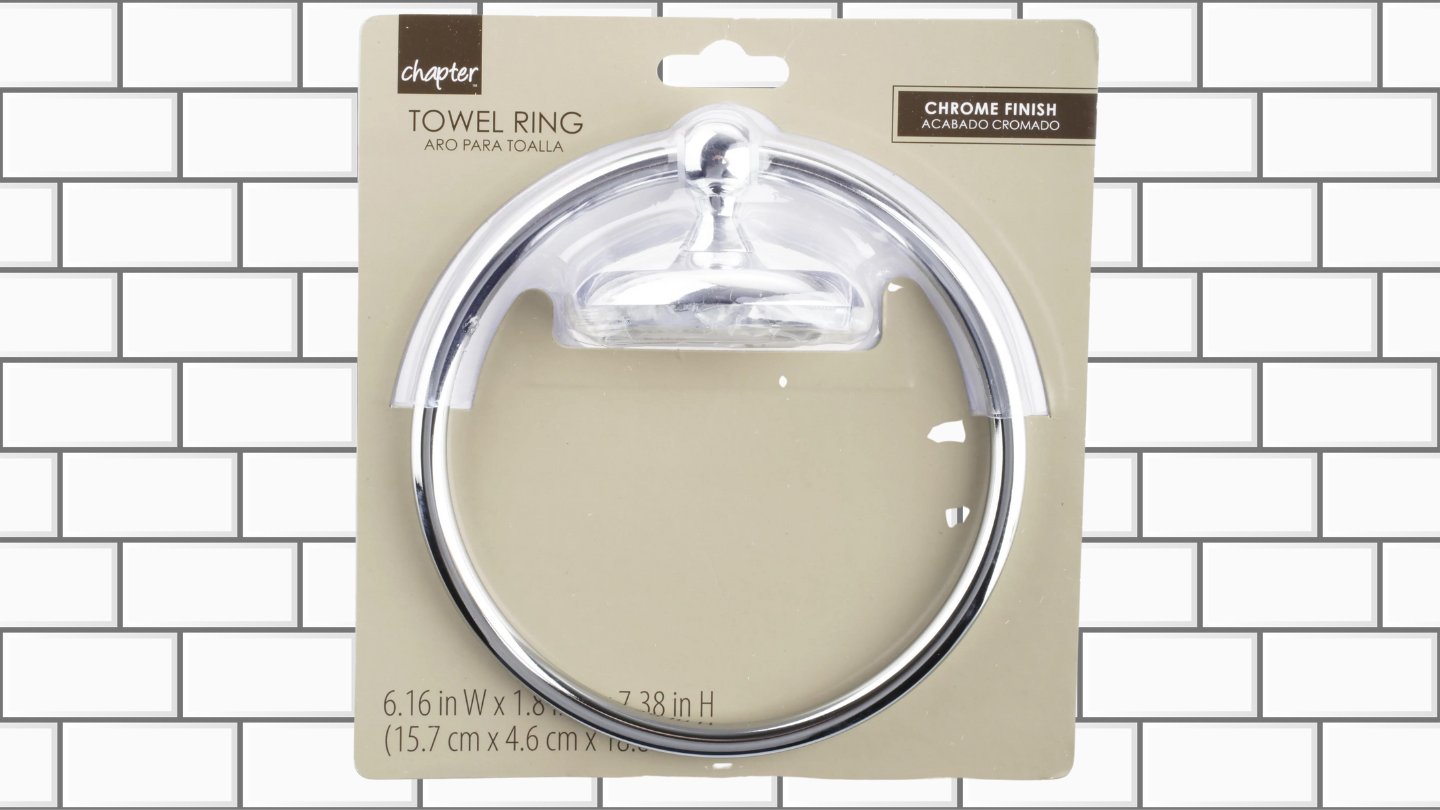
Start by gathering the tools listed in the previous section, including a power drill, drill bit, level, measuring tape, pencil or marker, and a Phillips screwdriver. You will also need the towel ring kit, which typically includes the mounting bracket, set screw, and any additional hardware required for installation.
Take a moment to inspect the towel ring kit to ensure that all the required components are present. Check for any missing hardware or damaged parts. If you notice any issues, contact the manufacturer or return the kit for a replacement.
Once you have verified that you have all the necessary tools and materials, you’re ready to move on to the next step.
Step 2: Determine the Towel Ring Placement
Before you start drilling any holes, it’s crucial to determine the ideal placement for your towel ring. Consider the functionality and aesthetics when choosing the location. Generally, a towel ring is placed near the sink or shower, where it is easily accessible.
Use a measuring tape to find the desired height for the towel ring. A common height is around 48 inches from the floor, but you may adjust this based on your personal preference and the height of the users in your household. Mark this height with a pencil or marker on the wall.
If you are installing multiple towel rings, ensure there is enough space between each of them to comfortably hang towels. Measure and mark the locations for additional rings using the same process.
Next, take into consideration the wall’s composition. If you have a tile or a stone wall, you may need to use different screws or anchors to ensure a secure installation. Consult the manufacturer’s instructions for any specific recommendations based on your wall surface.
Once you have determined the placement and marked the spots on the wall, you’re ready to move on to the next step of the installation process.
Step 3: Mark the Mounting Holes
With the towel ring placement decided, it’s time to mark the mounting holes on the wall. The mounting holes will indicate where you need to drill in order to install the towel ring securely.
Using a pencil or marker, place the mounting bracket against the wall at the desired height, aligning it with the previously marked spot. Make sure the bracket is level using a level tool to ensure a straight installation.
Once the bracket is positioned correctly, trace around the edges of the bracket to mark the location of the mounting holes. You can either trace the entire perimeter of the bracket or mark the center point of each hole.
Take a step back and double-check that the marked spots align with your desired towel ring placement. Make any necessary adjustments now, as once you start drilling, it will be difficult to correct any mistakes.
Repeat this process for any additional towel rings you are installing, ensuring that they are evenly spaced and level with one another.
Now that the mounting holes are marked on the wall, you’re ready to move on to the next step of the installation process: pre-drilling the holes.
Read more: How To Install Towel Ring On A Cabinet
Step 4: Pre-drill the Holes
Pre-drilling the holes is an essential step in ensuring a secure and professional-looking towel ring installation. It helps prevent any damage to the wall surface and makes it easier to drive the screws into place.
Start by selecting a drill bit that matches the size of the wall anchors or screws provided with your towel ring kit. If the kit does not include specific instructions for the drill bit size, choose a bit slightly smaller than the diameter of the anchors or screws.
Once you have the appropriate drill bit, insert it into your power drill. Make sure the drill is set to the forward drilling mode and adjust the speed if your drill provides multiple speed settings.
Position the drill bit at the center of one of the marked mounting holes on the wall. Hold the drill steady with one hand and gently apply pressure as you begin drilling. Start slowly to create a pilot hole, then gradually increase the speed as necessary.
Continue drilling until you reach the required depth for the wall anchors or screws. You can measure the depth using the length of the wall anchors or by checking the directions provided with your towel ring kit.
Repeat this process for each of the marked mounting holes, ensuring that all the holes are drilled to the appropriate depth.
Once you have completed pre-drilling the holes, you’re ready to proceed to the next step: inserting the wall anchors.
Step 5: Insert the Wall Anchors
Wall anchors provide stability and support for the towel ring, especially when mounting on drywall or other fragile wall surfaces. These anchors help distribute the weight evenly and prevent damage to the wall over time.
Take the wall anchors provided with your towel ring kit and align them with the pre-drilled holes on the wall. Gently tap the anchors into the holes using a hammer until they are flush with the wall surface. Ensure that the anchors are inserted securely and do not protrude from the wall.
If the towel ring kit does not include wall anchors or specifies an alternative method for installation, such as screwing directly into a stud, follow the specific instructions provided.
Once you have inserted the wall anchors, examine them to ensure they are firmly in place. Give them a gentle tug to check for any movement or looseness. If any anchors seem loose, remove and replace them with larger or more suitable anchors for your wall type.
Now that the wall anchors are securely in place, you’re ready to move on to the next step: attaching the mounting bracket.
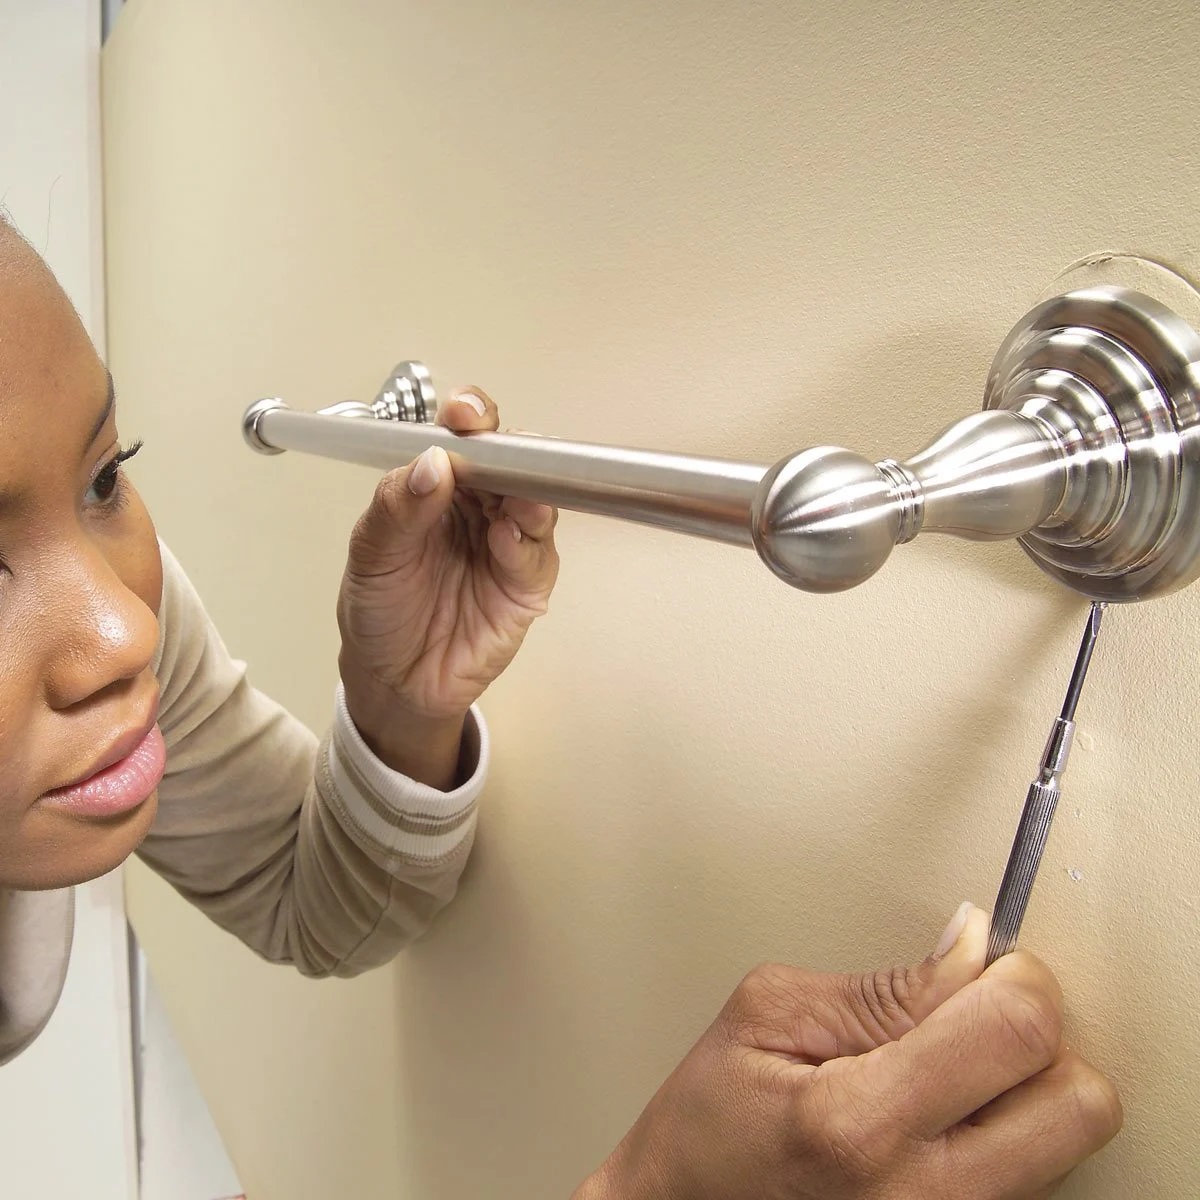
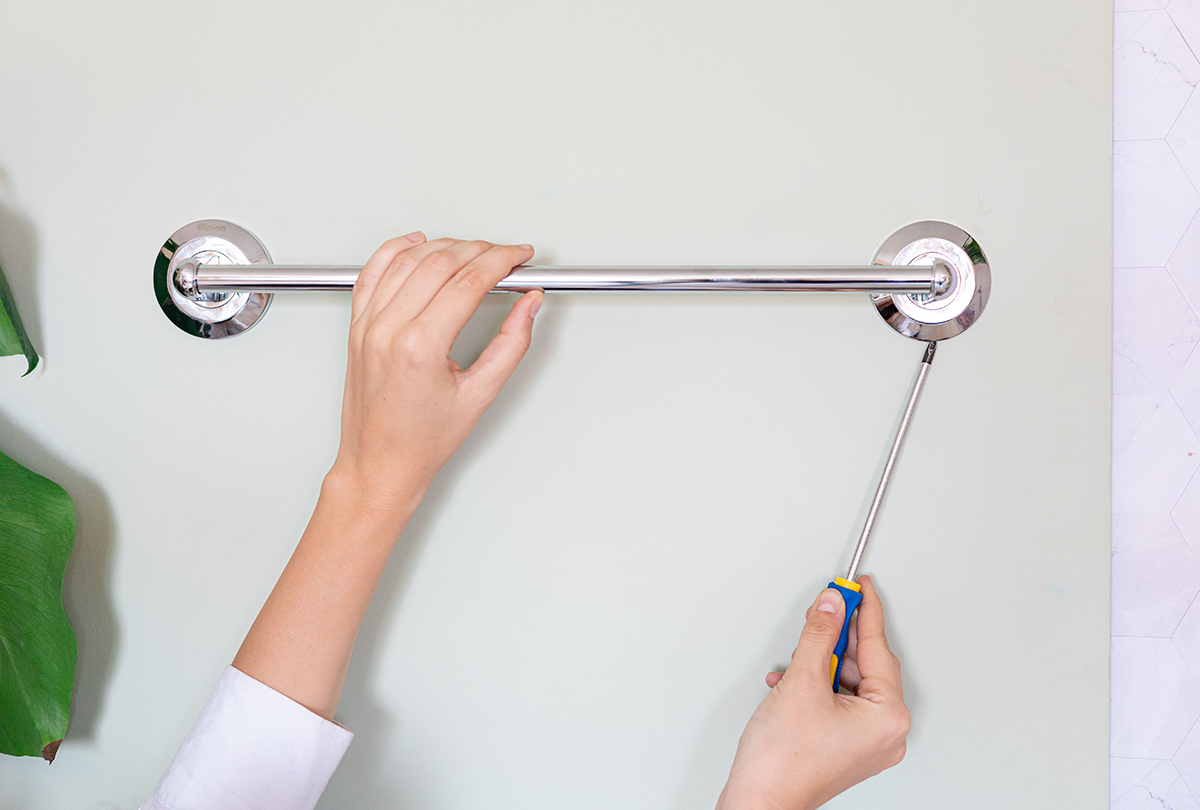
When installing a towel ring with a set screw, make sure to use a level to ensure it is straight. Tighten the set screw securely to hold the ring in place.
Step 6: Attach the Mounting Bracket
With the wall anchors in position, it’s time to attach the mounting bracket to the wall. The mounting bracket serves as the base for your towel ring and provides a secure attachment point for the set screw.
Take the mounting bracket from your towel ring kit and line it up with the wall anchors. Ensure that the screw holes on the bracket align with the wall anchors. If the bracket has different screw hole options for adjusting the towel ring’s position, choose the ones that best match your desired placement.
Insert screws provided in the kit through the mounting bracket holes and into the wall anchors. Use a Phillips screwdriver to tighten the screws securely, but be careful not to overtighten and damage the anchors or strip the screws.
Double-check that the mounting bracket is level by using a level tool. Adjust as needed before fully tightening the screws. A level towel ring will not only look aesthetically pleasing but also provide a functional and secure mounting.
Once the mounting bracket is securely attached and level, you’re ready to move on to the next step: installing the towel ring itself.
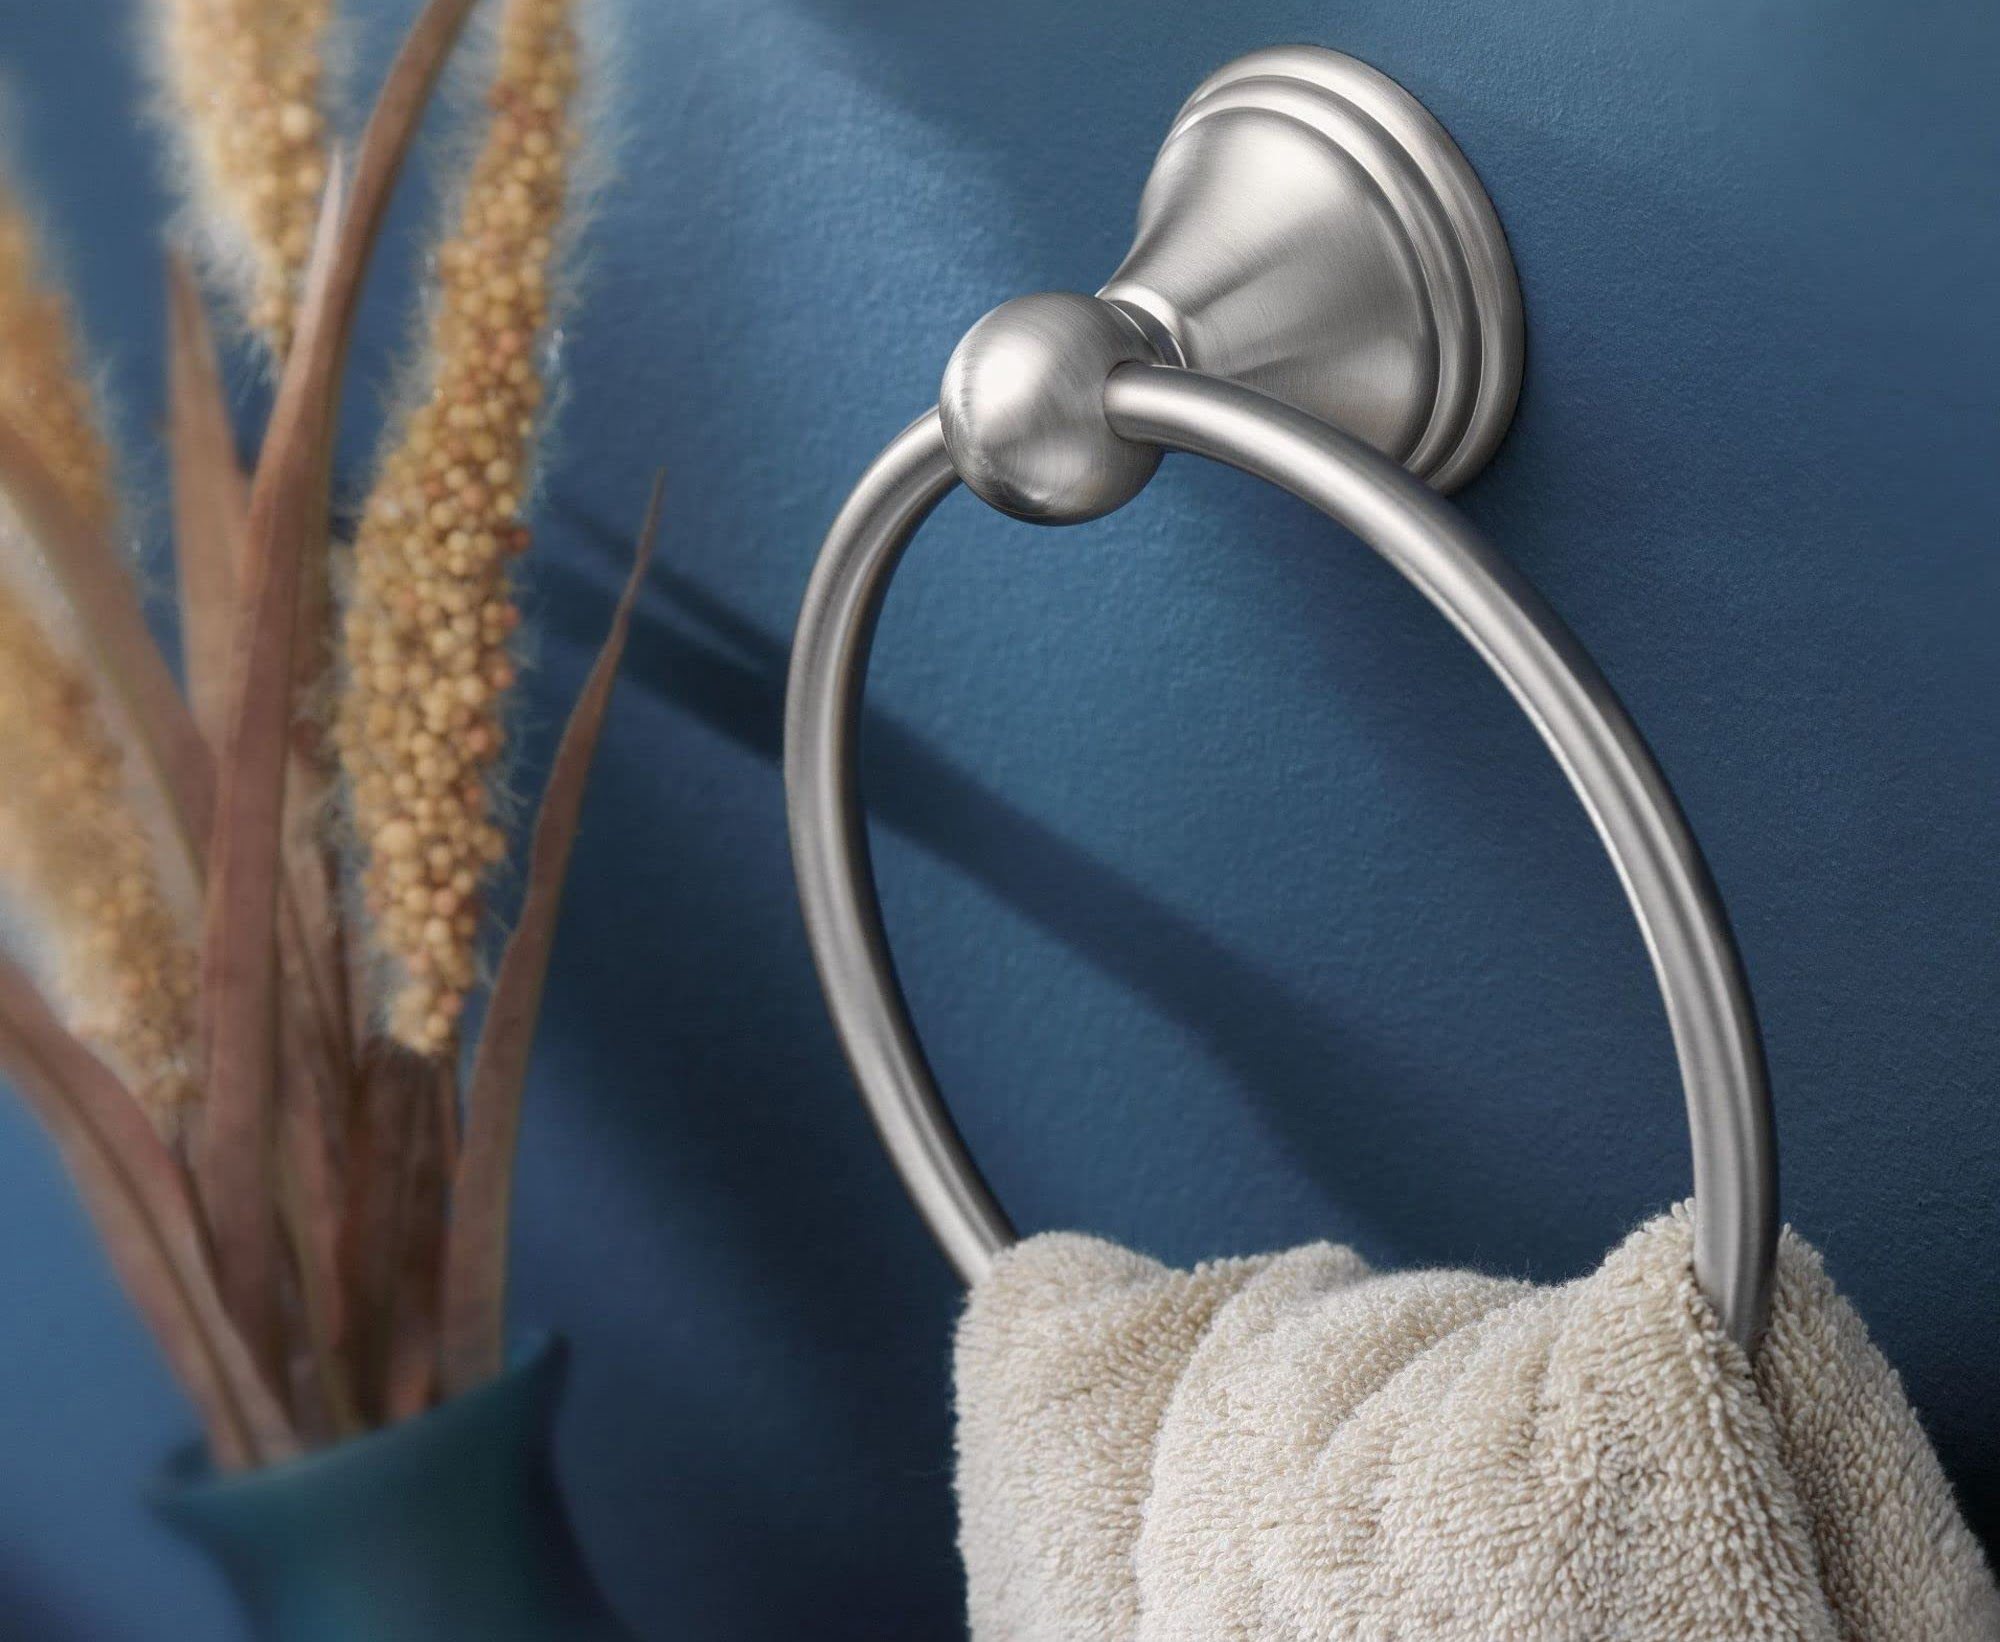
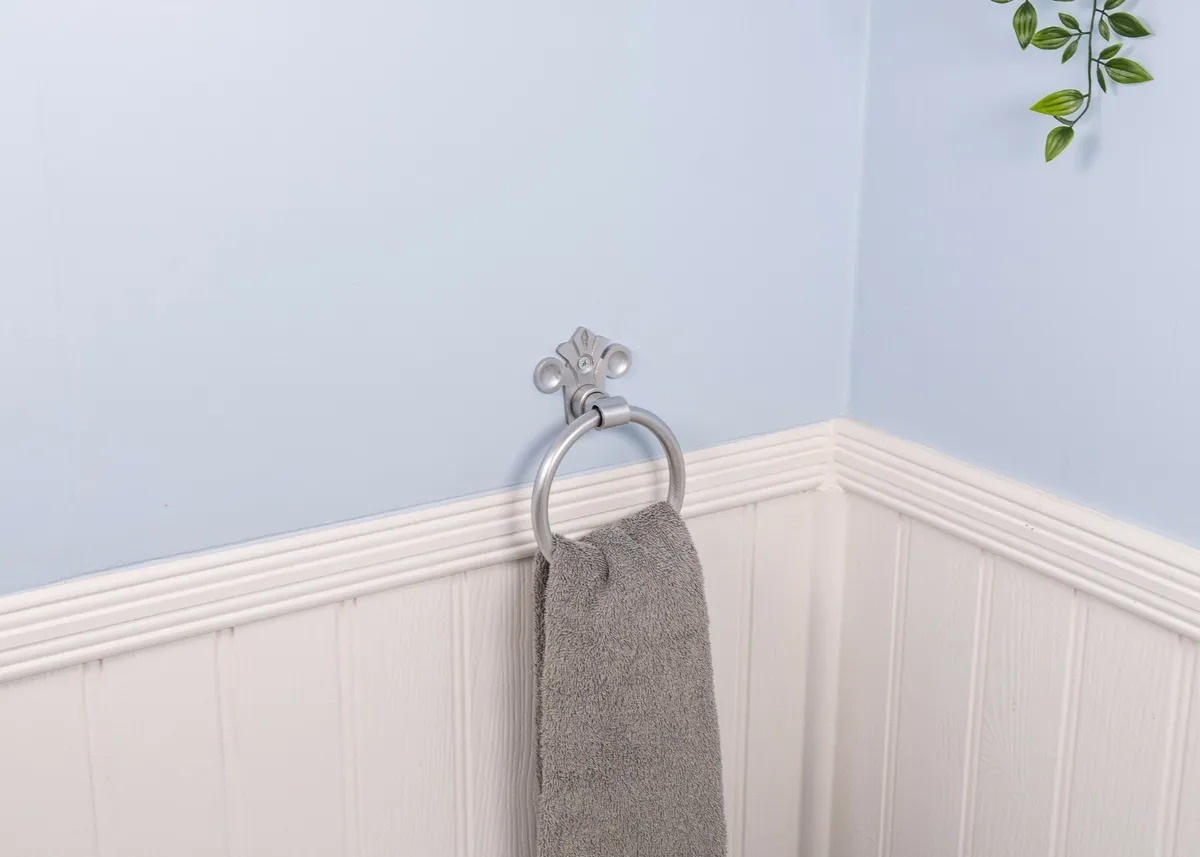
Step 7: Install the Towel Ring
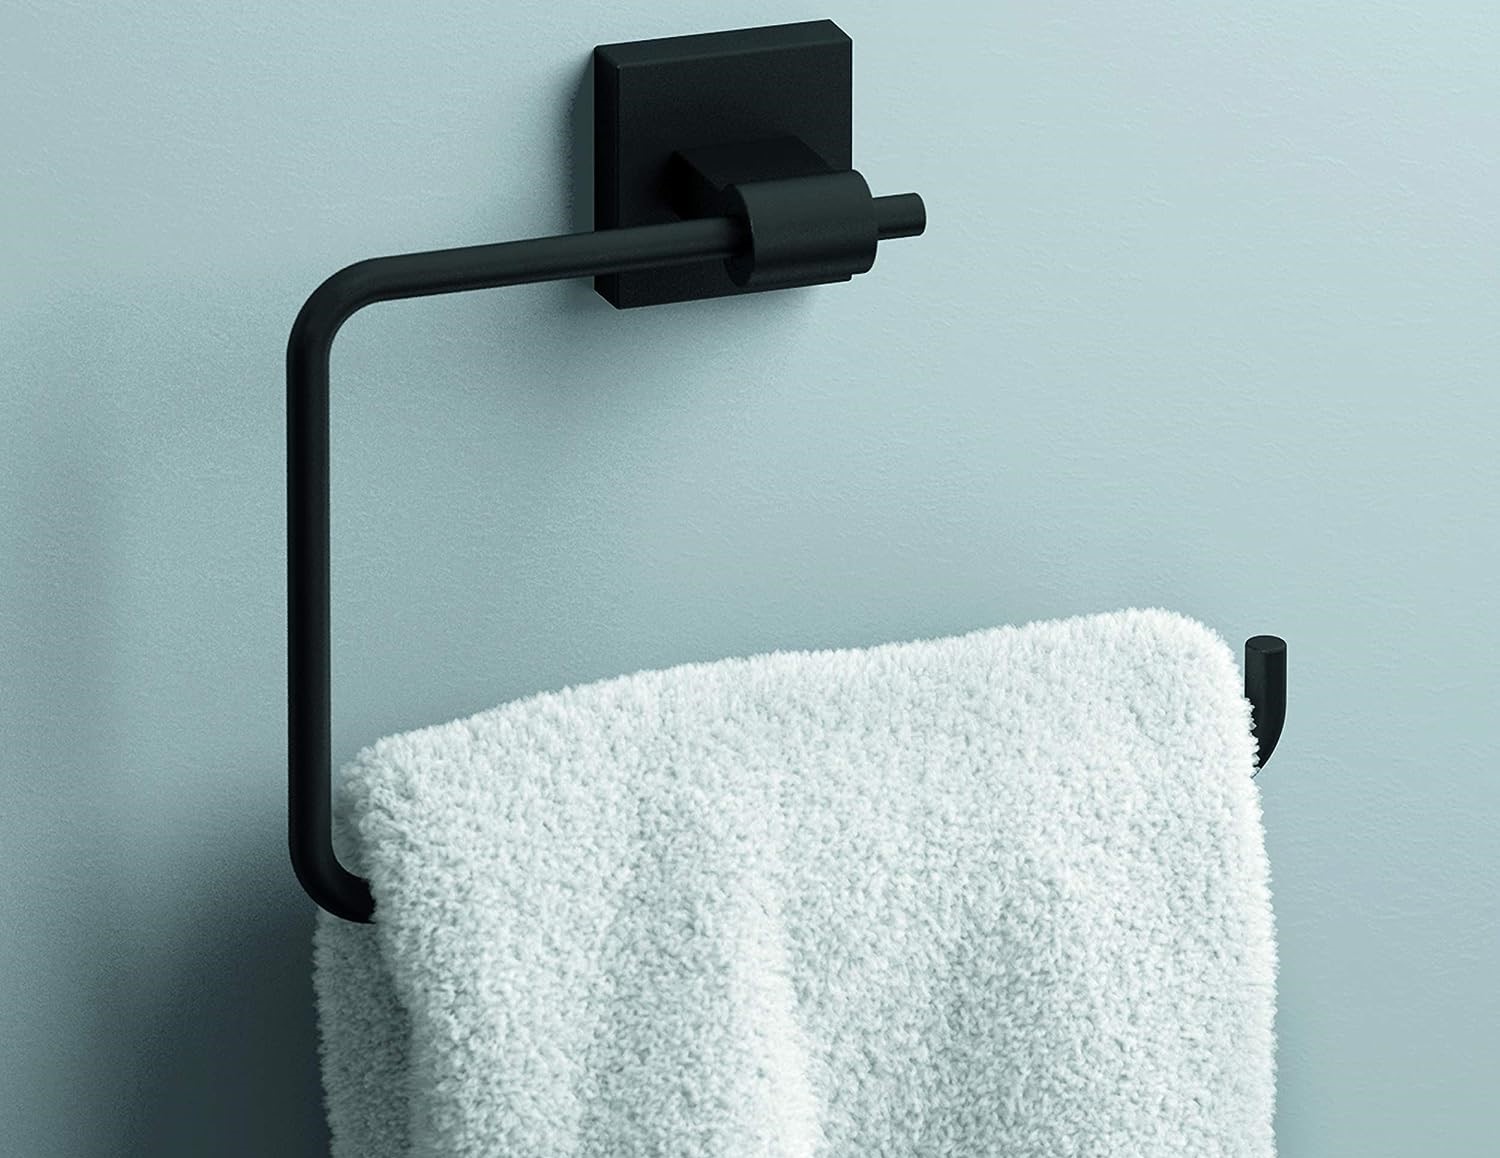
Now that the mounting bracket is securely in place, it’s time to install the towel ring itself. The towel ring typically consists of a circular ring that can be easily attached to the mounting bracket.
Take the towel ring from your kit and locate the opening or gap where it can be connected to the mounting bracket. Ensure that the set screw or locking mechanism is accessible and ready to secure the towel ring in place.
Position the towel ring over the mounting bracket, aligning the openings or gaps on both pieces. Insert the towel ring into the bracket, making sure it sits securely and straight.
Push the towel ring against the wall, ensuring it is positioned at the desired angle and height. Take a step back and check that it appears level and visually balanced with the rest of your bathroom décor.
Make any necessary adjustments to the towel ring’s positioning before proceeding to the next step.
Now that the towel ring is properly installed on the mounting bracket, it’s time to secure it in place using the set screws or any other locking mechanism provided with your towel ring kit. This will ensure the towel ring remains stable and doesn’t rotate or move with use.
Move on to the next step, where we will guide you on how to secure the towel ring using set screws.
Read more: How To Remove Towel Ring Without Set Screw
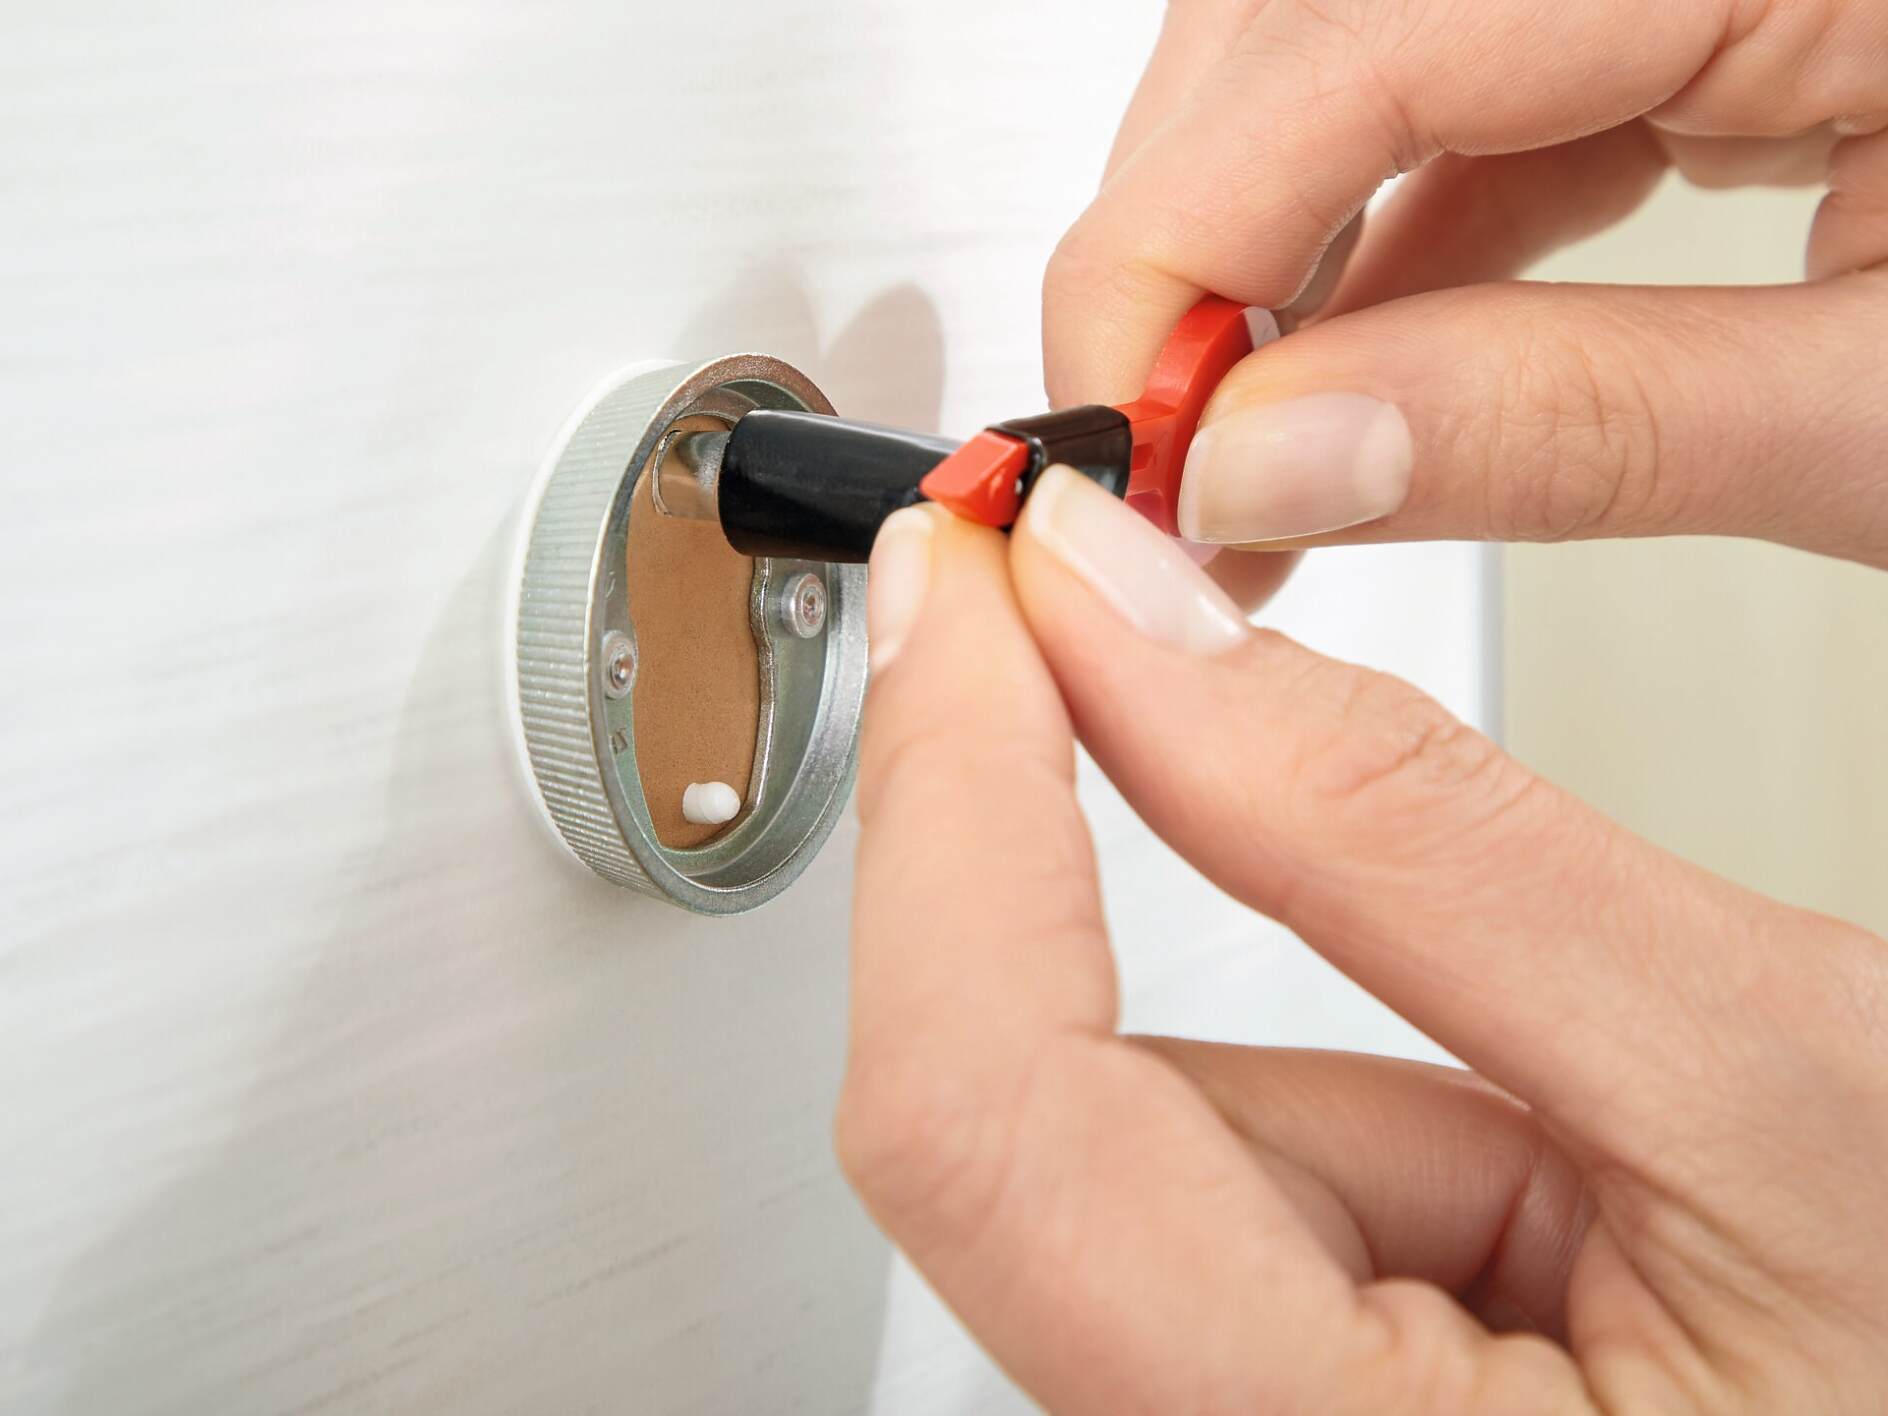
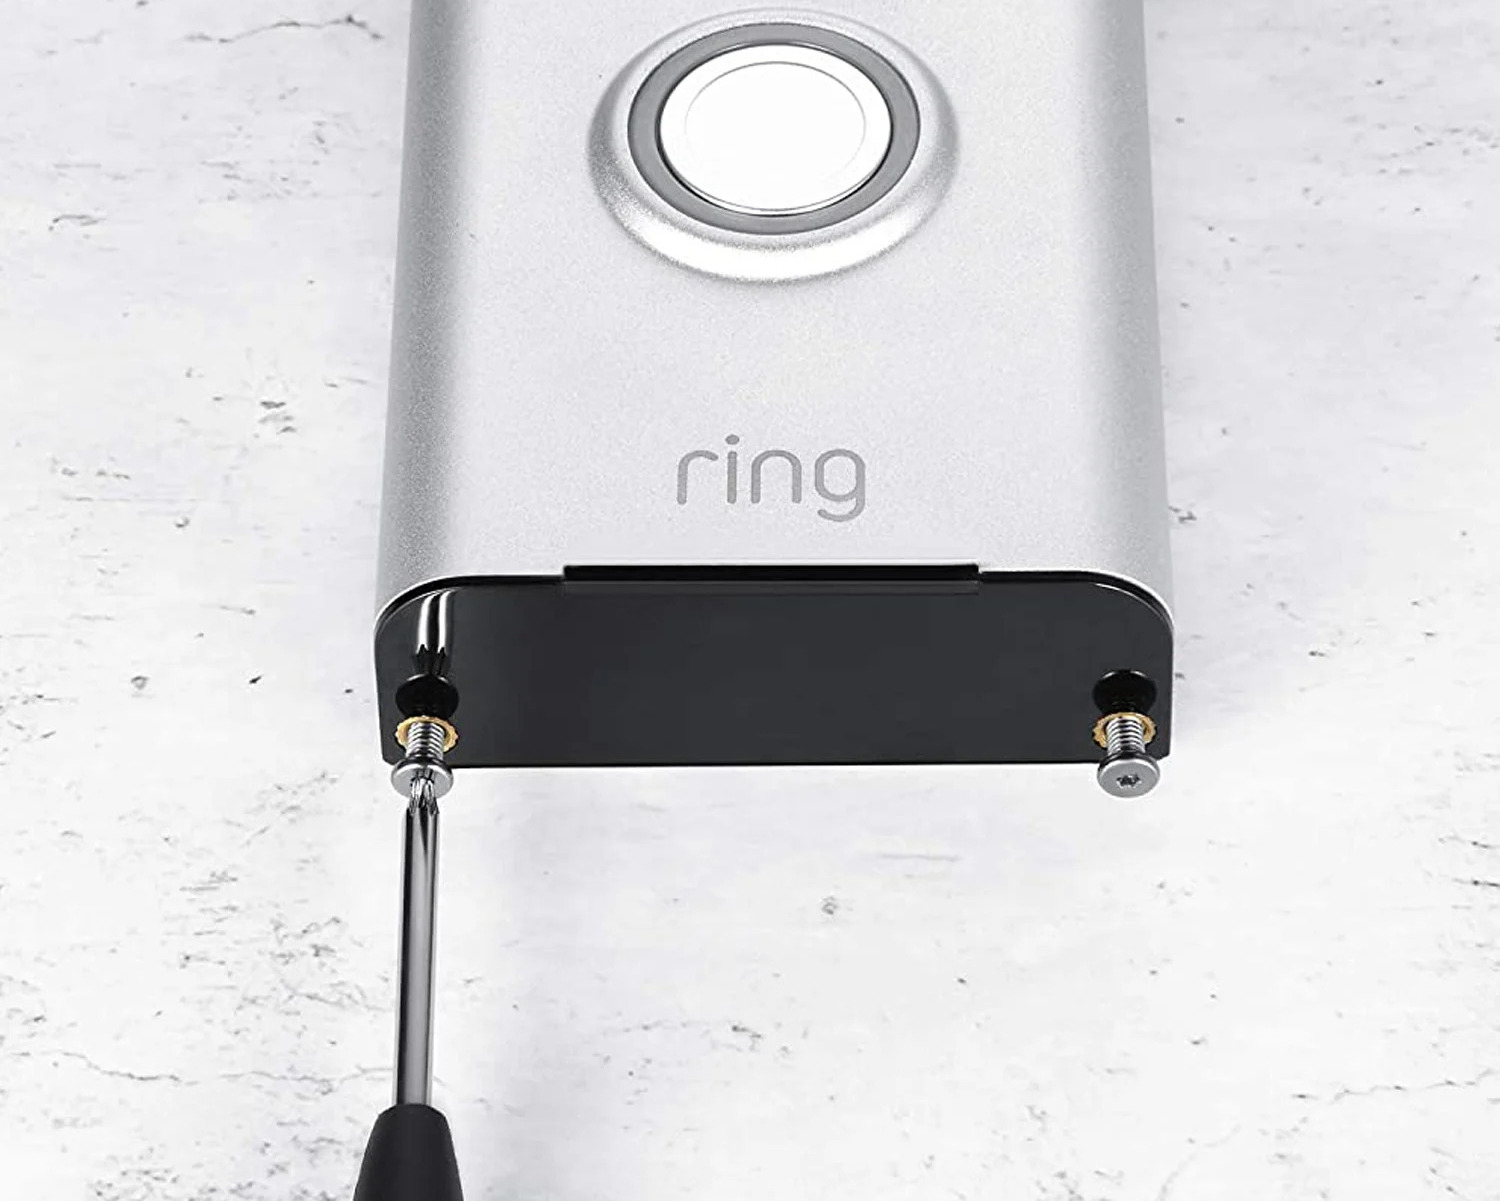
Step 8: Secure with Set Screws
In order to keep the towel ring firmly in place, it’s important to secure it using set screws. Set screws are small screws that can be tightened to lock the towel ring onto the mounting bracket, preventing any movement or rotation.
Locate the set screws on your towel ring and ensure they are accessible. These screws are typically located on the underside of the towel ring or on the side, depending on the design.
Using a Phillips screwdriver, gently tighten the set screws into the holes or slots provided on the mounting bracket. Start with a gentle turn and increase the tightness gradually until the towel ring feels secure and doesn’t easily move or wobble.
Be careful not to overtighten the set screws as it may damage the towel ring or mounting bracket. It’s important to find the right balance between secure fastening and avoiding any potential damage.
Give the towel ring a gentle tug to ensure it is firmly attached and doesn’t move or come loose. If you notice any instability, reexamine the set screws and tighten them as needed.
Once you have successfully secured the towel ring with the set screws, you’re ready to move on to the next step: adjusting and leveling the towel ring.
Step 9: Adjust and Level the Towel Ring
After securing the towel ring with set screws, it’s time to make any necessary adjustments and ensure that it is properly leveled. This step is vital to ensure the towel ring looks visually pleasing and functions effectively.
Take a step back and visually assess the towel ring’s positioning. Check that it is aligned with your previous markings and sits at the desired height and angle.
If you notice any misalignment or if the towel ring appears uneven, you may need to loosen the set screws slightly. This will allow you to make adjustments to the position of the towel ring.
Use a level tool to check if the towel ring is straight. Place the level across the base of the towel ring or along the top of the ring and adjust as needed until the bubble in the level is centered.
Once the towel ring is properly aligned and leveled, go ahead and retighten the set screws to secure it in place. Make sure to tighten the screws gradually and evenly, avoiding over-tightening that could potentially damage the towel ring or mounting bracket.
After tightening the set screws, give the towel ring a gentle tug to ensure it is still stable and securely attached. If needed, make any further adjustments until the towel ring feels secure and doesn’t move or rotate.
Now that the towel ring is correctly adjusted and leveled, it’s time to move on to the final step: testing the towel ring installation.
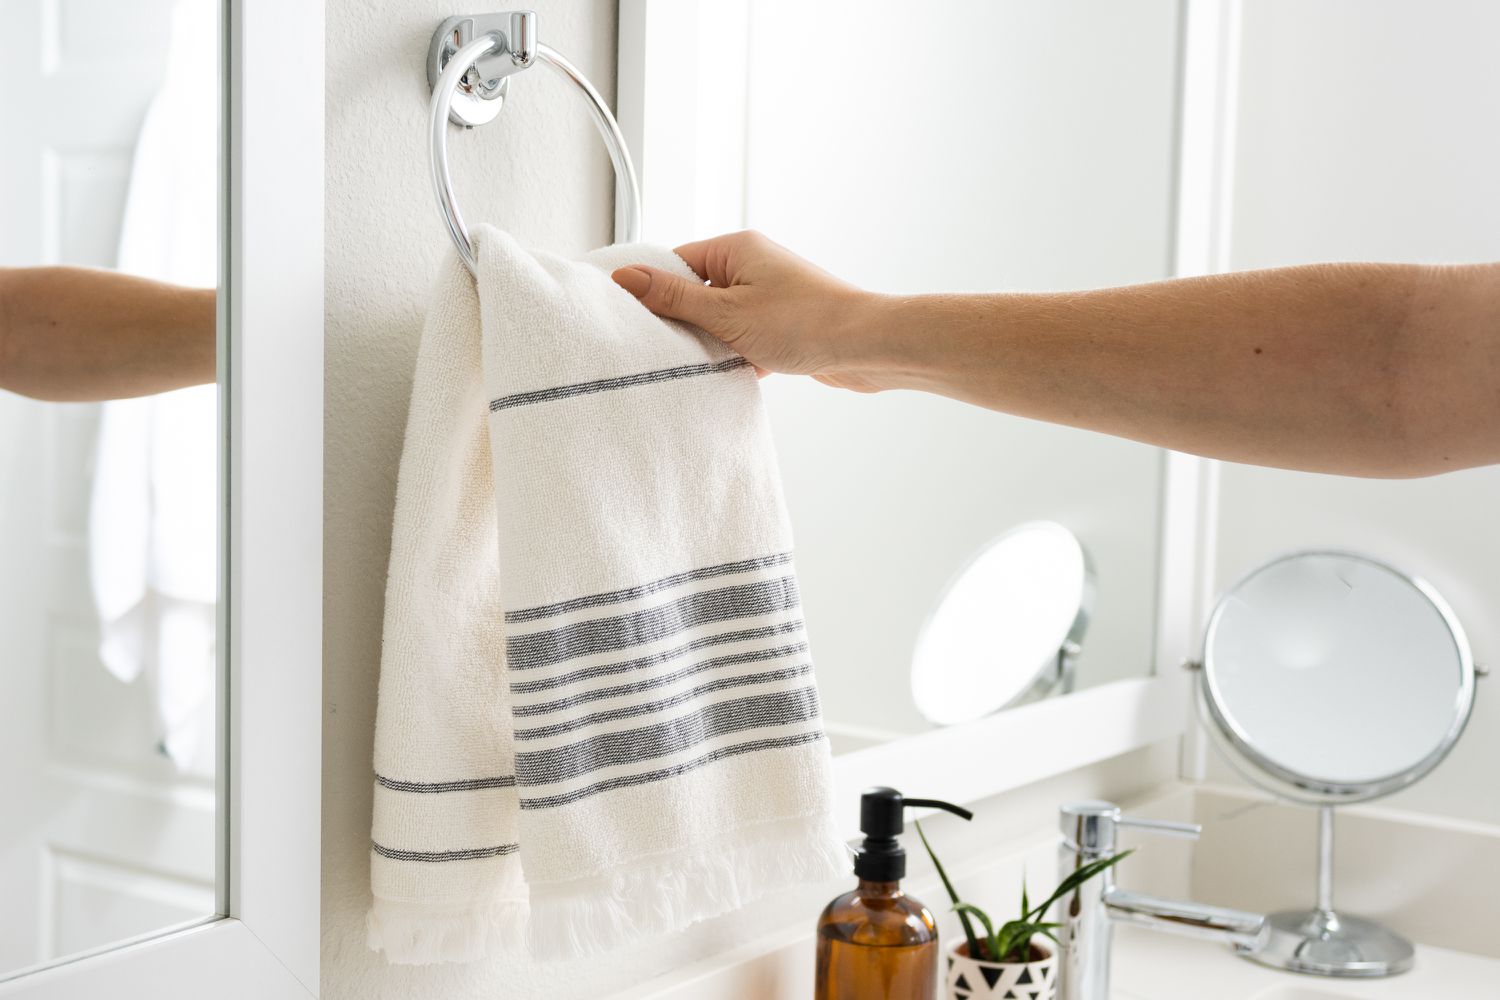
Step 10: Test the Towel Ring Installation
The final step in the towel ring installation process is to test the stability and functionality of the towel ring. This will ensure that the towel ring is securely installed and can effectively hold and display your towels.
Grab a towel and hang it on the towel ring, applying some weight to test its strength. Gently tug on the towel to ensure that the towel ring can securely hold the weight without any wobbling or slipping.
If the towel ring feels stable and holds the towel securely, congratulations! You have successfully installed the towel ring. Take a moment to admire your work and the added functionality it brings to your bathroom space.
However, if you notice any instability or if the towel ring does not hold the towel securely, it may be necessary to go back and double-check the previous steps. Ensure that the set screws are tightly fastened, the mounting bracket is securely attached to the wall, and the towel ring is properly aligned and leveled.
If necessary, make any adjustments or retighten the set screws as needed to improve the stability of the towel ring installation.
Once you are satisfied with the stability and functionality of the towel ring, you can consider the installation complete. Now, enjoy the convenience and elegance of having a towel easily accessible in your bathroom.
Lastly, remember to periodically check the set screws and mounting bracket to ensure they remain tight and secure. Over time, daily use may cause them to loosen, so it’s a good practice to perform routine maintenance to keep your towel ring in optimal condition.
With the towel ring installation successfully tested, you can now step back and admire the final result – a functional and stylish addition to your bathroom that enhances both the organization and visual appeal of the space.
Congratulations on completing the installation process. Enjoy your newly installed towel ring!
Conclusion
Installing a towel ring with a set screw is a relatively simple and rewarding DIY project that can elevate the functionality and aesthetic appeal of your bathroom. By following the step-by-step guide outlined in this article, you can successfully install a towel ring and enjoy the convenience of having a designated spot to hang your towels.
Throughout the installation process, we discussed the tools and materials needed, how to determine the towel ring placement, and how to mark the mounting holes. We also covered pre-drilling the holes, inserting the wall anchors, attaching the mounting bracket, and installing the towel ring itself. Finally, we emphasized the importance of securing the towel ring with set screws, adjusting and leveling its position, and ensuring its stability.
By taking the time to carefully follow each step, you can ensure a secure and aesthetically pleasing towel ring installation. Remember to periodically check the set screws and mounting bracket for any signs of loosening and perform necessary maintenance to keep your towel ring in optimal condition.
Now that you have successfully installed your towel ring, take a moment to appreciate the functionality and added beauty it brings to your bathroom. Enjoy the convenience of easily accessible towels and the organized space it creates.
Whether you’re a DIY enthusiast or a beginner, installing a towel ring with a set screw is a manageable project that can make a significant difference in your daily routine. So, go ahead and tackle this project, knowing that you have the knowledge and skills to complete it successfully.
Thank you for reading this comprehensive guide on how to install a towel ring with a set screw. We hope it has been informative and helpful in your quest to enhance your bathroom’s functionality and style. Happy towel ring installation!
Frequently Asked Questions about How To Install A Towel Ring With A Set Screw
Was this page helpful?
At Storables.com, we guarantee accurate and reliable information. Our content, validated by Expert Board Contributors, is crafted following stringent Editorial Policies. We're committed to providing you with well-researched, expert-backed insights for all your informational needs.

0 thoughts on “How To Install A Towel Ring With A Set Screw”