Articles
How To Install American Standard Toilet
Modified: October 20, 2024
Learn how to install an American Standard toilet with our step-by-step articles. Find expert tips and guidance to ensure a successful installation.
(Many of the links in this article redirect to a specific reviewed product. Your purchase of these products through affiliate links helps to generate commission for Storables.com, at no extra cost. Learn more)
Introduction
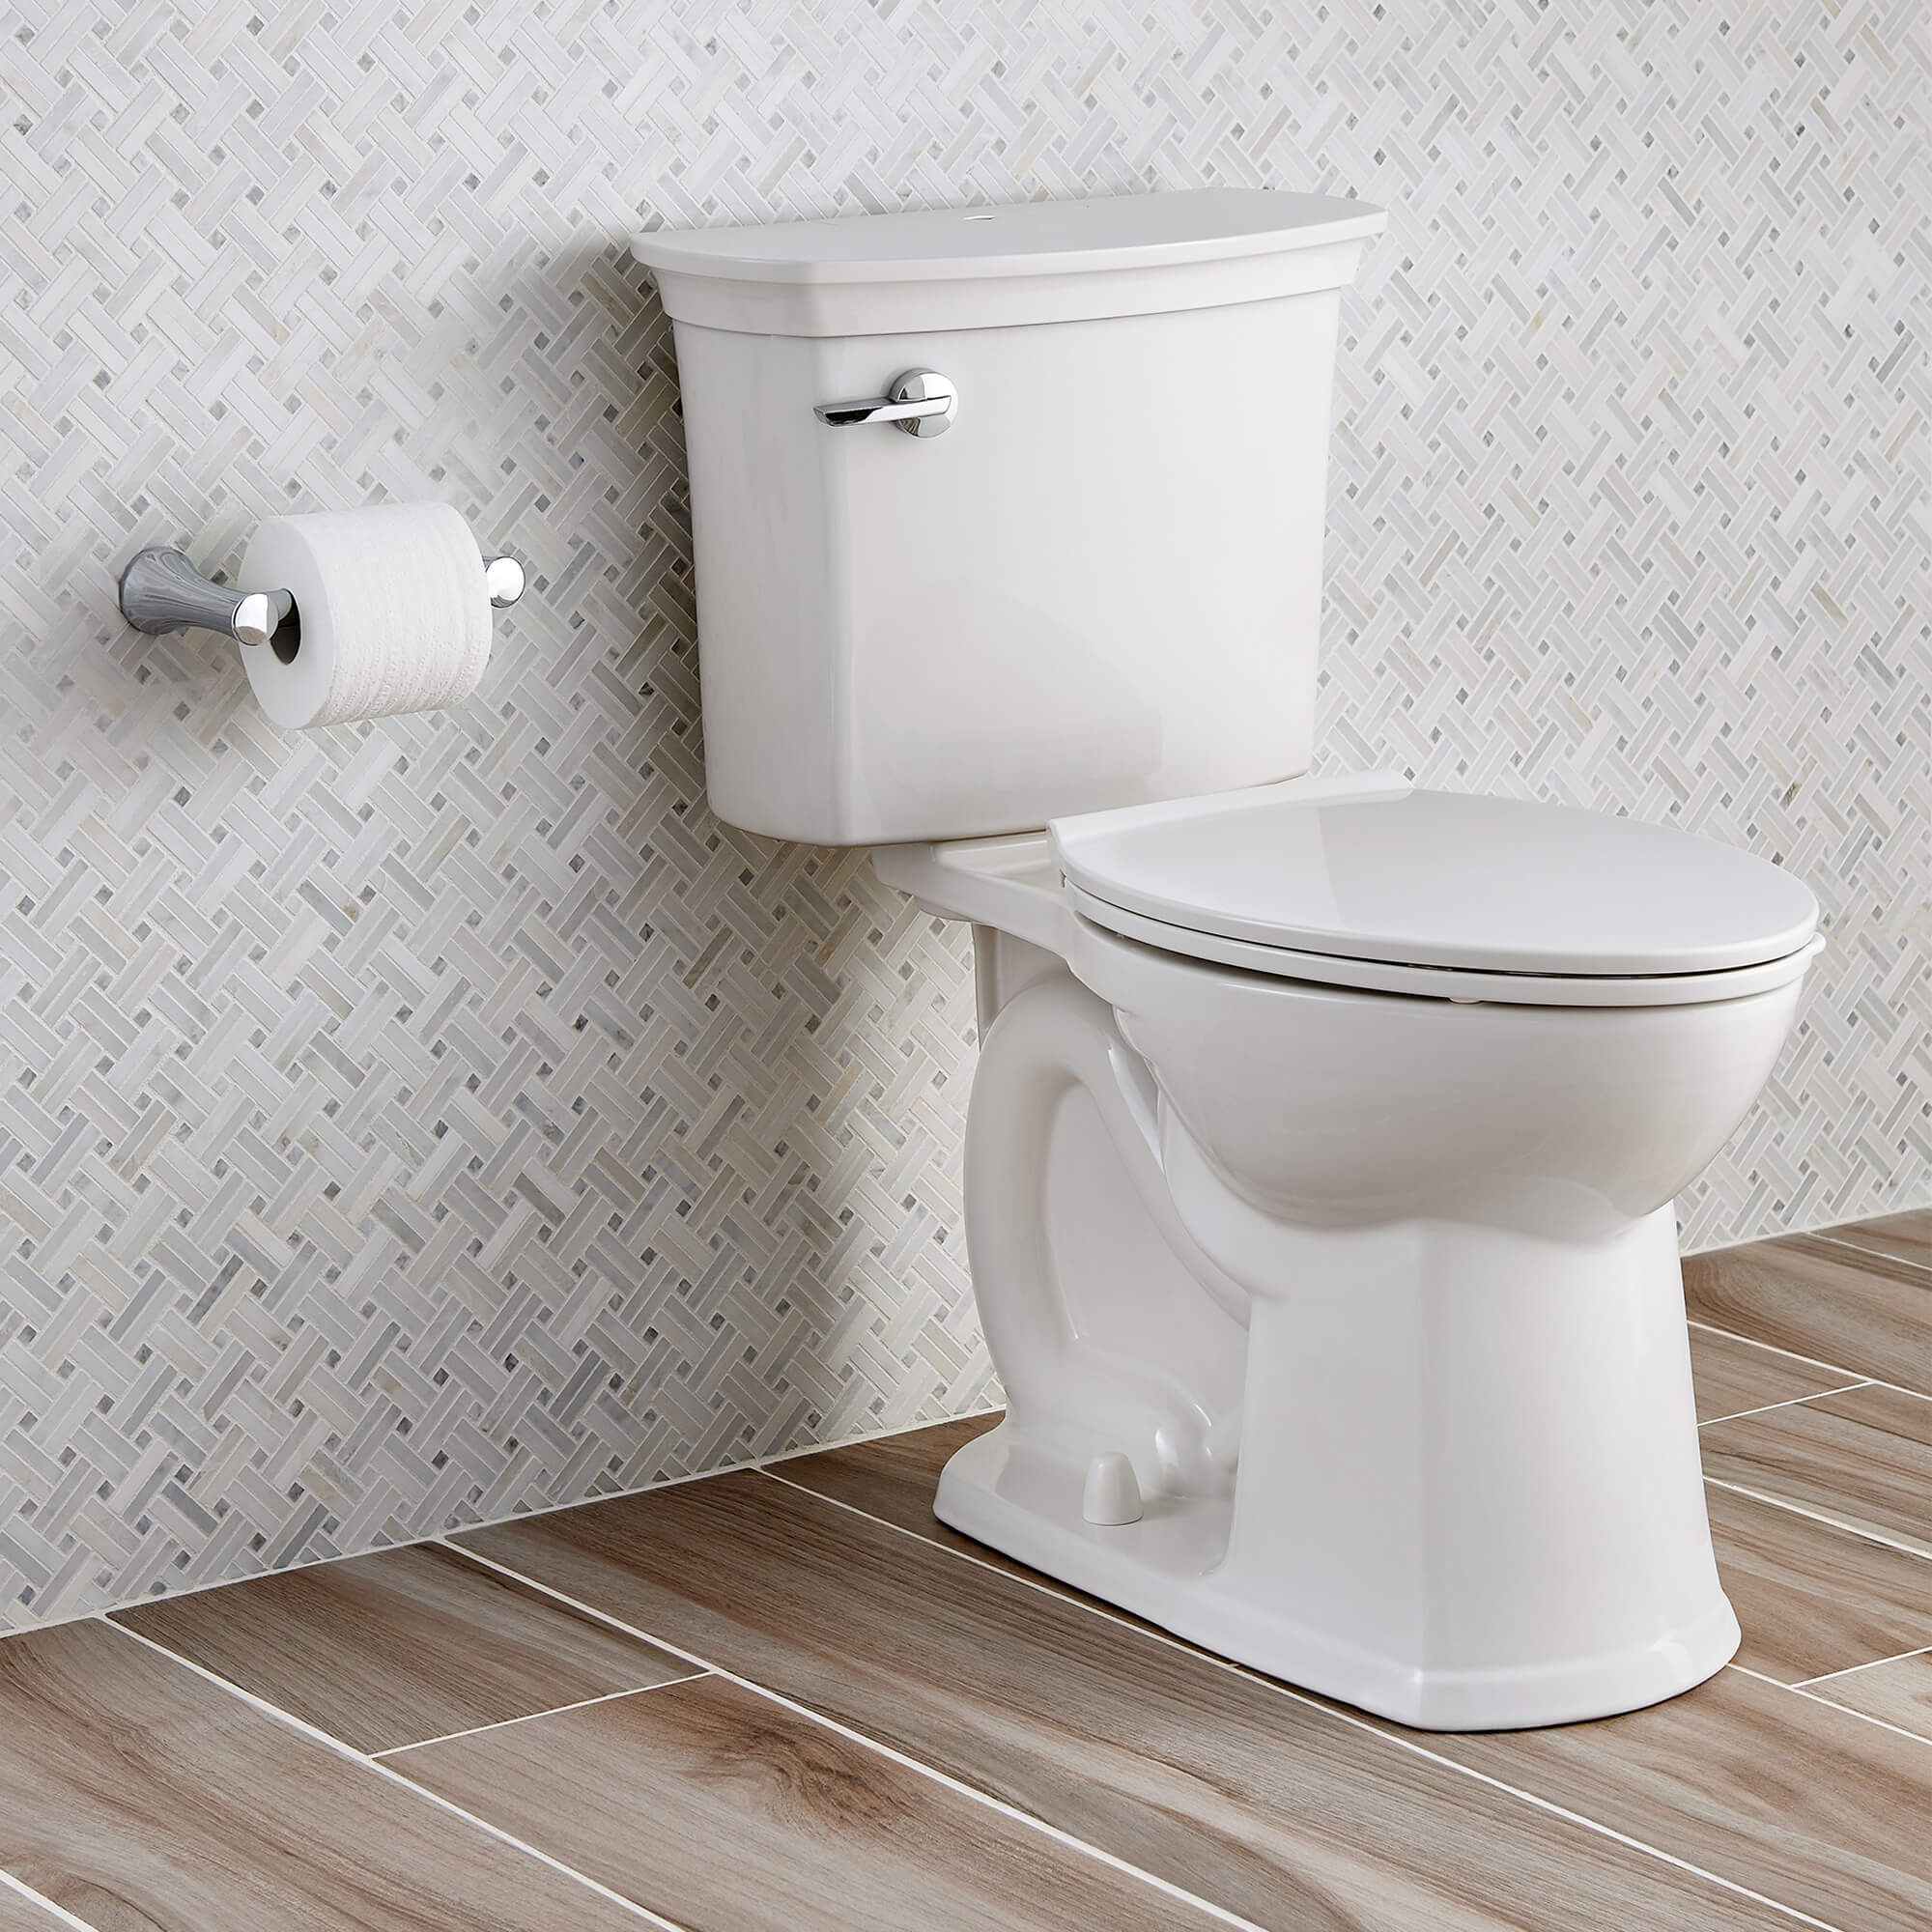
Replacing a toilet may seem like a daunting task, but with the right guidance and tools, it can be a straightforward process. If you’re considering installing an American Standard toilet, you’re in luck! American Standard is a trusted brand known for producing high-quality, reliable, and efficient toilets.
In this article, we will guide you through the step-by-step process of installing an American Standard toilet. From gathering the necessary tools to connecting the water supply, we’ll cover everything you need to know to successfully complete this home improvement project.
Before we dive into the installation process, it’s important to note that installing a toilet requires basic plumbing knowledge and handyman skills. If you’re not confident in your abilities or have any concerns, it’s always a good idea to consult a professional plumber.
Now, let’s get started on your journey to installing a new American Standard toilet!
Key Takeaways:
- Installing an American Standard toilet is a manageable DIY project with the right tools and guidance. From gathering materials to connecting the water supply, each step is crucial for a successful installation.
- Proper preparation and testing are key to ensuring optimal functionality and comfort with your new American Standard toilet. Follow the step-by-step guide for a seamless installation experience.
Step 1: Gather necessary tools and materials
Before you begin the installation process, it’s crucial to gather all the necessary tools and materials. Having everything on hand will streamline the process and ensure you don’t encounter any delays.
Here’s a list of the essential tools and materials you’ll need:
- Adjustable wrench
- Slip-joint pliers
- Screwdriver (flathead and Phillips)
- Putty knife
- Bucket or container
- Sponge or rags
- Toilet wax ring
- Toilet bolts with nuts and washers
- New American Standard toilet
- Toilet bowl and tank repair kit (optional)
It’s essential to have the right tools to ensure a smooth installation process. The adjustable wrench will allow you to tighten and loosen bolts, while slip-joint pliers are handy for turning and securing nuts and bolts.
The screwdriver will be necessary for removing and attaching various components, so having both flathead and Phillips heads is handy. The putty knife will help scrape away old wax and debris, and the bucket or container will be used for catching water during the removal process.
Don’t forget to purchase a new toilet wax ring, as this will form a watertight seal between the toilet base and the floor. Additionally, toilet bolts with nuts and washers are required to secure the toilet firmly in place.
Lastly, you’ll need to purchase the new American Standard toilet itself. Ensure you choose a model that suits your needs, matches your bathroom decor, and aligns with your desired functionality, such as water-saving features.
Once you have gathered all the necessary tools and materials, you’re ready to move on to the next step: removing the old toilet.
Step 2: Remove the old toilet
Before installing the new American Standard toilet, you’ll need to remove the old one. This is an important step as it allows for a clean and efficient installation. Follow these steps to remove the old toilet:
- Turn off the water supply: Locate the shut-off valve behind the toilet and turn it clockwise to shut off the water supply. Flush the toilet to drain the tank and bowl.
- Disconnect the water supply line: Use slip-joint pliers to loosen the nut connecting the water supply line to the fill valve and disconnect it.
- Remove the tank: Unscrew the nuts securing the tank to the bowl using an adjustable wrench. Carefully lift the tank off the bowl and place it aside.
- Disconnect the bowl from the floor: Locate the two bolts at the base of the toilet bowl and remove the nuts using an adjustable wrench. Once the nuts are removed, gently rock the bowl back and forth to break the seal with the wax ring. Lift the bowl straight up and place it on a protective surface.
- Remove the wax ring: Use a putty knife to scrape away any remaining wax from the flange on the floor. Dispose of the old wax ring.
During the removal process, it’s important to be cautious and take measures to protect the bathroom floor from potential damage. Placing a towel or old newspapers on the floor can help absorb any water or debris that may spill during the removal.
Once you have successfully removed the old toilet and cleared the area, you’re ready to move on to the next step: preparing the installation area for the new American Standard toilet.
Step 3: Prepare the installation area
Preparing the installation area for your new American Standard toilet is crucial to ensure a stable and secure installation. This step involves inspecting the flange and floor, making any necessary repairs, and ensuring the area is clean and level. Follow these steps to prepare the installation area:
- Inspect the flange: The flange is a metal or plastic ring that connects the toilet to the waste pipe in the floor. Check for any cracks, damage, or corrosion. If the flange is damaged, it will need to be replaced or repaired before proceeding.
- Check the floor stability: Ensure that the floor beneath the flange is stable and free from any rot or water damage. If you notice any soft spots or signs of damage, you may need to reinforce or repair the floor before proceeding.
- Level the floor: Use a level to check if the floor is even and level. If the floor is uneven, you may need to use shims to level it. Place the shims under the toilet where it sits on the floor to prevent wobbling or rocking.
- Clean the flange and floor: Use a sponge or rag to clean any debris or residue from the flange and surrounding floor area. It’s important to have a clean and smooth surface for the new wax ring to adhere to.
Taking the time to properly prepare the installation area will ensure a stable and leak-free installation of your new American Standard toilet. Once you have completed these steps, you’re ready to move on to the exciting part – installing the new toilet!
When installing an American Standard toilet, make sure to carefully follow the manufacturer’s instructions for proper placement, sealing, and connection of the water supply. Double-check all connections for leaks before use.
Step 4: Install the new American Standard toilet
Now that you have prepared the installation area, it’s time to install your new American Standard toilet. Follow these steps to ensure a successful installation:
- Place the wax ring: Take the new wax ring and place it on the flange, ensuring it is centered and aligned properly. The wax ring will create a watertight seal between the toilet and the waste pipe.
- Position the toilet: Carefully lower the toilet bowl onto the wax ring, aligning the mounting bolts with the holes on the base of the toilet. Apply gentle downward pressure to compress the wax ring and create a secure seal.
- Attach the nuts and washers: Place a washer and nut onto each mounting bolt. Hand-tighten the nuts, then use an adjustable wrench to snugly secure them. Do not overtighten, as this could crack the toilet.
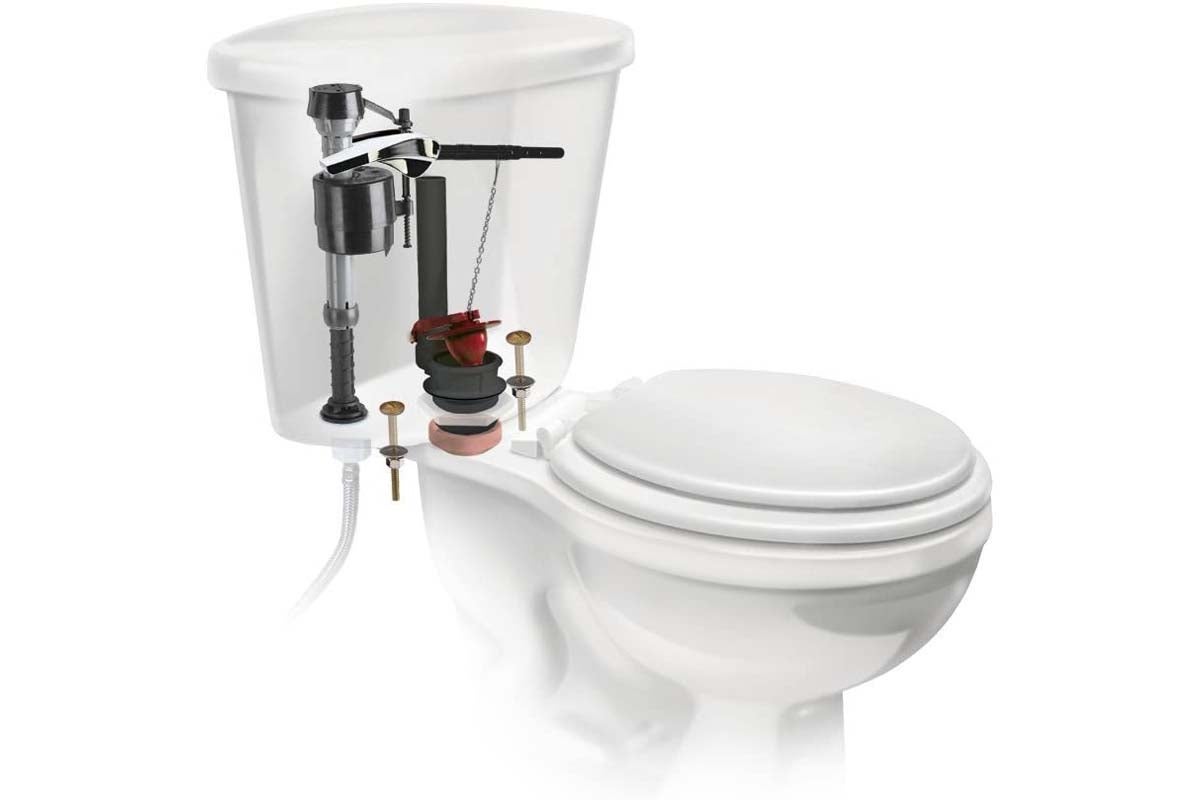
- Attach the tank: If your new American Standard toilet has a separate tank, follow the manufacturer’s instructions to attach it securely to the bowl. Use the provided gaskets and nuts to ensure a watertight connection.
- Level the toilet: Ensure that the toilet is level in both directions by placing a level across the bowl and adjusting the shims if necessary. You want a stable and even base for the toilet.
- Tighten the nuts and bolts: With the toilet level, use the adjustable wrench to tighten the nuts and bolts connecting the tank to the bowl. Be careful not to overtighten, as this could cause damage.
Once you have completed these steps, your new American Standard toilet is securely installed. However, there are a few more steps to complete the installation process – connecting the water supply.
Note: It’s essential to follow the manufacturer’s instructions specific to your American Standard toilet model, as there may be slight variations in the installation process.
Read also: 9 Amazing American Standard Toilet for 2025
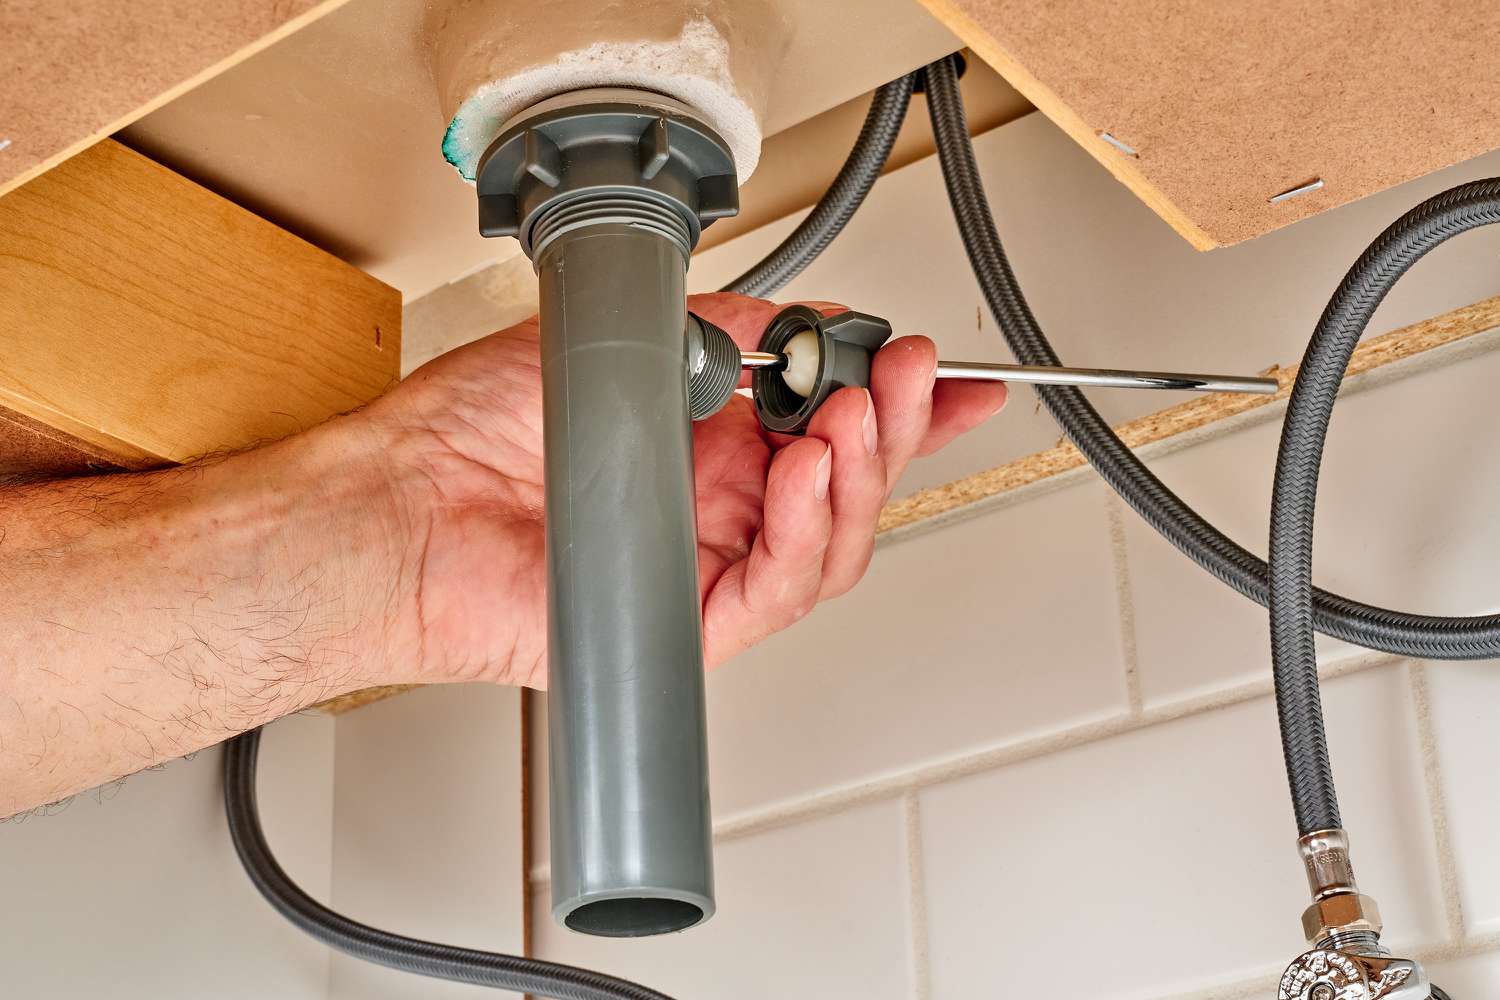
Step 5: Connect the water supply
After successfully installing your new American Standard toilet, the next step is to connect the water supply. Follow these steps to ensure a proper connection:
- Locate the water supply valve: Look for the shut-off valve near the base of the toilet. This valve controls the flow of water to the toilet.
- Connect the water supply line: Take the flexible water supply line and connect one end to the shut-off valve. Hand-tighten the nut, then use slip-joint pliers to secure it further.
- Connect the other end: Attach the other end of the water supply line to the fill valve on the bottom of the toilet tank. Again, hand-tighten the nut and then use slip-joint pliers to ensure a secure connection.
- Turn on the water supply: Slowly turn the shut-off valve counterclockwise to allow water to flow into the toilet tank. Keep an eye out for any leaks around the connections.
- Check for leaks: Once the water supply is turned on, check for any leaks around the water supply line and the base of the toilet. If you notice any leaks, tighten the nuts further to create a watertight seal.
It’s essential to ensure a secure and leak-free connection to prevent any water damage or wastage. Take your time to check for leaks and make any necessary adjustments.
With the water supply properly connected and tested, you’re almost done with the installation process. The final step is to test and adjust the toilet to ensure proper functionality and comfort.
Step 6: Test and adjust the toilet
Now that you have connected the water supply, it’s time to test and make any necessary adjustments to ensure your new American Standard toilet is working properly. Follow these steps:
- Fill the tank: Allow the toilet tank to fill by turning on the water supply and letting it run until the tank is full. You should hear the water stop filling.
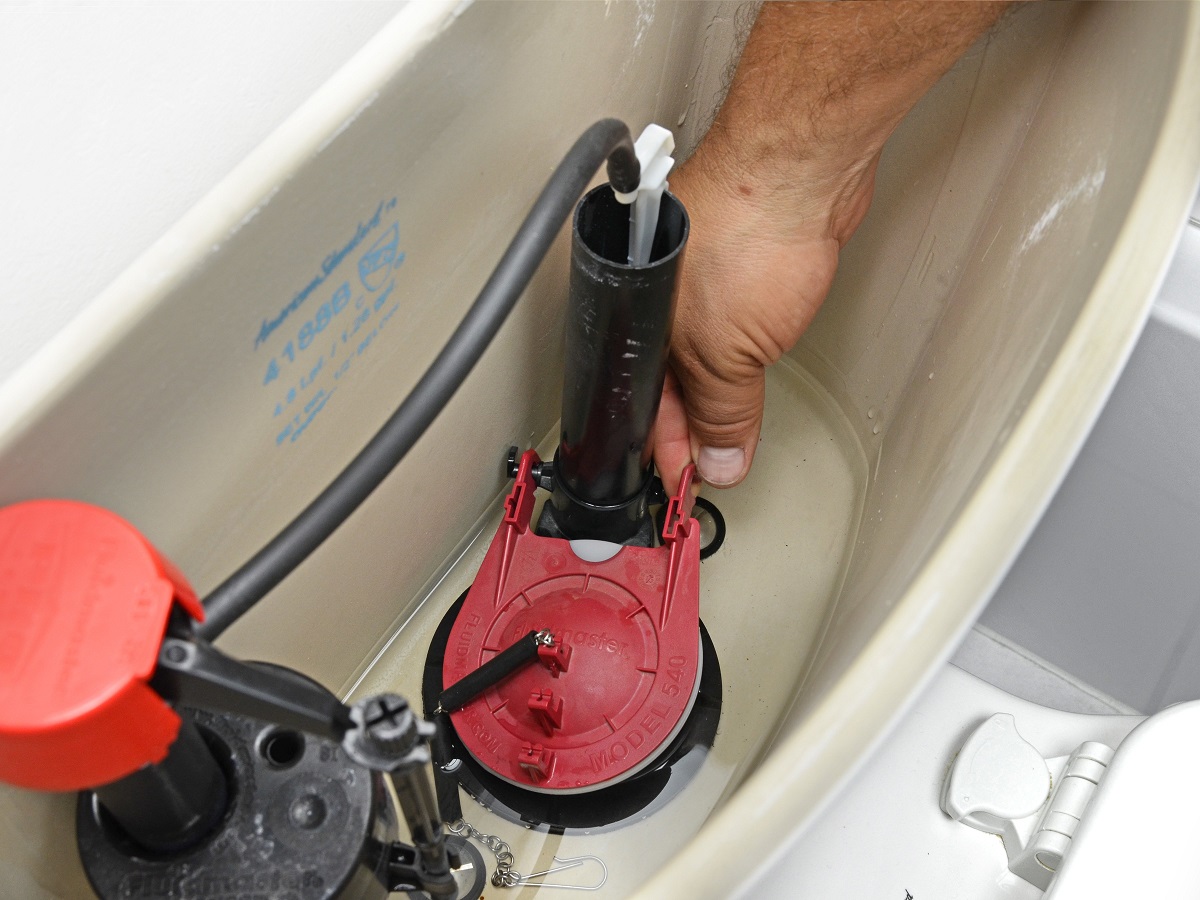
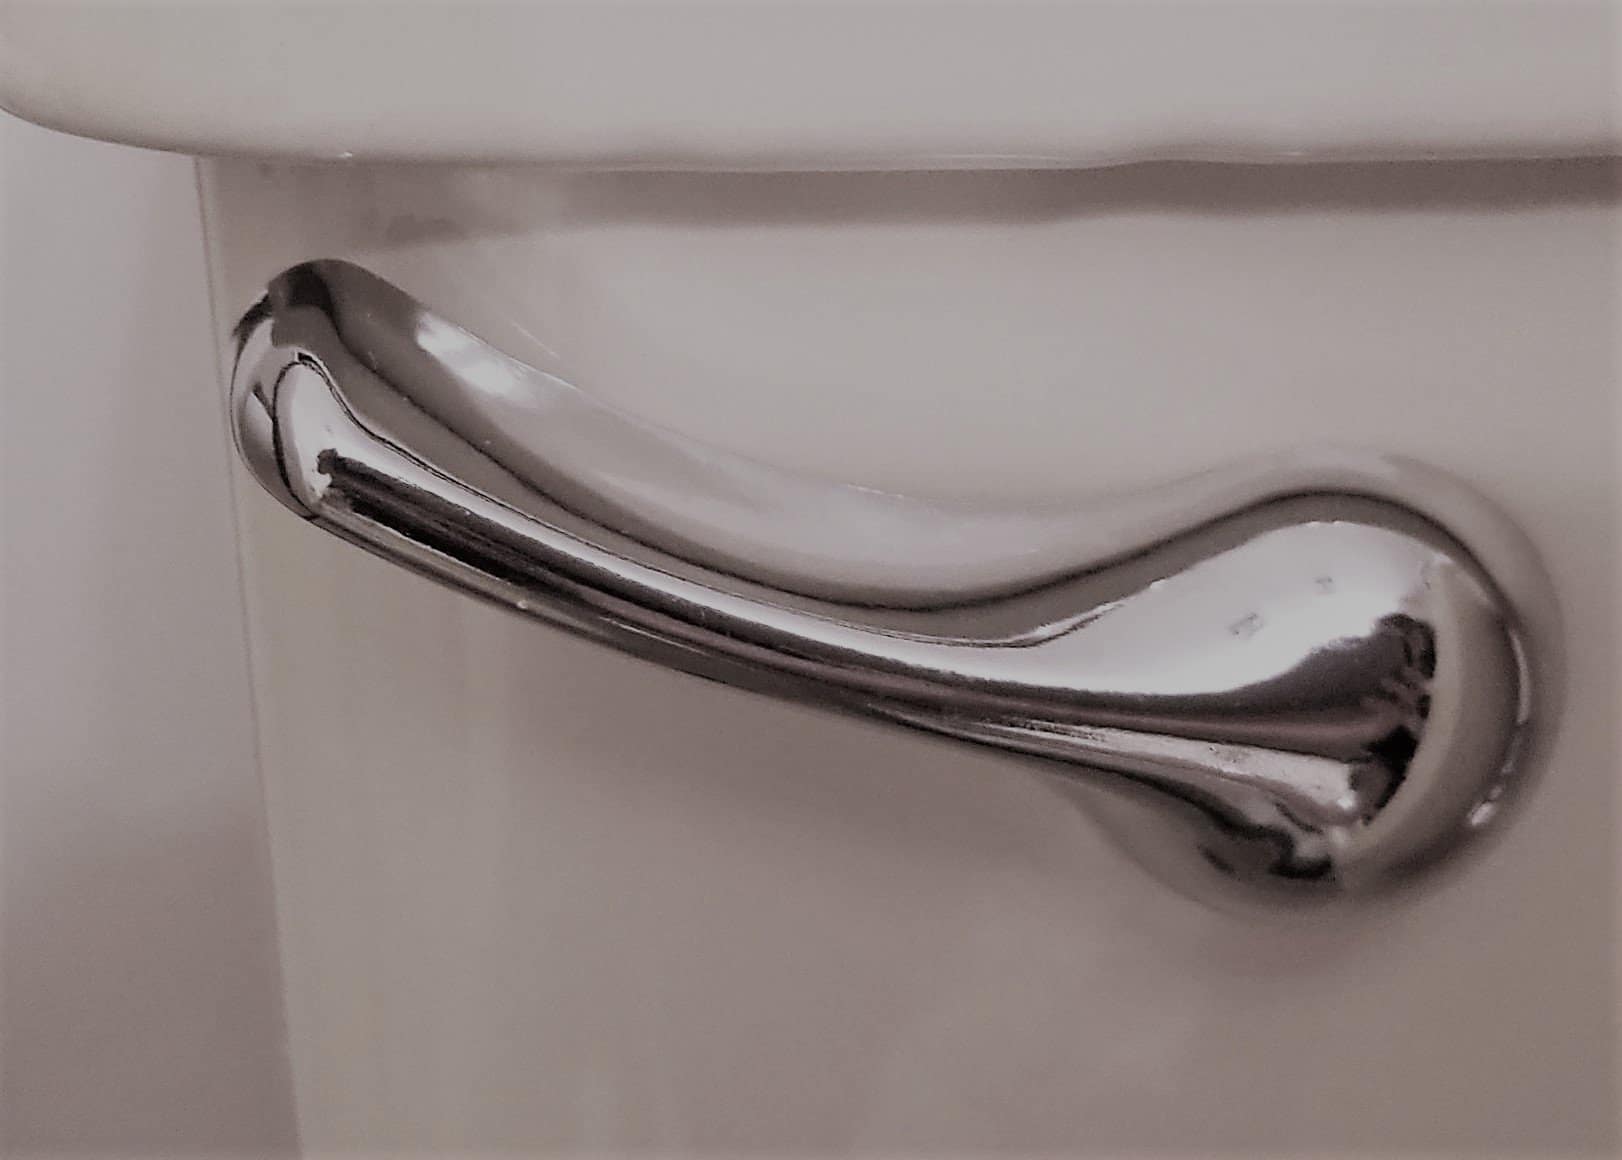
- Flush the toilet: Press the flush handle to initiate a flush. Observe the flushing action and check for any issues, such as weak flushing or incomplete drainage. If necessary, adjust the flapper or fill valve according to the manufacturer’s instructions.
- Check for proper water level: After flushing, the water level in the tank should return to its original position. If the water level is too high or too low, adjust the float or fill valve to regulate the water level according to the manufacturer’s instructions.
- Test for leaks: Carefully inspect the base of the toilet, the water supply line, and the tank for any signs of leaks. Also, listen for any unusual sounds or dripping. If you notice any leaks, tighten the connections or replace any faulty components.
- Ensure a secure seat: Check that the toilet seat is securely attached and comfortable. Make any necessary adjustments to ensure it is aligned properly and tight.
- Flush multiple times: Test the toilet by flushing it multiple times to ensure consistent flushing and proper water flow. Listen for any unusual sounds or issues that may require further adjustments.
By thoroughly testing and adjusting your new American Standard toilet, you can ensure it functions optimally and meets your expectations in terms of performance and comfort.
With the installation complete and the toilet properly tested and adjusted, you have successfully installed a new American Standard toilet. Congratulations!
Remember to follow the manufacturer’s instructions for care and maintenance of your new toilet to ensure its longevity and performance over time.
Thank you for following this step-by-step guide. We hope this article has provided you with the necessary knowledge and confidence to install your new American Standard toilet with ease!
Conclusion
Installing a new American Standard toilet may seem like a daunting task, but with the right guidance and tools, it can be a straightforward process. By following the step-by-step instructions outlined in this article, you can successfully replace your old toilet and enjoy the benefits of a reliable and efficient American Standard toilet.
From gathering the necessary tools and materials to removing the old toilet, preparing the installation area, and connecting the water supply, each step plays a crucial role in ensuring a seamless installation. Taking the time to properly prepare and adjust the toilet will result in optimal functionality and comfort.
Remember to always refer to the manufacturer’s instructions specific to your American Standard toilet model for any additional steps or considerations. If you’re unsure or have any concerns, it’s advisable to seek the assistance of a professional plumber.
Installing a new American Standard toilet not only enhances the aesthetics of your bathroom but also contributes to water efficiency and overall functionality. American Standard’s commitment to quality ensures that your toilet will withstand the test of time and provide you with years of reliable performance.
Thank you for following this comprehensive guide. We hope it has empowered you with the knowledge and confidence to successfully install your new American Standard toilet. Enjoy the convenience and comfort that comes with this essential fixture in your home!
Frequently Asked Questions about How To Install American Standard Toilet
Was this page helpful?
At Storables.com, we guarantee accurate and reliable information. Our content, validated by Expert Board Contributors, is crafted following stringent Editorial Policies. We're committed to providing you with well-researched, expert-backed insights for all your informational needs.


0 thoughts on “How To Install American Standard Toilet”