Home>Furniture & Design>Bathroom Accessories>How To Tighten An American Standard Toilet Seat
Bathroom Accessories
How To Tighten An American Standard Toilet Seat
Modified: October 19, 2024
Learn how to tighten an American Standard toilet seat with our easy step-by-step guide. Keep your bathroom accessories secure and stable for a more comfortable experience.
(Many of the links in this article redirect to a specific reviewed product. Your purchase of these products through affiliate links helps to generate commission for Storables.com, at no extra cost. Learn more)
Introduction
When it comes to bathroom maintenance, ensuring that your toilet seat is securely fastened is essential for both comfort and safety. A loose or wobbly toilet seat can be not only an annoyance but also a potential hazard. Fortunately, tightening an American Standard toilet seat is a straightforward task that can be accomplished with just a few simple tools and a little bit of know-how.
In this comprehensive guide, we will walk you through the step-by-step process of tightening an American Standard toilet seat. Whether you're a seasoned DIY enthusiast or a novice homeowner looking to tackle your first home improvement project, this article will provide you with the knowledge and confidence to successfully complete the task.
By following the instructions outlined in this guide, you'll be able to address any looseness or instability in your American Standard toilet seat, restoring it to a secure and stable condition. With a few basic tools and a willingness to get your hands dirty, you can ensure that your bathroom remains a comfortable and functional space for you and your family.
So, gather your tools and let's get started on tightening your American Standard toilet seat!
Key Takeaways:
- Keep your bathroom safe and comfortable by tightening your American Standard toilet seat using simple tools like an adjustable wrench and screwdriver. A clean and secure toilet seat enhances your bathroom experience.
- Regular maintenance and periodic checks of your toilet seat’s stability are essential for a safe and comfortable bathroom environment. With the right tools and knowledge, you can ensure a secure and stable toilet seat for years to come.
Read more: How To Install American Standard Toilet
Tools and Materials Needed
Before you begin the process of tightening your American Standard toilet seat, it's important to gather the necessary tools and materials. Having the right equipment on hand will ensure that you can complete the task efficiently and without unnecessary interruptions. Here's a list of the items you'll need:
Tools:
-
Adjustable Wrench: This versatile tool will allow you to tighten the bolts and nuts that secure the toilet seat to the bowl. An adjustable wrench is essential for providing a firm grip and applying the necessary torque to achieve a secure fit.
-
Screwdriver: Depending on the type of fasteners used to secure your toilet seat, you may need a flathead or Phillips head screwdriver. Having both types on hand will ensure that you're prepared for any type of fastening mechanism.
-
Pliers: A pair of pliers can be useful for holding nuts in place while you tighten the bolts. This can be especially helpful if the nuts are located in a tight or hard-to-reach area.
-
Rubber Gloves: While not essential, wearing rubber gloves can help protect your hands from any dirt or grime that may be present during the process of removing and reinstalling the toilet seat.
Materials:
-
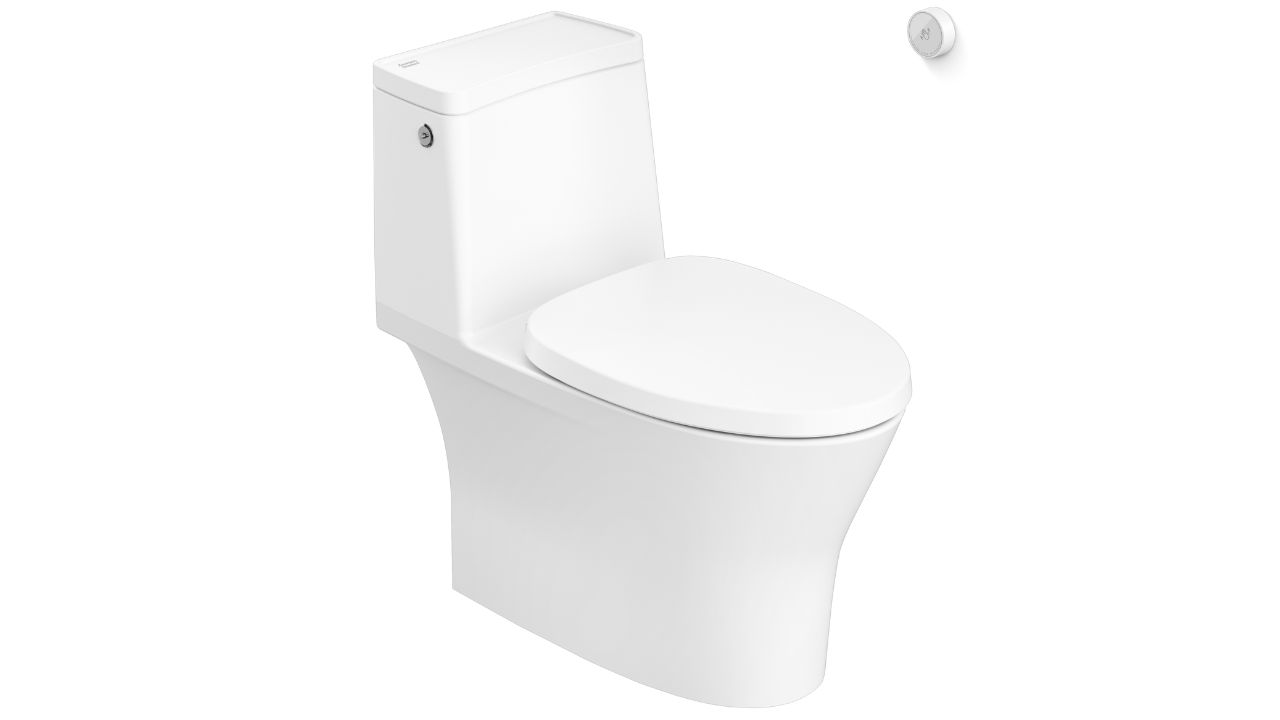
Replacement Toilet Seat (Optional): If your current toilet seat is damaged or in poor condition, you may choose to replace it with a new one. Ensure that the replacement seat is compatible with your American Standard toilet model.
-
Disinfectant Wipes or Cleaner: Before installing the new seat, it's important to thoroughly clean the toilet bowl and seat area. Disinfectant wipes or a suitable cleaner will help remove any dirt, grime, or bacteria, ensuring a hygienic environment.
-
Towel or Rag: Keep a towel or rag handy to wipe down the toilet seat and surrounding area after cleaning. This will help ensure that the installation process takes place in a clean and sanitary environment.
By gathering these tools and materials, you'll be well-prepared to tackle the task of tightening your American Standard toilet seat. With everything in place, you can proceed with confidence, knowing that you have everything you need to complete the job effectively.
Step 1: Remove the Old Toilet Seat
Removing the old toilet seat is the crucial first step in the process of tightening an American Standard toilet seat. Whether you're dealing with a traditional round seat or an elongated one, the removal process is generally the same. Here's a detailed guide on how to remove the old toilet seat:
-
Gather Your Tools: Before you begin, ensure that you have the necessary tools and materials at hand, including an adjustable wrench, screwdriver, and possibly a pair of pliers. Having these tools ready will streamline the removal process and make the task more manageable.
-
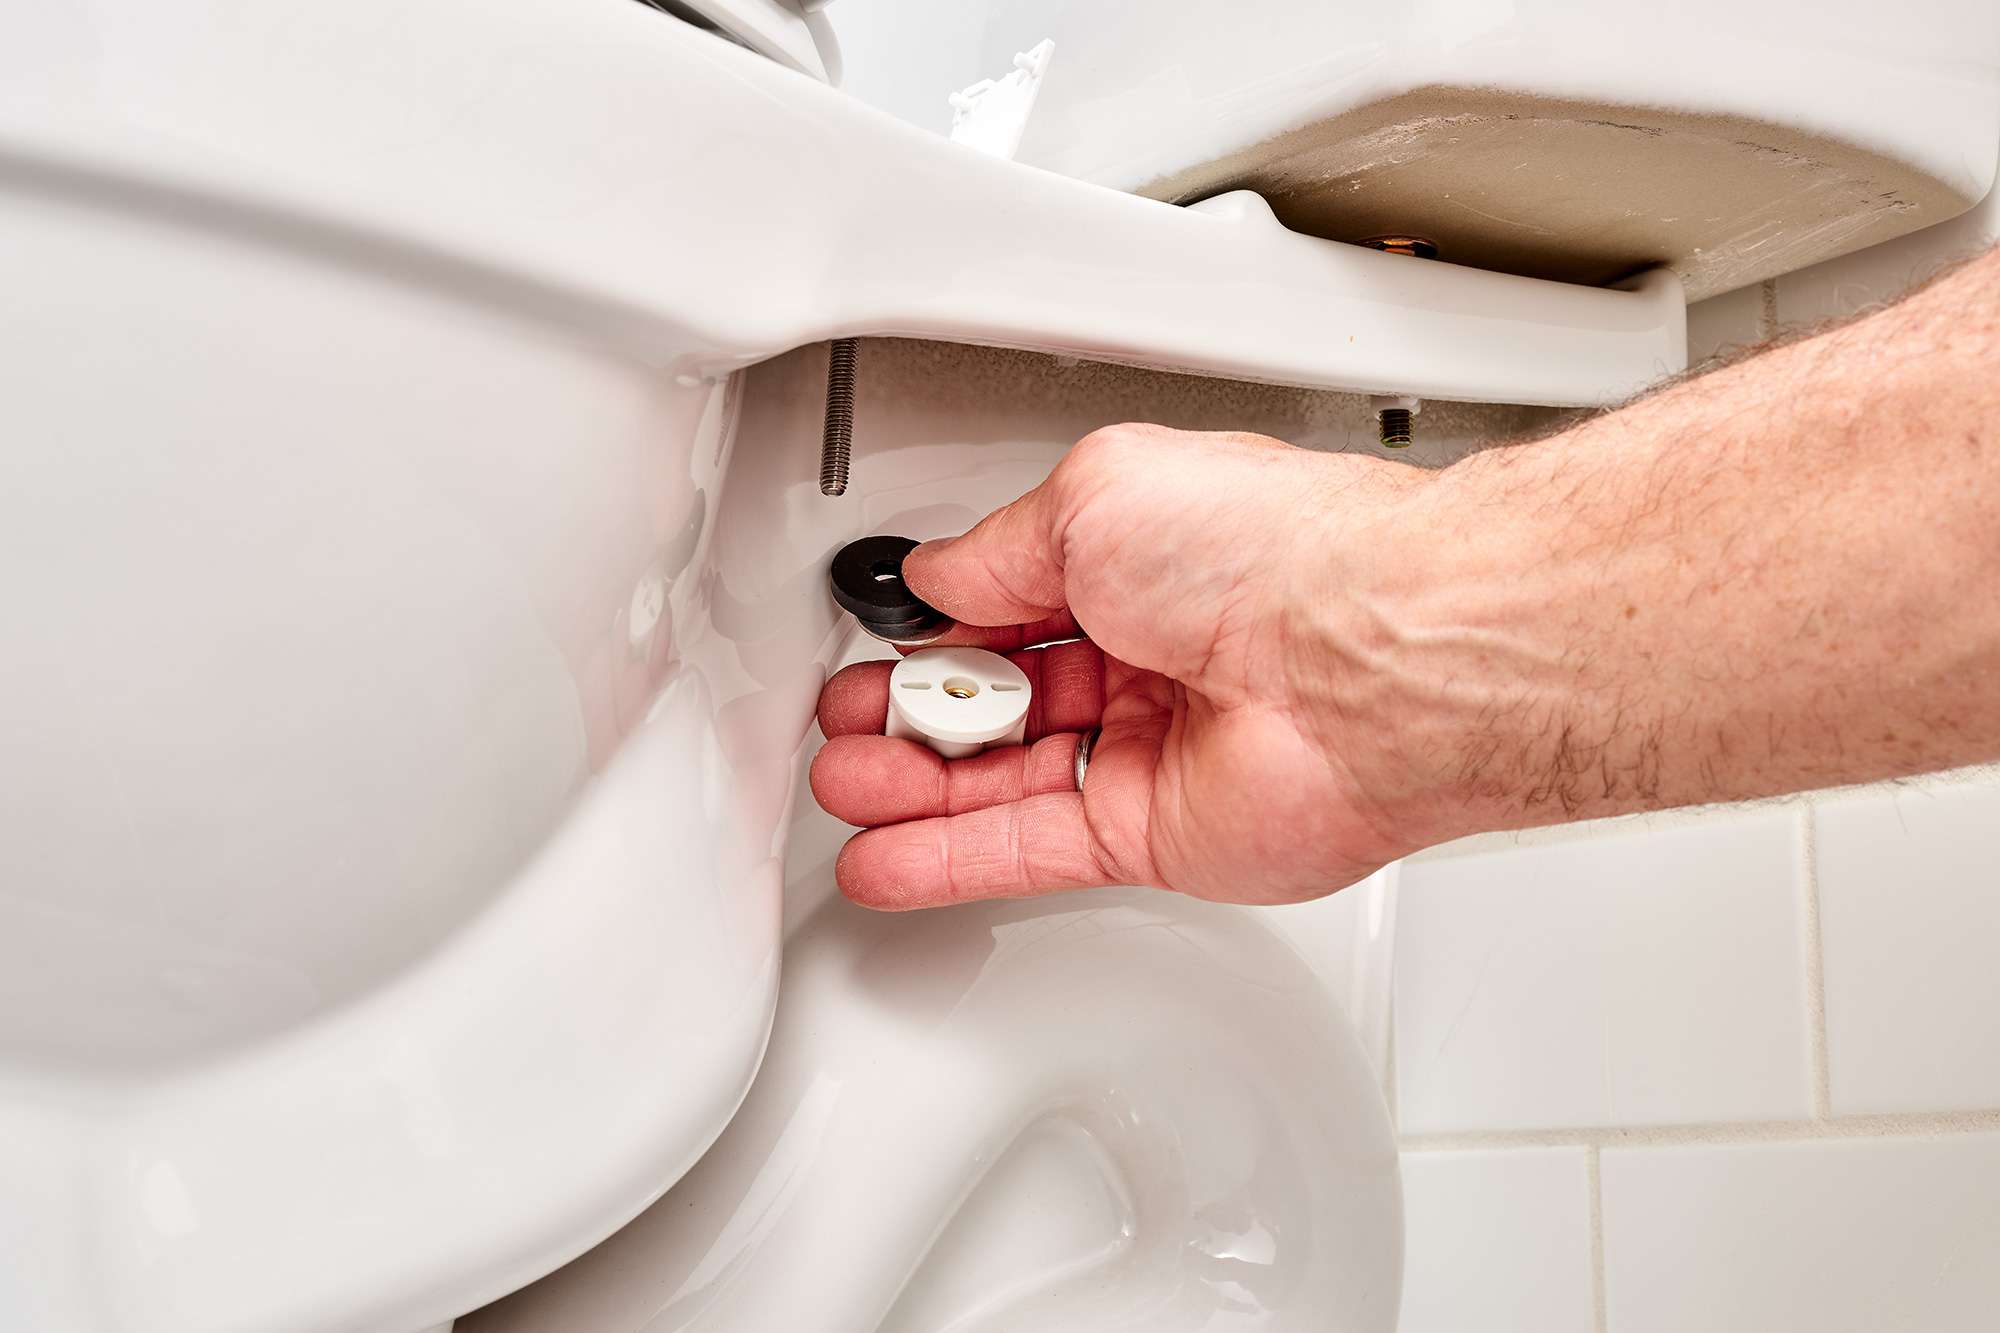
Locate the Fasteners: Examine the underside of the toilet seat to locate the fasteners that secure it to the bowl. Depending on the specific model of your American Standard toilet, the fasteners may be in the form of bolts and nuts, or they may feature a quick-release mechanism that allows for easy removal.
-
Loosen the Fasteners: Using the appropriate tool (adjustable wrench or screwdriver), begin loosening the fasteners that hold the toilet seat in place. If the fasteners are secured with nuts, hold the nut in place with a pair of pliers while you loosen the corresponding bolt. For quick-release fasteners, follow the manufacturer's instructions to release the seat from the mounting hardware.
-
Remove the Old Seat: Once the fasteners are sufficiently loosened, carefully lift the old toilet seat away from the bowl, ensuring that you don't damage the porcelain surface. Set the old seat aside in a safe location, as you may need to refer to it when installing the new seat.
-
Clean the Area: With the old seat removed, take the opportunity to clean the exposed area of the toilet bowl and the mounting points. Use disinfectant wipes or a suitable cleaner to thoroughly clean the surface, removing any accumulated dirt, grime, or residue.
By following these steps, you can successfully remove the old toilet seat in preparation for tightening or replacing it. With the old seat out of the way, you're now ready to proceed with the next steps in the process, ensuring that your American Standard toilet seat is securely fastened and in optimal condition.
Read also: 9 Amazing American Standard Toilet for 2025
Step 2: Clean the Toilet Bowl and Seat Area
After successfully removing the old toilet seat, it's essential to take the time to thoroughly clean the toilet bowl and the surrounding seat area. This step is crucial for ensuring a hygienic and sanitary environment before installing the new or tightened toilet seat. Here's a detailed guide on how to effectively clean the toilet bowl and seat area:
-
Gather Cleaning Supplies: Before you begin cleaning, gather the necessary cleaning supplies, including disinfectant wipes or a suitable cleaner, a towel or rag, and possibly rubber gloves for added protection.
-
Clean the Toilet Bowl: Start by focusing on the interior of the toilet bowl. Apply the disinfectant wipes or cleaner to the inside of the bowl, ensuring thorough coverage. Use a toilet brush to scrub the bowl, paying particular attention to areas under the rim and around the waterline. This process will help remove any stains, mineral deposits, or bacteria, leaving the bowl clean and fresh.
-
Clean the Seat Area: Once the interior of the bowl is clean, shift your attention to the seat area. Use disinfectant wipes or a cleaner to thoroughly clean the mounting points on the toilet bowl where the seat attaches. Pay attention to any areas where dirt, grime, or residue may have accumulated. Wipe down the entire seat area, including the rim of the bowl and the surrounding surfaces.
-
Wipe Down the Toilet Seat: If you're reusing the existing toilet seat, take this opportunity to wipe it down with disinfectant wipes or a cleaner. Ensure that both the top and bottom surfaces of the seat are thoroughly cleaned, removing any dirt or residue that may have accumulated during use.
-
Dispose of Cleaning Materials: Once the cleaning process is complete, dispose of any used disinfectant wipes or cleaning materials in a trash receptacle. This will help maintain a clean and organized workspace as you proceed with the installation of the new or tightened toilet seat.
By following these steps, you can ensure that the toilet bowl and seat area are clean and free of any dirt, grime, or bacteria. This not only contributes to a hygienic bathroom environment but also provides a clean surface for installing the new or tightened toilet seat. With the cleaning process complete, you're now ready to move on to the next steps in the process, ultimately achieving a secure and comfortable toilet seat in your American Standard toilet.
Step 3: Position the New Toilet Seat
With the old toilet seat removed and the toilet bowl and seat area thoroughly cleaned, you're now ready to position the new toilet seat. Whether you're installing a replacement seat or reattaching the existing one, this step is crucial for ensuring a proper fit and alignment. Here's a detailed guide on how to position the new toilet seat:
-
Align the Seat: Carefully position the new toilet seat over the mounting points on the toilet bowl. Ensure that the seat is aligned symmetrically, with the bolt holes or mounting slots properly positioned over the attachment points. Take your time to ensure that the seat is centered and aligned correctly before proceeding.
-
Check the Alignment: Once the seat is in place, visually inspect the alignment to confirm that it is centered and sits flush against the bowl. Check that the seat is level and does not appear crooked or misaligned. Making any necessary adjustments at this stage will help ensure a proper fit and a visually appealing result.
-
Verify the Fit: Before proceeding to secure the seat, verify that it fits securely and does not wobble or shift when pressure is applied. Gently press down on the seat to confirm that it remains stable and properly positioned. This step will help identify any potential issues with the fit before finalizing the installation.
-
Ensure Comfort: Consider the comfort and usability of the seat position. Ensure that there is adequate clearance between the seat and the toilet bowl, allowing for comfortable seating. Additionally, verify that the seat does not interfere with the flushing mechanism or any other components within the toilet bowl.
-
Double-Check the Alignment: Once you're satisfied with the position and fit of the new toilet seat, take a final moment to double-check the alignment. Confirm that the seat is visually appealing and complements the overall aesthetics of the bathroom. This attention to detail will contribute to a polished and professional result.
By following these steps, you can effectively position the new toilet seat, ensuring that it aligns correctly and fits securely on the toilet bowl. Taking the time to verify the alignment and fit at this stage will contribute to a successful installation, setting the stage for the final step of securing the toilet seat in place.
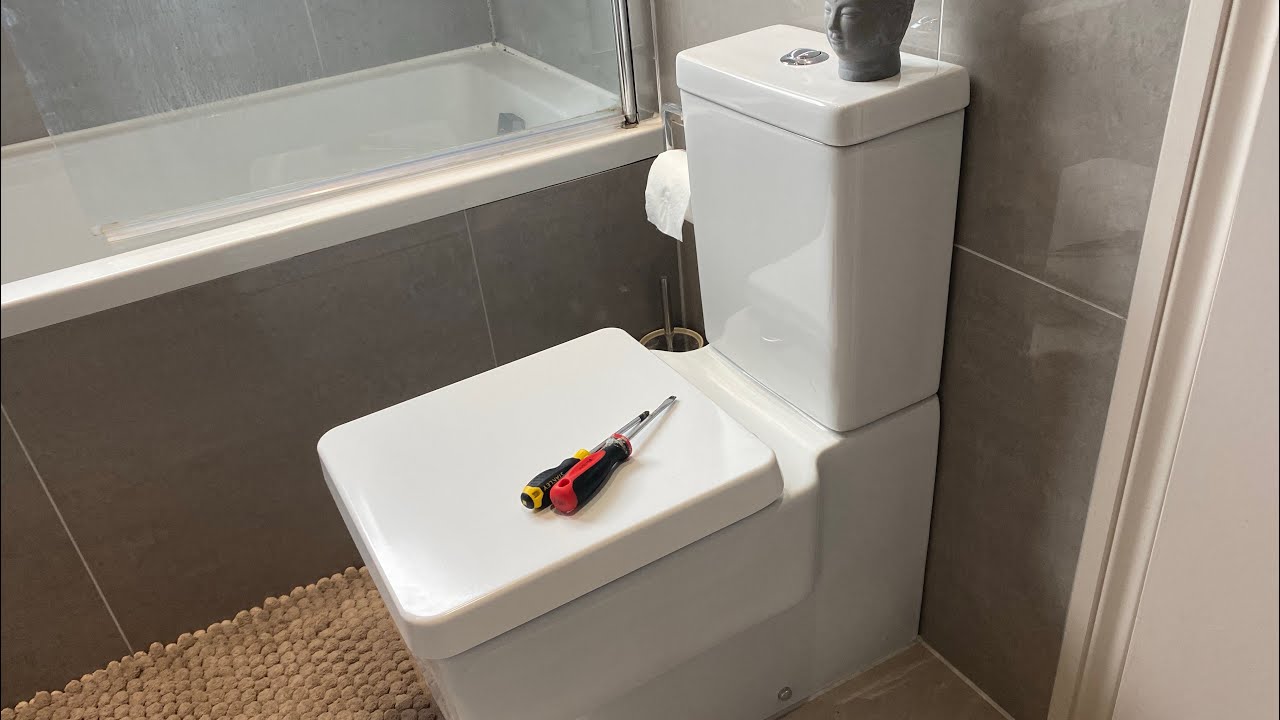
To tighten an American Standard toilet seat, use a screwdriver to tighten the screws located at the back of the seat. Make sure not to over-tighten to avoid damaging the seat or the toilet.
Step 4: Secure the Toilet Seat
Once the new toilet seat is correctly positioned and aligned, the next crucial step is to secure it in place. Properly securing the toilet seat ensures stability and longevity, preventing any wobbling or shifting during use. Here's a detailed guide on how to effectively secure the toilet seat to the toilet bowl:
-
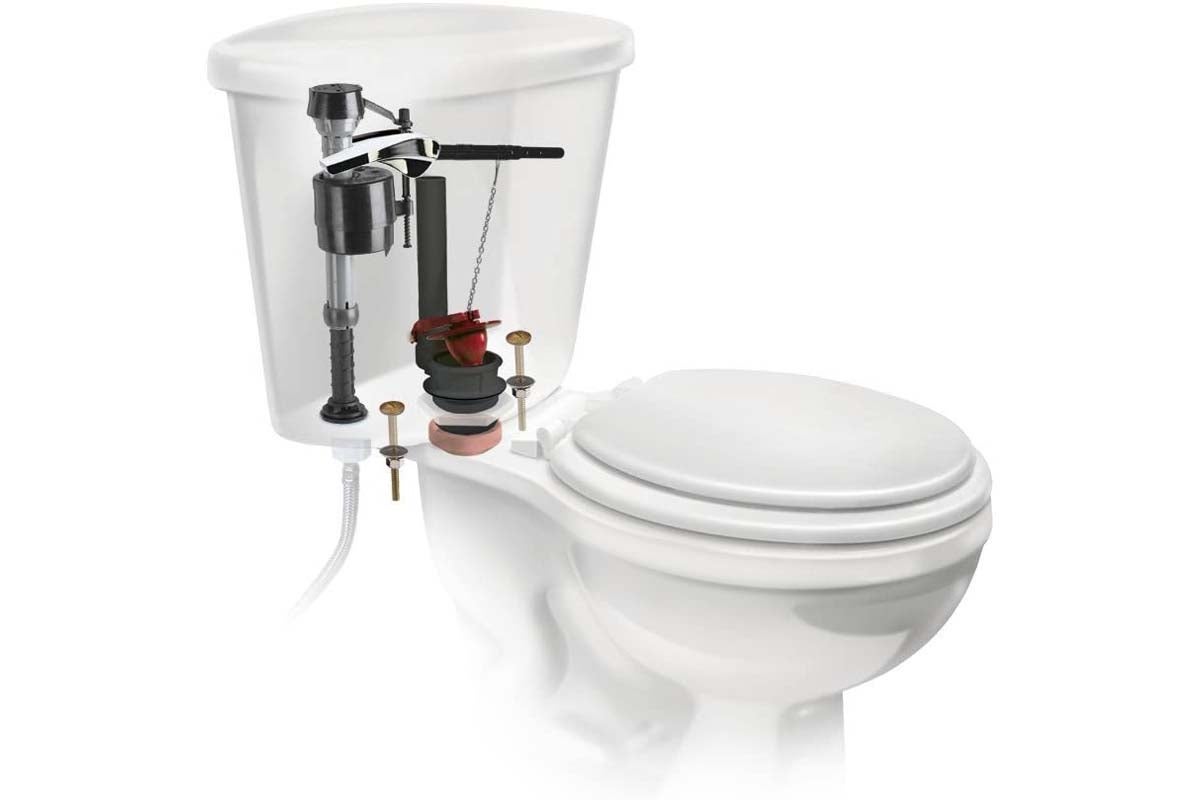
Attach the Fasteners: Begin by placing the fastening bolts or screws through the mounting holes on the toilet seat. Depending on the specific model of your American Standard toilet seat, the fasteners may be in the form of bolts and nuts, or they may feature a quick-release mechanism. Ensure that the fasteners are inserted securely and aligned with the corresponding attachment points on the toilet bowl.
-
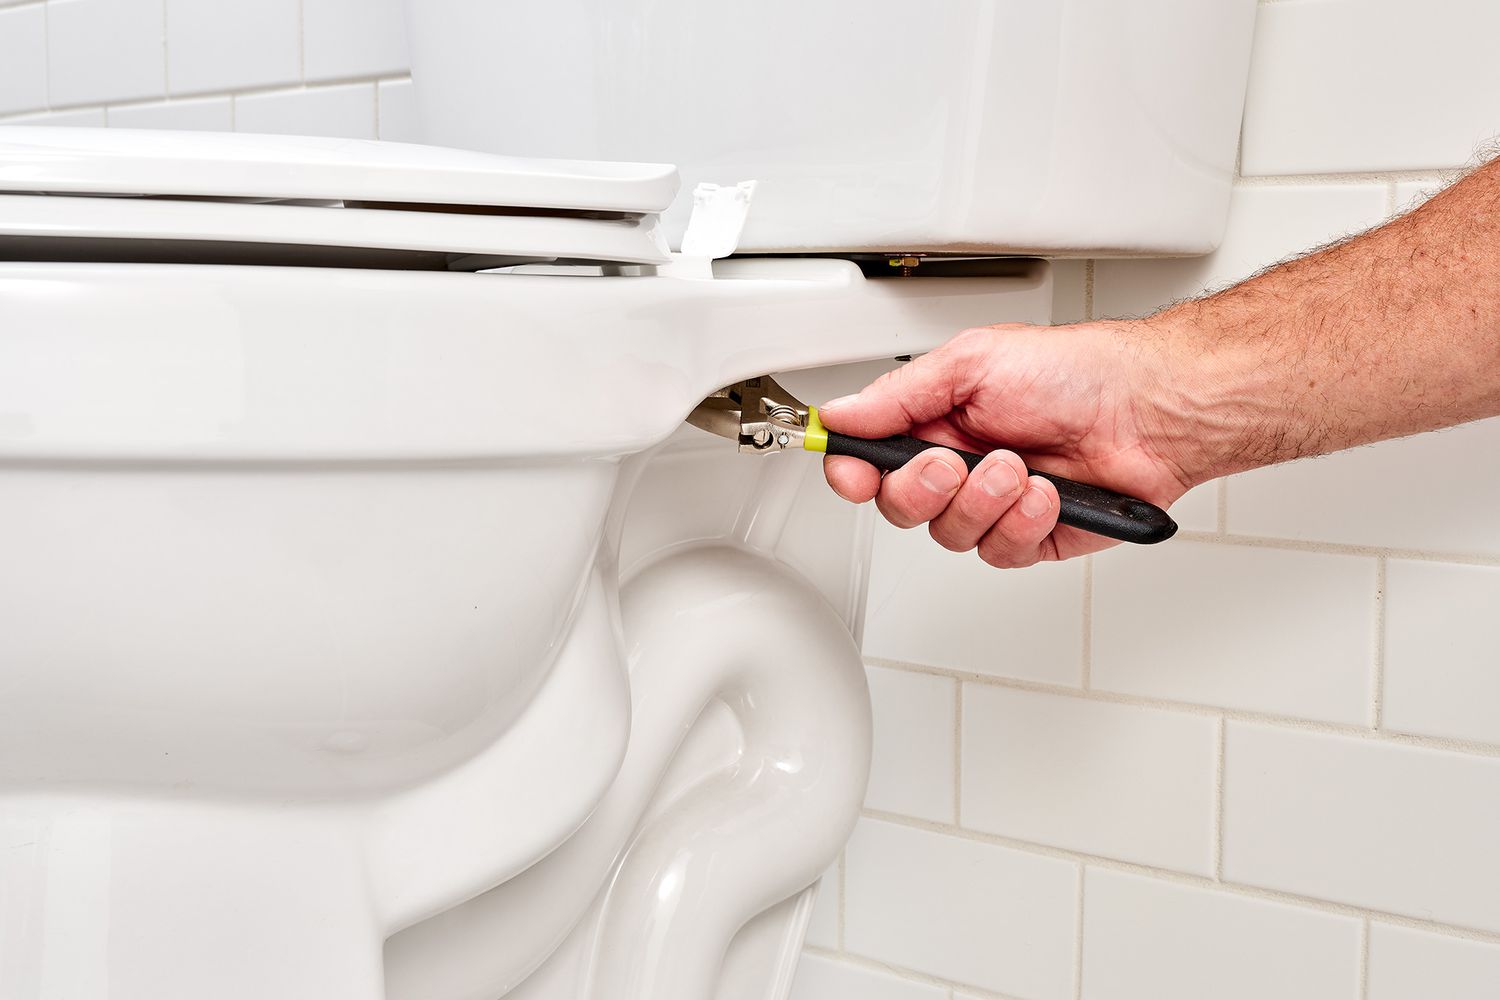
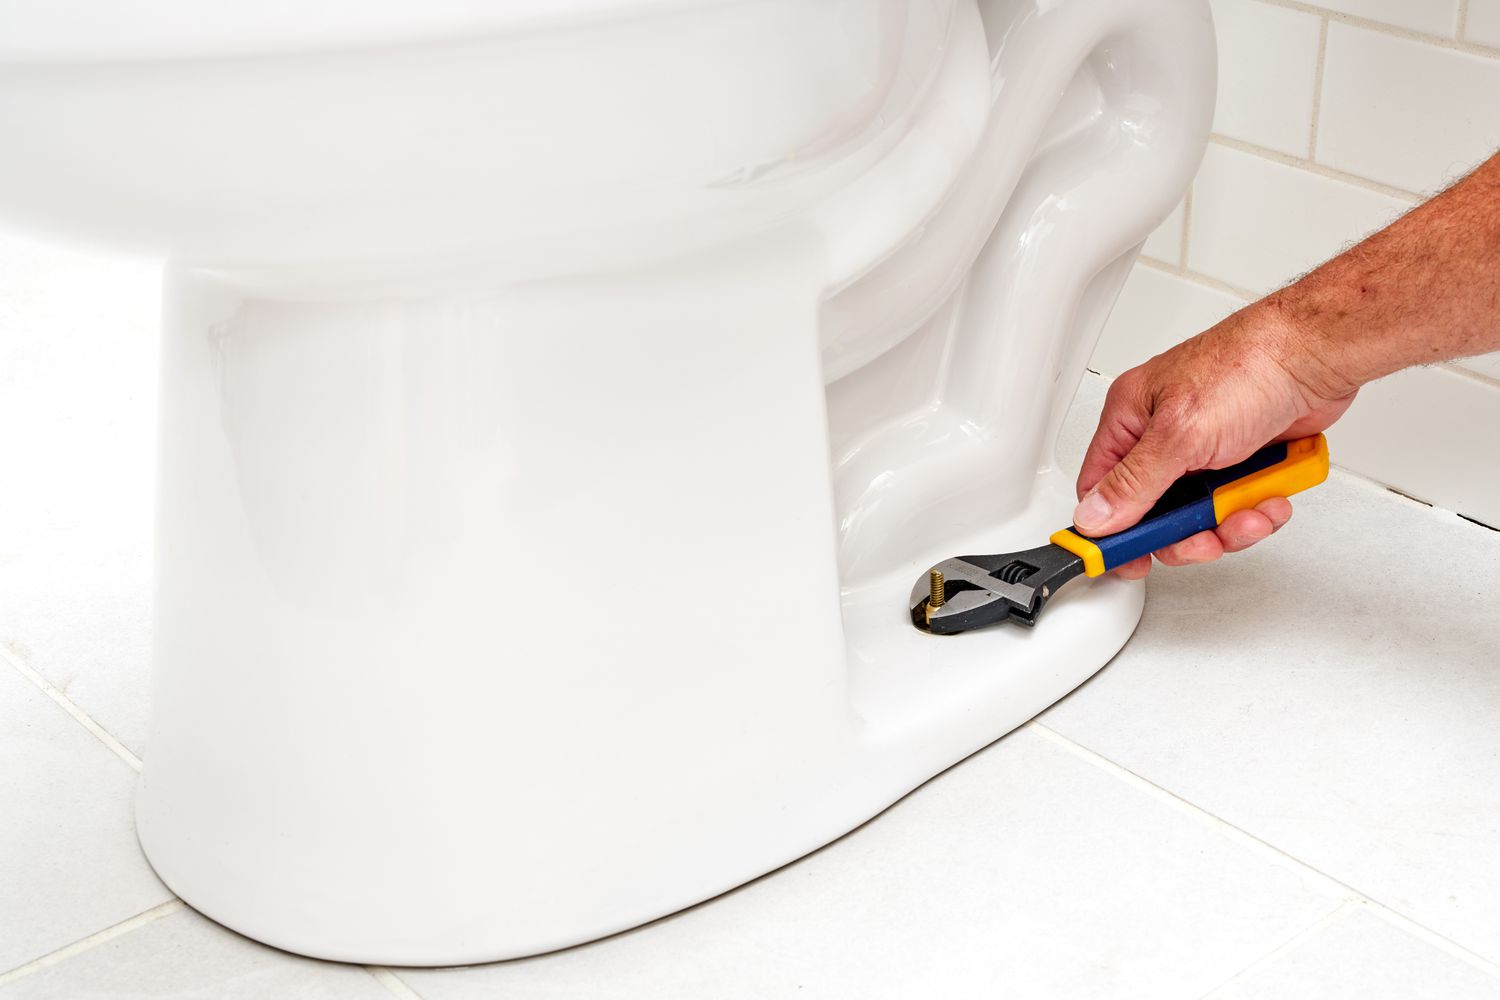
Apply the Nuts or Screws: If your toilet seat utilizes traditional bolts and nuts, carefully thread the nuts onto the bolts from the underside of the toilet bowl. Use an adjustable wrench to tighten the nuts, ensuring a firm and secure fit. For seats with screws, use a screwdriver to tighten the screws, applying sufficient torque to firmly attach the seat to the bowl.
-
Adjust for Tightness: As you tighten the nuts or screws, periodically check the stability and alignment of the toilet seat. Avoid over-tightening, as this can lead to damage or cracking of the seat or the porcelain bowl. Instead, aim for a snug fit that eliminates any potential movement or play in the seat while maintaining a comfortable level of tightness.
-
Utilize Quick-Release Mechanism (If Applicable): For toilet seats equipped with a quick-release mechanism, follow the manufacturer's instructions to engage the mechanism and secure the seat in place. This may involve a simple locking or twisting action that ensures the seat remains firmly attached to the mounting hardware.
-
Test for Stability: Once the fasteners are securely attached, test the stability of the toilet seat by gently applying pressure in various directions. The seat should remain firmly in place, without any wobbling or shifting. Confirm that the seat feels secure and stable, providing confidence in its attachment to the toilet bowl.
-
Trim Excess Bolt Length (If Necessary): If your toilet seat utilizes bolts with excess length protruding from the nuts, use a hacksaw or bolt cutter to trim the excess length. Be cautious during this process to avoid damaging the toilet bowl or the seat. Once trimmed, the bolts should be flush with the nuts, contributing to a neat and tidy appearance.
By following these steps, you can effectively secure the new toilet seat to the toilet bowl, ensuring a stable and reliable attachment. With the seat firmly in place, you can proceed to the final step of testing the seat's functionality and stability, ultimately achieving a secure and comfortable toilet seat in your American Standard toilet.
Step 5: Test the Toilet Seat
After securing the new or tightened toilet seat in place, it's essential to perform a thorough test to ensure its functionality and stability. Testing the toilet seat will provide confidence in its secure attachment and confirm that it meets the necessary comfort and usability standards. Here's a detailed guide on how to effectively test the toilet seat:
-
Check for Stability: Begin by applying gentle pressure to the seat in various directions. Press down on the seat and attempt to shift it from side to side. A stable and properly secured seat should remain firmly in place, without any wobbling or movement. Confirm that the seat feels secure and stable under pressure, providing assurance of its attachment to the toilet bowl.
-
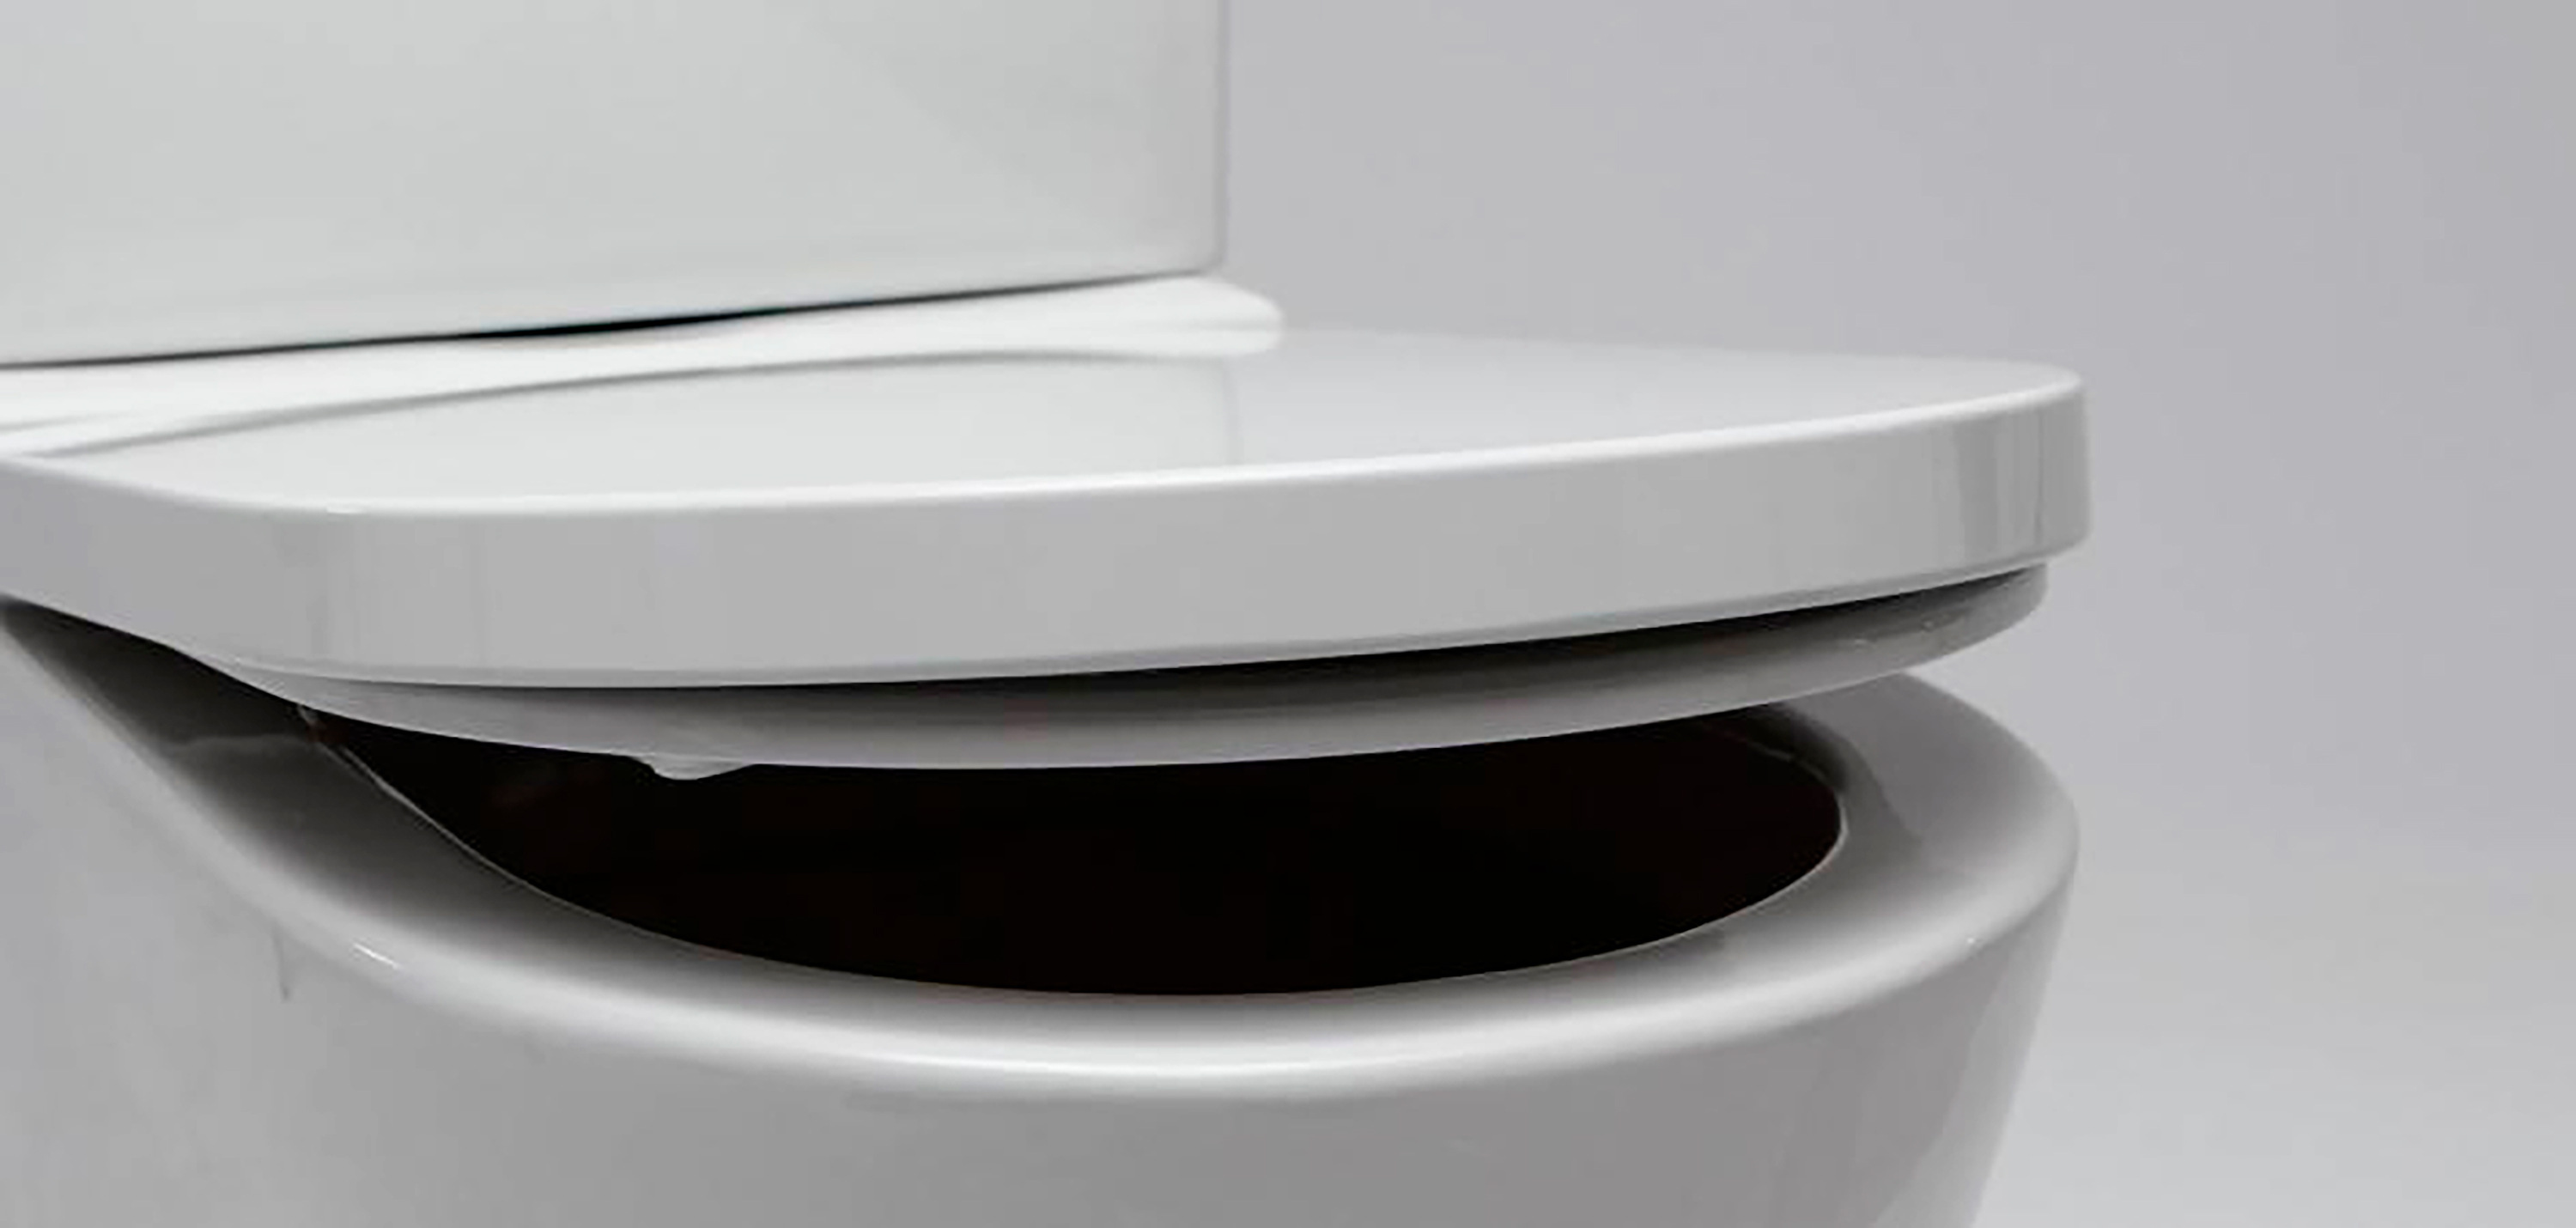
Test the Lid (If Applicable): If your toilet seat includes a lid, test its functionality by opening and closing it several times. The lid should operate smoothly and remain securely attached to the seat. Verify that the lid aligns properly when closed and does not interfere with the seat's stability or alignment.
-
Sit Test: Sit on the toilet seat to assess its comfort and stability. The seat should feel secure and supportive, with no shifting or sliding during use. Pay attention to any discomfort or instability, as this may indicate a need for further adjustment or tightening.
-
Evaluate Alignment: Visually inspect the alignment of the seat and lid, if applicable, to ensure that they are centered and symmetrical. Confirm that the seat and lid align properly with the toilet bowl, contributing to a visually appealing and functional installation.
-
Check for Movement: Rock back and forth slightly while seated on the toilet to test for any movement or play in the seat. A properly secured seat should remain stable and immobile, providing a comfortable and reliable seating experience.
-
Inspect Fasteners: After testing the seat, inspect the fasteners and attachment points to ensure that they remain secure. Verify that the nuts or screws are tight and that there are no signs of loosening or shifting. Address any issues promptly to maintain the seat's stability.
By following these steps, you can effectively test the new or tightened toilet seat, confirming its stability, comfort, and functionality. A successful test will provide peace of mind, knowing that your American Standard toilet seat is securely fastened and ready for everyday use. With the seat passing the test with flying colors, you can confidently move forward, enjoying a secure and comfortable bathroom experience.
Conclusion
In conclusion, successfully tightening an American Standard toilet seat is a manageable task that can be accomplished with the right tools, a methodical approach, and attention to detail. By following the step-by-step process outlined in this guide, you can ensure that your toilet seat remains securely fastened, providing comfort, stability, and peace of mind for you and your family.
Throughout the process, we emphasized the importance of thorough preparation, including gathering the necessary tools and materials, as well as the significance of maintaining a clean and hygienic environment. Removing the old toilet seat, cleaning the toilet bowl and seat area, positioning the new seat, securing it in place, and conducting a comprehensive test were all essential steps in achieving a successful outcome.
By taking the time to align the new seat properly, secure it firmly, and test its stability and functionality, you can enjoy the confidence of knowing that your American Standard toilet seat is in optimal condition. Whether you opted to tighten the existing seat or install a replacement, the result is a secure and comfortable fixture that enhances the overall functionality and aesthetics of your bathroom.
It's important to note that regular maintenance and periodic checks of the toilet seat's stability are recommended to address any potential loosening or wear over time. By staying proactive and addressing any issues promptly, you can prolong the lifespan of your toilet seat and maintain a safe and comfortable bathroom environment.
In the end, the process of tightening an American Standard toilet seat not only ensures practical functionality but also contributes to the overall cleanliness and comfort of your bathroom. With the knowledge and skills gained from this guide, you are well-equipped to tackle this task with confidence, ensuring that your bathroom remains a welcoming and functional space for years to come.
Frequently Asked Questions about How To Tighten An American Standard Toilet Seat
Was this page helpful?
At Storables.com, we guarantee accurate and reliable information. Our content, validated by Expert Board Contributors, is crafted following stringent Editorial Policies. We're committed to providing you with well-researched, expert-backed insights for all your informational needs.

0 thoughts on “How To Tighten An American Standard Toilet Seat”