Home>Furniture & Design>Bathroom Accessories>Bidet Toilet: How To Install
Bathroom Accessories
Bidet Toilet: How To Install
Modified: October 20, 2024
Learn how to install a bidet toilet and upgrade your bathroom with the best accessories. Find step-by-step instructions and tips for a seamless installation. Elevate your bathroom experience today!
(Many of the links in this article redirect to a specific reviewed product. Your purchase of these products through affiliate links helps to generate commission for Storables.com, at no extra cost. Learn more)
Introduction
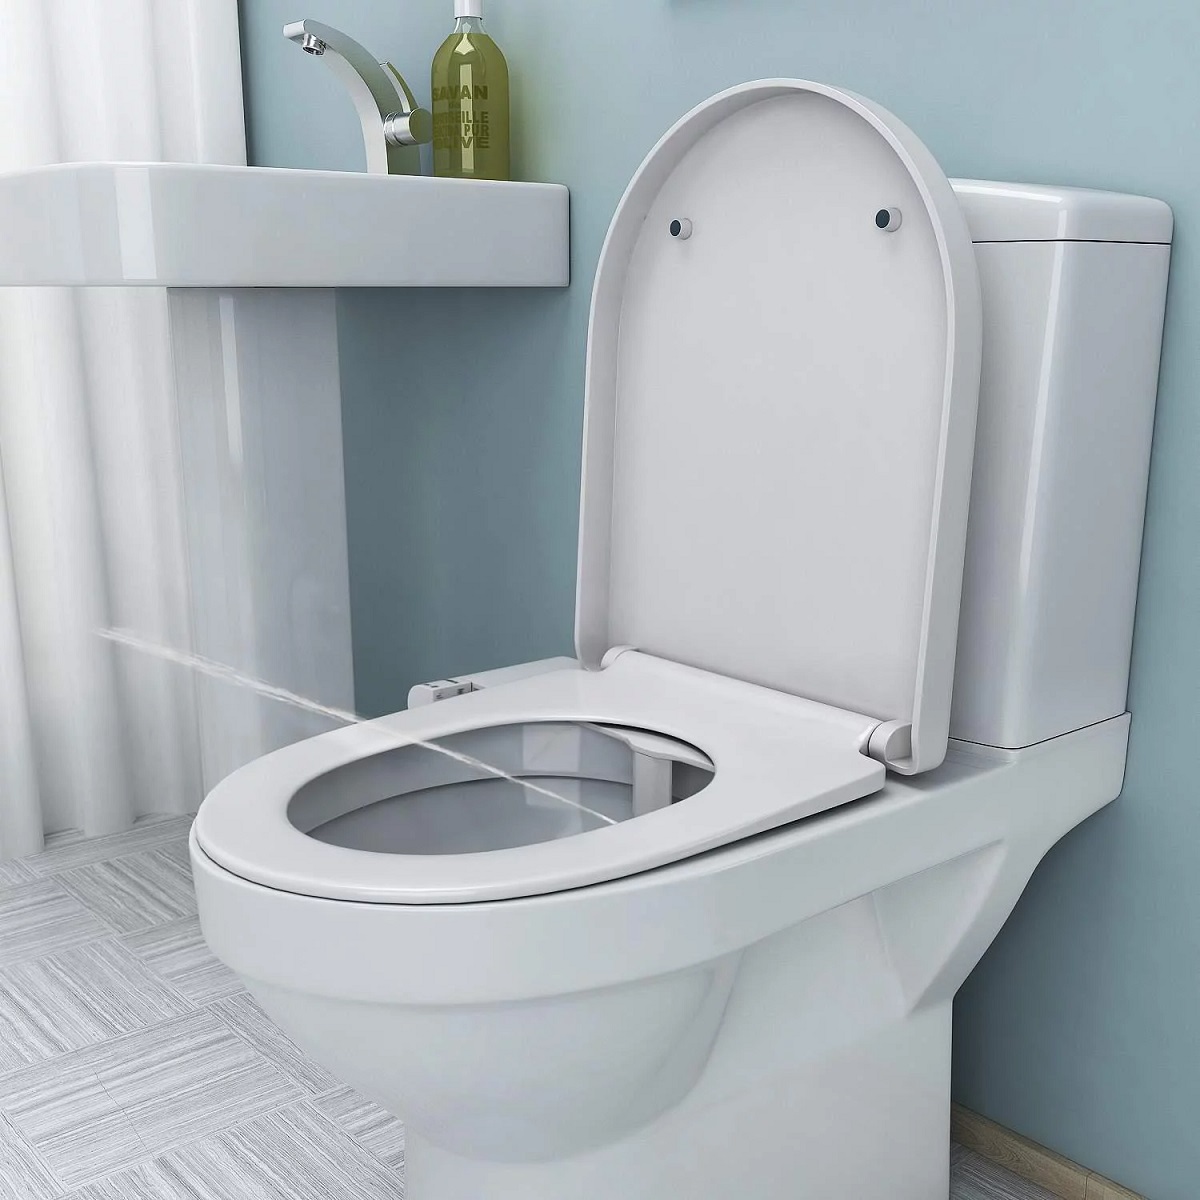
Installing a bidet toilet attachment is a simple and effective way to upgrade your bathroom experience. Bidets offer a hygienic and eco-friendly alternative to traditional toilet paper, providing a gentle and thorough cleansing with water. Whether you're looking to reduce your environmental impact, enhance personal hygiene, or simply add a touch of luxury to your bathroom, a bidet attachment is a practical and affordable solution.
In this comprehensive guide, we will walk you through the step-by-step process of installing a bidet toilet attachment. By following these instructions, you can transform your existing toilet into a fully functional bidet, reaping the benefits of a cleaner and more sustainable bathroom routine.
With the increasing popularity of bidets in modern homes, the installation process has become more accessible and user-friendly. You don't need advanced plumbing skills or specialized tools to complete this project. By dedicating a short amount of time and attention to the installation, you can enjoy the long-term advantages of a bidet toilet without the hassle of a complex setup.
Whether you're a seasoned DIY enthusiast or a novice homeowner, this guide is designed to provide clear and actionable steps to help you successfully install a bidet toilet attachment. From gathering the necessary tools and materials to testing the functionality of the bidet, each stage of the installation process will be explained in detail, ensuring that you feel confident and capable throughout the project.
By the end of this guide, you'll have a comprehensive understanding of how to install a bidet toilet attachment, empowering you to make a positive change in your bathroom and daily routine. Let's embark on this journey to elevate your bathroom experience and embrace the convenience and comfort of a bidet-equipped toilet.
Key Takeaways:
- Upgrade your bathroom with a bidet attachment for a cleaner, more sustainable experience. Follow the simple steps to install and enjoy the benefits of enhanced hygiene and eco-friendly living.
- By installing a bidet attachment, you can reduce environmental impact, improve personal hygiene, and add a touch of luxury to your bathroom. It’s a practical and affordable DIY project for a more sustainable lifestyle.
Read more: How To Install Bidet Toilet Seat
Step 1: Gather Necessary Tools and Materials
Before embarking on the installation of a bidet toilet attachment, it's essential to gather all the required tools and materials. By ensuring that you have everything at your disposal, you can streamline the installation process and minimize interruptions. Here's a comprehensive list of the necessary items:
Tools:
- Adjustable Wrench: This versatile tool will be used to loosen and tighten various nuts and bolts during the installation.
- Screwdriver: Both flat-head and Phillips-head screwdrivers may be needed to remove the existing toilet seat and secure the bidet attachment.
- Teflon Tape: Also known as plumber's tape, this thin white tape is used to seal pipe threads, preventing leaks in the water supply connections.
- Bucket or Container: Having a bucket or container on hand will be useful for catching any water that may drip during the installation process.
- Towel or Rag: Keeping a towel or rag nearby will help in cleaning up any spills or excess water.
Materials:
- Bidet Toilet Attachment: Select a bidet attachment that is compatible with your existing toilet. Consider factors such as water pressure, nozzle adjustability, and additional features based on your preferences.
- Water Supply Adapter: Depending on your toilet's water supply connection, you may need a specific adapter to ensure compatibility with the bidet attachment.
- Rubber Washers: These small, flexible washers will be used to create a watertight seal between the bidet attachment and the toilet bowl.
- Supply Hose: Ensure that you have a supply hose of the appropriate length to connect the bidet attachment to the water supply.
- Optional: Gloves and Safety Glasses: While not essential, wearing gloves and safety glasses can provide added protection during the installation process.
By gathering these tools and materials in advance, you can set the stage for a smooth and efficient installation of the bidet toilet attachment. With everything at your fingertips, you'll be ready to proceed to the next step with confidence and readiness.
Step 2: Shut Off Water Supply
Before beginning the installation process, it is crucial to shut off the water supply to the toilet. This step is essential for ensuring a safe and controlled environment while working on the bidet attachment. By turning off the water supply, you can prevent any potential leaks or water-related mishaps during the installation.
To shut off the water supply, locate the shut-off valve behind the toilet. This valve is typically located on the wall or floor near the base of the toilet. Once you have identified the shut-off valve, turn it clockwise to close it completely. This action will stop the flow of water to the toilet, allowing you to proceed with the installation without the risk of water leakage.
After shutting off the water supply, it's advisable to flush the toilet to remove any remaining water from the tank and bowl. Flushing the toilet will help minimize the amount of water that may spill or leak during the subsequent steps of the installation process.
It's important to exercise caution when handling the shut-off valve, especially if it hasn't been operated in a while. If the valve is difficult to turn or shows signs of corrosion, consider using a pair of pliers or an adjustable wrench to assist in closing it securely.
By shutting off the water supply and flushing the toilet, you create a safe and controlled environment for installing the bidet attachment. This proactive measure minimizes the risk of water damage and ensures a smooth and hassle-free installation process.
With the water supply securely turned off and the toilet flushed, you are now ready to proceed to the next step of removing the existing toilet seat in preparation for installing the bidet attachment.
Read more: How To Install A Handheld Bidet
Step 3: Remove Existing Toilet Seat
Removing the existing toilet seat is a crucial step in preparing the toilet for the installation of a bidet attachment. This process requires careful attention to detail and the use of basic tools to ensure a smooth transition to the new bidet-equipped setup.
To begin, locate the two plastic caps at the back of the toilet seat where it connects to the bowl. These caps cover the bolts that secure the seat in place. Using a flat-head screwdriver, gently pry off the plastic caps to expose the bolts underneath. Once the bolts are visible, use a screwdriver to hold the top of each bolt in place while using an adjustable wrench to loosen and remove the nuts underneath the toilet bowl. Keep in mind that the nuts may be tightly secured, so applying steady pressure to loosen them is essential.
After removing the nuts and bolts, carefully lift the existing toilet seat and lid away from the toilet bowl. Set them aside in a safe location, as they may be reused if they are in good condition. With the toilet seat removed, you will have clear access to the toilet bowl, allowing you to proceed with the installation of the bidet attachment.
Before discarding the old toilet seat, take a moment to inspect the area around the bolt holes on the toilet bowl. Ensure that the surface is clean and free of any debris or residue from the previous seat. Wipe the area with a damp cloth if necessary to create a clean and smooth surface for attaching the bidet.
By removing the existing toilet seat, you have successfully cleared the way for the installation of the bidet attachment. This straightforward process sets the stage for the next step, where you will embark on the exciting task of installing the bidet to enhance your bathroom experience.
With the existing toilet seat removed and the toilet bowl prepared for the bidet attachment, you are now ready to move on to the next step in the installation process.
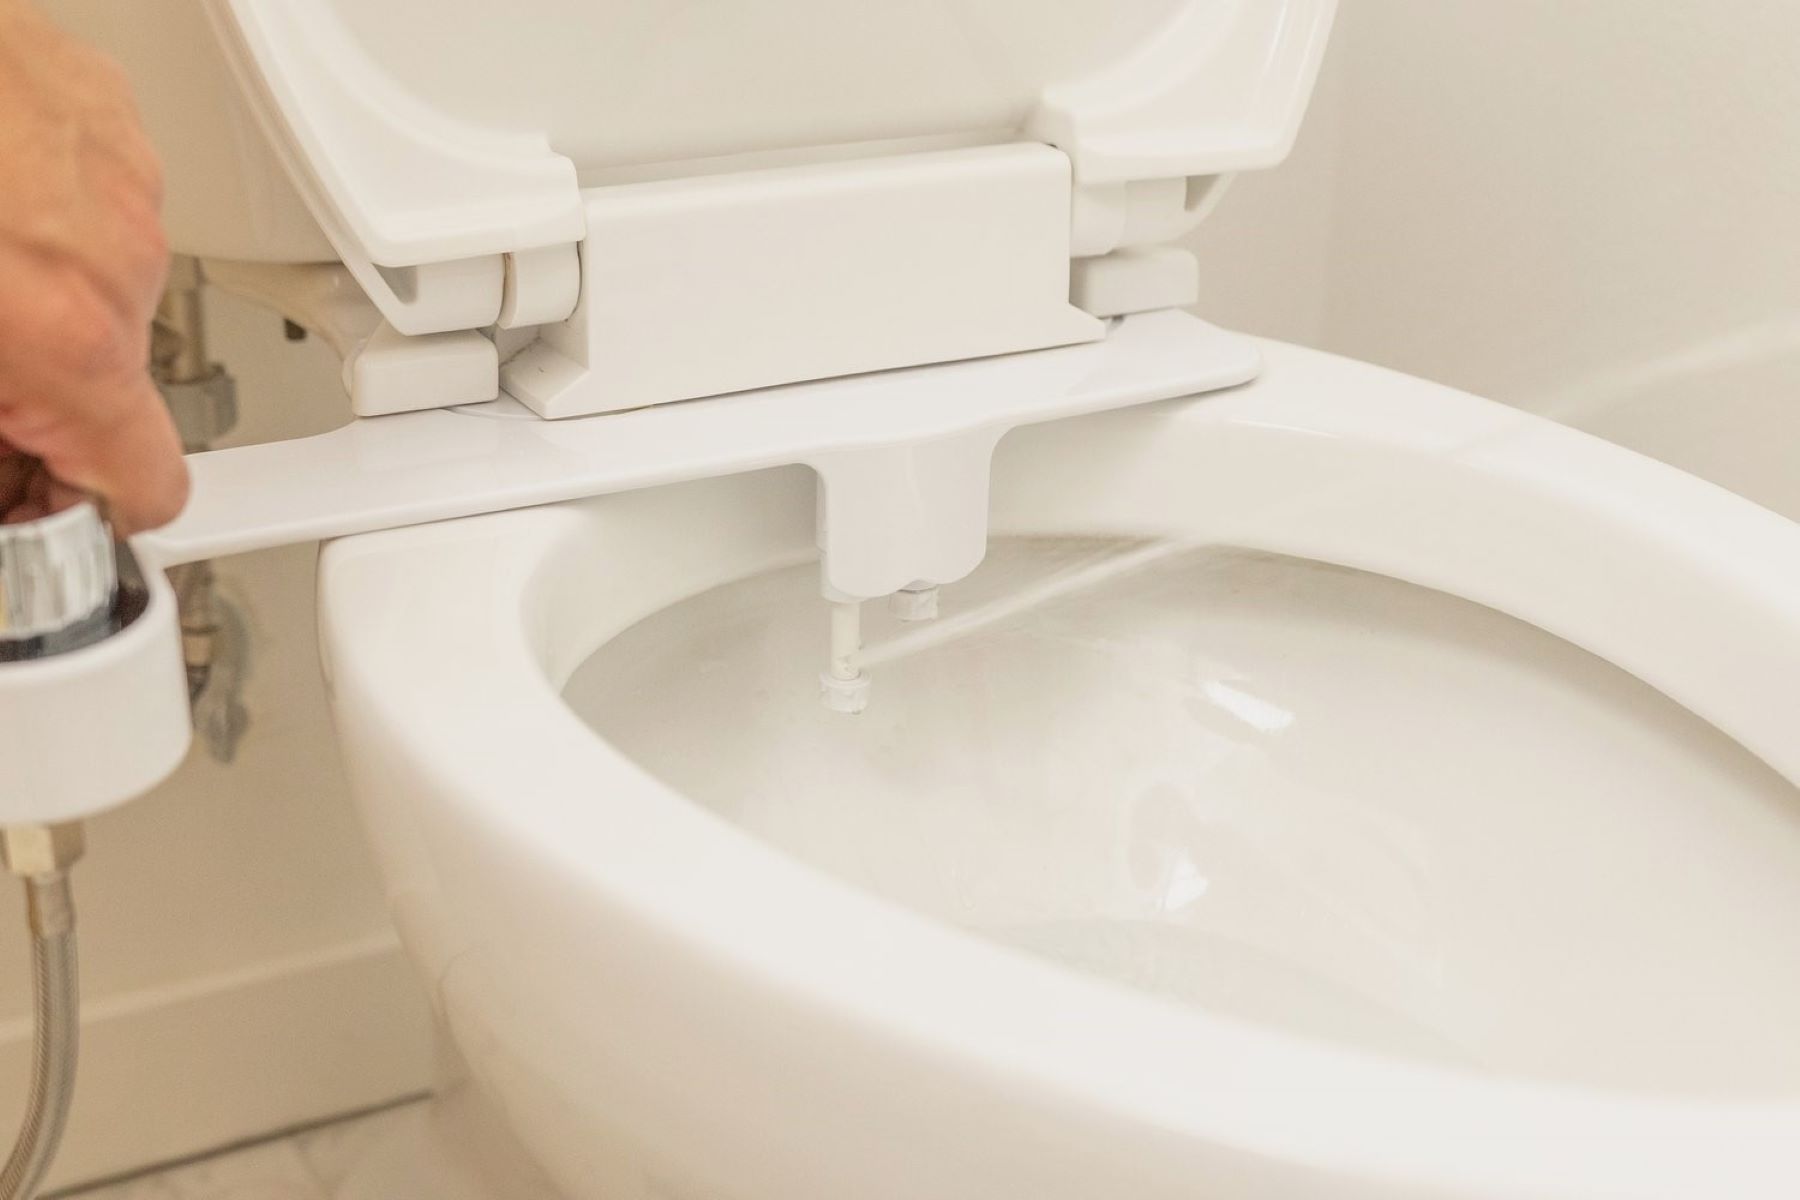
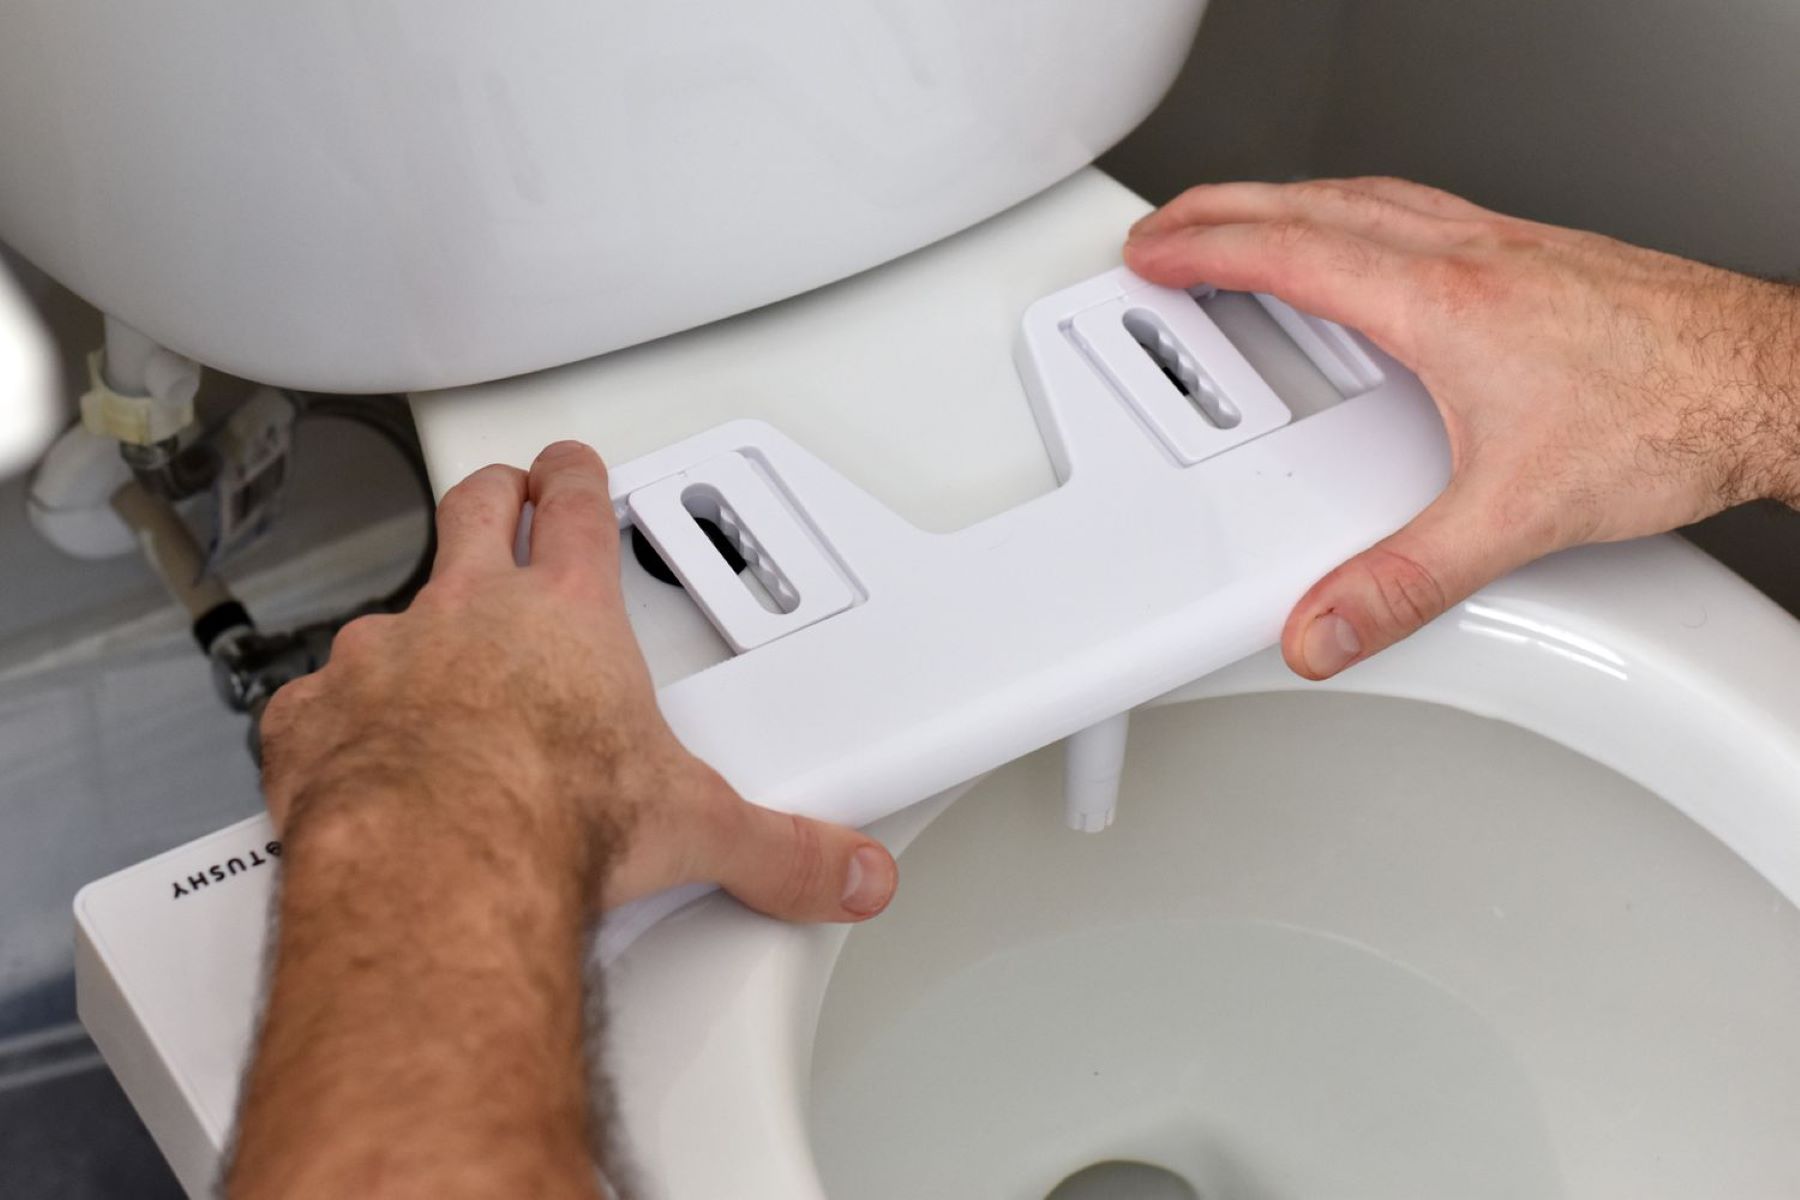
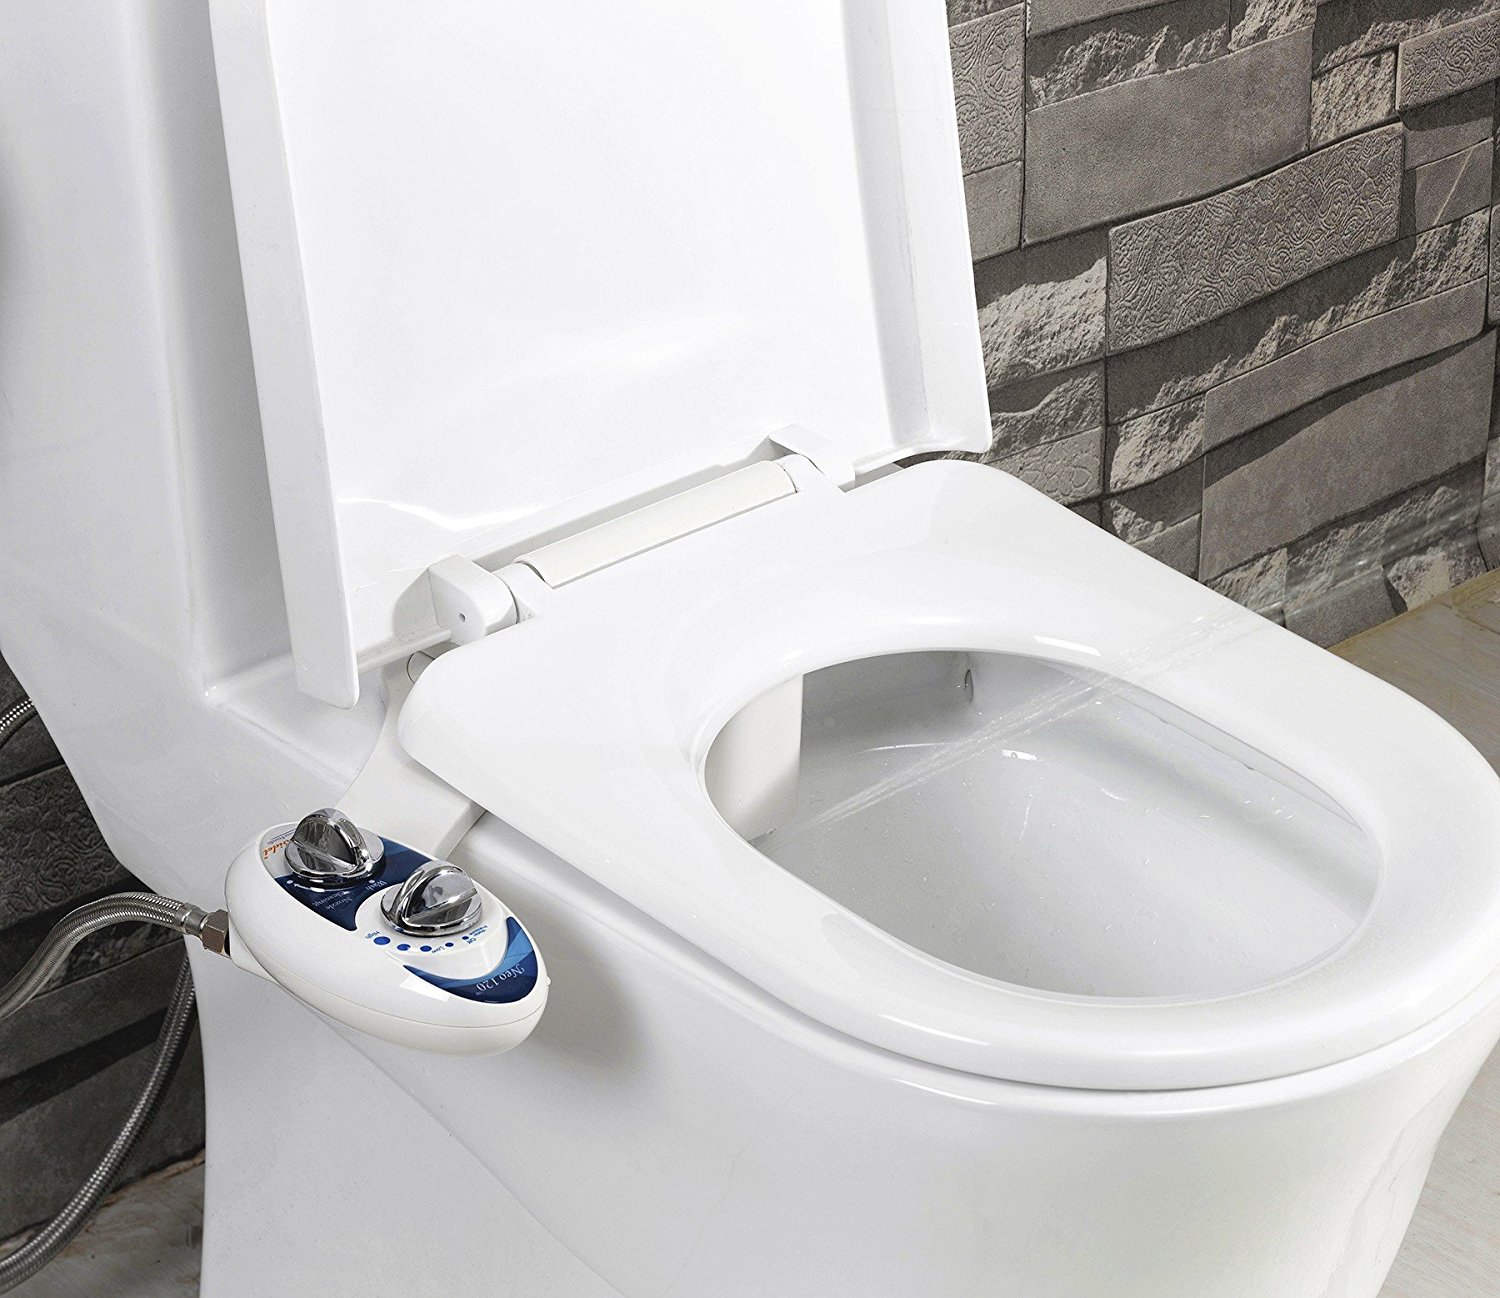
Step 4: Install Bidet Attachment
With the existing toilet seat removed and the toilet bowl prepared for the bidet attachment, you are now ready to embark on the exciting task of installing the bidet. This transformative addition will elevate your bathroom experience, providing enhanced hygiene and comfort with each use.
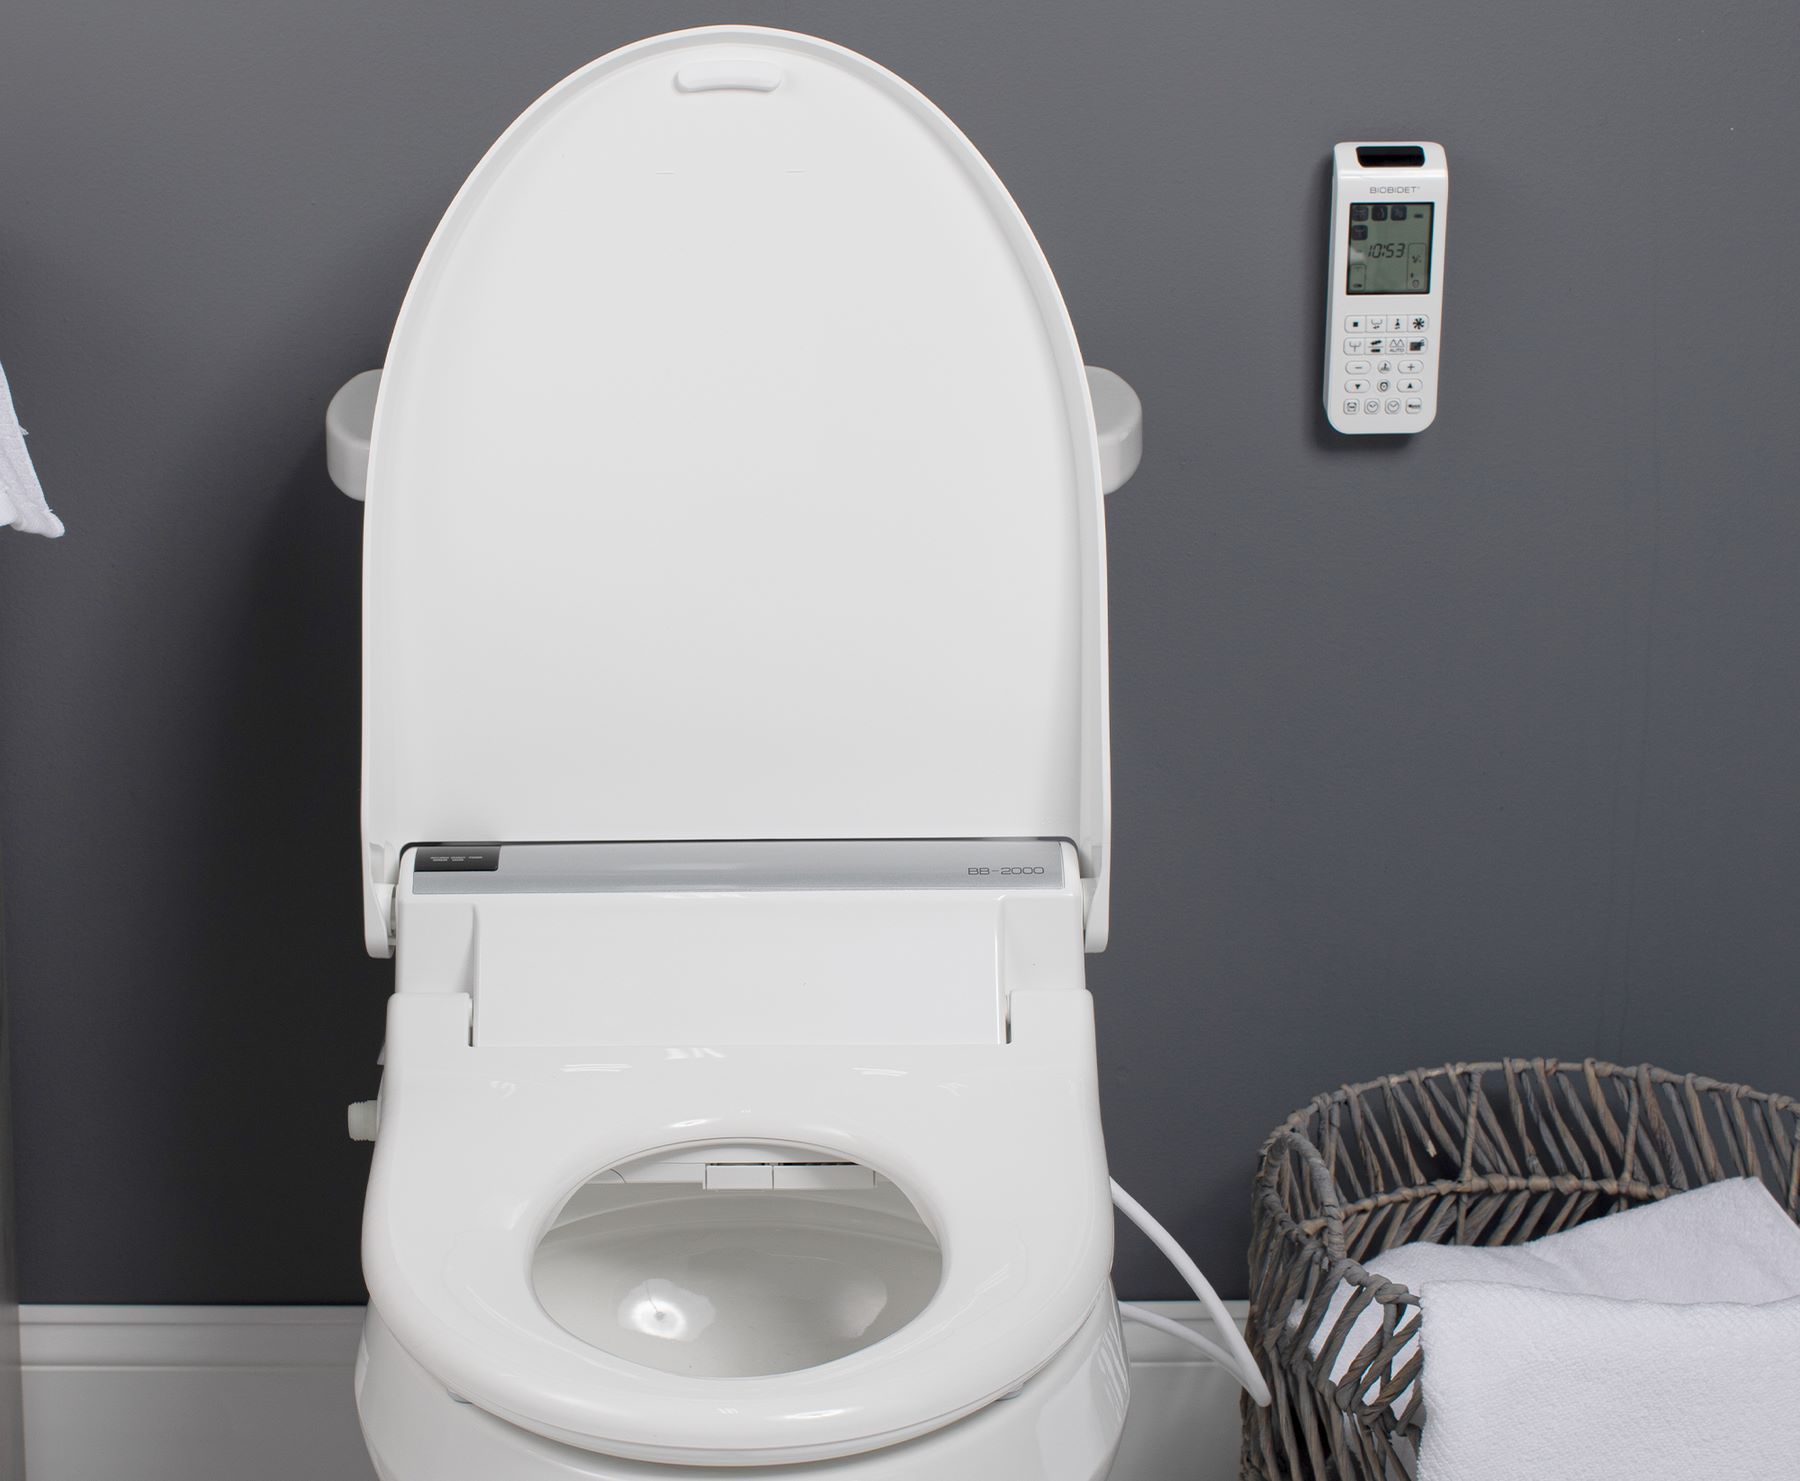
Begin by unpacking the bidet attachment and familiarizing yourself with its components. Most bidet attachments are designed to be easily installed, requiring minimal effort and no specialized plumbing skills. The attachment typically consists of a control panel, a nozzle or sprayer, and a mounting bracket.
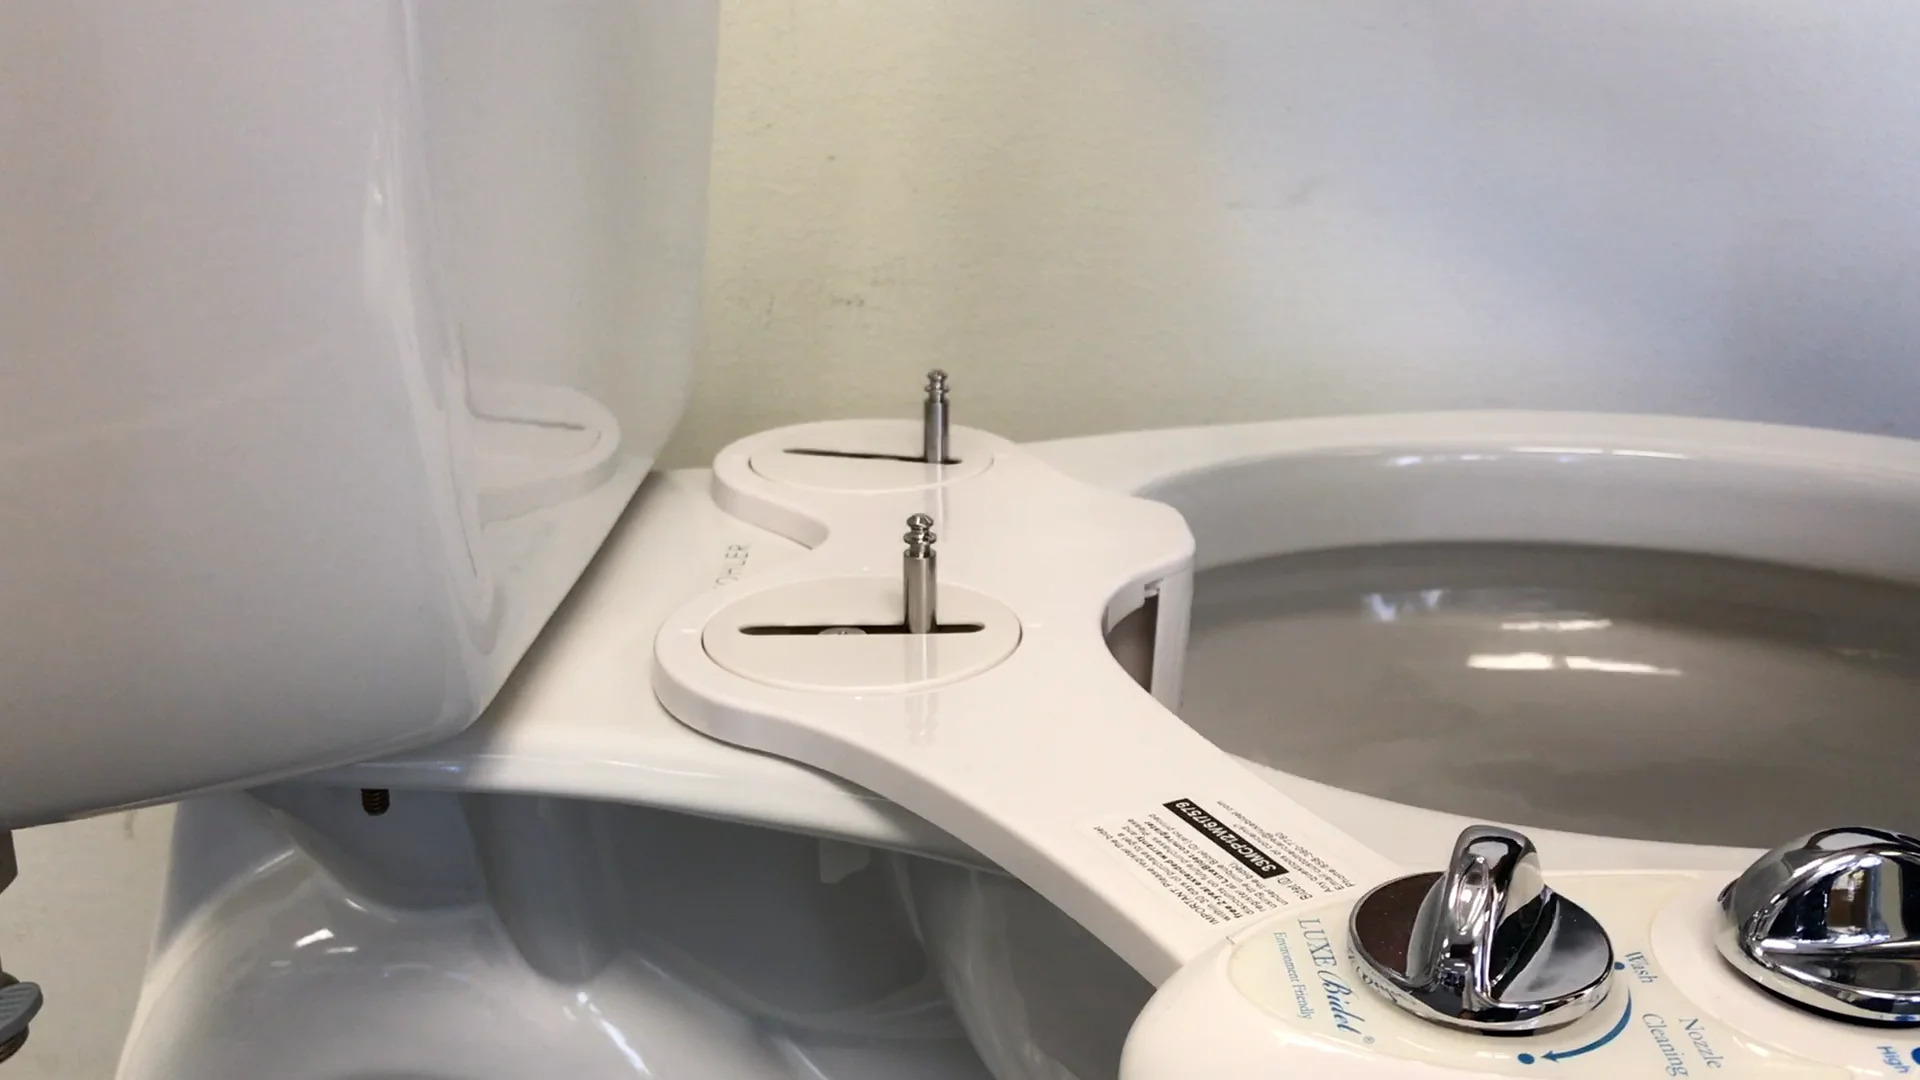
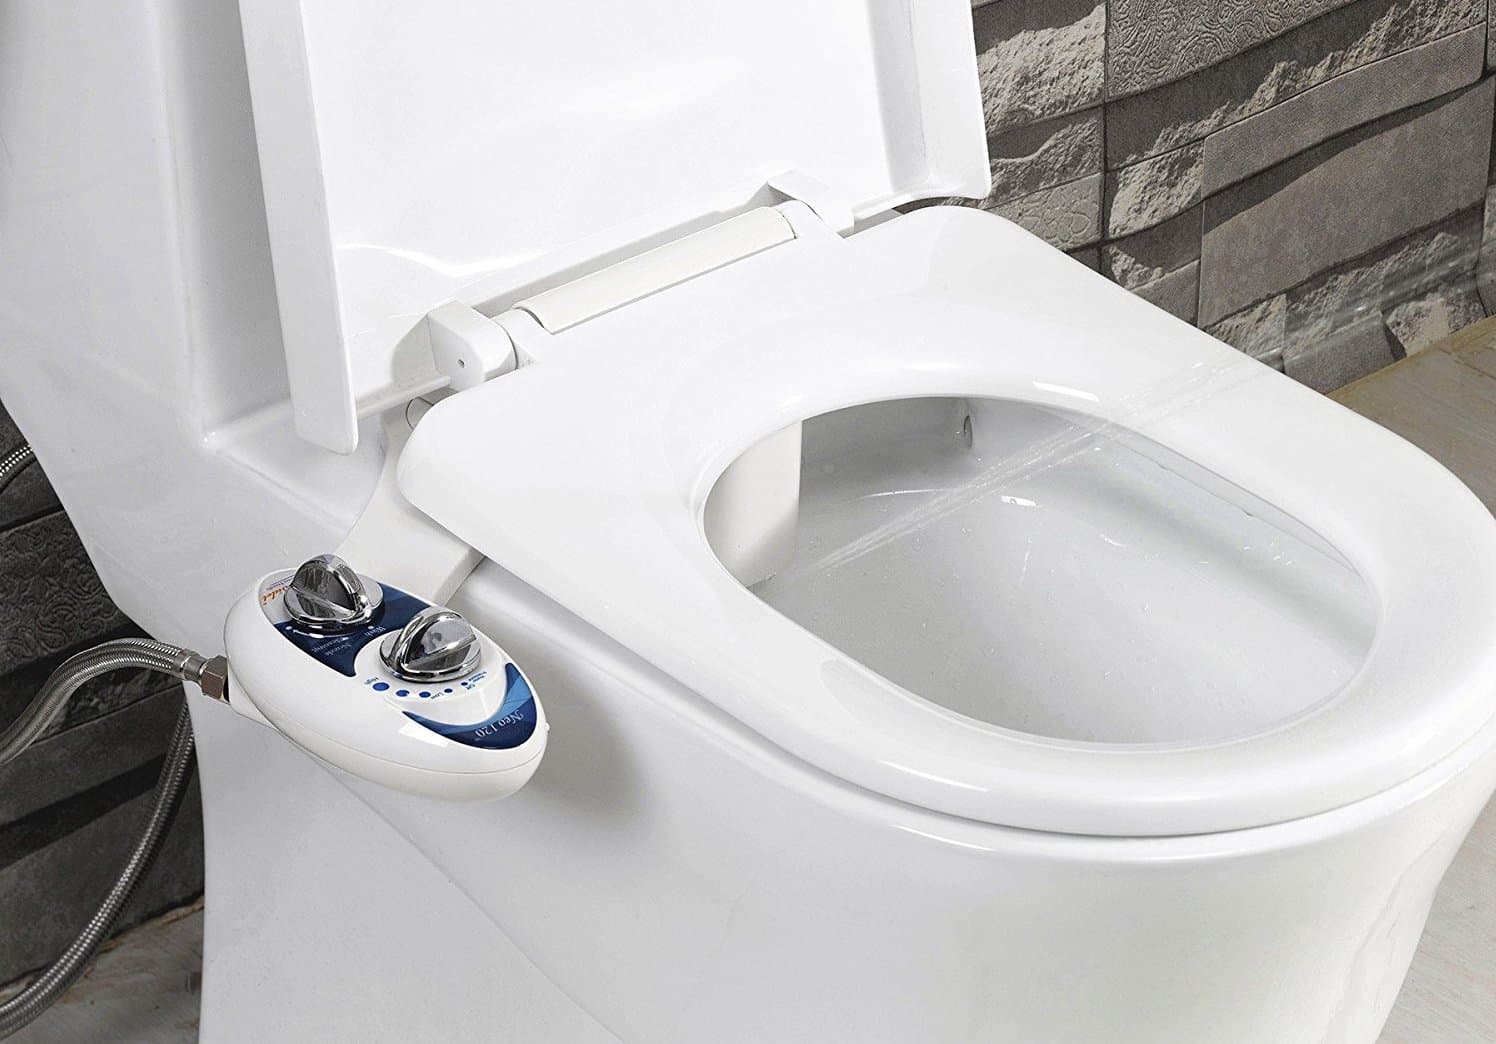
Next, position the bidet attachment on the toilet bowl, aligning it with the bolt holes that were exposed after removing the previous toilet seat. Ensure that the attachment is centered and securely positioned before proceeding. Once the bidet attachment is in place, insert the bolts through the mounting bracket and the bolt holes in the toilet bowl.
With the bolts in position, secure the bidet attachment by placing rubber washers over the bolts underneath the toilet bowl. These washers create a watertight seal, preventing leaks and ensuring the stability of the bidet attachment. Once the rubber washers are in place, hand-tighten the nuts onto the bolts and then use an adjustable wrench to firmly secure them. Be cautious not to overtighten the nuts, as this may damage the bidet attachment or the toilet bowl.
After securing the bidet attachment to the toilet bowl, adjust the position of the control panel and nozzle to align them according to your preference. Most bidet attachments allow for customizable positioning, accommodating varying user heights and preferences for optimal comfort and functionality.
Once the bidet attachment is securely installed and properly positioned, double-check all connections and ensure that the attachment is stable and aligned. This attention to detail will contribute to a seamless and reliable bidet experience, enhancing the overall functionality and aesthetics of your bathroom.
By successfully installing the bidet attachment, you have taken a significant step towards embracing the benefits of a modern and hygienic bathroom solution. The bidet attachment's user-friendly installation process sets the stage for the next crucial step: connecting the water supply to enable the bidet's functionality.
With the bidet attachment securely installed, you are now prepared to proceed to the next step of connecting the water supply, a pivotal stage in completing the installation process.
Before installing a bidet toilet, make sure to shut off the water supply and disconnect the existing toilet. Follow the manufacturer’s instructions carefully for proper installation.
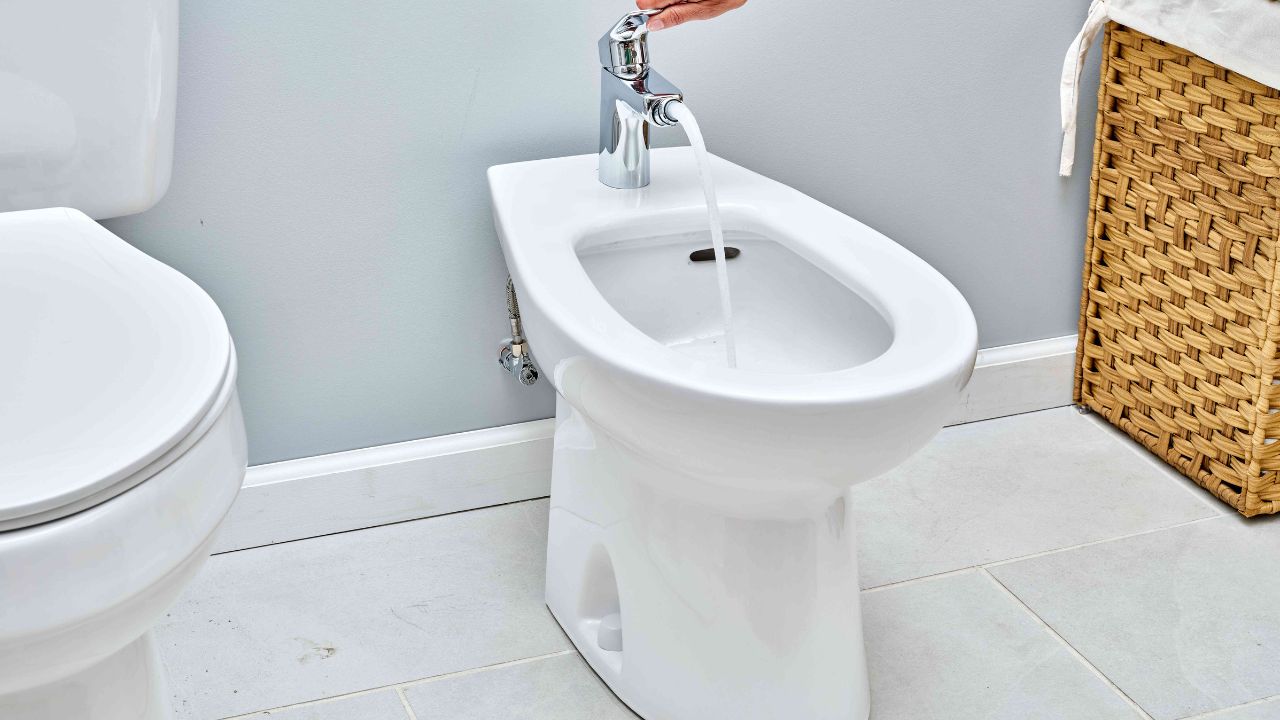
Step 5: Connect Water Supply
Connecting the water supply is a pivotal stage in completing the installation of a bidet attachment. This step involves establishing the necessary connections to enable the bidet's functionality, allowing it to deliver a refreshing and hygienic cleansing experience. By following the detailed instructions below, you can seamlessly integrate the bidet attachment with the existing water supply, ensuring a reliable and efficient operation.
-
Turn Off the Water Supply: Before proceeding with the water supply connection, ensure that the shut-off valve, which was previously closed during the initial steps, remains in the off position. This precautionary measure prevents water flow during the connection process, minimizing the risk of leaks or spills.
-
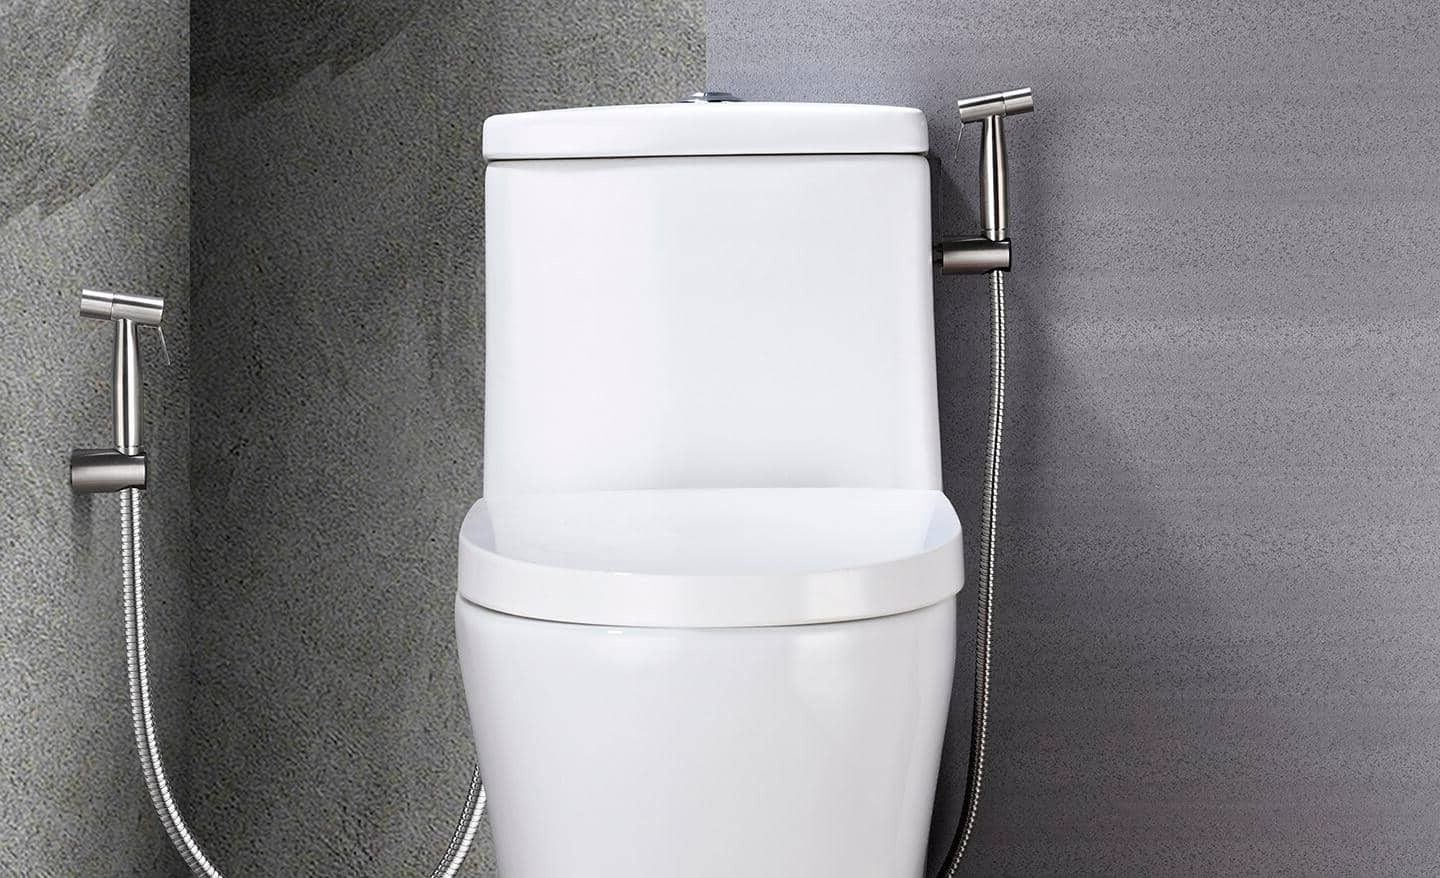
Locate the Water Supply Connection: Identify the water supply valve located near the base of the toilet. This valve is typically connected to a flexible hose that feeds water into the toilet's tank or bowl. The water supply connection may vary based on the specific plumbing configuration of your toilet.
-
Attach the T-Valve: Begin by attaching the T-valve, included with the bidet attachment, to the water supply connection. The T-valve serves as a branching point, allowing the bidet attachment to draw water from the existing supply line. Ensure that the T-valve is securely fastened to the water supply connection, using an adjustable wrench to tighten it if necessary.
-
Connect the Bidet Hose: Once the T-valve is in place, connect the bidet hose to the open end of the T-valve. The bidet hose serves as the conduit through which water flows from the supply line to the bidet attachment, enabling the cleansing function. Ensure that the connection is snug and leak-free, verifying that the hose is securely attached to the T-valve.
-
Turn On the Water Supply: With the T-valve and bidet hose securely connected, carefully turn the shut-off valve clockwise to restore the water supply to the toilet. This action allows water to flow into the bidet attachment, priming it for use. Monitor the connections for any signs of leaks, tightening them if necessary to achieve a watertight seal.
-
Test the Water Flow: Once the water supply is restored, test the bidet attachment by activating the cleansing function. Observe the water flow and nozzle operation to ensure that the connection is secure and the bidet functions as intended. Make any necessary adjustments to the connections or positioning to optimize the water flow and nozzle performance.
By successfully connecting the water supply to the bidet attachment, you have completed a critical phase of the installation process, bringing the bidet to operational readiness. This accomplishment sets the stage for the final step: testing the bidet to confirm its functionality and enjoy the benefits of a modern and hygienic bathroom solution.
Step 6: Test the Bidet
With the bidet attachment securely installed and the water supply connected, it's time to test the functionality of the bidet to ensure that it delivers the expected performance and comfort. Testing the bidet allows you to experience its cleansing capabilities firsthand and make any necessary adjustments to optimize its operation. Follow the steps below to conduct a thorough and effective test of the bidet attachment.
-
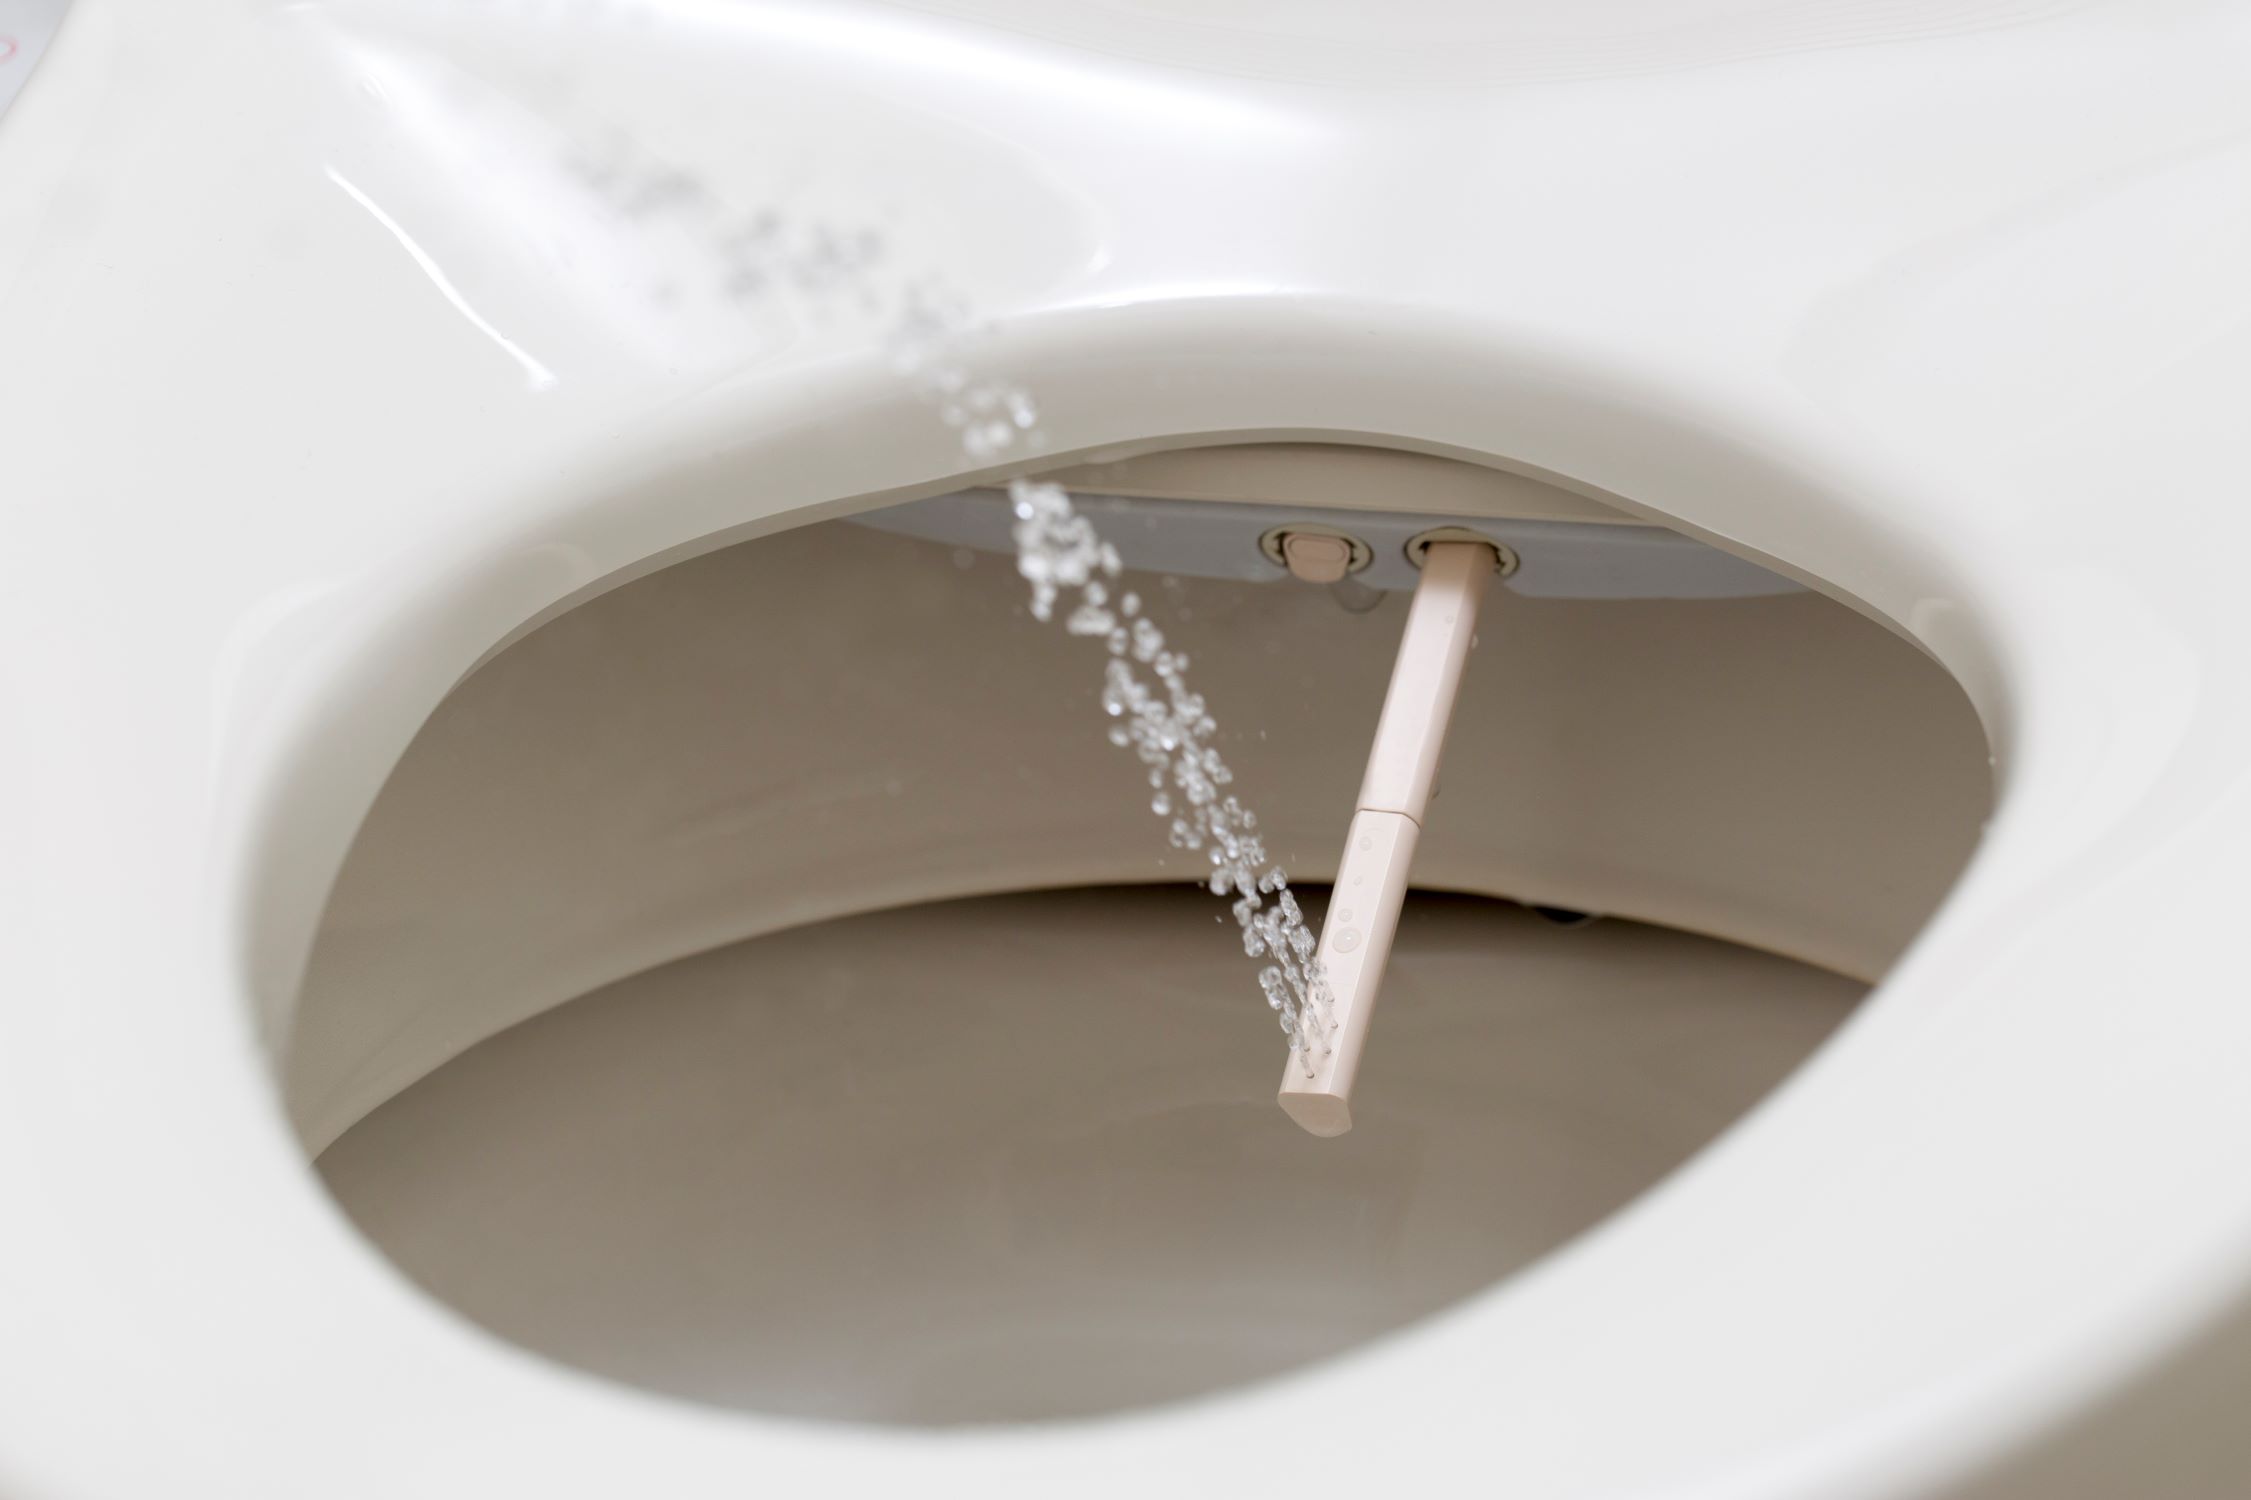
Activate the Cleansing Function: Begin by activating the cleansing function of the bidet attachment according to the manufacturer's instructions. This typically involves using the control panel or knobs to initiate the water flow and adjust the pressure and nozzle position. As the water flows, pay attention to the strength and consistency of the stream, ensuring that it provides a gentle and thorough cleansing experience.
-
Adjust Nozzle Position: While the bidet is in operation, experiment with adjusting the position of the cleansing nozzle to find the optimal angle and coverage for your comfort. Most bidet attachments offer adjustable nozzles that can be positioned to suit individual preferences, ensuring personalized and effective cleansing with each use.
-
Evaluate Water Temperature (If Applicable): If your bidet attachment includes a warm water feature, assess the temperature of the water to ensure that it aligns with your comfort level. Adjust the temperature settings as needed to achieve the ideal warmth for a soothing and refreshing cleansing experience.
-
Check for Leaks or Malfunctions: During the testing phase, closely inspect the connections and components of the bidet attachment for any signs of leaks or malfunctions. Ensure that the water supply and drainage systems function as intended, and that there are no unexpected drips or irregularities in the bidet's operation.
-
Assess User Comfort and Experience: As you test the bidet, consider the overall comfort and user experience it provides. Pay attention to factors such as water pressure, nozzle adjustability, and the ease of operation to determine if the bidet meets your expectations and enhances your bathroom routine.
-
Make Adjustments as Needed: Based on your testing observations, make any necessary adjustments to the bidet attachment to optimize its performance and comfort. This may involve fine-tuning the water pressure, nozzle position, or temperature settings to align with your preferences and ensure a satisfying cleansing experience.
By conducting a comprehensive test of the bidet attachment, you can confirm its functionality and make any adjustments to tailor its operation to your preferences. This thorough evaluation ensures that the bidet delivers the expected benefits of enhanced hygiene, comfort, and convenience, completing the installation process with confidence in its performance.
Read more: How To Install Bidet In Apartment
Conclusion
In conclusion, the installation of a bidet toilet attachment represents a significant enhancement to the overall bathroom experience, offering a blend of modern convenience, improved hygiene, and sustainable living. By following the step-by-step guide outlined in this comprehensive installation manual, you have successfully transformed your existing toilet into a fully functional bidet-equipped fixture, ready to deliver a refreshing and hygienic cleansing experience.
Throughout the installation process, you have navigated each stage with precision and confidence, from gathering the necessary tools and materials to testing the functionality of the bidet attachment. By embracing this DIY project, you have not only elevated the functionality of your bathroom but also contributed to a more sustainable and eco-friendly approach to personal hygiene.
The installation of a bidet attachment empowers you to reduce your reliance on traditional toilet paper, thereby minimizing environmental impact and promoting a more eco-conscious lifestyle. With its water-saving design and efficient cleansing capabilities, the bidet attachment aligns with the principles of sustainability, offering a practical solution for environmentally conscious individuals and households.
Furthermore, the installation process has equipped you with valuable insights into plumbing and fixture installation, fostering a sense of accomplishment and self-sufficiency. By taking on this project, you have expanded your DIY skills and demonstrated the ability to adapt and innovate within your living space, setting a precedent for future home improvement endeavors.
As you embark on this new chapter of enhanced bathroom functionality, it's important to embrace the benefits of the bidet attachment while also sharing your newfound knowledge and experience with others. By advocating for the advantages of bidet installations and promoting sustainable living practices, you can inspire positive change within your community and contribute to a collective effort towards environmental responsibility.
In essence, the successful installation of a bidet toilet attachment signifies a commitment to personal well-being, environmental stewardship, and practical innovation within the home. By integrating this modern and hygienic solution into your daily routine, you are poised to enjoy the long-term benefits of enhanced comfort, improved hygiene, and a reduced ecological footprint, making a positive impact on both your lifestyle and the environment.
Frequently Asked Questions about Bidet Toilet: How To Install
Was this page helpful?
At Storables.com, we guarantee accurate and reliable information. Our content, validated by Expert Board Contributors, is crafted following stringent Editorial Policies. We're committed to providing you with well-researched, expert-backed insights for all your informational needs.


0 thoughts on “Bidet Toilet: How To Install”