Articles
How To Install A Plumbing Vent
Modified: October 20, 2024
Looking for step-by-step articles on how to install a plumbing vent? Our comprehensive guide will help you with the installation process.
(Many of the links in this article redirect to a specific reviewed product. Your purchase of these products through affiliate links helps to generate commission for Storables.com, at no extra cost. Learn more)
Introduction
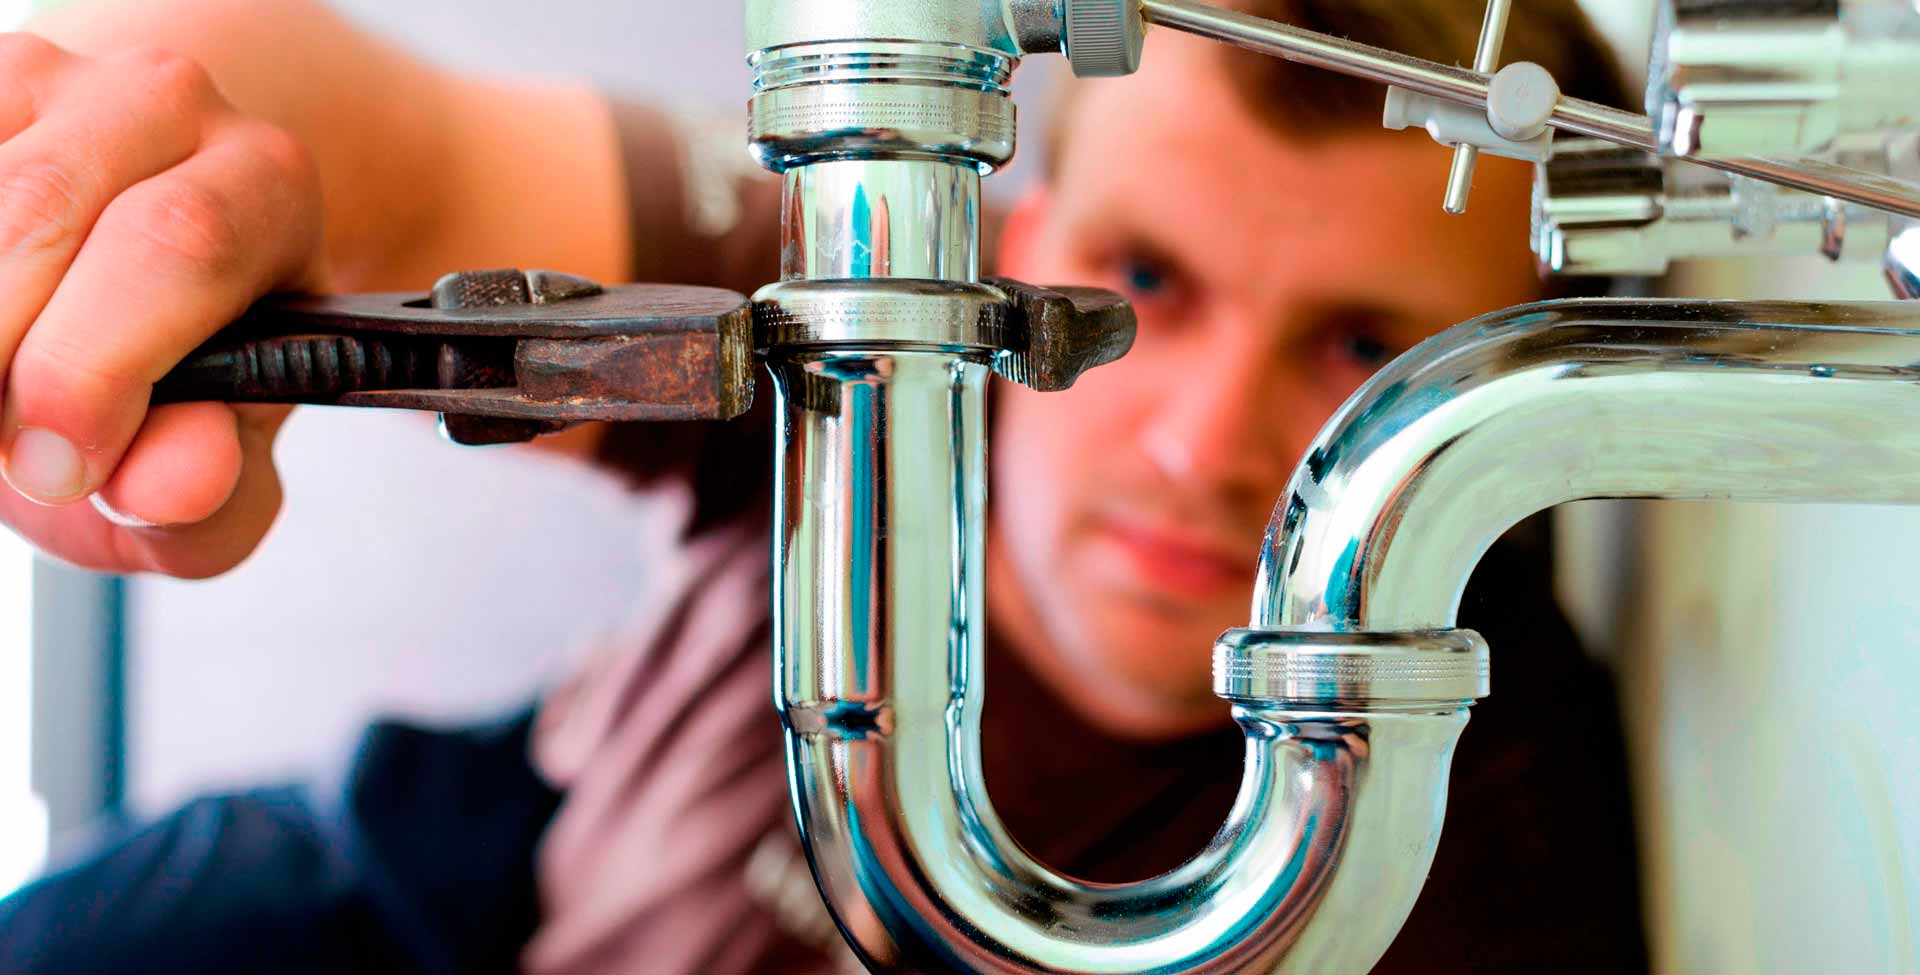
A plumbing vent is a crucial component of any plumbing system. It plays a vital role in maintaining proper drainage and preventing sewer gases from entering your home. Without a properly installed plumbing vent, you may encounter issues such as slow drainage, foul odors, and even potential health hazards.
In this article, we will guide you through the step-by-step process of installing a plumbing vent. Whether you’re building a new home or adding a bathroom to your existing space, understanding how to install a plumbing vent is essential for ensuring the proper functioning of your plumbing system.
Before we dive into the installation process, let’s begin by understanding what a plumbing vent is and why it is necessary.
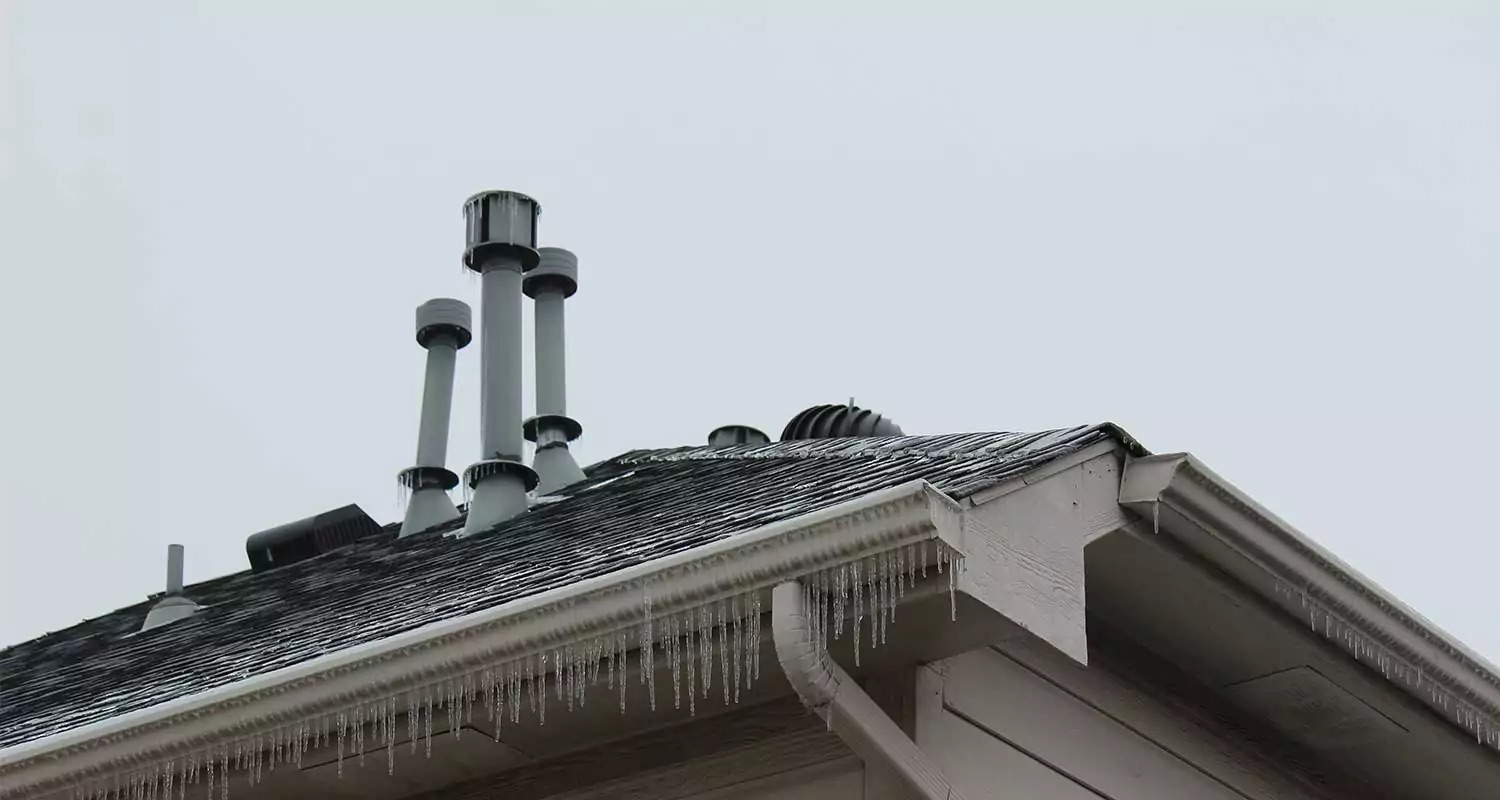
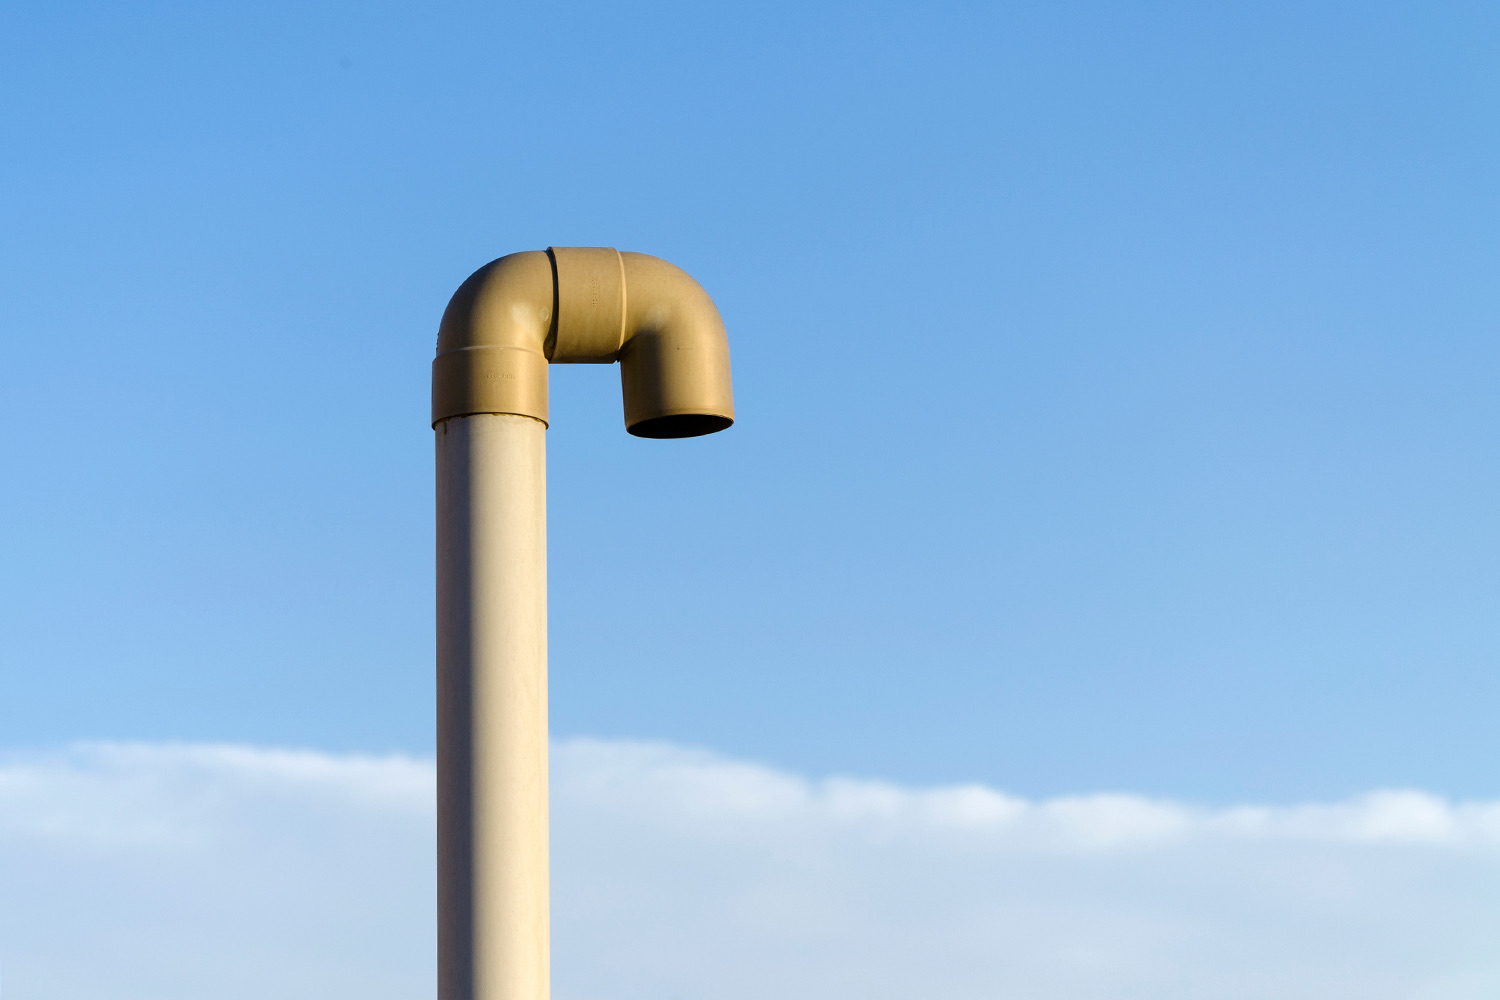
A plumbing vent is a pipe that extends vertically from the plumbing system and exits through the roof. Its primary function is to equalize the air pressure within the drainage system, allowing proper flow of waste and wastewater.
Without a plumbing vent, pressure imbalances can occur within the drainage system, resulting in slow drainage, gurgling sounds in sink or toilet drains, and even sewer gases backing up into your living space. These issues can cause significant inconvenience and potential health hazards.
Now that we understand the importance of a plumbing vent, let’s proceed to the step-by-step guide on how to install one in your home.
Key Takeaways:
- Proper installation of a plumbing vent is crucial for maintaining efficient drainage, preventing foul odors, and ensuring a healthy living environment. Following local building codes and regulations is essential for a successful installation.
- From determining the vent location to checking for proper ventilation, the step-by-step guide provides valuable insights for DIY enthusiasts. However, consulting a professional plumber is advisable for complex installations or uncertainties.
Read more: How To Vent A Bathroom Plumbing
Step 1: Determine the Vent Location
Before you start installing a plumbing vent, it’s crucial to determine the proper location for the vent pipe. The location will depend on the layout of your home, the plumbing fixtures you have, and local building codes. Here’s how to determine the vent location:
- 1.1 Evaluate the Plumbing Layout: Examine the plumbing layout of your home to identify the most suitable location for the vent. Ideally, the vent should be located within the vicinity of the drainage system, such as near the main stack or waste pipe.
- 1.2 Consider Fixture Placement: Take into account the placement of your plumbing fixtures, such as sinks, toilets, and showers. The vent should be positioned in a way that allows for efficient ventilation of all fixtures connected to the drainage system.
- 1.3 Check Building Codes: Familiarize yourself with the local building codes and regulations regarding plumbing vent installation. There may be specific requirements regarding vent size, height, distance from windows or openings, and other factors that you need to adhere to.
- 1.4 Choose an Accessible Location: Select a location that is easily accessible for future maintenance and repairs. Avoid placing the vent in areas that are difficult to reach or obstructed by other structures.
Once you have determined the ideal vent location, mark it for reference during the installation process. Use a measuring tape and a marker to indicate the spot where the vent pipe will penetrate the roof.
Remember, it is essential to be familiar with your local building codes and regulations to ensure compliance. If you are unsure about any aspect of the vent location, consult a professional plumber or your local building department for guidance.
Step 2: Gather the Necessary Tools and Materials
Before you begin the installation process, it’s important to gather all the necessary tools and materials. Having everything on hand will make the installation smoother and more efficient. Here’s a list of tools and materials you’ll need:
- 2.1 Vent Pipe: The vent pipe is a crucial component of the plumbing vent system. It is typically made of PVC or ABS plastic and comes in various sizes. Ensure you have the correct diameter and length of vent pipe for your specific installation.
- 2.2 Roof Flashing: Roof flashing is used to create a watertight seal around the vent pipe where it penetrates the roof. Choose a flashing that is suitable for the type of roofing material you have.
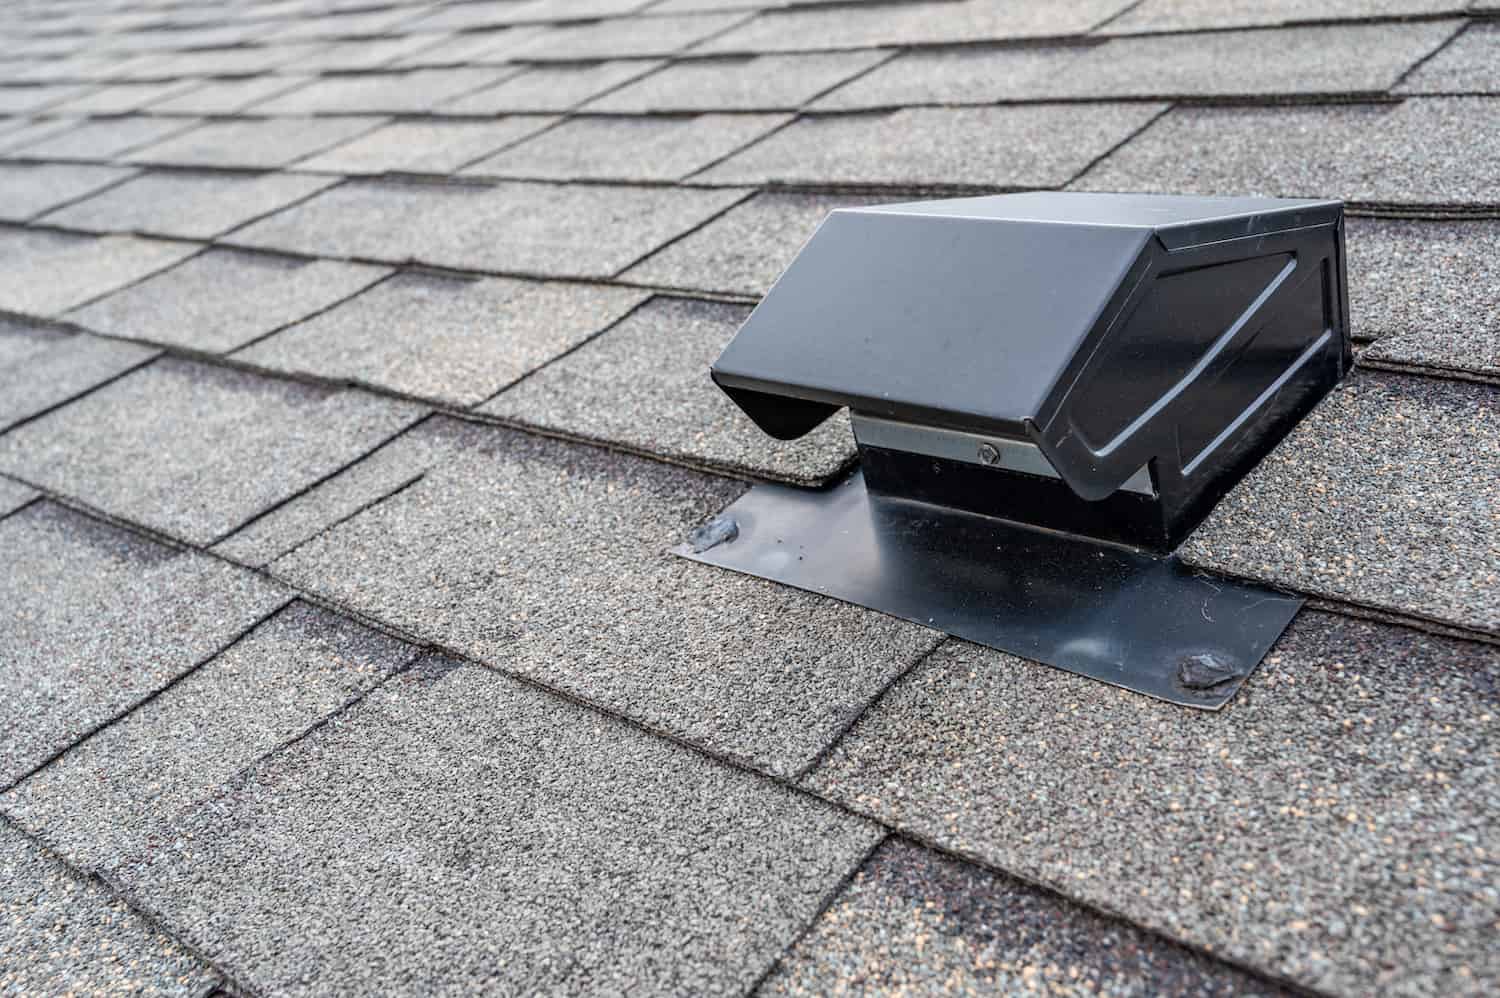
- 2.3 Vent Cap: A vent cap or vent terminal is installed at the top of the vent pipe to prevent debris and pests from entering. It also helps to prevent rainwater from entering the pipe.
- 2.4 Hacksaw or Pipe Cutter: You’ll need a hacksaw or pipe cutter to cut the vent pipe to the desired length.
- 2.5 Drill: A drill with a hole saw attachment will be required to create the vent opening on the roof.
- 2.6 Marker or Pencil: Use a marker or pencil to mark the vent opening location on the roof.
- 2.7 Measuring Tape: A measuring tape is essential for accurately measuring the vent pipe length and determining the appropriate vent location.
- 2.8 Screwdriver or Wrench: Depending on the type of fasteners used, you may need a screwdriver or wrench to secure the vent pipe and flashing.
- 2.9 Roofing Sealant: Roofing sealant is used to create a waterproof seal around the vent pipe and flashing. Choose a sealant that is compatible with your roofing material.
- 2.10 Safety Equipment: Ensure you have appropriate safety equipment, such as gloves, safety glasses, and a ladder, to protect yourself during the installation process.
Make sure to gather all the tools and materials listed above before you begin the installation. Having everything ready will save you time and ensure a smooth and efficient process.
Now that you have all the necessary tools and materials, let’s move on to marking the vent opening on the roof in the next step.
Step 3: Mark the Vent Opening on the Roof
Now that you have gathered all the necessary tools and materials, it’s time to mark the vent opening on the roof. The accurate placement of the vent opening is crucial for the proper installation of the plumbing vent. Follow these steps to mark the vent opening:
- 3.1 Choose the Vent Placement: Refer to the location you determined in Step 1 and position yourself on the roof accordingly. Take into consideration any obstructions, such as vents, chimneys, or nearby electrical wires, to ensure the vent opening is clear of any obstacles.
- 3.2 Measure and Mark: Use your measuring tape to measure the distance from the nearest roof edge or intersecting roofline to the center of the vent pipe. Use a marker or pencil to make a precise mark on the roof where the vent opening will be.
- 3.3 Verify the Placement: Check your marked location to ensure it aligns with the intended vent placement. Double-check for clearances and make any necessary adjustments to the position of the vent opening.
Remember, accurate measurement and placement are key to a successful installation. Take your time to ensure that the vent opening is properly positioned before proceeding to cut the hole in the next step.
Once you have marked the vent opening on the roof, you are ready to move on to the next step: cutting the vent opening.
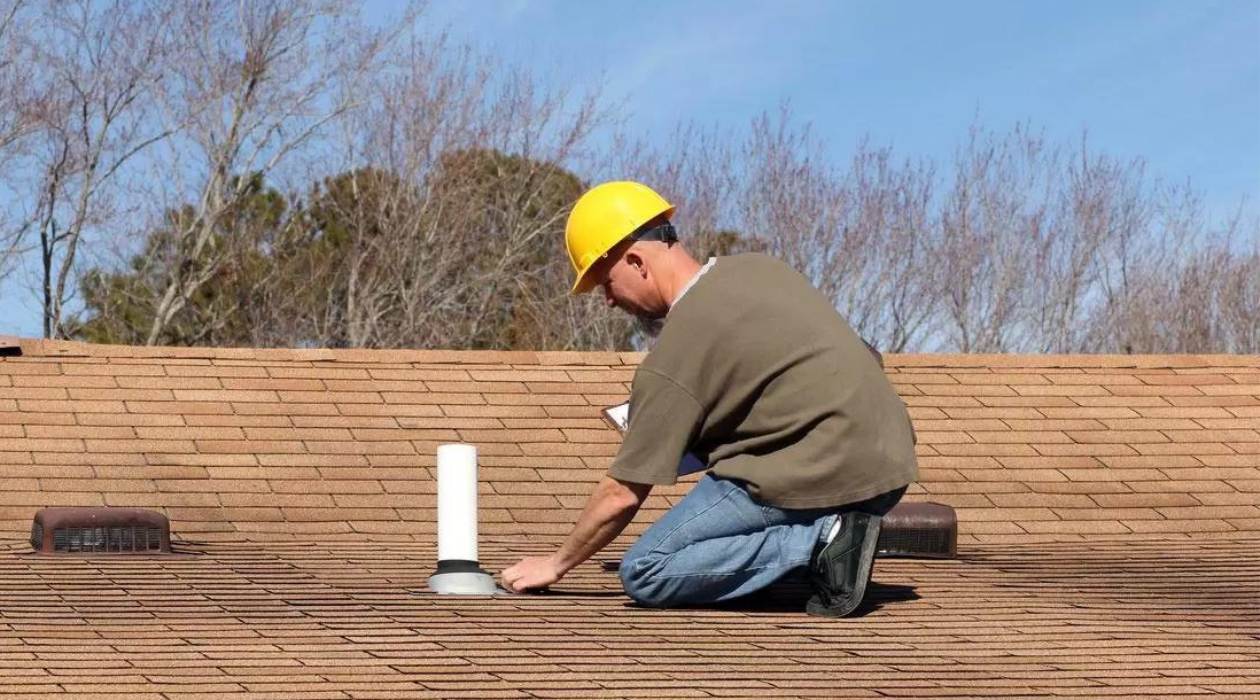
Step 4: Cut the Vent Opening on the Roof
With the vent opening location marked on the roof, it’s time to proceed with cutting the actual opening. Follow these steps to cut the vent opening:
- 4.1 Choose the Proper Hole Saw Size: Select a hole saw attachment that matches the diameter of your vent pipe. This will ensure a clean and precise cut.
- 4.2 Secure the Hole Saw: Attach the hole saw to your drill securely. Make sure it is aligned with the marked vent opening location.
- 4.3 Drill the Pilot Hole: Start by drilling a pilot hole at the center of the marked vent opening. Apply steady and even pressure while drilling.
- 4.4 Cut the Opening: Once the pilot hole is drilled, start cutting the vent opening by guiding the hole saw along the marked outline. Keep the drill at a moderate speed and apply gentle pressure to avoid damaging the roof surface.
- 4.5 Clear Debris: As you continue cutting, periodically pause and remove any debris or shavings from the hole saw and the roof surface. This will ensure a clean and accurate cut.
- 4.6 Check the Opening Size: Once the opening is cut, verify that it matches the diameter of the vent pipe. If necessary, make any adjustments to ensure a proper fit.
Pay attention to safety during the cutting process. Use safety glasses and gloves to protect yourself from any potential hazards. Additionally, make sure to take precautions to avoid damaging the surrounding roof area or any roofing material.
Once you have successfully cut the vent opening, you are ready to move on to the next step: installing the vent pipe through the roof.
When installing a plumbing vent, make sure to position it at least 6 inches above the flood level of the highest fixture it serves. This will prevent water from entering the vent during floods or heavy rain.
Read more: How To Tell If A Plumbing Vent Is Clogged
Step 5: Install the Vent Pipe Through the Roof
Now that you have created the vent opening on the roof, it’s time to install the vent pipe. Follow these steps to properly install the vent pipe through the roof:
- 5.1 Measure the Vent Pipe: Measure the length of the vent pipe needed to extend from the drainage system to the roof opening. Use a hacksaw or pipe cutter to carefully cut the vent pipe to the appropriate length.
- 5.2 Apply Roofing Sealant: Apply a generous amount of roofing sealant around the base of the vent pipe. This will create a watertight seal once the pipe is inserted into the vent opening.
- 5.3 Insert the Vent Pipe: Carefully insert the vent pipe through the roof opening. Make sure it is centered and aligned with the opening.
- 5.4 Secure the Vent Pipe: Once the vent pipe is inserted, secure it in place using the appropriate fasteners. This may involve using screws, clamps, or brackets, depending on the type of vent pipe and your specific installation.
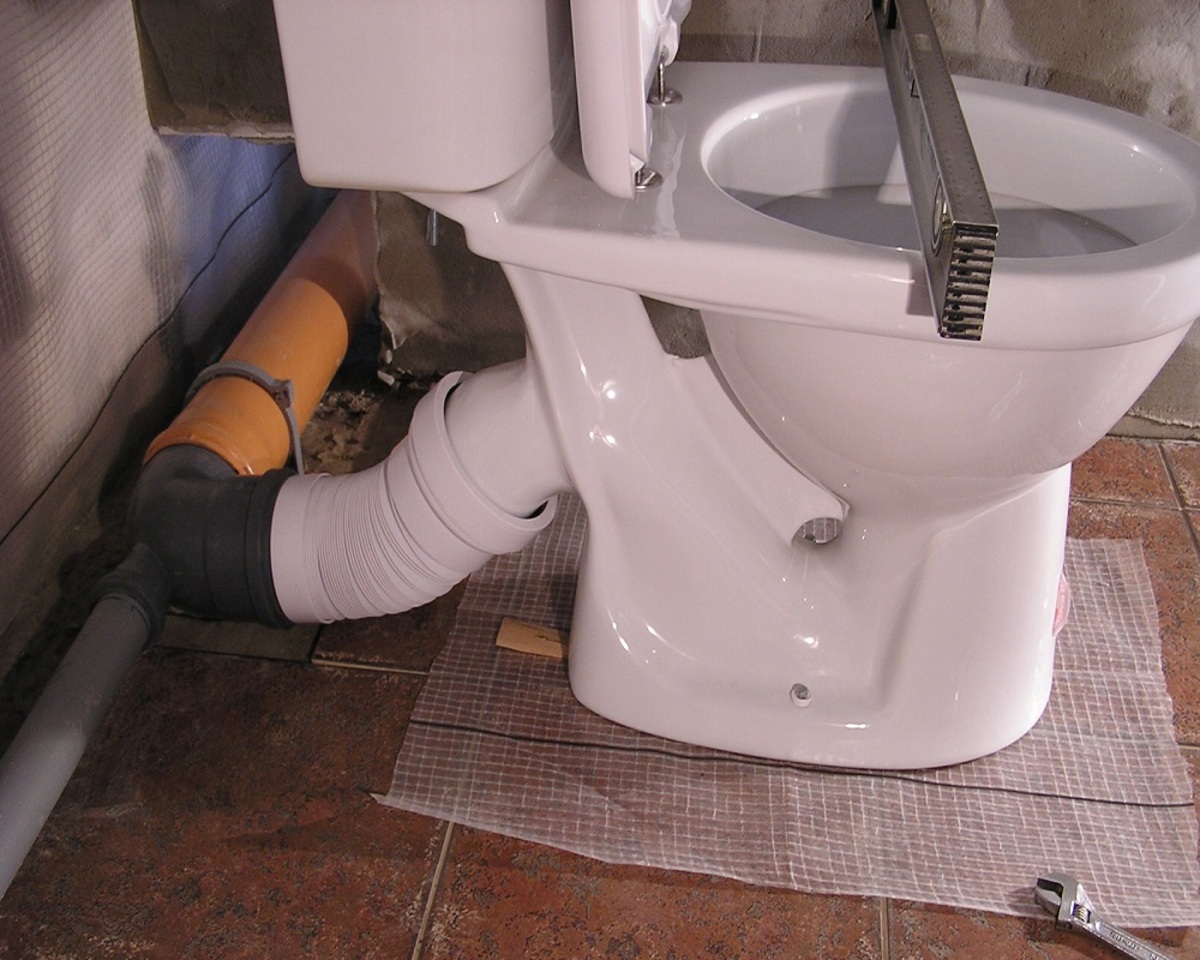
- 5.5 Connect the Vent Pipe to the Drainage System: At the lower end of the vent pipe, connect it to the drainage system. This may involve cutting into an existing drainage pipe or installing a new connection point. Ensure the connection is secure and properly sealed to prevent any leaks.
- 5.6 Check for Proper Alignment: Verify that the vent pipe is properly aligned and positioned both on the roof and within the drainage system. It should be straight, plumb, and free from any obstructions or bends.
Remember to follow all safety guidelines during the installation process. Take extra care while handling the vent pipe and ensure you have a stable footing to prevent accidents or damage to the roof.
Once the vent pipe is securely in place, it’s time to move on to the next step: connecting the vent pipe to the drainage system.
Step 6: Connect the Vent Pipe to the Drainage System
After installing the vent pipe through the roof, the next step is to connect it to the drainage system. Properly connecting the vent pipe ensures that the plumbing system functions effectively and efficiently. Follow these steps to connect the vent pipe to the drainage system:
- 6.1 Determine the Connection Point: Identify the appropriate connection point in the drainage system where the vent pipe will enter. This is typically near the main stack or waste pipe.
- 6.2 Prepare the Drainage Connection: Cut a small section of the existing drainage pipe to create a connection point for the vent pipe. Ensure the pipe is cut cleanly and precisely.
- 6.3 Insert the Vent Pipe: Insert the bottom end of the vent pipe into the prepared connection point. Ensure a snug fit and use appropriate connectors or fittings to secure the joint.
- 6.4 Seal the Connection: Apply plumbing sealant or adhesive to the joint between the vent pipe and the drainage system. This will create a secure and watertight seal to prevent leaks or odors.
- 6.5 Verify Proper Alignment: Check the alignment and positioning of the vent pipe within the drainage system. It should be vertically straight and properly aligned with the other pipes.
- 6.6 Secure the Connection: Use clamps, brackets, or other fasteners to secure the connection between the vent pipe and the drainage system. This ensures stability and prevents any accidental disconnections.
During the connection process, ensure that all fittings and connectors are properly aligned and tightened. This will prevent any future leaks or issues with the vent pipe or the drainage system.
Once the vent pipe is securely connected to the drainage system, it’s time to move on to the next step: securing the vent pipe in place.
Step 7: Secure the Vent Pipe in Place
Securing the vent pipe in place is an essential step to ensure its stability and longevity. Proper support and attachment will prevent the vent pipe from shifting or coming loose over time. Follow these steps to securely fasten the vent pipe:
- 7.1 Choose the Correct Supports: Select the appropriate supports or brackets for your vent pipe. This will depend on the size and material of the pipe, as well as your specific installation requirements.
- 7.2 Position the Supports: Determine the spacing and positioning for the supports along the length of the vent pipe. The supports should be evenly spaced and provide adequate support to prevent sagging or movement.
- 7.3 Attach the Supports: Use screws, clamps, or other suitable fasteners to attach the supports to the wall, ceiling, or adjacent structures. Ensure they are securely mounted and capable of supporting the weight of the vent pipe.
- 7.4 Secure the Vent Pipe: Once the supports are in place, secure the vent pipe to the supports using appropriate clamps or brackets. Ensure a tight fit without applying excessive pressure that could damage the pipe.
- 7.5 Check for Proper Alignment: Verify that the vent pipe is properly aligned and straight along its entire length. Make any necessary adjustments to ensure a consistent and vertical alignment.
- 7.6 Inspect for Stability: Give the vent pipe a gentle shake to ensure it is stable and securely fastened. Make sure it does not wobble or move excessively.
It’s important to properly support and secure the vent pipe to prevent any potential damage or issues in the future. This will also ensure the efficient functioning of the plumbing system and maintain proper ventilation.
With the vent pipe securely in place, it’s time to move on to the final step: checking for proper ventilation.
Step 8: Check for Proper Ventilation
After installing and securing the vent pipe, it’s crucial to check for proper ventilation. Proper ventilation ensures that the plumbing system functions effectively and efficiently, preventing any drainage problems or unpleasant odors. Here’s how to check for proper ventilation:
- 8.1 Check for Proper Air Flow: Once the installation is complete, run water through various sinks, toilets, showers, and other plumbing fixtures in your home. Observe the drainage and ensure that the water flows smoothly without any gurgling sounds or slow draining.
- 8.2 Listen for Any Strange Noises: Pay attention to any unusual noises coming from the drains when water is running. Gurgling or bubbling sounds can indicate a lack of proper ventilation and may require further adjustment or inspection.
- 8.3 Monitor Odors: Take note of any lingering or unpleasant odors that may be present after water usage. Foul odors may indicate a ventilation problem that needs to be addressed, as sewer gases should not be able to escape into your living space.
- 8.4 Consult a Professional: If you notice any issues with drainage, strange noises, or persistent odors, it is advisable to consult a professional plumber. They have the expertise to identify and rectify any ventilation problems that may be occurring.
Proper ventilation is essential for maintaining a healthy and functional plumbing system. It ensures the efficient flow of water and the prevention of sewer gases from entering your home. If you encounter any issues or suspect a ventilation problem, it’s best to address them promptly to avoid further complications.
Congratulations! You have successfully completed the installation process for a plumbing vent. With proper ventilation in place, you can now enjoy a well-functioning and odor-free plumbing system.
Remember, if you are not comfortable performing the installation yourself or have any doubts, it is always recommended to seek the assistance of a professional plumber who can ensure a safe and reliable installation.
We hope that this step-by-step guide has been helpful in your plumbing vent installation journey. Good luck, and may your plumbing system work flawlessly for years to come!
Read more: How To Replace Plumbing Vent Boots
Conclusion
Installing a plumbing vent is an essential step in maintaining a properly functioning plumbing system. It ensures adequate ventilation, efficient drainage, and prevents the buildup of foul odors and sewer gases within your home. By following the step-by-step guide outlined in this article, you can successfully install a plumbing vent and enjoy the benefits of a well-ventilated and odor-free plumbing system.
Throughout the installation process, it’s important to consider the location of the vent, gather the necessary tools and materials, mark the vent opening on the roof, cut the opening accurately, install the vent pipe securely, connect it to the drainage system, and secure it in place with appropriate supports. Finally, checking for proper ventilation ensures the effectiveness of the plumbing vent system.
While this guide provides a comprehensive overview, it is essential to consult local building codes and regulations to ensure compliance. If you are unsure about any aspect of the installation or encounter any complications, it is advisable to seek the assistance of a professional plumber.
By properly installing a plumbing vent, you can maintain the functionality and longevity of your plumbing system, preventing issues such as slow drainage, gurgling sounds, and unpleasant odors. A well-ventilated plumbing system also promotes a healthier living environment for you and your family.
We hope that this article has provided you with valuable insights and guidance, empowering you to confidently tackle the installation of a plumbing vent. Remember, proper installation and regular maintenance are key to ensuring the optimal performance of your plumbing system for years to come.
Happy vent installation!
Frequently Asked Questions about How To Install A Plumbing Vent
Was this page helpful?
At Storables.com, we guarantee accurate and reliable information. Our content, validated by Expert Board Contributors, is crafted following stringent Editorial Policies. We're committed to providing you with well-researched, expert-backed insights for all your informational needs.

0 thoughts on “How To Install A Plumbing Vent”