Articles
How To Install An Outdoor Faucet
Modified: October 28, 2024
Learn how to easily install an outdoor faucet with this informative article. Follow our step-by-step guide for a hassle-free installation.
(Many of the links in this article redirect to a specific reviewed product. Your purchase of these products through affiliate links helps to generate commission for Storables.com, at no extra cost. Learn more)
Introduction
Having an outdoor faucet is a convenient addition to any home. It allows you to easily water your garden, wash your car, or connect a hose for various outdoor activities. Installing an outdoor faucet may seem like a daunting task, but with the right tools and a little know-how, you can accomplish it yourself.
In this article, we will guide you through the step-by-step process of installing an outdoor faucet. We will cover everything from gathering the necessary tools and materials to testing for leaks and securing the faucet assembly. By following these instructions, you will have a functional outdoor faucet in no time.
Before we begin, it’s important to note that installing an outdoor faucet may require basic plumbing skills. If you feel uncomfortable or unsure about any part of the process, it’s always best to consult a professional plumber.
Now, let’s dive into the details and get started on installing your outdoor faucet!
Key Takeaways:
- Installing an outdoor faucet is a manageable DIY project with the right tools and know-how. Remember to choose the location wisely, turn off the water supply, and test for leaks to ensure a successful installation.
- Enjoy the convenience of your new outdoor faucet by connecting a hose, adding a nozzle, using a timer, and maintaining it regularly. Be mindful of water conservation and protect the faucet during freezing temperatures.
Step 1: Gather the Necessary Tools and Materials
Before you begin the installation process, you’ll need to gather the necessary tools and materials. Here is a list of what you’ll need:
- Outdoor faucet kit or hose bib
- Adjustable wrench
- Pipe cutter or hacksaw
- Plumbers tape
- Plumbers putty or silicone caulk
- PVC pipe and fittings (if extending the water line)
- Teflon tape
- Shovel (if digging a trench)
Make sure you have all the tools and materials on hand before you begin the installation process. This will save you time and ensure a smoother installation.
Step 2: Choose the Location for Your Outdoor Faucet
Choosing the right location for your outdoor faucet is crucial for its functionality and convenience. Here are a few factors to consider when selecting the location:
- Proximity to water source: The outdoor faucet should be located near the existing water supply or water line to minimize the need for additional plumbing.
- Accessibility: Ensure that the faucet is easily accessible and not obstructed by plants, structures, or other objects.
- Drainage: The location should have proper drainage to prevent standing water around the faucet.
- Ground stability: Choose an area with stable ground that can support the weight of the faucet assembly.
Once you have chosen the location, mark it with stakes or spray paint. This will serve as a guide during the installation process.
It’s important to check local building codes and regulations regarding outdoor faucet installations. Some areas may have specific requirements or restrictions on the location of outdoor faucets.
Keep in mind that if you plan to tap into an existing water line, you may need to consider the layout and plumbing connections of your home. Consulting a professional plumber can help you determine the best location for your outdoor faucet.
Now that you have chosen the location, it’s time to move on to the next step – turning off the water supply.
Step 3: Turn off the Water Supply
Before you begin any work on your plumbing system, it’s essential to turn off the water supply to avoid any accidents or water damage. Here’s how to turn off the water supply:
- Locate the main water shut-off valve: The main shut-off valve is usually located near the water meter or where the main water line enters your home. It is typically a round or lever-style valve.
- Turn off the main water supply: To shut off the water supply, turn the valve clockwise (or, if it’s a lever-style valve, switch it to the “off” position).
- Drain any remaining water: After turning off the water supply, open a faucet at a lower elevation to drain any remaining water in the pipes. This will help prevent leaks or water spurting when you start working on the outdoor faucet.
Once you have successfully turned off the water supply and drained the pipes, you can proceed with confidence to the next step of the installation process.
Remember, safety is paramount when working with plumbing systems. If you’re unsure about turning off the water supply or have any concerns, don’t hesitate to seek guidance from a professional plumber.
Now that you’ve turned off the water supply, it’s time to move on to the next step – installing a new hose bib or tapping into the existing water line.
Step 4: Install a New Hose Bib or Tapping into Existing Water Line
There are two main methods of installing an outdoor faucet: installing a new hose bib or tapping into an existing water line. The method you choose will depend on your specific situation and preferences. Here’s how to proceed with each option:
Read more: How To Install A Bathtub Faucet
Installing a New Hose Bib:
- Measure and mark the desired height: Determine the height at which you want the hose bib to be installed. Use a measuring tape and mark the spot on the wall or structure where the faucet will be mounted.
- Prepare the mounting surface: Clean the area where the hose bib will be installed. Remove any dirt, debris, or old caulk to ensure a secure attachment.
- Apply plumbers putty or silicone caulk: Apply a thin layer of plumbers putty or silicone caulk around the mounting surface. This will help create a watertight seal once the hose bib is installed.
- Attach the hose bib: Align the hose bib with the mounting surface and secure it using the provided screws or mounting hardware. Use an adjustable wrench to tighten the connections properly.
Tapping into an Existing Water Line:
- Locate the existing water line: Identify the nearest water line that you can tap into to supply water to the outdoor faucet. It could be an indoor plumbing line or an existing outdoor pipe.
- Turn off the water to the line: To avoid leaks or water spurting, turn off the water supply to the line you’re tapping into. You can use the main water shut-off valve or individual valves, depending on your plumbing setup.
- Measure and cut the pipe: Use a pipe cutter or hacksaw to cut the existing water line at the desired location. Measure accurately to ensure a proper fit for the outdoor faucet.
- Prepare the ends of the cut pipe: Use sandpaper or a deburring tool to clean and smooth the cut ends of the pipe. This will allow for a proper connection.
- Attach a tee fitting: Connect a tee fitting onto the cut pipe. Ensure that the tee fitting has an outlet for the outdoor faucet.
- Connect the outdoor faucet: Install the outdoor faucet onto the tee fitting’s outlet. Use Teflon tape on the threaded connections to create a watertight seal.
Remember to follow the manufacturer’s instructions for both methods to ensure proper installation and functionality.
Now that you’ve installed the hose bib or tapped into the existing water line, it’s time to move on to the next step – connecting the outdoor faucet to the water supply.
Step 5: Connect the Outdoor Faucet to the Water Supply
With the hose bib or tap in place, it’s time to connect the outdoor faucet to the water supply. Here’s how you can do it:
- Prepare the connections: If you’re using a hose bib, make sure the male threaded end is clean and free from debris. If you tapped into an existing water line, ensure that the connections on the tee fitting are clean and smooth.
- Apply Teflon tape: Wrap a few layers of Teflon tape clockwise around the male threaded end of the hose bib or the tee fitting outlet. This will create a tight and leak-resistant seal.
- Screw on the outdoor faucet: Carefully screw the outdoor faucet onto the threaded end of the hose bib or the tee fitting outlet. Use an adjustable wrench to tighten the connection, ensuring it is snug but not overly tight.
When connecting the outdoor faucet, make sure not to cross-thread the connections. Cross-threading can lead to leaks and make it difficult to properly tighten the connection. Take your time and ensure the threads are aligned before tightening.
Once the outdoor faucet is securely connected to the water supply, we can move on to the next step – testing the outdoor faucet for leaks.
Note: If you tapped into an existing water line, it’s essential to insulate the exposed pipes to prevent freezing during colder seasons. This can be done using foam pipe insulation or heat tape.
When installing an outdoor faucet, make sure to use a frost-proof model to prevent freezing during the winter months. This will help avoid costly repairs and potential water damage.
Step 6: Test the Outdoor Faucet for Leaks
After connecting the outdoor faucet to the water supply, it’s crucial to test for any leaks before proceeding further. Here’s how you can test the outdoor faucet:
- Turn on the water supply: Slowly turn on the water supply at the main shut-off valve or the individual valve for the outdoor faucet.
- Inspect the connections: Carefully inspect all the connections, including the threaded connection between the outdoor faucet and the hose bib or tee fitting. Look for any signs of leaking, such as dripping water or moisture.
- Check for leaks around the hose bib or tap: Pay attention to the area where the hose bib or tap is installed. Look for any water seeping from the mounting surface or any cracks in the caulking or putty.
- Operate the outdoor faucet: Open the outdoor faucet and let the water run for a few minutes. Check for any leaks around the handle, spout, or other parts of the faucet.
If you notice any leaks during the testing process, it’s essential to address them before proceeding. Tighten any loose connections and reapply Teflon tape if necessary. If the leaks persist or you’re unable to resolve them, it may be necessary to consult a professional plumber for assistance.
Testing the outdoor faucet for leaks is crucial to ensure its proper functionality and prevent any water damage or wastage. Taking the time to perform this step will give you peace of mind and confidence in the installation.
Now that you have tested the outdoor faucet for leaks and made any necessary adjustments, it’s time to move on to the next step – backfilling and securing the faucet assembly.
Read more: How To Thaw An Outdoor Faucet
Step 7: Backfill and Secure the Faucet Assembly
Once you have tested the outdoor faucet for leaks and ensured its proper functionality, it’s time to backfill and secure the faucet assembly. Here’s how to proceed:
- Backfill the hole or trench: If you had to dig a hole or trench to access the water line or create a new water line, carefully backfill the area around the faucet assembly. Use the backfill material, such as gravel or soil, to fill the space and provide support.
- Tamp down the backfill material: Use a shovel or tamper to gently tamp down the backfill material. This will help stabilize the area and prevent shifting of the faucet assembly.
- Secure the faucet assembly: If you installed a hose bib, ensure that the screws or mounting hardware are tight and secure. If you tapped into an existing water line, double-check the connections on the tee fitting and ensure they are properly tightened.
- Seal the mounting surface (if necessary): If the hose bib or tap was installed on a wall or structure, consider applying a bead of silicone caulk around the edges to create a watertight seal. This will prevent water from infiltrating behind the faucet assembly.
Properly backfilling and securing the faucet assembly is crucial to ensure its stability and longevity. It will help prevent any movement or shifting, which can lead to leaks or damage in the future.
Now that you have backfilled and secured the faucet assembly, it’s time for the final step – enjoying your new outdoor faucet!
Step 8: Enjoy Your New Outdoor Faucet!
Congratulations! You have successfully installed your new outdoor faucet. Now it’s time to reap the benefits and enjoy the convenience it offers. Here are a few things you can do to get the most out of your new outdoor faucet:
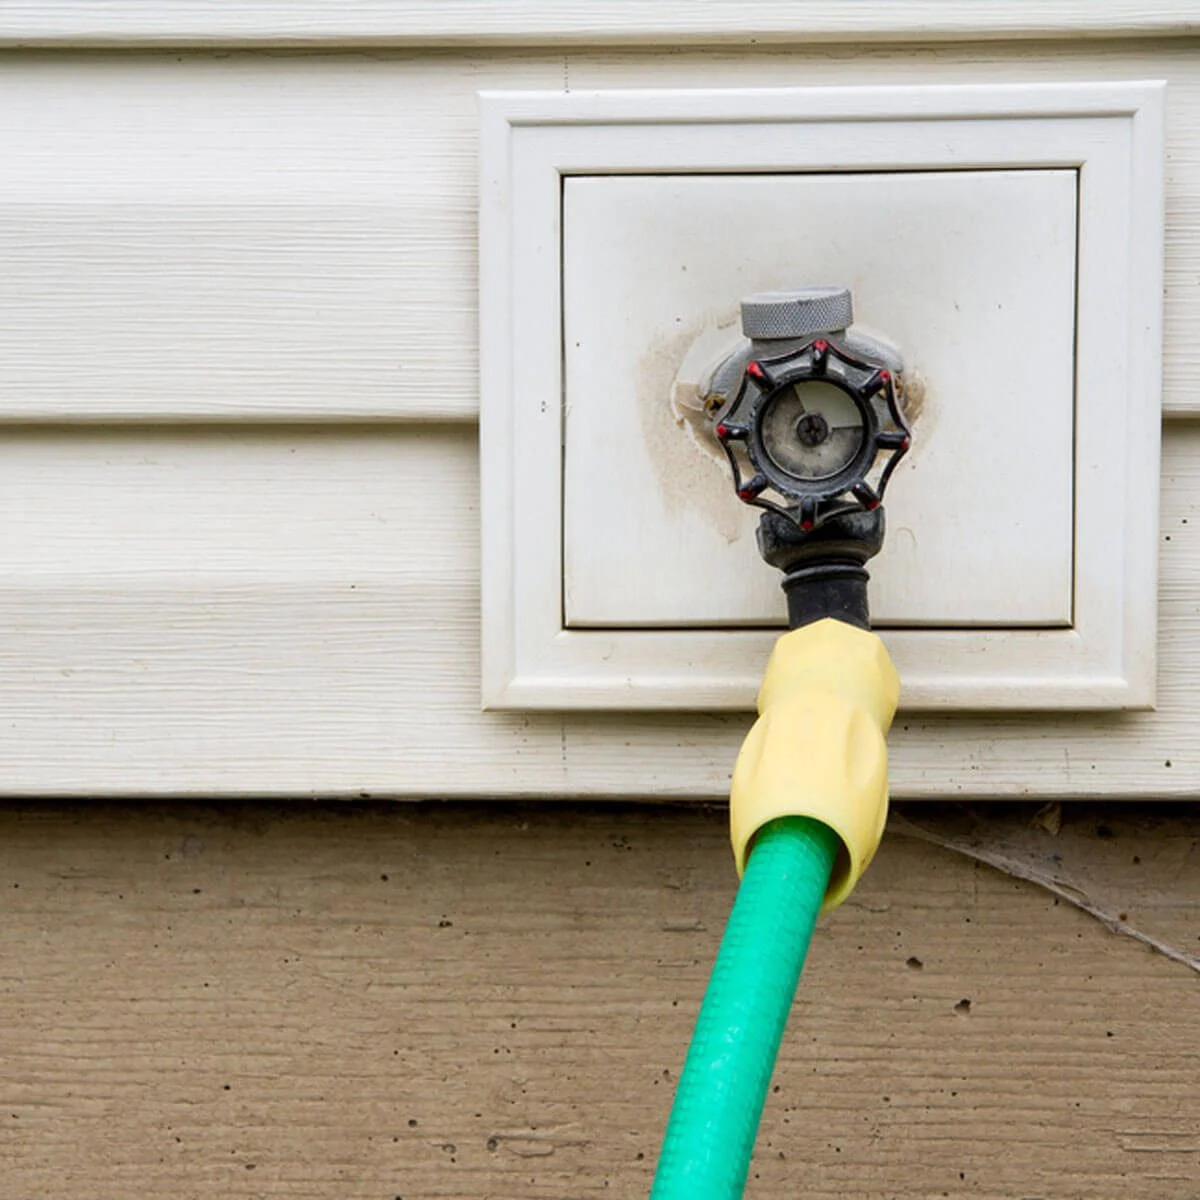
- Connect a hose: Attach a garden hose to the outdoor faucet and use it for watering your plants, cleaning outdoor surfaces, or filling up a pool.
- Install a nozzle or sprayer: Consider adding a nozzle or sprayer attachment to your hose for more versatility in watering or cleaning tasks.
- Use a timer: Invest in a hose timer to automate watering schedules. This can be especially helpful when you’re away from home or have a busy schedule.
- Maintain your outdoor faucet: Regularly inspect your outdoor faucet for any signs of leaks or damage. Repair or replace any worn-out parts to ensure its proper functioning.
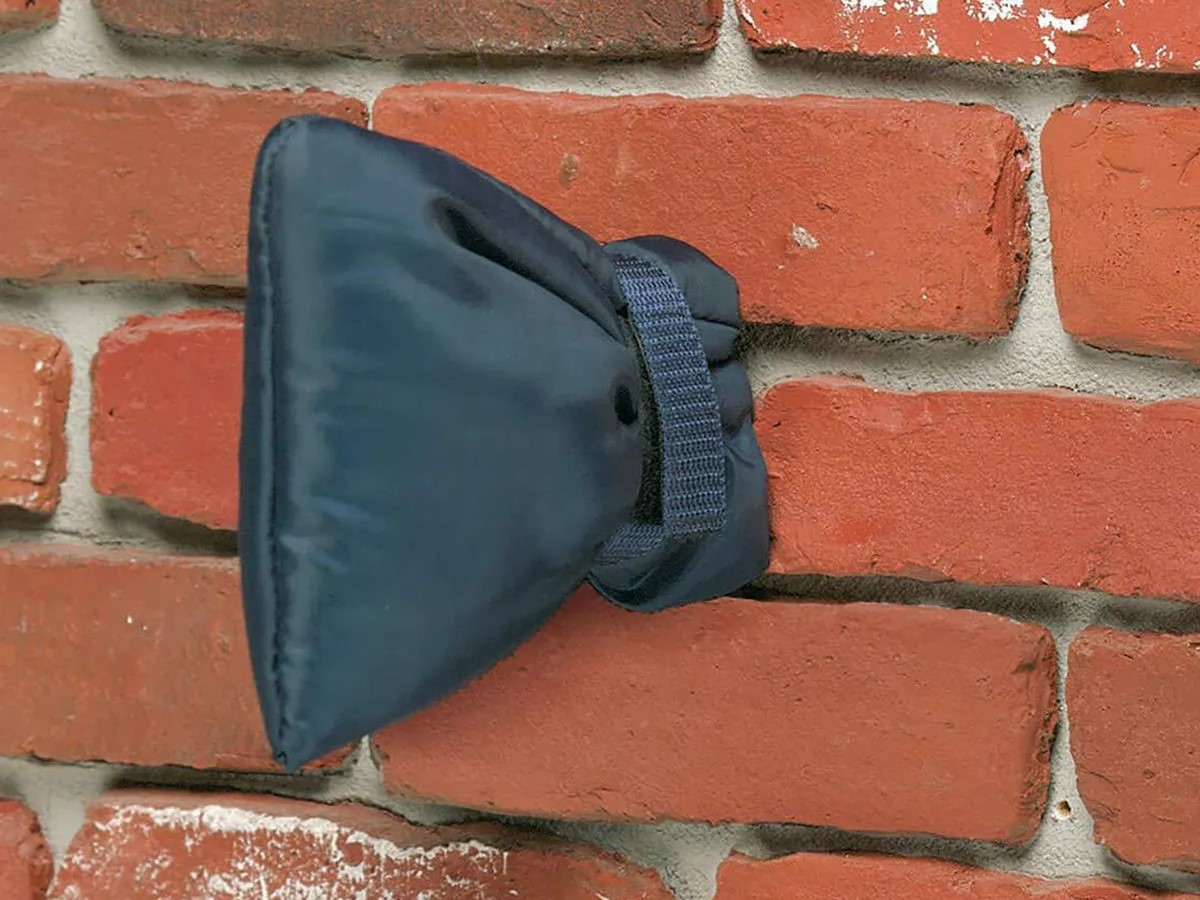
- Protect your outdoor faucet during winter: If you live in an area with freezing temperatures, it’s important to take steps to protect your outdoor faucet from freezing. Detach and drain your hoses, insulate exposed pipes, and consider installing a freeze-proof faucet or faucet cover.
Remember to always follow proper outdoor water usage guidelines and regulations in your area. Conserve water and avoid unnecessary wastage by using your outdoor faucet responsibly.
By installing an outdoor faucet, you have added a valuable and convenient feature to your home. Whether you’re tending to your garden, washing your car, or enjoying outdoor activities, your new outdoor faucet will make your tasks much easier.
Thank you for following our step-by-step guide. We hope you find joy and convenience in using your new outdoor faucet!
Frequently Asked Questions about How To Install An Outdoor Faucet
Was this page helpful?
At Storables.com, we guarantee accurate and reliable information. Our content, validated by Expert Board Contributors, is crafted following stringent Editorial Policies. We're committed to providing you with well-researched, expert-backed insights for all your informational needs.


0 thoughts on “How To Install An Outdoor Faucet”