Articles
How To Install A Delta Faucet
Modified: March 1, 2024
Learn how to install a Delta faucet with step-by-step instructions and helpful articles. Upgrade your bathroom with ease and confidence.
(Many of the links in this article redirect to a specific reviewed product. Your purchase of these products through affiliate links helps to generate commission for Storables.com, at no extra cost. Learn more)
Introduction
Installing a new Delta faucet in your home can be a great way to update the look of your kitchen or bathroom and improve the functionality of your plumbing fixtures. Delta faucets are known for their durability, innovation, and stylish designs, making them a popular choice among homeowners and professionals alike.
Whether you’re replacing an old faucet or installing a new one from scratch, this article will guide you through the process of installing a Delta faucet step by step. We’ll cover everything from turning off the water supply to connecting the water supply lines and testing the faucet for leaks.
Before we dive into the installation process, it’s important to note that while this guide is specific to Delta faucets, many of the steps and principles can be applied to the installation of other brands as well. However, it’s always recommended to consult the manufacturer’s instructions for the specific faucet you’re installing to ensure proper installation and warranty coverage.
Now, let’s gather our tools and materials and get started on installing your new Delta faucet.
Key Takeaways:
- Upgrade your kitchen or bathroom with a stylish and reliable Delta faucet for a refreshing and functional space. Follow the step-by-step guide to confidently install and enjoy the benefits for years to come.
- Ensure a smooth and secure installation by gathering the necessary tools and materials, turning off the water supply, preparing the sink, and thoroughly testing the new Delta faucet for proper functionality.
Read more: How To Install Delta Shower Faucet
Tools and Materials Needed
Before you begin installing your Delta faucet, it’s essential to gather all the necessary tools and materials. Having everything ready beforehand will ensure a smooth installation process. Here’s a list of the tools and materials you will need:
- Adjustable wrench
- Plumber’s tape (Teflon tape)
- Screwdriver (Phillips or flathead, depending on the faucet)
- Plumbers putty or silicone sealant
- Bucket or towel to catch any water
- Delta faucet installation kit (included with the faucet)
- Sponge or rag for cleaning
It’s also recommended to read the manufacturer’s installation instructions provided with your Delta faucet. These instructions may list additional tools or specific requirements for your particular model.
Make sure you have all the tools and materials readily available before starting the installation process. This will save you time and ensure that you can complete the installation without any interruptions.
Now that you have everything you need, let’s move on to the first step of the installation process – turning off the water supply.
Step 1: Turn Off the Water Supply
Before you begin installing your new Delta faucet, it’s crucial to turn off the water supply to avoid any water leakage or damage. Here’s how you can do it:
- Locate the shut-off valves under the sink. These valves are usually located on the hot and cold water supply lines.
- Turn the shut-off valves clockwise to shut off the water supply. If the valves are old or difficult to turn, you may need to use a pair of pliers or an adjustable wrench to assist you. Make sure the valves are fully closed to prevent any water from flowing.
- Once the water supply is shut off, turn on the faucet to release any remaining water pressure in the lines. This will help minimize any potential leaks when you remove the old faucet.
It’s also a good idea to place a bucket or towel underneath the sink to catch any residual water that may drain when you disconnect the old faucet. This will help keep your work area clean and dry.
With the water supply turned off, you’re now ready to move on to the next step – removing the existing faucet.
Step 2: Remove the Existing Faucet
Now that you’ve turned off the water supply, it’s time to remove the existing faucet. Follow these steps to successfully remove the old faucet:
- Use a screwdriver or an adjustable wrench to disconnect the water supply lines from the faucet. These are usually located on the underside of the faucet.
- If there is a nut or mounting bracket securing the faucet to the sink, use the appropriate tool to loosen and remove it.
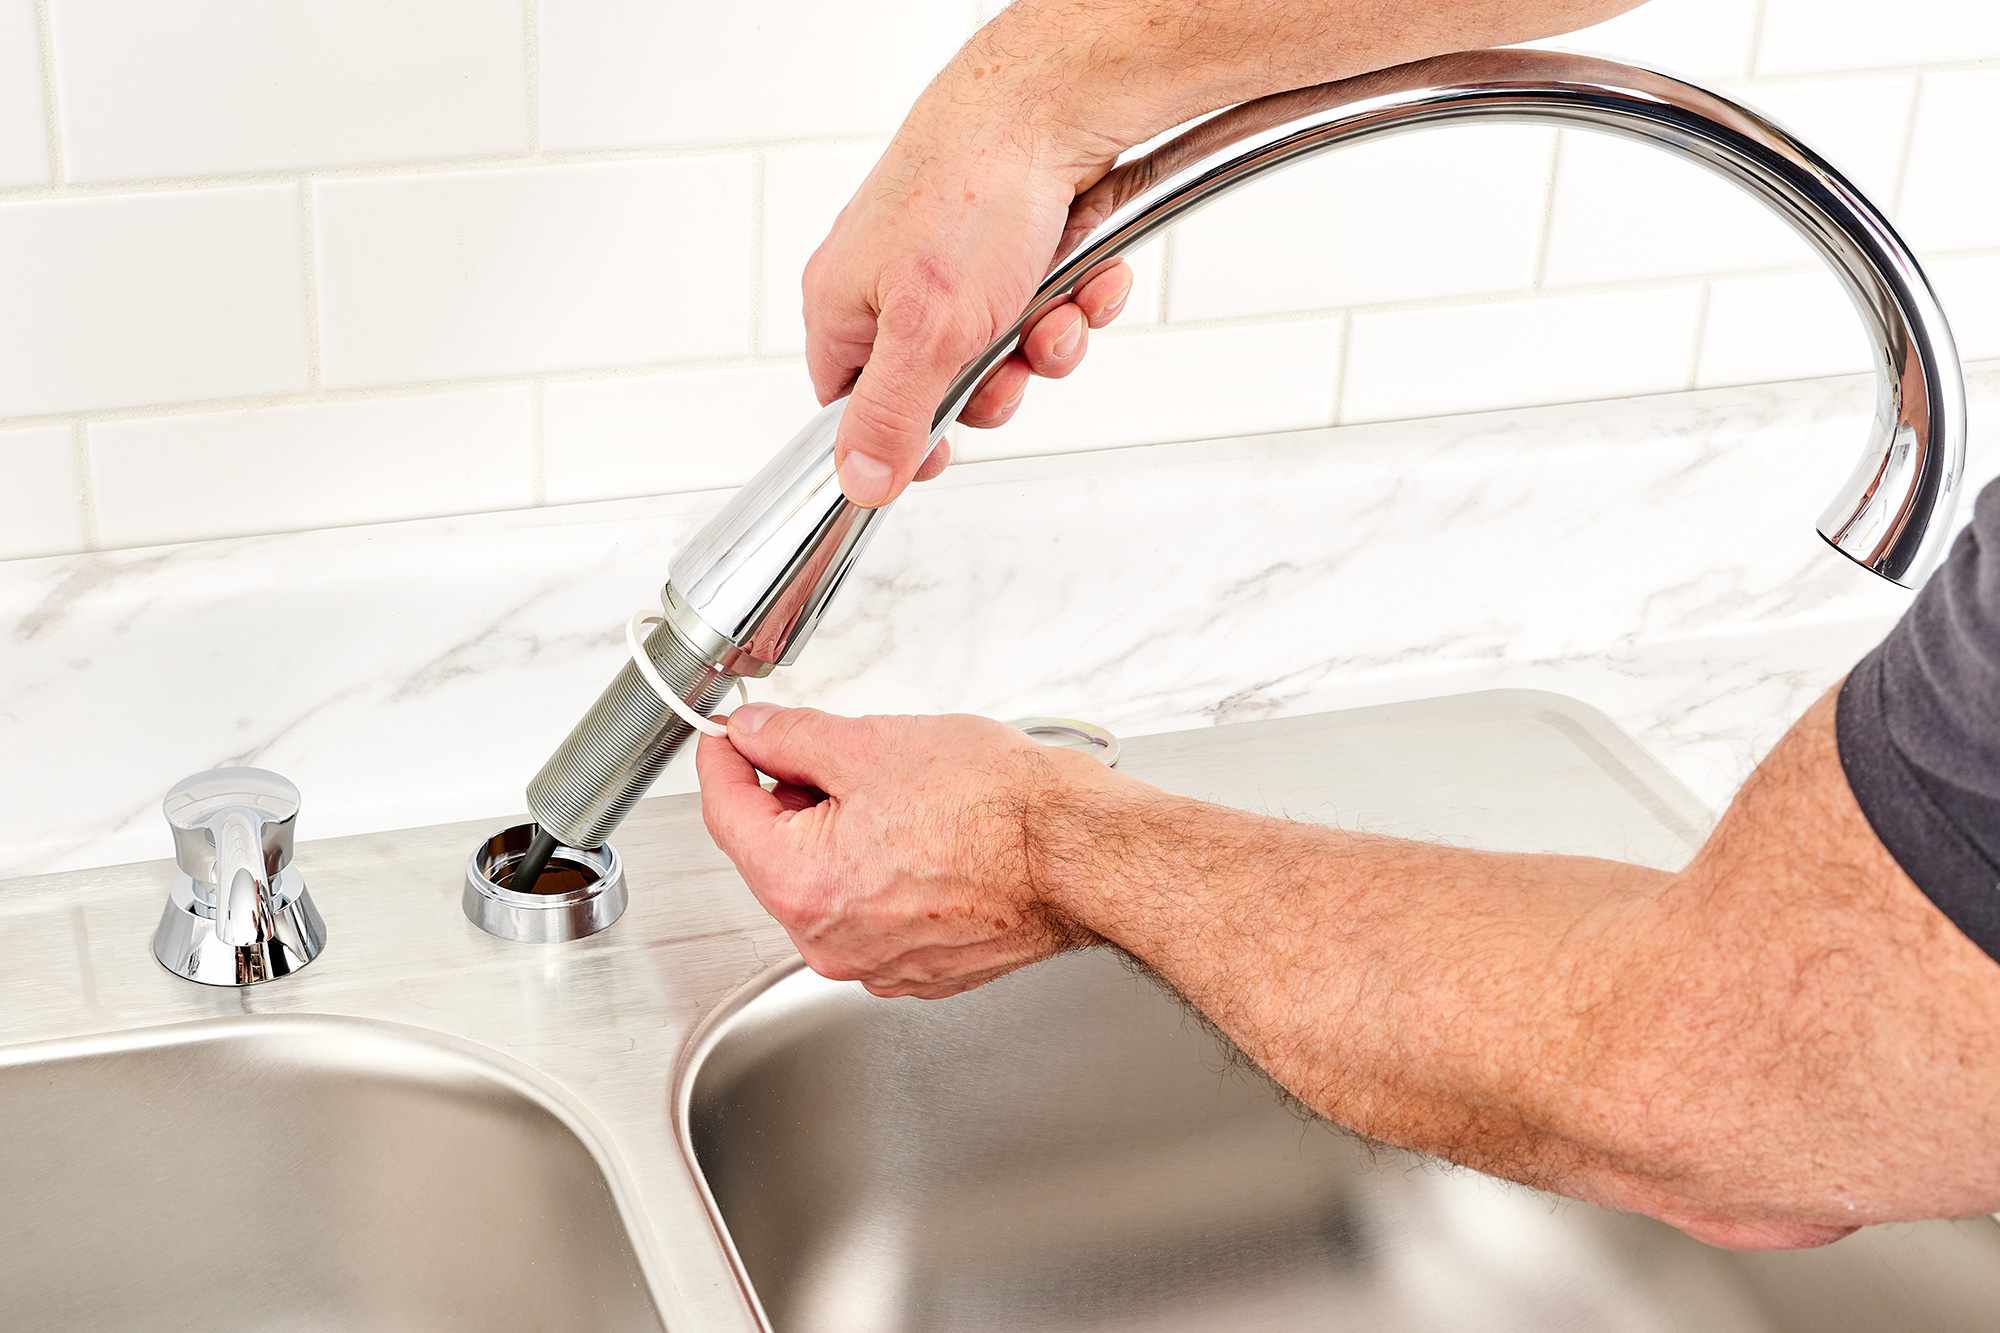
- Gently lift the old faucet off the sink. If it’s stuck due to accumulated grime or sealant, you may need to apply some gentle pressure or use a putty knife to carefully pry it loose.
- Once the old faucet is removed, clean the mounting surface on the sink thoroughly. Remove any residue or old putty using a sponge or rag.
If your old faucet had a mounting plate or escutcheon, check if it is compatible with your new Delta faucet. If it isn’t, you may need to purchase a new one or use the supplied escutcheon included with your Delta faucet.
Remember to inspect the condition of the supply lines and replace them if they appear worn or damaged. It’s always recommended to use new supply lines when installing a new faucet for optimal performance and to prevent future leaks.
With the old faucet removed and the mounting surface cleaned, you’re ready to move on to the next step – preparing the sink for installation.
Step 3: Prepare the Sink for Installation
Now that you’ve removed the old faucet, it’s time to prepare the sink for the installation of your new Delta faucet. Follow these steps to ensure a smooth and secure installation:
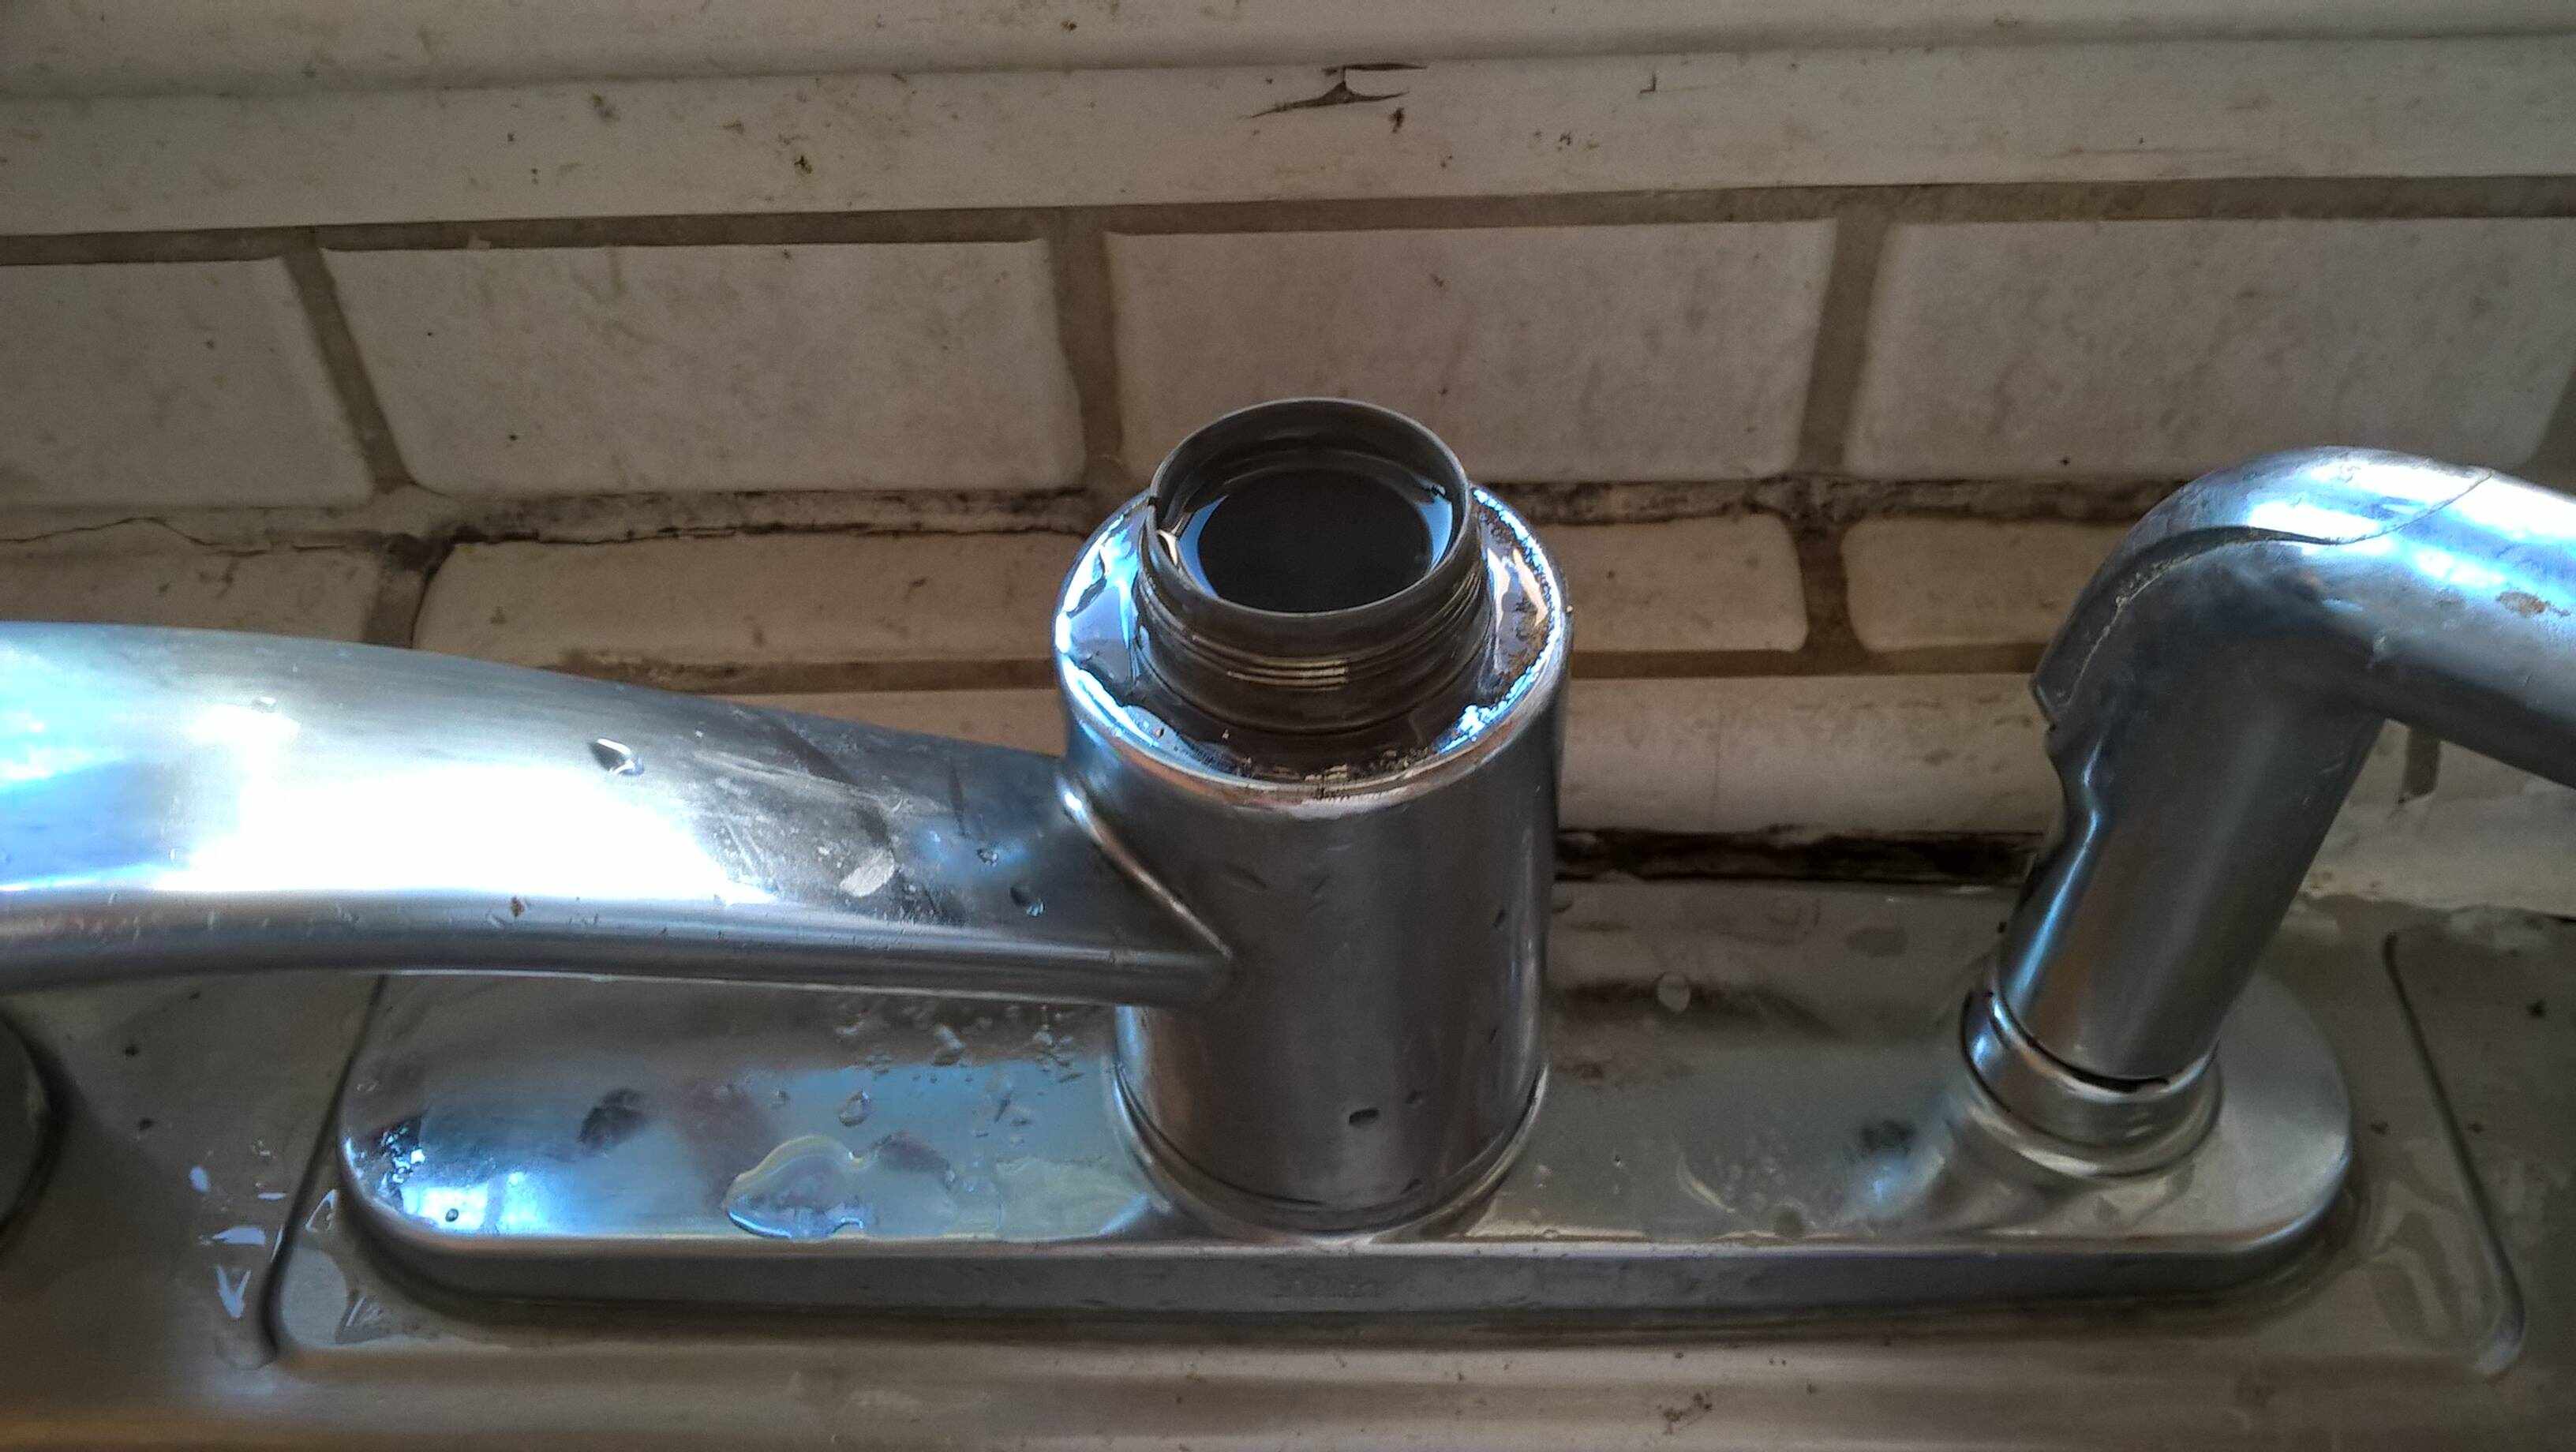
- Inspect the mounting surface on the sink. Ensure it is clean and free from any debris or residue left behind from the old faucet.
- If your Delta faucet includes an escutcheon plate, place it over the mounting holes on the sink.
- Apply a thin layer of plumbers putty or silicone sealant around the base of the faucet. This will help create a watertight seal between the faucet and the sink.
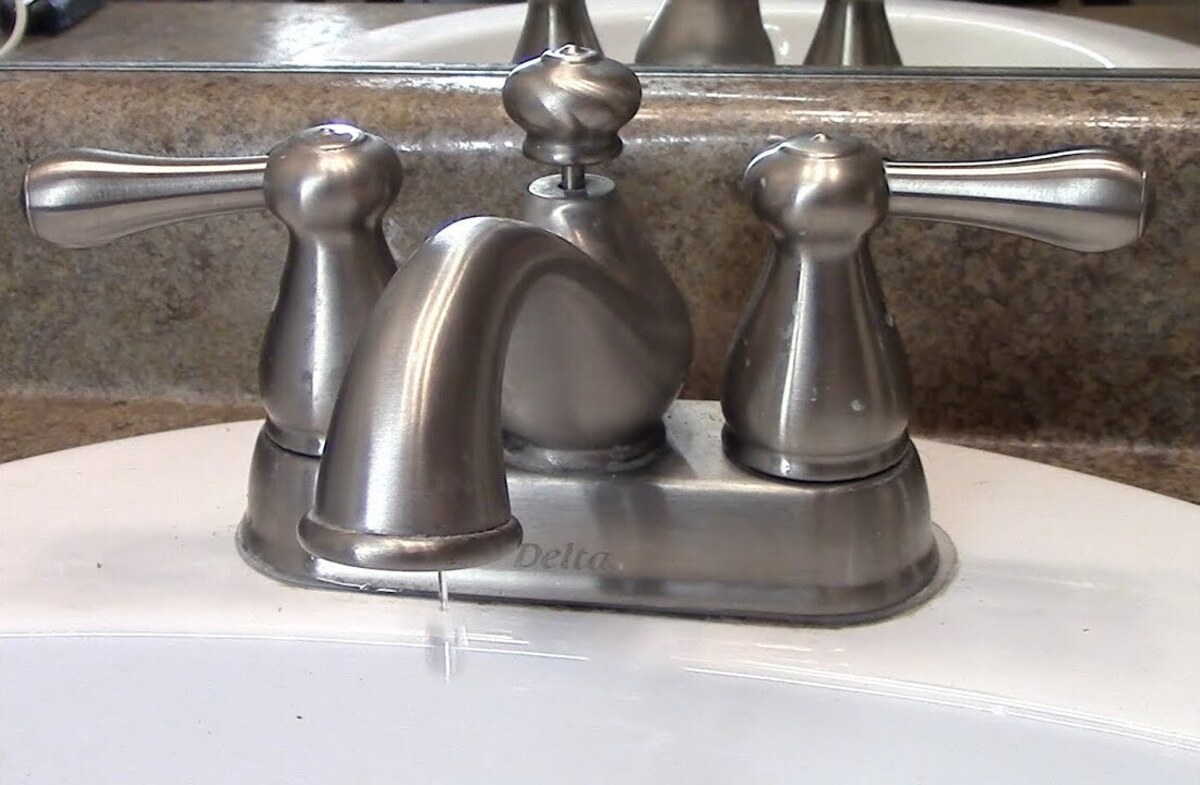
- Gently position the new Delta faucet onto the mounting surface or escutcheon plate.
- Align the faucet so that it is centered and straight on the sink. Make any necessary adjustments before proceeding.
- Secure the faucet in place using the provided mounting hardware. This may include screws, nuts, or a bracket, depending on the faucet model.
- Tighten the mounting hardware using a screwdriver, making sure not to over-tighten as this may cause damage to the faucet or the sink.
Once the faucet is securely mounted and aligned, you’re ready to move on to the next step – installing the new Delta faucet.
Before installing a Delta faucet, make sure to turn off the water supply to the existing faucet. This will prevent any water from leaking and make the installation process much easier.
Read more: How To Install A Delta Bathroom Faucet
Step 4: Install the New Delta Faucet
With the sink prepared, it’s time to install the new Delta faucet. Follow these steps to ensure a proper installation:
- Begin by connecting the water supply lines to the faucet. Ensure that the hot water line is connected to the hot water inlet and the cold water line is connected to the cold water inlet.
- Hand-tighten the nuts on the water supply lines, and then give them an additional quarter turn with an adjustable wrench to ensure a secure connection. Be careful not to overtighten and damage the connections.
- If your Delta faucet has a sprayer or additional components, follow the manufacturer’s instructions for their installation. This may involve connecting additional hoses or mounting brackets.
- Double-check that all connections are secure and properly aligned.
- If your faucet includes a pop-up drain assembly, connect it to the appropriate opening on the sink. Follow the manufacturer’s instructions for proper installation.
- Ensure that the faucet is positioned correctly and that it is securely mounted to the sink.
- Wipe away any excess plumber’s putty or silicone sealant around the base of the faucet using a sponge or rag.
Once the new Delta faucet is properly installed, you’re ready to move on to the next step – connecting the water supply lines.
Step 5: Connect the Water Supply Lines
Now that the new Delta faucet is installed, it’s time to connect the water supply lines. Follow these steps to ensure a proper connection:
- Make sure that the water supply valves beneath the sink are still turned off.
- Take the end of the hot water supply line and connect it to the hot water inlet of the faucet. Use an adjustable wrench to tighten the nut, ensuring a secure connection. Repeat the same process for the cold water supply line.
- Before tightening the nuts completely, wrap the threaded ends of the faucet and the supply lines with plumber’s tape (Teflon tape). This will help create a watertight seal and prevent any potential leaks.
- Once the plumber’s tape is wrapped, tighten the nuts using an adjustable wrench. Be careful not to overtighten, as this may cause damage to the connections.
- Inspect all connections to make sure they are secure and leak-free.
It’s a good practice to turn on the water supply valves slowly and check for any leaks. If you notice any leaks, tighten the connections or reapply plumber’s tape as needed.
With the water supply lines connected and checked for leaks, you’re ready for the next step – checking for leaks in the faucet.
Step 6: Check for Leaks
After connecting the water supply lines, it’s important to check for any leaks in the newly installed Delta faucet. Here’s how to do it:
- Turn on the water supply valves beneath the sink by rotating them counterclockwise.
- Slowly turn on the faucet, starting with the cold water side and gradually increasing the flow. Let the water run for a few minutes to flush out any debris.
- While the water is running, inspect all connections, such as the base of the faucet, the water supply lines, and the drain assembly, for any signs of leakage.
- If you notice any leaks, try tightening the connections. If the leak persists, turn off the water supply valves and disassemble the necessary parts to investigate and resolve the issue.
- Check for any leaks in the drain assembly as well, especially if your Delta faucet includes a pop-up drain. Ensure that the connections are tight and that there are no water drips or puddles.
It’s common to have some minor drips or seepage initially as the new faucet settles into place. However, persistent leaks should be addressed to avoid water damage and ensure the proper functioning of the faucet.
If you’re unable to resolve the leaks on your own, it may be necessary to seek the assistance of a professional plumber to identify and fix the issue.
Once you are confident that there are no leaks and everything is functioning properly, you can proceed to the final step – testing the faucet.
Step 7: Test the Faucet
Now that you’ve installed your new Delta faucet and checked for leaks, it’s time to test its functionality. Follow these steps to ensure that your faucet is working properly:
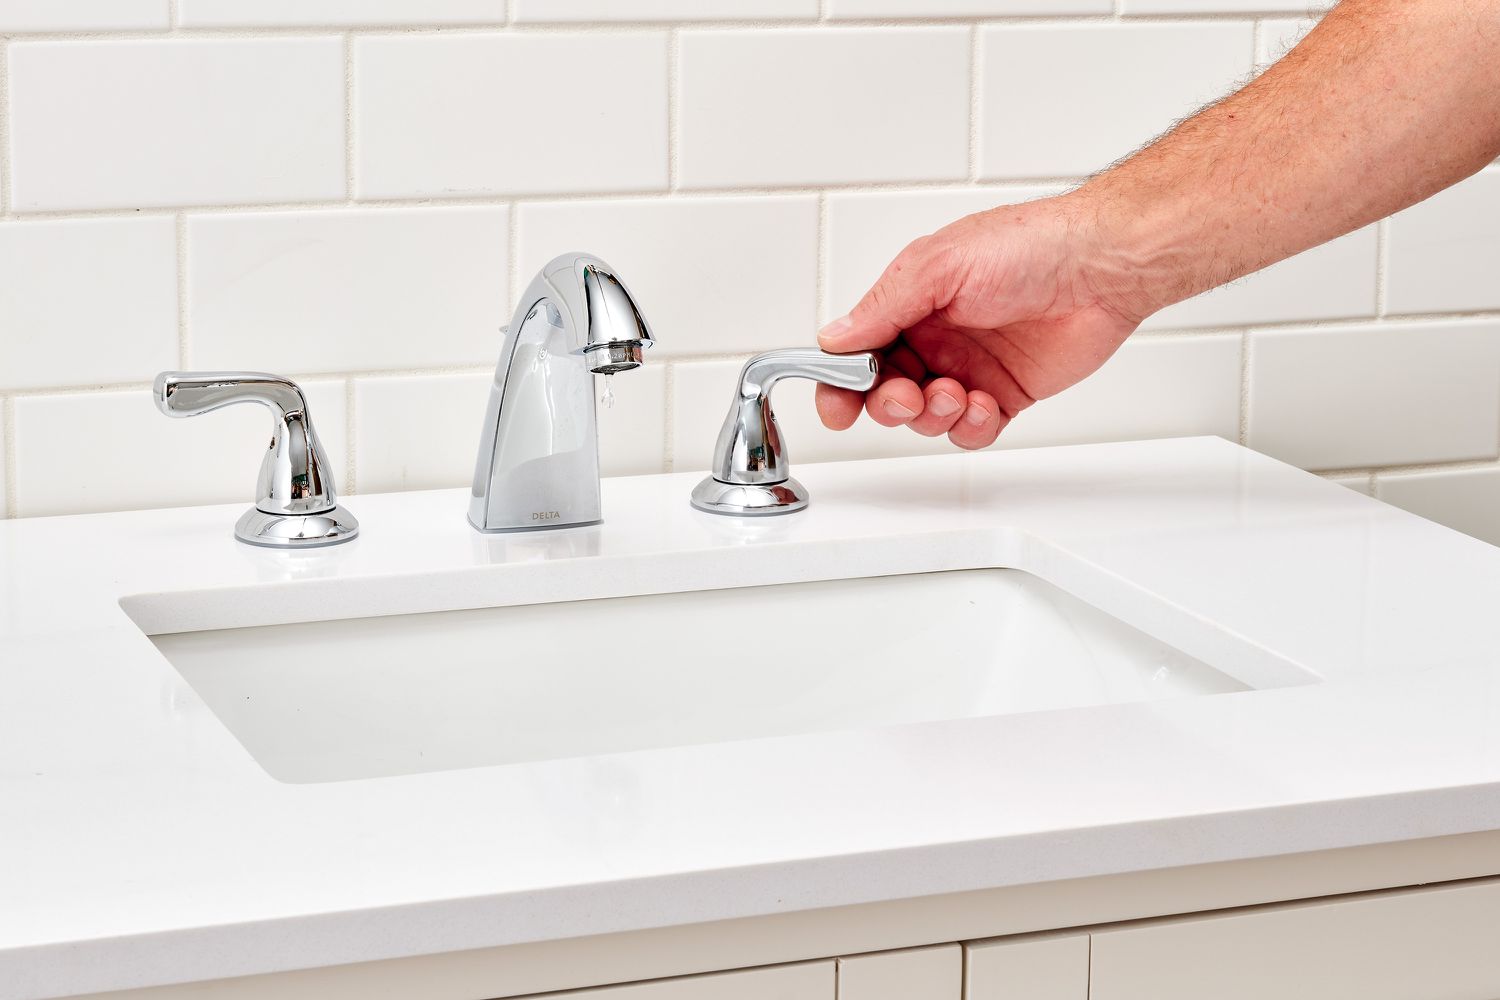
- Turn on the water supply valves beneath the sink by rotating them counterclockwise.
- Slowly turn on the faucet, starting with the cold water side and gradually increasing the flow. Check if the water flows smoothly without any disruptions or irregularities.
- Test the hot water side of the faucet by gradually increasing the flow and ensuring that the water temperature is as expected.
- Operate any additional features of your Delta faucet, such as the sprayer or pull-out nozzle, to ensure they are working correctly.
- Check the water pressure and make sure it is consistent on both the hot and cold water sides of the faucet.
- Examine the functionality of any additional controls or features, such as temperature adjustments or spray patterns, according to your Delta faucet model.
If you encounter any issues or abnormalities during the testing process, consult the manufacturer’s instructions or contact Delta’s customer support for assistance. They can provide guidance on how to troubleshoot and resolve any problems.
By thoroughly testing your new Delta faucet, you can ensure that it meets your expectations in terms of both performance and convenience.
Now that you have successfully installed and tested your new Delta faucet, you can enjoy its enhanced functionality and the updated look it brings to your kitchen or bathroom.
Read more: How To Tighten A Delta Kitchen Faucet
Conclusion
Installing a new Delta faucet can transform the look and functionality of your kitchen or bathroom. With their durability, innovation, and stylish designs, Delta faucets are a popular choice for homeowners and professionals alike.
In this article, we’ve provided a step-by-step guide on how to install a Delta faucet. From turning off the water supply to connecting the water supply lines and testing the faucet, we’ve covered all the essential steps to ensure a successful installation.
Remember to gather all the necessary tools and materials before getting started. It’s crucial to turn off the water supply before removing the existing faucet and preparing the sink for installation. Installing the new Delta faucet involves securing it in place, connecting the water supply lines, and checking for any leaks. Finally, testing the faucet ensures its proper functionality.
While this guide is specific to Delta faucets, many of the steps and principles can be applied to the installation of other brands as well. However, always refer to the manufacturer’s instructions provided with your specific faucet for accurate and detailed installation steps.
If you encounter any difficulties during the installation process or have any concerns, it’s always advisable to seek professional assistance from a licensed plumber.
Now that you have the knowledge and guidance, you can confidently install your new Delta faucet and enjoy its benefits for years to come. Upgrade your kitchen or bathroom with a stylish and reliable Delta faucet for a refreshing and functional space.
Frequently Asked Questions about How To Install A Delta Faucet
Was this page helpful?
At Storables.com, we guarantee accurate and reliable information. Our content, validated by Expert Board Contributors, is crafted following stringent Editorial Policies. We're committed to providing you with well-researched, expert-backed insights for all your informational needs.


0 thoughts on “How To Install A Delta Faucet”