Home>Articles>How Can I Take A Chrome Towel Bar Down Off Wall
Articles
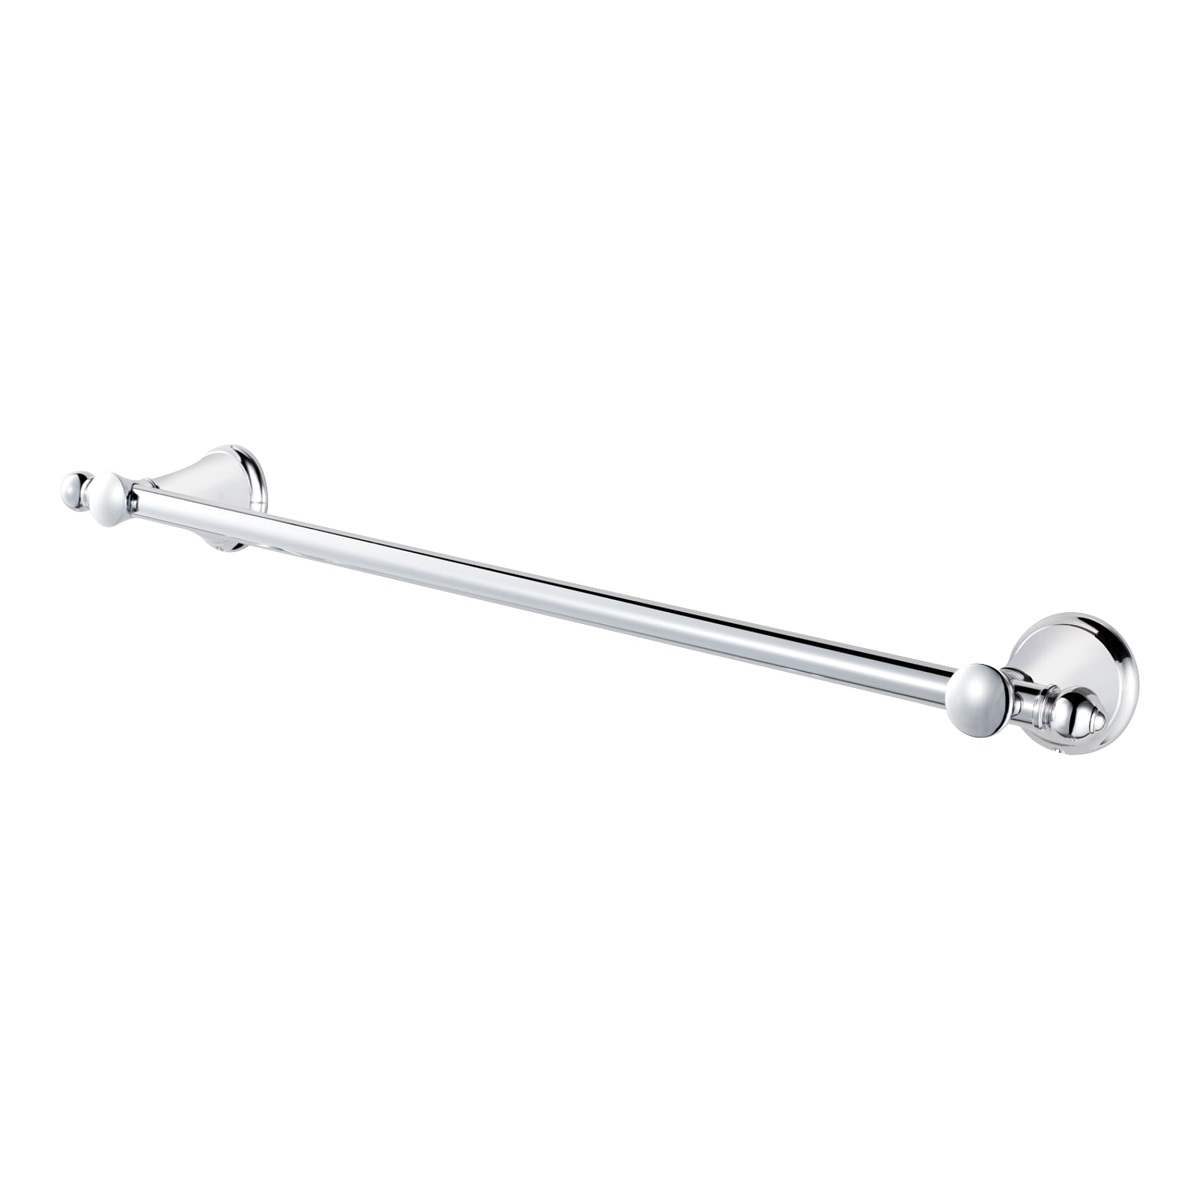
How Can I Take A Chrome Towel Bar Down Off Wall
Modified: August 27, 2024
Learn how to remove a chrome towel bar from your wall with these step-by-step instructions. Find helpful articles and tips for an easy DIY project.
(Many of the links in this article redirect to a specific reviewed product. Your purchase of these products through affiliate links helps to generate commission for Storables.com, at no extra cost. Learn more)
Introduction
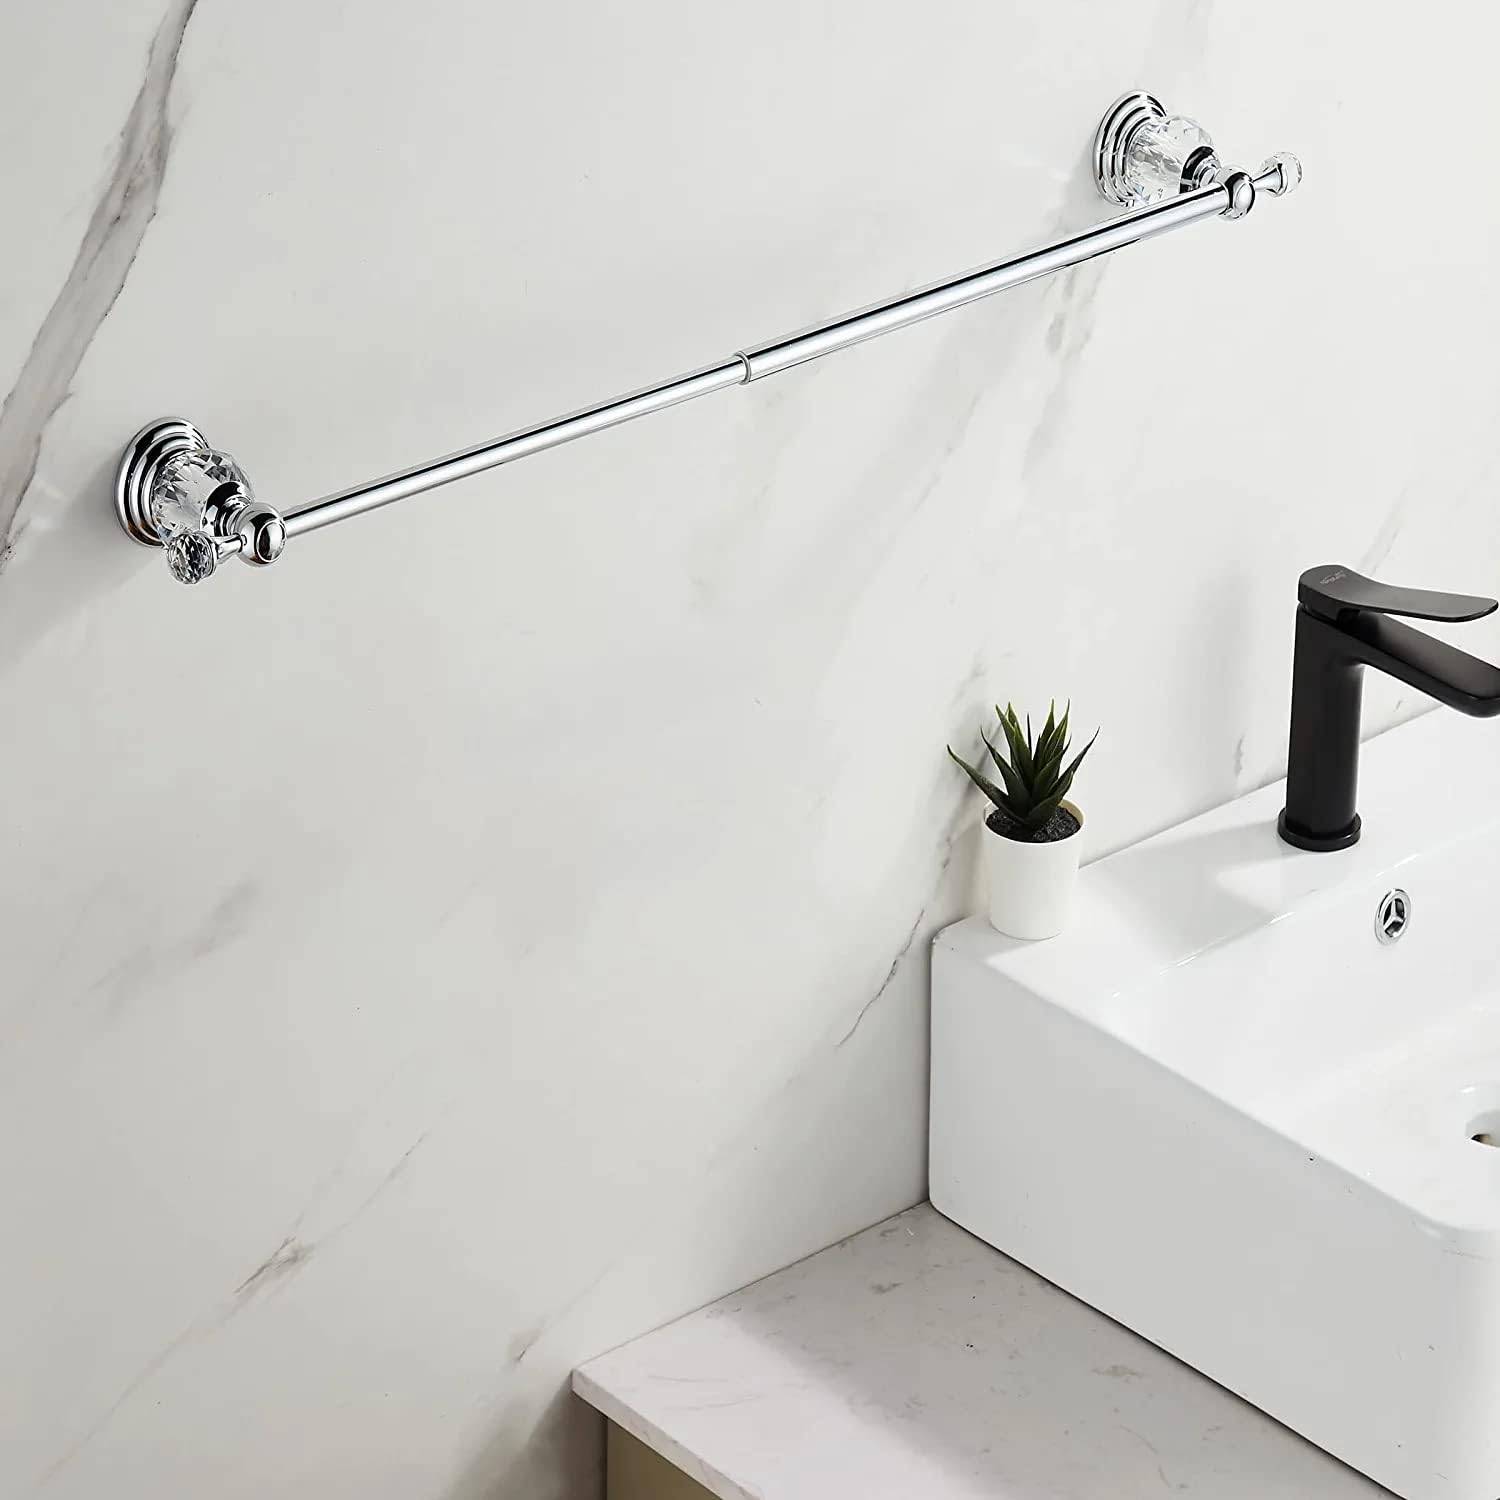
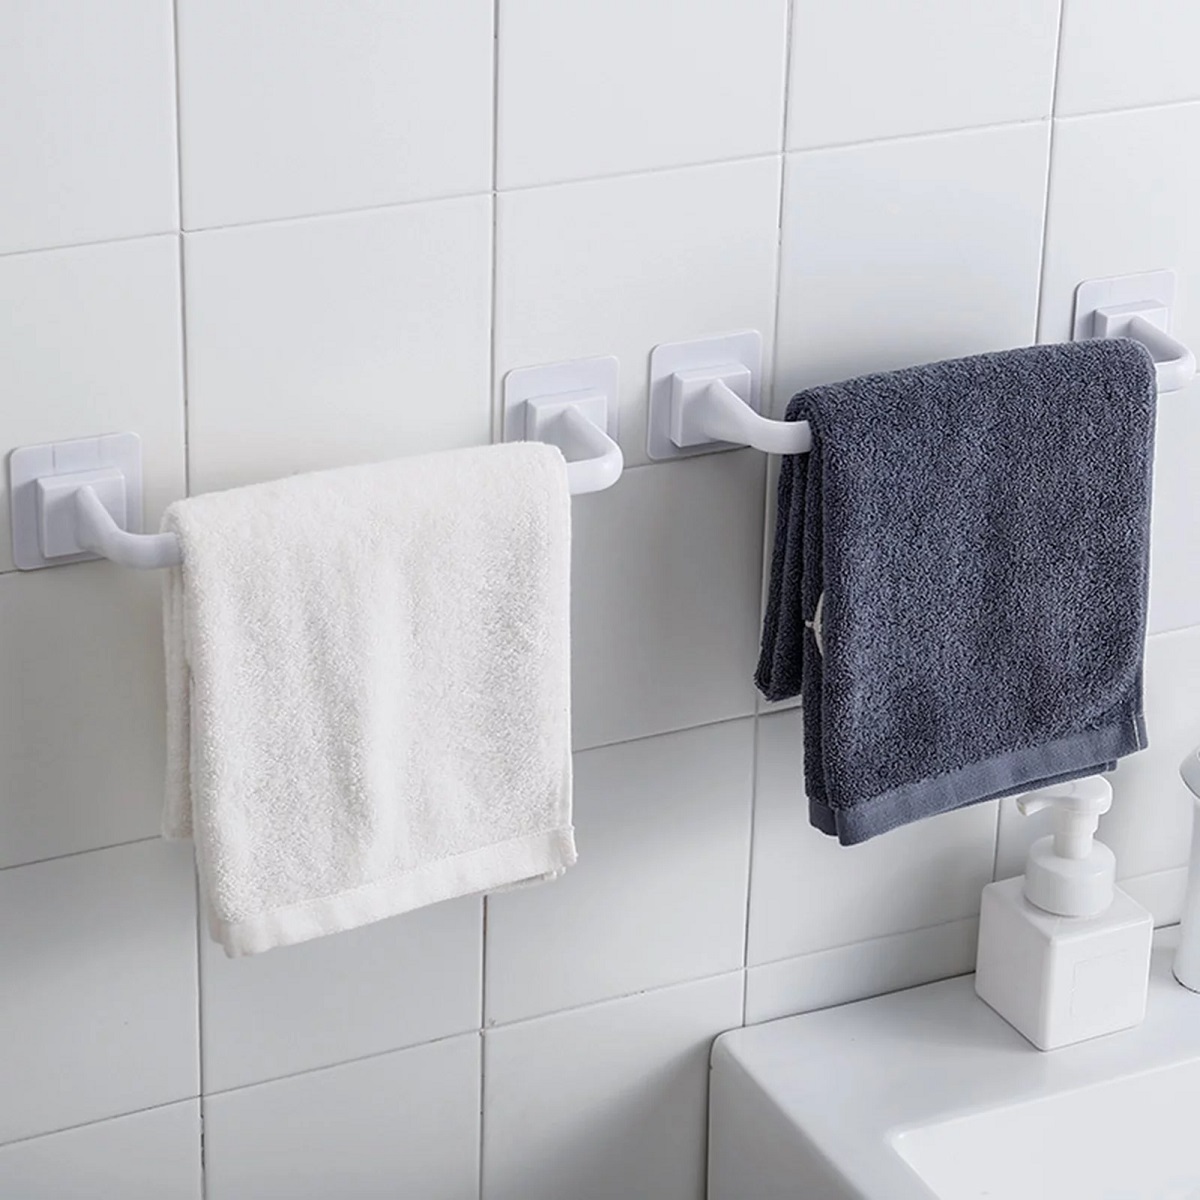
When it comes to home renovations or simply wanting to change up the look of your bathroom, removing a chrome towel bar from the wall can be a task that you might need to undertake. Whether you are replacing it with a different style, repairing it, or just want a new look, it’s important to know the proper steps to efficiently and safely remove the towel bar without causing any damage to your walls.
Removing a chrome towel bar may seem like a daunting task, but with the right tools and a little know-how, it can be done without much hassle. In this article, we will guide you through the step-by-step process of safely removing a chrome towel bar from the wall. By following these instructions, you can ensure that the removal process goes smoothly and that you have a clean and undamaged wall once the towel bar is taken down.
Before we begin, it’s important to note that the methods described in this article are suitable for removing surface-mounted towel bars. If your towel bar is recessed or built into the wall, you may require additional steps or professional assistance to remove it. Additionally, as safety is always a priority, it’s essential to exercise caution when working with tools and ensure that you follow proper safety measures throughout the process.
Now that we have covered these important points, let’s move on to the first step, which is gathering the necessary tools and materials to start the removal process.
Key Takeaways:
- Safely remove a chrome towel bar from the wall by gathering the right tools, unscrewing the mounting hardware, and patching any holes left behind for a clean and undamaged wall.
- Exercise caution and follow proper safety measures when removing a chrome towel bar. Carefully detach the towel bar, repair any holes left behind, and proceed with confidence in your bathroom renovation or update.
Read more: How Do I Take Down A Towel Bar
Step 1: Gather necessary tools and materials
Before you begin removing the chrome towel bar from the wall, it’s essential to gather all the necessary tools and materials. This will ensure that you have everything you need within reach, making the process more efficient and reducing the chances of any delays or interruptions. Here are the tools and materials you will need:
- Phillips head screwdriver or an appropriate screwdriver bit
- Adjustable wrench or a pair of pliers
- Putty knife or a scraper
- Wall patching kit or spackling compound
- Sandpaper or sanding block
- Paint and paintbrush (if necessary)
- Drop cloth or old towel to protect the floor
- Safety goggles and gloves
Once you have gathered all the necessary tools and materials, ensure that you have a clear workspace and a well-lit area to work in. Cover the floor beneath the towel bar with a drop cloth or an old towel to protect it from any debris or scratches that may occur during the removal process.
Now that you have everything ready, we can move on to the next step, which is removing any items hanging on the towel bar before proceeding with the removal process.
Step 2: Remove any items hanging on the towel bar
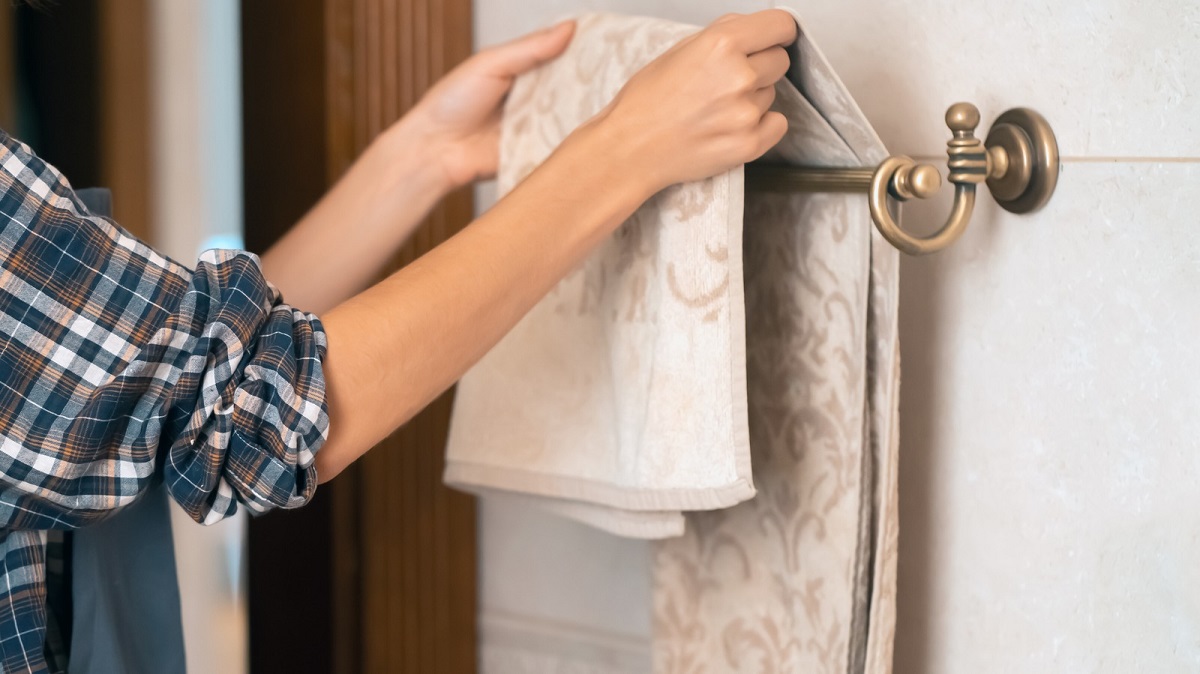
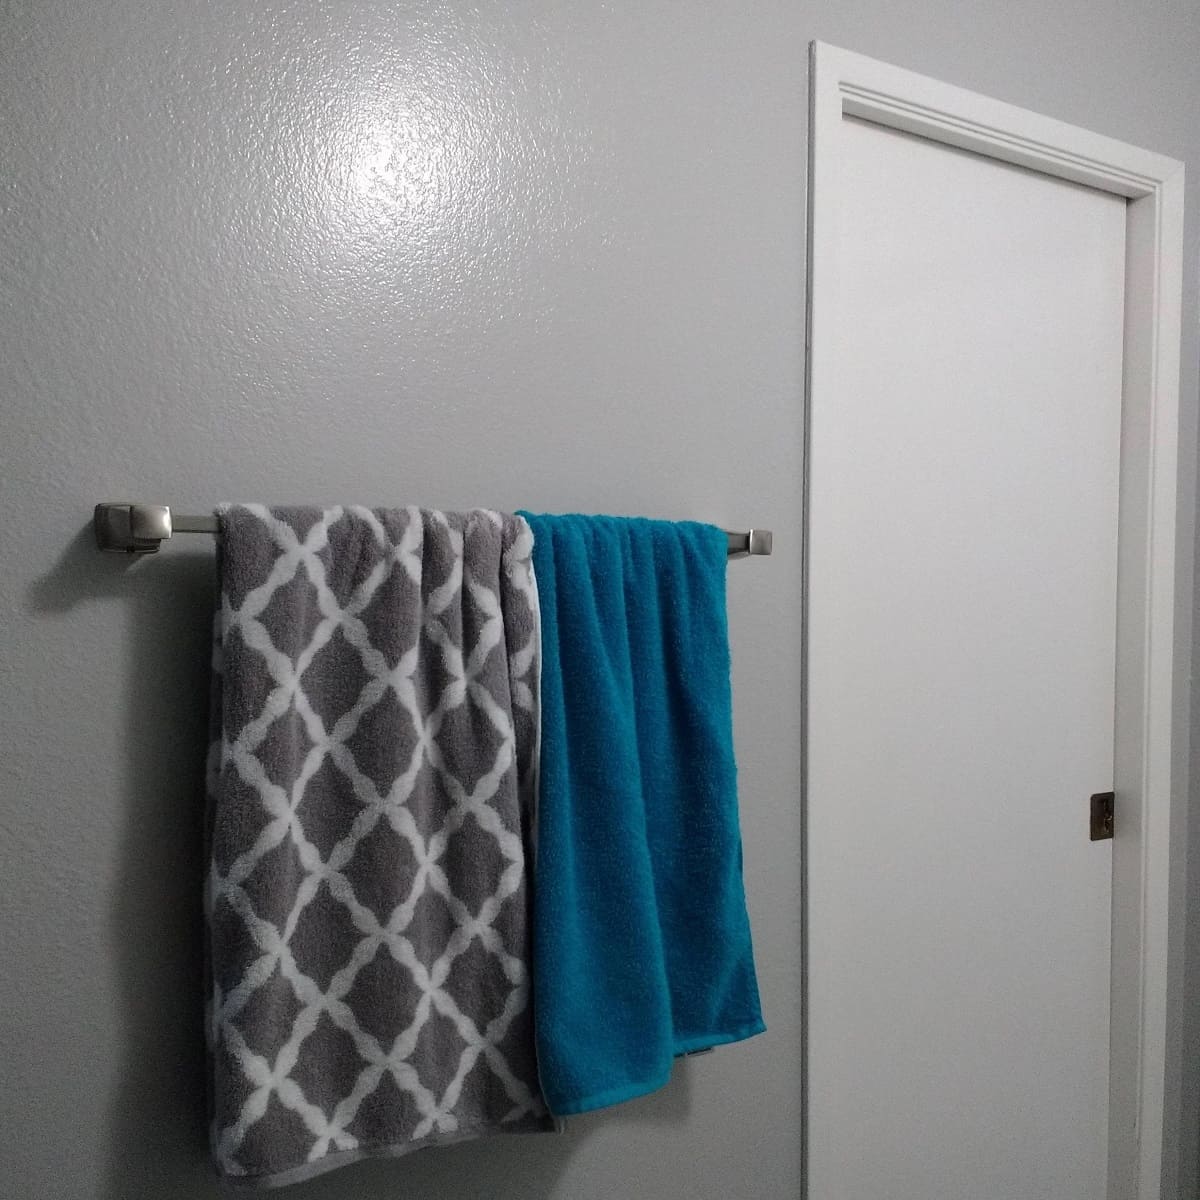
Before you can begin the actual removal process of the chrome towel bar, it’s important to remove any items or accessories that may be hanging on it. This includes towels, washcloths, or any other bathroom essentials that are attached to the towel bar.
Start by carefully removing each item from the towel bar and placing them in a safe location nearby. If the items are fragile or delicate, handle them with extra care to prevent any damage. Take your time to ensure that you’ve removed all items and that the towel bar is completely empty before proceeding to the next step.
Removing the items from the towel bar not only makes the removal process easier but also prevents any accidents or damages that may occur if they were to fall off during the removal process. Once the towel bar is clear of any items, it’s time to move on to the next step and locate the mounting hardware.
Note: If the towel bar is glued onto the wall instead of being mounted with screws, you may need to use a heat gun or a hairdryer to soften the adhesive before attempting to remove it. Be cautious when using heat tools and follow the manufacturer’s guidelines for safe use.
Step 3: Locate the mounting hardware
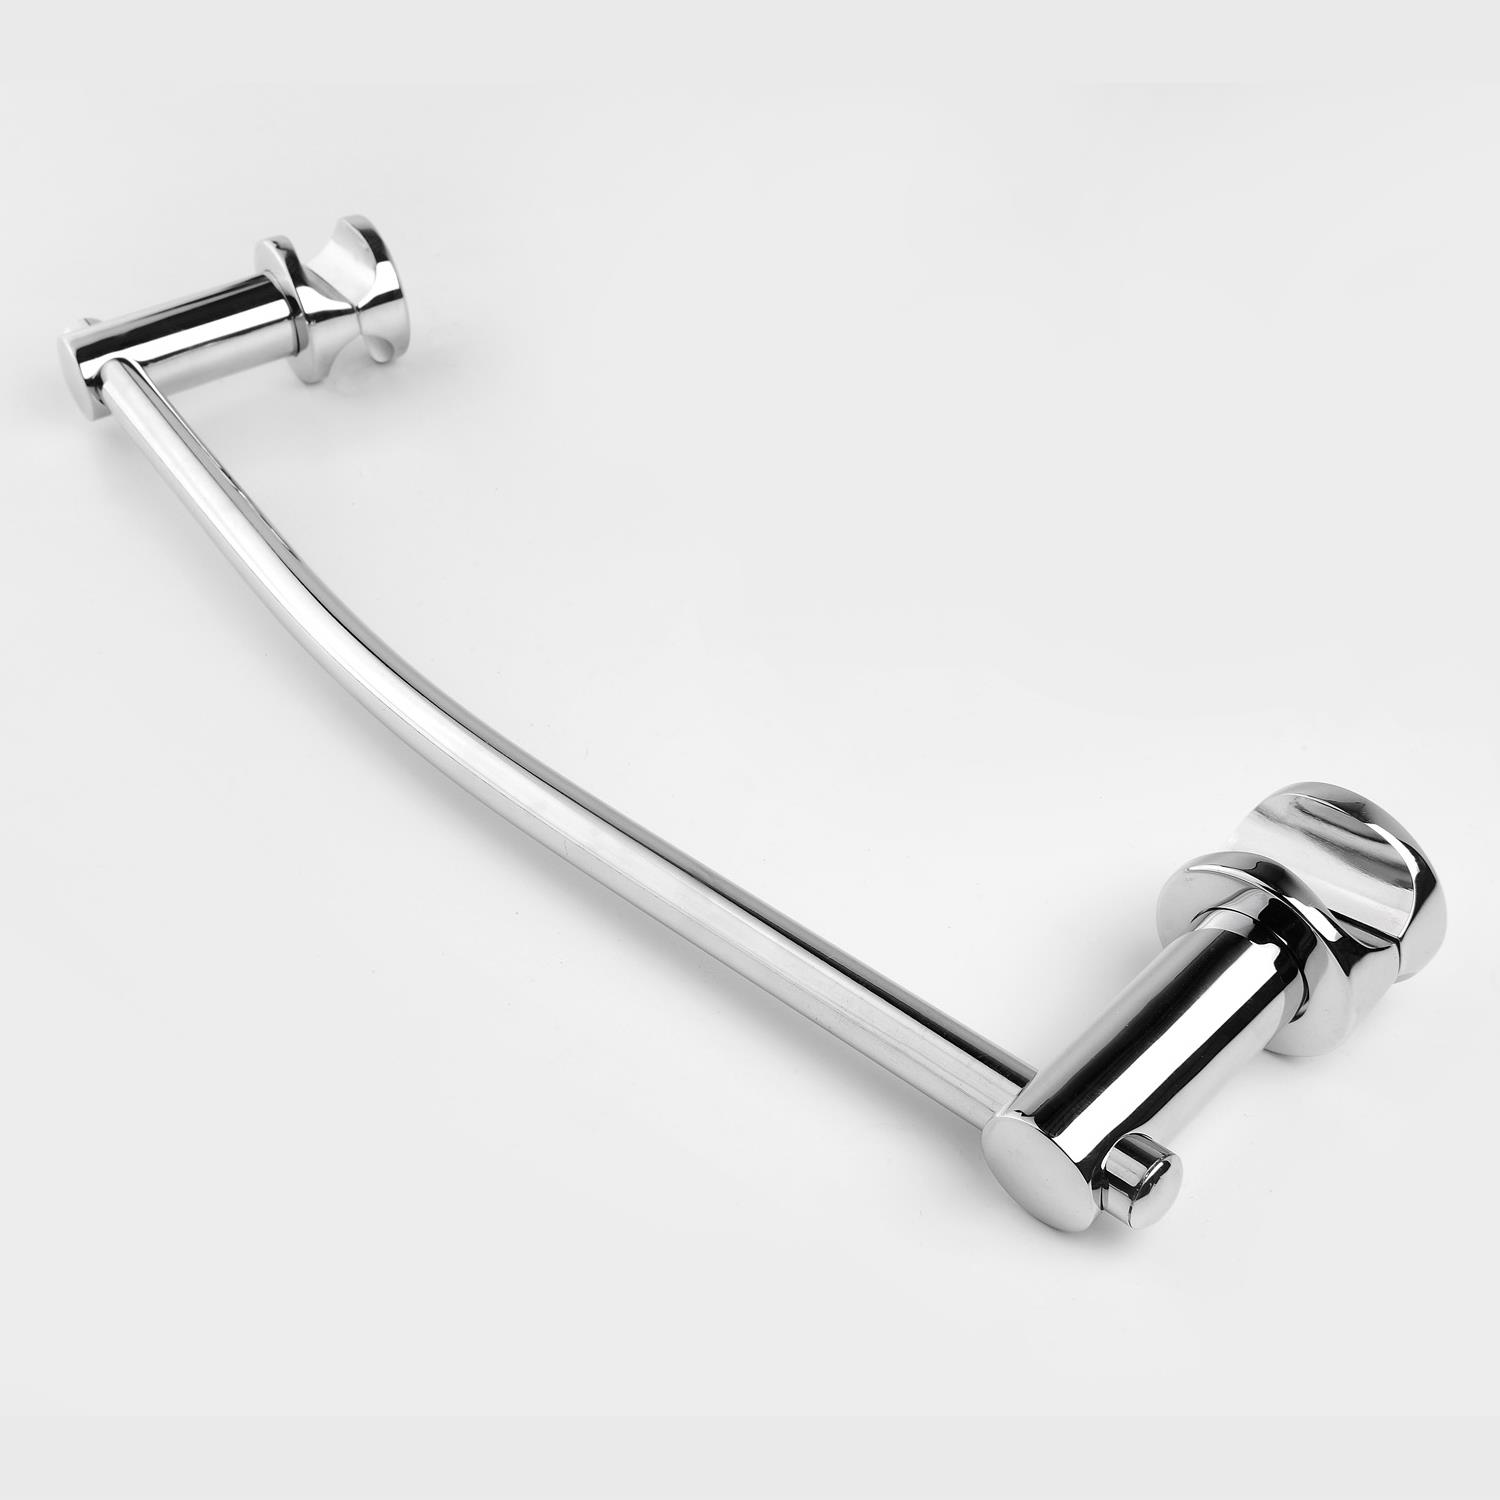
Before you can begin removing the chrome towel bar from the wall, you need to locate the mounting hardware that holds it in place. The mounting hardware is typically located at each end of the towel bar and may be concealed by decorative caps or covers.
Inspect the towel bar closely and look for any visible screws, brackets, or clips that are securing it to the wall. If there are decorative caps or covers in place, gently pry them off using a putty knife or a scraper to reveal the mounting hardware beneath.
Once you have located the mounting hardware, take note of the type and size of screws or bolts used. This information will be useful when selecting the appropriate tools for the next step. It’s also a good idea to examine the condition of the mounting hardware and make sure it’s in good shape. If any screws or bolts are damaged or missing, you may need to replace them before re-installing a new towel bar.
If the mounting hardware is concealed or not easily accessible, refer to the manufacturer’s instructions or contact the towel bar manufacturer for assistance. They may be able to provide guidance specific to your towel bar model on how to locate and remove the mounting hardware.
Now that you have located the mounting hardware, you are ready to proceed to the next step, which involves unscrewing the hardware to detach the towel bar from the wall.
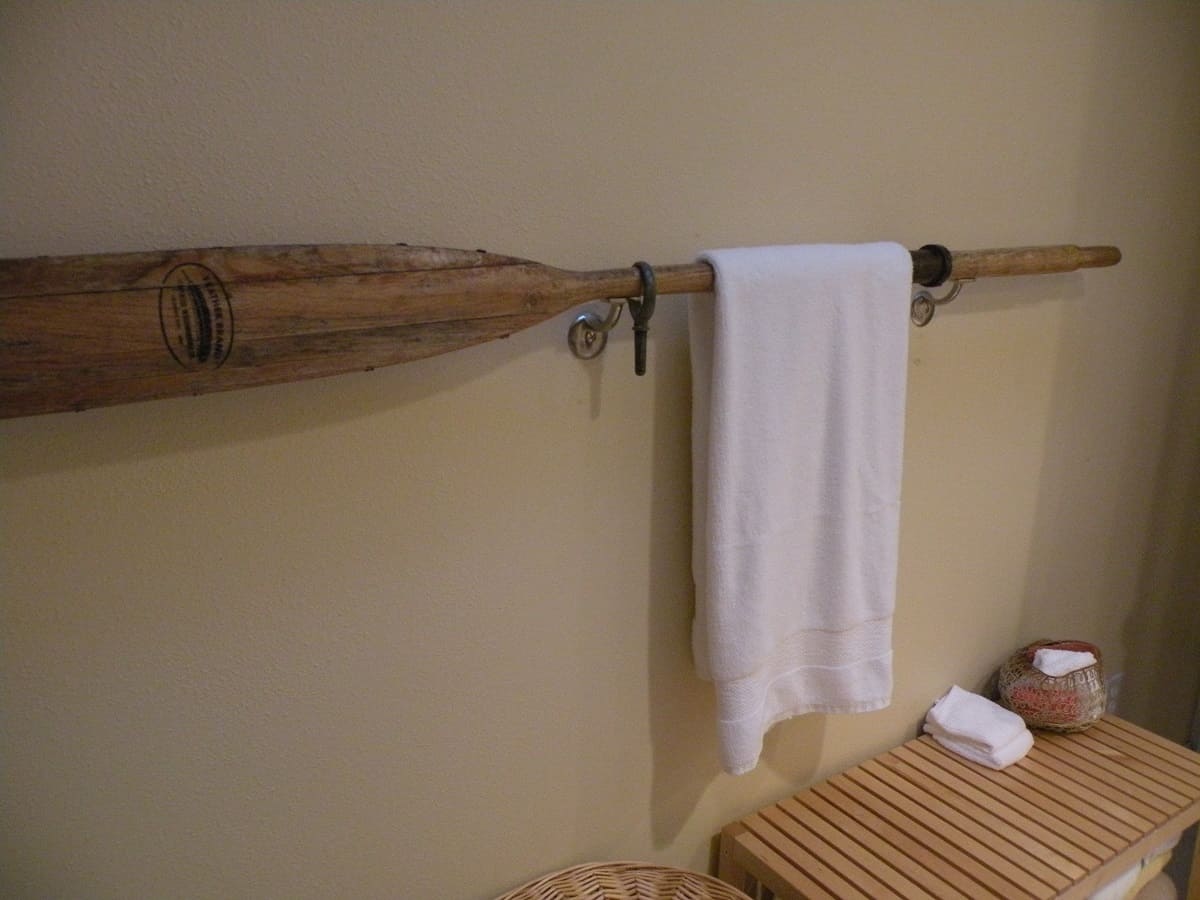
Use a screwdriver to remove the screws holding the towel bar in place. Once the screws are removed, gently lift the bar off the wall. If there is adhesive, use a putty knife to carefully pry the bar away from the wall.
Step 4: Unscrew the mounting hardware
With the mounting hardware located, it’s time to unscrew and remove it to detach the chrome towel bar from the wall. The specific method for unscrewing the hardware may vary depending on the type of screws or bolts used, so it’s important to have the correct tools on hand.
If the mounting hardware consists of screws, you will need to use a Phillips head screwdriver or an appropriate screwdriver bit that fits the screws. Insert the screwdriver into the head of each screw and turn counterclockwise to loosen and remove them. Depending on the size and tightness of the screws, you may need to exert a bit of force or use an adjustable wrench or pliers for additional leverage.
If the mounting hardware includes bolts or nuts, you will need an adjustable wrench or a pair of pliers. Grip the bolt or nut firmly with the wrench or pliers and turn counterclockwise to loosen and remove them. Again, some bolts or nuts may be tighter than others, so be prepared to use some force or grab a pair of channel lock pliers for more grip.
As you unscrew the mounting hardware, take note of any washers or other components that may be present. Keep them in a safe place so that they can be used during the installation of a new towel bar if needed.
Once all the screws or bolts have been fully removed, carefully detach the towel bar from the wall. You may need to give it a gentle tug or wiggle it slightly to free it from the wall completely.
Now that the mounting hardware has been unscrewed and the towel bar is free, you can proceed to the next step, which involves removing the towel bar from the wall.
Read more: How To Get A Towel Bar Off The Wall
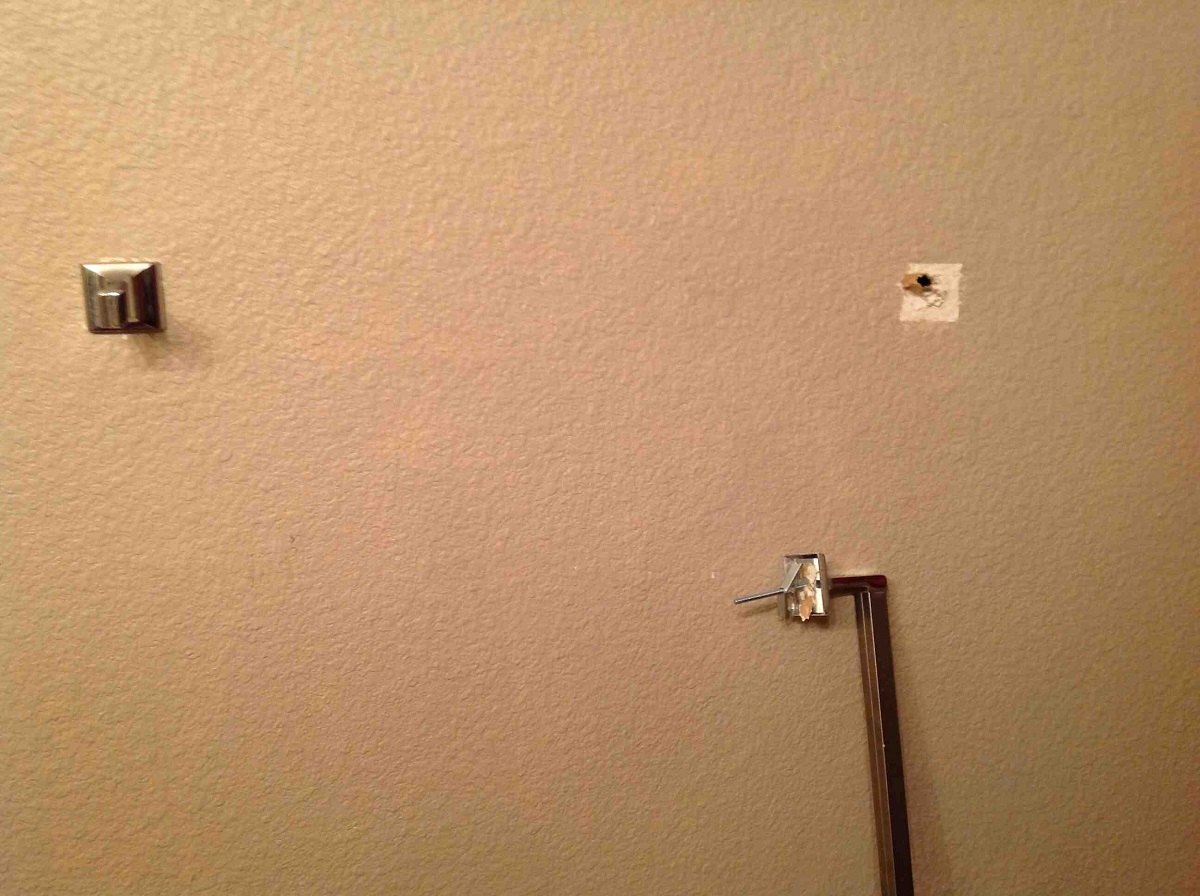
Step 5: Remove the towel bar from the wall
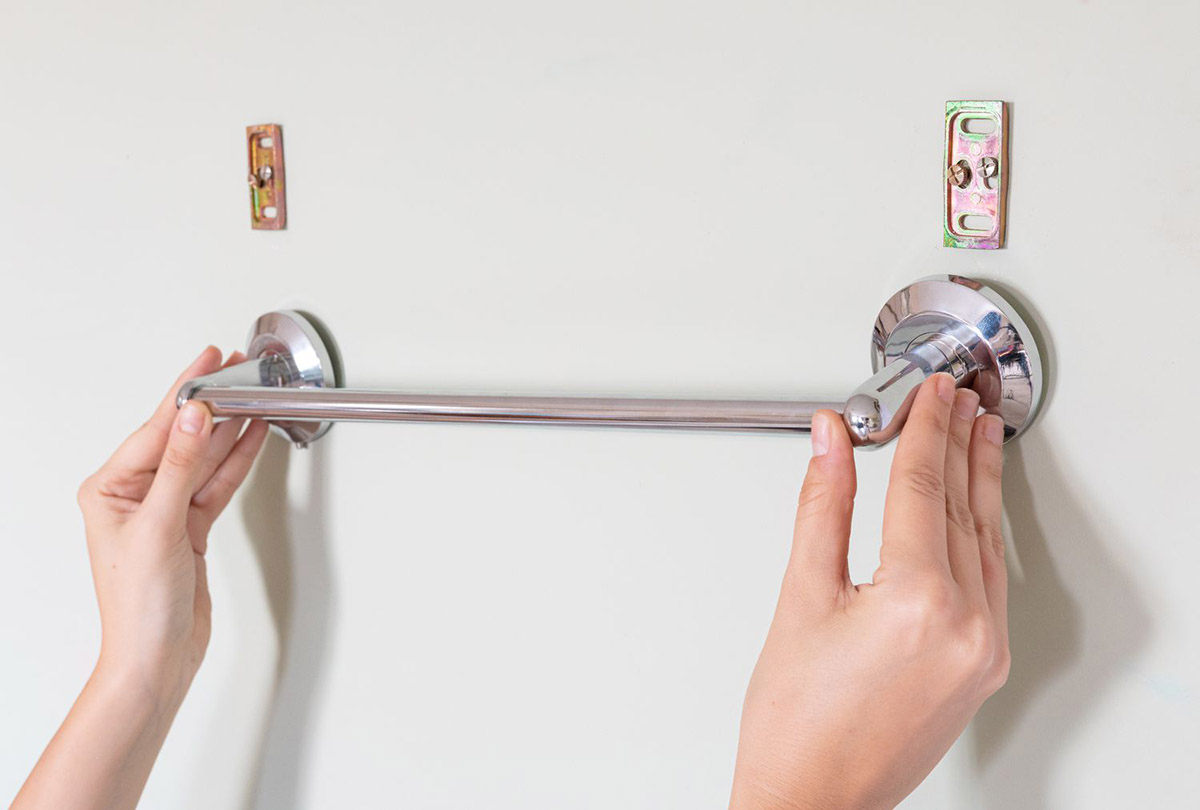
Now that the mounting hardware has been unscrewed, it’s time to remove the chrome towel bar from the wall. This step requires caution to avoid damaging the wall or the towel bar itself.
Start by holding the towel bar firmly at both ends and gently lift it upwards, away from the wall. Slowly pull it away from the wall, being mindful of any resistance or sticking points. In some cases, the towel bar may be held in place by adhesive or residue from previous installations. If you encounter resistance, try gently wiggling the towel bar back and forth while pulling to loosen it.
If the towel bar is stubbornly stuck to the wall, you can use a putty knife or a scraper to carefully separate it from the wall. Slide the edge of the tool between the towel bar and the wall and gently pry it apart. Be cautious not to apply too much pressure or force, as this can damage the wall or the towel bar.
As you remove the towel bar, pay attention to any screws, brackets, or clips that may still be attached to the wall. Remove them carefully as you pull the towel bar away. If any hardware remains stubbornly attached, unscrew or detach them using the appropriate tools.
Once the towel bar is completely free from the wall, set it aside in a safe place or dispose of it responsibly, depending on the condition of the towel bar.
Congratulations! You have successfully removed the chrome towel bar from the wall. Now, we can move on to the next step, which involves patching or repairing any holes left behind.
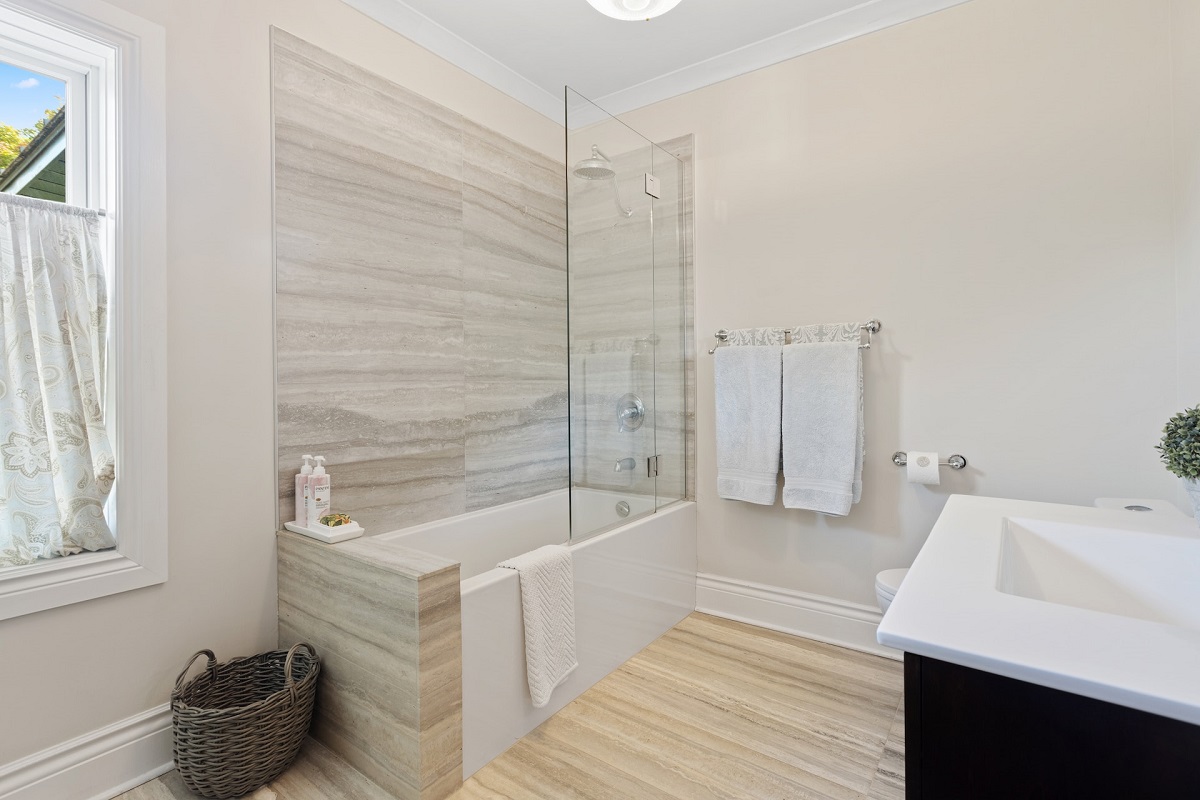
Step 6: Patch or repair any holes left behind
After removing the chrome towel bar from the wall, it’s common to find small holes or damage where the mounting hardware was attached. It’s important to patch or repair these holes to ensure a smooth and seamless wall surface, especially if you’re planning to install a new towel bar or leave the wall as is.
To patch or repair the holes, you will need a wall patching kit or spackling compound, a putty knife or scraper, sandpaper or a sanding block, and paint and a paintbrush if necessary.
Here’s how to patch or repair the holes left behind:
- Start by cleaning the area around each hole with a damp cloth or sponge to remove any dust or debris. Allow the wall to dry completely before proceeding.
- If you’re using a wall patching kit, follow the instructions provided to prepare the patching compound. If you’re using spackling compound, scoop a small amount onto your putty knife or scraper.
- Apply the patching compound or spackling compound evenly over each hole, using the putty knife or scraper. Ensure that the compound is pressed firmly into the hole and completely fills it. Smooth out the surface, removing any excess compound.
- Allow the compound to dry according to the manufacturer’s instructions. This may take a few hours or overnight, depending on the type and thickness of the compound used.
- Once the compound is dry, lightly sand the patched areas using sandpaper or a sanding block. This will create a smooth and level surface for painting or blending in with the surrounding wall.
- If necessary, touch up the patched areas with paint that matches the color of the surrounding wall. Use a small paintbrush to carefully apply the paint, feathering it outwards to blend it seamlessly with the rest of the wall.
Once the patching and repairs are complete, allow the paint to dry completely before touching or reinstalling any new towel bars or accessories.
With this step completed, you have successfully patched or repaired any holes left behind from removing the chrome towel bar. You can now admire your clean and refreshed wall.
Congratulations on completing the removal process! You can now enjoy the satisfaction of a towel bar-free wall or move forward with installing a new towel bar that suits your style.
Note: The steps provided are general guidelines. Make sure to refer to the specific instructions and recommendations from the manufacturer of the patching compound or spackling material for best results.
Conclusion
Removing a chrome towel bar from the wall may seem like a daunting task, but with the right tools and knowledge, it can be a straightforward process. By following the steps outlined in this guide, you can safely and efficiently remove the towel bar without causing any damage to your walls.
Remember, before starting the removal process, gather all the necessary tools and materials to make the process more organized and efficient. Remove any items hanging on the towel bar to prevent any accidents or damage during the removal process.
Locating the mounting hardware is crucial in order to unscrew it and detach the towel bar from the wall. Take note of the type and size of screws or bolts used, and be prepared with the appropriate tools.
With the mounting hardware removed, carefully remove the towel bar from the wall, being mindful of any resistance or sticking points. If necessary, use a putty knife or scraper to gently separate the towel bar from the wall.
Once the towel bar is removed, it’s important to patch or repair any holes left behind. Utilize a wall patching kit or spackling compound to fill in the holes, and sand the patched areas to create a smooth surface. If necessary, touch up the patched areas with paint that matches the surrounding wall.
With these steps completed, you can now enjoy a clean and undamaged wall. Whether you choose to leave the wall bare or install a new towel bar, you can proceed with confidence knowing that you have successfully removed the chrome towel bar.
Remember to exercise caution and follow proper safety measures throughout the removal process. If you encounter any difficulties or have specific questions, it’s always a good idea to consult the manufacturer’s instructions or seek professional advice.
We hope that this guide has been helpful in assisting you with removing a chrome towel bar from the wall. Good luck with your project, and may your bathroom renovation or update be a success!
Frequently Asked Questions about How Can I Take A Chrome Towel Bar Down Off Wall
Was this page helpful?
At Storables.com, we guarantee accurate and reliable information. Our content, validated by Expert Board Contributors, is crafted following stringent Editorial Policies. We're committed to providing you with well-researched, expert-backed insights for all your informational needs.


0 thoughts on “How Can I Take A Chrome Towel Bar Down Off Wall”