Articles
How To Pull Out Stacked Washer Dryer
Modified: August 28, 2024
Learn how to safely and efficiently pull out a stacked washer dryer in this informative guide. Discover expert tips and tricks in our comprehensive articles.
(Many of the links in this article redirect to a specific reviewed product. Your purchase of these products through affiliate links helps to generate commission for Storables.com, at no extra cost. Learn more)
Introduction
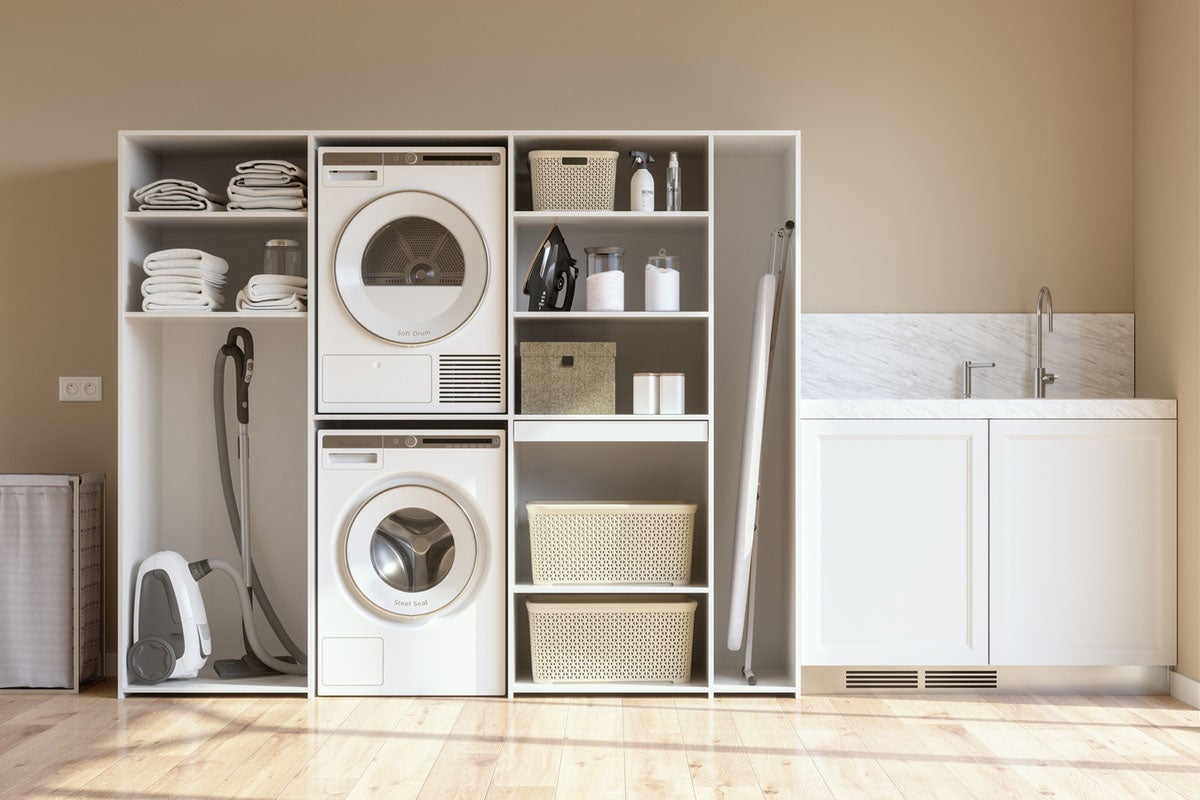
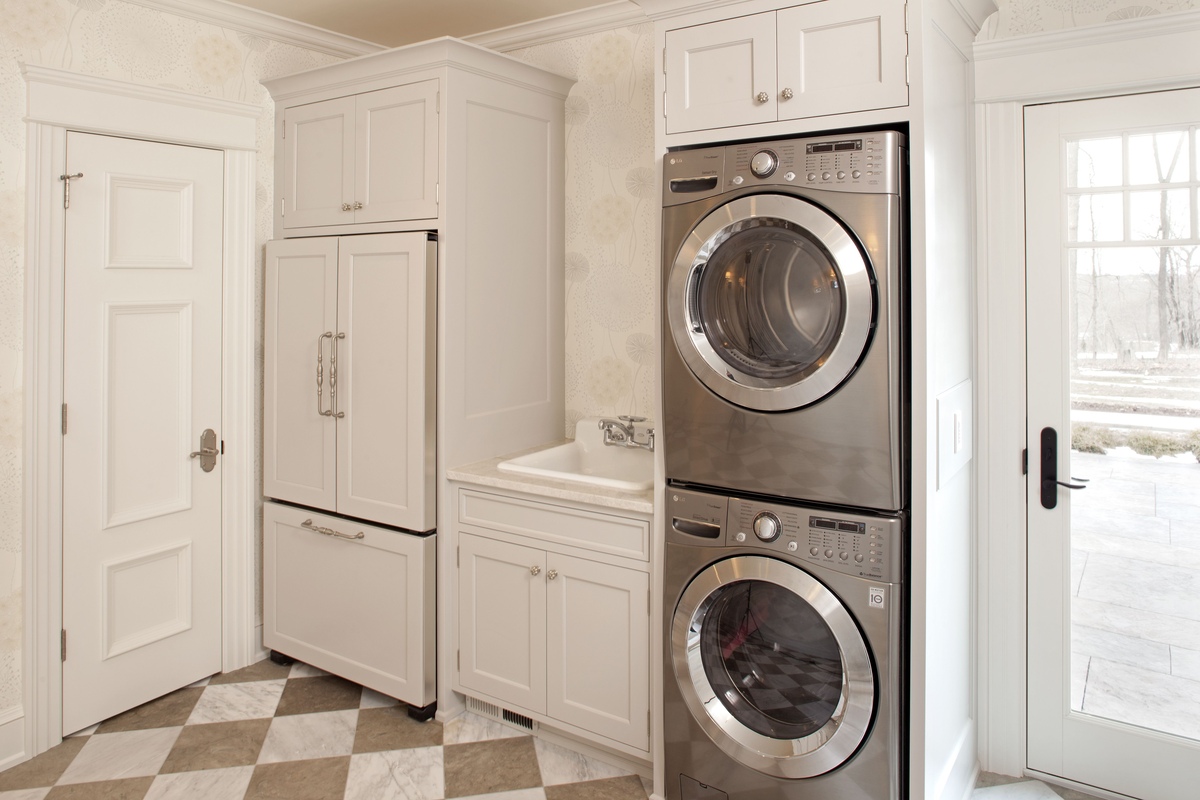
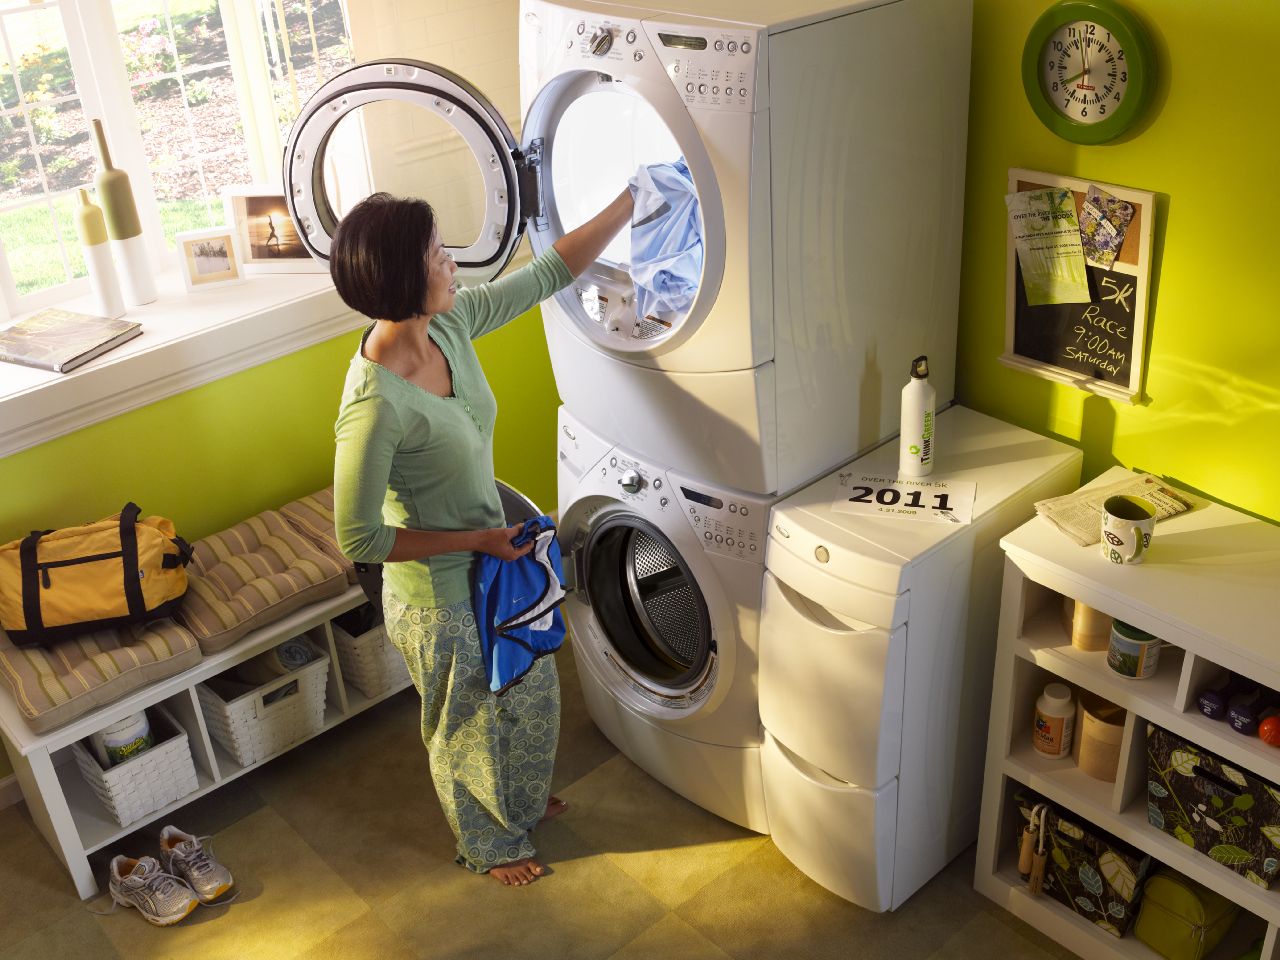
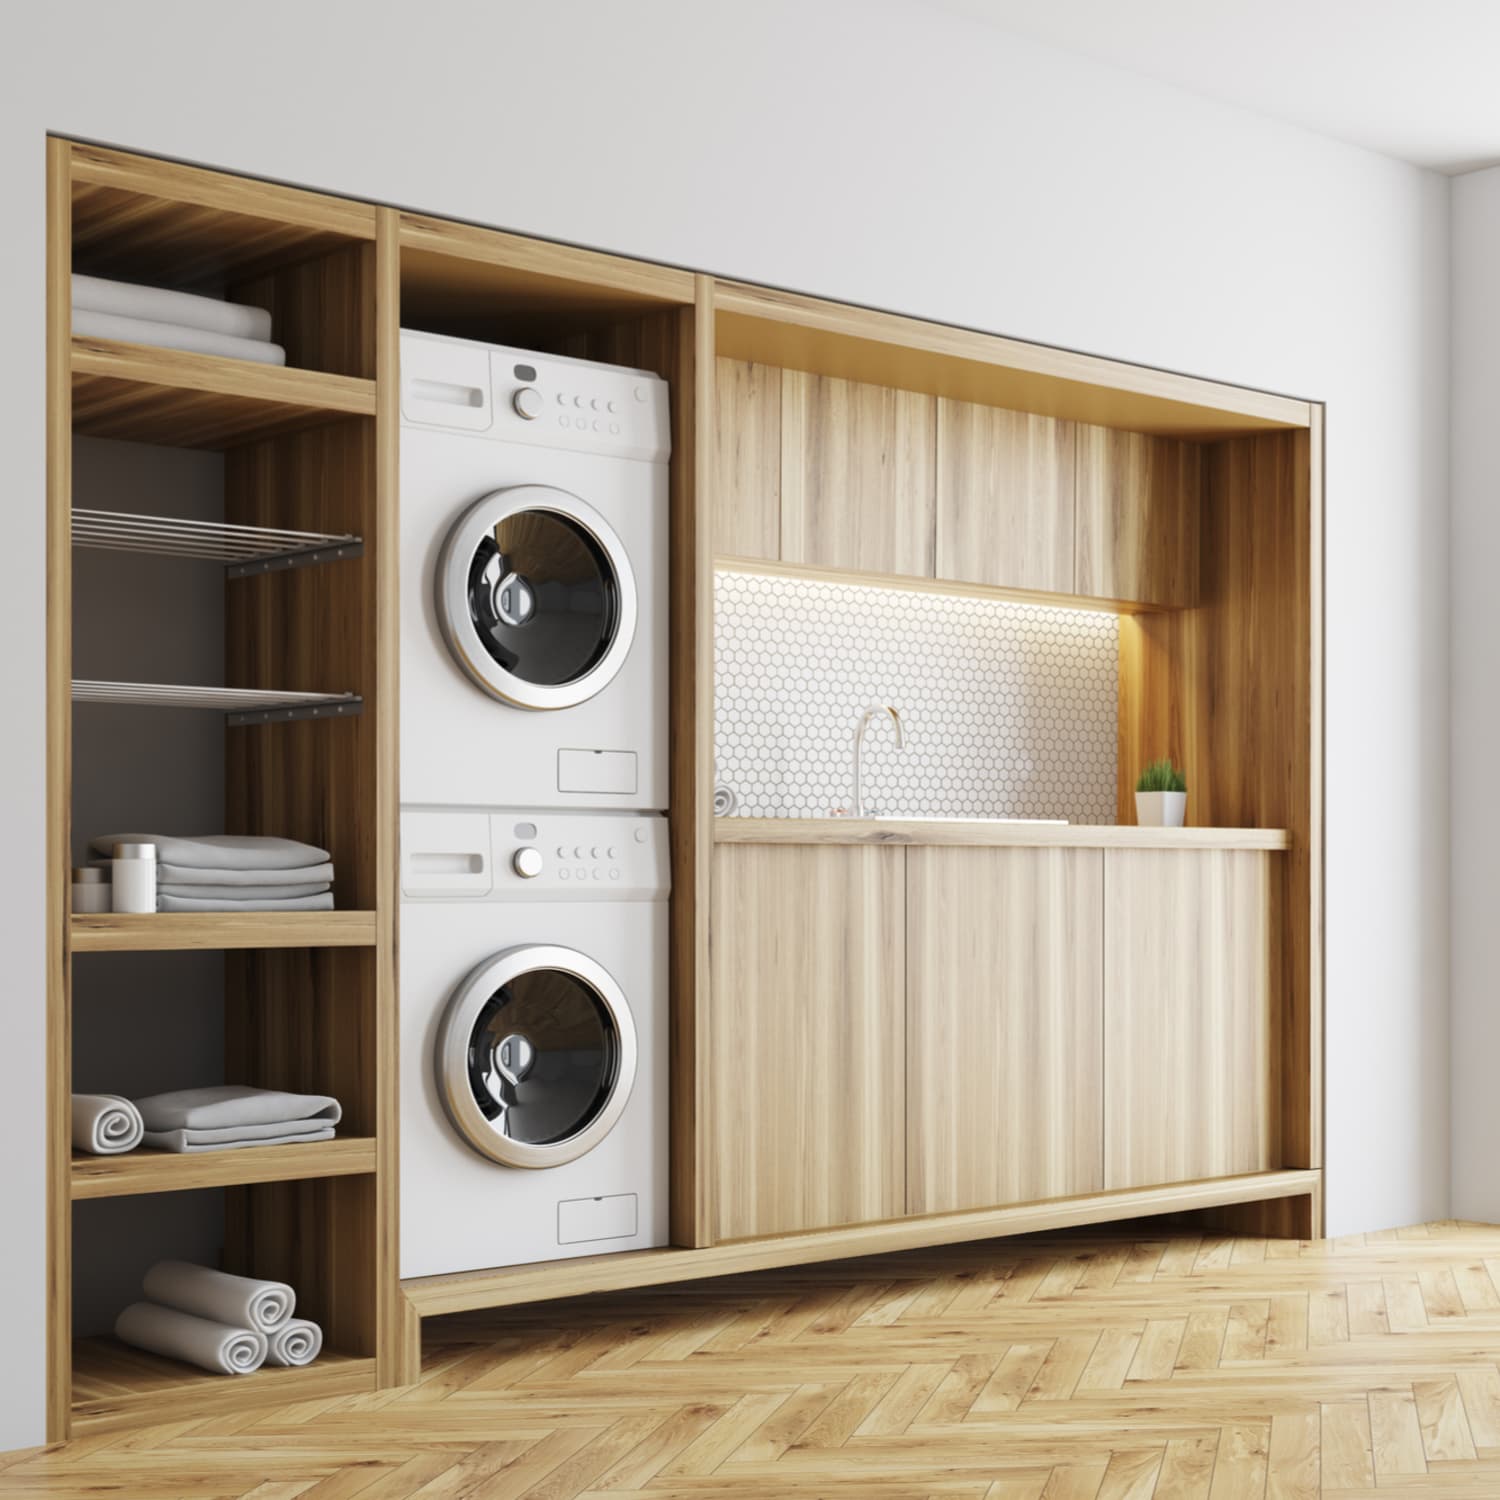
Stacked washer dryers are a popular choice for those who have limited space in their laundry area. This space-saving solution combines the washer and dryer into a single unit that can fit in tight corners or small closets. However, there may come a time when you need to pull out the stacked washer dryer for maintenance, repair, or relocation.
While it may seem like a daunting task, pulling out a stacked washer dryer can be done with the right tools and a little bit of patience. In this article, we will guide you through the step-by-step process of safely and effectively pulling out a stacked washer dryer.
Before we begin, it’s important to note that safety should always be your top priority when working with any electrical or plumbing appliances. Make sure to follow all safety precautions and instructions provided by the manufacturer.
Key Takeaways:
- Safety is paramount when pulling out a stacked washer dryer. Remember to shut off the power, wear protective gear, clear the area, use appropriate tools, and follow the manufacturer’s instructions for a smooth and safe process.
- Reinstalling and reconnecting the appliances is the final step. Clean the area, align the washer and dryer, secure the stacking bracket, reconnect hoses and power cord, test the appliances, make final adjustments, and enjoy the convenience of your stacked washer dryer.
Read more: How To Remove A Stacked Washer And Dryer
Safety Precautions
Before you start pulling out the stacked washer dryer, it’s essential to take some safety precautions:
- Turn off the power: Before doing any work, make sure to shut off the power to the washer dryer to avoid any electrical accidents.
- Wear protective gear: Protect yourself by wearing gloves, safety goggles, and closed-toe shoes to prevent any injuries.
- Clear the area: Remove any obstacles or clutter around the appliances to provide a safe and clear workspace.
- Use appropriate tools: Ensure that you have the necessary tools required for the job, such as adjustable wrenches, screwdrivers, and pliers.
By following these safety precautions, you can minimize any potential risks and make the process of pulling out a stacked washer dryer as safe as possible.
Key Takeaways:
- Safety is paramount when pulling out a stacked washer dryer. Remember to shut off the power, wear protective gear, clear the area, use appropriate tools, and follow the manufacturer’s instructions for a smooth and safe process.
- Reinstalling and reconnecting the appliances is the final step. Clean the area, align the washer and dryer, secure the stacking bracket, reconnect hoses and power cord, test the appliances, make final adjustments, and enjoy the convenience of your stacked washer dryer.
Read more: How To Remove A Stacked Washer And Dryer
Safety Precautions
When it comes to working with appliances, especially those that involve electrical and plumbing connections, safety should always be your top priority. Before attempting to pull out a stacked washer dryer, it’s crucial to take some safety precautions to ensure a smooth and accident-free process.
Here are some essential safety measures to follow:
- Turn off the power: Before starting any work, make sure to shut off the power to the washer dryer. Locate the circuit breaker panel or fuse box and switch off the corresponding circuit or remove the fuse. This step is necessary to prevent any electrical accidents or shocks while handling the appliances.
- Wear protective gear: When working on appliances, it’s important to protect yourself by wearing appropriate safety gear. This includes gloves, safety goggles, and closed-toe shoes. Gloves will help protect your hands from sharp edges or potential hazards, safety goggles will prevent any debris or chemicals from getting into your eyes, and closed-toe shoes will protect your feet from heavy objects or accidental drops.
- Clear the area: Before attempting to pull out the stacked washer dryer, clear the surrounding area. Remove any objects, obstacles, or obstacles that may impede your movement or cause accidents. By creating a clean and clutter-free workspace, you’ll have better access to the appliances and reduce the risk of tripping or falling.
- Use appropriate tools: Ensure that you have the necessary tools required for the job. This may include adjustable wrenches, screwdrivers, pliers, and possibly a socket set, depending on the specific model of your stacked washer dryer. Using the correct tools will not only make the process easier but also minimize the risk of damaging the appliances or injuring yourself.
- Follow manufacturer’s instructions: Different models of stacked washer dryers may have specific instructions or guidelines for removal and installation. Familiarize yourself with the manufacturer’s instructions provided in the user manual or online resources. Adhering to these instructions will ensure that you perform the task safely and in accordance with the manufacturer’s recommendations.
By following these safety precautions, you can minimize any potential risks involved in pulling out a stacked washer dryer. Remember, it’s always better to be safe than sorry when working with appliances, so take the time to prepare and prioritize your safety.
Step 1: Gather the necessary tools
Before you begin the process of pulling out a stacked washer dryer, it’s important to gather all the necessary tools to ensure a smooth and efficient removal. Having the right tools on hand will make the task easier and help prevent any damage to the appliances or injuries to yourself.
Here are the essential tools you’ll need:
- Adjustable wrenches: These versatile tools are necessary for loosening or tightening nuts and bolts. Make sure to have a couple of adjustable wrenches of different sizes to accommodate various connections and fittings.
- Screwdrivers: You’ll need a set of screwdrivers, including both flathead and Phillips head, to remove screws and connectors. Having screwdrivers of different sizes will ensure that you can handle different types of fasteners.
- Pliers: Pliers are useful for gripping and holding onto small parts or connectors. They can come in handy when disconnecting hoses, wires, or clamps that may be tight or difficult to maneuver.
- Socket set: Depending on the specific model of your stacked washer dryer, you may need a socket set to remove certain bolts or screws. Check the user manual or manufacturer’s instructions to determine if a socket set is necessary.
- Protective gloves: It’s important to wear protective gloves to protect your hands from sharp edges or potential hazards during the removal process. Choose gloves that provide a good grip without compromising your dexterity.
- Protective goggles: Safety goggles will help protect your eyes from any debris or chemicals that may be dislodged during the removal process. It’s essential to keep your eyes safe and avoid any potential injuries.
- Cart or dolly: If you plan on moving the appliances to a different location, having a cart or dolly will make the transportation process much easier. Make sure the cart or dolly is sturdy and capable of handling the weight of the stacked washer dryer.
By gathering these tools beforehand, you’ll be well-prepared to tackle the task of pulling out a stacked washer dryer. Remember to prioritize safety and use the appropriate tools for each step of the process. With the right tools and precautions, you’ll be able to remove the appliances smoothly and efficiently.
Step 2: Shut off the power
Before you start any work on your stacked washer dryer, it’s crucial to shut off the power to avoid the risk of electrical accidents. Disconnecting the power supply will ensure your safety and prevent any potential damage to the appliances.
Follow these steps to shut off the power:
- Locate the electrical panel: The electrical panel, also known as the circuit breaker panel or fuse box, contains the switches or fuses that control the power supply to different areas of your home. It is usually located in a utility room, basement, or garage.
- Identify the correct circuit or fuse: Look for the breaker or fuse that corresponds to the stacked washer dryer. In some cases, the washer and dryer may be on separate circuits, so make sure to turn off the power to both if needed. Refer to the labeling on the panel or consult the circuit diagram to identify the correct circuit.
- Switch off the circuit or remove the fuse: To turn off the power, flip the switch of the corresponding circuit to the “off” position. If you have a fuse box, carefully remove the fuse that controls power to the appliances. Place the fuse in a safe location to avoid misplacing it.
- Confirm the power is off: Once you have switched off the circuit or removed the fuse, double-check to ensure that the power is indeed off. You can do this by attempting to turn on the appliance or by using a voltage tester to test for the presence of electricity.
Remember, safety is paramount when working with electricity. Take the necessary precautions to avoid the risk of electric shock or other accidents. If you are unsure about shutting off the power or handling electrical connections, it’s always best to consult a qualified electrician for assistance.
By shutting off the power, you have taken an essential step in ensuring a safe working environment for pulling out your stacked washer dryer. With the power disconnected, you can proceed with the next steps of disconnecting the water supply and other necessary connections.
Read more: How Tall Is A Stacked Washer Dryer
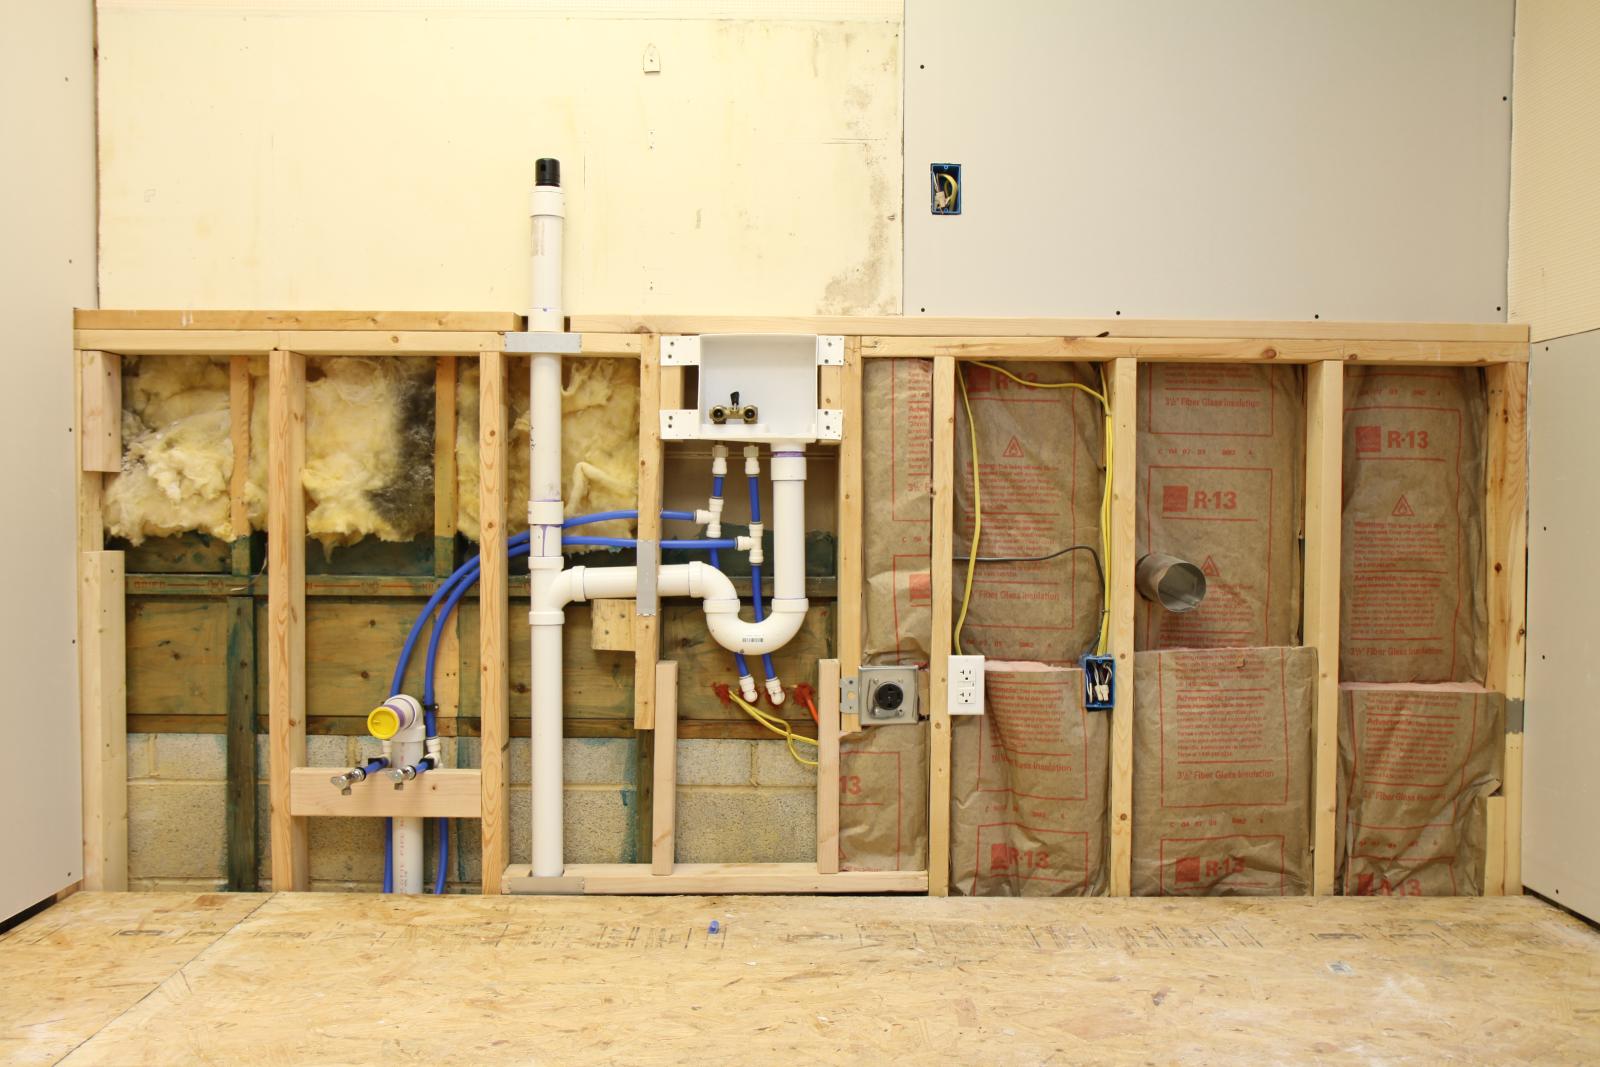
Step 3: Disconnect water supply
Before pulling out a stacked washer dryer, it’s important to disconnect the water supply to avoid any leaks or water damage during the removal process. This step ensures a smooth and hassle-free extraction of the appliances.
Follow these steps to disconnect the water supply:
- Locate the water shut-off valves: The water shut-off valves are usually located behind or beside the stacked washer dryer. These valves control the flow of water to the appliances. In some cases, there may be individual shut-off valves for the hot and cold water lines.
- Close the water shut-off valves: Turn the valve handles clockwise to close or shut off the water supply. Ensure that both the hot and cold water shut-off valves are securely closed to prevent any water from flowing into the appliances.
- Disconnect the water hoses: Once the water supply is shut off, you can proceed to disconnect the water hoses. Start by unscrewing the hose connections from the back of the stacked washer dryer. Use pliers, if necessary, to grip and loosen any stubborn fittings.
- Drain excess water: After disconnecting the water hoses, there may be residual water inside them. To prevent any mess or water damage, place a towel or bucket underneath the hoses and allow any excess water to drain out.
- Inspect the hoses: Take this opportunity to inspect the hoses for any signs of wear or damage. If you notice any cracks, leaks, or deterioration, it’s best to replace the hoses before reinstallation.
- Secure the hoses: To avoid misplacing the hoses, you can either tie them together using a cable tie or tape them to the back of the appliances. This will keep them organized and prevent tangling or damage during the transport or storage of the stacked washer dryer.
By disconnecting the water supply and properly securing the hoses, you can proceed with peace of mind knowing that there will be no water-related issues during the removal process. Remember to take necessary precautions to avoid any potential water leaks or damage to your home or appliances.
Next, we’ll move on to the steps for disconnecting the dryer hose or vent.
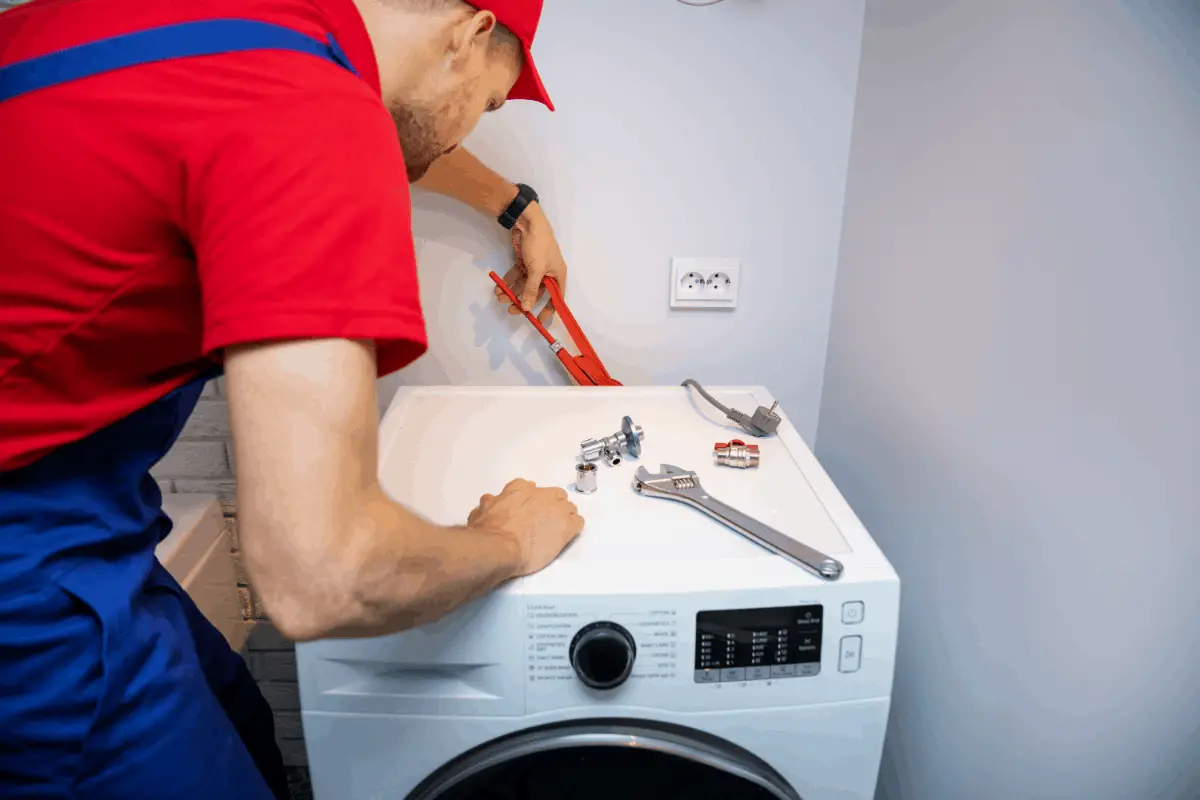
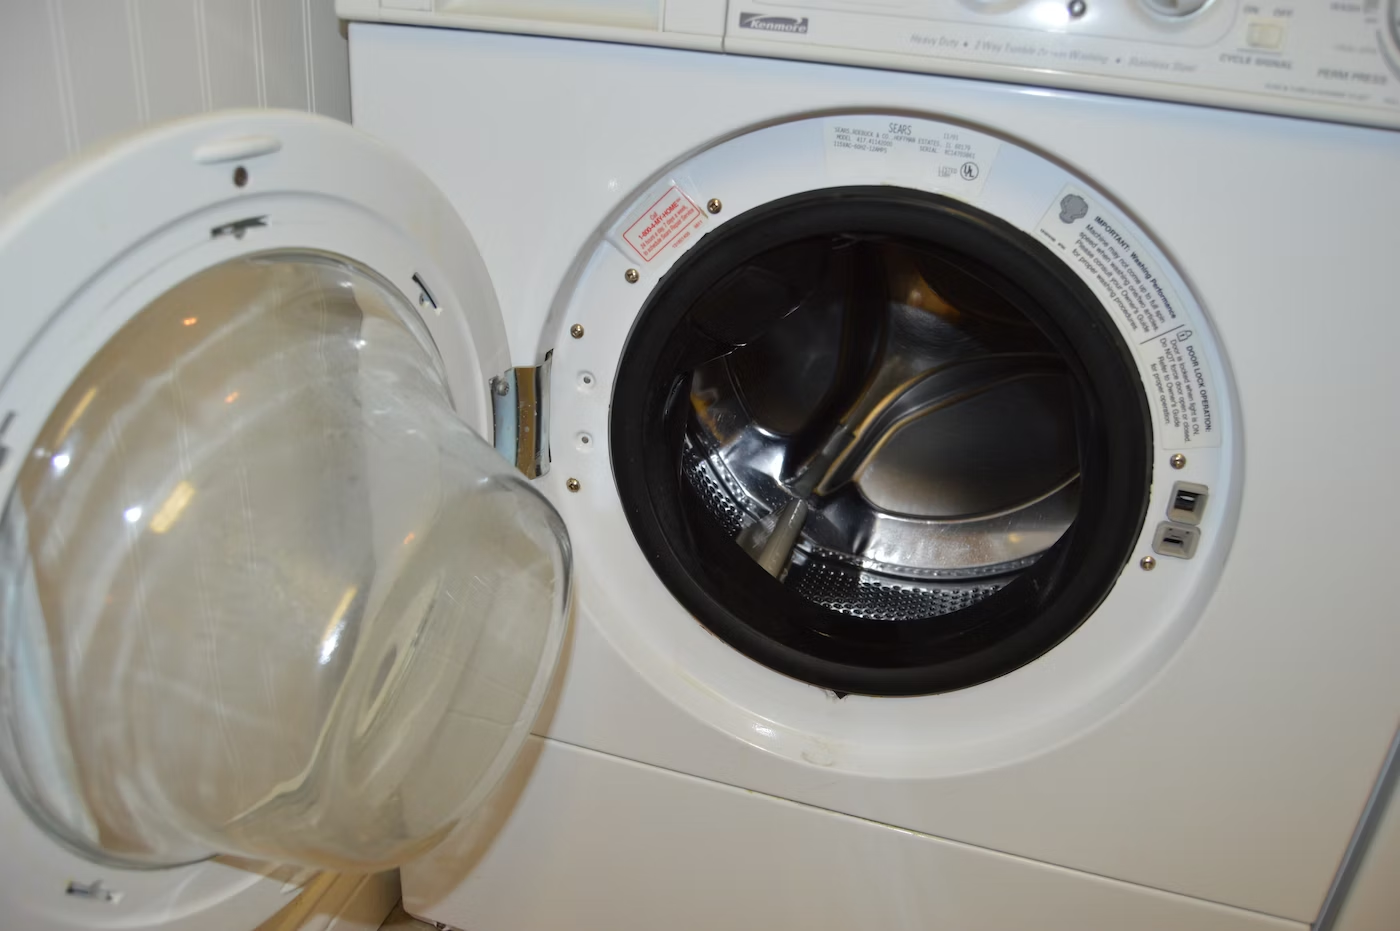
Step 4: Disconnect washer hoses
Once you have shut off the water supply and drained any excess water, the next step in pulling out a stacked washer dryer is to disconnect the washer hoses. These hoses connect the washer to the water supply and allow for the intake and drainage of water.
Follow these steps to disconnect the washer hoses:
- Prepare a container or towel: Before removing the hoses, place a bucket or a towel nearby to catch any residual water that may drip out. This will prevent any water from spilling onto the floor or causing a mess.
- Identify the hose connections: Look at the back of the washer and locate the hose connections. There will typically be two hoses – one for hot water and one for cold water. These hoses are usually color-coded, with red indicating hot water and blue indicating cold water.
- Unscrew the hose connections: Using an adjustable wrench or pliers, loosen the hose connections by turning them counterclockwise. When they are loose enough, you can remove them by hand. Be gentle to avoid any damage to the fittings.
- Inspect the hoses: Take a moment to inspect the hoses for any signs of wear, cracks, or leaks. If you notice any damage, it is advisable to replace the hoses before reinstalling the washer. This precaution will prevent potential leaks when the appliances are back in operation.
- Place the disconnected hoses in a safe location: Once the hoses are removed, place them in a secure location. It is a good idea to label or tape them together to ensure they stay organized and are easy to locate when reconnecting the washer later.
By following these steps, you can safely and effectively disconnect the washer hoses. Remember to keep an eye out for any signs of damage and replace the hoses as necessary. Now that the hoses are disconnected, we can move on to the next step of disconnecting the dryer hose or vent.
When pulling out a stacked washer dryer, make sure to disconnect the power and water supply first. Use a dolly or furniture sliders to carefully move the unit, and have someone assist you to prevent any accidents.
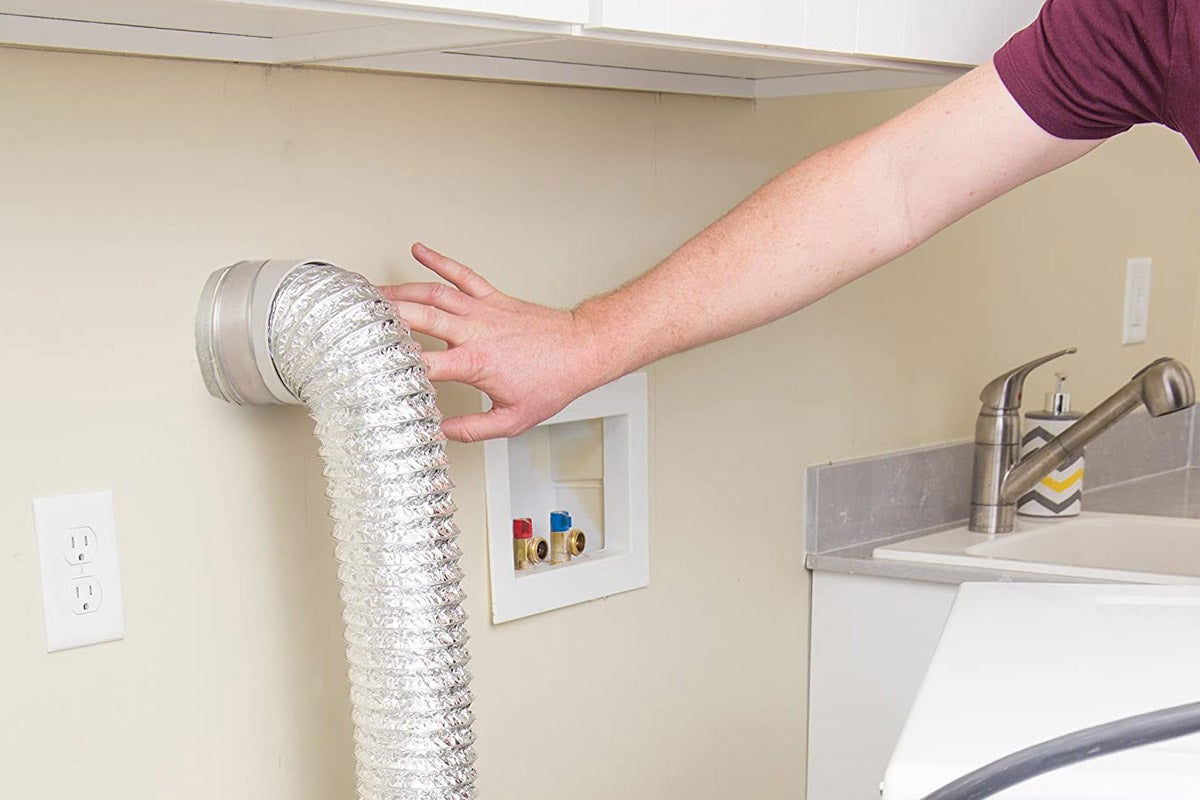
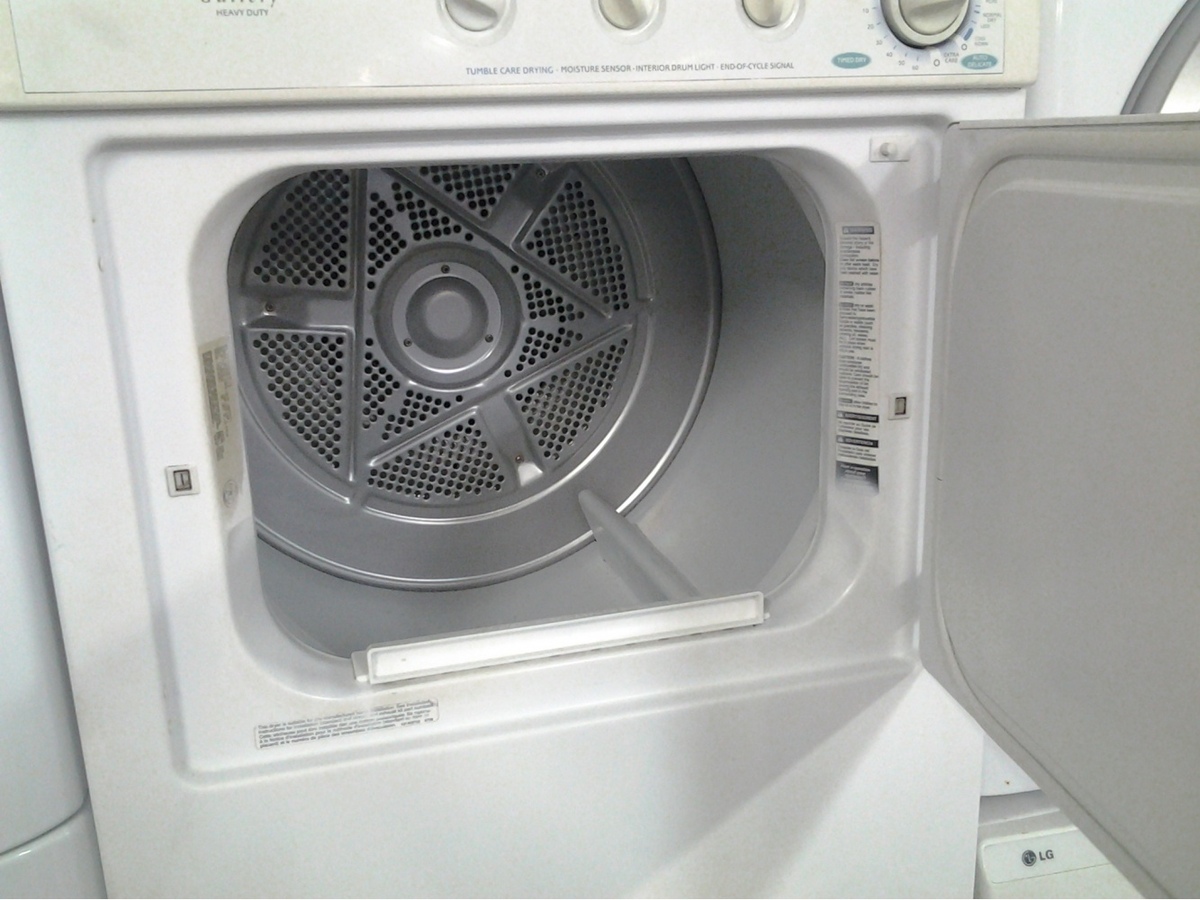
Step 5: Disconnect dryer hose or vent
When pulling out a stacked washer dryer, it’s important to disconnect the dryer hose or vent. This allows for the disconnection of the dryer from the ventilation system and ensures a smooth removal process.
Follow these steps to disconnect the dryer hose or vent:
- Locate the dryer hose or vent: The dryer hose or vent is typically located at the back of the dryer. It is responsible for expelling hot air and moisture from the dryer during operation. Locate the hose or vent where it connects to the dryer.
- Loosen the hose clamp: Using a screwdriver or pliers, loosen the hose clamp that secures the dryer hose to the vent or exhaust opening. Rotate the clamp counterclockwise to loosen it enough to slide over the hose.
- Slide the hose off the vent: Once the hose clamp is loose, slide the dryer hose off the vent or exhaust opening. If the hose feels stuck or tight, you may need to twist it slightly while pulling to loosen it.
- Inspect the hose or vent: Take a moment to inspect the dryer hose or vent for any blockages, clogs, or damage. Clean out any debris that may have accumulated, and check for any signs of wear or deterioration. If necessary, replace the hose or vent before reinstallation.
- Secure the hose or vent: After disconnecting the dryer hose or vent, secure it to the dryer or loop it around to prevent it from dragging on the floor or becoming a tripping hazard. You can use a zip tie or duct tape to hold the hose or vent in place temporarily.
By following these steps, you can safely disconnect the dryer hose or vent. Properly inspecting and maintaining the hose or vent will help ensure the efficiency and safety of your dryer. Now that the dryer hose or vent is disconnected, we can move on to the next step of unplugging electrical connections.
Step 6: Unplug electrical connections
Before proceeding with the removal of a stacked washer dryer, it’s essential to unplug the electrical connections. This step ensures your safety and prevents any electrical accidents or damage to the appliances during the process.
Follow these steps to unplug the electrical connections:
- Locate the power cord: Identify the power cord attached to the back of the dryer. It is usually a thick, flexible cable that supplies electricity to the appliance.
- Disconnect the power cord: Firmly grip the plug of the power cord and gently pull it out from the electrical outlet. Avoid yanking on the cord itself to prevent any strain or damage.
- Secure the power cord: Once the power cord is detached, you can secure it to the back of the dryer by using a zip tie or cord organizer. This will prevent the cord from dragging on the floor or becoming tangled during transportation.
- Inspect the power cord: Take a moment to inspect the power cord for any signs of fraying, damage, or loose connections. If you notice any issues, it’s best to replace the power cord before reinstalling the appliances.
- Disconnect any additional electrical connections: In some cases, there may be additional electrical connections, such as control panel wires or sensor cables. Carefully disconnect any additional wires or cables according to the manufacturer’s instructions.
- Tape or label the disconnected wires: To keep track of the disconnected wires, it’s helpful to label or tape them with a piece of masking tape. This will make reinstallation easier and ensure that the connections are made correctly.
By following these steps, you can safely unplug the electrical connections of the stacked washer dryer. Be sure to inspect the power cord and any other wires for damage and replace them as necessary. Now that the electrical connections are disconnected, we can proceed to the next step of removing the stacking bracket or hardware.
Read more: How To Hide A Stacked Washer Dryer
Step 7: Remove stacking bracket or hardware
When pulling out a stacked washer dryer, it’s important to remove the stacking bracket or hardware that holds the two appliances together. This step allows for the separation of the washer and dryer, making it easier to transport or work on each appliance individually.
Follow these steps to remove the stacking bracket or hardware:
- Locate the stacking bracket or hardware: The stacking bracket or hardware is typically located at the top or near the back of the washer dryer unit. It is designed to secure the dryer on top of the washer, creating a stable and space-saving configuration.
- Identify the attachment points: Look for the bolts, screws, or latches that hold the stacking bracket or hardware in place. These may be located on the sides, front, or back of the washer dryer unit.
- Remove the bolts, screws, or latches: Using the appropriate tools, such as a socket wrench or screwdriver, carefully remove the bolts, screws, or release the latches that secure the stacking bracket or hardware. Keep track of the hardware to prevent any loss or confusion during reinstallation.
- Detach the stacking bracket or hardware: Once the bolts, screws, or latches are removed, gently lift the dryer away from the washer to detach the stacking bracket or hardware. Set it aside in a safe location to avoid any damage or misplacement.
- Inspect the stacking bracket or hardware: Take a moment to inspect the stacking bracket or hardware for any signs of damage or wear. If necessary, repair or replace any damaged parts before reinstalling the stacked washer dryer.
By following these steps, you can successfully remove the stacking bracket or hardware from the stacked washer dryer. Remember to handle the appliances carefully during this process to avoid any accidents or damage. Now that the stacking bracket or hardware is removed, we can proceed to the next step of separating the washer and dryer.
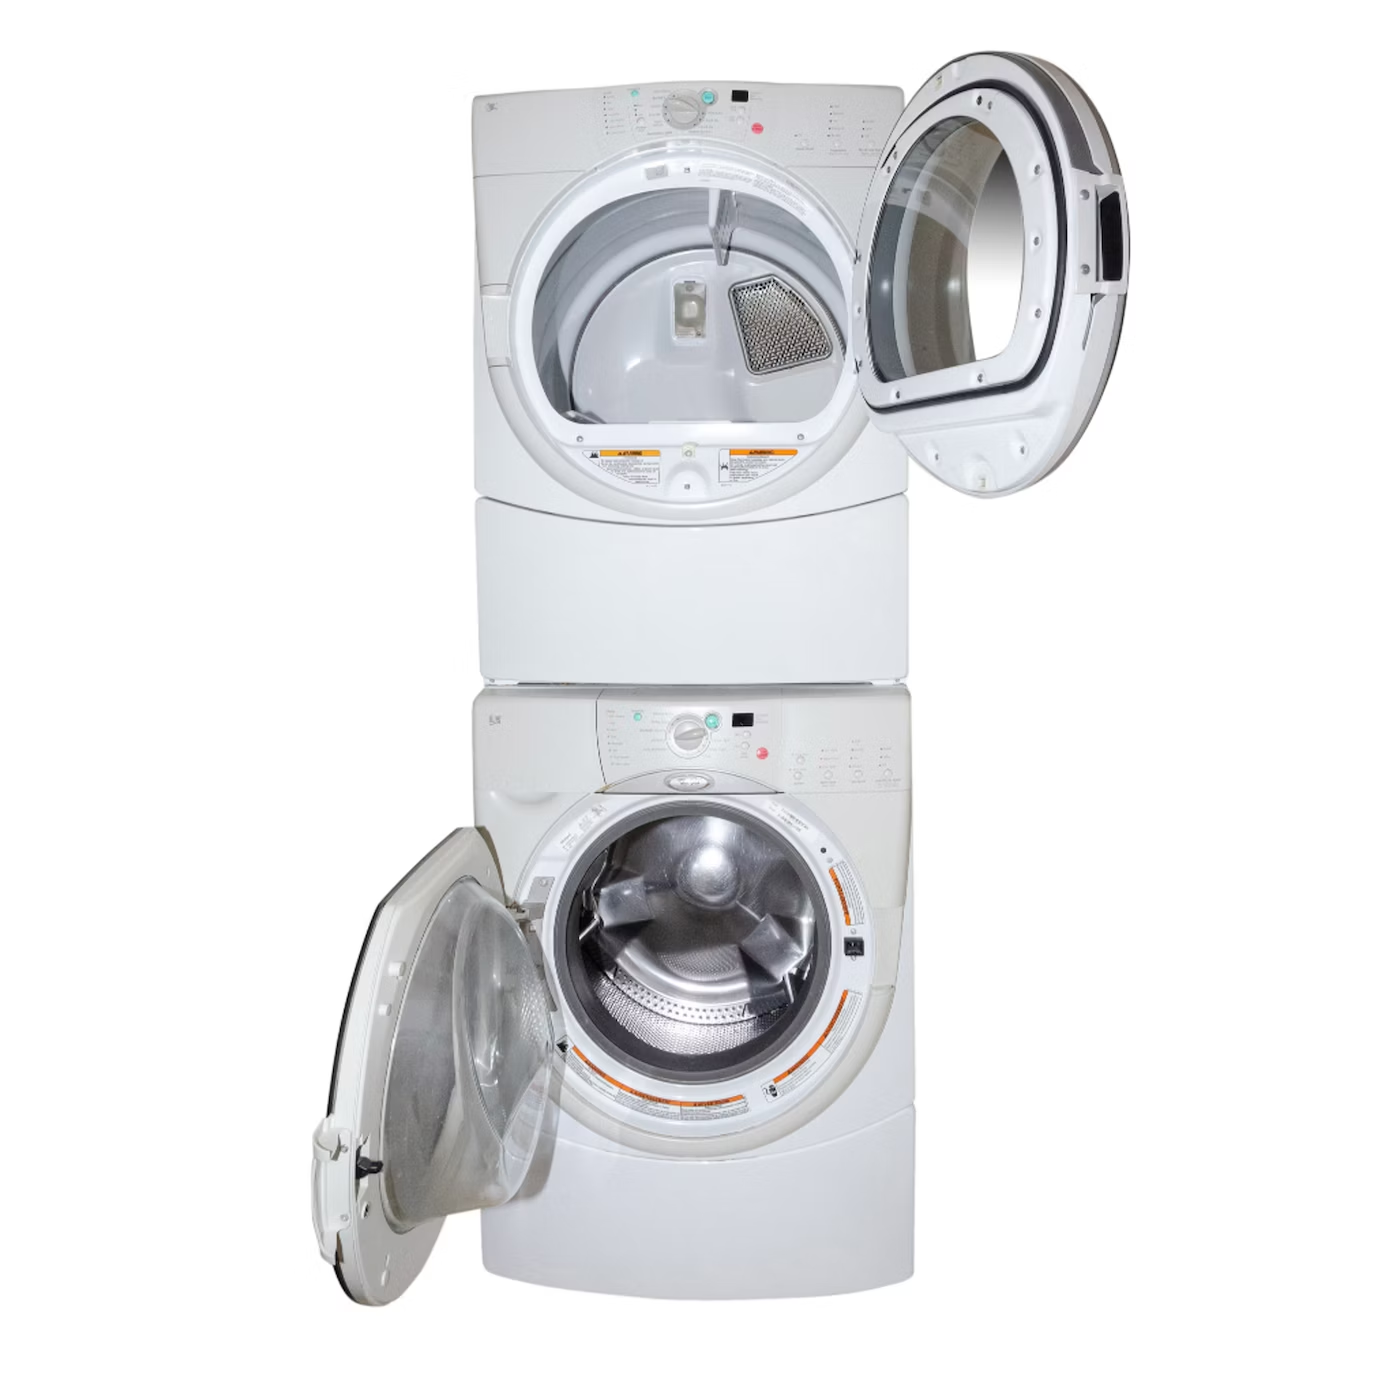
Step 8: Separate the washer and dryer
Now that the stacking bracket or hardware is removed, the next step in pulling out a stacked washer dryer is to separate the washer and dryer units. This step allows for easier transportation or individual maintenance of each appliance.
Follow these steps to separate the washer and dryer:
- Ensure stability: Before you begin, ensure that the area where you’re working is stable and secure. If necessary, have someone assist you in safely lifting and moving the appliances.
- Gently lift the dryer: Using caution, secure a firm grip on the dryer and lift it carefully away from the washer. Lift straight up and be mindful of any protruding parts or connections that may impede separation.
- Set the dryer in a safe location: Once the dryer is lifted off the washer, set it down in a safe and designated area. Avoid placing it in a position where it could tip over or be damaged.
- Inspect the washer and dryer: Take a moment to inspect both the washer and dryer for any signs of damage or wear. Check for loose hoses, wires, or any visible issues that may require attention before reinstallation.
- Cover and protect the appliances: To prevent any dust, dirt, or damage during the period of separation, consider covering both the washer and dryer with a protective cloth or plastic wrap.
By following these steps, you can successfully separate the washer and dryer units from the stacked configuration. Take care to ensure stability and avoid any mishaps during the process. Now that the appliances are separate, we can move on to the next step of moving the appliances.
Step 9: Move the appliances
Once the washer and dryer units are separated, the next step in pulling out a stacked washer dryer is to move the appliances to their desired location. Whether you’re relocating them within the same room or transporting them to a different area, it’s important to do so with caution and care.
Follow these steps to move the appliances:
- Ensure a clear pathway: Before attempting to move the appliances, clear any obstacles or furniture that may obstruct your path. Create a clear and safe pathway to the desired location.
- Secure a handhold: Determine the best way to secure a handhold on each appliance. Look for sturdy areas such as the sides, edges, or underneath. Avoid placing stress on fragile or sensitive parts of the appliances.
- Use proper lifting techniques: When lifting the appliances, bend your knees, keep your back straight, and lift with your legs. Avoid twisting your body while carrying the appliances to prevent any strain or injury.
- Have assistance if needed: Depending on the weight and size of the appliances, it may be necessary to have someone assist you in lifting and moving them. Having an extra pair of hands can make the process safer and more manageable.
- Use a dolly or moving equipment if necessary: If the appliances are too heavy or cumbersome to carry, consider using a dolly or moving equipment specifically designed to transport large appliances. This will prevent unnecessary strain and reduce the risk of dropping or damaging the appliances.
- Take care with doorways and corners: Be mindful of any narrow doorways, tight corners, or staircase landings that may require extra maneuvering. Take your time and adjust the position of the appliances as needed to navigate these areas safely.
- Place the appliances in their new location: Once you have successfully moved the appliances, carefully set them down in the desired location. Ensure they are in a stable and level position to prevent any accidents or damage.
By following these steps, you can safely and effectively move the washer and dryer to their new location. Remember to use proper lifting techniques and take precautions to avoid any injuries or damage. With the appliances moved, we can proceed to the final step of reinstalling and reconnecting them.
Step 10: Reinstall and reconnect appliances
With the washer and dryer units now in their desired location, the final step in pulling out a stacked washer dryer is to reinstall and reconnect the appliances. This process ensures that the appliances are securely in place and ready for use.
Follow these steps to reinstall and reconnect the appliances:
- Clean the area: Before reinstalling the appliances, take a moment to clean the area where they will be placed. Remove any dust, debris, or dirt that may have accumulated during the removal process.
- Align the washer and dryer: Position the washer and dryer units next to each other in the desired stacked configuration. Ensure that they are aligned properly to make the reinstallation process easier.
- Secure the stacking bracket or hardware: If your washer and dryer originally came with a stacking bracket or hardware, reattach it following the manufacturer’s instructions. Use the bolts, screws, or latches you removed earlier to secure the bracket or hardware in place.
- Reconnect washer hoses: Take the washer hoses you disconnected earlier and reattach them to the corresponding hot and cold water ports on the washer. Use an adjustable wrench to tighten the connections, ensuring they are secure but not over-tightened.
- Connect the dryer hose or vent: If the dryer hose or vent was removed, reattach it to the vent or exhaust opening on the dryer. Secure it with the hose clamp, tightening it enough to prevent air leaks but not so tight that it damages the hose or vent.
- Plug in the power cord: Take the power cord you disconnected earlier and plug it back into the electrical outlet. Ensure that it is connected securely and that there are no loose or exposed wires.
- Test the appliances: Once all the connections are made, turn on the power and test the appliances to ensure they are functioning properly. Run a short cycle on the washer and dryer to ensure they are operating as expected.
- Make final adjustments: If necessary, adjust the leveling feet on the washer and dryer to ensure they are stable and balanced. This will prevent any excessive vibrations or movement during use.
- Clean and organize: After reinstalling and reconnecting the appliances, take the opportunity to give them a final clean. Wipe down the exteriors, clean the lint trap in the dryer, and organize any accessories or supplies in their designated spaces.
By following these steps, you can successfully reinstall and reconnect your stacked washer dryer. Take the time to double-check all connections and ensure that everything is secure before using the appliances. Now, you’re ready to enjoy the convenience and functionality of your stacked washer dryer.
Remember, if you have any doubts or concerns about the reinstallation process, consult the manufacturer’s instructions or seek professional assistance.
Read more: How To Level Stacked Washer Dryer
Conclusion
Pulling out a stacked washer dryer may seem like a daunting task, but with the right knowledge and approach, it can be done smoothly and efficiently. By following the step-by-step process outlined in this guide, you can safely disconnect, move, and reinstall your stacked washer dryer for maintenance, repair, or relocation purposes.
Throughout the process, it’s essential to prioritize safety. Always shut off the power before starting any work and ensure that you have the necessary tools and protective gear on hand. Take your time and be mindful of your movements to avoid any accidents or injuries.
Remember to disconnect the water supply and properly drain the hoses to prevent any leaks or water damage. Unplug the electrical connections and handle the power cord with care. Remove the stacking bracket or hardware to separate the washer and dryer units, and move them to their new location using proper lifting techniques or appropriate moving equipment.
Once you’ve reinstalled and reconnected the appliances, take a moment to test them and make any necessary adjustments. Clean and organize the surrounding area to create a functional and pleasant laundry space.
By following these steps, you can successfully pull out a stacked washer dryer, ensuring that it’s done safely and effectively. Remember, if you’re unsure about any aspect of the process, consult the manufacturer’s instructions or seek professional assistance.
Now, armed with the knowledge from this guide, you can confidently tackle the task of pulling out a stacked washer dryer and take pride in completing the process with ease.
Frequently Asked Questions about How To Pull Out Stacked Washer Dryer
Was this page helpful?
At Storables.com, we guarantee accurate and reliable information. Our content, validated by Expert Board Contributors, is crafted following stringent Editorial Policies. We're committed to providing you with well-researched, expert-backed insights for all your informational needs.

0 thoughts on “How To Pull Out Stacked Washer Dryer”