
Articles
How To Replace An Outdoor Faucet Handle
Modified: May 6, 2024
Learn how to replace an outdoor faucet handle with our informative articles. Step-by-step instructions and helpful tips to make the process easy.
(Many of the links in this article redirect to a specific reviewed product. Your purchase of these products through affiliate links helps to generate commission for Storables.com, at no extra cost. Learn more)
Introduction
Replacing an outdoor faucet handle is a common home maintenance task that can easily be done by homeowners. Over time, outdoor faucet handles may become worn, damaged, or difficult to turn, making it necessary to replace them. Fortunately, with some basic tools and a few simple steps, you can replace an outdoor faucet handle and restore the functionality of your outdoor faucet.
In this article, we will guide you through the process of replacing an outdoor faucet handle. We will provide you with a step-by-step tutorial, along with a list of tools and materials that you will need for the job. Whether you are a seasoned DIY enthusiast or a beginner, this guide will help you complete the task with ease.
Before we dive into the steps, let’s take a look at the tools and materials you will need:
Key Takeaways:
- Replacing an outdoor faucet handle is a simple DIY task that can be done with basic tools and materials. By following the step-by-step guide, homeowners can restore the functionality of their outdoor faucet and avoid water wastage.
- Regular maintenance and prompt replacement of outdoor faucet handles are essential for efficient water usage. By addressing issues early and testing for leaks, homeowners can ensure the smooth operation of their outdoor faucets for years to come.
Read more: How To Replace A Faucet Handle
Tools and Materials
Before you begin the process of replacing an outdoor faucet handle, gather the following tools and materials:
Tools:
- Adjustable wrench
- Phillips screwdriver
- Flathead screwdriver
- Plumbers tape
Materials:
Having these tools and materials ready will ensure that you can complete the task efficiently without any unnecessary interruptions.
Now that you have everything you need, let’s move on to the step-by-step process of replacing an outdoor faucet handle.
Step 1: Shut Off the Water Supply
The first step in replacing an outdoor faucet handle is to shut off the water supply to the faucet. This is an important safety measure to prevent any water leakage or accidental spraying while working on the handle.
Locate the shut-off valve for the outdoor faucet. This is usually found inside your home, often near the area where the faucet is installed. It can be a lever, knob, or dial-type valve.
Turn the shut-off valve to the “off” position to stop the water supply to the outdoor faucet. This will prevent water from flowing out when you remove the old handle and install the new one.
It’s a good idea to check if the water supply is completely shut off by attempting to turn on the outdoor faucet. If no water comes out, then you have successfully shut off the water supply.
Remember, safety is crucial when working with water and plumbing equipment. Always exercise caution and follow the appropriate steps to avoid any accidents or damage.
Now that you have shut off the water supply, you can proceed to the next step: removing the old faucet handle.
Read more: How To Fix A Stripped Faucet Handle
Step 2: Remove the Old Faucet Handle
Once you have shut off the water supply, you can now proceed to remove the old faucet handle. Here’s how:
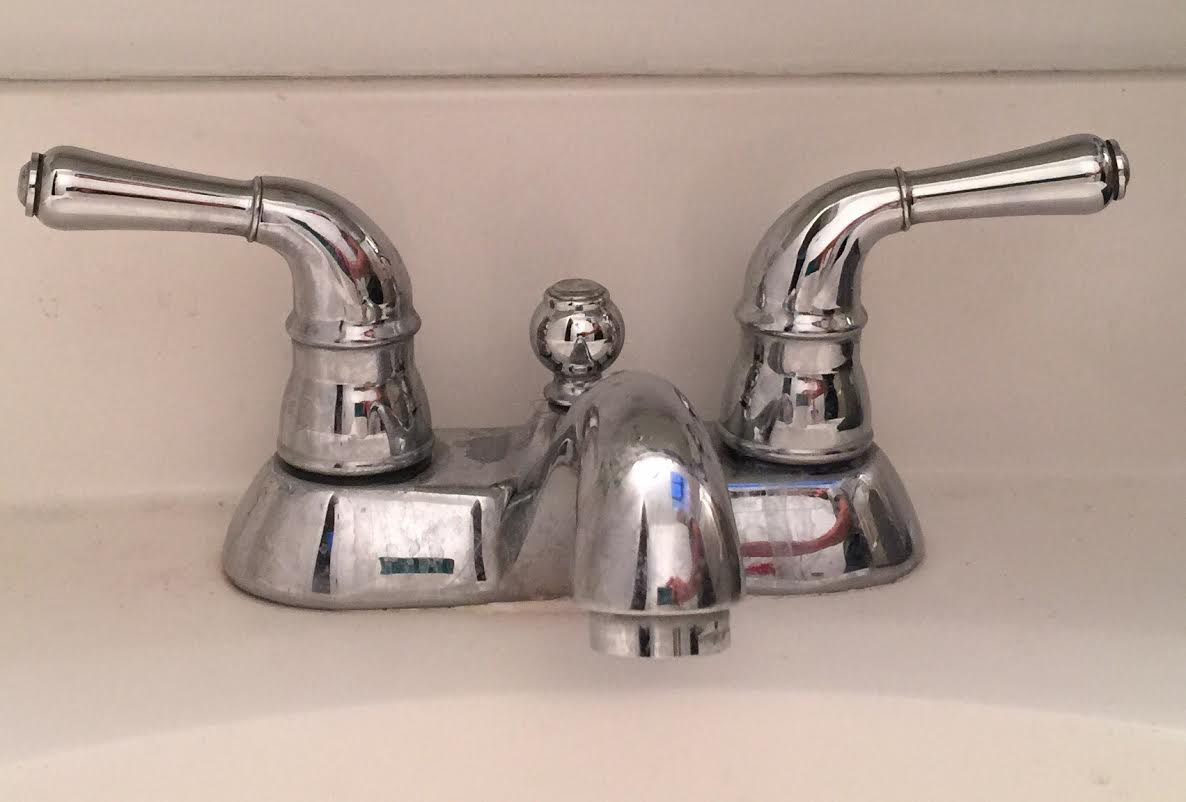
- Inspect the old handle: Take a closer look at the old handle to determine the type of fasteners or screws holding it in place. Most outdoor faucet handles are secured with screws or bolts.
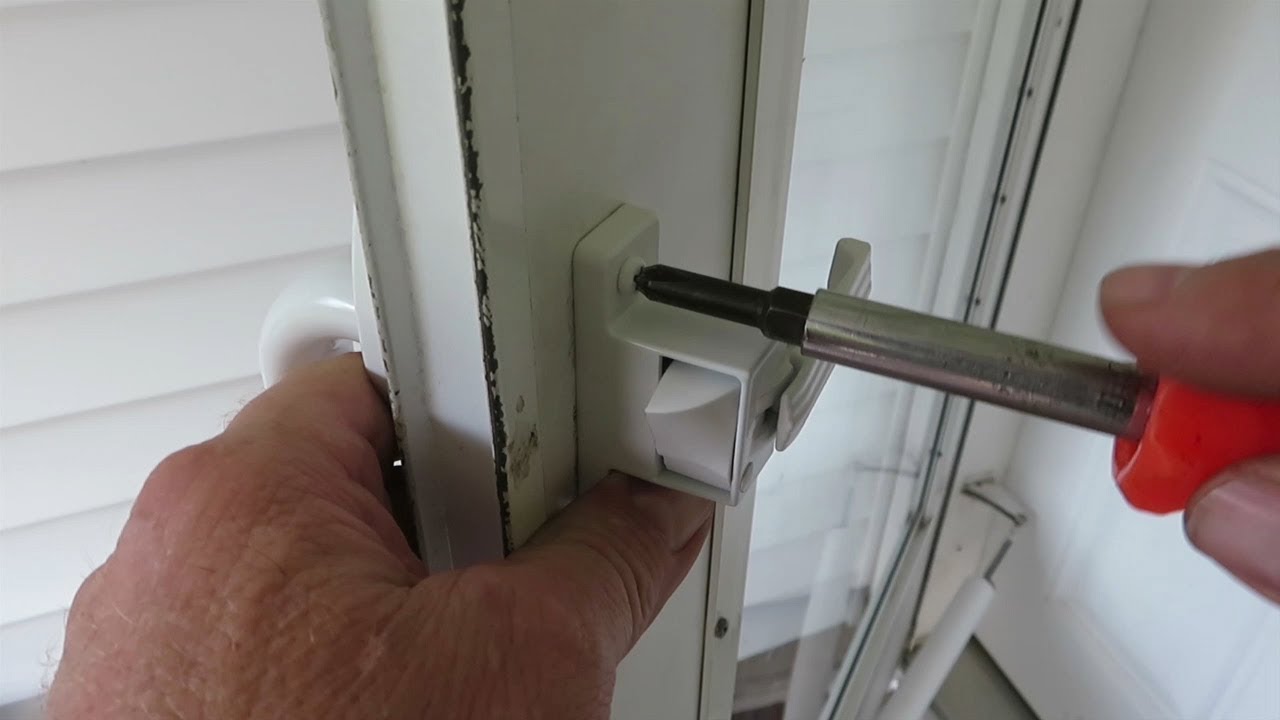
- Locate the fastening screws: Use a flathead or Phillips screwdriver to locate and remove the screws or bolts that are keeping the handle in place. These screws are typically found on the top or side of the handle.
- Unscrew the fasteners: Using the appropriate screwdriver, carefully unscrew the fasteners counterclockwise to loosen them. Make sure to hold the handle securely while removing the screws to prevent any accidental damage or dropping.
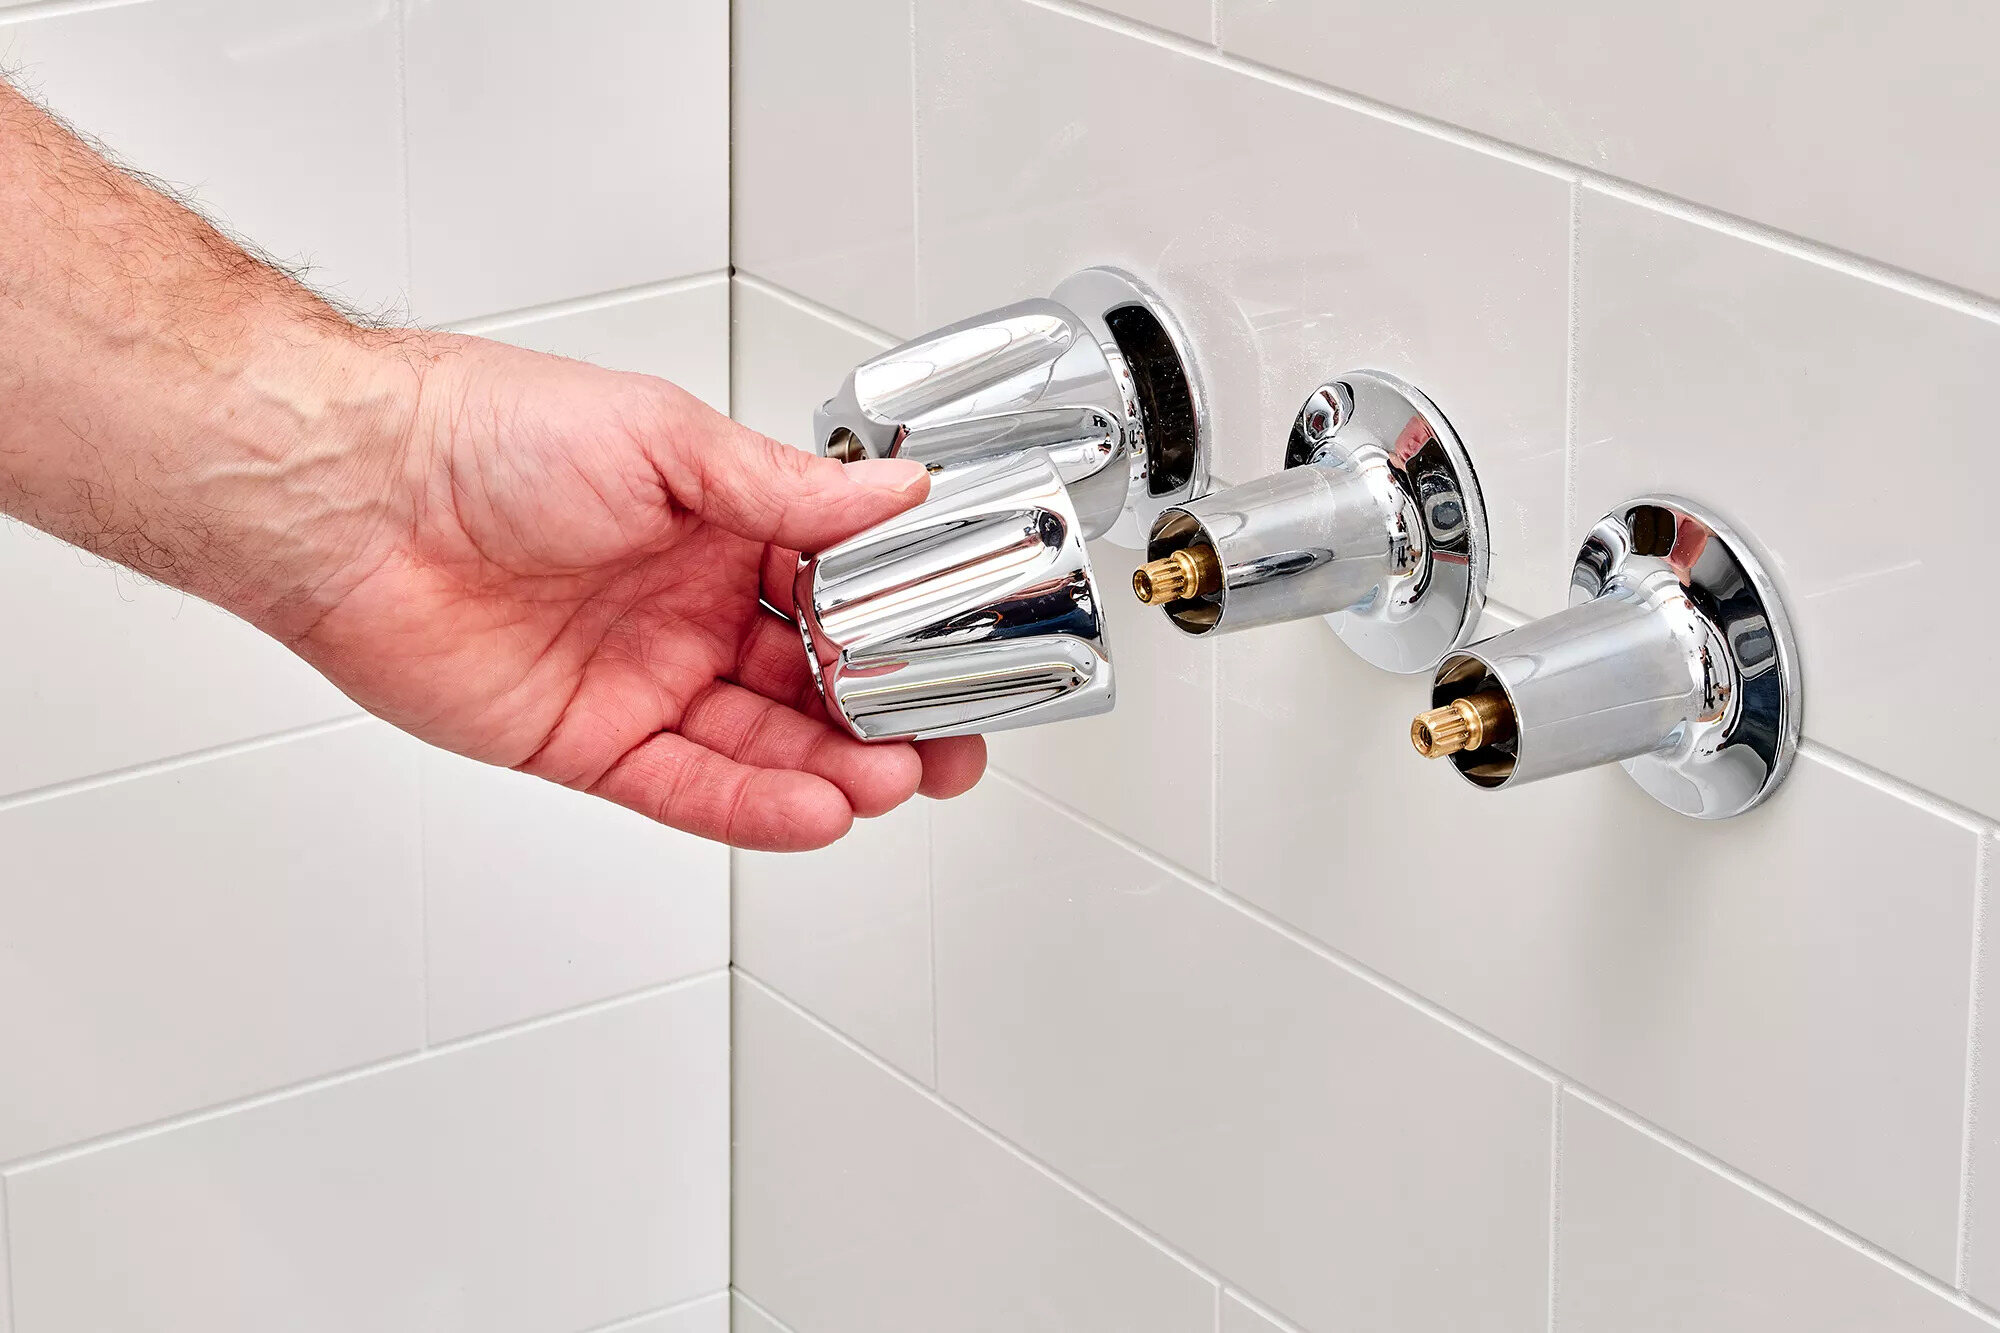
- Remove the handle: Once the screws are removed, gently pull the old handle away from the faucet body. If the handle is stuck or difficult to remove, you can use a penetrating oil or lubricant to loosen it and make the removal easier.
- Inspect the stem: With the handle removed, take a look at the stem that extends from the faucet. Make sure it is in good condition and free from any debris or damage. If you notice any issues with the stem, it may need to be replaced as well.
Now that you have successfully removed the old faucet handle, you can move on to the next step: measuring and purchasing a replacement handle.
Step 3: Measure and Purchase a Replacement Handle
With the old faucet handle removed, it’s time to measure and purchase a suitable replacement handle. Here are the steps to follow:
- Measure the stem size: Using a ruler or tape measure, measure the diameter of the stem that extends from the faucet. This will help you determine the correct replacement handle size. Standard outdoor faucet stems typically range from 3/8 inch to 1/2 inch in diameter.
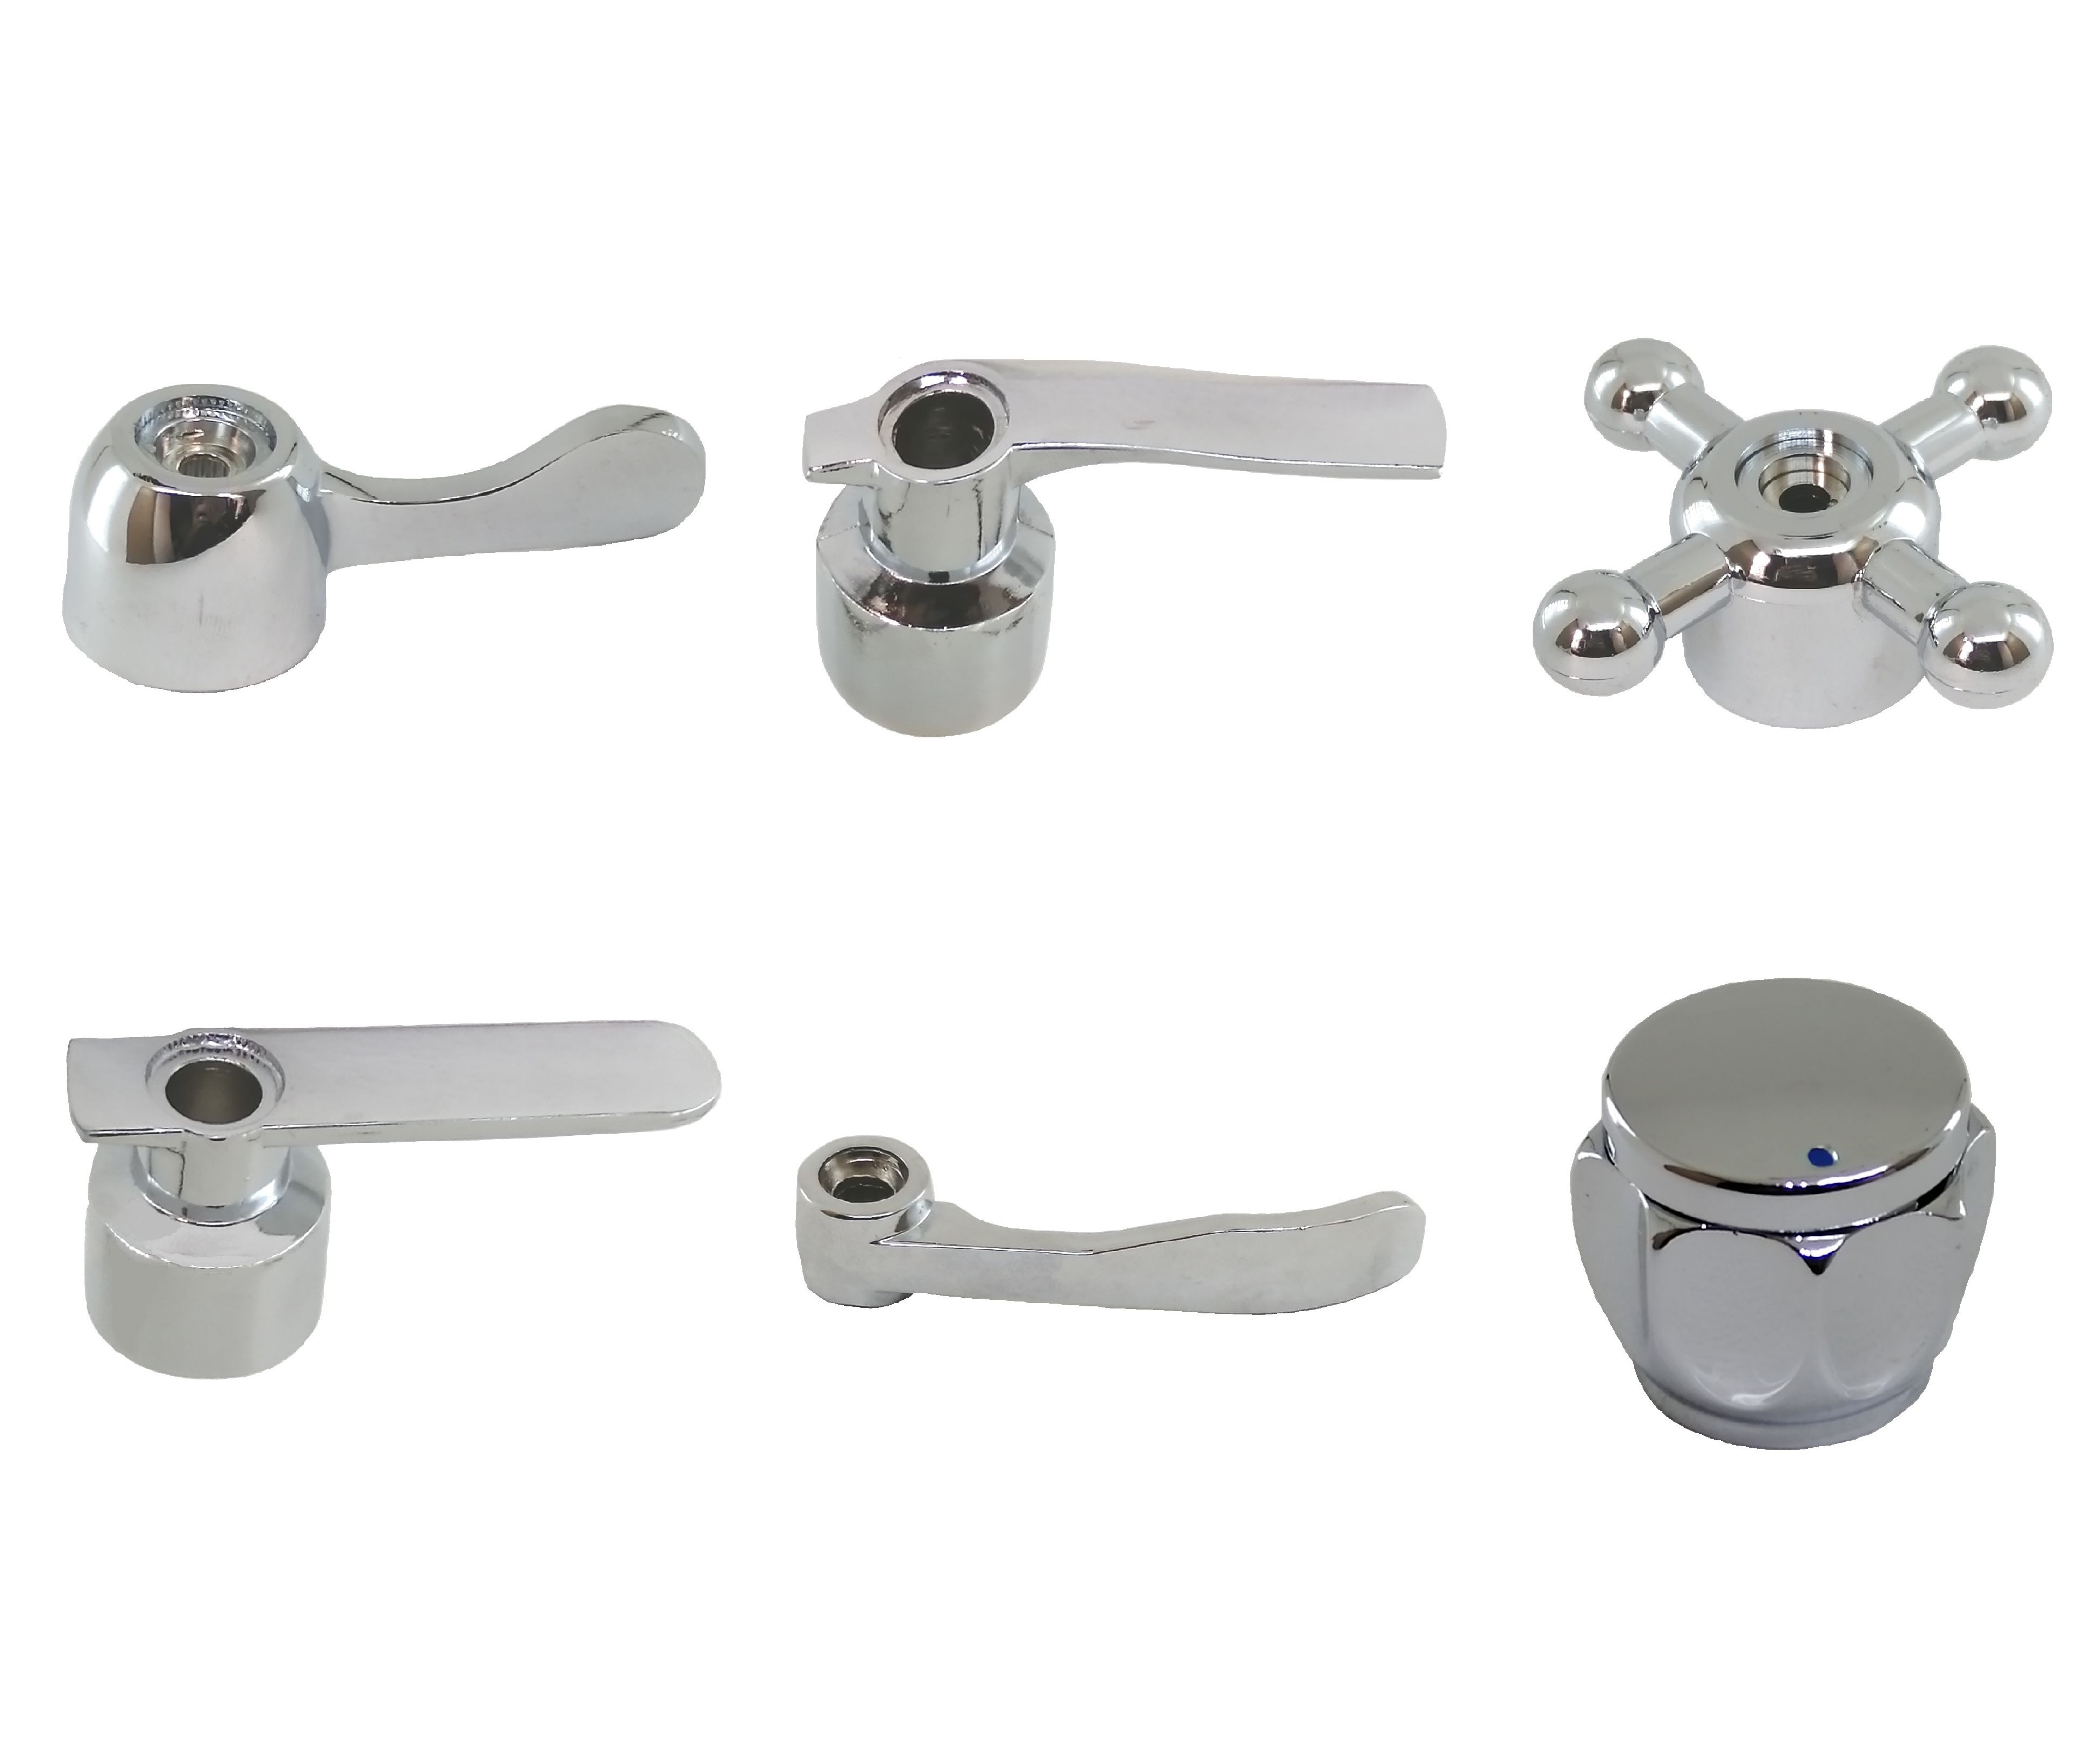
- Take note of the handle type: While measuring the stem, also take note of the type of handle that was originally installed. There are various types available, such as knob handles, lever handles, or cross handles. You want to ensure that the replacement handle matches the style and design of your outdoor faucet.
- Visit a local hardware store or shop online: Armed with the measurements and knowledge of the handle type, visit your local hardware store or browse online to find a suitable replacement handle. Look for handles that match the stem diameter and the desired style. If necessary, seek assistance from a store representative to ensure you select the correct replacement handle.
- Purchase the replacement handle: Once you have found the right replacement handle, proceed to purchase it. If you are buying online, make sure to choose a reputable seller and double-check the specifications to ensure it matches your requirements.
- Consider buying extra parts: Depending on the condition of your outdoor faucet, you may want to consider purchasing additional parts such as washers or O-rings. These small components can help prevent leaks and ensure a tight seal when installing the new handle.
By following these steps, you will be prepared with the necessary information to purchase a suitable replacement handle for your outdoor faucet. Once you have the new handle in hand, you can move on to the next step: installing it.
When replacing an outdoor faucet handle, make sure to turn off the water supply to the faucet before starting the replacement process. This will prevent any water from leaking out while you work on the handle.
Step 4: Install the New Faucet Handle
Now that you have the replacement handle ready, it’s time to install it onto your outdoor faucet. Here’s how to do it:
- Inspect the new handle: Before installation, inspect the new handle to ensure it is in good condition and free from any defects or damages.
- Apply plumber’s tape (Teflon tape): To prevent leaks, wrap a few layers of plumber’s tape around the stem of the faucet. Start at the base of the stem and wrap the tape clockwise. This will help create a tight seal between the stem and the new handle.
- Align the replacement handle: Position the replacement handle onto the stem of the faucet, making sure it aligns properly. The handle should sit flush against the faucet body and line up with any screw holes or slots.
- Secure the handle: Once the handle is aligned, use the provided screws or bolts to secure it onto the stem. Insert the screws or bolts into the appropriate holes and tighten them clockwise with a screwdriver or wrench. Be careful not to overtighten, as this could cause damage to the handle or the stem.
- Test the handle: After securing the new handle, give it a test by turning it on and off. Ensure that the handle operates smoothly and that the water flow is controlled effectively. If there are any issues such as stiffness or leaks, double-check the installation or consult a professional plumber.
By following these steps, you will successfully install the new faucet handle onto your outdoor faucet. But before you consider the job complete, make sure to proceed to the next step: testing the handle and checking for leaks.
Step 5: Test the Handle and Check for Leaks
After installing the new faucet handle, it’s important to test it and check for any potential leaks. Here’s what you need to do:
- Turn on the water supply: First, turn on the water supply by reopening the shut-off valve. This will allow water to flow to the outdoor faucet.
- Operate the handle: Once the water supply is turned on, operate the new handle by turning it on and off. Pay close attention to how smoothly the handle turns and how well it controls the water flow.
- Check for leaks: While the handle is in the “off” position, inspect the area around the base of the handle and the connection between the handle and the stem. Look for any signs of water leakage, such as drips or puddles. Additionally, check for leaks around the stem or any other connections.
- Address any leaks: If you notice any leaks, take immediate action to address them. Tighten the handle screws or bolts slightly to ensure a better seal. If the leaks persist, you may need to disassemble the handle and check for any damaged components or replace them.
- Perform thorough testing: Repeat the process of turning the handle on and off several times to thoroughly test its functionality. Ensure that it operates smoothly and without any issues.
- Complete any additional adjustments: If necessary, make any additional adjustments to the handle or the connections to eliminate leaks or improve performance.
By following these steps and conducting thorough testing, you can ensure that the new faucet handle is properly installed and functions as intended. Remember, it is essential to address any leaks or issues promptly to prevent water damage and maintain the efficiency of your outdoor faucet.
With the handle successfully tested and leaks checked, you have completed the process of replacing an outdoor faucet handle. Congratulations, and enjoy the improved functionality of your outdoor faucet!
Read more: How To Remove Stuck Faucet Handle
Conclusion
Replacing an outdoor faucet handle is a relatively simple and straightforward task that can be done by homeowners with basic DIY skills. By following the step-by-step guide outlined in this article, you can successfully replace a worn, damaged, or difficult-to-use outdoor faucet handle and restore the functionality of your outdoor faucet.
Remember to gather all the necessary tools and materials before starting the process. Shut off the water supply, remove the old handle, measure and purchase a suitable replacement, and install it following the manufacturer’s instructions. Once installed, test the handle and check for any leaks, making any necessary adjustments to ensure proper functionality.
Regular maintenance of your outdoor faucet and its handle is essential to avoid any future issues. Inspect your outdoor faucet periodically for any signs of wear, leaks, or damage, and address them promptly to prevent water wastage and potential damage to your outdoor area.
By taking the time to replace an outdoor faucet handle when needed, you can ensure the efficient and convenient use of your outdoor faucet for years to come. It’s a small but essential task that can make a big difference in your outdoor water usage and overall experience.
So, go ahead and confidently tackle the task of replacing your outdoor faucet handle. With the knowledge and guidance provided in this article, you have the tools to complete the job successfully. Enjoy the smooth operation of your outdoor faucet and the convenience it brings to your outdoor activities!
Now that you've mastered replacing outdoor faucet handles, why stop there? Dive into our comprehensive guide on home repair. With practical tips and detailed instructions, you'll be fixing up every corner of your house in no time. Don't let minor issues turn into major headaches; learn to tackle them head-on with confidence and ease.
Frequently Asked Questions about How To Replace An Outdoor Faucet Handle
Was this page helpful?
At Storables.com, we guarantee accurate and reliable information. Our content, validated by Expert Board Contributors, is crafted following stringent Editorial Policies. We're committed to providing you with well-researched, expert-backed insights for all your informational needs.


0 thoughts on “How To Replace An Outdoor Faucet Handle”