Articles
How To Insulate A Chimney Liner
Modified: February 24, 2024
Looking for articles on how to insulate a chimney liner? Learn the step-by-step process and tips for effective insulation in this comprehensive guide.
(Many of the links in this article redirect to a specific reviewed product. Your purchase of these products through affiliate links helps to generate commission for Storables.com, at no extra cost. Learn more)
Introduction
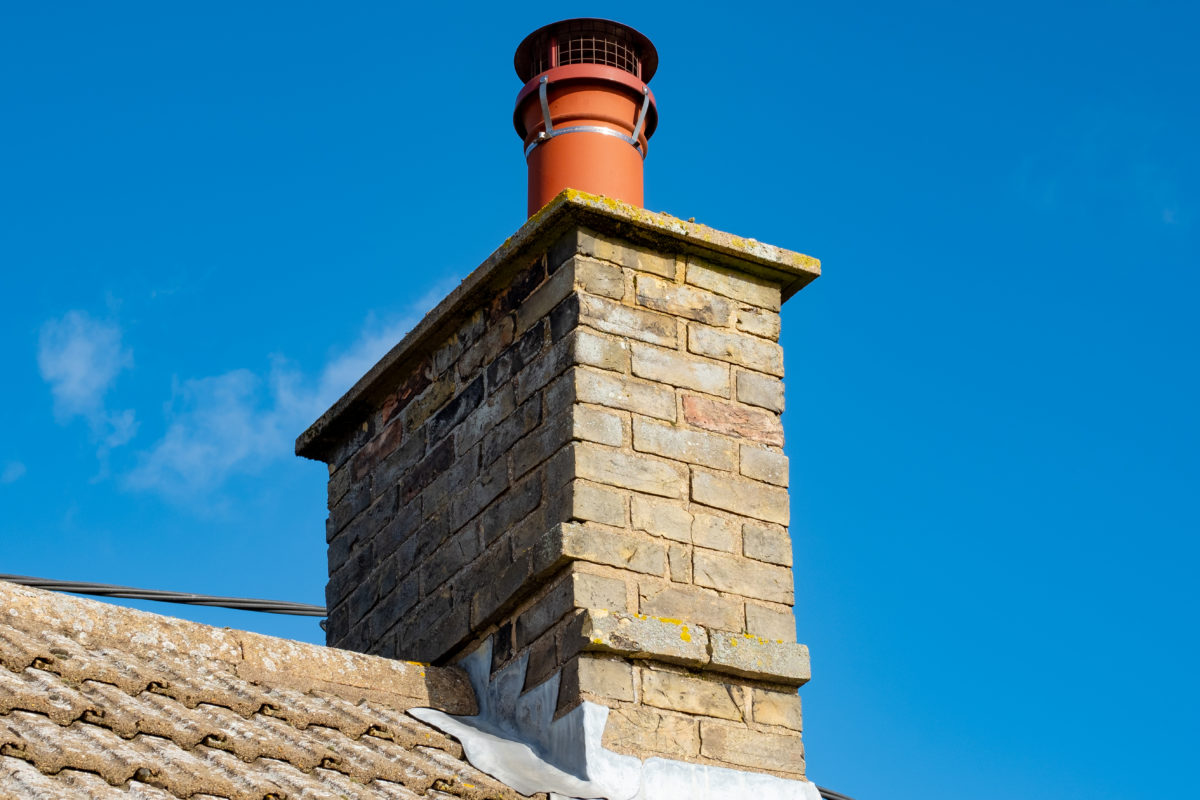
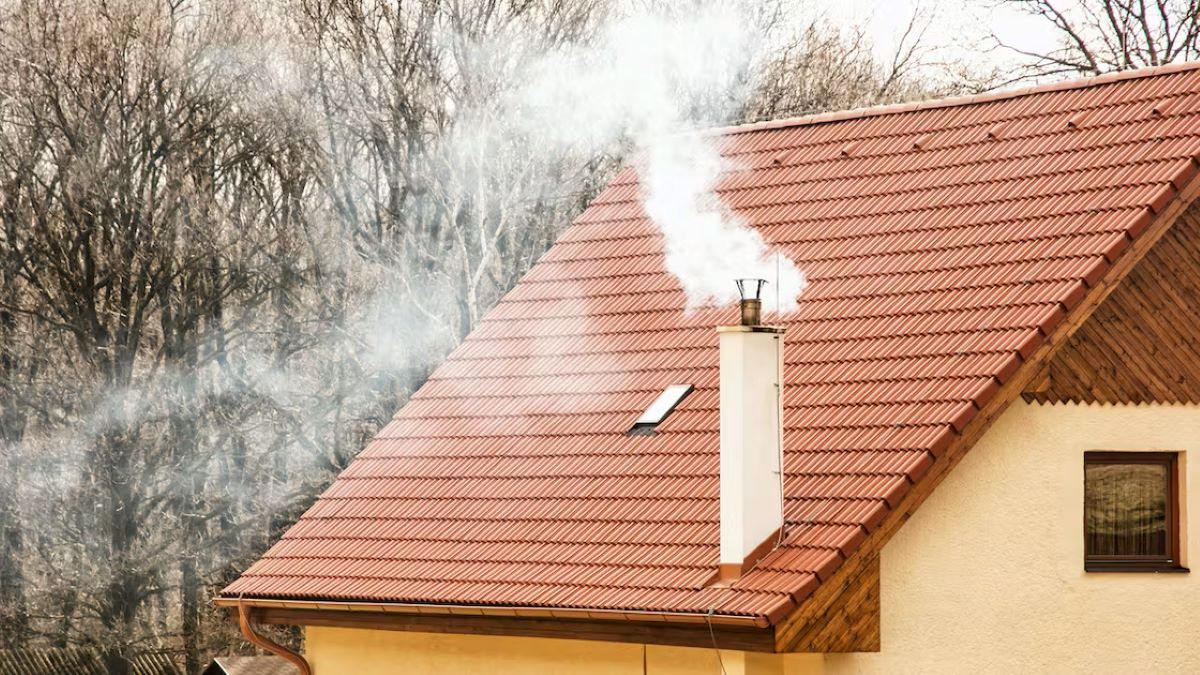
Insulating a chimney liner is a crucial step in maintaining the efficiency and safety of your chimney system. A chimney liner serves the purpose of protecting the chimney walls from the high temperatures, corrosive gases, and condensation that can cause damage over time. However, without proper insulation, the heat from the flue gases can escape rapidly, leading to energy loss and potential structural issues.
In this article, we will explore the importance of insulating a chimney liner and provide a comprehensive guide to help you carry out this task effectively. We will also discuss the different types of chimney liner insulation materials available, safety precautions, common mistakes to avoid, and tips for maintaining insulated chimney liners.
Whether you have a wood-burning fireplace, a gas-fueled stove, or a pellet stove, insulating the chimney liner is essential for maximizing heat retention, preventing condensation, and improving the overall efficiency of your heating system.
Now, let’s delve into the reasons why you should consider insulating your chimney liner.
Key Takeaways:
- Insulating a chimney liner is crucial for improving energy efficiency, reducing condensation, and increasing safety, ultimately extending the lifespan of your chimney system.
- Proper preparation, careful insulation application, and regular maintenance are essential for ensuring the effectiveness and longevity of your insulated chimney liner.
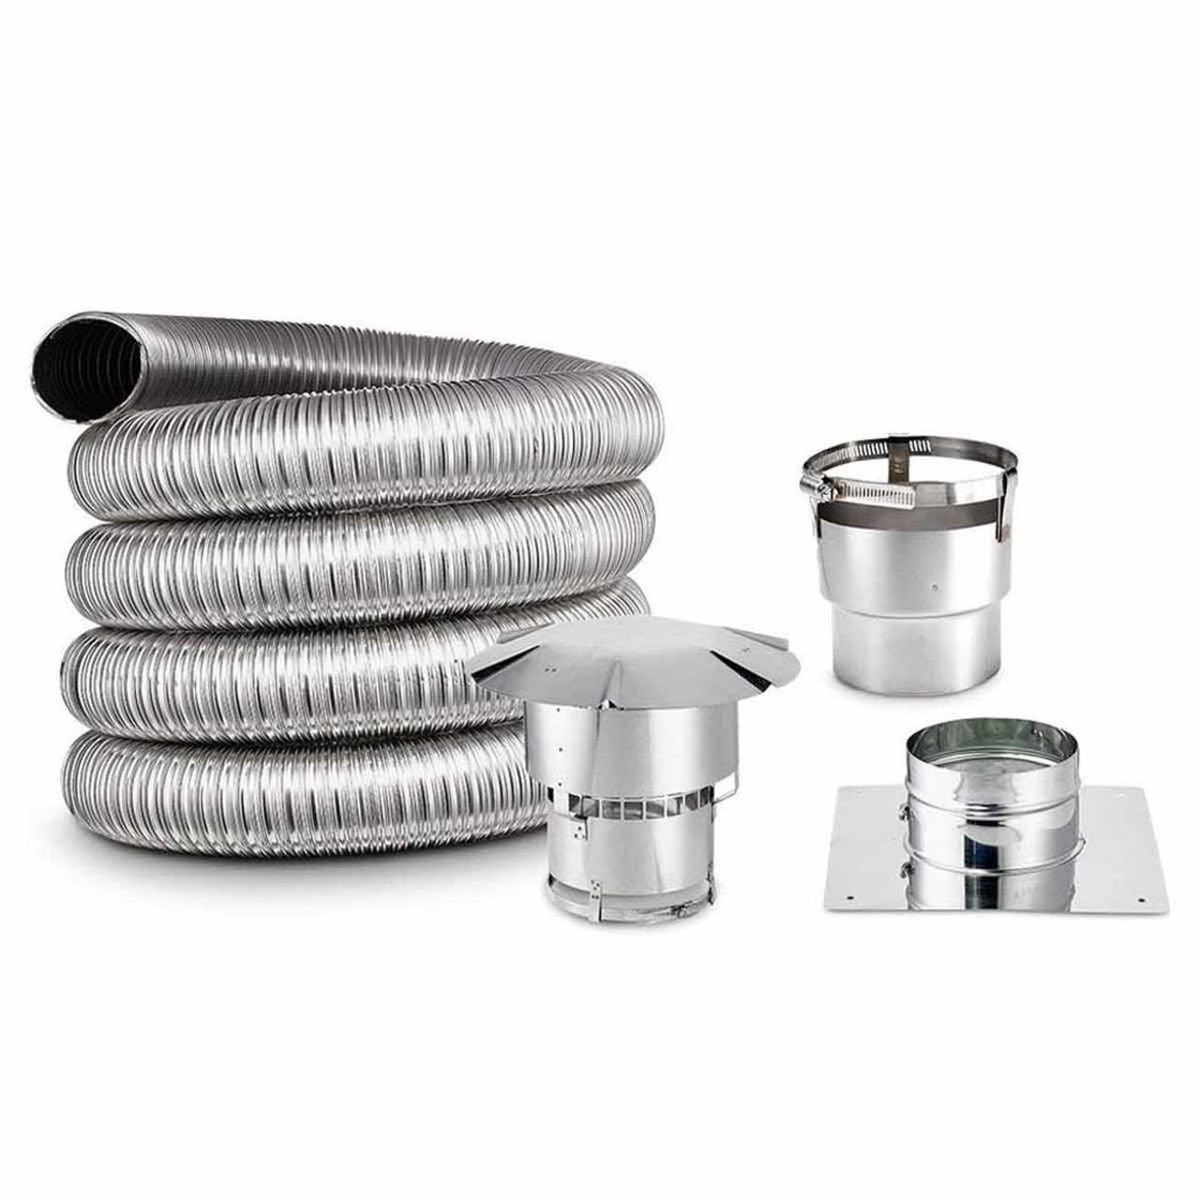
Read more: How To Install Chimney Liner
Why Insulate a Chimney Liner?
Insulating a chimney liner offers several benefits that contribute to the optimal performance and longevity of your chimney system. Let’s explore the key reasons why chimney liner insulation is important:
- Improved Energy Efficiency: Insulating the chimney liner helps to prevent the loss of heat that naturally occurs when the hot flue gases come into contact with the cooler chimney walls. By reducing heat transfer, insulation keeps more warmth inside your home, allowing your heating system to operate more efficiently, and lowering your energy bills.
- Reduced Condensation: When flue gases, which contain water vapor, travel up the chimney and encounter the cold surfaces of an uninsulated liner, condensation can occur. Over time, this moisture can seep into the masonry, leading to the deterioration of the chimney structure. Insulating the liner helps to maintain higher temperatures, reducing the likelihood of condensation and protecting the chimney from potential damage.
- Enhanced Draft: Proper chimney draft is essential for efficient combustion and the safe removal of smoke, gases, and odors from your home. Insulating the liner helps to maintain a consistent temperature inside the chimney, which promotes a stronger draft. This results in better airflow, reduced creosote buildup, and a healthier indoor environment.
- Increased Safety: Insulation acts as a barrier between the hot flue gases and the combustible materials surrounding the chimney, such as wood framing. By minimizing heat transfer, insulation reduces the risk of chimney fires caused by prolonged exposure to high temperatures.
- Extended Chimney Liner Lifespan: Insulating the chimney liner can help prolong its lifespan by protecting it from the corrosive effects of acidic flue gases. By maintaining higher temperatures, insulation minimizes the formation of corrosive condensation, which can lead to liner deterioration and the need for costly repairs or replacement.
Overall, insulating a chimney liner offers numerous advantages, including improved energy efficiency, reduced condensation, enhanced draft, increased safety, and an extended lifespan for your chimney system. Now that we understand the importance of chimney liner insulation, let’s explore the various types of insulation materials available.
Types of Chimney Liner Insulation Materials
When it comes to insulating a chimney liner, there are several types of insulation materials to choose from. The choice of insulation material depends on factors such as budget, installation method, and the specific requirements of your chimney system. Here are some commonly used chimney liner insulation materials:
- Polyurethane Foam: Polyurethane foam insulation is a popular choice due to its excellent thermal properties and ease of installation. It is available in the form of spray foam, which expands and adheres to the chimney liner surface. Polyurethane foam creates a seamless and airtight insulation layer that provides superior heat retention and prevents condensation.
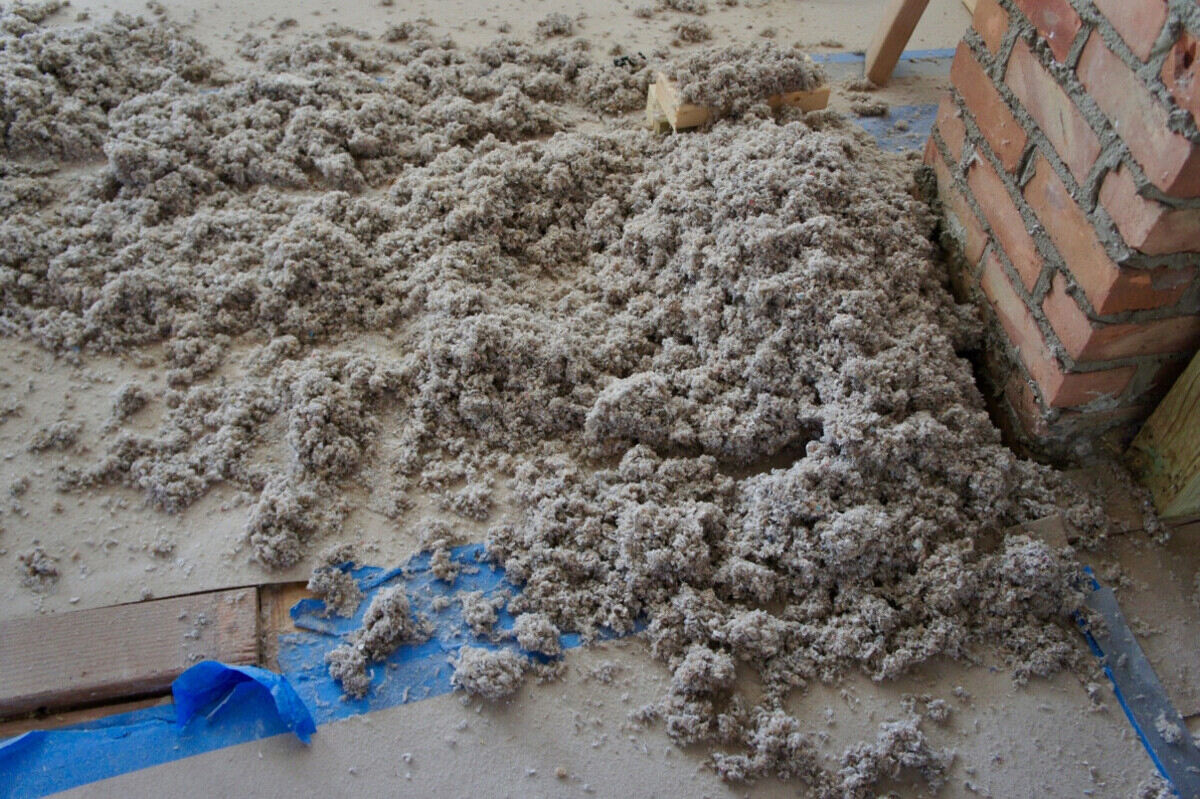
- Ceramic Wool: Ceramic wool insulation is made from high-temperature fibers and is known for its exceptional heat resistance. It is available in blanket or loose-fill form. Ceramic wool insulation is lightweight, easy to handle, and provides effective thermal insulation, minimizing heat loss and preventing condensation.
- Vermiculite: Vermiculite is a natural mineral that is often used as chimney liner insulation due to its insulating properties and ability to withstand high temperatures. It is available in granular form for easy installation and can be poured or packed around the chimney liner to provide effective insulation.
- Calcium Silicate: Calcium silicate is a rigid insulation material that is commonly used in commercial and industrial applications. It has excellent thermal insulation properties, high-temperature resistance, and is non-combustible. Calcium silicate insulation can be cut and fitted around the chimney liner, providing a durable and efficient insulating layer.
- Mineral Wool: Mineral wool insulation is made from natural or synthetic fibers and is known for its excellent thermal and acoustic insulation properties. It is available in batt or loose-fill form and can be installed around the chimney liner to provide effective insulation and reduce heat loss.
It is important to consult with a professional chimney contractor or insulation specialist to determine the most suitable insulation material for your chimney liner. They will consider factors such as the type of fuel you use, the diameter and length of the liner, as well as any specific requirements dictated by local building codes.
Now that we have covered the different types of chimney liner insulation materials, let’s move on to the next section, where we will discuss the steps involved in preparing for chimney liner insulation.
Preparing for Insulation
Before you begin insulating your chimney liner, it is important to properly prepare the area to ensure a successful and long-lasting insulation job. Here are the essential steps to take when preparing for chimney liner insulation:
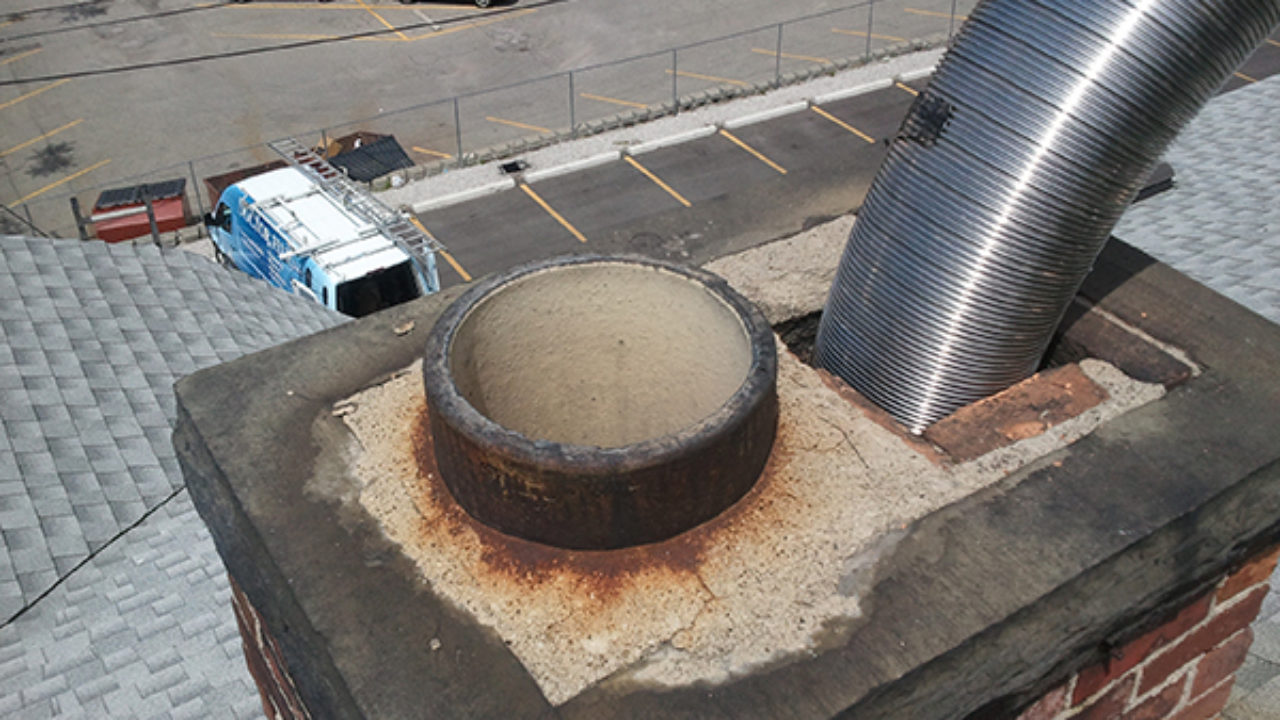
- Clean the Chimney: Start by thoroughly cleaning the chimney, ensuring that it is free from any soot, debris, or creosote buildup. Use a chimney brush or call a professional chimney sweep to clean the flue and remove any obstructions that may hinder the installation of the insulation.
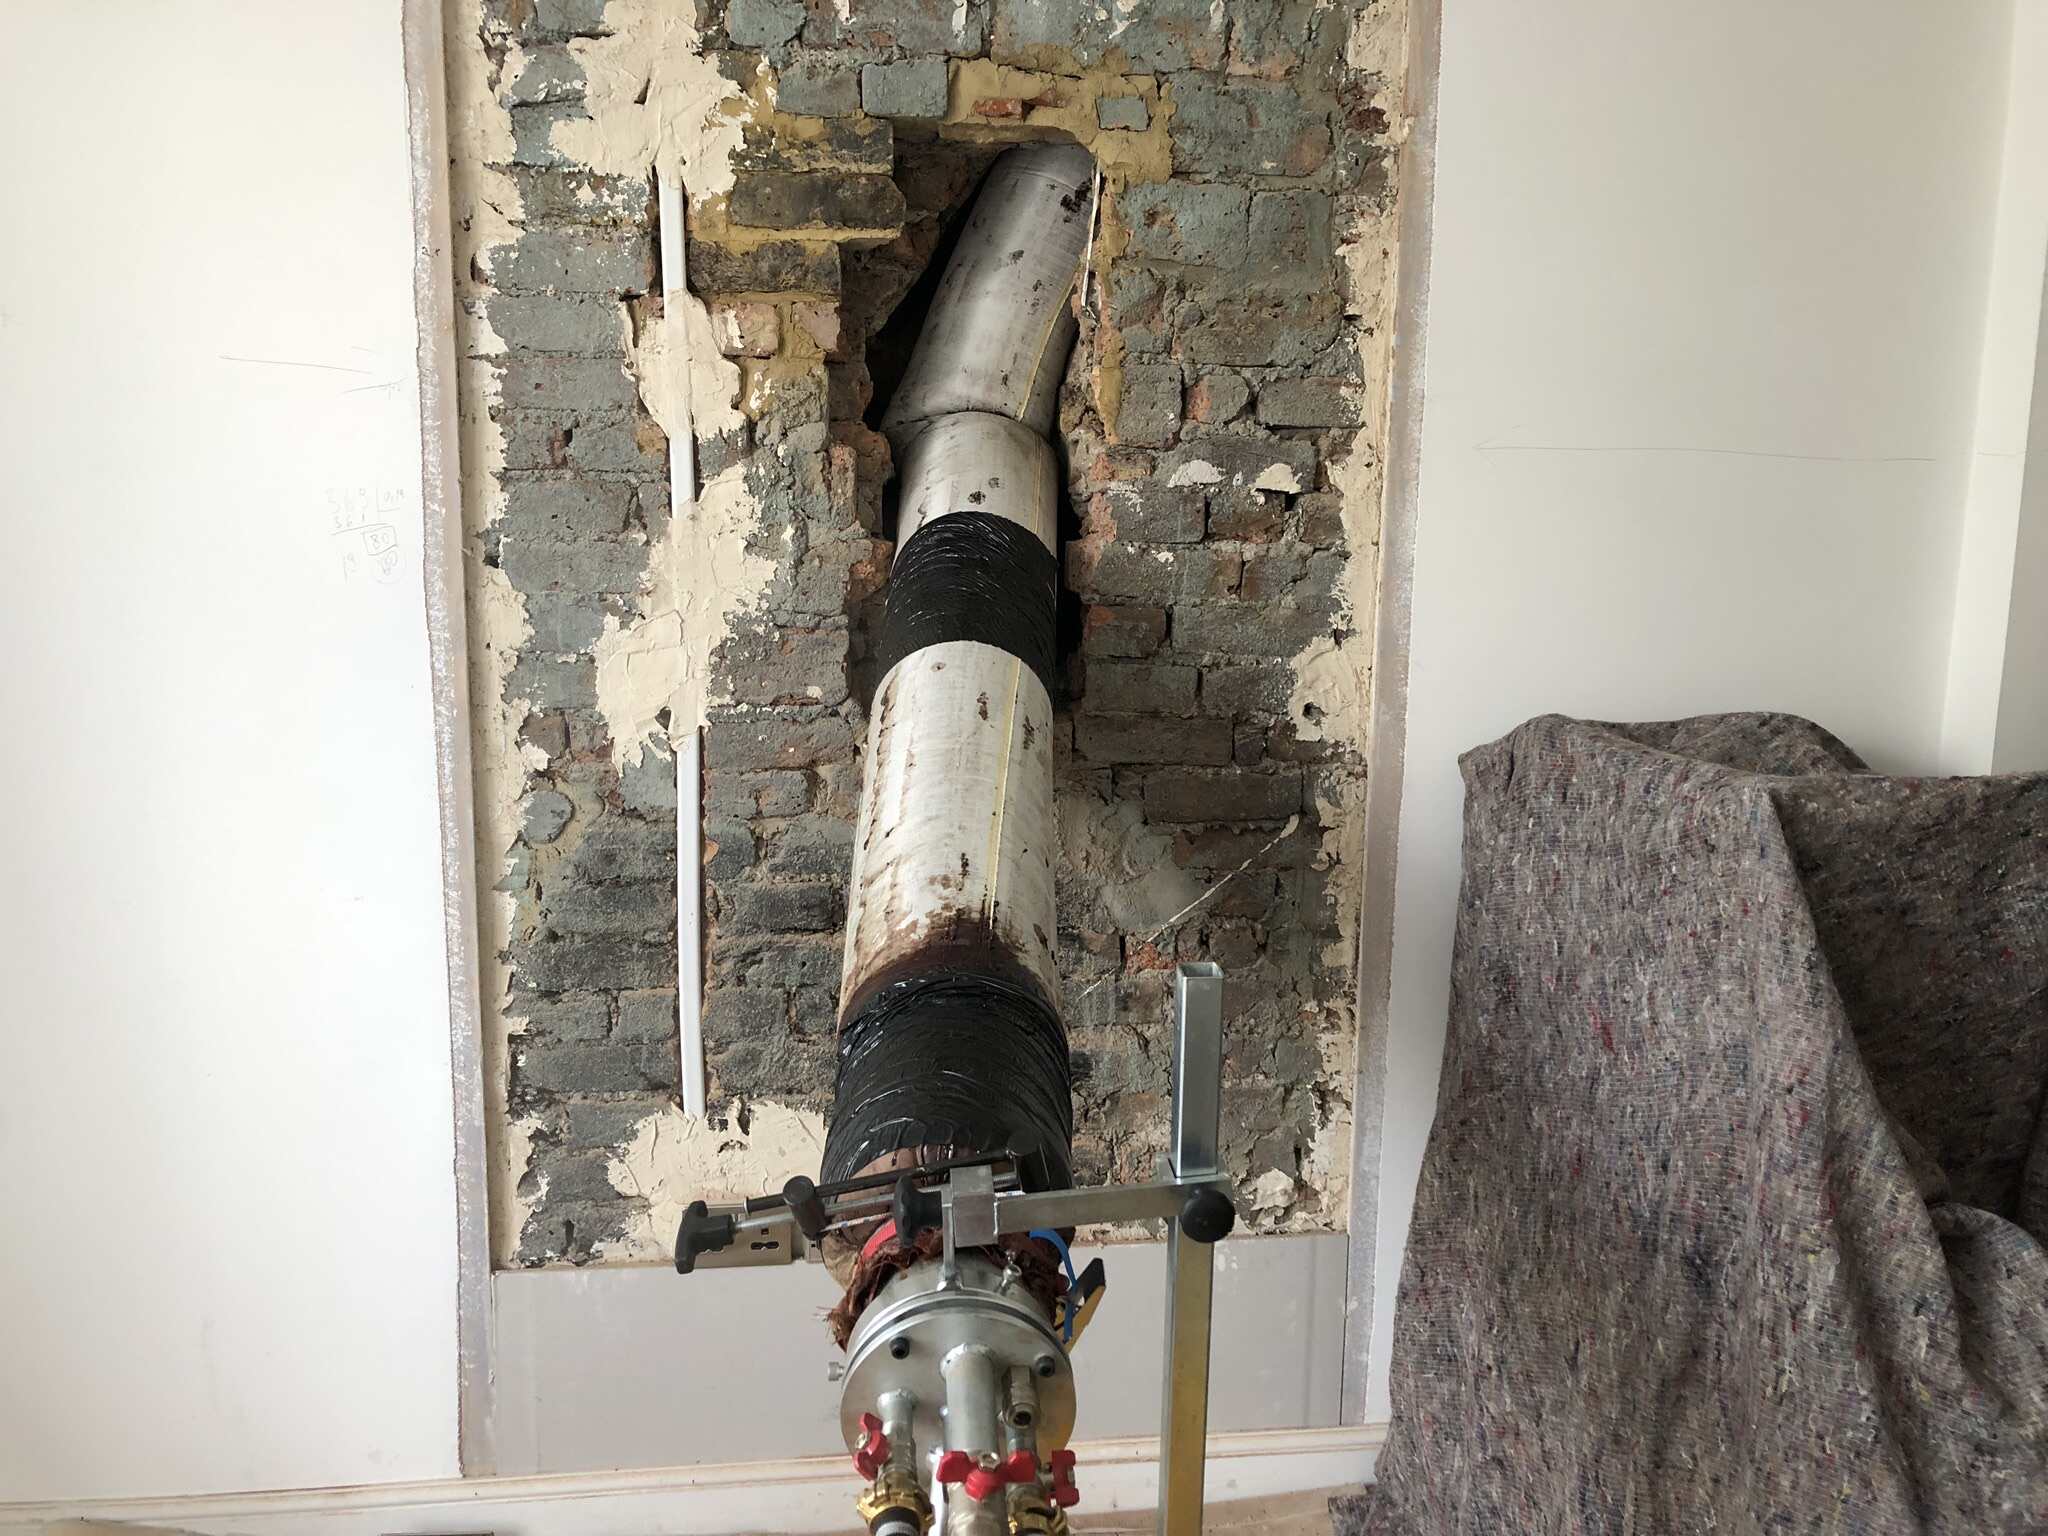
- Inspect the Chimney Liner: Before proceeding with insulation, carefully inspect the chimney liner for any signs of damage or deterioration. Look for cracks, gaps, or loose connections that may require repairs. Address any issues with the liner before proceeding to ensure proper insulation performance.
- Seal Leaks and Gaps: Insulation works best when there is a tight seal, so it is important to identify and seal any gaps or leaks in the chimney liner. Use high-temperature sealants or caulking to seal any openings that may allow the escape of heat or the intrusion of moisture.
- Measure the Chimney Liner: Accurate measurements of the chimney liner are essential to determine the amount of insulation material required. Measure the diameter and length of the liner to calculate the insulation coverage needed for optimal performance.
- Choose the Right Insulation Material: Based on the dimensions and specific requirements of your chimney liner, select the appropriate insulation material. Consider factors such as the insulation’s R-value (thermal resistance), compatibility with your chimney system, and suitability for the type of fuel you use.
- Gather the Necessary Equipment: Ensure you have all the necessary tools and equipment for the insulation process. This may include safety gloves, goggles, a measuring tape, a utility knife, and any specific tools required for the type of insulation material you have chosen.
By thoroughly cleaning the chimney, inspecting and preparing the liner, and gathering the necessary equipment, you will create an optimal environment for the insulation process. Taking these preparatory steps will ensure that the insulation adheres properly, maximizes heat retention, and helps protect your chimney system from the damaging effects of condensation.
Now that you have prepared the chimney liner for insulation, it’s time to move on to the step-by-step guide for insulating the chimney liner.
Step-by-Step Guide to Insulating a Chimney Liner
Insulating a chimney liner requires careful planning and execution to ensure effective heat retention and maximum safety. Follow these step-by-step instructions to properly insulate your chimney liner:
- Prepare the Insulation Material: If using loose-fill insulation, fluff it up to ensure even distribution and ease of installation. If using a spray foam insulation, shake the canister well and ensure it is at the recommended temperature for optimal performance.
- Start from the Top: Begin insulating the chimney liner from the top, working your way down. This ensures that any dust or debris from the insulation process does not fall onto already insulated areas.
- Apply the Insulation: Depending on the insulation material, follow the manufacturer’s instructions for installation. For spray foam insulation, apply an even layer on the chimney liner surface, starting at the top and working your way down in a continuous motion. For loose-fill insulation, carefully pack it around the liner, ensuring complete coverage.
- Ensure Even Distribution: As you apply the insulation, make sure it is evenly distributed around the chimney liner, leaving no gaps or thin spots that may compromise the insulation’s effectiveness.
- Smooth out the Insulation: If using a spray foam insulation, use a putty knife or a gloved hand to smooth out the applied foam, ensuring a uniform layer. This helps to create a seamless and airtight insulation barrier.
- Allow for Cure Time: If using a spray foam insulation, allow it to fully cure and harden according to the manufacturer’s instructions. This usually takes several hours or overnight. Ensure proper ventilation during the curing process.
- Clean Up: Once the insulation is fully cured, carefully clean up any excess insulation material that may have dripped or fallen during the application process. Dispose of it according to local regulations.
Remember, if you are not comfortable or confident in carrying out the insulation process, it is always best to consult a professional chimney contractor. They have the expertise and experience to ensure that the insulation is applied correctly, maximizing its effectiveness and efficiency.
Now that you have successfully insulated your chimney liner, it is important to keep in mind some safety precautions to ensure the longevity and performance of the insulation.
When insulating a chimney liner, use a high-temperature insulation material such as ceramic fiber blanket or vermiculite. Make sure to follow the manufacturer’s guidelines for installation to ensure proper insulation and safety.
Safety Precautions
When insulating a chimney liner, it is important to prioritize safety to protect yourself, your property, and to ensure the longevity of the insulation. Here are some essential safety precautions to follow:
- Wear Protective Gear: Always wear appropriate personal protective equipment (PPE) such as gloves, safety goggles, and a mask to protect yourself from the insulation material and any potential irritants.
- Work in a Well-Ventilated Area: Ensure that the area where you are insulating the chimney liner is well-ventilated to prevent the buildup of any harmful fumes from the insulation material. Open windows or use fans if necessary.
- Follow Manufacturer’s Instructions: Carefully read and follow the manufacturer’s instructions for the insulation material you are using. This includes information on proper handling, application, and necessary safety precautions specific to that insulation type.
- Use Caution with Tools: When using any tools during the insulation process, such as utility knives or putty knives, exercise caution to avoid injury. Keep blades and sharp edges away from your body and follow safe handling practices.
- Be Aware of Fire Hazards: Some insulation materials are flammable, so take precautions to prevent accidental fires. Avoid using open flames, smoking, or any other potential ignition sources during the insulating process.
- Protect Surrounding Materials: Cover any nearby surfaces or objects with drop cloths or plastic sheeting to prevent the insulation material from coming into contact and causing damage.
- Dispose of Waste Properly: After completing the insulation process, dispose of any waste materials, such as empty spray foam canisters or loose insulation, according to local regulations and guidelines.
- Have a Fire Extinguisher Handy: It is a good practice to have a fire extinguisher nearby in case of any emergencies or accidental fires during the insulation process. Familiarize yourself with how to use it effectively.
- Seek Professional Help if Needed: If you are unsure about any aspect of the insulation process or if your chimney liner requires extensive repairs, it is best to consult a professional chimney contractor to ensure safe and effective results.
By following these safety precautions, you can reduce the risk of accidents, protect yourself and your property, and ensure the successful completion of the chimney liner insulation project.
Now that we have covered the safety precautions, let’s discuss some common mistakes to avoid when insulating a chimney liner to achieve optimal performance.
Common Mistakes to Avoid
Insulating a chimney liner requires attention to detail and proper execution to achieve effective results. Here are some common mistakes to avoid during the insulation process:
- Inadequate Cleaning: Failing to properly clean the chimney before insulating the liner can lead to poor adhesion and compromised insulation performance. Make sure to remove all soot, debris, and creosote buildup from the chimney before starting the insulation process.
- Insufficient Insulation Coverage: Ensure that you apply the insulation material evenly and thoroughly around the entire chimney liner. Avoid leaving any gaps or thin spots, as this can lead to heat loss and reduced insulation performance.
- Using the Wrong Insulation Material: Each type of insulation material has specific properties and applications. Choosing the wrong insulation material for your chimney liner can result in subpar insulation performance and potential safety hazards. Consult with professionals to select the appropriate material for your specific needs.
- Poorly Sealing Gaps and Leaks: Inadequately sealing gaps and leaks in the chimney liner before insulation can compromise the effectiveness of the insulation. Ensure thorough sealing using high-temperature sealants or caulking to prevent air leakage.
- Ignoring Building Codes and Regulations: It is essential to comply with local building codes and regulations when insulating a chimney liner. Failing to do so may result in non-compliance and could lead to safety issues or legal consequences.
- Overlooking Proper Ventilation: Insulating the chimney liner can result in reduced ventilation if not properly considered. Ensure that your heating system has adequate ventilation to avoid the buildup of harmful gases and maintain proper airflow.
- Rushing the Curing Process: If using a spray foam insulation, make sure to allow sufficient time for full curing and hardening according to the manufacturer’s instructions. Rushing the curing process can result in incomplete insulation and compromised performance.
- Failing to Seek Professional Help: If you lack the necessary knowledge or experience, it is best to consult a professional chimney contractor or insulation specialist. They can provide guidance, ensure proper installation, and address any specific issues related to your chimney system.
Avoiding these common mistakes will help you achieve an effective and long-lasting insulation for your chimney liner. Now, let’s move on to the final section, which provides tips for maintaining your insulated chimney liner.
Tips for Maintaining Insulated Chimney Liners
Maintaining your insulated chimney liner is essential for its longevity, safety, and optimal performance. Here are some tips to help you keep your chimney liner in great shape:
- Regular Inspection: Schedule regular inspections of your chimney liner to check for any signs of damage, deterioration, or blockages. Look for cracks, gaps, or creosote buildup. Address any issues promptly to prevent further damage.
- Clean When Needed: Clean your chimney liner whenever necessary to remove any soot, debris, or creosote buildup. Regular cleaning helps to maintain optimal airflow and prevents the risk of chimney fires.
- Monitor Draft and Performance: Pay attention to the draft and performance of your chimney system. If you notice a decrease in draft or a decrease in heat efficiency, it could indicate a problem with the insulation or liner, which should be addressed promptly.
- Check for Condensation: Keep an eye out for condensation on the exterior of the chimney liner or signs of water damage. Condensation can indicate insulation failure or insufficient insulation, and should be investigated and remedied to prevent further issues.
- Keep the Chimney Cap in Good Condition: Ensure that the chimney cap is intact, securely installed, and free from any blockages. A properly functioning chimney cap helps to prevent water entry, debris buildup, and potential damage to the chimney liner.
- Monitor Ventilation: Proper ventilation is essential for the performance of your chimney system. Ensure that the ventilation openings, such as air vents and dampers, are not blocked or obstructed to allow for adequate airflow.
- Be Mindful of Burning Materials: When using your fireplace or stove, be mindful of the materials you burn. Avoid burning wet or green wood, as it produces more smoke and increases the risk of creosote buildup, which can damage the chimney liner. Use well-seasoned wood or approved fuel types.
- Keep the Area Around the Chimney Clear: It is important to keep the area around the chimney clear of any flammable materials, such as branches, leaves, or debris. This reduces the risk of accidental fires and allows for proper ventilation.
- Consider Professional Inspections and Cleanings: Periodically, have your chimney system professionally inspected and cleaned. Professionals have the knowledge and tools to thoroughly inspect and maintain your chimney liner, ensuring its continued functionality and safety.
By following these maintenance tips, you can prolong the lifespan of your insulated chimney liner, promote optimal performance, and ensure the safety of your chimney system. Regular maintenance and care will help you enjoy the warmth and comfort of your fireplace or stove for years to come.
Now that we’ve covered the tips for maintaining your insulated chimney liner, let’s conclude our article.
Conclusion
Insulating your chimney liner is a critical step in maintaining the efficiency, safety, and longevity of your chimney system. By preventing heat loss, reducing condensation, improving draft, and increasing safety, chimney liner insulation offers numerous benefits for homeowners.
In this article, we discussed the importance of insulating chimney liners and provided a comprehensive guide to help you carry out the insulation process effectively. We explored different types of chimney liner insulation materials, outlined the necessary preparation steps, and provided a step-by-step guide for insulating the chimney liner.
We emphasized the significance of following safety precautions to protect yourself, your property, and to ensure successful insulation. Additionally, we highlighted the common mistakes to avoid during the insulation process, as well as provided tips for maintaining your insulated chimney liner in top condition.
Remember, if you are uncertain or uncomfortable with insulating your chimney liner, it is always best to consult a professional chimney contractor or insulation specialist. They possess the expertise and experience to ensure proper insulation installation and address any specific requirements or issues with your chimney system.
By insulating your chimney liner and practicing regular maintenance, you can enjoy improved energy efficiency, reduced condensation, enhanced draft, increased safety, and an extended lifespan for your chimney system. Take the necessary steps to protect and maintain your chimney liner, and you will continue to enjoy the warmth and comfort of your fireplace or stove for years to come.
Thank you for reading, and happy chimney insulation!
Frequently Asked Questions about How To Insulate A Chimney Liner
Was this page helpful?
At Storables.com, we guarantee accurate and reliable information. Our content, validated by Expert Board Contributors, is crafted following stringent Editorial Policies. We're committed to providing you with well-researched, expert-backed insights for all your informational needs.


0 thoughts on “How To Insulate A Chimney Liner”