Articles
How To Install Chimney Damper
Modified: February 24, 2024
Learn how to install a chimney damper with our informative articles. Get expert tips and step-by-step instructions to save energy and improve fireplace efficiency.
(Many of the links in this article redirect to a specific reviewed product. Your purchase of these products through affiliate links helps to generate commission for Storables.com, at no extra cost. Learn more)
Introduction
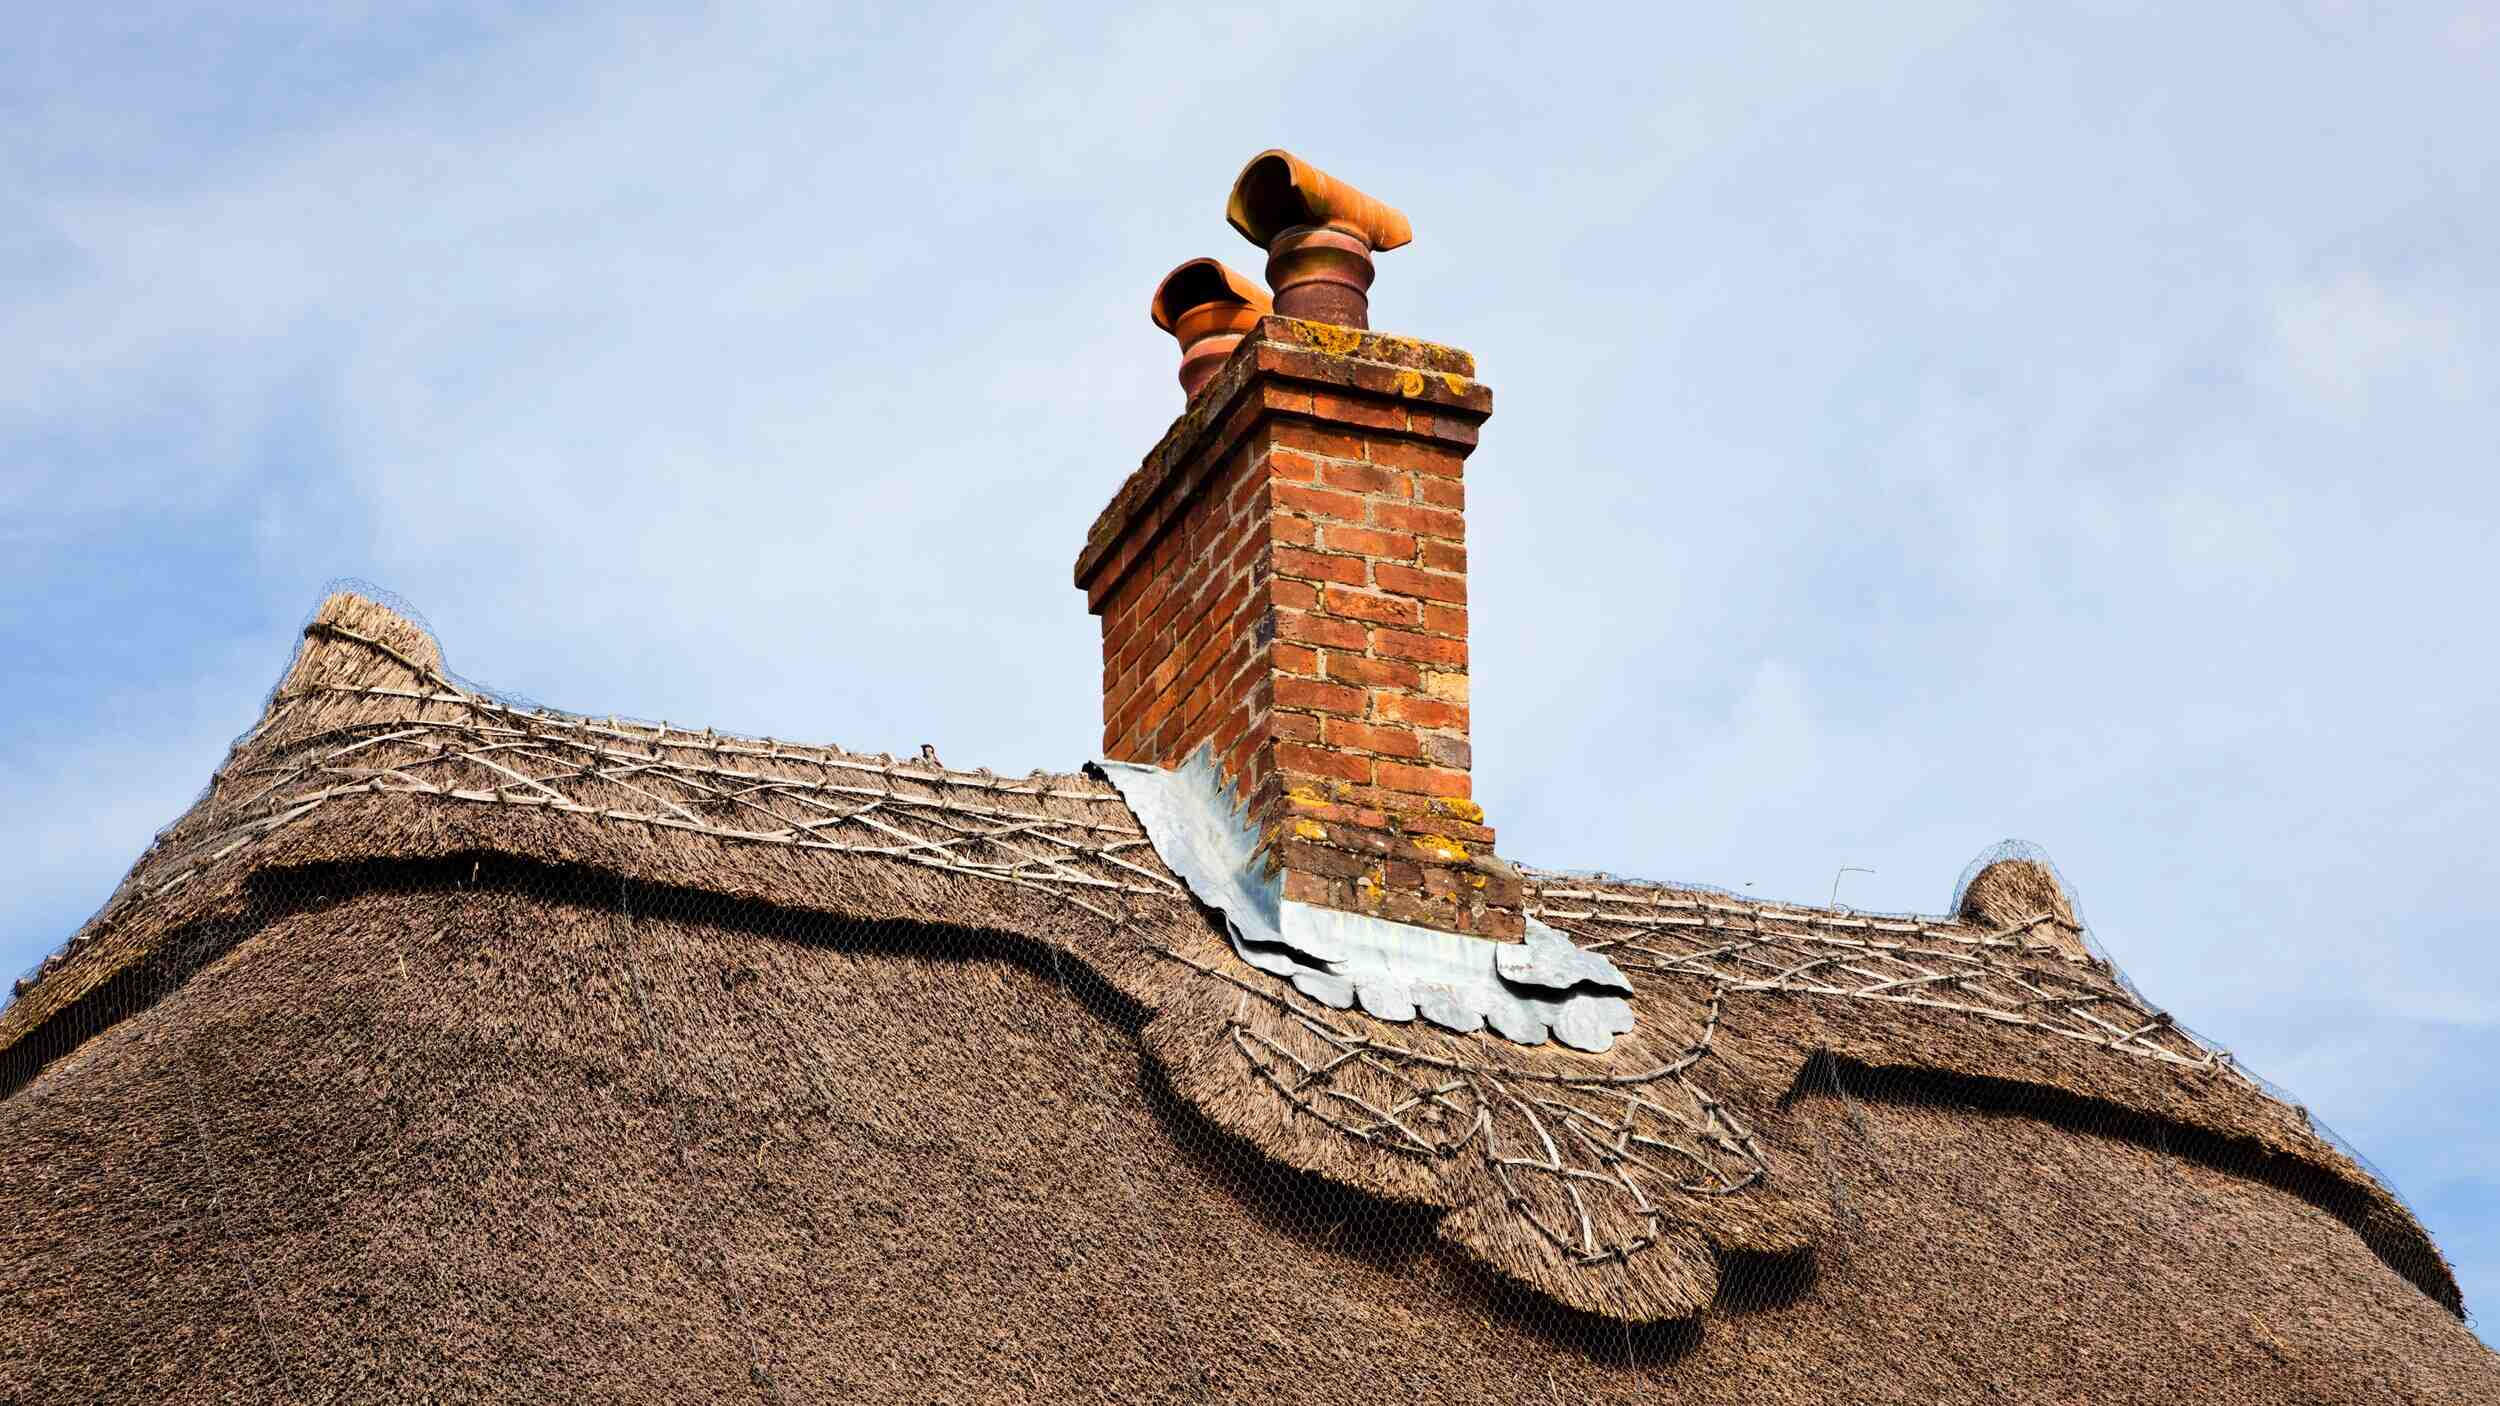
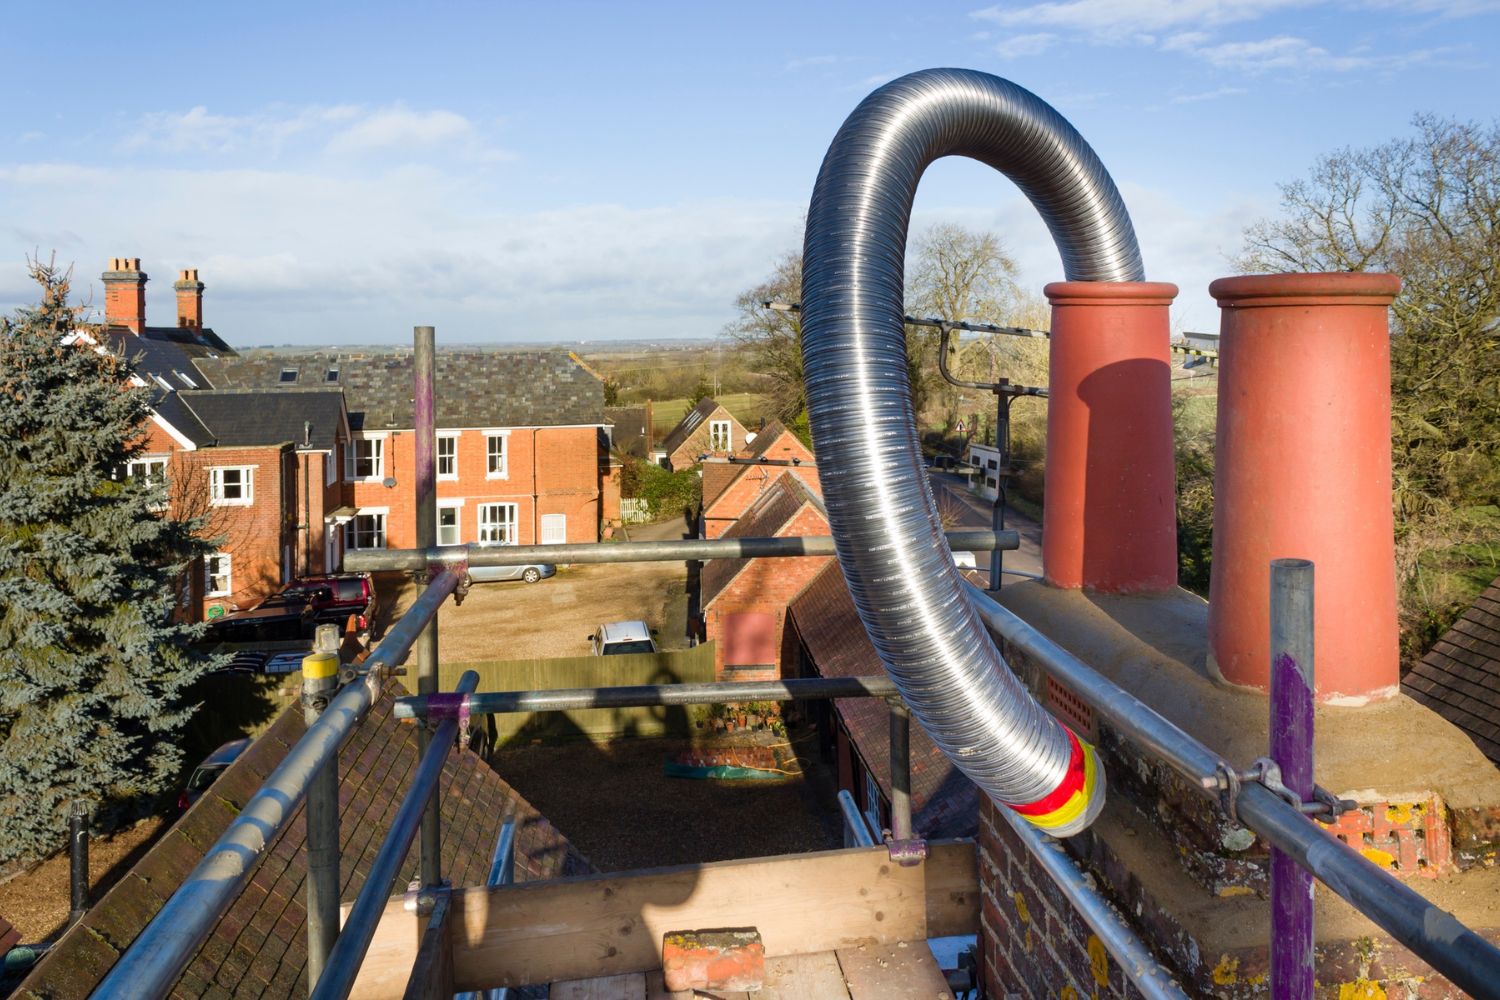
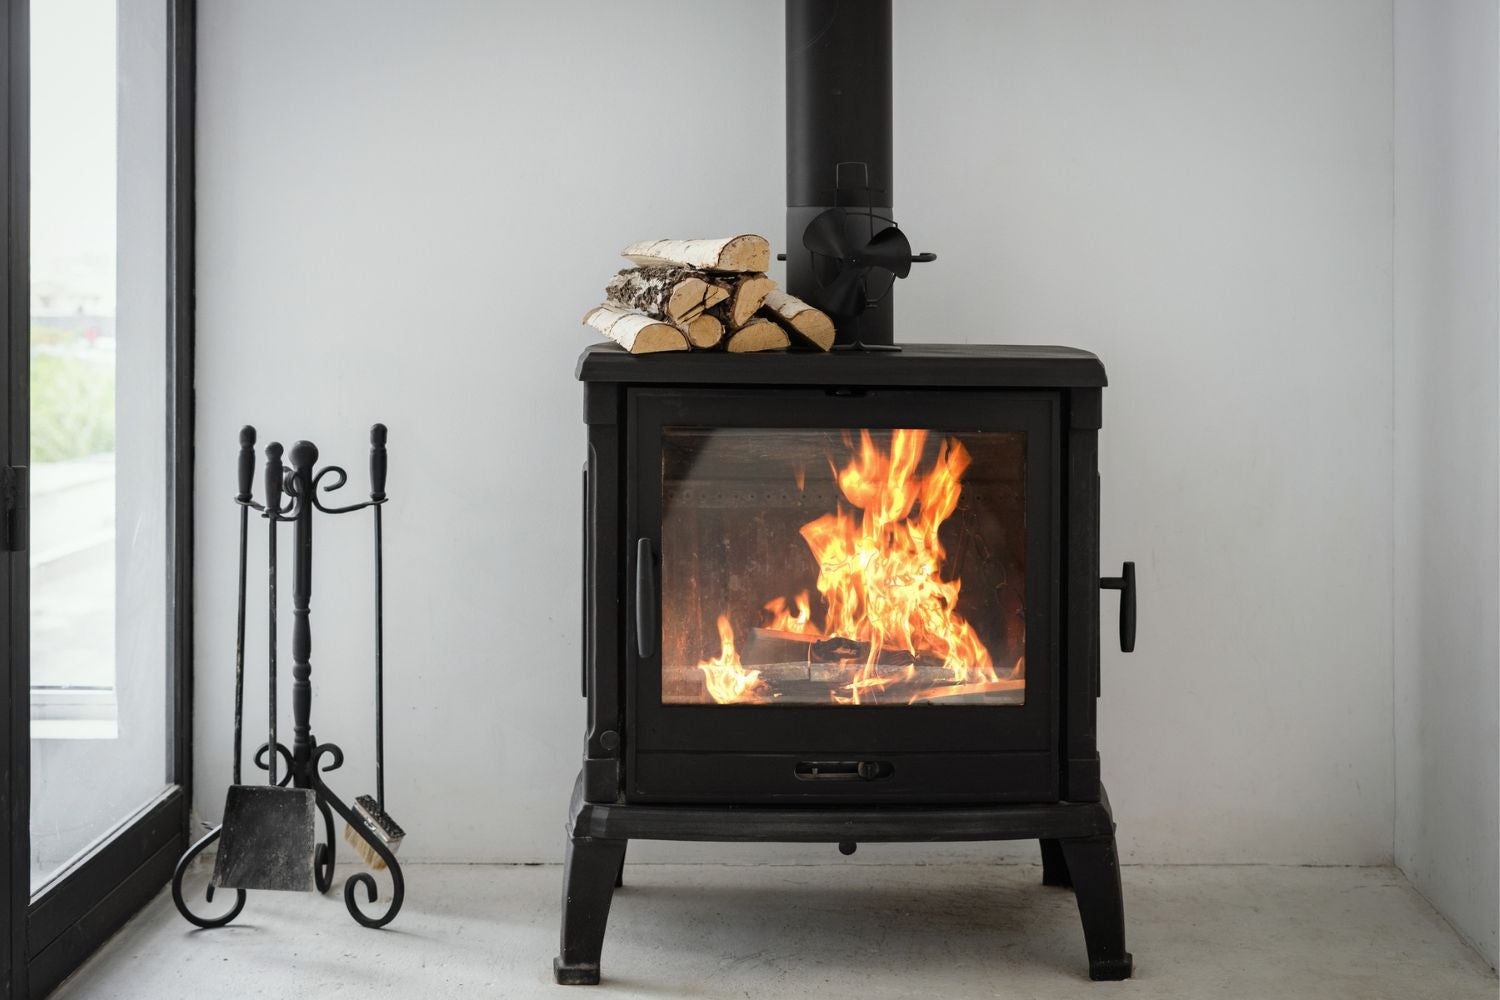
Welcome to this comprehensive guide on how to install a chimney damper. If you have a fireplace in your home, then you know how important it is to have an efficient and properly functioning chimney. A chimney damper plays a crucial role in controlling the flow of air and preventing drafts when the fireplace is not in use.
Installing a chimney damper is a task that can be easily accomplished with the right tools and materials, and it can significantly improve the overall efficiency of your fireplace. In this article, we will take you through a step-by-step process to help you install a chimney damper successfully.
Before we dive into the installation process, let’s quickly go over the importance of a chimney damper. A chimney damper serves multiple purposes, including:
- Energy Efficiency: A chimney damper helps in preventing warm air from escaping during colder months, which can save you money on heating costs.
- Preventing Drafts: By sealing off the chimney when not in use, a damper prevents cold drafts from entering your home, making it more comfortable.
- Fire Safety: When the damper is closed, it acts as a barrier to prevent fire sparks from escaping and potentially causing a fire hazard.
- Controlled Airflow: By adjusting the damper, you can control the amount of air flowing in and out of your fireplace, optimizing the combustion process.
Now that we understand the importance of a chimney damper, let’s move on to the first step: gathering the necessary tools and materials.
Key Takeaways:
- Properly installing a chimney damper can enhance energy efficiency, prevent drafts, and improve fire safety. Follow the step-by-step guide to ensure a successful installation and enjoy a more efficient fireplace.
- Regular maintenance, including cleaning, inspections, and addressing any issues, is crucial for prolonging the life and efficiency of a chimney damper. By incorporating these tips, you can ensure optimal performance and safety.
Read more: What Is A Damper In A Chimney
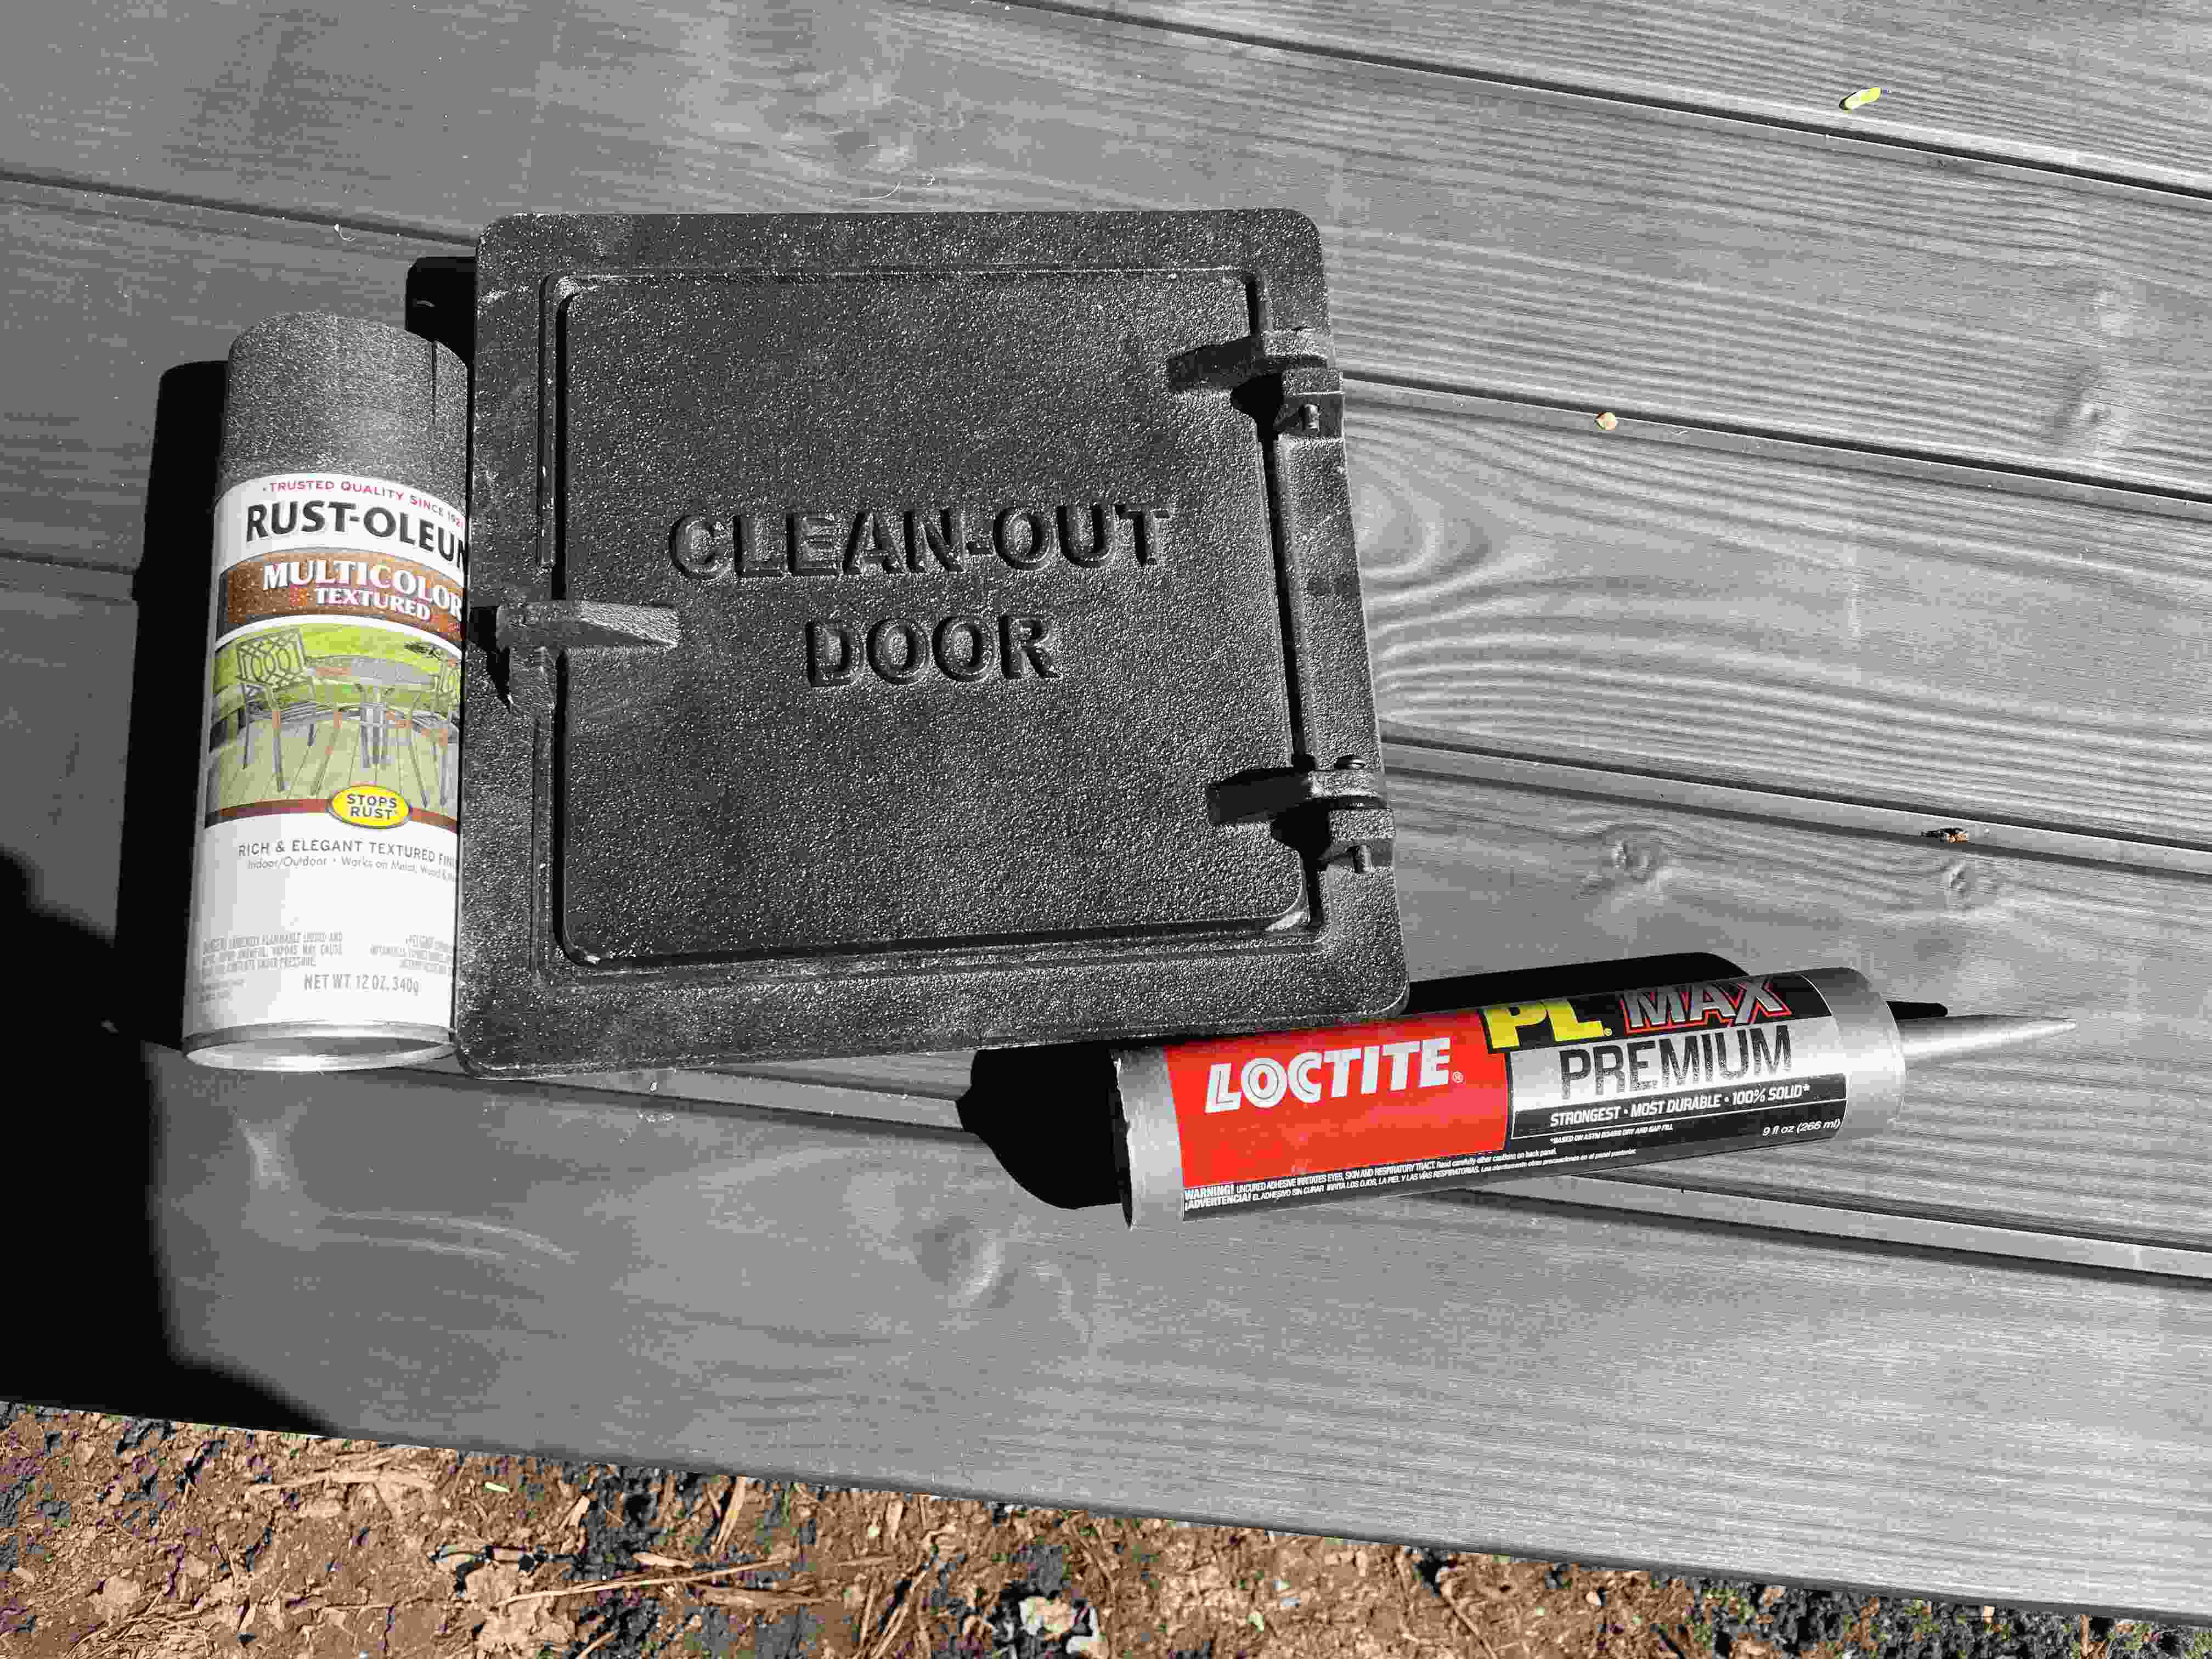
Step 1: Gather the necessary tools and materials
Before you begin installing a chimney damper, it’s important to gather all the necessary tools and materials. This ensures that you have everything you need at hand and minimizes interruptions during the installation process. Here’s a list of the tools and materials you will require:
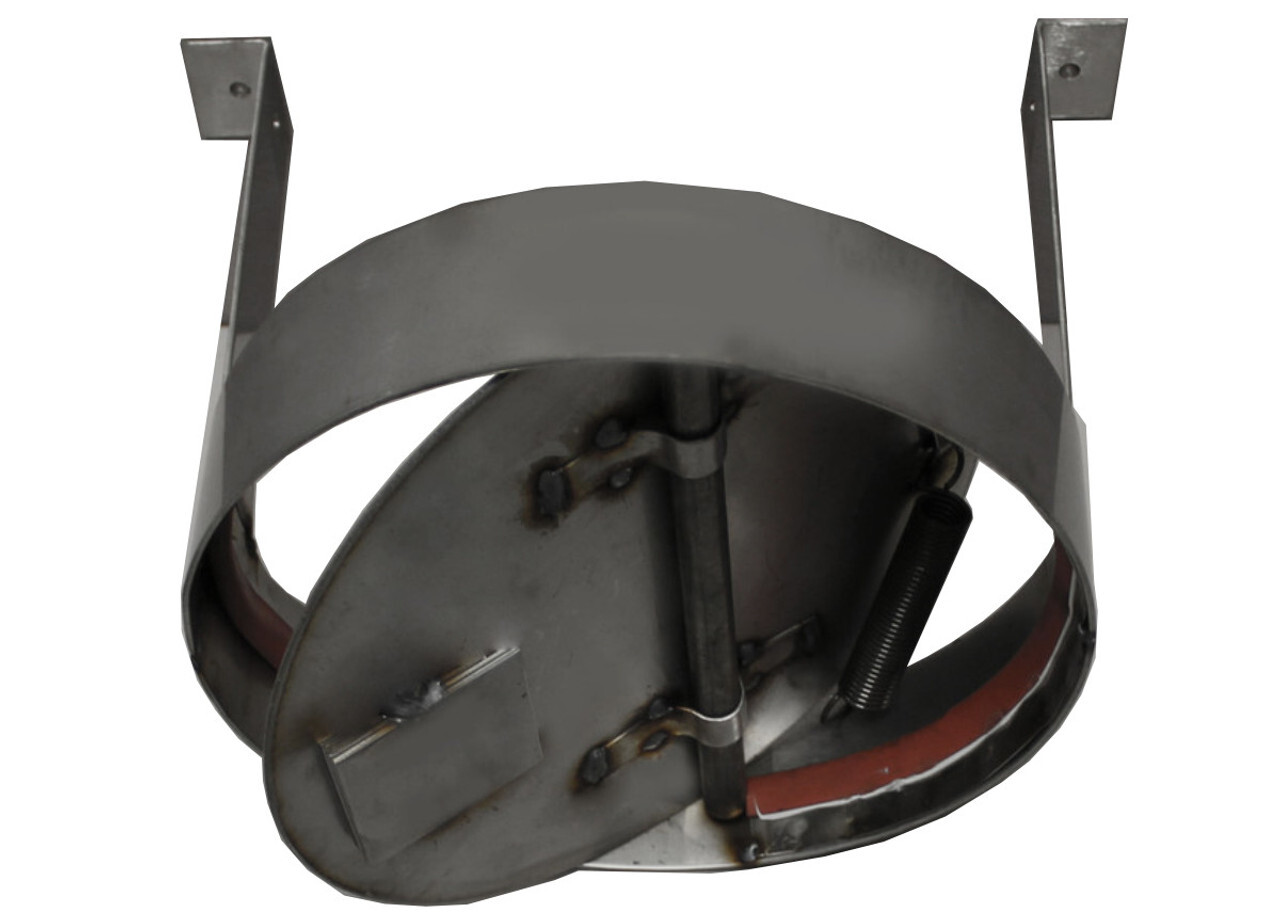
- Chimney damper: Make sure to select the right size and type of damper based on your specific chimney and fireplace setup. There are different types of dampers available, including throat dampers, top-mount dampers, and vestal dampers. Choose the one that best suits your needs.
- Tape measure: You’ll need a tape measure to accurately measure the dimensions of your existing damper or chimney opening.
- Power drill: A power drill will come in handy for securing the damper in place.
- Ladder: Depending on the height of your chimney, you may need a ladder to access it safely.
- Screwdriver: A screwdriver will be required to remove any screws or fasteners holding the old damper in place.
- Wire brush and chimney sweep tools: If your chimney is dirty or has a buildup of soot, it’s a good idea to clean it before installing the new damper. A wire brush and chimney sweep tools can help you with this task.
- Safety equipment: Don’t forget to wear safety goggles, gloves, and a protective mask to safeguard yourself from any debris or dust.
Once you have gathered all the necessary tools and materials, you are ready to move on to the next step: preparing the fireplace for damper installation.
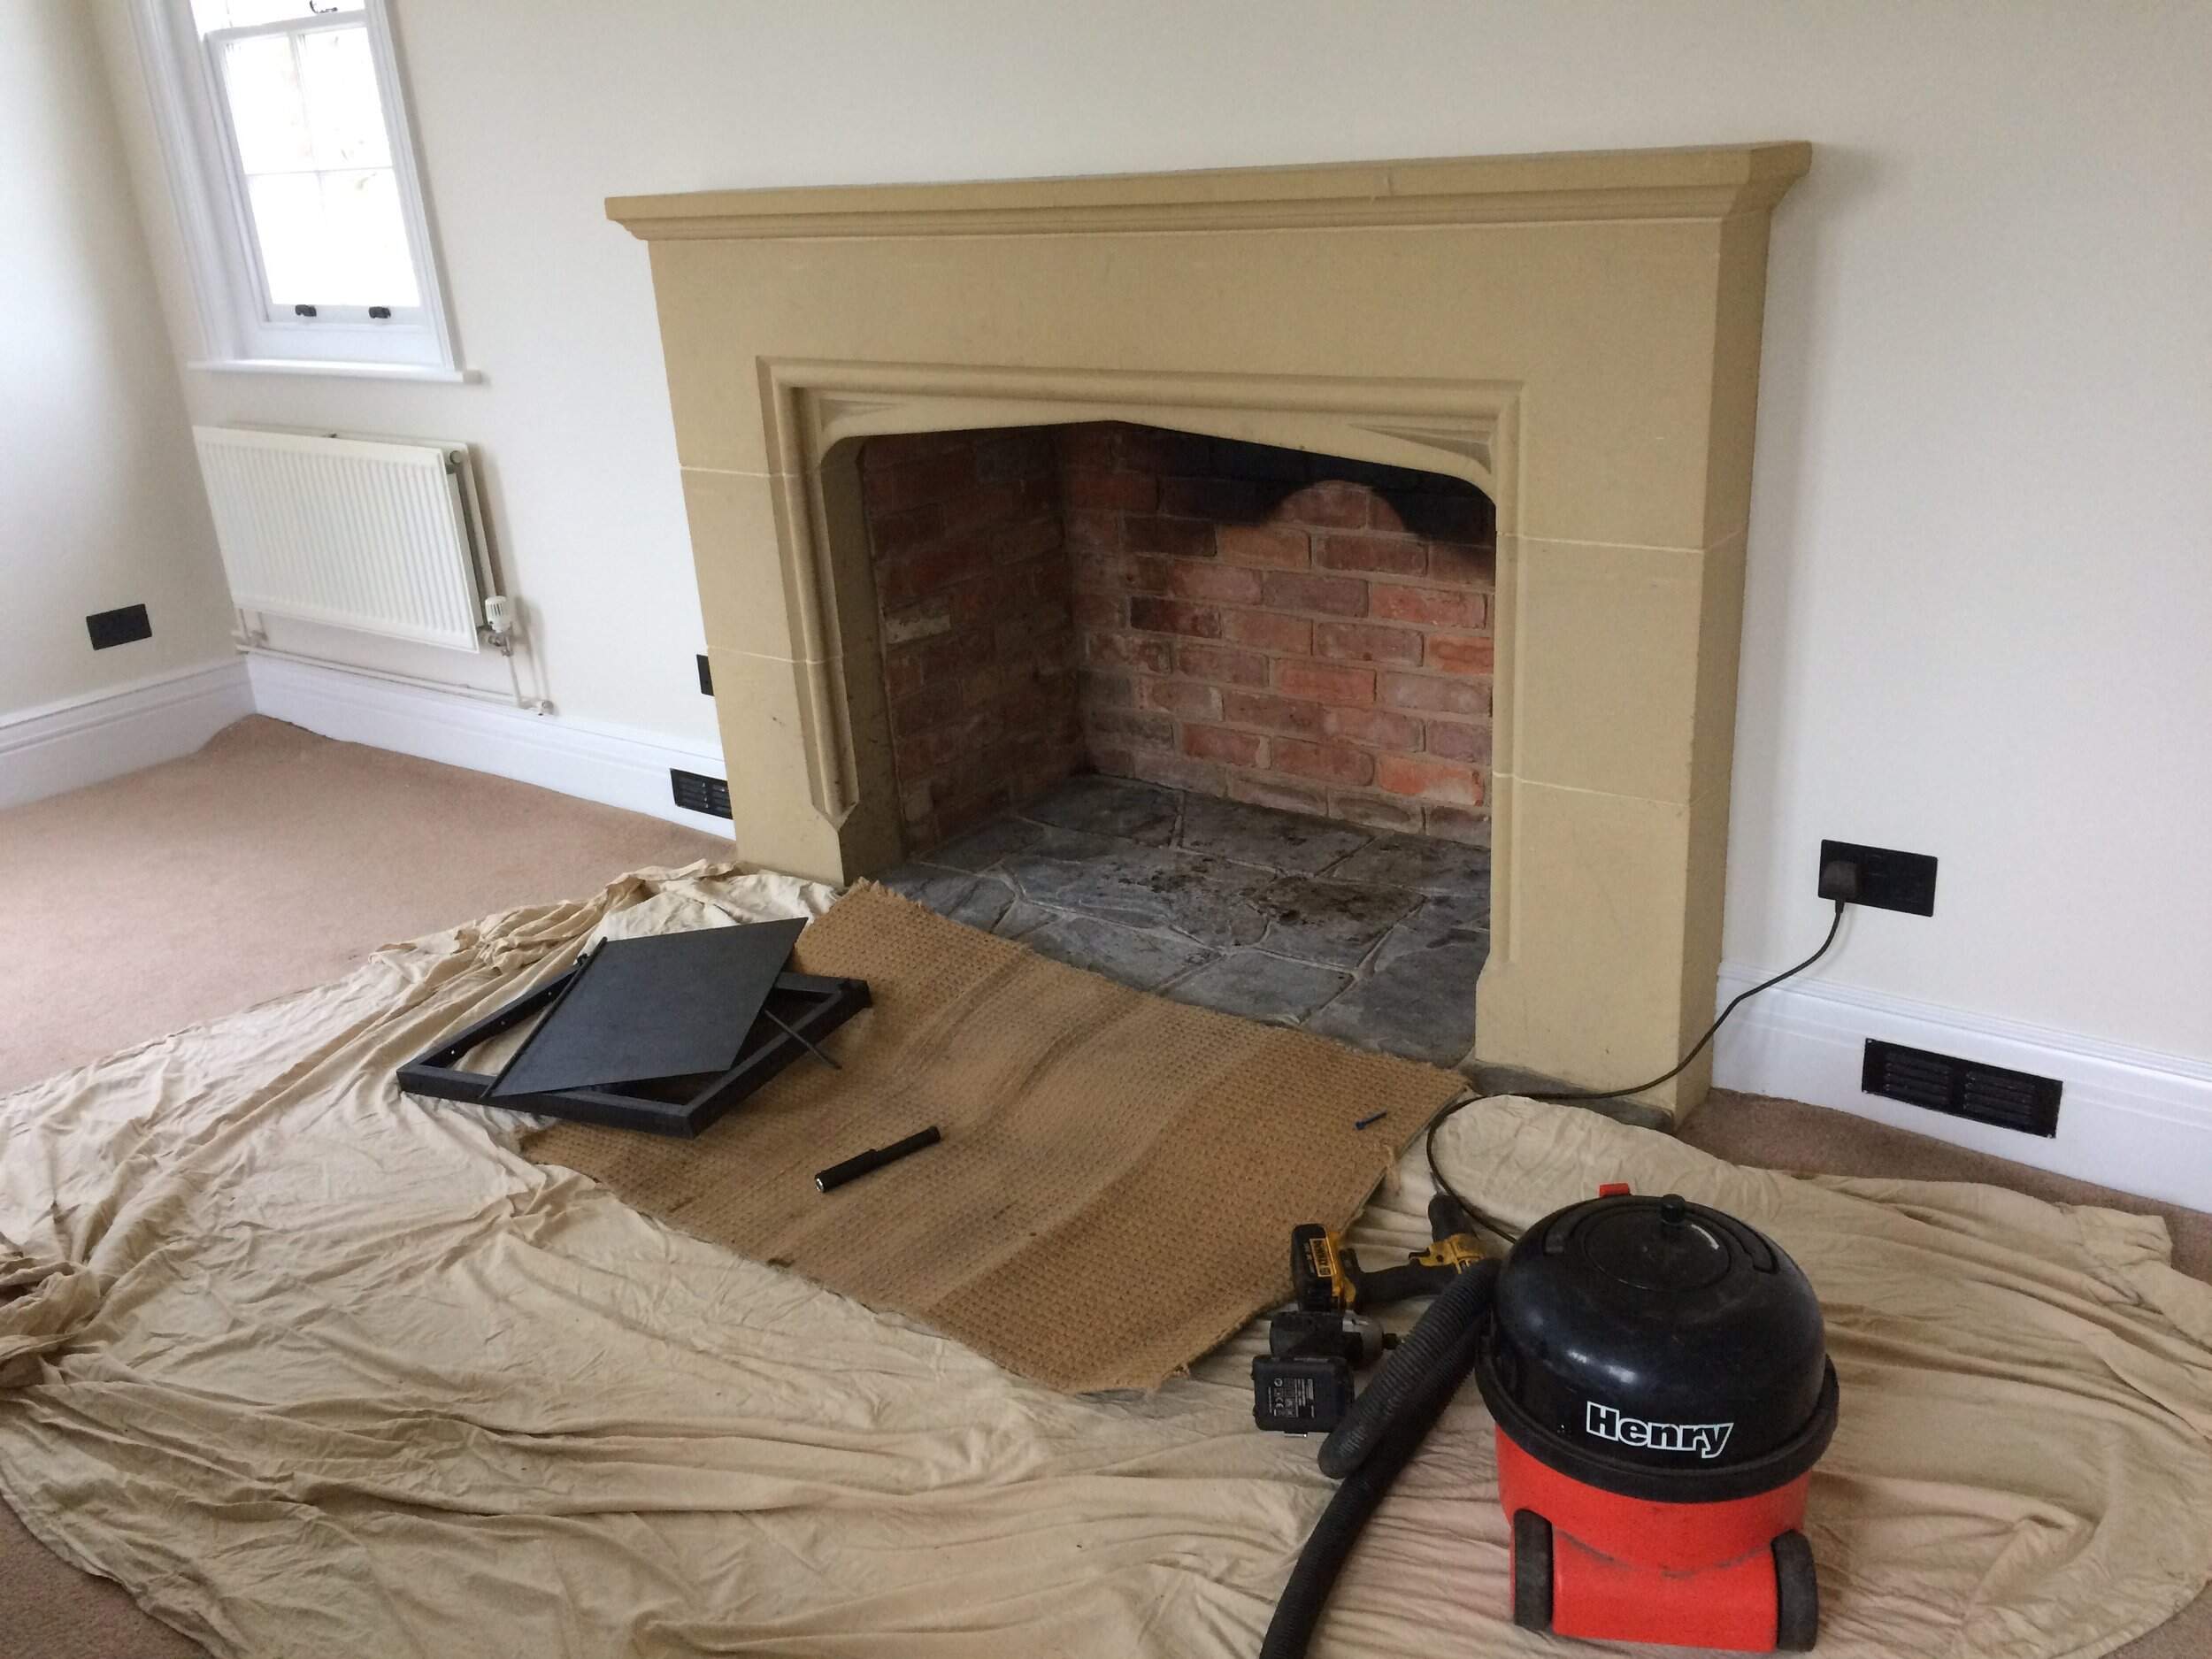
Step 2: Prepare the fireplace
Before installing the chimney damper, it is important to properly prepare the fireplace. This step ensures that the installation process goes smoothly and that the damper will fit securely into place.
Here are the key steps to prepare your fireplace:
- Clean the fireplace: Remove any debris, ash, or soot from the fireplace using a brush and dustpan. Cleaning the fireplace not only makes it easier to work in but also improves the overall efficiency of your chimney.
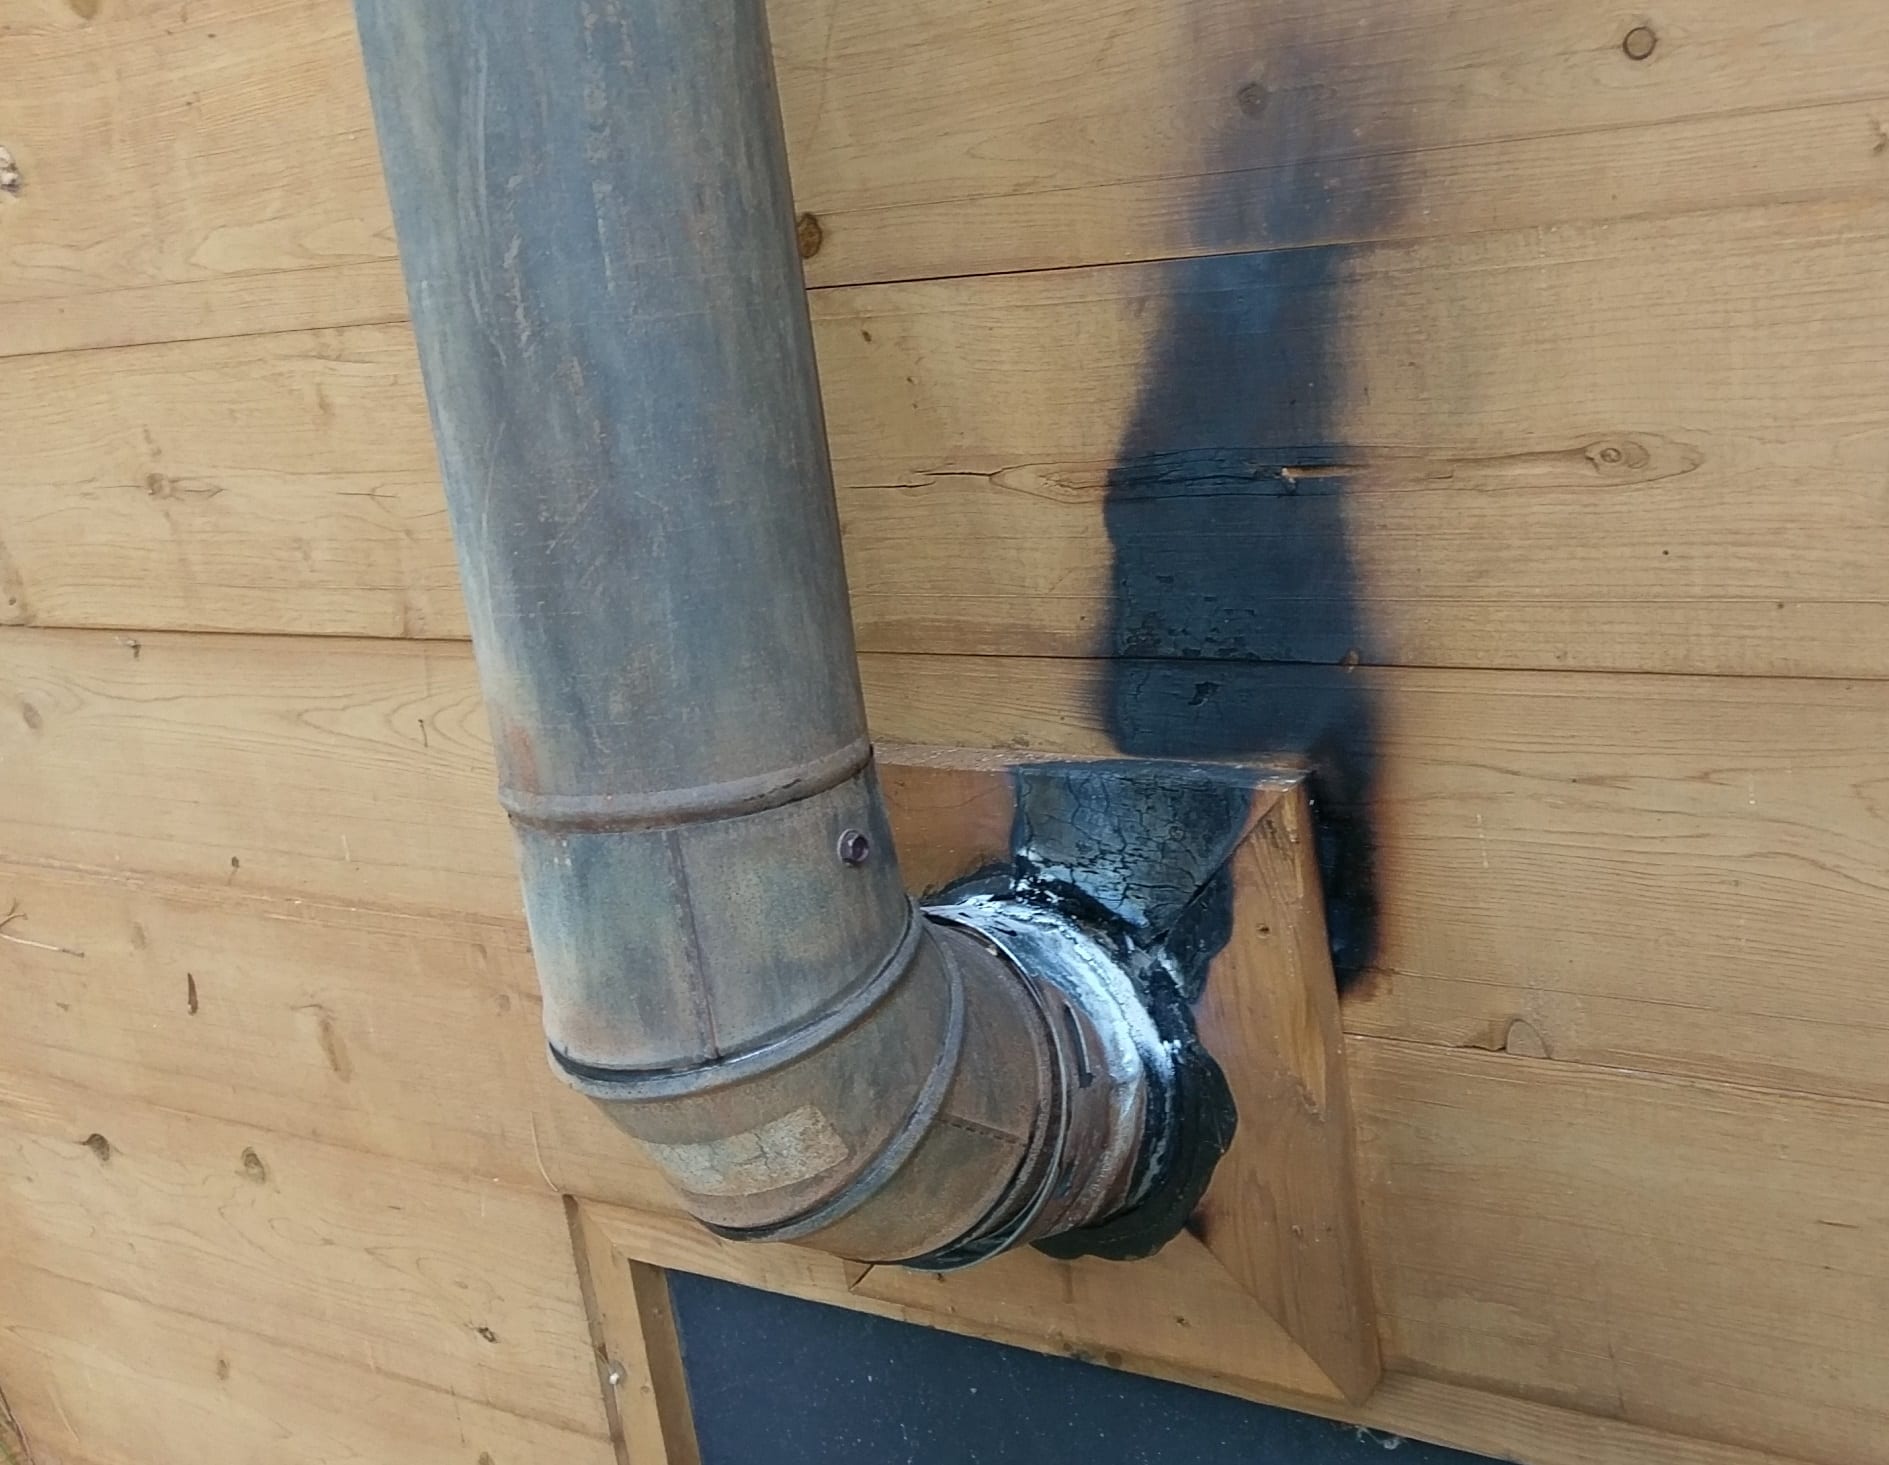
- Inspect the flue: Check the condition of the flue liner, which lines the chimney. Look for any signs of damage, such as cracks or deterioration. If you notice any issues, it is advisable to consult a professional chimney sweep or inspector before proceeding with the damper installation.
- Check for blockages: Ensure that there are no obstructions in the chimney, such as bird nests or debris. Use a flashlight to inspect the chimney thoroughly. If you identify any blockages, have them removed before proceeding.
- Inspect the damper area: If you are replacing an existing damper, inspect the area to ensure it is in good condition and free from any rust or damage. If there are any issues, consider replacing the damper housing as well.
- Ensure proper ventilation: Check that the fireplace has proper ventilation and that there are no blocked vents or ducts that could impede airflow. Good ventilation is crucial for the efficient operation of the chimney.
By properly preparing the fireplace, you can ensure a smooth installation process and maximize the performance of your new chimney damper. Once you have completed these steps, you are ready to move on to the next step: removing the old damper (if applicable).
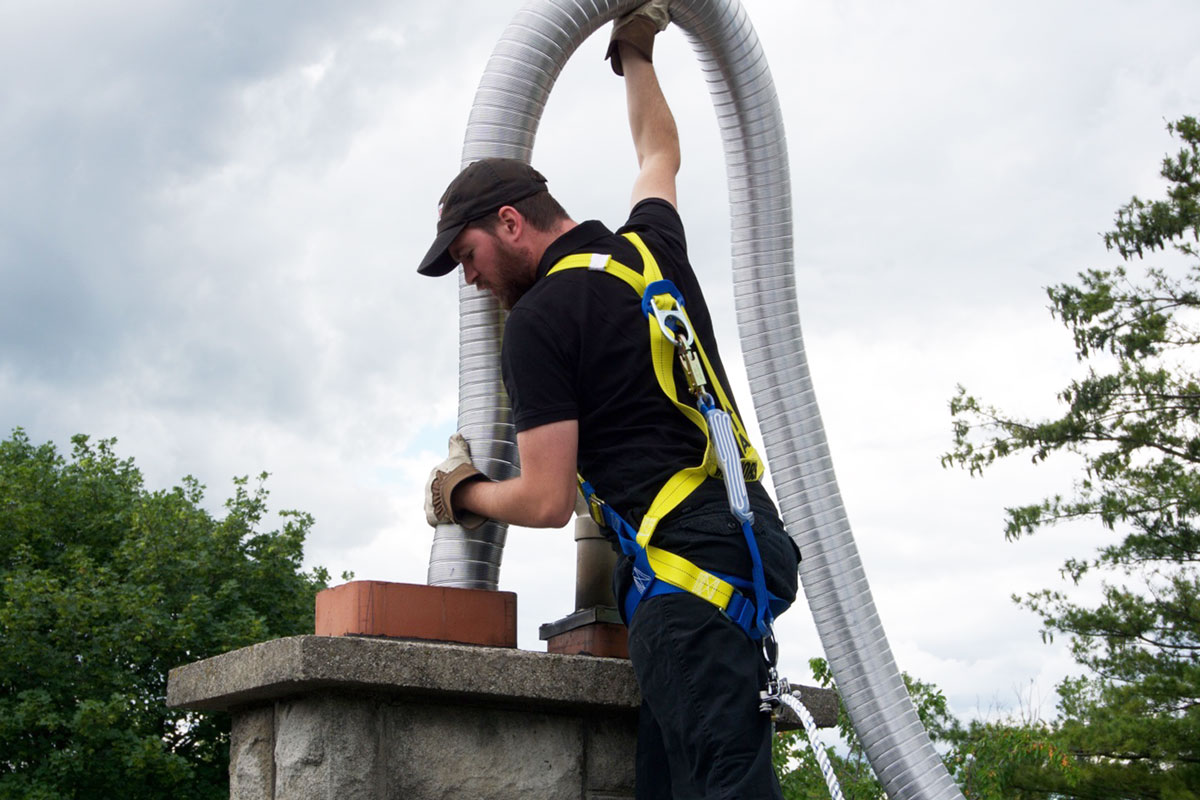
Step 3: Remove the old damper (if applicable)
If you are replacing an existing damper, this step will guide you through the process of safely removing the old damper. However, if you are installing a damper for the first time, you can skip this step and proceed to the next one.
Here are the steps to remove the old damper:
- Close the damper: Before you start removing the old damper, make sure it is fully closed. This prevents any debris or dust from falling into the fireplace during the removal process.
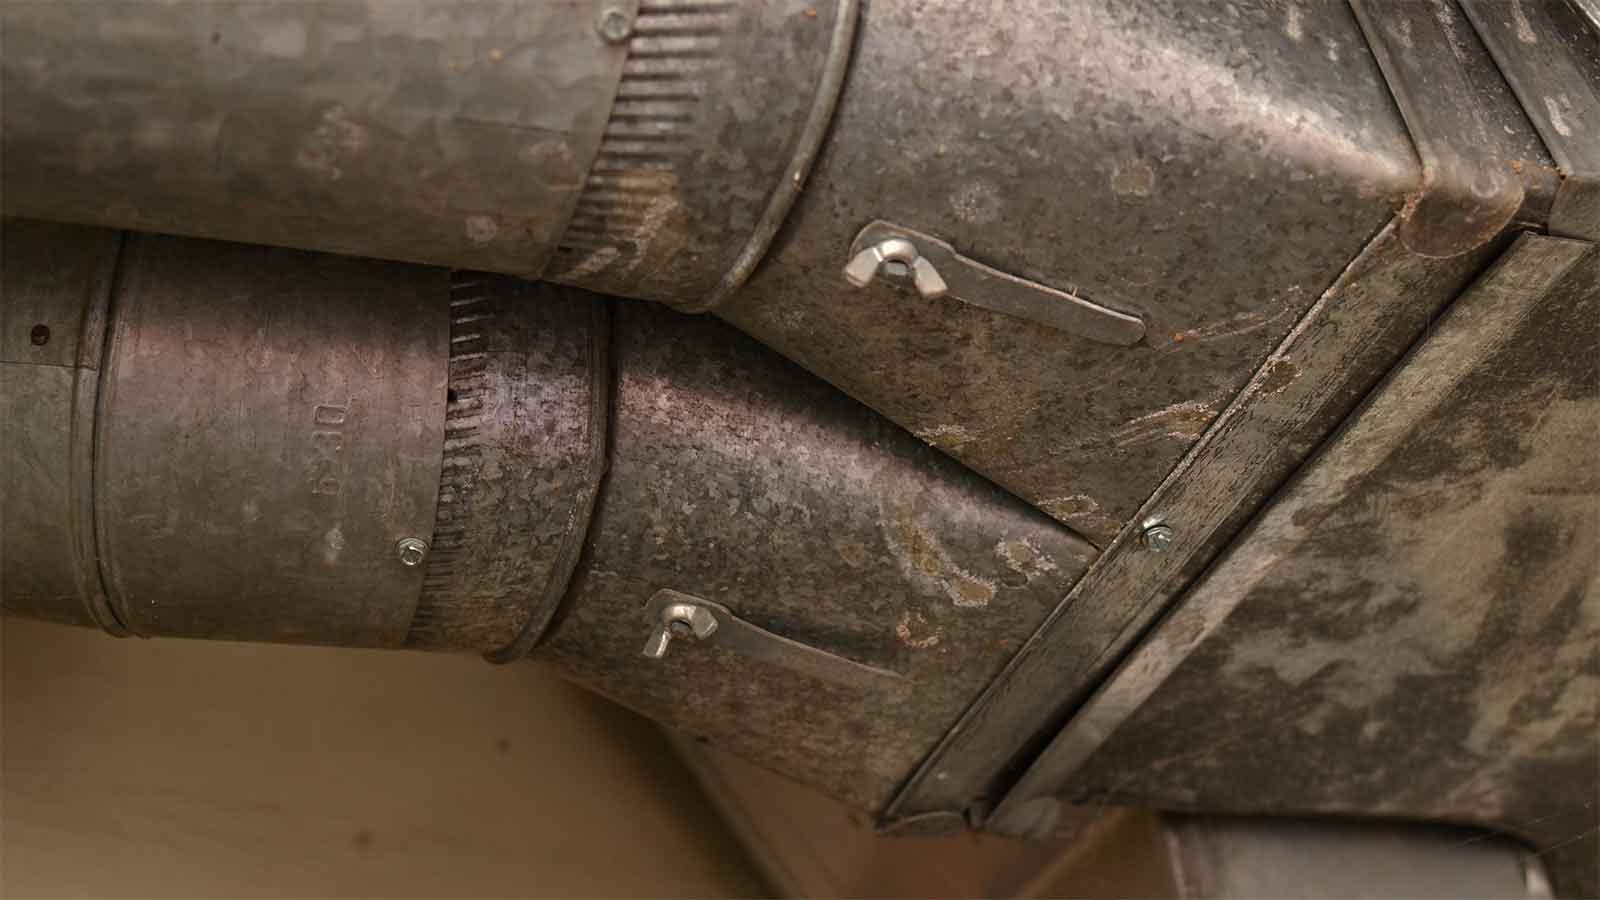
- Inspect the damper assembly: Take a close look at the damper assembly to identify any screws, bolts, or fasteners holding it in place. Use a screwdriver or appropriate tool to remove these fasteners and detach the damper assembly.
- Detach the damper blades: Once the damper assembly is detached, carefully remove the damper blades or plates from the fireplace. These components may be attached with pins or screws, so make sure to remove them accordingly.
- Inspect the damper housing: With the damper removed, inspect the damper housing for any signs of corrosion, rust, or damage. If necessary, clean the housing using a wire brush or other appropriate cleaning tools.
- Dispose of the old damper: Properly dispose of the old damper and any associated components. Check with your local waste management guidelines for the appropriate disposal method.
It is worth noting that removing an old damper may require some physical effort and caution. If you are uncomfortable or unsure about this step, it is recommended to seek professional assistance to ensure the safe removal of the old damper.
Once you have successfully removed the old damper, you are ready to move on to the next step: measuring and selecting the appropriate chimney damper for installation.
Step 4: Measure and select the appropriate chimney damper
Measuring your chimney and selecting the right damper size is crucial to ensure a proper fit and optimal functionality. Here’s how you can measure and choose the appropriate chimney damper:
- Measure the chimney opening: Use a tape measure to determine the dimensions of your chimney opening. Measure the width and height of the opening to get accurate measurements. Note down these dimensions as you will need them when selecting the damper.
- Determine the type of damper: Consider the type of damper that will work best for your chimney. There are various types available, including throat dampers, top-mount dampers, and vestal dampers. Each type has its own advantages and features. Research and choose the type that suits your specific needs and fireplace setup.
- Check the damper specifications: Look for the damper specifications on the packaging or product listing. Ensure that the damper is appropriate for your chimney opening size. Some dampers can be adjusted to fit different sizes, while others come in specific dimensions. Select the one that matches or can be adjusted to fit your chimney opening.
- Consider additional features: Some dampers come with additional features such as a handle or a lock to securely close the damper when not in use. Consider if these features are important to you and choose accordingly.
- Read reviews and recommendations: Before making a final decision, read reviews and recommendations from other users to gain insights into the damper’s quality and performance. This can help you make an informed decision and choose a reliable and durable chimney damper.
Keep in mind that selecting the right damper is crucial for efficient operation and proper sealing of your chimney. If you are uncertain about the choices or need assistance, consult a professional to ensure you make the right selection.
Once you have measured and selected the appropriate chimney damper, you’re ready to move on to the next step: installing the new chimney damper.
When installing a chimney damper, make sure to carefully read and follow the manufacturer’s instructions. It’s important to properly seal the damper to prevent any air leaks and ensure it functions effectively.
Read more: How Much To Install A Chimney
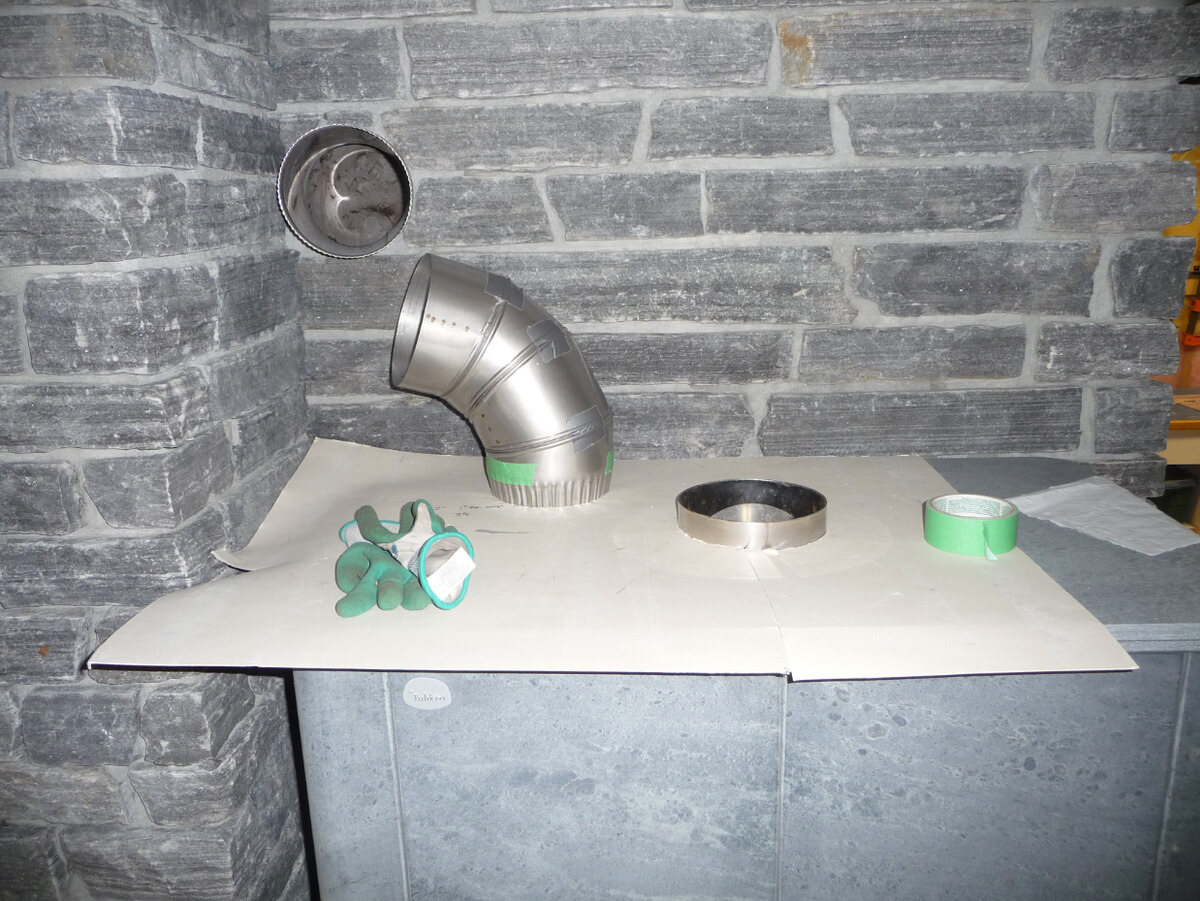
Step 5: Install the new chimney damper
Now that you have the appropriate chimney damper selected, it’s time to install it into your fireplace. Follow these steps to ensure a successful installation:
- Read the manufacturer’s instructions: Before you begin the installation, carefully read the instructions provided by the manufacturer. Familiarize yourself with the installation process and any specific requirements or recommendations.
- Position the damper: Place the new damper in the correct position, aligning it with the chimney opening. Make sure the damper is centered and level to ensure a proper fit.
- Secure the damper: Once the damper is positioned correctly, use the appropriate screws or fasteners provided by the manufacturer to secure it in place. Follow the instructions carefully to ensure a secure and stable installation.
- Adjust the damper: Depending on the type of damper you have chosen, you may need to adjust it according to the instructions provided. This may involve adjusting the opening and closing mechanism or locking it into place.
- Test the damper: After securing the damper, test its functionality. Open and close the damper to ensure it moves smoothly and seals the chimney opening effectively. Check for any gaps or air leaks when the damper is closed.
It is important to follow the manufacturer’s instructions and recommendations to ensure a proper and safe installation. If you encounter any difficulties or have questions during the process, stop and consult a professional for guidance.
Now that you have successfully installed the new chimney damper, it’s time to move on to the next step: testing the damper functionality.
Step 6: Test the damper functionality
After installing the new chimney damper, it’s crucial to test its functionality to ensure it operates effectively and meets your expectations. Testing the damper will help you identify any potential issues or adjustments that may be needed. Here’s how you can test the damper:
- Close the damper: Start by closing the damper completely and make sure it seals the chimney opening tightly. This will prevent any drafts or air leakage when the fireplace is not in use.
- Light a small fire: Start a small fire in your fireplace and observe the damper’s performance. Pay attention to any smoke escaping when the damper is closed, as this indicates a potential problem.
- Check for proper airflow: While the fire is burning, check for any signs of restricted airflow. Look for smoke escaping from unintended areas, such as cracks in the firebox or gaps around the damper. A properly functioning damper should ensure proper ventilation and prevent smoke from entering your home.
- Adjust the damper: If necessary, make any adjustments to the damper mechanism to improve its performance. Follow the manufacturer’s instructions for adjusting the damper and ensure it operates smoothly.
- Monitor the smoke: Continue observing the smoke while the fire burns. Ideally, the smoke should exit through the chimney without any noticeable leaks or backdrafts. If you notice any issues, such as excessive smoke or unusual odors, it may be a sign of a damper problem that needs to be addressed.
By thoroughly testing the damper’s functionality, you can ensure that it operates efficiently and provides the desired results. If you encounter persistent issues or have concerns about the damper’s performance, it’s recommended to seek professional assistance for further inspection and potential adjustments.
Now that you have tested the damper functionality, it’s time to move on to the final step: cleaning up and maintenance tips.
Step 7: Clean up and maintenance tips
Once you have successfully installed and tested your new chimney damper, it’s important to clean up and establish a regular maintenance routine to ensure its longevity and optimal performance. Follow these clean-up and maintenance tips:
- Remove any debris: After completing the installation, clean up any debris or dust that may have accumulated during the process. Use a brush and dustpan to remove any loose particles from the fireplace area.
- Regularly clean the chimney: Over time, creosote and soot can build up inside the chimney, hindering its performance. Schedule regular chimney cleanings to keep it free from excessive buildup. Consider hiring a professional chimney sweep for a thorough cleaning.
- Inspect the damper regularly: Regularly inspect the damper for any signs of damage, rust, or corrosion. Pay attention to the seals and gaskets to ensure they are intact and effectively seal the chimney opening. Replace any damaged parts as needed.
- Lubricate moving parts: If your damper has moving parts, such as hinges or chains, lubricate them periodically to ensure smooth operation. Use a high-quality lubricant recommended by the damper manufacturer.
- Monitor for air leaks: Regularly check for any air leaks or gaps around the damper, especially when it is closed. Sealing any gaps will help maintain energy efficiency and prevent drafts from entering your home.
- Practice safe fireplace usage: Follow safe fireplace practices, such as using proper firewood, keeping the area around the fireplace clear, and ensuring adequate ventilation. This will prevent unnecessary stress on the damper and maintain its functionality.
By incorporating these maintenance tips into your routine, you can prolong the lifespan of your chimney damper and ensure that it continues to function effectively for years to come.
Congratulations! You have successfully installed a chimney damper and learned how to maintain it for optimal performance. With your newly installed damper, you can enjoy energy efficiency, enhanced fireplace functionality, and a comfortable living space.
Remember, if you ever have any doubts or difficulties maintaining or troubleshooting your chimney damper, it’s always best to consult a professional for assistance.
Happy fireplace use and stay warm!
Conclusion
Installing a chimney damper is a worthwhile endeavor that can greatly enhance the efficiency and functionality of your fireplace. By following the step-by-step process outlined in this guide, you now have the knowledge and confidence to successfully install a chimney damper yourself.
From gathering the necessary tools and materials to removing the old damper (if applicable), measuring and selecting the appropriate damper, and finally, installing and testing its functionality, you have learned the essential steps involved in this process.
Remember, safety is of utmost importance when working with fireplaces and chimneys. If at any point during the installation process you feel uncomfortable or unsure about a certain step, it is always recommended to seek assistance from a professional who can ensure the installation is done correctly and safely.
Additionally, maintaining your chimney damper is key to its long-term performance. Regular cleaning, inspections, and addressing any maintenance needs will help prolong the life and efficiency of the damper.
By taking the time to install and maintain a chimney damper, you can enjoy a more energy-efficient fireplace, improved indoor air quality, and enhanced safety. The damper will help prevent drafts, control airflow, and optimize the functioning of your fireplace.
We hope that this comprehensive guide has provided you with valuable insights and guidance. Remember to always refer to the manufacturer’s instructions specific to your damper and reach out to professionals for assistance when needed.
Now go ahead and enjoy the warmth and coziness of your fireplace, knowing that you have installed a chimney damper with care and expertise!
Frequently Asked Questions about How To Install Chimney Damper
Was this page helpful?
At Storables.com, we guarantee accurate and reliable information. Our content, validated by Expert Board Contributors, is crafted following stringent Editorial Policies. We're committed to providing you with well-researched, expert-backed insights for all your informational needs.


0 thoughts on “How To Install Chimney Damper”