
Articles
How To Insulate A Fireplace
Modified: October 18, 2024
Learn how to effectively insulate your fireplace with these informative articles. Find step-by-step guides and expert tips to keep your home warm and energy-efficient.
(Many of the links in this article redirect to a specific reviewed product. Your purchase of these products through affiliate links helps to generate commission for Storables.com, at no extra cost. Learn more)
Introduction
Insulating a fireplace is an important step in ensuring energy efficiency and preventing heat loss in your home. Without proper insulation, a fireplace can become a significant source of energy waste, allowing cold air to seep into your living space during the winter months. Additionally, an uninsulated fireplace can also cause excessive heat loss, making it difficult to maintain a comfortable temperature in your home.
Fortunately, insulating a fireplace is a relatively simple and cost-effective DIY project that can be completed with just a few basic materials and tools. In this article, we will guide you through the step-by-step process of insulating your fireplace, helping you to improve its energy efficiency and increase the comfort of your home.
Before diving into the insulating process, it’s important to note that every fireplace is different, so the exact steps and materials required may vary. However, the general principles and techniques covered in this article can be applied to most fireplaces.
So gather your materials and let’s get started on insulating your fireplace!
Key Takeaways:
- Properly insulating your fireplace can improve energy efficiency, prevent heat loss, and create a more comfortable living space during the colder months. Follow the step-by-step process to achieve a well-insulated and cozy fireplace.
- Testing the insulation effectiveness of your fireplace is crucial to identify any areas that may require further attention or improvement. Achieving a well-insulated fireplace not only saves money on heating costs but also contributes to a more sustainable and comfortable home environment.
Materials Needed
Before you begin the process of insulating your fireplace, it’s important to gather all the necessary materials. Having everything prepared in advance will make the project run smoothly and efficiently. Here are the materials you will need:
- Insulation panels: These panels will form the core of your fireplace insulation. Look for panels that are designed for high-temperature applications and are suitable for use around fireplaces.
- Measuring tape: You’ll need a measuring tape to accurately measure the dimensions of your fireplace, allowing you to cut the insulation panels to the correct size.
- Utility knife: A utility knife will be used to cut the insulation panels to the appropriate size and shape.
- Fireproof caulk: This specialized caulk is designed to withstand high temperatures and will be used to seal any gaps or cracks in the fireplace.
- Fireplace doors or cover: Installing fireplace doors or a cover will provide an additional layer of insulation and help to reduce heat loss when the fireplace is not in use.
- Protective gear: It’s important to prioritize safety when working with insulation. Be sure to wear protective gloves, safety goggles, and a dust mask to prevent any irritation or injury.
These are the basic materials needed for insulating your fireplace. Depending on the specific requirements of your fireplace, you may also need additional tools or materials. It’s always a good idea to consult the manufacturer’s instructions or seek professional advice if you have any doubts about the materials needed for your particular fireplace.
Now that you have all the necessary materials, let’s move on to the step-by-step process of insulating your fireplace.
Step 1: Clean the Fireplace
Before you begin insulating your fireplace, it’s important to ensure that it is clean and free of any debris or soot. Cleaning the fireplace will not only improve the effectiveness of the insulation but also help prevent the buildup of harmful particles when you start using it again.
Here are the steps to clean your fireplace:
- Start by removing any logs, ashes, or debris from the fireplace. Use a brush and dustpan to carefully sweep out any loose soot or ash.
- Next, use a fireplace vacuum or shop vacuum to remove any remaining debris. Pay close attention to the corners, crevices, and chimney area.
- Inspect the fireplace for any signs of damage or cracks. If you notice any significant damage, it’s recommended to consult a professional before proceeding with the insulation process.
- Wipe down the interior of the fireplace with a damp cloth to remove any remaining dirt or dust.
- Allow the fireplace to dry completely before proceeding to the next step.
Cleaning the fireplace thoroughly will ensure that the insulation adheres properly and provides maximum efficiency. It will also create a cleaner and safer environment for future use.
Now that your fireplace is clean and ready, it’s time to move on to measuring the dimensions for the insulation panels.
Step 2: Measure the Dimensions
Measuring the dimensions of your fireplace is a crucial step in the insulation process. Accurate measurements will ensure that the insulation panels fit properly and provide effective coverage. Here’s how to measure the dimensions:
- Start by measuring the width of the fireplace opening. Use a measuring tape to measure from the inside edges of the opening. Take the measurement at the top, middle, and bottom to account for any variations.
- Next, measure the height of the fireplace opening. Again, measure from the inside edges and take measurements at different points to accommodate any irregularities.
- If your fireplace has a curved or arched top, measure the width and height of the curved area separately.
- Record the measurements accurately, and calculate the average width and height if there are any variations between the different points.
- Transfer the measurements onto the insulation panels. Use a straightedge and a pencil to mark the dimensions accurately.
- Using a sharp utility knife, carefully cut the insulation panels to the appropriate size and shape based on your measurements.
It’s important to be precise when measuring and cutting the insulation panels to ensure a proper fit. If you are unsure about any of the measurements or cutting techniques, it’s always advisable to seek assistance from a professional.
With the insulation panels cut to size, you are now ready to move on to the next step: installing the panels in your fireplace.
Step 3: Install Insulation Panels
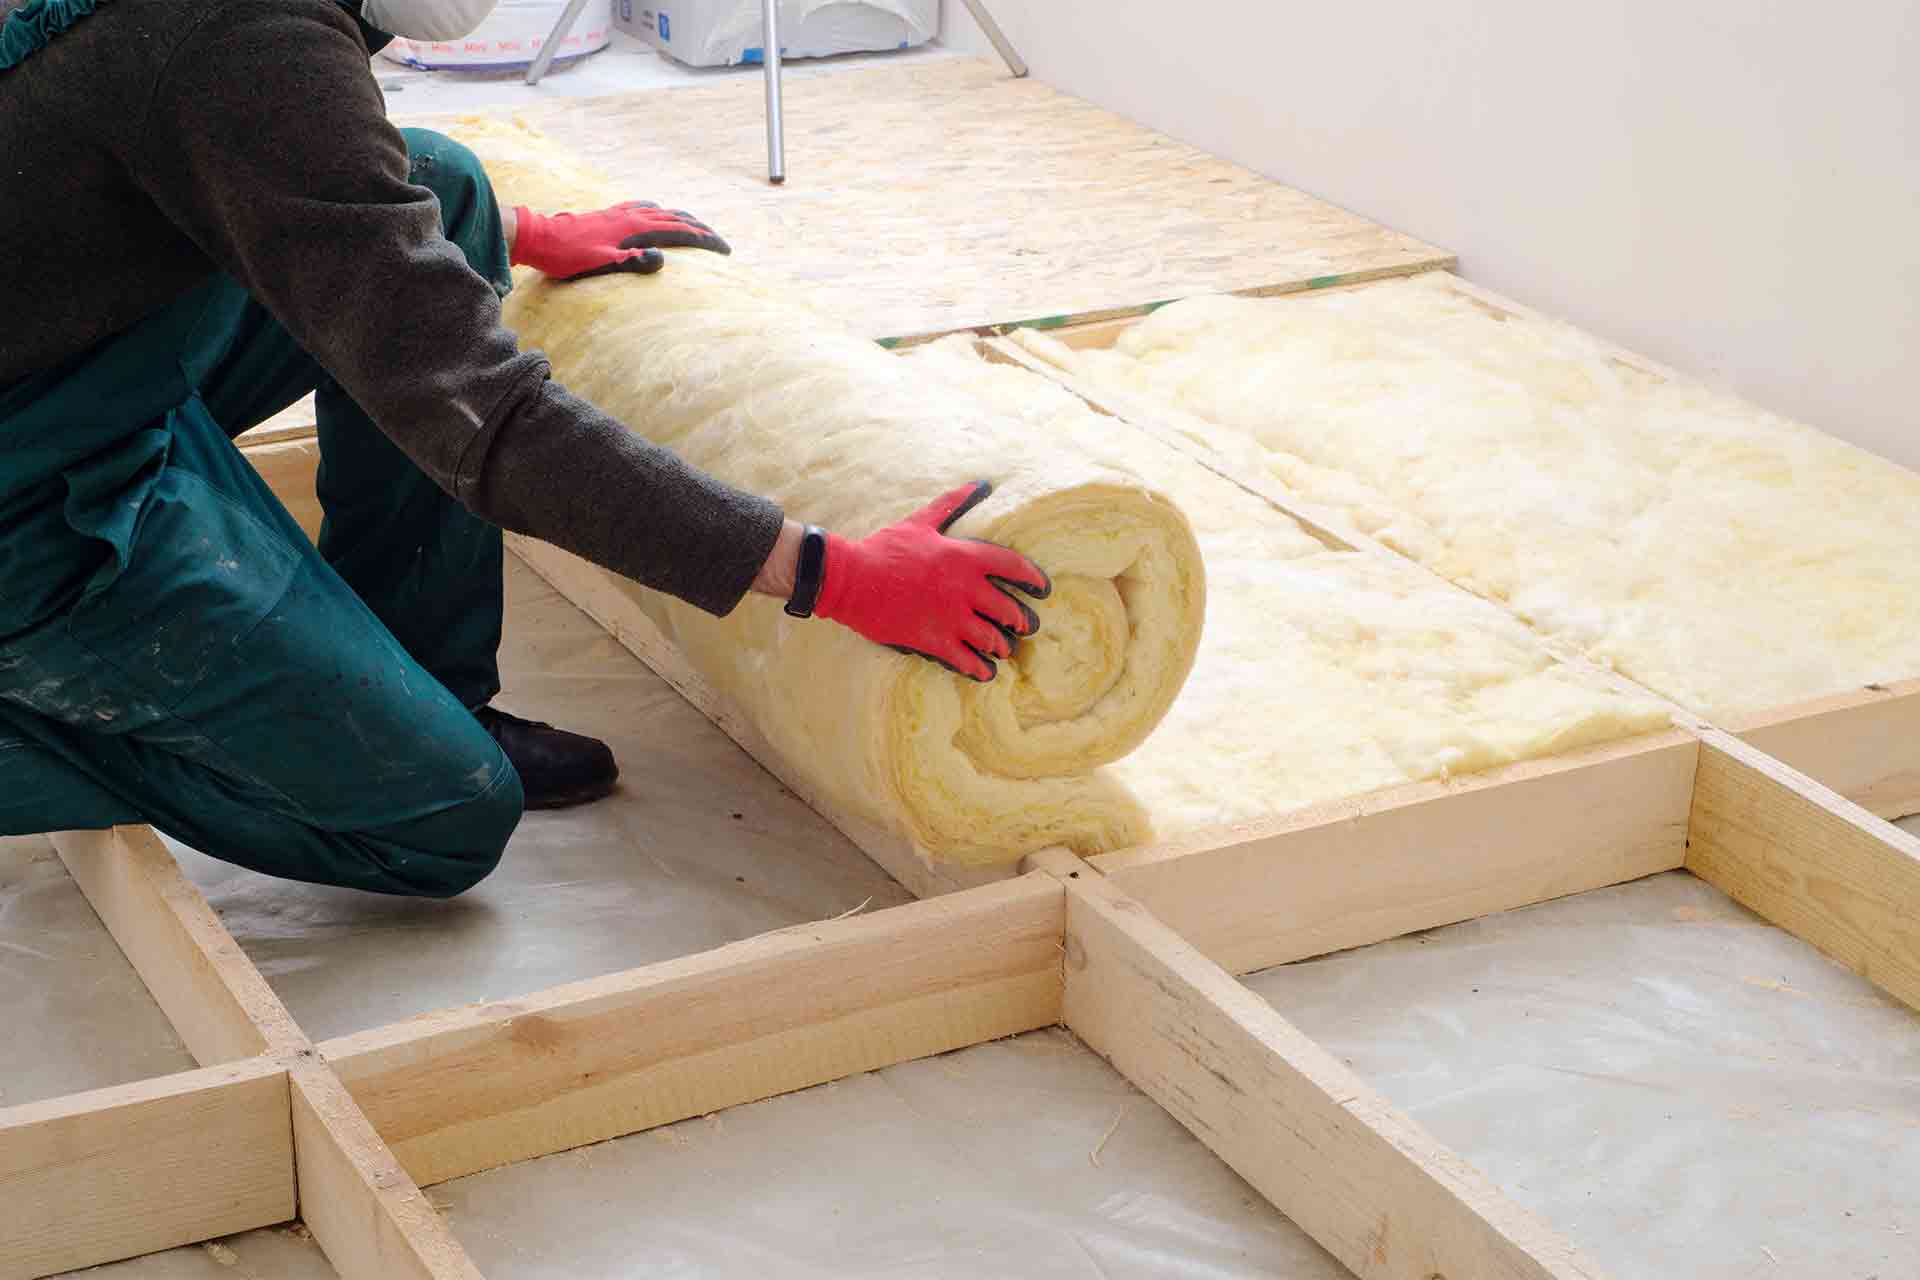
Now that you have measured and cut the insulation panels to fit your fireplace, it’s time to install them. The insulation panels will provide a barrier between the inside of the fireplace and the surrounding walls, helping to prevent heat loss and improve energy efficiency. Follow these steps to install the insulation panels:
- Begin by positioning the first insulation panel against the back wall of the fireplace. Make sure that it fits snugly and covers as much surface area as possible.
- If necessary, you can use adhesive or high-temperature tape to secure the insulation panel in place. Be sure to follow the manufacturer’s instructions for proper adhesive use.
- Continue installing the remaining insulation panels around the sides and bottom of the fireplace. Trim the panels as needed to ensure a proper fit.
- For fireplaces with curved or arched tops, you may need to cut the insulation panels into smaller segments and arrange them to cover the curved area. Use adhesive or tape to secure them in place.
- Ensure that the insulation panels are installed tightly without any gaps or overlaps. This will help to maximize their effectiveness.
Remember to handle the insulation panels with care, as they may have sharp edges. Wear protective gloves to avoid any injuries during the installation process.
Once you have installed the insulation panels, your fireplace will be well on its way to being properly insulated. However, to further enhance the insulation and seal any gaps or cracks, there are additional steps you can take.
Move on to the next step to learn how to seal any gaps or cracks in your fireplace.
Consider using a chimney balloon to block drafts when the fireplace is not in use. This inflatable device can be easily installed and removed as needed, providing an effective barrier against cold air infiltration.
Read more: How To Hide A Fireplace
Step 4: Seal Any Gaps or Cracks
Sealing any gaps or cracks in your fireplace is essential for preventing air leakage and ensuring optimal insulation. These gaps and cracks can allow cold air to enter or warm air to escape, defeating the purpose of insulating the fireplace. Follow these steps to effectively seal any gaps or cracks:
- Inspect the fireplace thoroughly for any visible gaps or cracks. Common areas where gaps can be found include the joints between the fireplace and the surrounding walls, as well as around the fireplace doors or cover.
- Use a fireproof caulk or sealant to fill in the gaps. Apply the caulk generously to create a tight seal.
- Smooth out the caulk with a caulking tool or your finger to ensure a neat finish.
- Allow the caulk to dry completely according to the manufacturer’s instructions before proceeding to the next step.
- If you notice any larger cracks or openings, consider using fireplace mortar or a heat-resistant patching compound to fill them. Follow the product instructions carefully for the best results.
Sealing the gaps and cracks in your fireplace will not only improve its insulation but also prevent drafts and increase energy efficiency. It’s worth taking the time to thoroughly inspect and seal any areas that may compromise the effectiveness of the insulation.
Now that you have sealed the gaps and cracks, it’s time to move on to the next step: applying fireproof caulking.
Step 5: Apply Fireproof Caulking
Applying fireproof caulking is an important step in the insulation process, as it adds an extra layer of protection and helps to further enhance the energy efficiency of your fireplace. The caulking will create a barrier against heat loss and prevent air leakage. Follow these steps to apply fireproof caulking:
- Ensure that the fireplace surface is clean and dry before applying the caulking. Use a brush or cloth to remove any dust, debris, or loose particles.
- Cut the tip of the caulking tube at a 45-degree angle to create a small opening.
- Insert the caulking tube into a caulking gun and gently squeeze the trigger to apply a thin, even layer of caulk along the edges of the insulation panels, as well as around any gaps or cracks in the fireplace.
- Smooth out the caulking with a caulking tool or your finger to create a neat finish.
- Wipe away any excess caulking using a damp cloth.
- Allow the caulk to dry completely according to the manufacturer’s instructions before moving on to the next step.
Fireproof caulking is specially designed to withstand high temperatures, ensuring that it remains effective and does not crack or peel over time. It provides an additional layer of insulation and helps to seal any small gaps that may have been missed during the previous steps.
With the fireproof caulking applied, you are now one step closer to having a well-insulated and energy-efficient fireplace. Next, let’s explore the option of installing fireplace doors or a cover.
Step 6: Install Fireplace Doors or Cover
Installing fireplace doors or a cover can further enhance the insulation of your fireplace and reduce heat loss when it is not in use. Fireplace doors or a cover create a barrier that helps to prevent cold drafts from entering your living space and minimize heat escape. Follow these steps to install fireplace doors or a cover:
- Measure the dimensions of your fireplace to determine the appropriate size for the doors or cover. Take accurate measurements of the width and height of the fireplace opening.
- Choose fireplace doors or a cover that are specifically designed for your fireplace type and size. Ensure that they are compatible with your fireplace and meet safety regulations.
- Place the doors or cover in front of the fireplace opening and adjust them to fit securely. Follow the manufacturer’s instructions for proper installation.
- Use the provided hardware, such as screws or brackets, to securely attach the doors or cover to the fireplace frame.
- Make sure that the doors or cover are properly aligned and level. Adjust as necessary to ensure a tight fit.
- Test the doors or cover to ensure smooth opening and closing functionality.
Installing fireplace doors or a cover not only improves insulation and energy efficiency but also adds a stylish and functional element to your fireplace. They can be opened when the fireplace is in use, allowing the warmth to radiate into the room, and closed when it’s not in use to prevent heat loss.
With the doors or cover installed, your fireplace is now well-insulated and ready to provide efficient heating. However, it’s important to test the insulation effectiveness before considering the project complete.
Move on to the final step to learn how to test the insulation effectiveness of your fireplace.
Step 7: Test the Insulation Effectiveness
After completing the insulation of your fireplace, it’s important to test its effectiveness to ensure that you have successfully reduced heat loss and improved energy efficiency. Testing the insulation will also give you an idea of how well your efforts have paid off. Follow these steps to test the insulation effectiveness:
- Wait for a cold day when you will be using your fireplace.
- Light a fire in the fireplace and let it burn for a while.
- Once the fire has been burning for some time, take note of how well the room retains heat.
- Check if there are any noticeable drafts or cold spots around the fireplace area.
- Measure the temperature in the room using a thermometer. Compare it to the temperature outside or in other areas of your home.
- If you notice significant heat loss, drafts, or a noticeable difference in temperature, it may indicate that further insulation measures are necessary.
It’s important to keep in mind that some heat loss is normal, especially if you have an open fireplace. However, the insulation should help minimize the heat loss and make the room more comfortable overall. If you are not satisfied with the results, you may need to revisit the previous steps and make any necessary adjustments or improvements.
Regularly testing the insulation effectiveness of your fireplace will help ensure that it continues to provide optimal energy efficiency and reduce heat loss. It’s a good idea to repeat this test periodically and make any necessary modifications as needed.
Congratulations! You have successfully completed the steps to insulate your fireplace, improving its energy efficiency and preventing heat loss. Not only will this save you money on heating costs, but it will also make your home more comfortable and environmentally friendly.
Remember, if you ever need further assistance or have any concerns, it’s always a good idea to consult a professional fireplace installer to ensure that your fireplace is properly insulated and functioning safely.
Enjoy the warmth and coziness of your well-insulated fireplace!
Read more: How To Install A Fireplace
Conclusion
Insulating your fireplace is a worthwhile endeavor that can greatly improve the energy efficiency of your home and enhance your overall comfort. By following the steps outlined in this article, you have learned how to properly insulate your fireplace and prevent heat loss.
From cleaning the fireplace and measuring the dimensions to installing insulation panels, sealing gaps, applying fireproof caulking, and installing fireplace doors or a cover, each step plays a crucial role in ensuring optimal insulation and energy efficiency.
Regularly testing the insulation effectiveness of your fireplace will allow you to identify any areas that may require further attention or improvement. Achieving a well-insulated fireplace not only saves you money on heating costs, but also creates a cozy and comfortable living space during the colder months.
Remember to always prioritize safety when working with insulation materials and fireplace components. If you are unsure about any step in the process or encounter significant damage or complex issues, seek professional assistance.
Enjoy the warmth and energy efficiency of your newly insulated fireplace, knowing that your efforts are contributing to a more sustainable and comfortable home environment.
Frequently Asked Questions about How To Insulate A Fireplace
Was this page helpful?
At Storables.com, we guarantee accurate and reliable information. Our content, validated by Expert Board Contributors, is crafted following stringent Editorial Policies. We're committed to providing you with well-researched, expert-backed insights for all your informational needs.




0 thoughts on “How To Insulate A Fireplace”