Articles
How To Build A Fireplace
Modified: October 28, 2024
Learn how to build a fireplace with our comprehensive articles. Discover step-by-step instructions, tips, and tricks for creating your dream hearth.
(Many of the links in this article redirect to a specific reviewed product. Your purchase of these products through affiliate links helps to generate commission for Storables.com, at no extra cost. Learn more)
Introduction
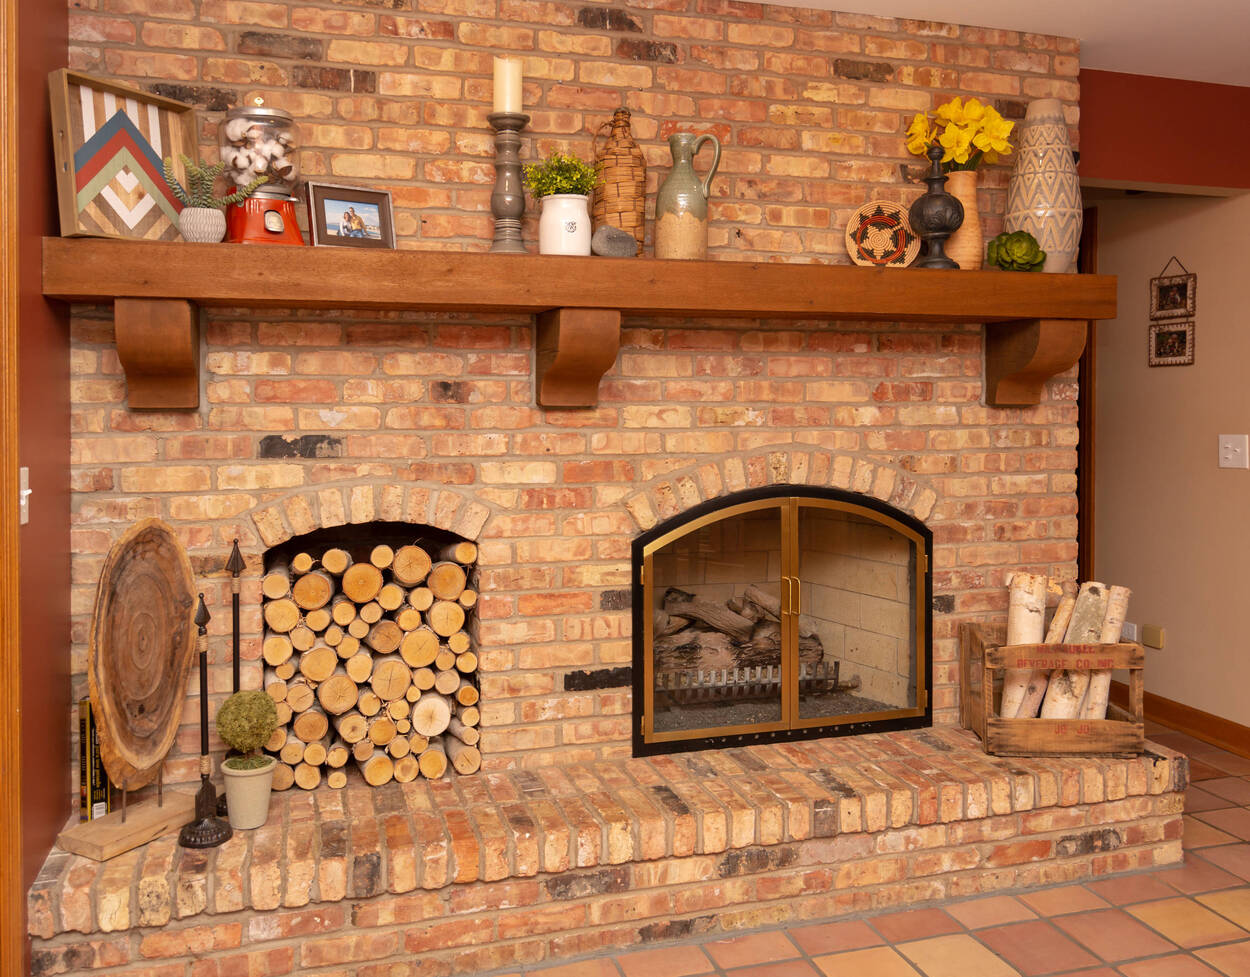
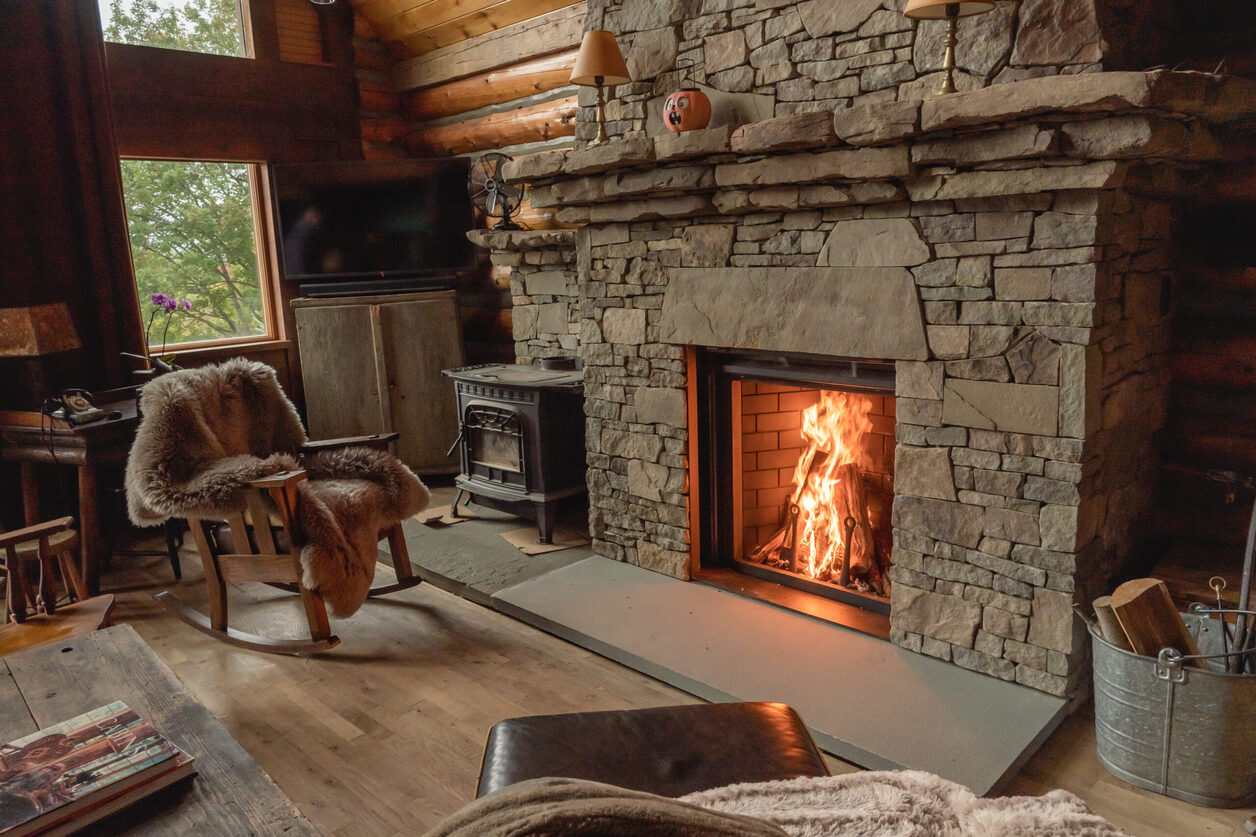
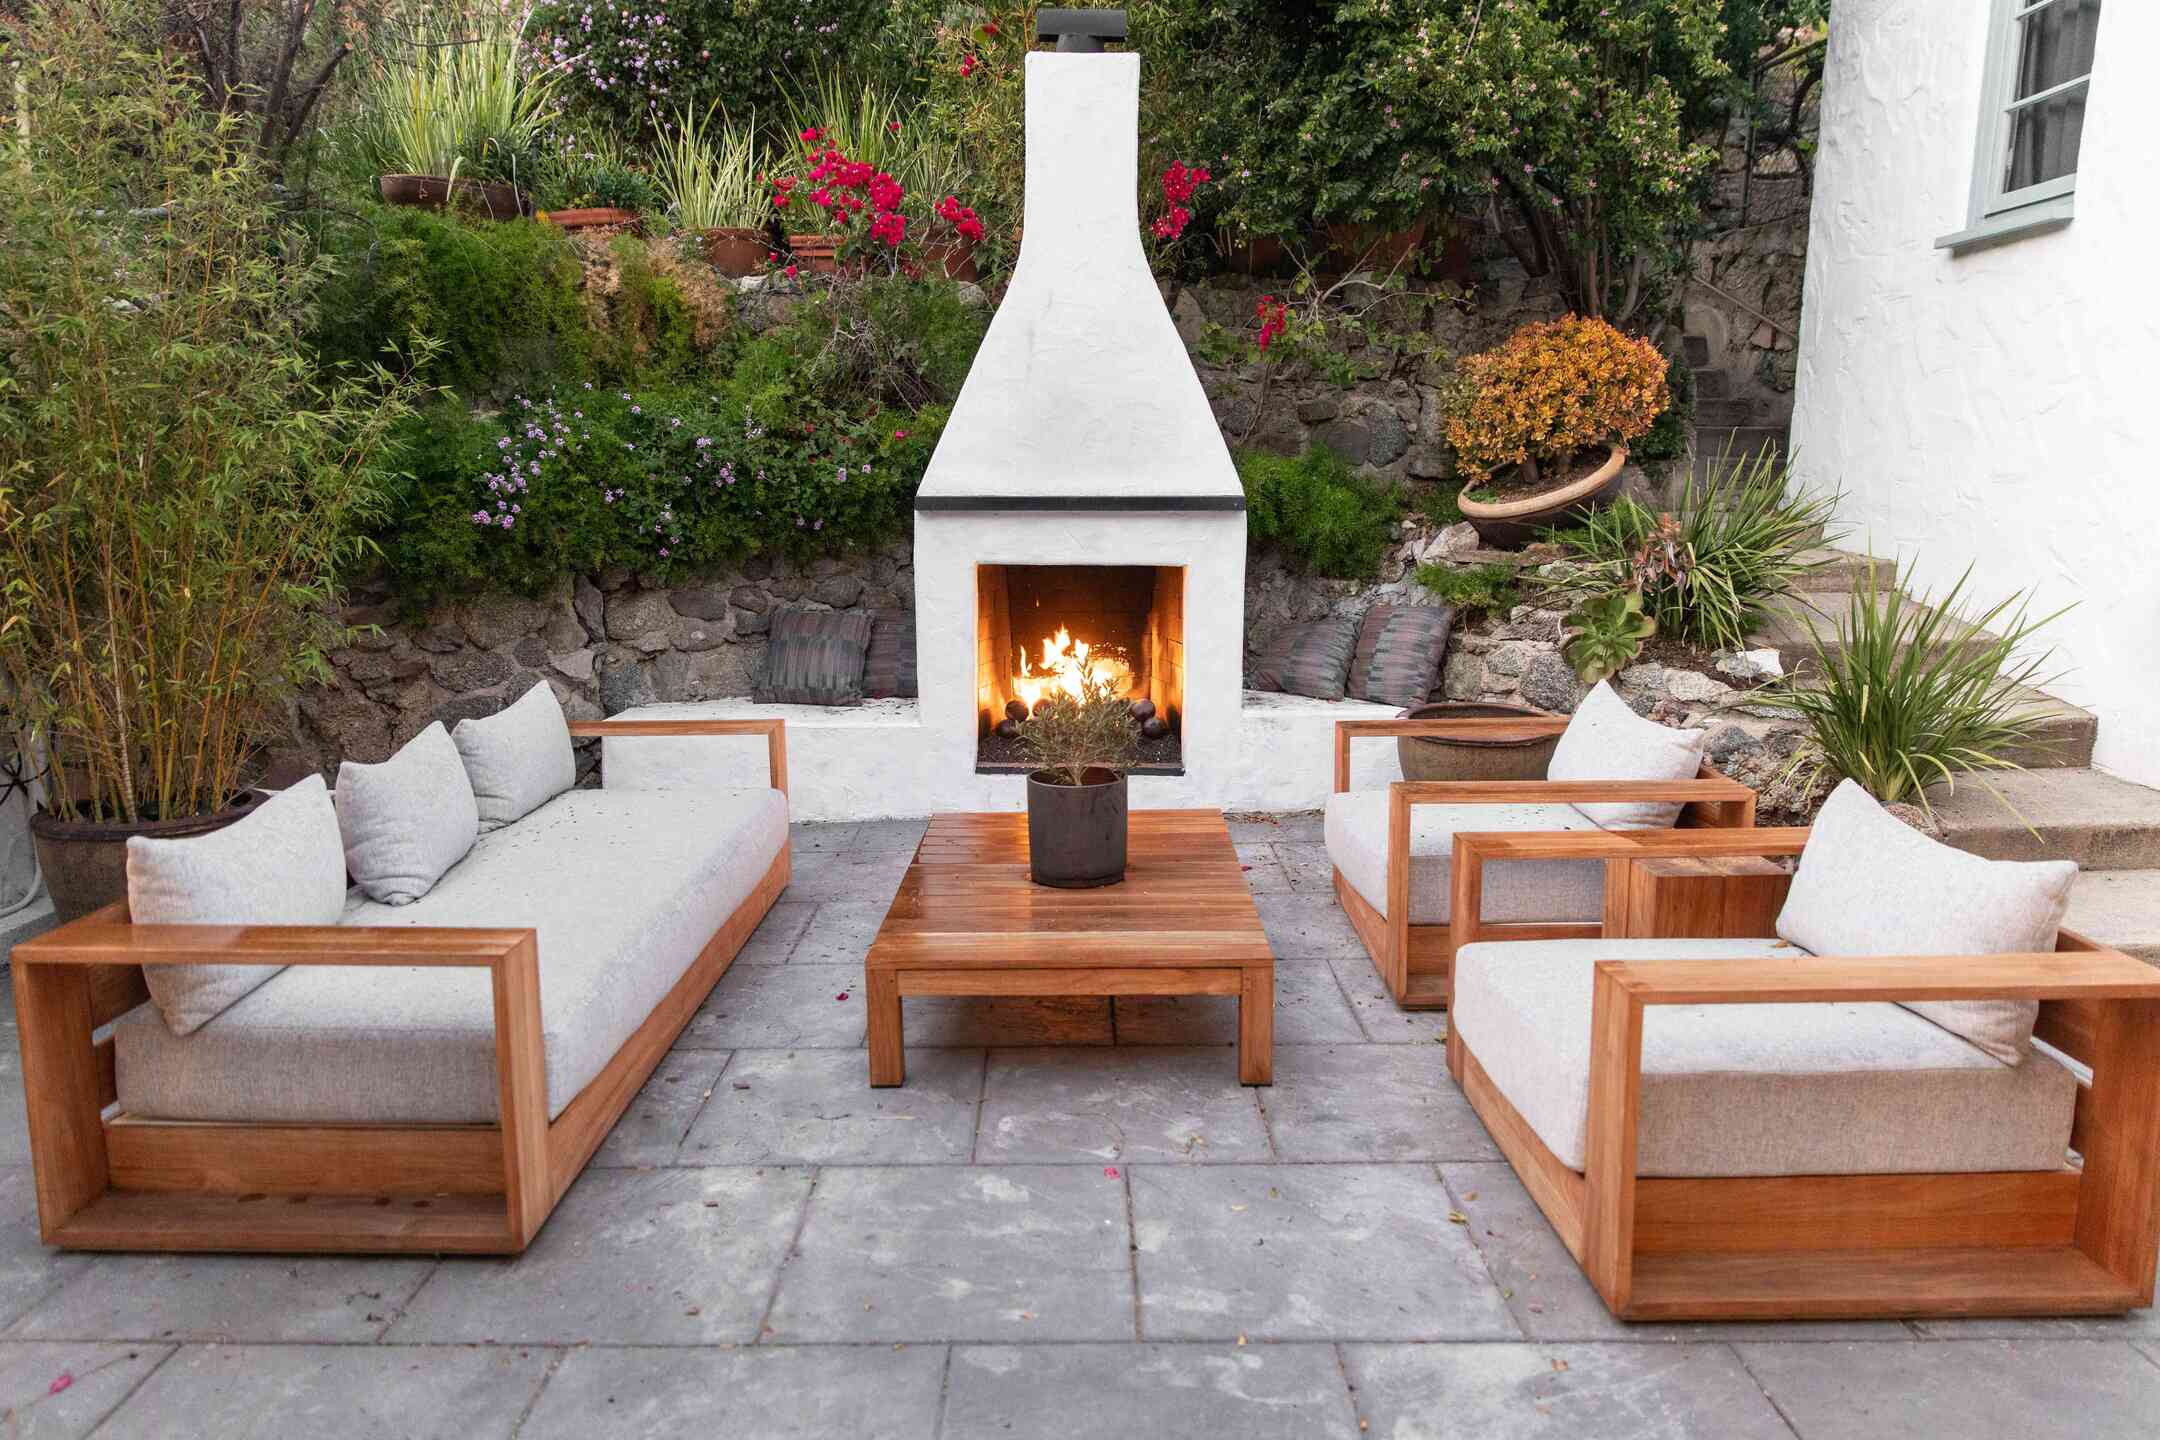
Building a fireplace in your home is not only a great way to stay warm and cozy during the colder months, but it can also add a touch of elegance and charm to your living space. Whether you’re looking to create a traditional wood-burning fireplace or a modern gas-powered one, the process can be both exciting and rewarding.
In this comprehensive guide, we will take you through the step-by-step process of building a fireplace from scratch. By the end of this article, you’ll be equipped with the knowledge and skills necessary to create a beautiful and functional fireplace that will become the centerpiece of your home.
Before we dive into the nitty-gritty details, it’s important to note that building a fireplace is a challenging project that requires careful planning, preparation, and a certain level of expertise. If you’re not experienced in construction or masonry work, it’s highly recommended to hire a professional contractor to assist you. Safety should always be a top priority when working on any home improvement project, especially when it involves elements like fire and heat.
Now, with that important disclaimer out of the way, let’s get started on our journey to build a fireplace. In the following steps, we’ll cover everything from gathering materials and tools to adding the finishing touches, ensuring that you have a thorough understanding of each stage of the process.
Key Takeaways:
- Building a fireplace requires careful planning, gathering the right materials and tools, and following proper construction techniques. Safety should always be a top priority, and consulting with professionals is highly recommended for a successful project.
- From preparing the foundation to adding finishing touches, constructing a fireplace is a rewarding journey that results in a beautiful and functional centerpiece for your home. Embrace the warmth, ambiance, and elegance it brings to your living space.
Read more: How To Build A Corner Fireplace
Step 1: Gathering Materials and Tools
Before you can start building your fireplace, it’s important to gather all the necessary materials and tools. Here’s a list of items you’ll need:
- Fireplace kit or firebox materials: Depending on the type of fireplace you want to build, you’ll need either a pre-made fireplace kit or materials such as fire bricks and refractory cement to construct the firebox.
- Chimney materials: For the chimney, you’ll need chimney pipes, connectors, and insulation to ensure proper ventilation.
- Masonry materials: If you’re opting for a traditional masonry fireplace, you’ll need bricks, mortar, and a fireclay lining for the firebox.
- Hearth materials: The hearth is the area in front of the fireplace, and it can be made of various materials like stone, tile, or concrete.
- Fireplace accessories: To add functionality and style to your fireplace, consider including accessories like a fire grate, fireplace doors, and a chimney cap.
In addition to the materials, you’ll need a set of tools to complete the project. Here are some commonly used tools:
- Tape measure and level: To ensure accurate measurements and alignment during the construction process.
- Hammer and chisel: For breaking bricks or shaping stones.
- Masonry trowel: Used for applying mortar and cement.
- Wet saw or masonry saw: Necessary for cutting bricks or stones to the desired shape and size.
- Drill and masonry drill bits: To create holes for anchors or connectors.
- Safety equipment: Wear protective gear such as gloves, safety glasses, and a dust mask to safeguard yourself during construction.
It’s important to note that the specific materials and tools required may vary depending on the type and design of the fireplace you’re building. Make sure to research and consult with professionals to ensure you have all the necessary items for your specific project.
Once you have gathered all the materials and tools, you’re ready to move on to the next step: planning the fireplace design.
Step 2: Planning the Fireplace Design
The design of your fireplace will greatly influence the overall aesthetic and functionality of the space. Before you start construction, take the time to carefully plan and envision the type of fireplace you want to build. Here are some key considerations for designing your fireplace:
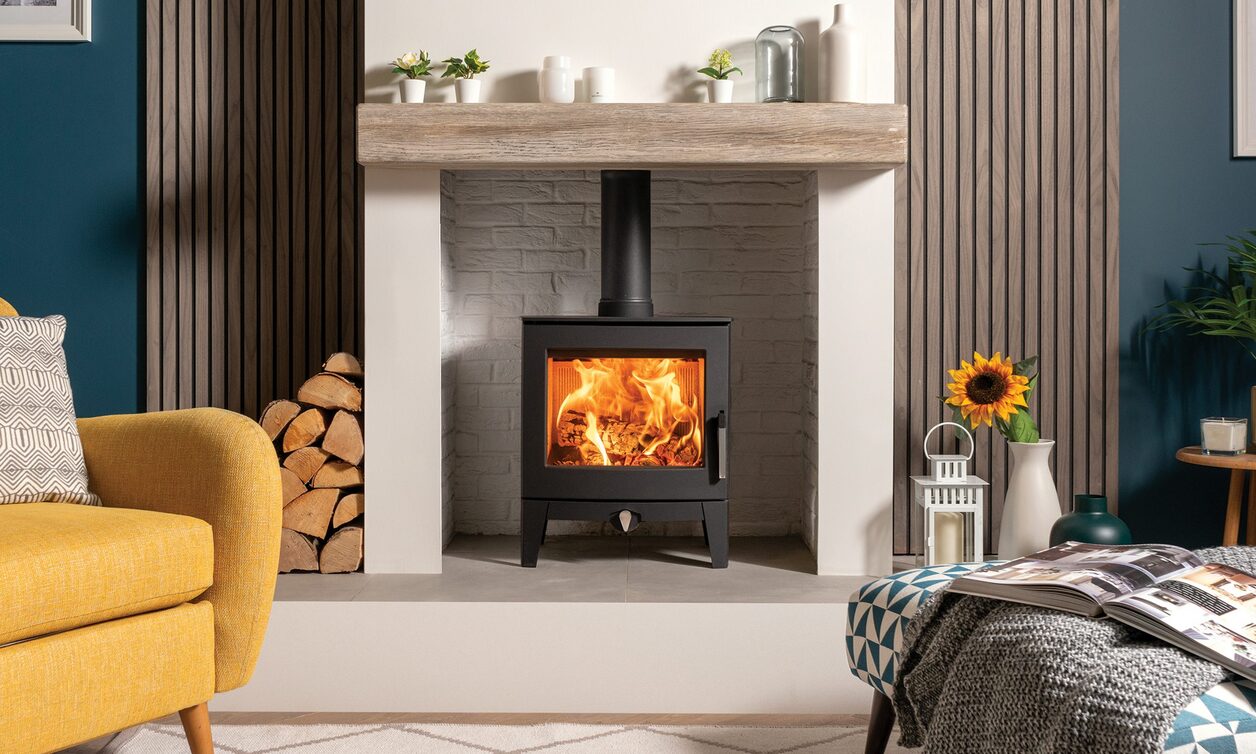
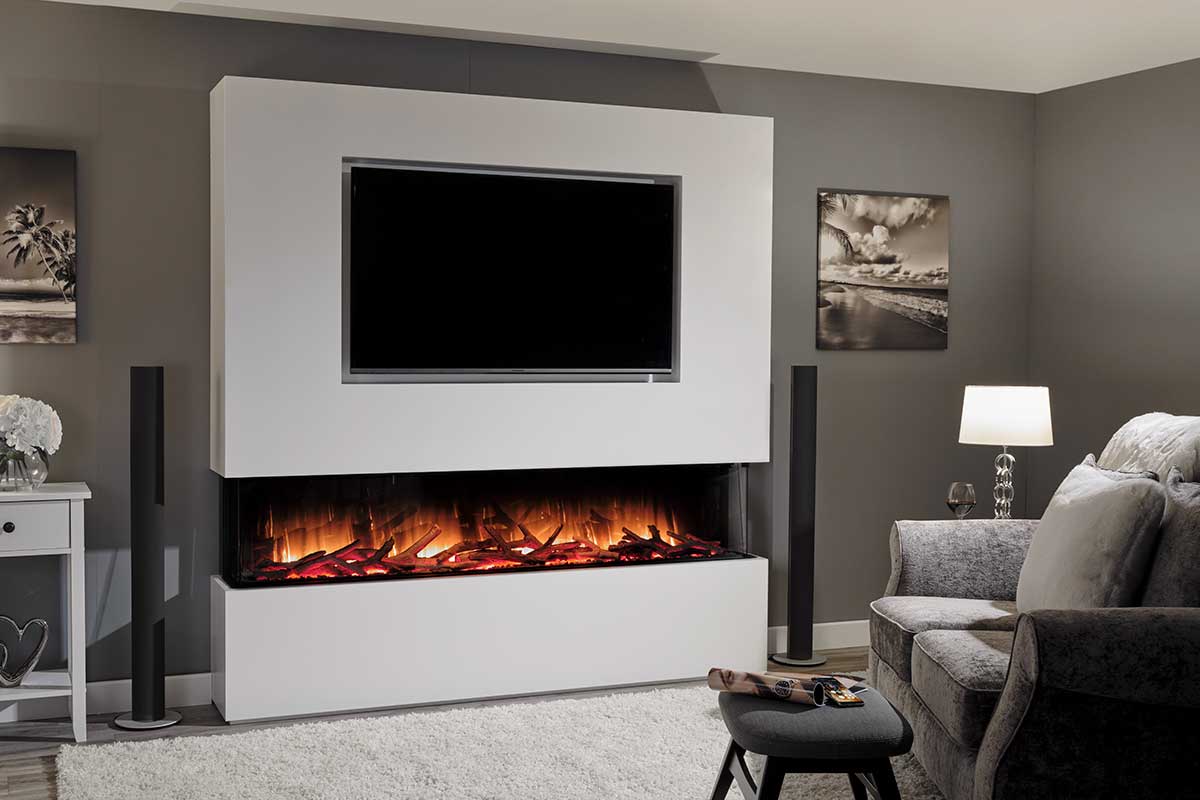
- Style: Determine the style of fireplace that best suits your home and personal taste. Whether you prefer a traditional, rustic brick fireplace or a sleek, modern gas fireplace, choose a design that complements the existing décor of your space.
- Size and Scale: Consider the size of the room where the fireplace will be located. A small fireplace can easily be overwhelmed by a large room, while a large fireplace may dominate a small space. Find the right balance by selecting a size that fits proportionally within the room.
- Location: Decide on the optimal location for your fireplace. Consider factors such as proximity to existing structural elements, ventilation requirements, and visual impact within the room.
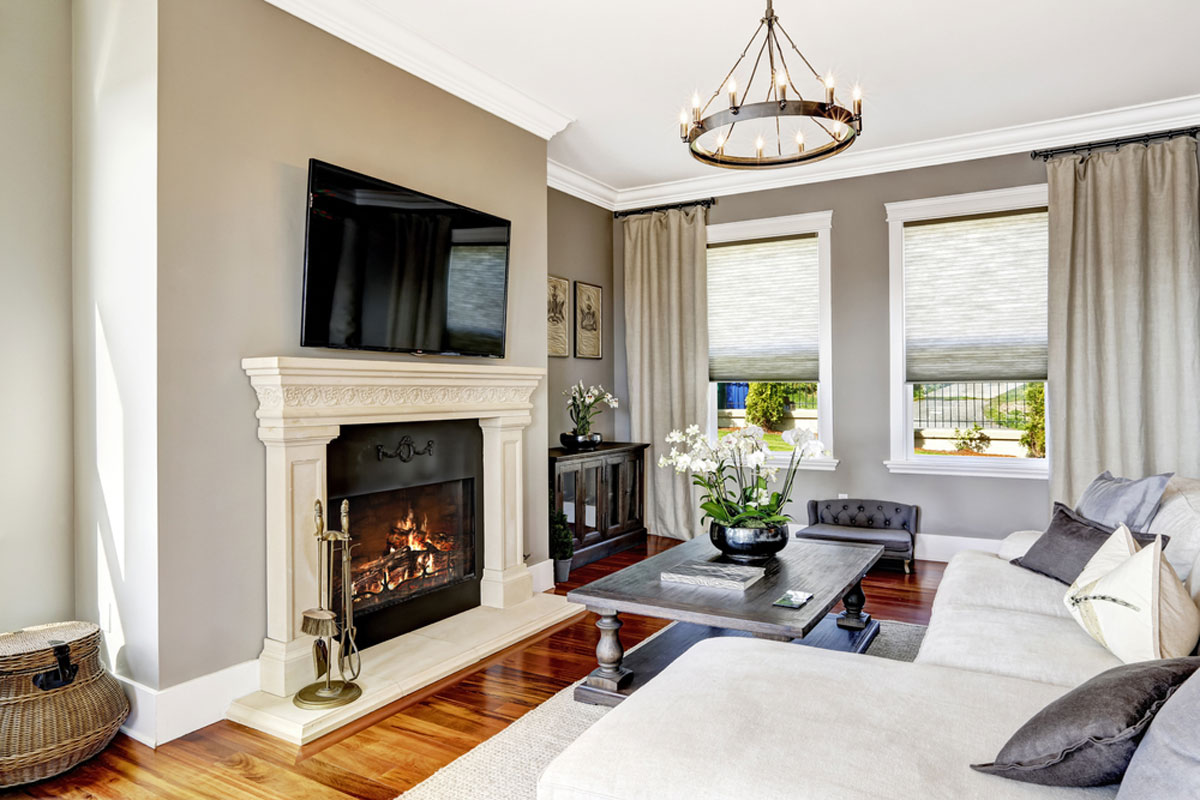
- Mantel and Surround: Choose a mantel and surround style that enhances the overall look and feel of your fireplace. Options include wooden mantels, stone surrounds, or even custom-designed features.
- Ventilation: If you’re building a wood-burning fireplace, ensure that proper ventilation is incorporated into the design. This may include a chimney or venting system to safely remove smoke and fumes.
- Building Codes and Regulations: Familiarize yourself with local building codes and regulations regarding fireplace construction. It’s important to ensure that your design meets all safety requirements and permits.
Once you have finalized the design, it’s a good idea to create a detailed blueprint or diagram of your fireplace. This will serve as a reference throughout the construction process, ensuring that you stay on track and follow the planned design.
Remember, the design of your fireplace is a personal choice, and it should reflect your style and preferences. Take your time during the planning phase to ensure that you create a fireplace that brings joy and warmth to your home.
With the design planned out, it’s time to move on to the next step: preparing the foundation for your fireplace.
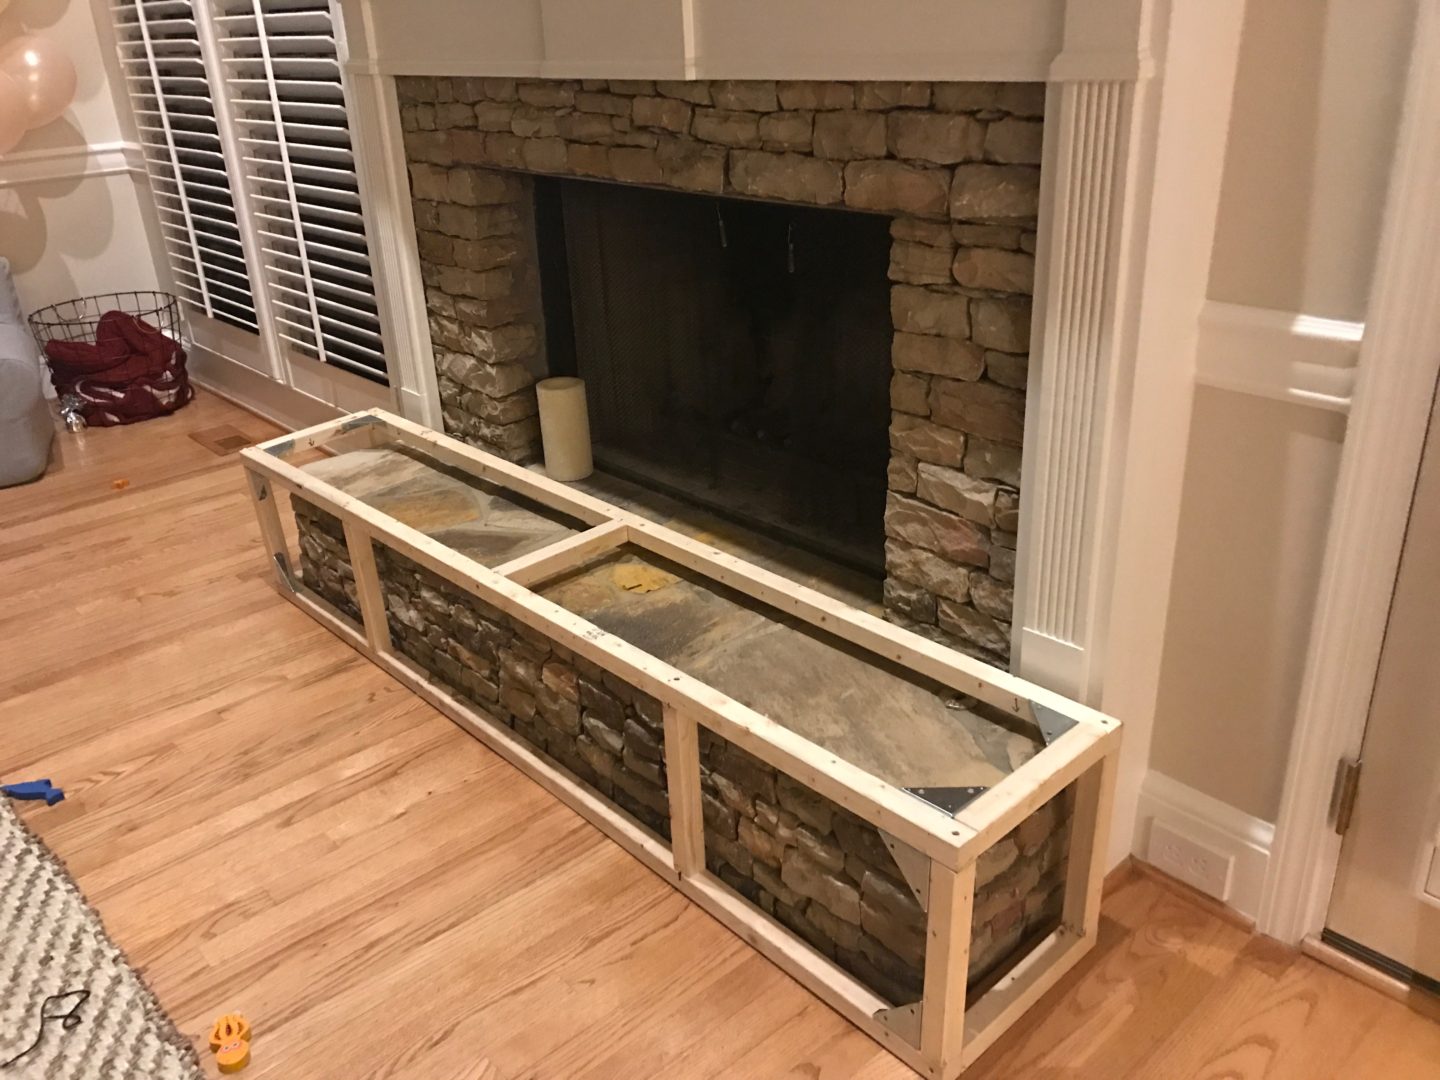
Step 3: Preparing the Foundation
A solid and stable foundation is crucial for the construction of a fireplace. In this step, we’ll guide you through the process of preparing the foundation to ensure the stability and longevity of your fireplace. Here’s what you need to do:
- Clear the area: Start by removing any furniture, rugs, or other items from the area where the fireplace will be built. This will provide you with a clean and open space to work with.
- Mark the dimensions: Use a tape measure and painter’s tape to mark the dimensions of the fireplace on the floor. Ensure that it aligns with the design and size determined in the planning phase.
- Excavate the area: Carefully excavate the marked area to a depth of approximately 6-8 inches. Remove any grass, soil, or debris to create a level and even surface.
- Compact the soil: Use a compactor or tamper to firmly compact the soil at the bottom of the excavation. This will create a solid base for the foundation.
- Add a layer of gravel: Pour a layer of gravel into the excavated area and spread it evenly. This will provide drainage and help prevent shifting or settling of the foundation.
- Create a concrete footing: Prepare a concrete mixture according to the manufacturer’s instructions. Pour the concrete into the excavated area, ensuring it is level and smooth. Use a screed board and a level to achieve an even surface.
- Install anchor bolts: While the concrete is still wet, insert anchor bolts at designated locations, which will be used to secure the fireplace to the foundation.
- Cure the concrete: Allow the concrete to cure for the recommended time specified on the product packaging. This usually takes several days, during which the concrete will become hard and durable.
It’s important to follow safety guidelines and use protective gear while working with concrete and excavation tools. Additionally, ensure that you comply with any local building codes and regulations regarding foundation preparation to ensure a structurally sound fireplace.
Once the foundation is prepared and the concrete has properly cured, you’re now ready to move on to the next step: building the firebox of your fireplace.
Step 4: Building the Firebox
The firebox is the central element of your fireplace where the fire will be contained. In this step, we’ll guide you through the process of building the firebox with the materials you have gathered. Here’s what you need to do:
- Prepare the area: Make sure the foundation is clean and free of any debris. Sweep or vacuum any loose particles before proceeding.
- Begin with the back wall: Start by laying the back wall of the firebox. Use fire bricks or refractory cement to construct a solid and heat-resistant surface. Apply mortar evenly to the foundation and press the bricks firmly into place.
- Build the side walls: Continue building the side walls of the firebox, ensuring they align with the back wall. Again, use fire bricks or refractory cement, applying mortar between each brick for stability.
- Create the front wall: Construct the front wall of the firebox using fire bricks or refractory materials. Leave an opening for the fireplace opening or door, ensuring it is centered and level.
- Add the firebrick floor: Lay fire bricks or refractory tiles on the foundation to create the floor of the firebox. Make sure they fit tightly and evenly, using mortar to hold them in place.
- Check for level and stability: Use a level to ensure that the walls and floor of the firebox are level and plumb. Make any necessary adjustments by adding or removing mortar as needed.
- Apply fireclay lining (if applicable): If you are building a traditional masonry fireplace, apply fireclay lining on the walls of the firebox. This helps resist heat and protects the masonry from damage.
- Cure and dry: Allow the mortar to cure and dry according to the manufacturer’s instructions. This usually takes several days, but it is crucial for the overall stability and durability of the firebox.
It’s essential to follow proper safety protocols while handling and working with fire bricks, refractory cement, or other masonry materials. Wear gloves and protective eyewear to protect yourself from any potential hazards.
Once the firebox is built, you’re ready to move on to the next step: constructing the chimney.
When building a fireplace, ensure proper ventilation to prevent smoke buildup. Use fire-resistant materials and follow local building codes for safety.
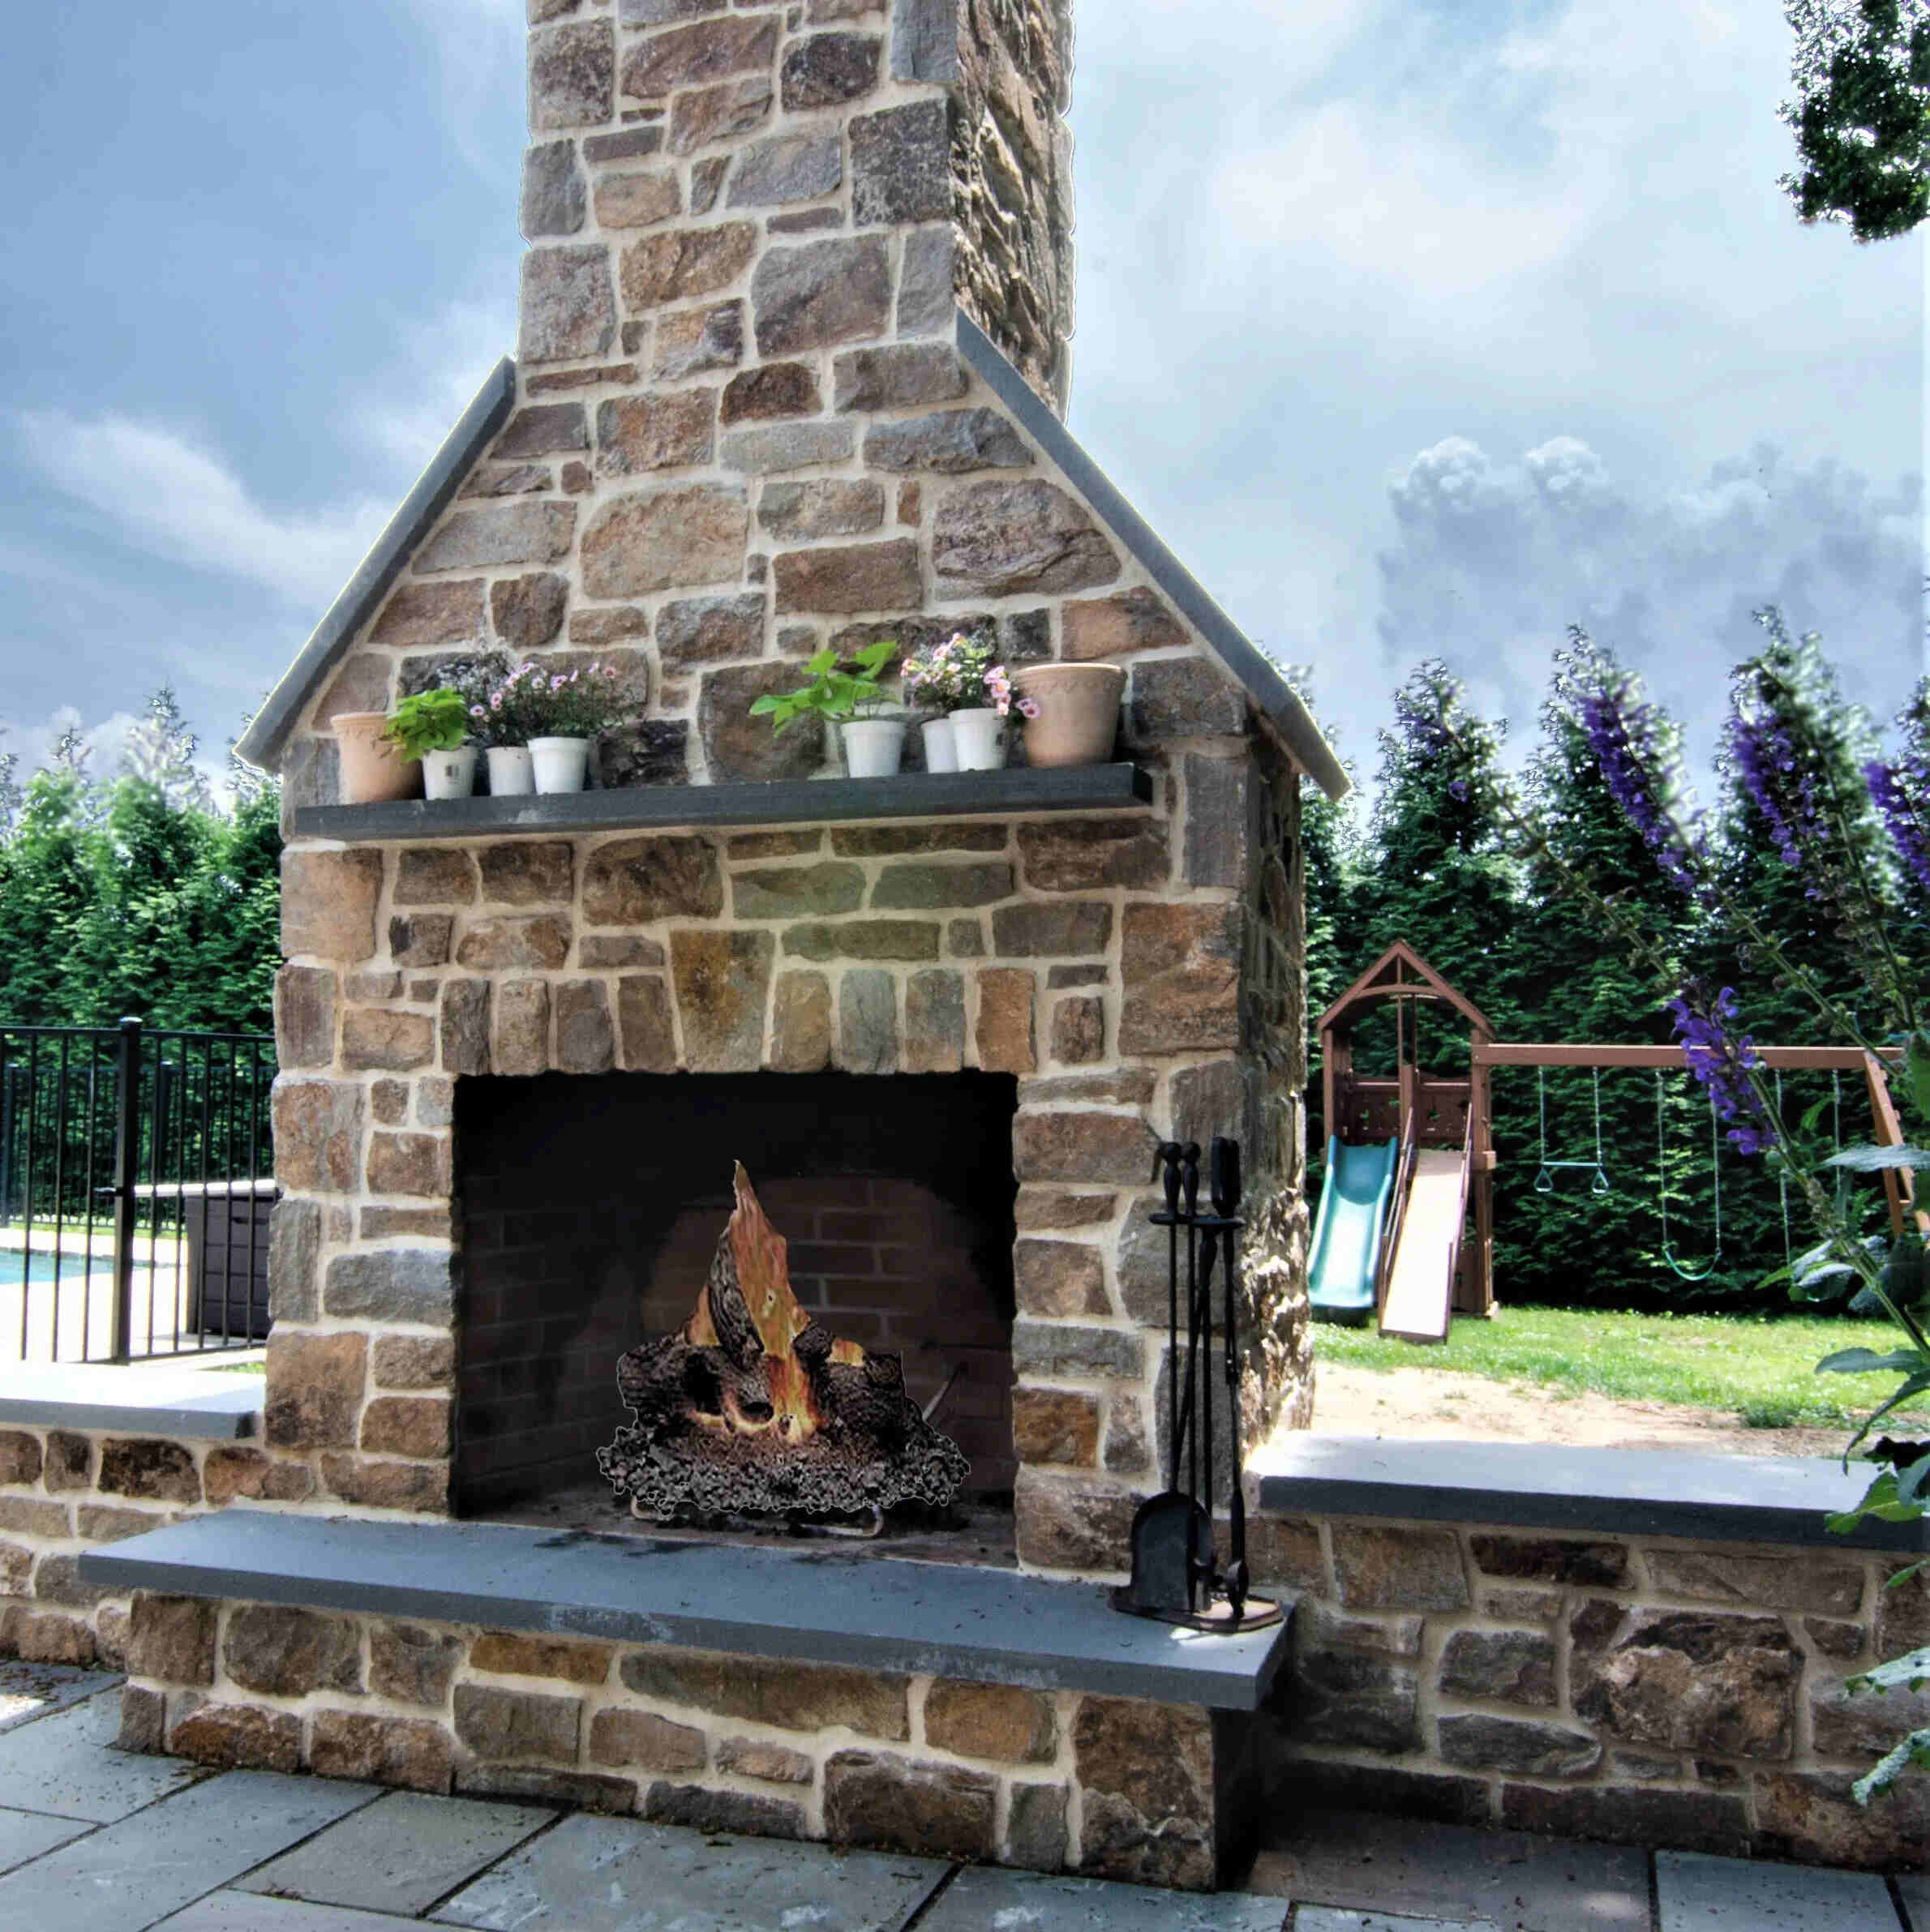
Read more: How To Build A Stone Fireplace
Step 5: Constructing the Chimney
The chimney plays a vital role in safely venting the smoke and gases produced by your fireplace. In this step, we’ll guide you through the process of constructing the chimney, ensuring proper ventilation and functionality. Here’s what you need to do:
- Start with the chimney base: Determine the desired location for the chimney. Using bricks or pre-constructed chimney sections, build the base of the chimney on top of the firebox. Make sure it is securely attached and aligned with the fireplace opening.
- Build the chimney structure: Continue building the chimney by stacking bricks or adding pre-constructed chimney sections. As you build upward, ensure that each layer is level and securely connected to the previous layer. Use mortar to hold the bricks or sections together.
- Install insulation: For proper insulation and heat retention, install insulation materials inside the chimney. This helps prevent heat loss and improves the performance of your fireplace.
- Add a chimney cap: Install a chimney cap on top of the chimney to prevent water infiltration and to keep debris, birds, and pests from entering. Choose a cap that is appropriate for your design and ensure it is securely attached.
- Check for proper ventilation: It’s crucial to ensure that the chimney provides adequate ventilation for your fireplace. Make sure there is proper spacing between bricks or sections to allow the smoke and gases to escape efficiently.
- Inspect for stability: Regularly inspect the chimney for stability and make any necessary repairs or adjustments. Cracks or loose bricks should be addressed promptly to maintain the structural integrity of the chimney.
When constructing the chimney, it’s important to follow local building codes and regulations to ensure compliance with safety standards. It is also highly recommended to consult with a professional or experienced contractor to ensure proper construction techniques and materials are used.
Once the chimney is constructed, you’re ready to move on to the next step: installing the hearth.
Step 6: Installing the Hearth
The hearth is the area in front of the fireplace that serves as both a decorative and functional element. In this step, we’ll guide you through the process of installing the hearth to complete the construction of your fireplace. Here’s what you need to do:
- Choose the hearth material: Select the material for your hearth, such as stone, tile, or concrete. Consider factors like durability, aesthetics, and compatibility with your overall fireplace design.
- Prepare the surface: Clear any debris or dust from the area where the hearth will be installed. Ensure the surface is clean, level, and free of any uneven spots or imperfections.
- Measure and cut the hearth material: Measure the dimensions of the hearth area and use appropriate tools to cut the material to the desired size and shape. Take accurate measurements to ensure a precise fit.
- Apply adhesive: Depending on the type of material you’ve chosen, apply a suitable adhesive or mortar to the backside of the hearth material. Follow the manufacturer’s instructions for the specific adhesive being used.
- Position the hearth material: Carefully place the hearth material onto the prepared surface, ensuring it aligns with the surrounding flooring and fireplace structure. Gently press it down to secure it in place.
- Level and align: Use a level to ensure the hearth material is perfectly level. Make any necessary adjustments by adding or removing adhesive or by using shims to achieve a level surface.
- Allow for curing: If adhesive or mortar was used, allow the hearth to cure and set according to the manufacturer’s instructions. This may involve a waiting period of several hours or even days.
- Finish the edges: To give the hearth a polished look, consider adding decorative trim or edging to the exposed edges of the material. This will provide a clean and finished appearance.
Remember to prioritize safety during the installation process. Use appropriate protective gear and tools when handling materials, and follow proper safety guidelines to prevent accidents or injuries.
Once the hearth is installed, you’re ready to move on to the final step: adding the finishing touches to your fireplace.
Step 7: Adding Finishing Touches
Adding the finishing touches to your fireplace will enhance its overall appearance and functionality. In this final step, we’ll guide you through the process of adding those special details that will elevate your fireplace to its full potential. Here’s what you need to do:
- Paint or stain: If desired, paint or stain the fireplace and surrounding area to match your home’s decor. Choose a high-temperature paint or stain specifically designed for use on fireplaces.
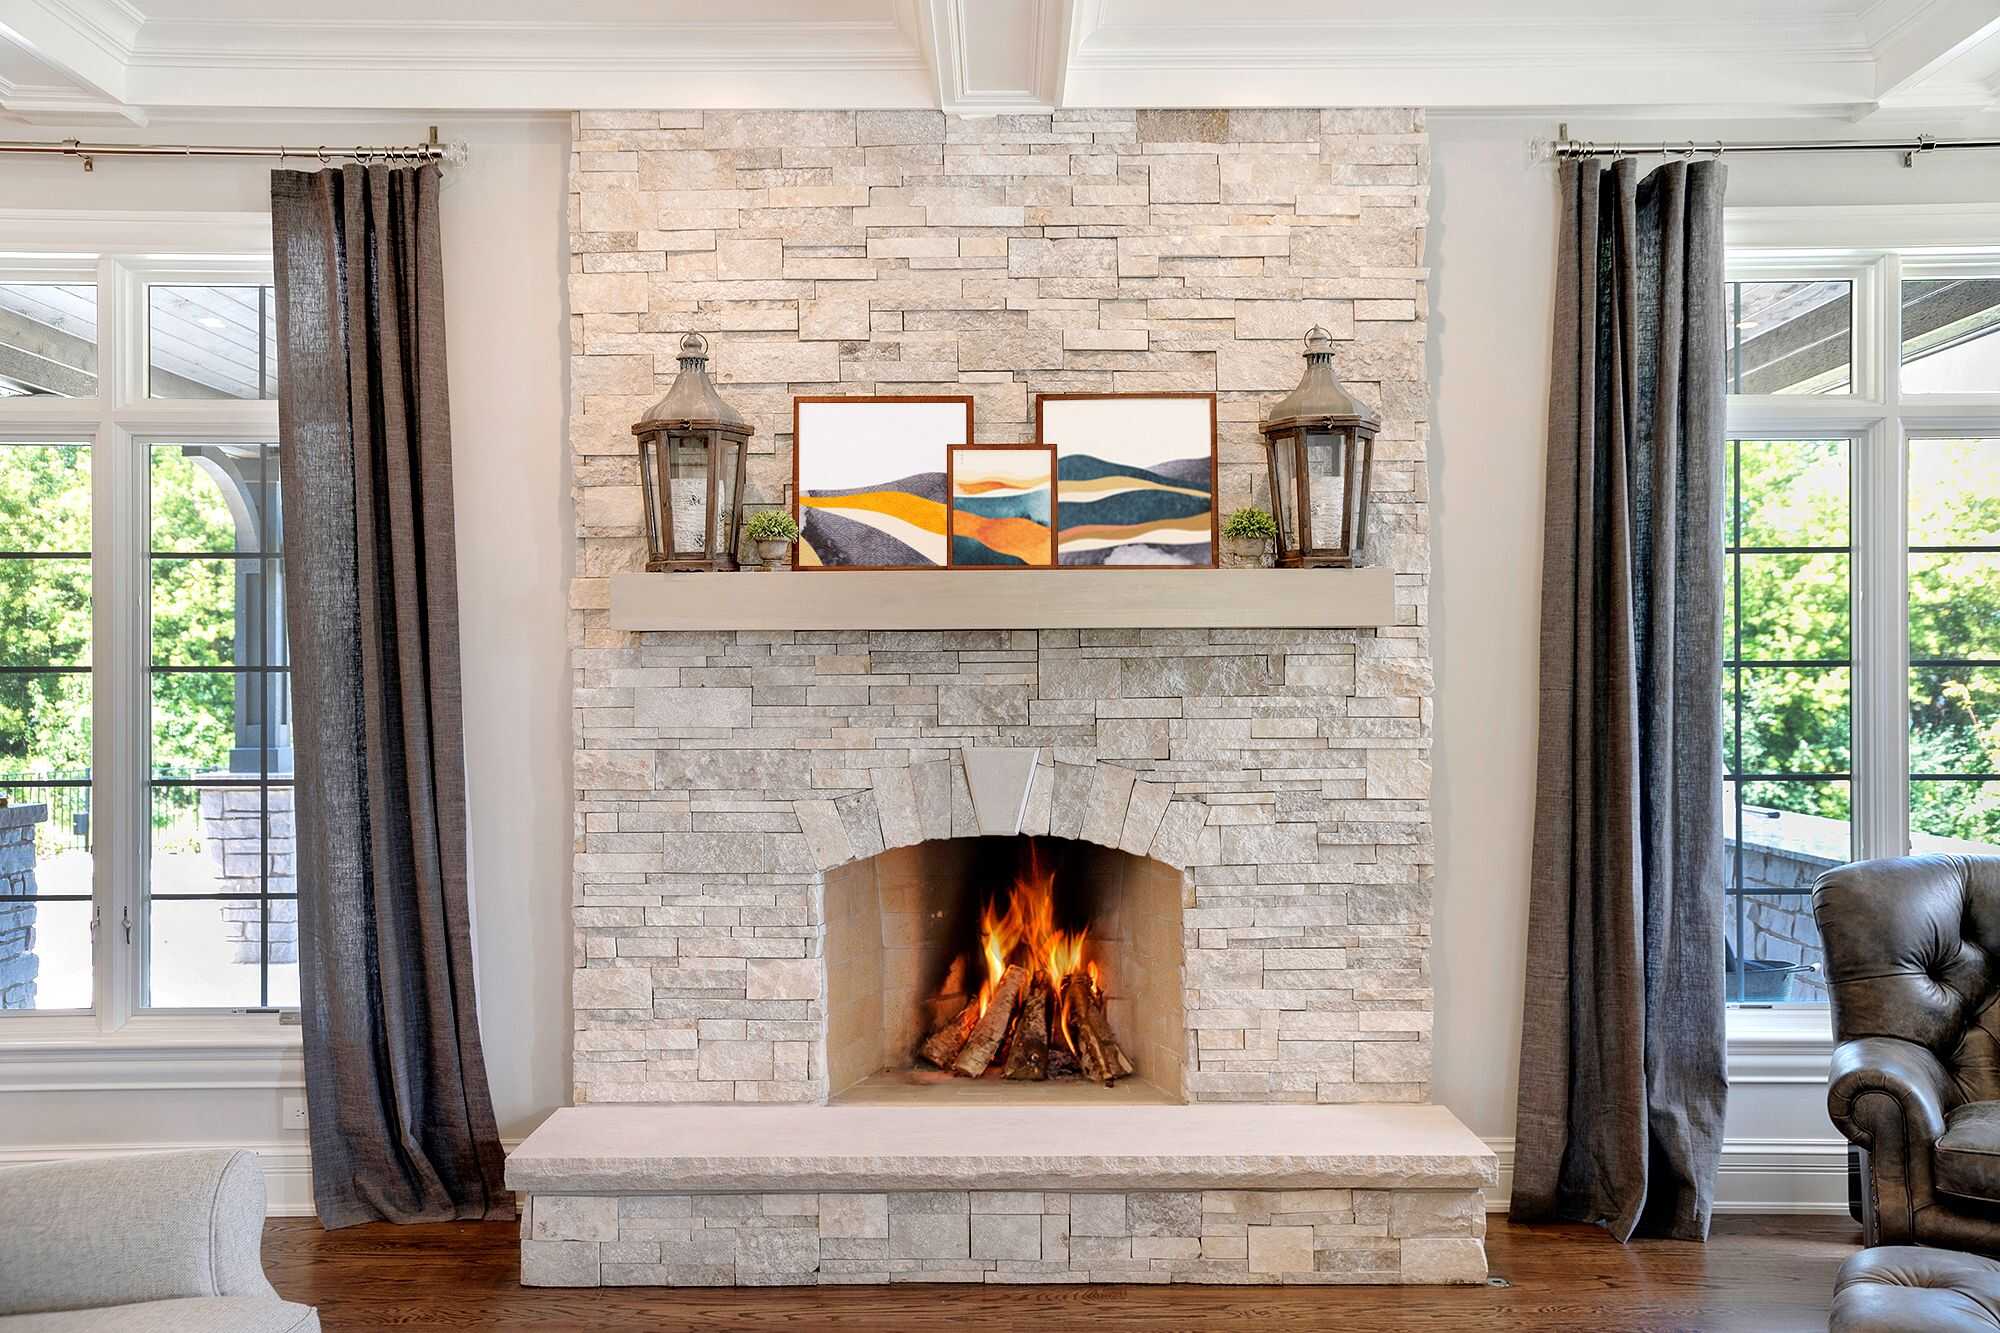
- Add a mantel: Install a mantel above the fireplace to provide a focal point and display space for decorative items such as artwork, candles, or family photos. Choose a mantel that complements the style of your fireplace.
- Install fireplace doors: Consider adding fireplace doors to enhance safety and energy efficiency. Fireplace doors can help contain sparks and reduce heat loss when the fireplace is not in use.
- Add a fire grate: Place a fire grate inside the firebox to elevate the firewood and promote better airflow. This will improve the efficiency of your fireplace and ensure a more controlled burn.
- Accessorize: Decorate the hearth area with accessories such as a log holder, fireplace tools, and a decorative screen. These items will not only add charm but also serve practical purposes for maintaining and tending to the fire.
- Ensure proper ventilation: Double-check that the chimney and ventilation system are functioning correctly. Regularly inspect and clean the chimney to prevent the buildup of creosote and ensure efficient ventilation.
- Test and enjoy: Finally, test your fireplace to ensure it is working properly. Light a fire and observe the flames and smoke to ensure they are being properly drawn up the chimney. Once everything is functioning as intended, you can now enjoy the warmth and ambiance of your newly built fireplace!
Remember to follow safety guidelines, maintain regular maintenance, and clean the fireplace and chimney as recommended by professionals. This will ensure the longevity and safety of your fireplace for years to come.
Congratulations! You have successfully completed the steps to build and finish your fireplace. Enjoy the cozy warmth and beauty it brings to your home.
Conclusion
Building a fireplace from scratch is a rewarding and fulfilling project that can transform your living space into a warm and inviting sanctuary. Throughout the journey of constructing your fireplace, you’ve learned the importance of planning, gathering the right materials and tools, and following proper techniques to ensure the safety and functionality of your fireplace.
From preparing the foundation to constructing the firebox, chimney, and hearth, each step has contributed to the creation of a custom fireplace that reflects your style and meets your needs. By adding the finishing touches, such as paint, mantel, and accessories, you’ve completed the process, resulting in a beautiful focal point in your home.
Remember, safety should always be your top priority. If you’re not experienced in construction or masonry work, it’s best to consult with professionals who can guide you through the process and ensure compliance with local building codes and regulations.
Your newly built fireplace will provide warmth, ambiance, and a sense of comfort for you and your loved ones. Whether you’re enjoying a cozy evening by the fire or adding a touch of elegance to your home, your fireplace will be a cherished addition that brings joy for years to come.
Now, sit back, relax, and bask in the warmth of your own creation. Enjoy the crackling sound of the fire, the flickering flames, and the cozy atmosphere that your fireplace brings to your home. Embrace the beauty and functionality of this timeless feature as it adds a touch of charm and sophistication to your living space.
Frequently Asked Questions about How To Build A Fireplace
Was this page helpful?
At Storables.com, we guarantee accurate and reliable information. Our content, validated by Expert Board Contributors, is crafted following stringent Editorial Policies. We're committed to providing you with well-researched, expert-backed insights for all your informational needs.
0 thoughts on “How To Build A Fireplace”