Articles
How Is A Fireplace Constructed
Modified: August 17, 2024
Learn how fireplaces are constructed with our informative articles. Discover the process from start to finish and get expert tips for a successful build.
(Many of the links in this article redirect to a specific reviewed product. Your purchase of these products through affiliate links helps to generate commission for Storables.com, at no extra cost. Learn more)
Introduction
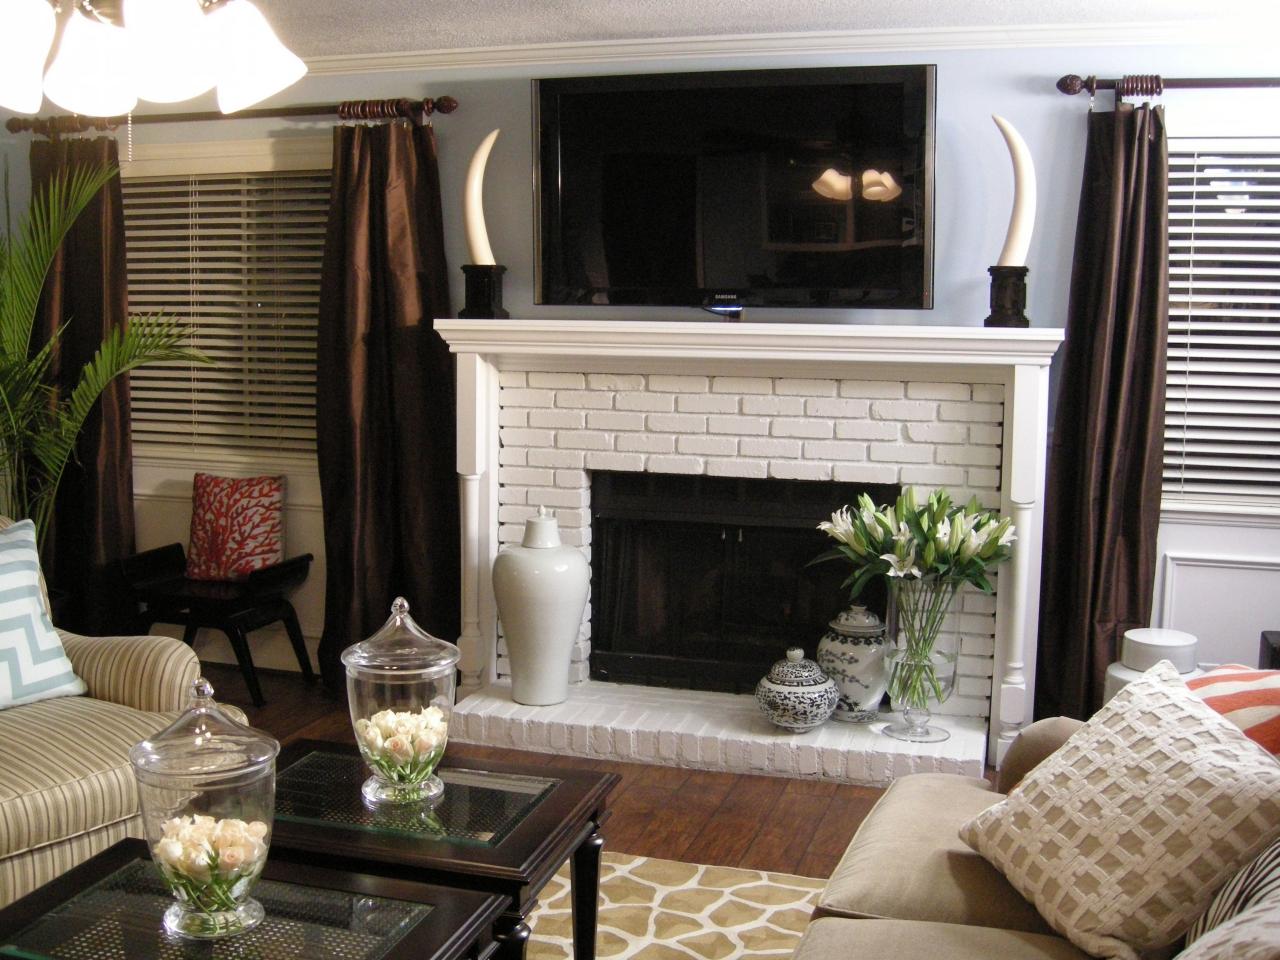
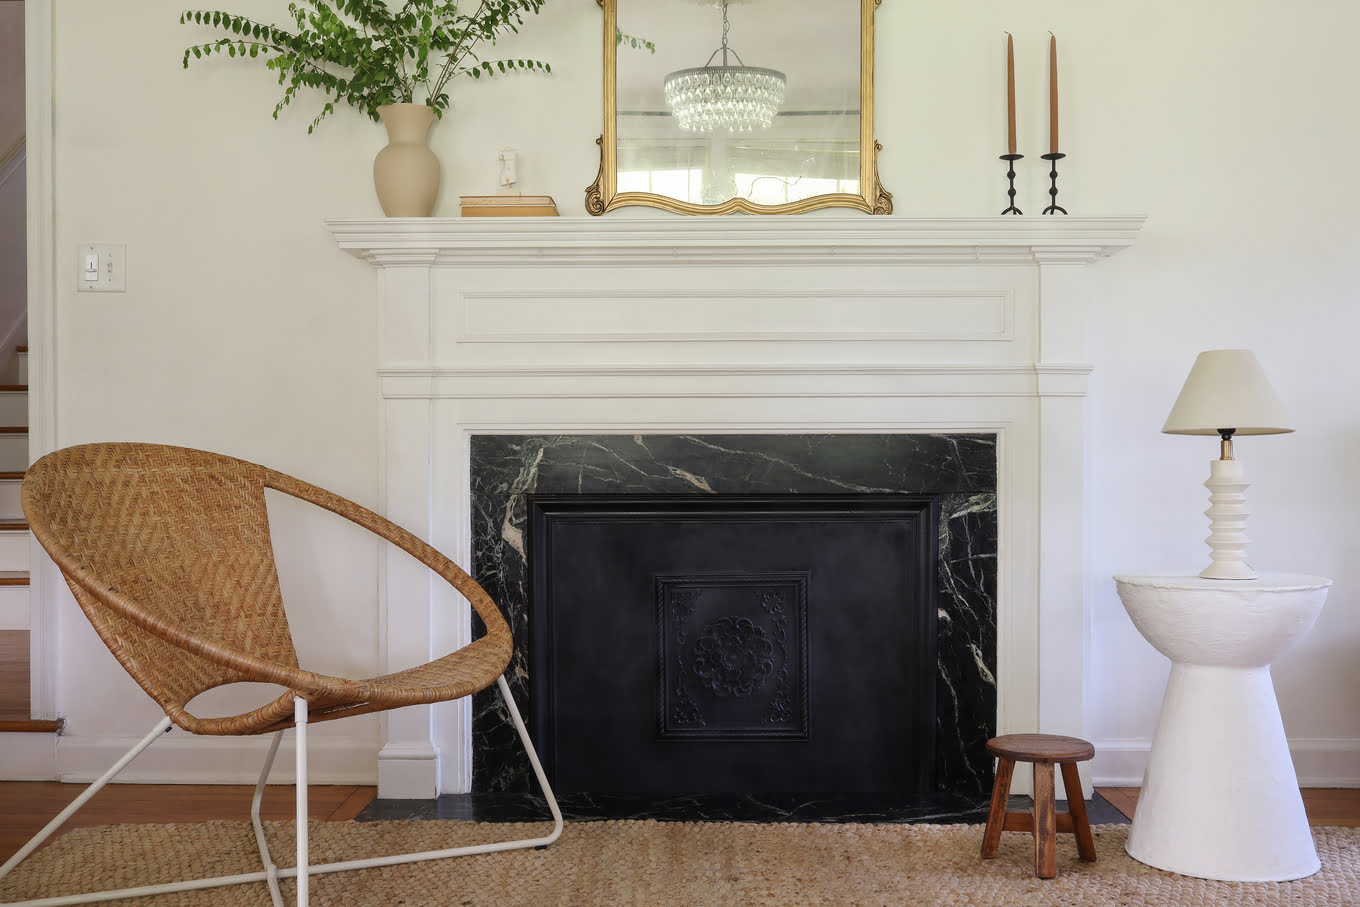
Fireplaces have long been a symbol of warmth, comfort, and luxury in homes. Not only do they provide a source of heat during colder months, but they also add a touch of elegance and charm to any living space. But have you ever wondered how a fireplace is constructed? In this article, we will take a closer look at the process of building a fireplace, from the materials needed to the finishing touches that bring it to life.
When planning to construct a fireplace, it’s important to consider factors such as safety, design, and functionality. A fireplace is not just a decorative element; it also needs to be structurally sound and properly installed to ensure efficient and safe operation. With that in mind, let’s delve into the materials needed and the step-by-step process of building a fireplace.
Key Takeaways:
- Building a fireplace requires careful planning, high-quality materials, and adherence to safety guidelines. From the foundation to the finishing touches, attention to detail is key for a stunning and functional fireplace.
- Constructing a fireplace is a rewarding combination of functionality and design. It involves creating a stable foundation, building a firebox with heat-resistant materials, and adding personalized finishing touches for a cozy and visually appealing centerpiece in your home.
Read more: How To Hide A Fireplace
Materials Needed for Fireplace Construction
Before you begin building a fireplace, it’s essential to gather all the necessary materials. Here are the key materials you will need:
- Firebricks: These special heat-resistant bricks are designed to withstand high temperatures and are used to build the firebox and the inner lining of the chimney.
- Mortar: A high-temperature mortar is used to bond the firebricks together and create a secure and stable structure.
- Throat Lintels: These steel lintels are used to support the bricks above the fireplace opening and distribute the weight evenly.
- Dampers: Dampers control the airflow and help regulate the intensity of the fire. They can be made of cast iron or steel.
- Flue Liner: A flue liner is a clay or metal pipe that lines the chimney and directs the smoke outside. It provides insulation and prevents the buildup of dangerous gases.
- Chimney Cap: A chimney cap is installed at the top of the chimney to protect it from debris, birds, and rain. It also helps improve the draft.
- Mantel and Surround: These decorative components define the style of the fireplace. Mantels can be made of wood, stone, or other materials, while surrounds frame the opening and can be customized to match the décor.
- Tools: You will need a range of tools, including a masonry trowel, a level, a hammer, a tape measure, and a saw.
It’s important to ensure that all the materials you use are of high quality and suitable for a fireplace construction. Additionally, consult local building codes and regulations to ensure compliance and safety.
Now that you have gathered the necessary materials, let’s move on to preparing the site for the fireplace construction.
Preparing the Site
Before you can begin building a fireplace, you need to prepare the site where it will be installed. Here are the essential steps for site preparation:
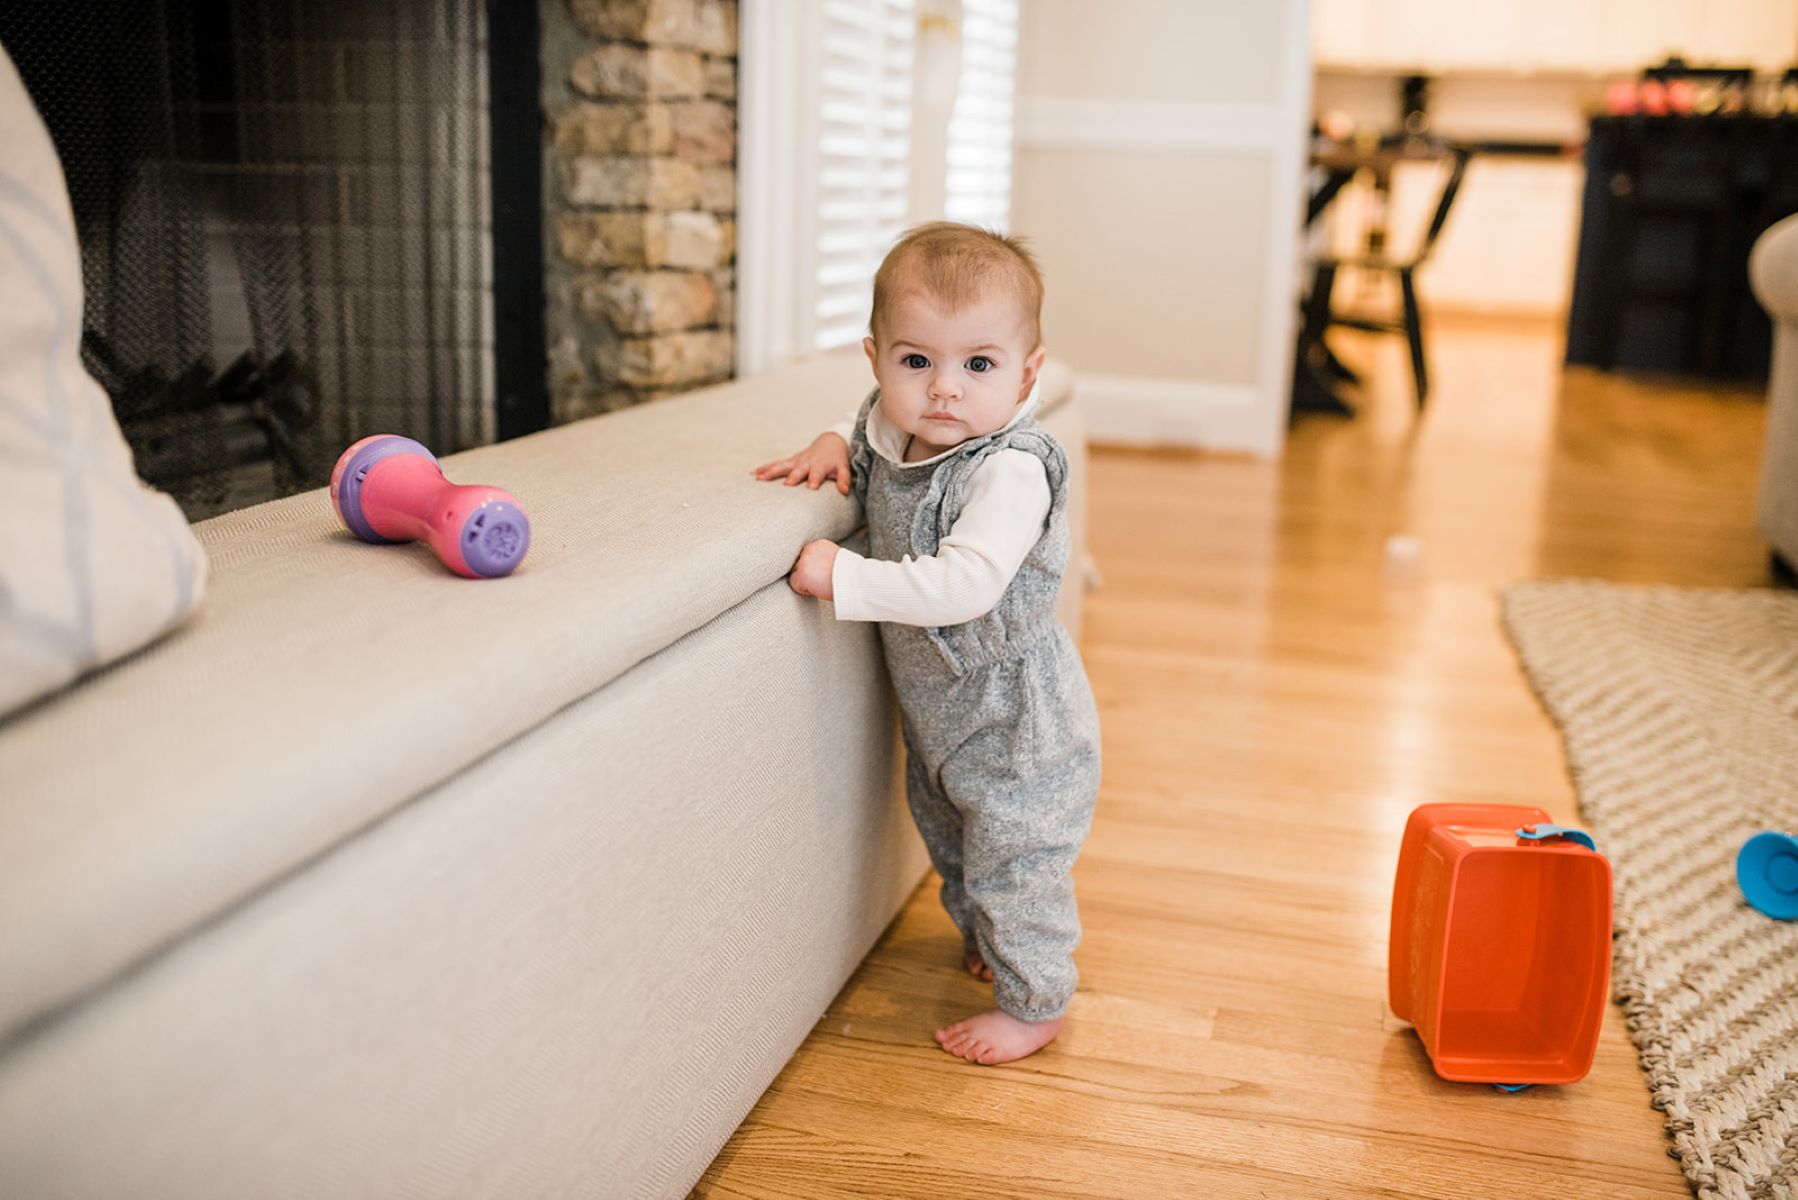
- Determine the Location: Choose a suitable location for the fireplace, considering factors such as the layout of the room, proximity to combustible materials, and the availability of a proper venting system.
- Clear the Area: Remove any furniture, carpets, or other objects from the area where the fireplace will be built. Make sure the space is clean and free of debris.
- Check for Obstructions: Inspect the area for any electrical or plumbing lines that may be hidden in the walls. Ensure they are properly marked or relocated before proceeding.
- Prepare the Foundation: The fireplace will require a solid and stable foundation to support its weight. Depending on the specific design, you may need to pour a concrete footing or build a masonry base to serve as the foundation.
- Install Fireproof Barrier: To ensure proper heat insulation and protect surrounding walls and floors, it may be necessary to install a fireproof barrier, such as cement board or heat-resistant sheetrock, around the fireplace area.
It is crucial to follow all safety guidelines and building codes during the site preparation phase. Consulting with a professional or building inspector is recommended to ensure that all requirements are met.
Once the site is prepped and ready, you can move on to the actual construction of the fireplace. In the next section, we will guide you through the process of building the foundation.
Building the Foundation
The foundation of a fireplace is the base that supports the entire structure. It provides stability and ensures that the fireplace remains secure and level. Here are the steps to follow when building the foundation:
- Mark the Foundation: Use a pencil to mark the dimensions of the foundation on the floor. The size will depend on the design and dimensions of the fireplace you are constructing.
- Prepare the Base: Clear the marked area of any debris and ensure that it is level. If necessary, use a shovel to remove excess soil or make adjustments to achieve a level surface.
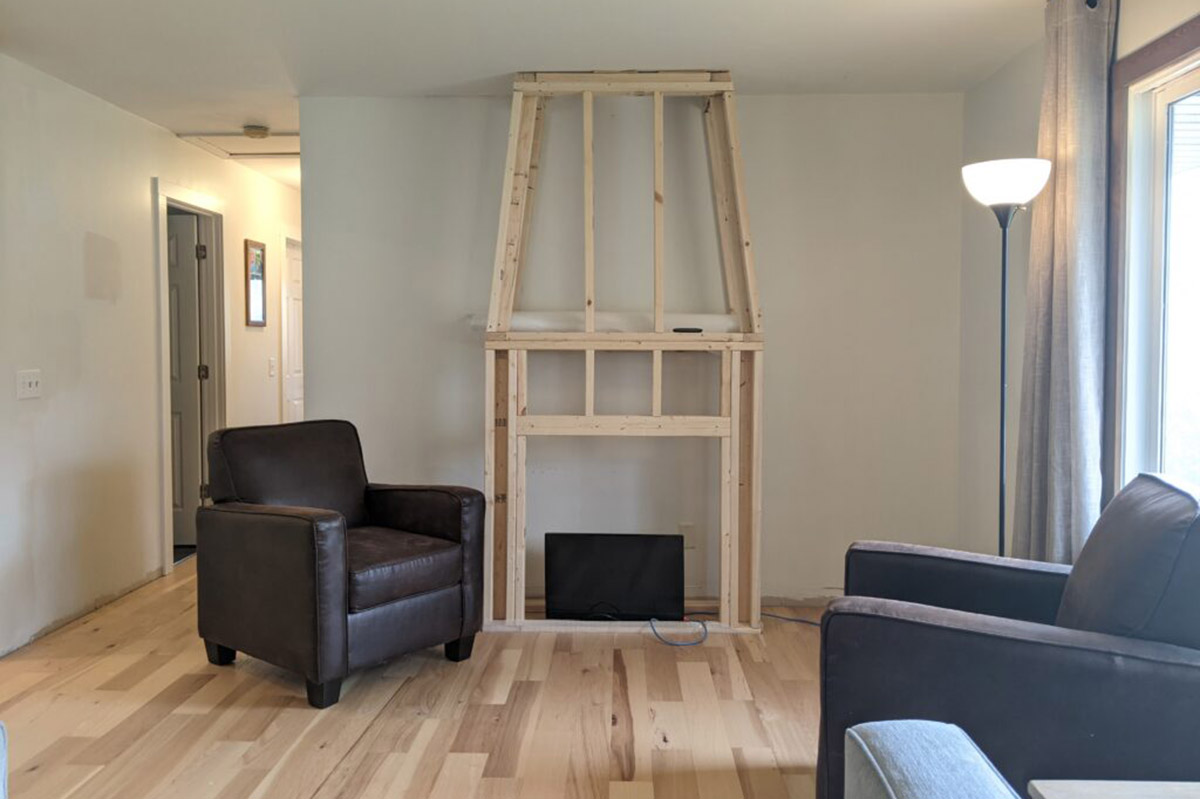
- Build the Formwork: Create a formwork using wooden boards or metal frames to define the shape and size of the foundation. Ensure that the form is aligned with the marked dimensions.
- Mix and Pour Concrete: Prepare the concrete mixture according to the manufacturer’s instructions. Slowly pour the concrete into the formwork, ensuring that it fills the entire area evenly.
- Smooth the Surface: Use a float or a trowel to smooth the surface of the concrete. Remove any excess concrete and ensure that the surface is level and flat.
- Cure the Concrete: Allow the concrete to cure for the recommended amount of time, typically about 24-48 hours. During this period, it is important to keep the concrete moist by spraying it with water or covering it with a damp cloth.
Building the foundation is a critical step in fireplace construction, as it determines the stability and longevity of the structure. It is important to follow proper concrete pouring and curing techniques to ensure a solid foundation.
With the foundation in place, we can now move on to constructing the firebox, which is the central component of the fireplace. This will be covered in the next section.
Constructing the Firebox
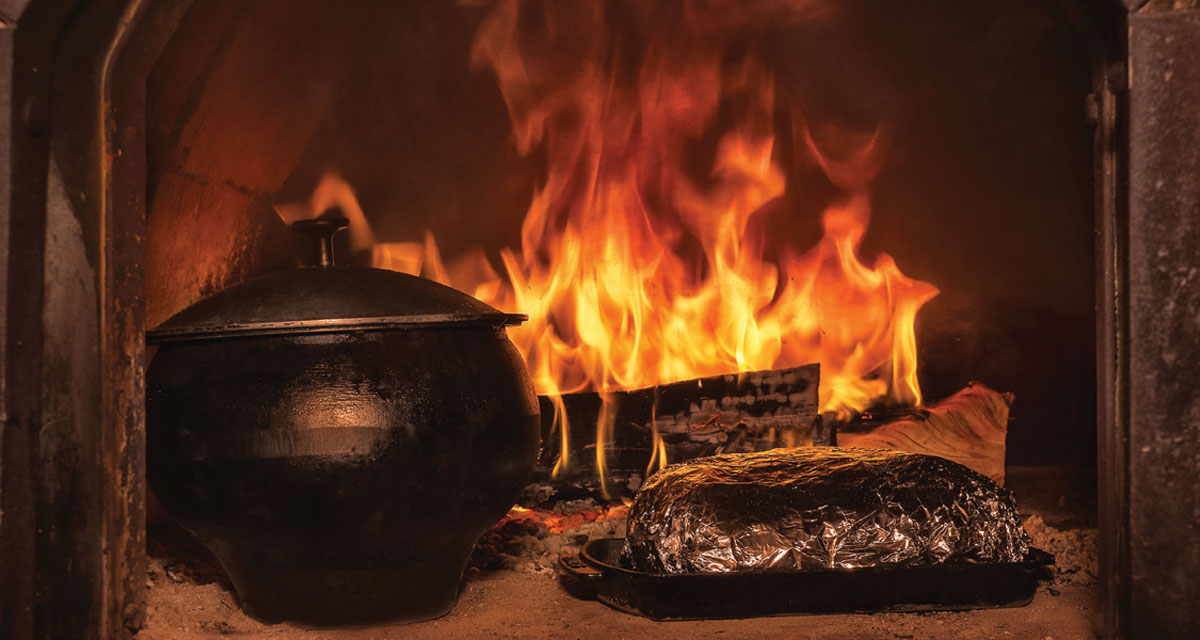
The firebox is the heart of the fireplace, where the actual fire will burn. It needs to be built with heat-resistant materials and proper dimensions to ensure safety and efficient combustion. Here is a step-by-step guide to constructing the firebox:
- Plan the Dimensions: Determine the size and shape of the firebox based on your design preferences and heating needs. The dimensions should provide enough space for a fire while maintaining proper air circulation.
- Build the Back Wall: Start by constructing the back wall of the firebox using firebricks and heat-resistant mortar. Lay the bricks in a running bond pattern and apply a layer of mortar between each brick to create a secure bond.
- Construct the Side Walls and Hearth: Proceed to build the side walls of the firebox, ensuring that they are aligned with the back wall. Use the same technique of laying firebricks in a running bond pattern and applying mortar. Additionally, construct the hearth, the floor area where the fire will be placed.
- Create the Throat: The throat is the opening above the firebox that connects it to the chimney. Install steel lintels or other supports to create the throat, ensuring that it is stable and properly aligned.
- Prepare the Fireback: The fireback is the vertical surface at the back of the firebox that reflects heat into the room. It can be made of firebricks or a heat-resistant material such as cast iron. Install the fireback securely in place.
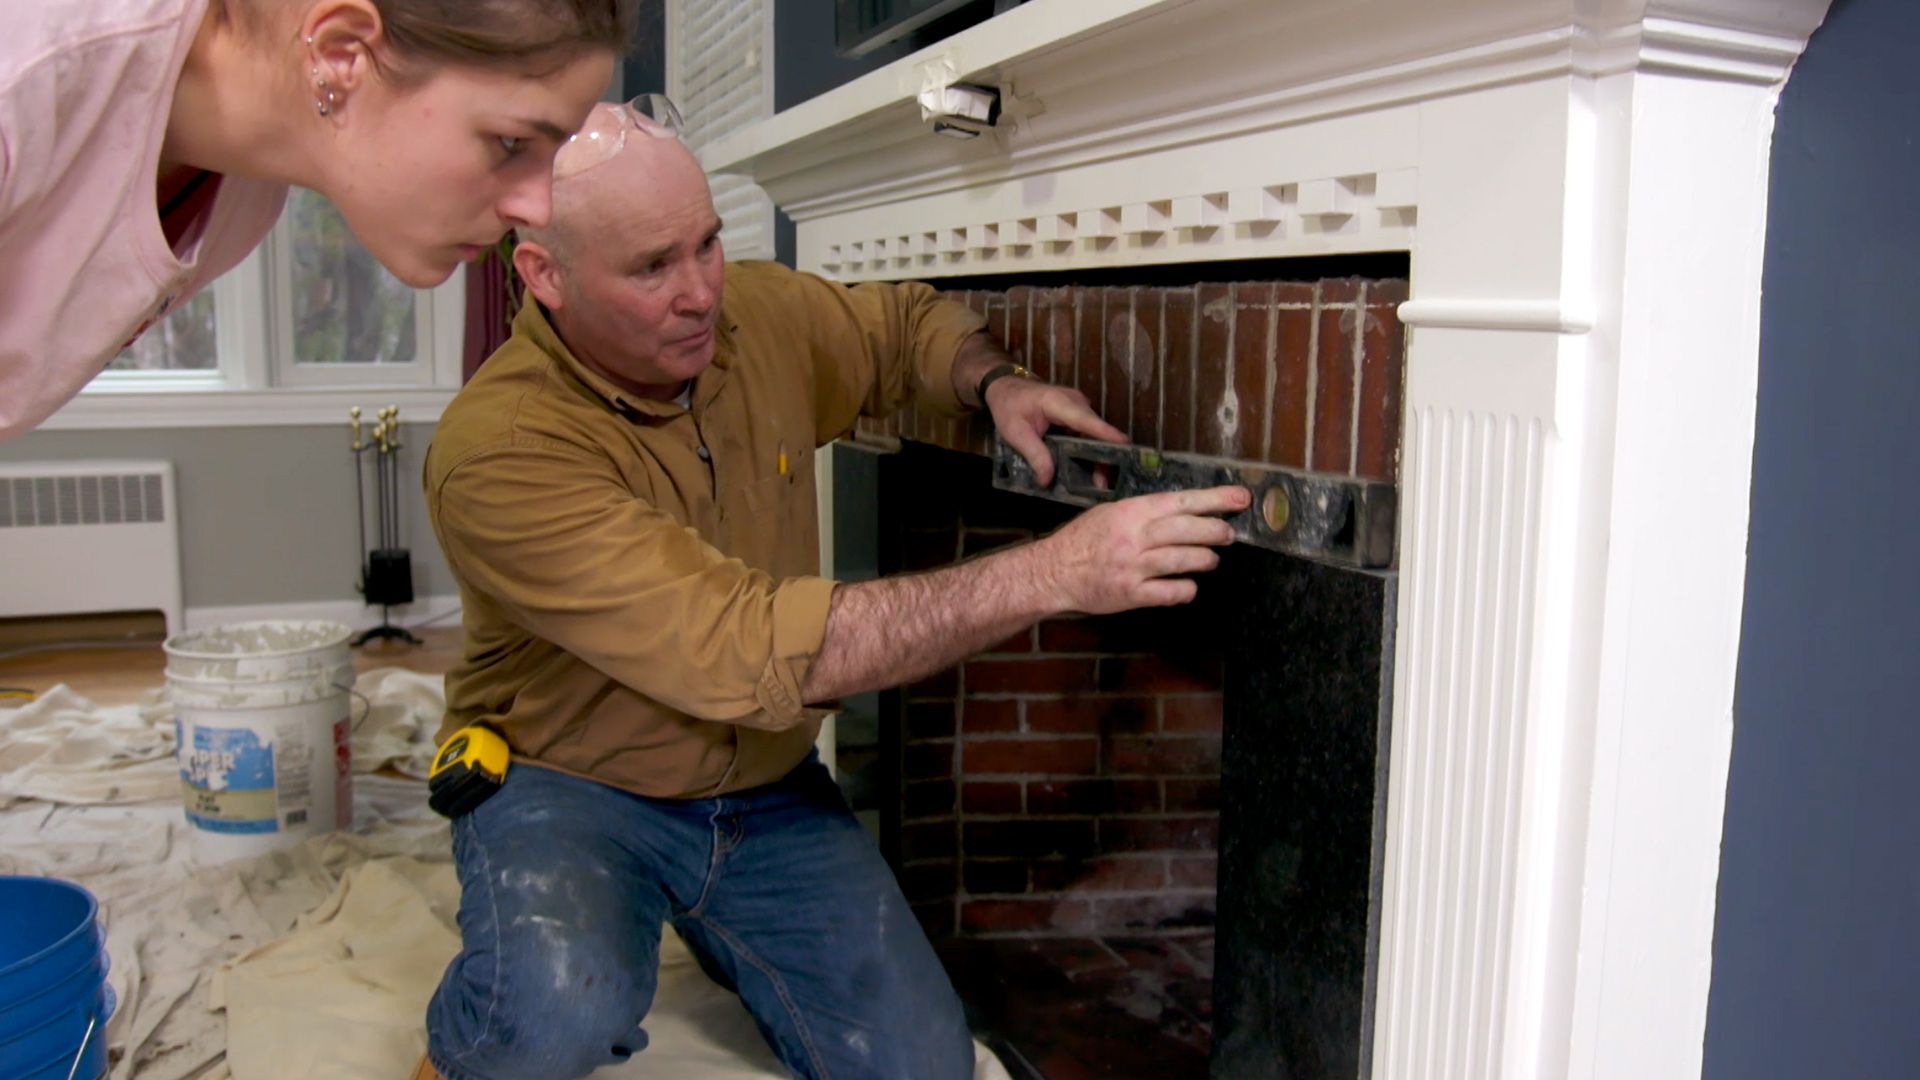
Throughout the construction process, it is important to check for levelness and plumbness to ensure a well-built firebox. Proper alignment and sturdy construction are essential for the safe operation of the fireplace.
Once the firebox is completed, the next step is to install the chimney, which will direct the smoke and gases out of the house. We will explore the chimney installation process in the following section.
When constructing a fireplace, ensure proper ventilation and clearance from combustible materials. Use fire-resistant materials and follow local building codes for safety.
Read more: How To Install A Fireplace
Installing the Chimney
The chimney is a crucial component of a fireplace as it allows for the safe venting of smoke and gases out of the house. Proper installation is essential to ensure proper airflow and prevent the risk of chimney fires. Here is a step-by-step guide to installing the chimney:
- Determine the Chimney Type: Choose the appropriate type of chimney based on your fireplace design and local building codes. Common options include masonry chimneys, prefabricated metal chimneys, or insulated stainless steel chimneys.
- Prepare the Chimney Opening: Create a hole in the firebox wall that aligns with the throat of the fireplace. This is where the chimney will connect to the firebox.
- Assemble the Chimney Components: Follow the manufacturer’s instructions to assemble the chimney components, ensuring that they fit securely. This may involve connecting sections of metal piping or fitting together masonry chimney parts.
- Install the Chimney Liner: If using a masonry chimney, install a chimney liner to provide insulation and improve airflow. This liner can be made of clay tiles or metal.
- Connect the Chimney to the Firebox: Attach the chimney to the opening in the firebox using heat-resistant mortar, ensuring a tight and secure connection.
- Extend the Chimney Above the Roof: Extend the chimney above the roofline to ensure proper draft and to prevent downdrafts and debris from entering the chimney. Follow local building codes to determine the required height and use proper flashing to seal the roof penetration.
- Install a Chimney Cap: Lastly, install a chimney cap at the top of the chimney to prevent rain, animals, and debris from entering. A well-designed chimney cap can also enhance the draft and reduce the risk of chimney fires.
Installing the chimney requires precision and adherence to building codes and guidelines. It is recommended to consult with a professional or experienced contractor for proper chimney installation to ensure optimal functionality and safety.
With the chimney in place, the next step is to add the finishing touches that make the fireplace aesthetically pleasing. We will explore the installation of a mantel and surround in the following section.
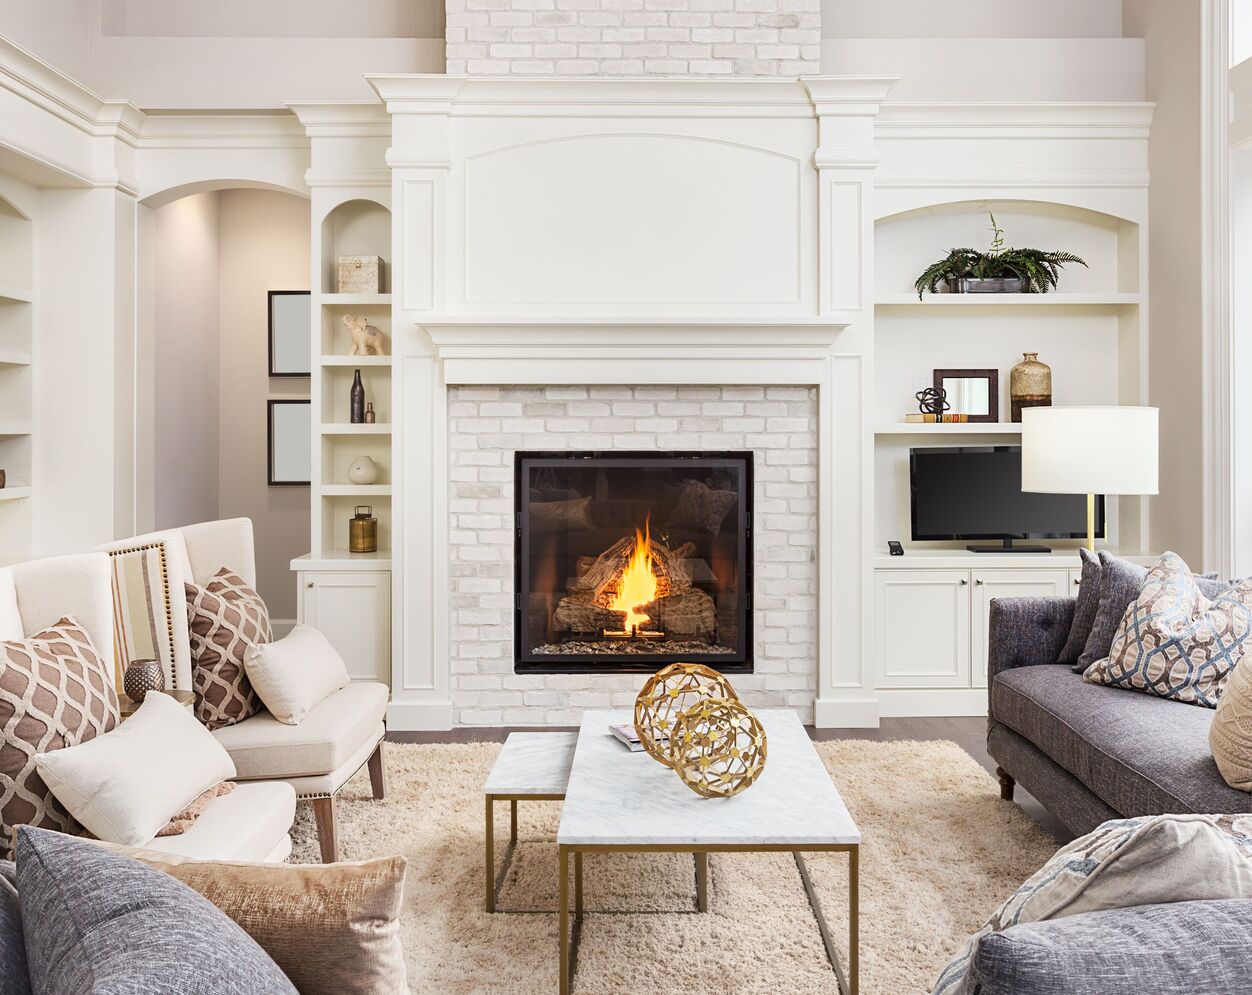
Adding a Mantel and Surround
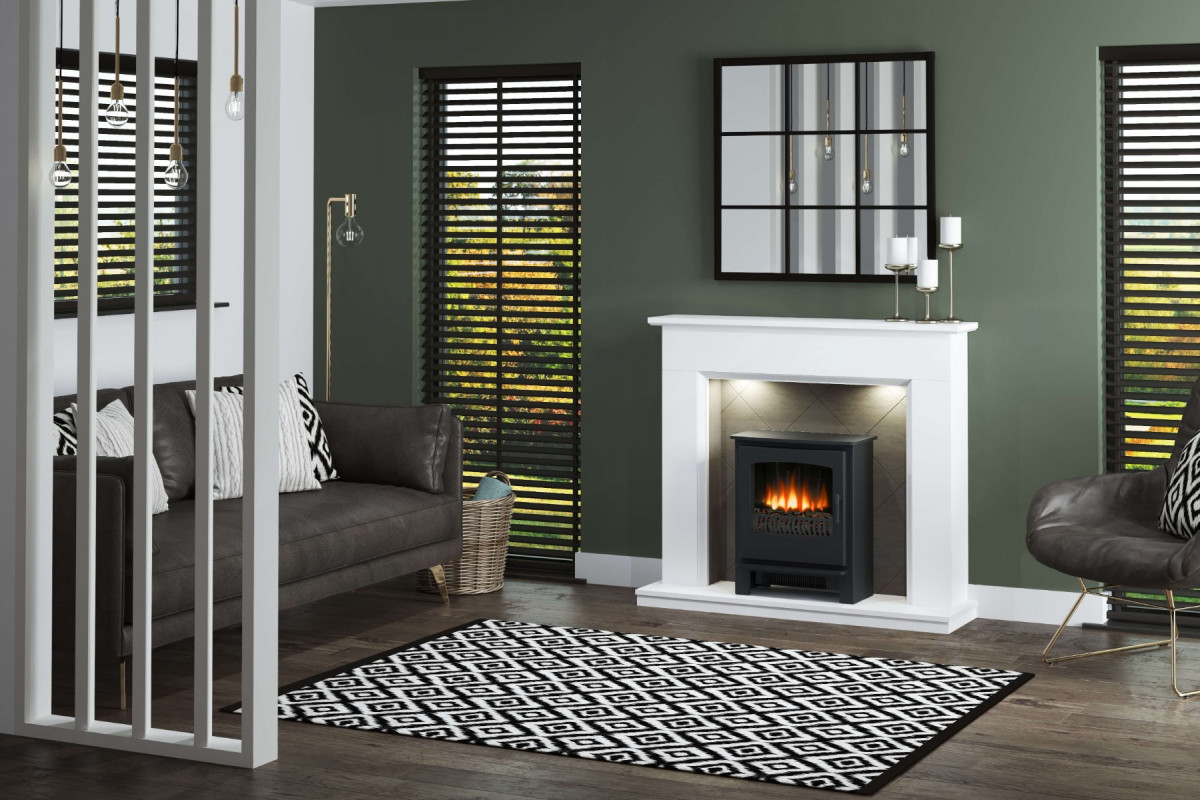
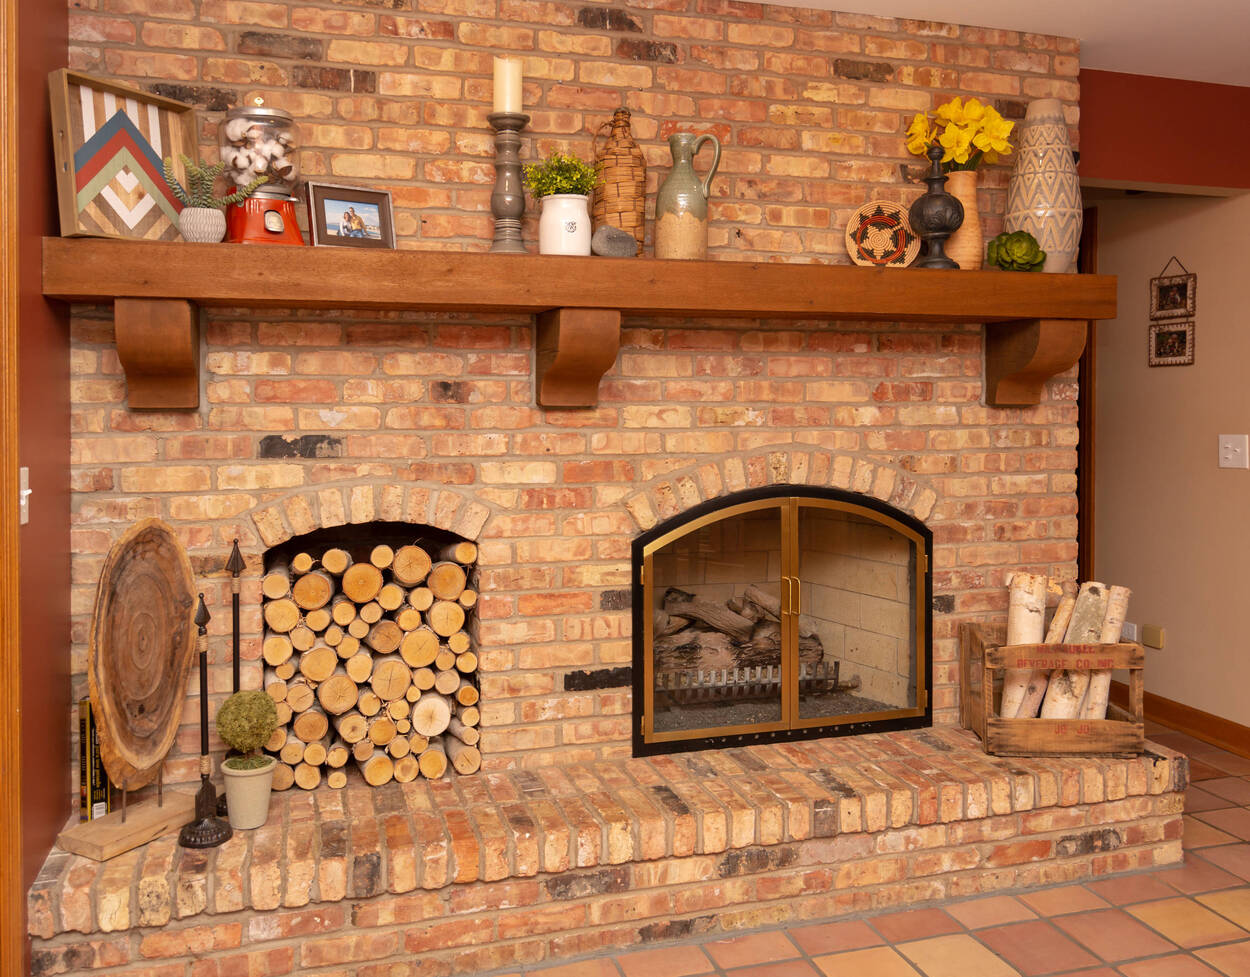
The mantel and surround are the decorative elements that frame the fireplace, adding style and personality to the overall design. They provide a focal point and can be customized to match your home’s aesthetic. Here’s a step-by-step guide to adding a mantel and surround:
- Select the Materials: Choose the materials for your mantel and surround based on your preferred style and the overall decor of the room. Common options include wood, stone, brick, or tile.
- Measure and Cut the Mantel: Measure the dimensions of the fireplace opening and the desired height and width of the mantel. Use these measurements to cut the mantel material to size.
- Create the Surround: Based on your design preferences, determine the shape and layout of the surround. This may involve arranging stone or tile patterns or constructing a wooden frame around the mantel.
- Install the Mantel: Attach the mantel to the wall using appropriate hardware or brackets. Ensure that it is level and securely anchored to the wall.
- Construct the Surround: Install the surround material, whether it be stone, brick, or tile, following the manufacturer’s instructions and using the appropriate adhesive or mortar.
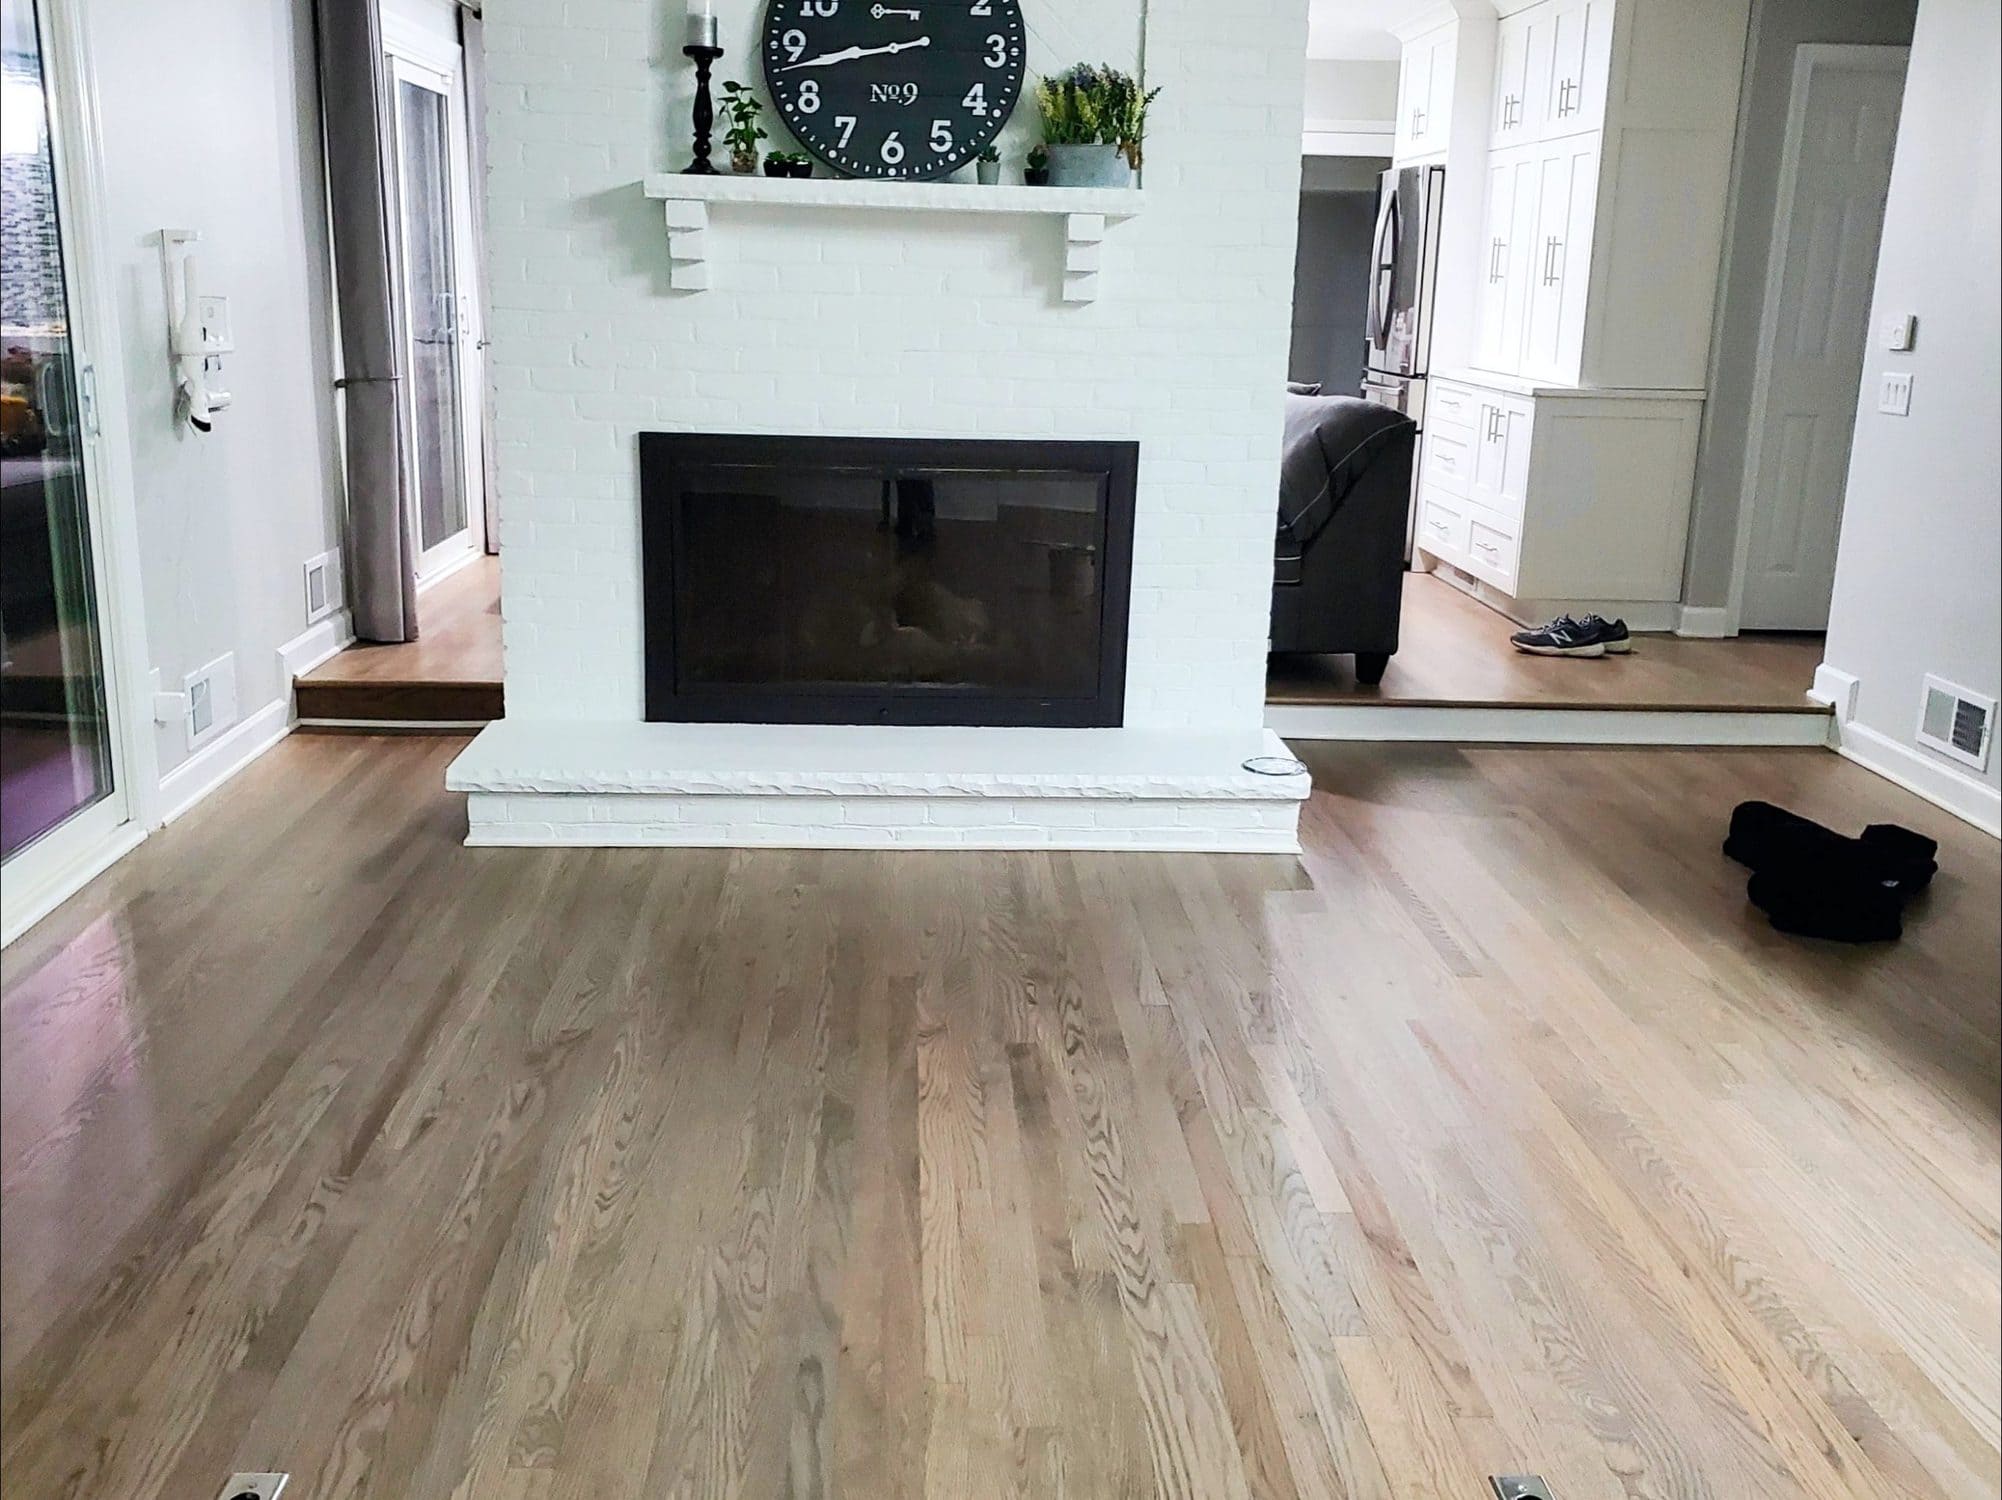
- Finish and Paint: Once the mantel and surround are installed, sand any rough edges, fill any gaps or cracks, and apply a coat of paint or stain to enhance the appearance and protect the materials.
The mantel and surround provide an opportunity to showcase your personal style and create a coordinated look with the rest of the room. Consider complementing the existing decor or adding a contrasting element for visual interest.
With the mantel and surround in place, your fireplace construction is nearing completion. However, there are a few more finishing touches that can make a significant difference. We will explore those in the following section.
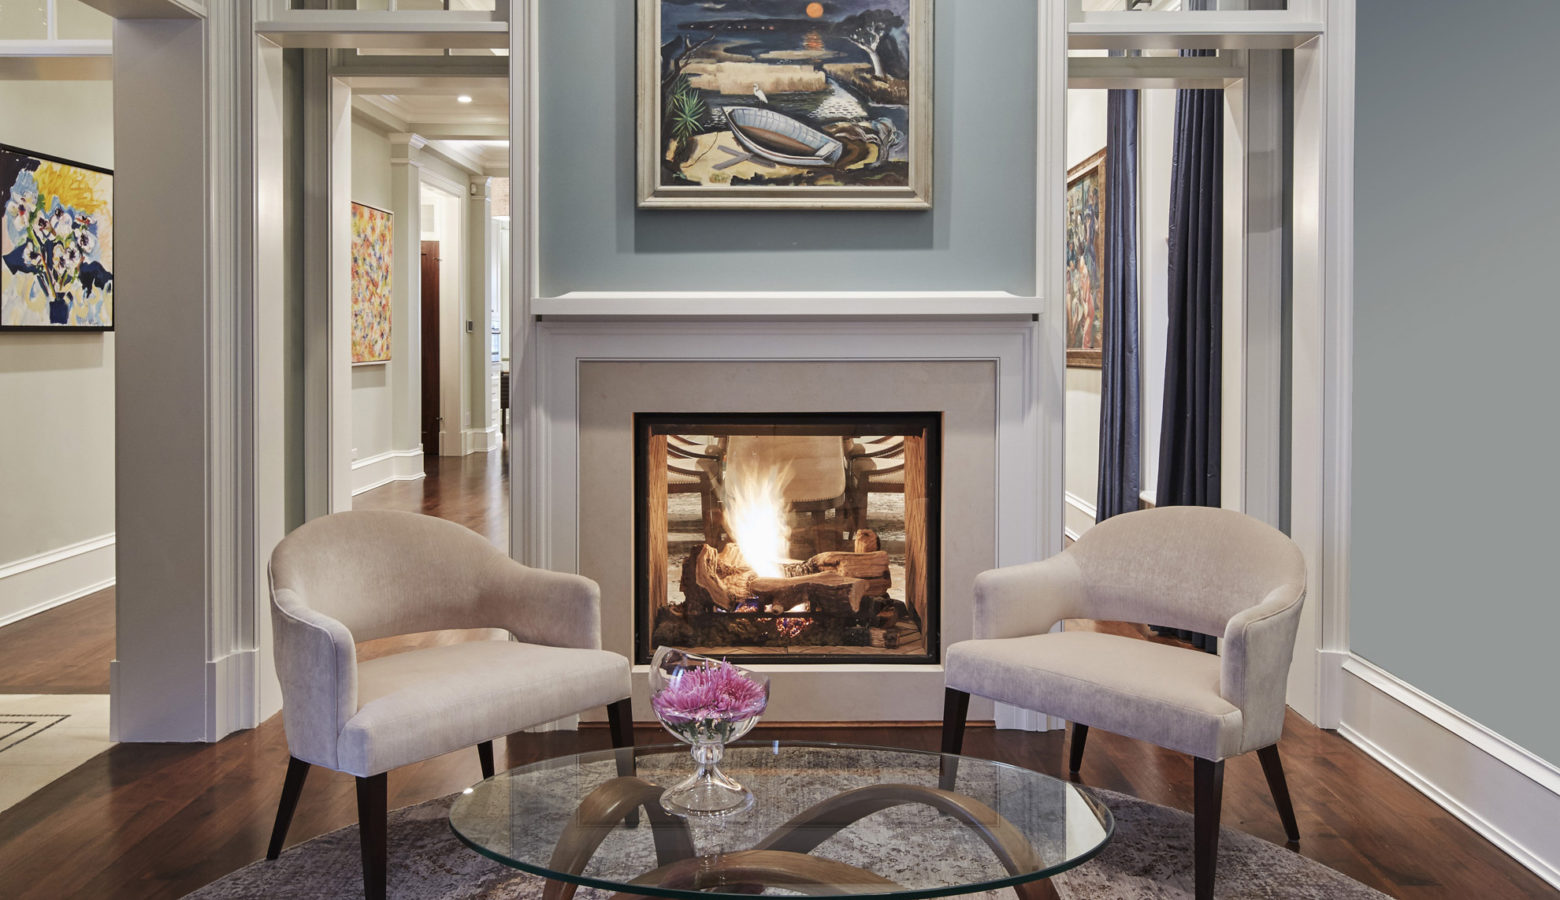
Finishing Touches
With the main components of your fireplace construction complete, it’s time to add the finishing touches that bring your vision to life. These small details can have a big impact on the overall appearance and functionality of the fireplace. Here are some finishing touches to consider:
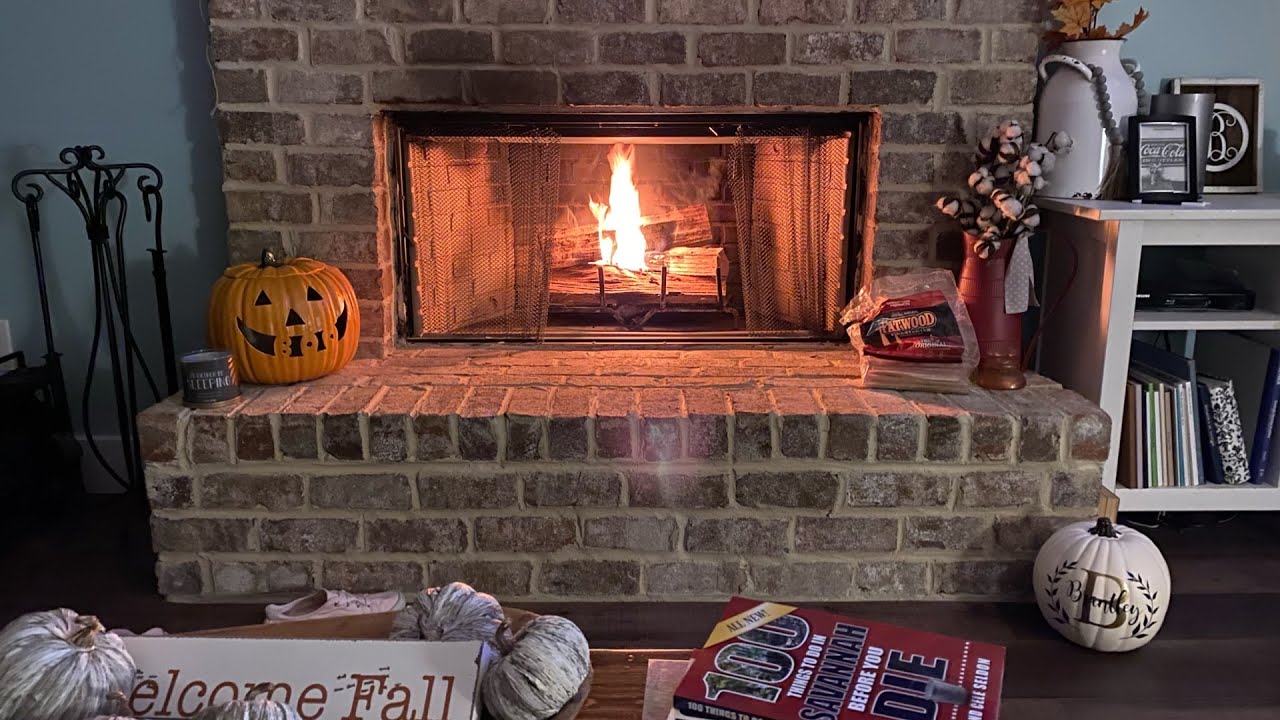
- Fireplace Doors or Screens: Install fireplace doors or screens to enhance safety, prevent sparks from escaping, and add a decorative element to your fireplace. Choose a style that complements your overall design aesthetic.
- Fireplace Tools: Invest in a set of fireplace tools, including a poker, brush, shovel, and log tongs. These tools are not only functional for safely tending to the fire, but they can also add a rustic or elegant touch to the fireplace area.
- Fireplace Grate: Consider adding a fireplace grate to elevate the logs and improve airflow, promoting better combustion and heat output.
- Fireplace Accessories: Add decorative accessories such as a fireback, decorative log holder, or candleholders to enhance the ambiance of the fireplace when it’s not in use.
- Fireplace Lighting: Install lighting fixtures above or around the fireplace to provide warm, indirect lighting that accentuates its beauty even when it’s not in use.
- Sealing and Insulation: Seal any gaps or cracks in the firebox and chimney to prevent heat loss and improve energy efficiency. This will also help prevent the entry of pests or debris.
These finishing touches can truly elevate the overall look and functionality of your fireplace, making it a captivating focal point in your home. Remember to consider the safety regulations and guidelines for each accessory or enhancement you add to your fireplace.
With the finishing touches complete, your fireplace construction is finished. Now you can enjoy the warmth and ambiance it brings to your living space. Remember to regularly inspect and maintain your fireplace to ensure its continued safety and efficiency.
So there you have it – a comprehensive guide to constructing a fireplace. Whether you’re building a traditional wood-burning fireplace or a modern gas fireplace, following these steps will help you create a stunning and functional addition to your home.
Stay warm and cozy!
Conclusion
Building a fireplace is a rewarding project that not only adds warmth and comfort to your home but also creates a stunning centerpiece that enhances the overall aesthetic. From the materials needed to the finishing touches, constructing a fireplace involves careful planning, attention to detail, and adherence to safety guidelines. By following the step-by-step process outlined in this article, you can create a fireplace that not only meets your heating needs but also reflects your unique style and taste.
Remember, the construction of a fireplace requires a combination of functionality and design. It is important to choose high-quality materials that are suitable for the intense heat generated by a fire. Additionally, consult local building codes and regulations to ensure compliance and safety.
As you prepare the site, build the foundation, construct the firebox, install the chimney, and add the finishing touches, keep in mind that each step contributes to the overall integrity and aesthetics of your fireplace. Take the time to measure, level, and align each component to create a solid and visually appealing structure.
Once your fireplace construction is complete, don’t forget to regularly maintain and inspect it to ensure safe and efficient operation. Clean the chimney, inspect the firebox, and check for any signs of damage or wear. This will not only prolong the lifespan of your fireplace but also ensure the safety of your home and loved ones.
In conclusion, building a fireplace is both a practical and creative endeavor. It brings warmth and beauty to your home, creating a cozy and inviting space for gatherings and relaxation. By following the guidelines and steps outlined in this article, you can embark on your fireplace construction project with confidence and create a stunning focal point that will be enjoyed for years to come.
So, gather your materials, roll up your sleeves, and get ready to enjoy the comfort and charm of a beautifully constructed fireplace.
Frequently Asked Questions about How Is A Fireplace Constructed
Was this page helpful?
At Storables.com, we guarantee accurate and reliable information. Our content, validated by Expert Board Contributors, is crafted following stringent Editorial Policies. We're committed to providing you with well-researched, expert-backed insights for all your informational needs.


0 thoughts on “How Is A Fireplace Constructed”