Articles
How To Stain Wood Stairs
Modified: August 21, 2024
Discover the best techniques and tips for staining wood stairs. Read our informative articles on how to achieve a flawless finish and enhance the beauty of your staircase.
(Many of the links in this article redirect to a specific reviewed product. Your purchase of these products through affiliate links helps to generate commission for Storables.com, at no extra cost. Learn more)
Introduction
Welcome to our guide on how to stain wood stairs! Wood stairs can add beauty and warmth to any home, but over time the natural wood color may fade or become worn. Staining your wood stairs is an excellent way to restore their luster and enhance their overall appearance. Whether you want to update the look of your stairs or protect them from daily wear and tear, this step-by-step guide will provide you with everything you need to know to achieve professional-looking results.
Staining wood stairs is a rewarding and cost-effective DIY project that can be completed in a weekend, depending on the size and condition of your stairs. It involves a few essential steps, including preparing the surface, choosing the right stain, applying the stain, and finishing it off to ensure long-lasting durability and beauty.
Before you begin, it’s important to gather all the necessary materials to ensure a smooth and successful staining process. Let’s take a look at what you’ll need.
Key Takeaways:
- Transform your wood stairs with a rewarding DIY staining project. Choose the right stain, apply it evenly, and protect the wood for long-lasting beauty and protection against wear and tear.
- Maintain the elegance of your stained wood stairs with regular cleaning, protection from moisture and sun exposure, and proactive maintenance. Enjoy the timeless beauty of your transformed home feature.
Read more: Why Is There Stairs In The Woods
Materials Needed
Before you start staining your wood stairs, it’s important to gather all the necessary materials. Here’s a list of items you’ll need:
- Wood stain: Choose a stain color that complements your interior design and matches the desired look for your stairs. Consider factors such as the type of wood and the existing color of your stairs.
- Sandpaper: Select different grits of sandpaper, such as 80, 120, and 220, to remove any existing finish, smooth out imperfections, and prepare the surface for staining.
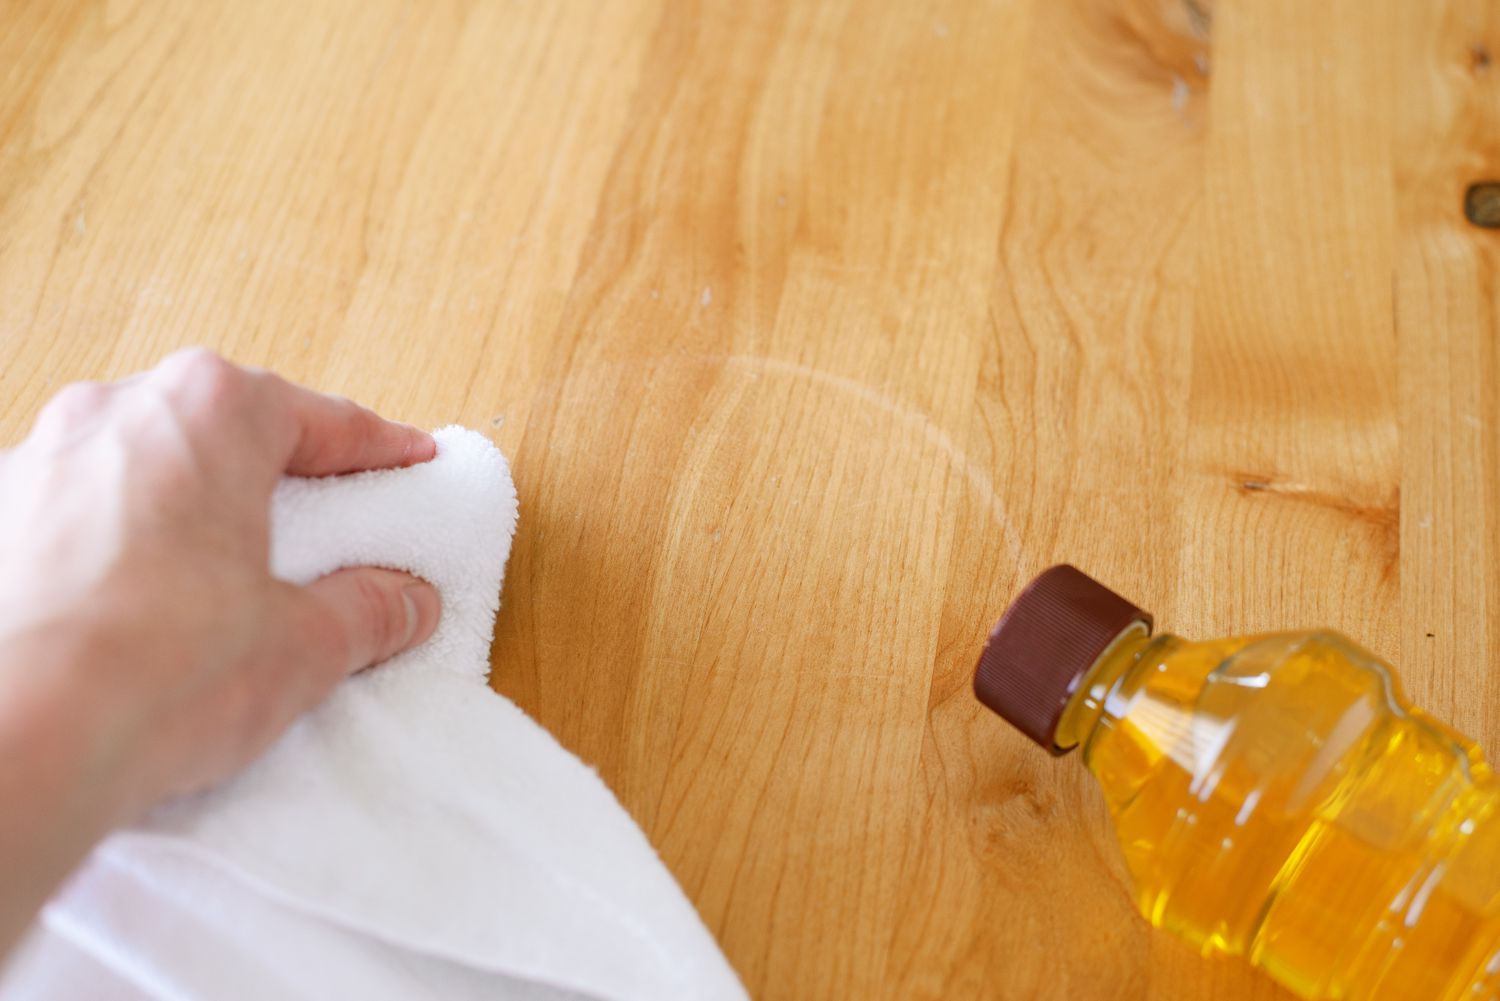
- Clean cloth or tack cloth: Use a clean cloth or a tack cloth to remove dust and debris from the surface of the stairs before applying the stain.
- Protective gear: Ensure you have gloves, safety goggles, and a respirator mask to protect yourself from any potential harm that may arise from working with chemicals and dust.
- Painter’s tape: Use painter’s tape to protect surrounding areas, such as walls and handrails, from accidental stain drips or spills.
- Paintbrushes and/or foam brushes: Get a variety of brushes in different sizes to ensure even and smooth application of the stain. Foam brushes are ideal for reaching narrow areas.
- Stir sticks: You’ll need these to thoroughly mix the stain before application.
- Drop cloths or plastic sheets: Cover the surrounding floor and adjacent areas with drop cloths or plastic sheets to protect them from stain splatters or drips.
- Wood conditioner (optional): Consider using a wood conditioner if you’re working with a softwood species or if your stairs have uneven absorption tendencies. The wood conditioner helps achieve a more uniform stain color.
- Finishing product: Depending on your preference, you may choose to apply a clear polyurethane or varnish as a protective topcoat over the stained wood.
By having these materials on hand, you’ll be well-prepared to begin the staining process and achieve excellent results. Next, let’s move on to preparing the stairs before applying the stain.
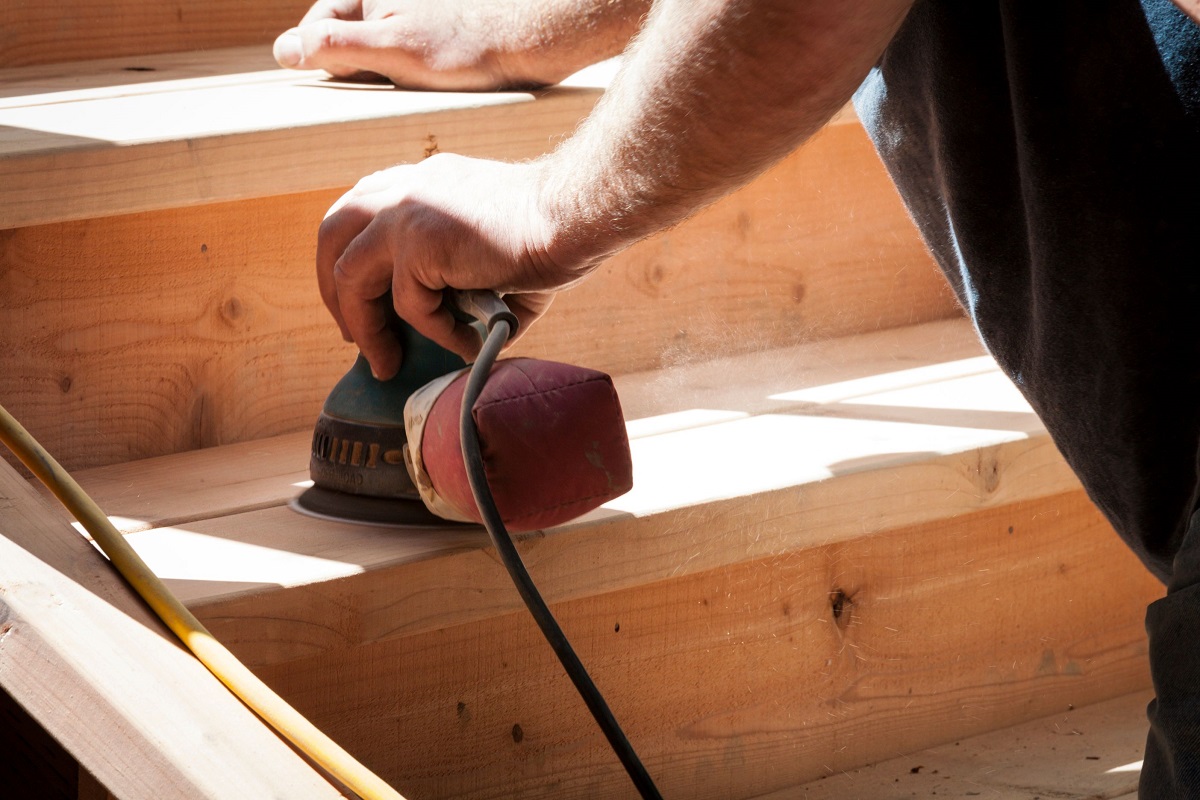
Preparing the Stairs
Before you can start staining your wood stairs, it’s crucial to properly prepare the surface. This step ensures that the stain adheres well to the wood and creates a smooth and uniform finish. Here’s how to prepare the stairs:
- Clean the surface: Begin by thoroughly cleaning the stairs to remove any dirt, dust, or grease. Use a mild cleaner and a sponge or cloth to wipe down the stairs, paying attention to corners and crevices.
- Remove any existing finish: If your stairs have a previous finish, such as paint or varnish, you’ll need to remove it before staining. Use sandpaper or a paint stripper to strip away the old finish, following the manufacturer’s instructions.
- Smooth out imperfections: Inspect the stairs for any imperfections, such as scratches, dents, or uneven areas. Use sandpaper to gently sand away these imperfections and create a smooth surface. Start with a coarse-grit sandpaper and gradually move to finer-grit sandpaper for a polished result.
- Repair damaged areas: If you come across any damaged or rotten wood, it’s essential to repair it before staining. Replace any damaged boards or fill in small cracks with wood filler, and then sand the repaired areas until they are smooth and level with the rest of the stairs.
- Prevent stain bleed: Apply painter’s tape along the edges of the stairs, where they meet walls or handrails, to prevent the stain from bleeding onto these surfaces. This step helps create clean and defined lines.
Once you have completed the steps above, take a moment to ensure that the stairs are clean and free of dust. You can use a tack cloth to remove any remaining particles. With the surface properly prepped, you’re now ready to move on to the next step: choosing the right stain for your wood stairs.
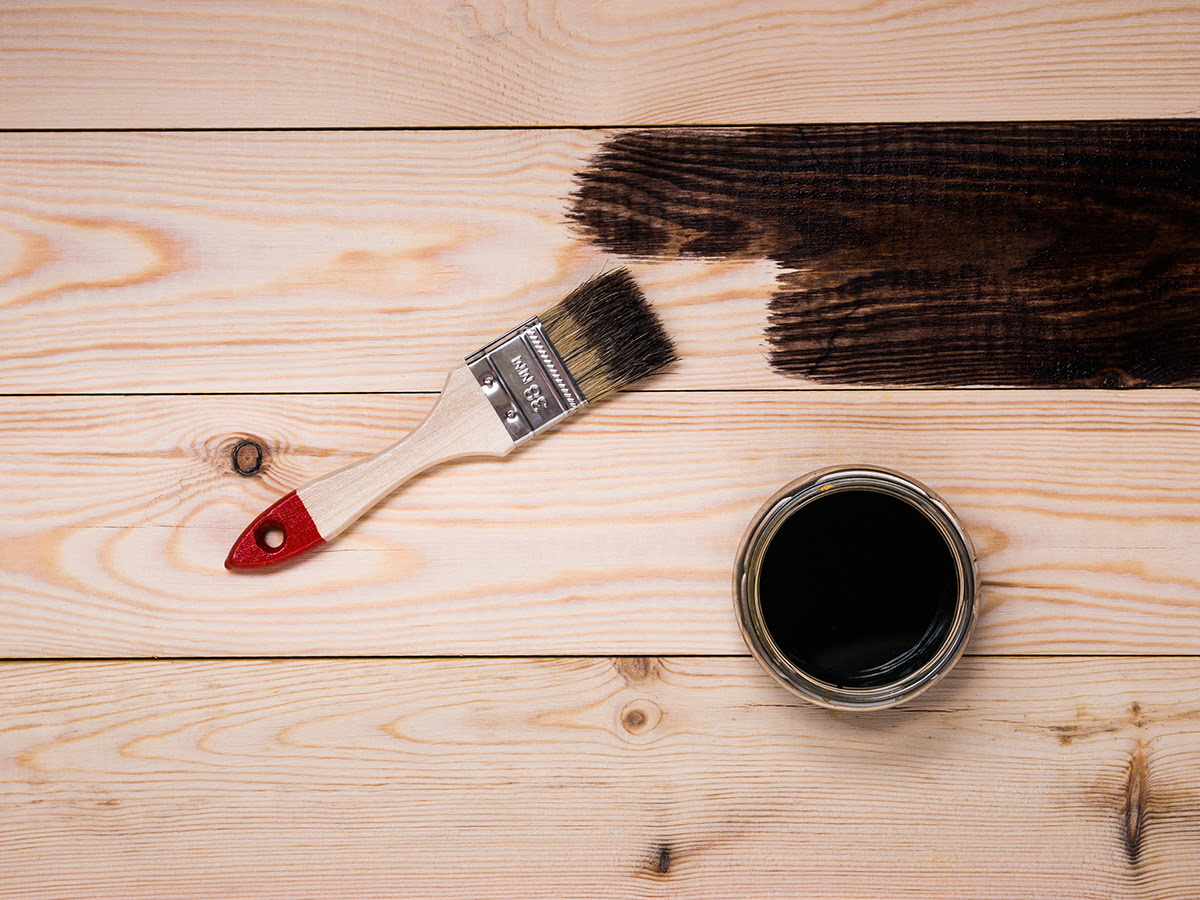
Choosing the Stain
Choosing the right stain for your wood stairs is crucial to achieving the desired look and preserving the natural beauty of the wood. Here are some factors to consider when selecting a stain:
- Wood type: The type of wood used for your stairs will influence how it accepts the stain. Some woods, like oak or cherry, have distinctive grain patterns and characteristics that can enhance the final look. Consider the natural color and characteristics of the wood when choosing a stain.
- Stain color: Stains are available in a wide range of colors, from light to dark shades. Consider the overall color scheme of your home and the desired aesthetic. Light stains can create a more open and airy feel, while darker stains can add richness and depth to the stairs.
- Transparency: Stains come in different levels of transparency, ranging from clear to opaque. Transparent stains allow the natural wood grain to show through, while opaque stains offer more coverage, hiding the wood’s natural features. Decide whether you want a more natural and visible grain or a solid color for your stairs.
- Sample testing: It’s always a good idea to test the stain color on a small, inconspicuous area of the stairs or on a spare piece of wood. This will allow you to see how the stain interacts with your particular wood species and determine if it’s the right color for your stairs.
- UV protection: If your stairs receive a lot of direct sunlight, consider choosing a stain with UV protection. UV rays can cause the wood to fade and lose its luster over time. Stains with UV protection additives help to minimize color fading and prolong the life of the stain.
Take your time when selecting a stain color and finish. It’s worth visiting a local home improvement store to see samples and speak with professionals who can provide guidance based on your specific needs and preferences. Once you’ve chosen the perfect stain, it’s time to move on to the exciting part – applying the stain to your wood stairs!
When staining wood stairs, make sure to sand the surface thoroughly to remove any existing finish and to create a smooth surface for the stain to adhere to. Sand with the grain of the wood for best results.
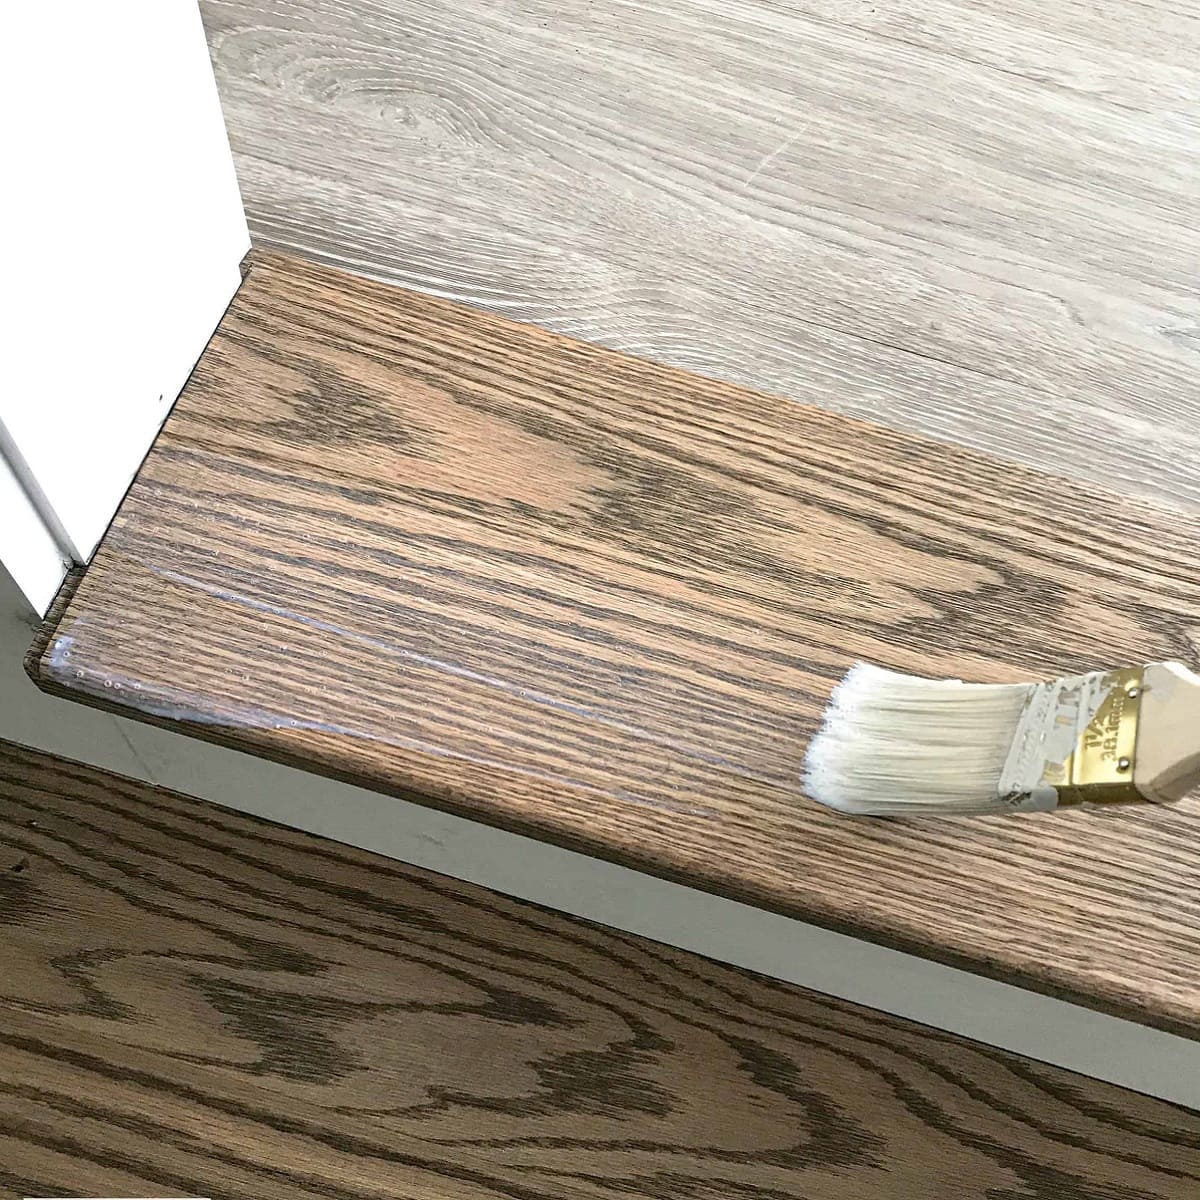
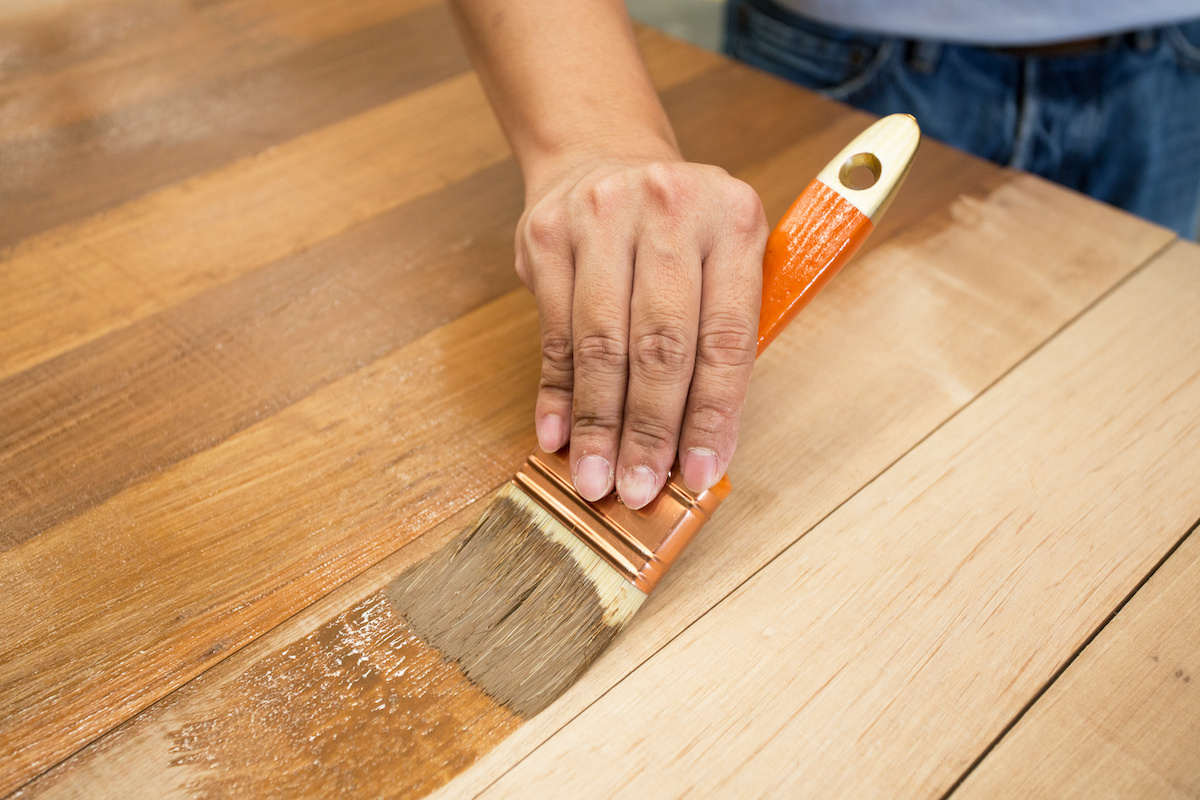
Applying the Stain
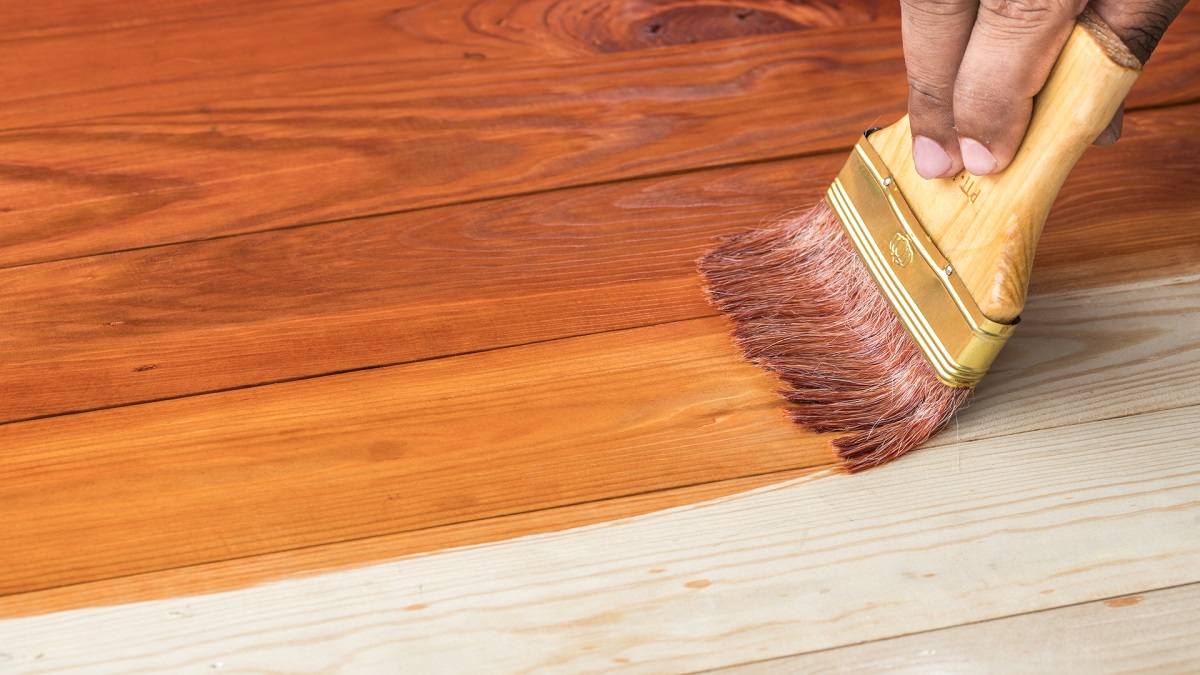
Now that you have chosen the perfect stain for your wood stairs, it’s time to apply it and transform the appearance of your stairs. Follow these steps to ensure a successful staining process:
- Prepare the stain: Before you begin, thoroughly stir the stain to ensure that it is well mixed. Follow the manufacturer’s instructions for any specific preparation requirements.
- Apply wood conditioner (if necessary): If you are working with a softwood species or if your stairs have uneven absorption tendencies, applying a wood conditioner can help achieve a more uniform stain color. Follow the instructions on the wood conditioner and allow it to dry according to the recommended drying time.
- Start from the top: Begin staining from the top of the stairs and work your way down. This prevents any accidental drips or smudges on already stained areas.
- Apply the stain: Dip your brush or foam brush into the stain and start applying it along the grain of the wood. Use long, smooth strokes to ensure an even coverage. Take care to avoid overlapping strokes, as this can result in uneven color distribution. Work in small sections, following the shape of the stairs.
- Wipe off excess stain: After applying the stain to a section, immediately use a clean cloth to wipe off any excess stain. This helps prevent the stain from pooling or drying unevenly. Always follow the recommended time suggested by the stain manufacturer before wiping off the excess.
- Allow drying time: Give the stained stairs ample time to dry according to the manufacturer’s instructions. This typically ranges from a few hours to overnight. Avoid walking on the stairs during this time to prevent smudging or damaging the fresh coat of stain.
- Repeat the process (if needed): Depending on the desired color intensity and the type of wood, you may need to apply multiple coats of stain. Allow each coat to dry completely before applying the next. Test the color after each coat to ensure you’re achieving the desired result.
Remember to work in a well-ventilated area and follow any safety precautions mentioned on the stain label. Pay attention to drying times and temperature recommendations for optimal results. Once the stain is dry, it’s time to move on to the next step and give your newly stained wood stairs a polished and finished appearance.
Read more: How To Clean Wood Stairs
Drying and Finishing
After applying the stain to your wood stairs, it’s crucial to allow them to dry completely before proceeding with the finishing touches. Here’s what you need to do:
- Check the drying time: Refer to the manufacturer’s instructions to determine the recommended drying time for the specific stain you used. Factors such as temperature and humidity can affect drying times, so make sure to consider these as well.
- Avoid walking on the stairs: It’s essential to avoid walking on the freshly stained stairs until they are completely dry. This can prevent smudges, footprints, or any damage to the stain or finish.
- Apply a clear topcoat (optional): To protect the stained wood and add a beautiful finish, consider applying a clear topcoat, such as polyurethane or varnish. These topcoats can provide durability, water resistance, and a glossy or satin sheen. Follow the manufacturer’s instructions for application and drying times.
- Apply additional coats (if desired): Depending on your preference and the level of protection you desire, you can apply multiple coats of the clear topcoat. Allow each coat to dry fully before applying the next, following the manufacturer’s instructions.
- Remove painter’s tape: Once the stain and topcoat are dry, carefully remove the painter’s tape that was used to protect adjacent areas. Take your time to ensure clean lines and avoid pulling off any of the stain or finish.
- Allow curing time: Give the topcoat sufficient time to cure before subjecting the stairs to regular use. Curing times can vary depending on the product, so consult the instructions for specific recommendations.
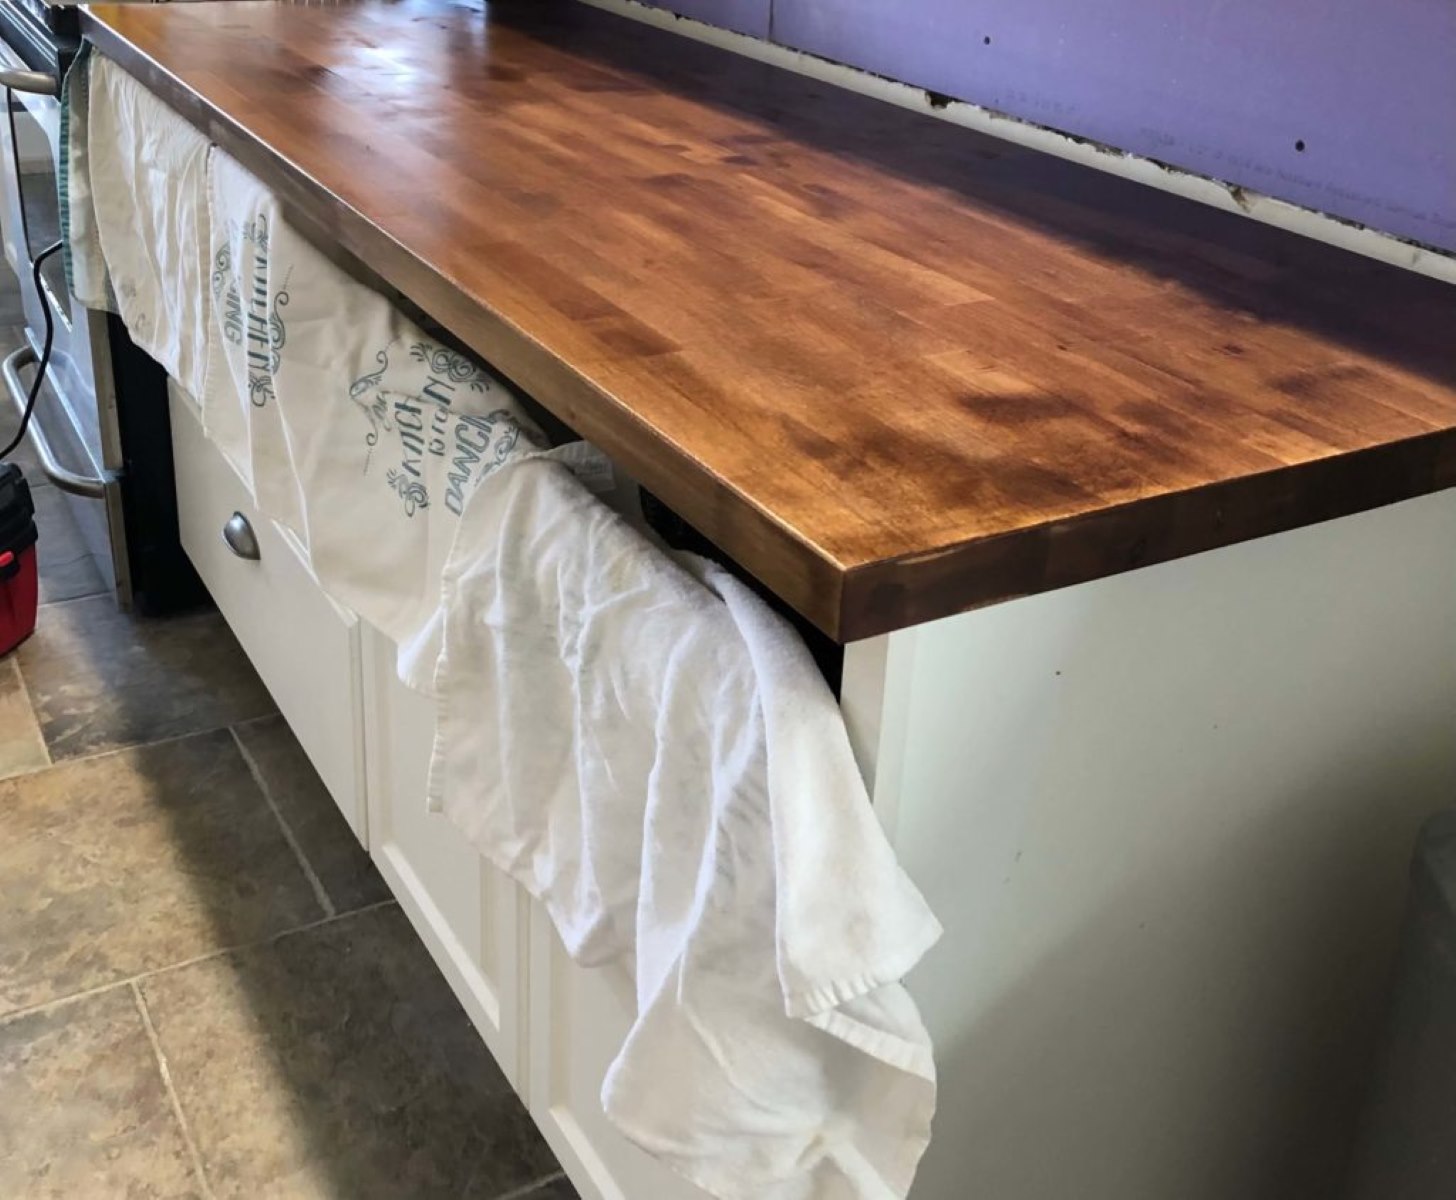
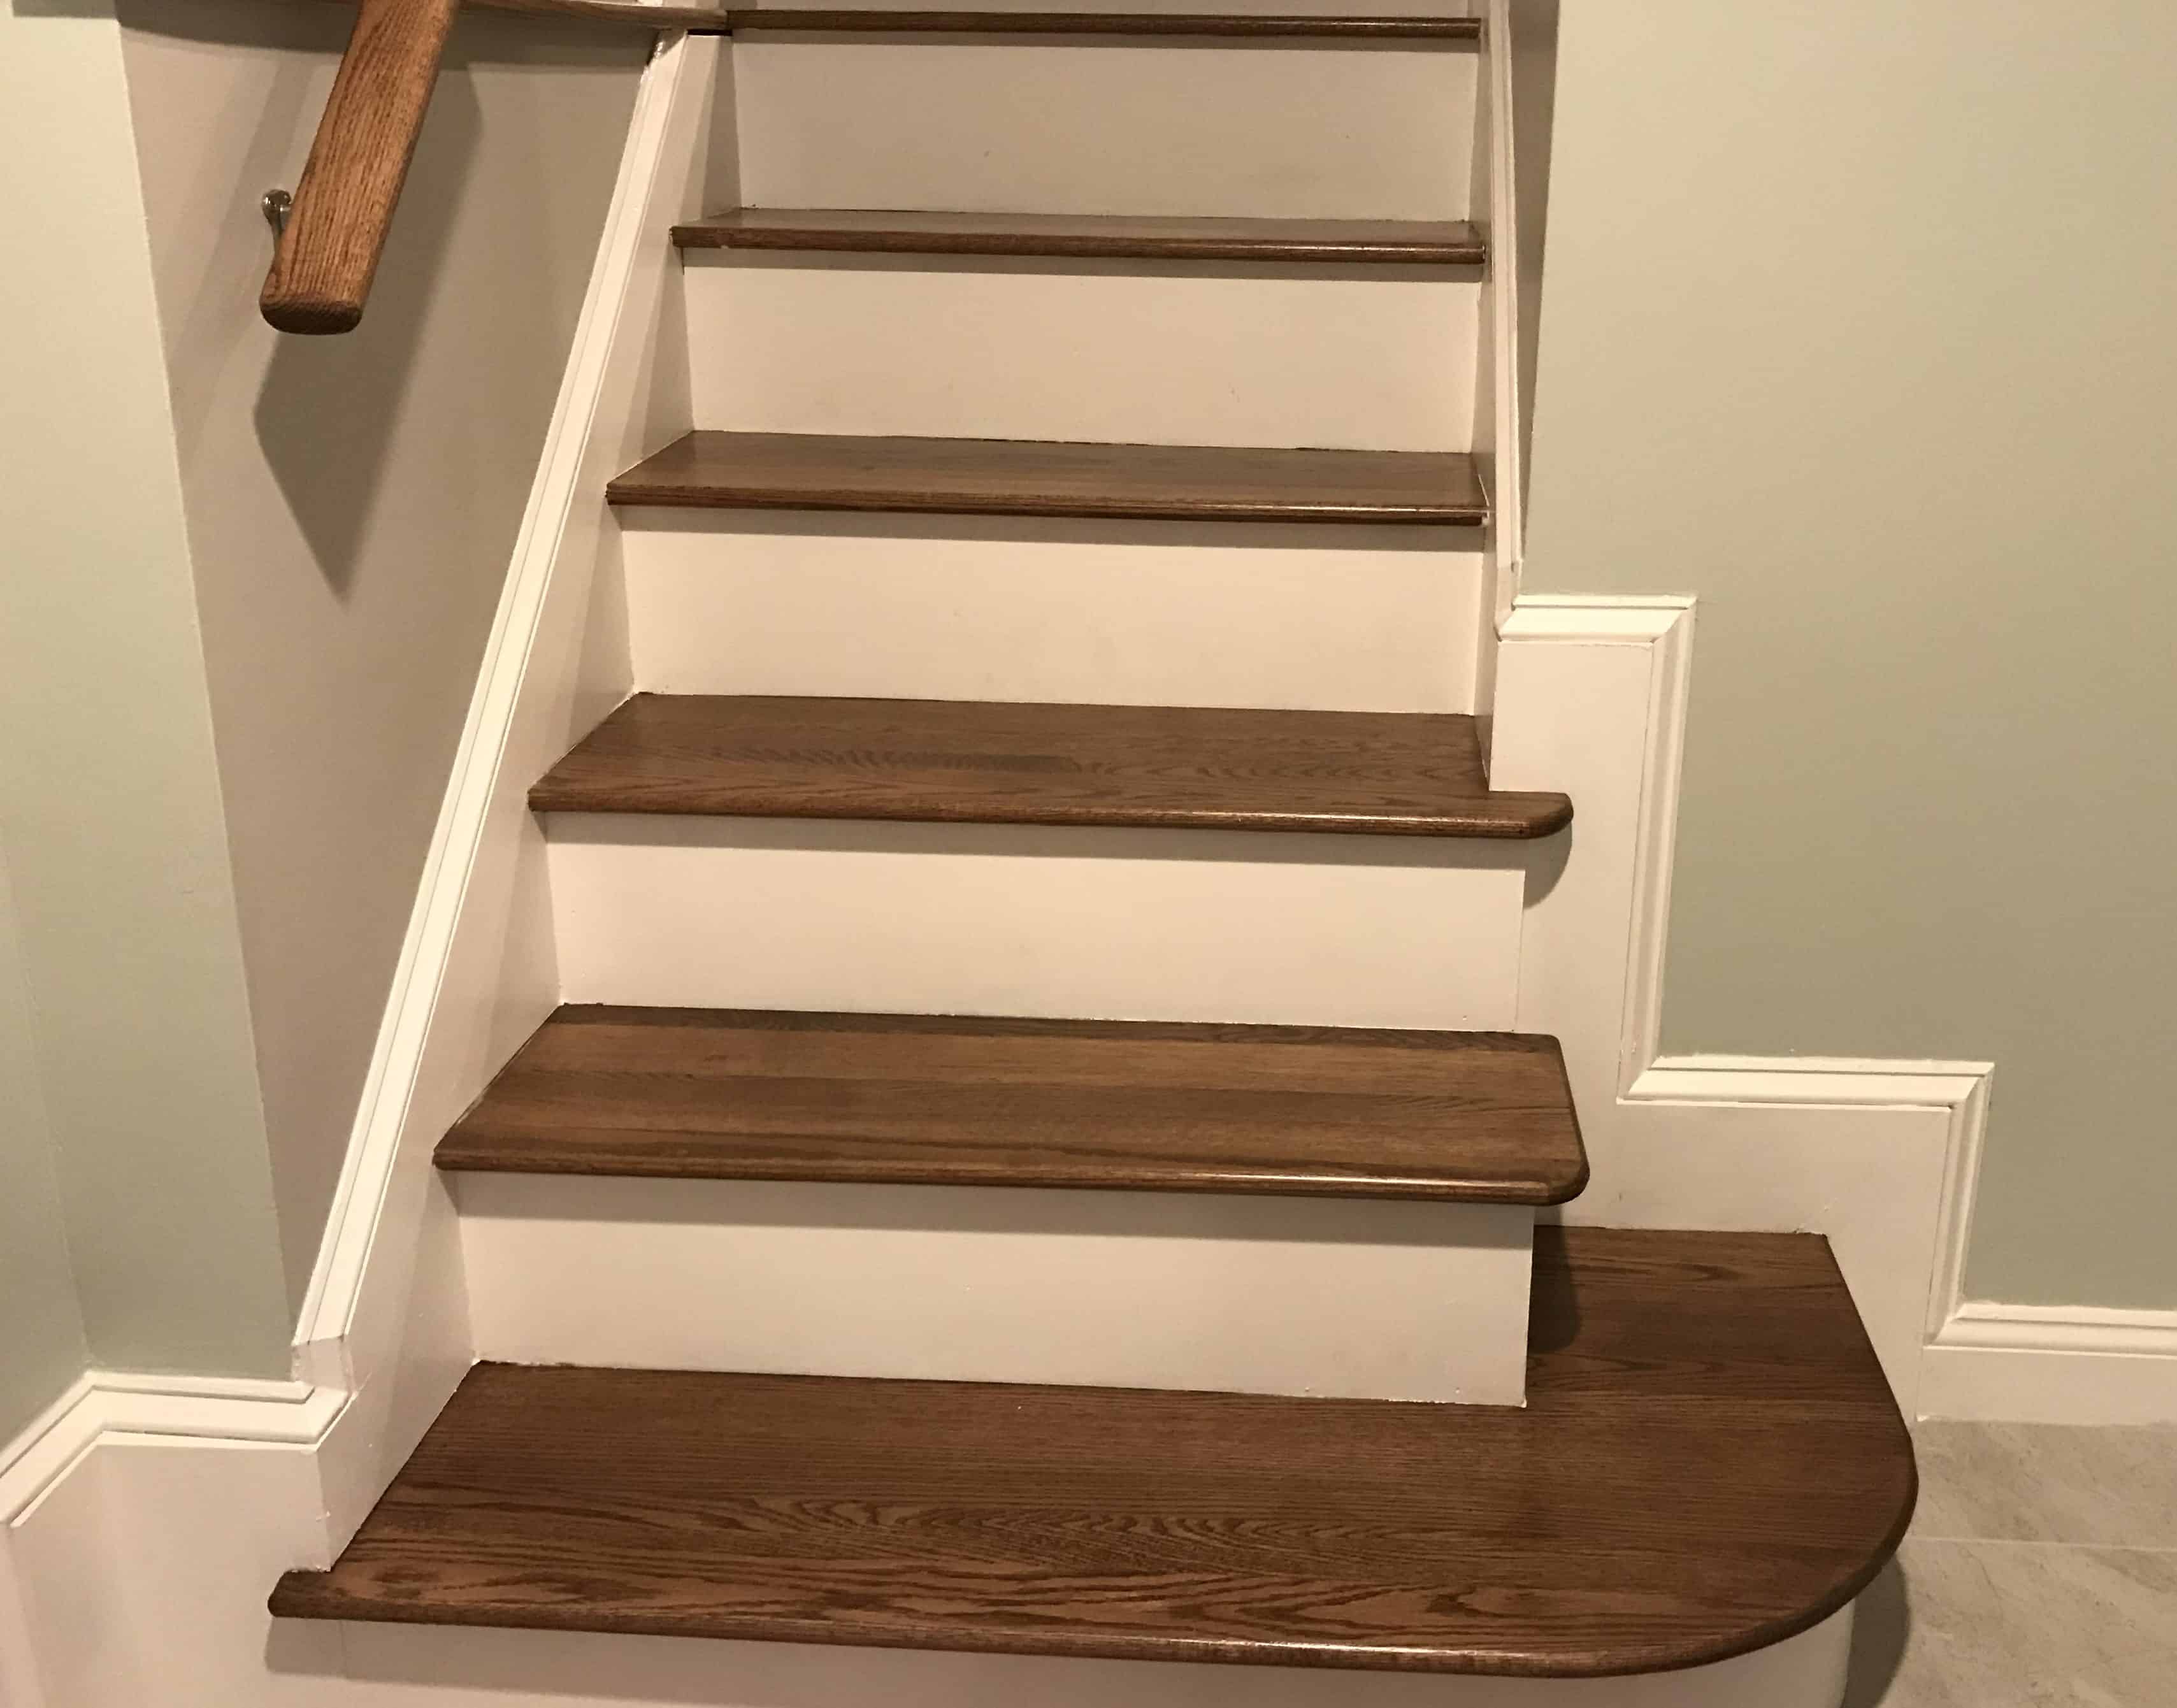
Once the stairs are fully dry and the topcoat has cured, you can enjoy the transformed look of your wood stairs. The stain and finish will help protect the wood from daily wear and tear while enhancing its natural beauty.
Remember, proper maintenance and care are key to preserving the look and integrity of your stained wood stairs.
Maintaining and Caring for Stained Wood Stairs
Once you’ve successfully stained your wood stairs, it’s important to implement regular maintenance and care practices to keep them looking beautiful and well-maintained. Here are some tips to help you maintain and care for your stained wood stairs:
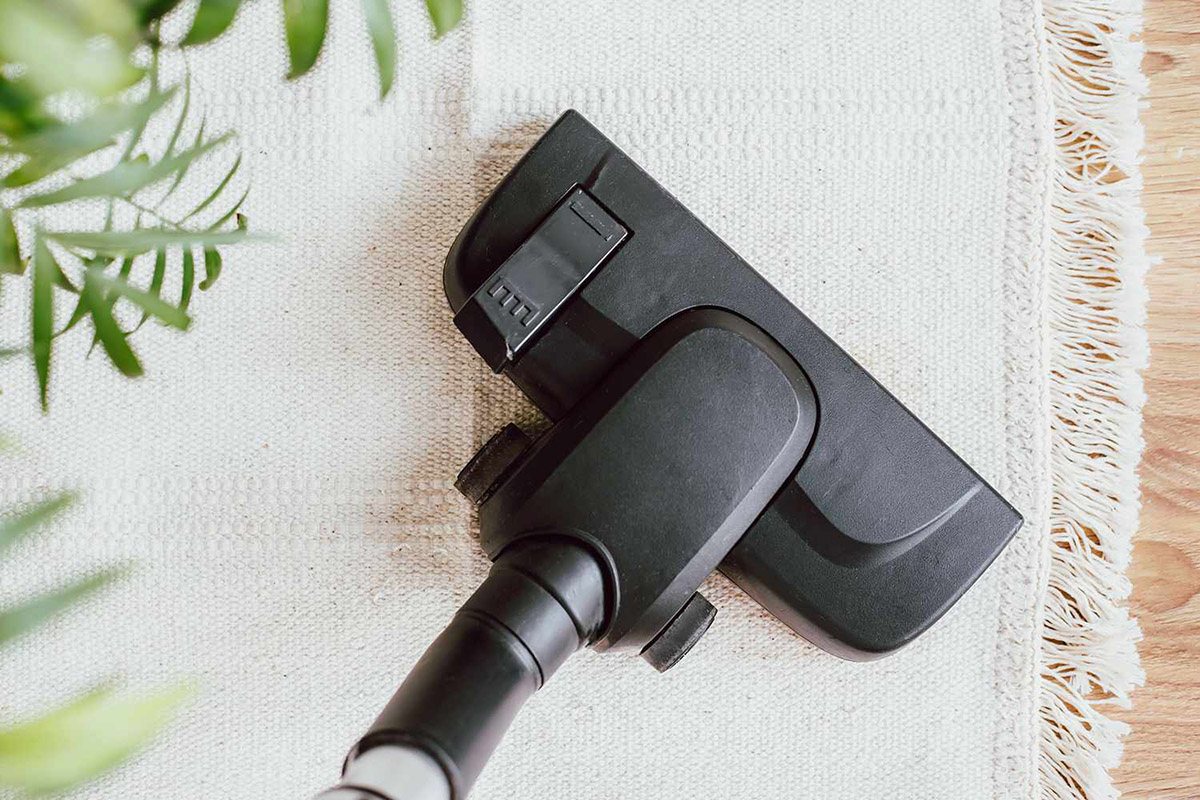
- Regular cleaning: Develop a regular cleaning routine by sweeping or vacuuming the stairs to remove dust, dirt, and debris. Avoid using harsh chemicals or abrasive cleaners, as they can strip away the finish or damage the wood. Instead, use a damp cloth or mop with a mild cleaner specifically formulated for wood surfaces.
- Avoid excessive moisture: Wood is sensitive to fluctuations in moisture levels. To prevent warping or other water-related damage, avoid excessive exposure to moisture. Immediately wipe up any spills or liquids that may come into contact with the stairs, and use rugs or mats in areas prone to moisture, such as near entryways or bathrooms.
- Protect from scratches: Place protective pads or felt pads on furniture legs, such as chairs or tables, to prevent scratching the stained wood surface when these items are moved or slid across the stairs. Regularly check and replace these pads as needed to ensure continued protection.
- Minimize sun exposure: Prolonged exposure to direct sunlight can cause the stain to fade or discolor over time. Consider using curtains, blinds, or UV protection window films to limit the amount of sunlight that reaches the stairs.
- Inspect for damage: Regularly inspect the stairs for any signs of damage, such as scratches, dents, or chips in the stain or finish. Promptly address any issues to prevent further damage or wear. Touch up the stain or finish as needed, following the manufacturer’s instructions.
- Avoid using abrasive materials: When cleaning or removing stains or marks, avoid using abrasive materials such as steel wool or harsh scrub brushes. Opt for gentle cleaning methods and mild cleaners specifically formulated for wood surfaces.
- Regular maintenance: Depending on the wear and tear your stairs experience, you may need to periodically reapply a protective topcoat to maintain the finish and provide ongoing protection. Follow the manufacturer’s guidelines for appropriate maintenance intervals.
By implementing these maintenance and care practices, you can ensure that your stained wood stairs remain in excellent condition for years to come. Regular cleaning, protection from moisture and sun exposure, and proactive maintenance will help preserve the beauty and longevity of your stained wood stairs.
With these tips in mind, you can confidently enjoy the beauty and elegance that stained wood stairs bring to your home.
Conclusion
Congratulations on completing the journey of staining your wood stairs and transforming them into a stunning focal point within your home! By following the step-by-step guide provided, you have learned how to prepare the surface, choose the perfect stain color, apply the stain evenly, and protect the wood with a topcoat. Additionally, you now have the knowledge to properly maintain and care for your stained wood stairs to ensure their longevity and continued beauty.
Staining wood stairs is a rewarding and cost-effective DIY project that can enhance the overall aesthetic of your home. Not only does it restore the natural beauty of the wood, but it also offers protection against everyday wear and tear. With the right materials and techniques, you can achieve professional-looking results and create a stunning, personalized look for your stairs.
Remember, when undertaking any home improvement project, it’s important to prioritize safety. Use the recommended protective gear, work in a well-ventilated area, and carefully follow the instructions provided by the stain and finish manufacturers.
We hope this comprehensive guide has provided you with the necessary information and inspiration to confidently tackle your wood stair staining project. With proper preparation, careful application, and ongoing maintenance, your stained wood stairs will continue to delight you and your guests for many years to come.
So go ahead, take pride in your newly stained wood stairs and enjoy the beauty they bring to your home!
Frequently Asked Questions about How To Stain Wood Stairs
Was this page helpful?
At Storables.com, we guarantee accurate and reliable information. Our content, validated by Expert Board Contributors, is crafted following stringent Editorial Policies. We're committed to providing you with well-researched, expert-backed insights for all your informational needs.


0 thoughts on “How To Stain Wood Stairs”