Articles
How To Insulate Kegerator Tower
Modified: October 31, 2024
Learn how to properly insulate your kegerator tower with our informative articles. Keep your beer cold and refreshing for longer with these helpful tips.
(Many of the links in this article redirect to a specific reviewed product. Your purchase of these products through affiliate links helps to generate commission for Storables.com, at no extra cost. Learn more)
Introduction
Welcome to the guide on how to insulate your kegerator tower! If you’re a beer enthusiast and have a kegerator at home, you may have noticed that the beer poured from your tap is not as cold as you would like it to be. This lack of coldness can be attributed to a common issue with kegerators – the insulation in the kegerator tower may not be sufficient to maintain the desired temperature of your beer.
Insulating the kegerator tower can help to prevent temperature fluctuations, keeping your beer cold and refreshing with every pour. Additionally, proper insulation can also reduce energy consumption by minimizing the efforts of the cooling system to maintain the desired temperature.
In this guide, we will walk you through the step-by-step process of insulating your kegerator tower. We will discuss the materials needed, the measurements required, and the techniques to properly apply insulation. So, let’s grab our tools and get started!
Key Takeaways:
- Keep your beer cold and refreshing by insulating your kegerator tower. Choose the right insulation material, measure accurately, and secure the insulation for optimal performance.
- Insulating your kegerator tower not only maintains beer temperature but also reduces energy consumption. Enjoy perfectly chilled beer with a well-insulated kegerator tower.
Read more: How To Assemble Kegerator Tower
Materials Needed
Before we begin, let’s take a look at the materials you will need to insulate your kegerator tower:
- Insulation material: There are several options available for insulating your kegerator tower, such as foam tape, neoprene sleeves, or pipe insulation tubes. Choose the material that best suits your needs and budget.
- Measuring tape: A measuring tape will be essential to accurately measure the dimensions of your kegerator tower.
- Scissors or utility knife: You will need a sharp cutting tool to trim the insulation material to the correct size.
- Adhesive: Depending on the insulation material you choose, you may need adhesive to secure it in place. Make sure to select an adhesive that is suitable for the specific material you are using.
- Sealant (optional): If you want to further ensure a tight seal, you may consider using a sealant around the edges of the insulation material.
- Cleaning supplies: Before applying the insulation, it’s a good idea to clean the surface of the kegerator tower. You will need some mild soap, water, and a cloth or sponge for this task.
Now that you have gathered all the necessary materials, let’s move on to the next step of measuring your kegerator tower.
Step 1: Measure the Kegerator Tower
The first step in insulating your kegerator tower is to accurately measure its dimensions. This will ensure that you cut the insulation material to the correct size, allowing for a snug and effective fit.
Here’s how you can measure your kegerator tower:
- Start by turning off and unplugging your kegerator to ensure safety.
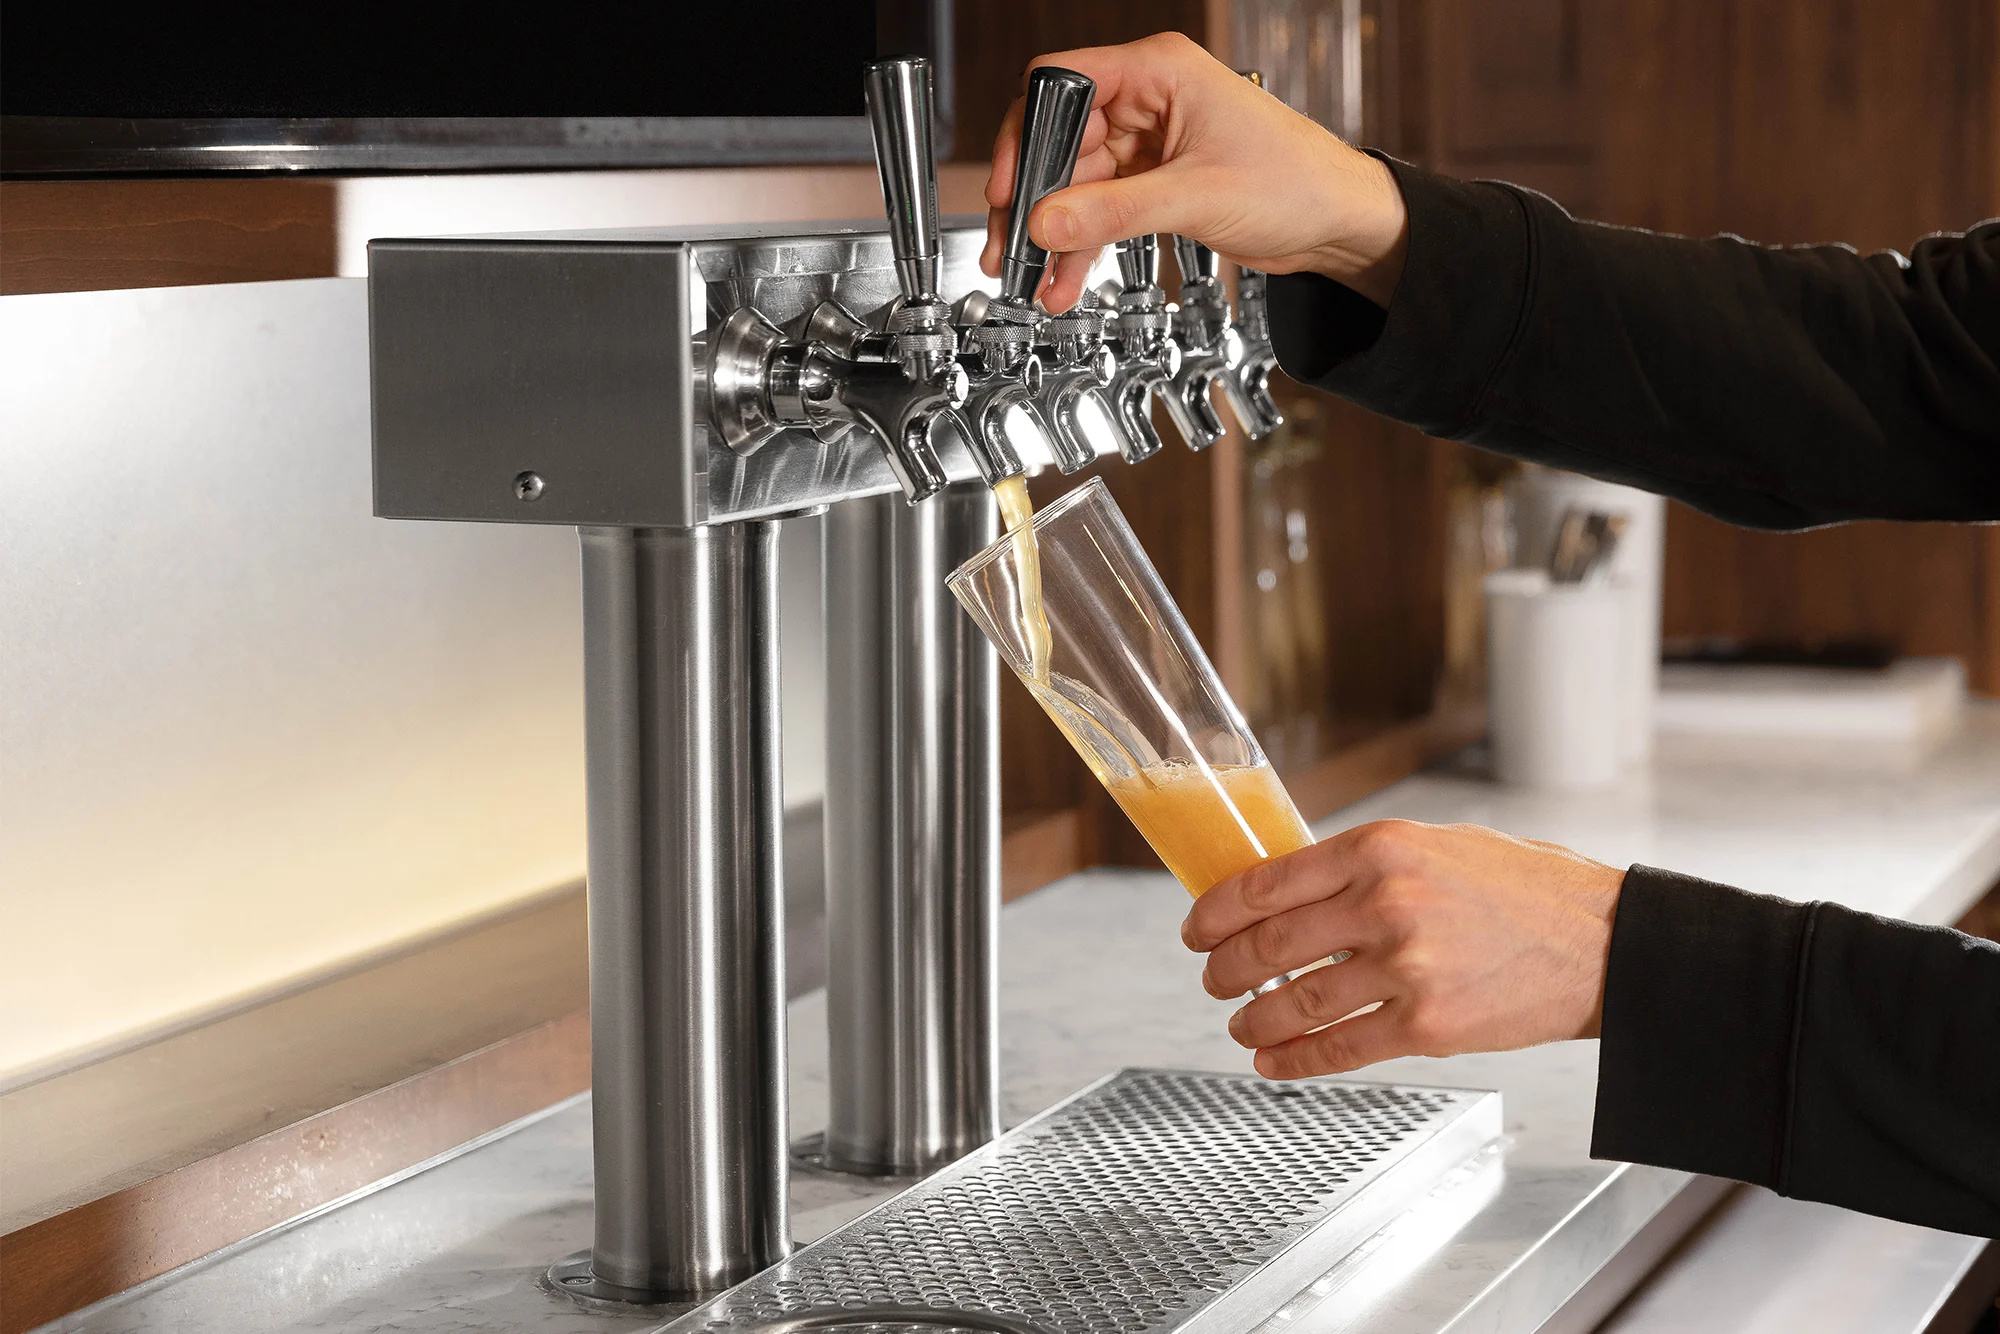
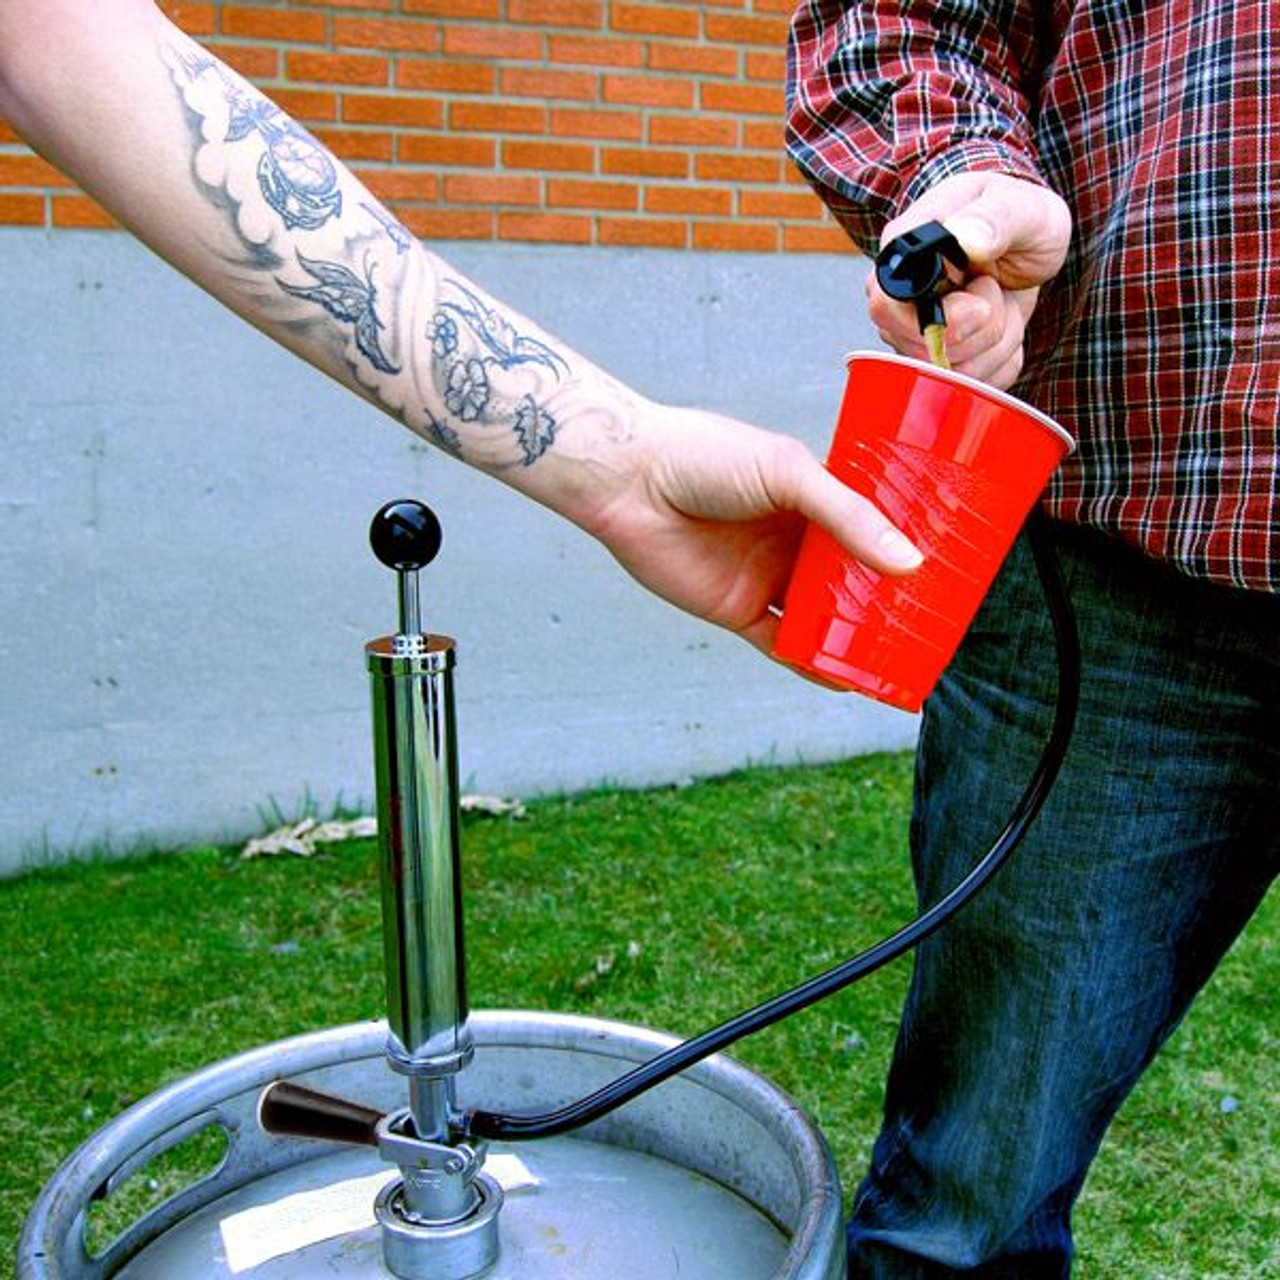
- Locate the tower on top of your kegerator. This is the cylindrical structure through which the beer is dispensed.
- Using a measuring tape, measure the circumference or diameter of the kegerator tower. If measuring the circumference, wrap the measuring tape around the widest part of the tower and note the measurement. If measuring the diameter, measure straight across the tower from one side to the other.
- Measure the height of the kegerator tower from the base to the point where it connects to the kegerator.
Once you have taken these measurements, write them down for reference when cutting the insulation material. It is important to measure accurately to ensure a proper fit and efficient insulation of your kegerator tower.
With the measurements in hand, you are now ready to move on to the next step of selecting the right insulation material for your kegerator tower.
Step 2: Choose the Right Insulation Material
Now that you have measured your kegerator tower, it’s time to select the right insulation material. There are several options available, each with its own benefits and considerations.
Here are a few popular choices for insulating your kegerator tower:
- Foam Tape: Foam tape is a self-adhesive material that is easy to install. It provides a good insulation barrier and helps to prevent temperature fluctuations. Foam tape is available in various thicknesses, so choose one that matches your insulation needs.
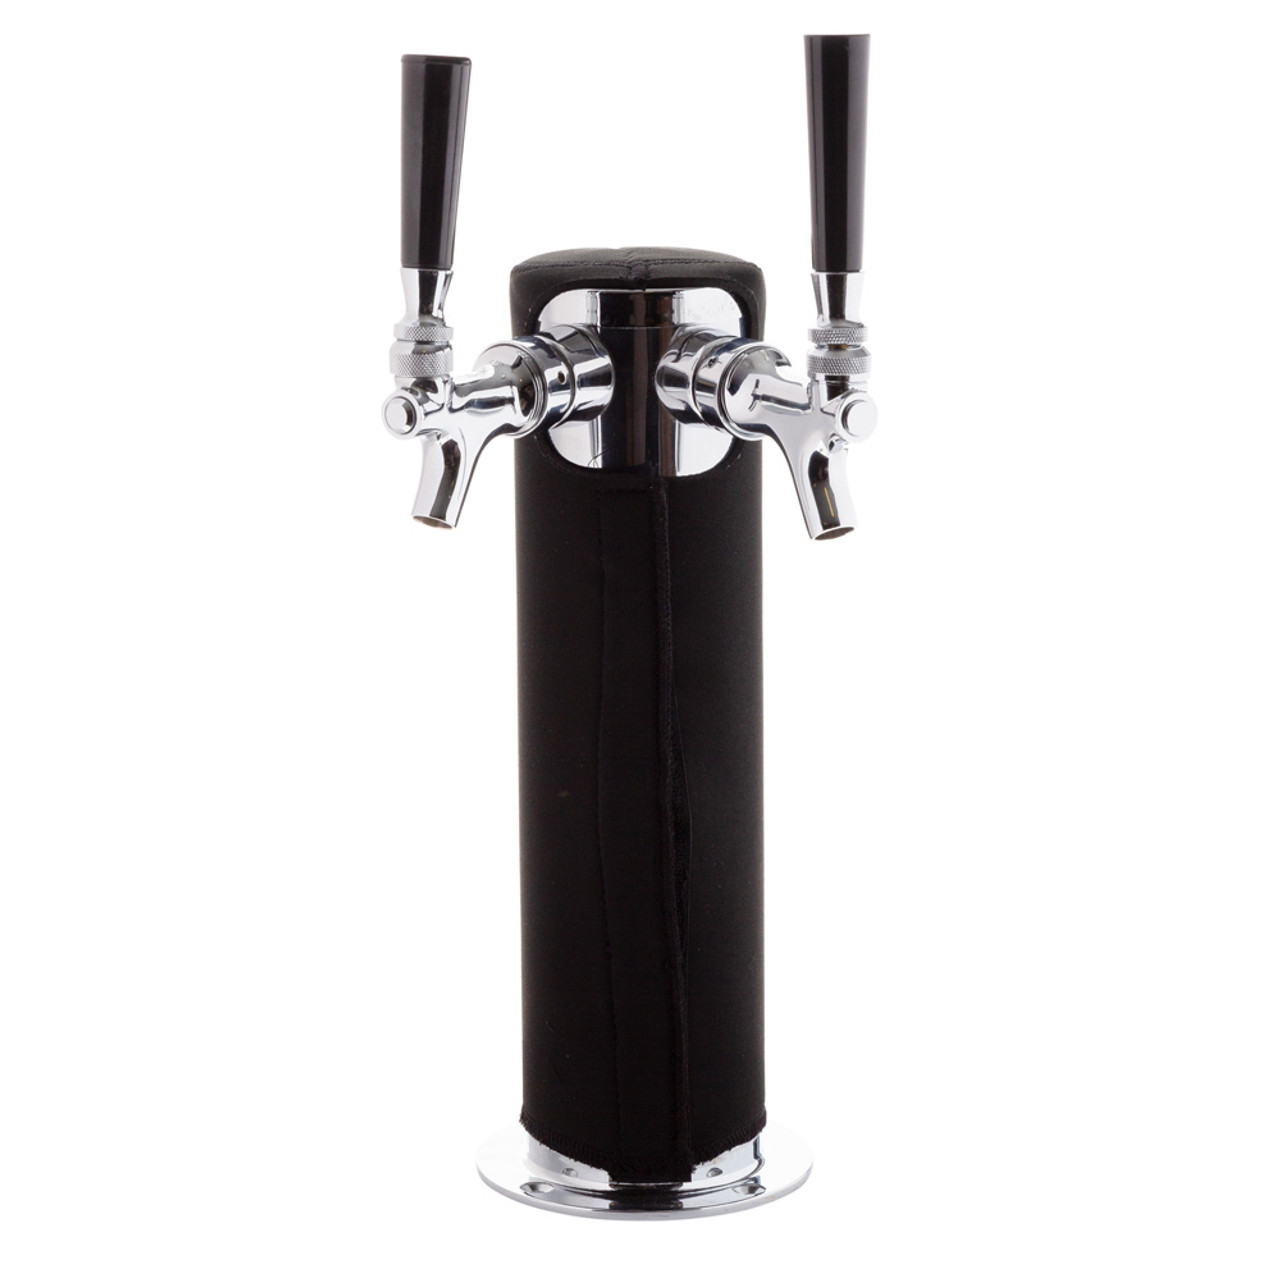
- Neoprene Sleeves: Neoprene sleeves are designed specifically for insulating kegerator towers. They are typically pre-cut to fit standard tower sizes and have a zipper for easy installation. Neoprene sleeves provide excellent insulation and can be easily removed if needed.
- Pipe Insulation Tubes: Pipe insulation tubes are another option for insulating your kegerator tower. These tubes are typically made of foam or rubber and come in various sizes. They can be cut to the desired length and easily attached to the tower using adhesive or zip ties.
When choosing the right insulation material, consider factors such as effectiveness, ease of installation, and aesthetics. You want a material that provides optimal insulation properties while also being easy to work with and visually appealing.
Additionally, ensure that the chosen insulation material is suitable for the size of your kegerator tower. Ideally, it should fit snugly around the tower to create a tight seal and prevent any air leakage.
With the insulation material of your choice in hand, you’re one step closer to properly insulating your kegerator tower. Let’s move on to the next step of preparing the insulation material.
Step 3: Prepare the Insulation Material
Now that you have chosen the right insulation material for your kegerator tower, it’s time to prepare it for installation. Proper preparation ensures a clean and precise fit, allowing the insulation to effectively retain the desired temperature.
Here’s how you can prepare the insulation material:
- Measure and mark the dimensions: Using the measurements you took in Step 1, use a pen or marker to mark the dimensions on the insulation material. Ensure that the marks are accurate and align with the measurements to facilitate easy cutting.
- Cut the insulation material: Using a pair of scissors or a utility knife, carefully cut along the marked lines to create pieces of insulation material that match the size of your kegerator tower. Take your time to ensure clean and straight cuts.
- Test the fit: Once you have cut the insulation pieces, test their fit around the kegerator tower. Slide the insulation material over the tower and adjust as necessary to ensure a snug and secure fit. The insulation should cover the entire circumference of the tower and reach from the base to the connection point with the kegerator.
- Trim if needed: If the insulation material is slightly larger than required, you may need to trim it down for a perfect fit. Use scissors or a utility knife to trim any excess material, ensuring a clean and neat appearance.
Remember, it is crucial to handle the insulation material with care to avoid tearing or damaging it. Take your time during the preparation process to ensure that the insulation is cut to the correct size and fits tightly around the kegerator tower.
With the insulation material prepared, we can now move on to the exciting part – applying the insulation to the kegerator tower. Stay tuned for Step 4!
When insulating a kegerator tower, use foam insulation tape to wrap around the beer lines inside the tower. This will help prevent heat from entering the tower and keep your beer cold.
Read more: How To Change A Tower On A Kegerator
Step 4: Apply the Insulation to the Kegerator Tower
Now that you have prepared the insulation material, it’s time to apply it to your kegerator tower. This step will help create a thermal barrier, preventing temperature fluctuations and ensuring that your beer stays chilled.
Here’s how to apply the insulation to your kegerator tower:
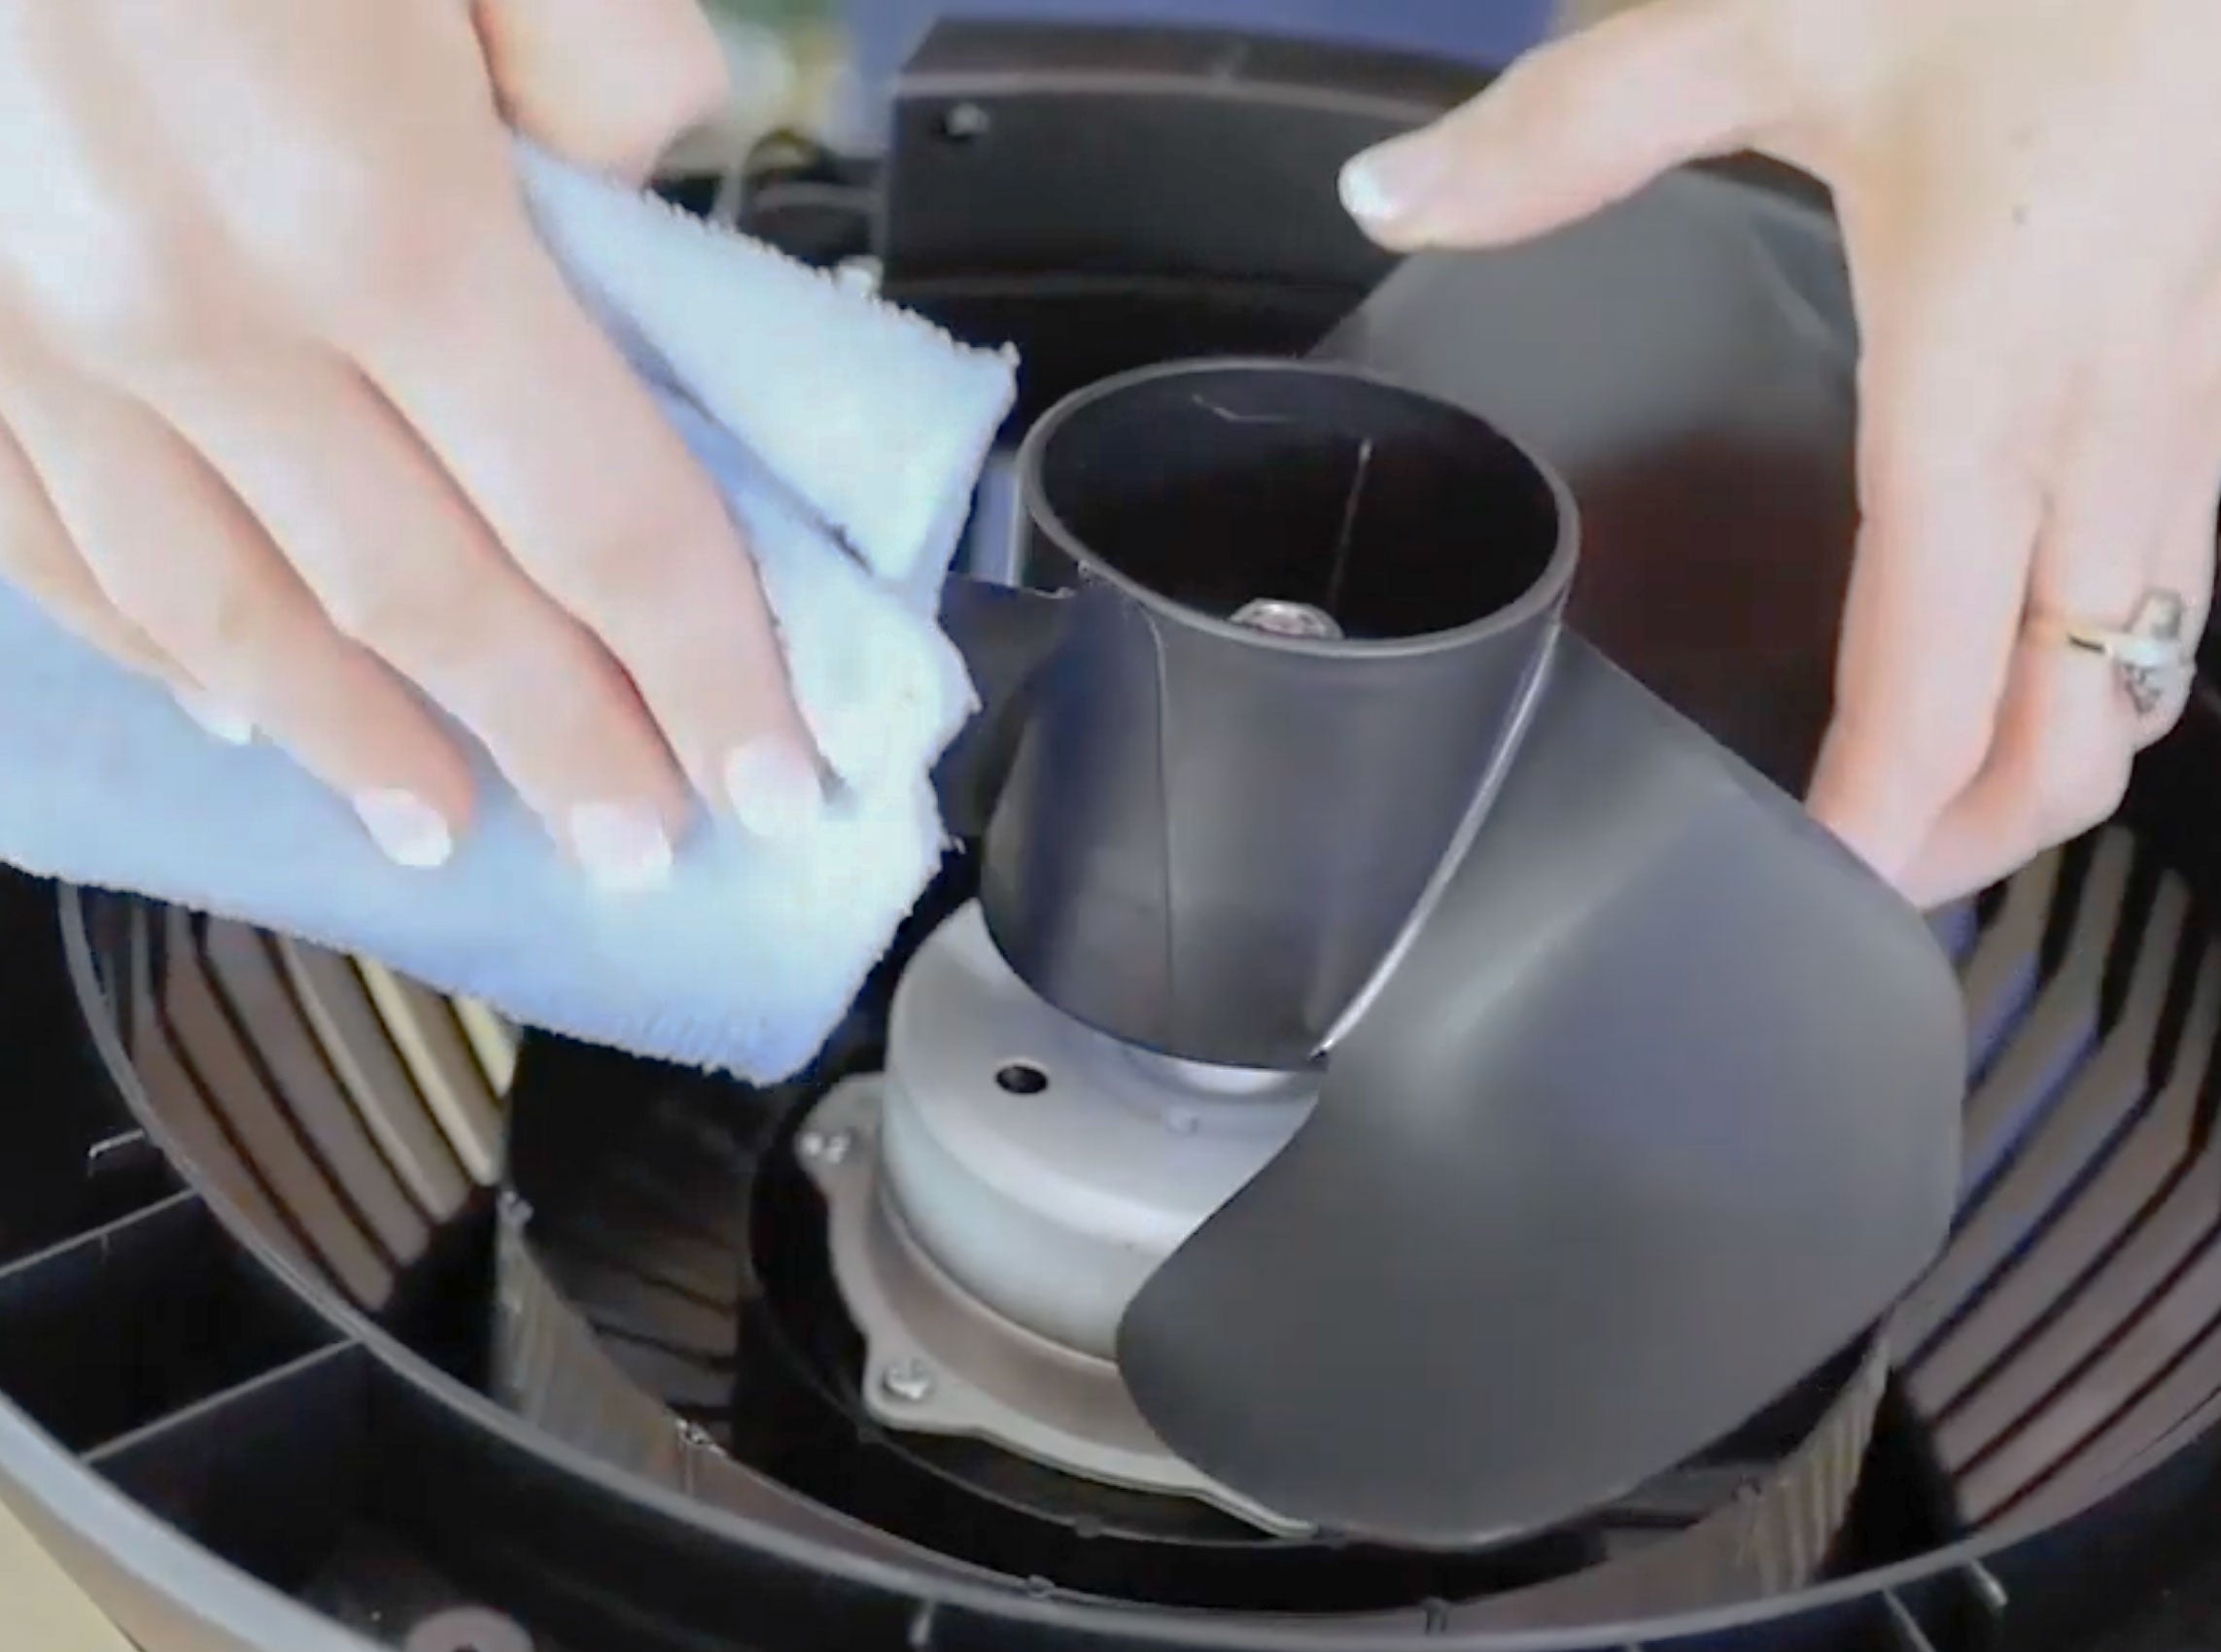
- Start by cleaning the surface: Before applying the insulation, clean the surface of the kegerator tower with mild soap and water. This will remove any dirt or residue, ensuring proper adhesion of the insulation material.
- If you are using foam tape or neoprene sleeves, simply wrap the insulation material around the kegerator tower. Make sure to align the edges and press firmly along the entire length to ensure a secure bond.
- If you are using pipe insulation tubes, insert the kegerator tower into the tube and position it in place. Use adhesive or zip ties to secure the insulation in place.
- Smooth out any wrinkles or folds in the insulation material to ensure a neat appearance and a tight seal.
Take your time during this step to ensure that the insulation material is applied smoothly and securely. Check for any gaps or areas where the insulation may not be properly adhered and make adjustments as needed.
Remember, the goal is to create a barrier that prevents air leakage and maintains a consistent temperature inside the kegerator tower. By properly applying the insulation material, you are taking a crucial step towards achieving this.
With the insulation in place, we’re almost done with the process. In the next step, we’ll learn how to secure the insulation and test for any air leaks.
Step 5: Secure the Insulation in Place
Once you have applied the insulation material to your kegerator tower, it’s important to secure it in place to ensure that it stays in position and functions effectively. This step will help prevent any displacement or movement of the insulation, ensuring a consistent and efficient thermal barrier.
Here’s how you can secure the insulation in place:
- If you are using foam tape or neoprene sleeves, check if they have a self-adhesive backing. If not, apply a small amount of adhesive along the edges of the insulation material to create a firm seal. Press the edges firmly against the kegerator tower to ensure proper adhesion.
- If you are using pipe insulation tubes, use zip ties or adhesive to secure the ends of the insulation together. Make sure the ties are tight enough to keep the insulation in place, but not so tight that it deforms the tubes.
- For added security and to minimize any potential gaps, you can use sealant around the edges of the insulation material. This will help create a more airtight seal and improve the overall insulation effectiveness.
Ensure that the insulation material is evenly and securely attached to the kegerator tower. Take the time to double-check all the connections and make any necessary adjustments before moving on to the next step.
By properly securing the insulation in place, you are taking a proactive measure to maintain the integrity and efficiency of the insulation material. This step will help ensure that your kegerator tower remains effectively insulated, keeping your beer cold and refreshing with each pour.
With the insulation secured, it’s time to move on to the final step – testing for any air leaks in the system.
Step 6: Test for Air Leaks
Now that you have insulated your kegerator tower, it’s important to test for any potential air leaks that could compromise the effectiveness of the insulation. Air leaks can lead to temperature fluctuations and a reduction in the overall cooling efficiency of your kegerator.
Here’s how you can test for air leaks:
- Connect your keg and ensure it’s pressurized.
- Turn on the kegerator and allow it to run for a few minutes to stabilize the temperature inside the tower.
- Carefully inspect the area where the insulation meets the kegerator tower. Look for any gaps, loose edges, or signs of air escaping.
- Use your hand to feel for any cool air coming from the insulation joints. Pay close attention to any potential areas of concern.
- If you notice any air leaks or gaps, apply additional adhesive or sealant to seal the areas and prevent further leakage.
By testing for air leaks, you can ensure that your kegerator tower is properly insulated and functioning efficiently. Addressing any issues promptly will help maintain a consistent temperature for your beer, ensuring that it stays perfectly chilled and delicious with every pour.
Once you have completed the air leak test and addressed any concerns, you can sit back, relax, and enjoy your well-insulated kegerator. Cheers!
With the completion of Step 6, you have successfully insulated your kegerator tower. By following these steps, you have taken a proactive measure to enhance the cooling efficiency of your kegerator and ensure that your beer is always served at the optimal temperature. Now, it’s time to invite your friends over, tap a cold and refreshing pint, and enjoy the fruits of your labor!
Conclusion
Insulating your kegerator tower is a simple and effective way to enhance the performance of your kegerator and ensure that your beer is served at the perfect temperature. By following the step-by-step guide outlined in this article, you can confidently insulate your kegerator tower and enjoy a consistently chilled and refreshing beer every time.
Throughout this guide, we discussed the importance of measuring your kegerator tower accurately and choosing the right insulation material for your needs. We then walked you through the process of preparing the insulation material, applying it to the kegerator tower, and securing it in place. Lastly, we emphasized the significance of testing for any air leaks to ensure optimal insulation efficiency.
Remember, the insulation of your kegerator tower helps to minimize temperature fluctuations and reduce energy consumption. It not only ensures that your beer stays cold and refreshing, but also helps to protect and extend the lifespan of your kegerator’s cooling system.
So, why settle for anything less than an ice-cold, perfectly poured beer? Take the time to insulate your kegerator tower, and you’ll be rewarded with a superior beer-drinking experience that will impress both you and your guests.
Cheers to a well-insulated kegerator tower and many enjoyable pints of beer!
Frequently Asked Questions about How To Insulate Kegerator Tower
Was this page helpful?
At Storables.com, we guarantee accurate and reliable information. Our content, validated by Expert Board Contributors, is crafted following stringent Editorial Policies. We're committed to providing you with well-researched, expert-backed insights for all your informational needs.


0 thoughts on “How To Insulate Kegerator Tower”