Articles
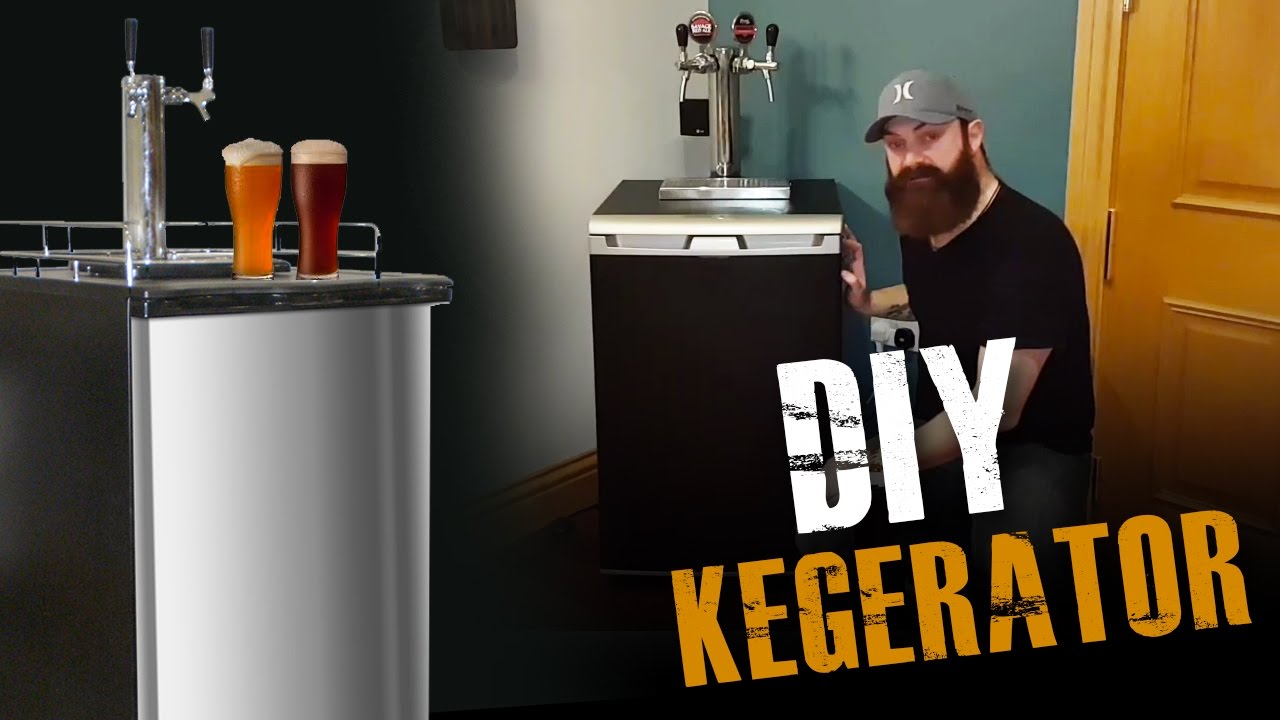
How To Build A Kegerator
Modified: August 31, 2024
Learn how to build a kegerator with step-by-step articles, tips, and techniques. Create the perfect setup for your homebrew or kegged beer.
(Many of the links in this article redirect to a specific reviewed product. Your purchase of these products through affiliate links helps to generate commission for Storables.com, at no extra cost. Learn more)
Introduction
Are you a beer enthusiast who dreams of having your own personal keg dispenser? Look no further! Building your very own kegerator is not only a fun and rewarding project, but it also allows you to enjoy the luxury of fresh draft beer in the comfort of your home. Whether you’re planning to entertain guests or savor a cold pint after a long day, a kegerator is the ultimate addition to your home bar.
In this step-by-step guide, we will walk you through the process of building your own kegerator from scratch. Don’t worry if you’re not a DIY expert – with a little bit of patience and some basic tools, you’ll be pouring perfectly chilled draught beer in no time. So, let’s get started with gathering the necessary supplies.
Key Takeaways:
- Enjoy the luxury of fresh draft beer at home by building your own kegerator. Follow the step-by-step guide to create the ultimate addition to your home bar and savor the rewards of your DIY project.
- Transform an old refrigerator into a kegerator and pour perfectly chilled draught beer with basic tools and a little patience. Share the joy of homemade draft beer with friends and family, creating lasting memories.
Read more: How To Build A Freezer Kegerator
Step 1: Gather Your Supplies
Before you dive into building your kegerator, it’s important to gather all the necessary supplies. Here’s a list of items you’ll need:
- A refrigerator – Choose an old refrigerator or purchase a new one that can accommodate a keg.
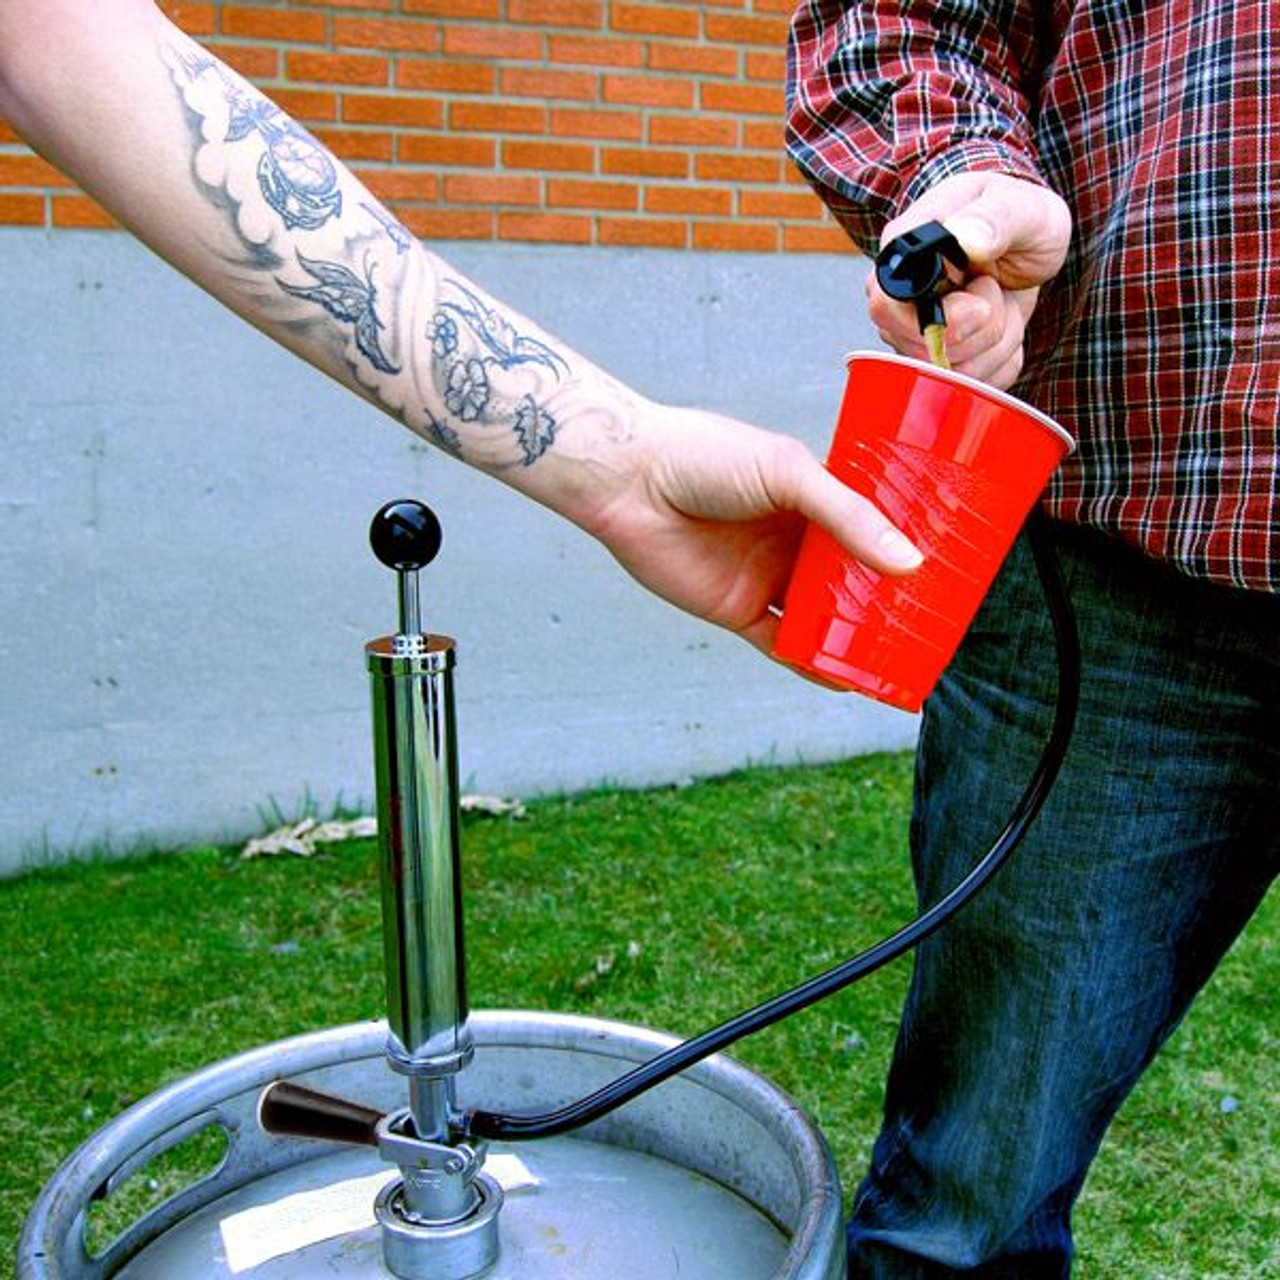
- A keg – Decide on the size and type of keg you want to use, whether it’s a standard 5-gallon keg or a smaller size.
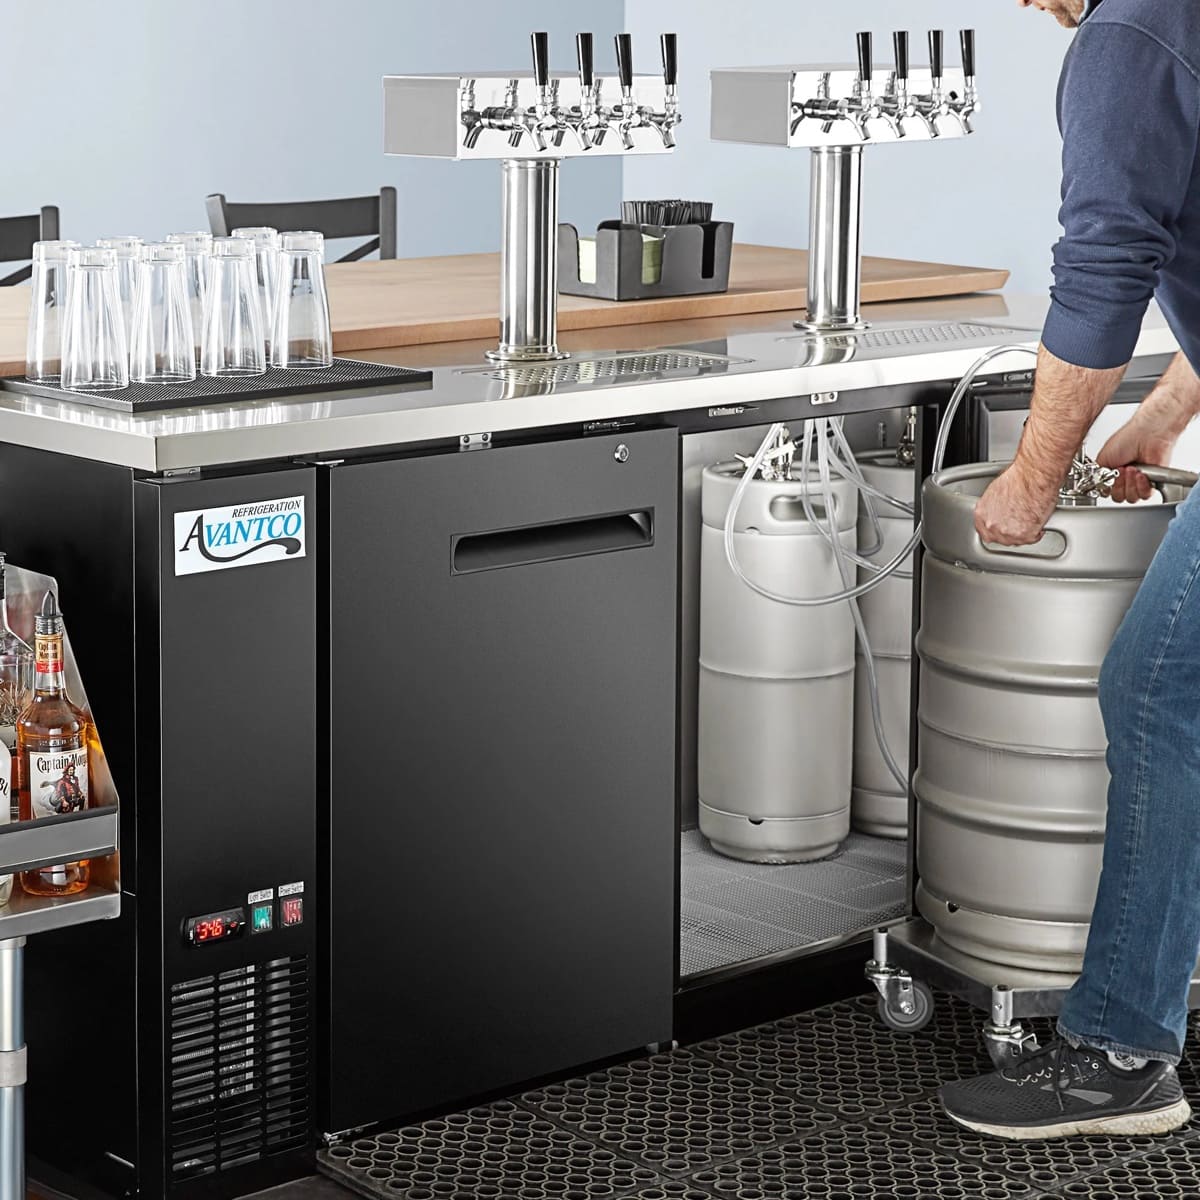
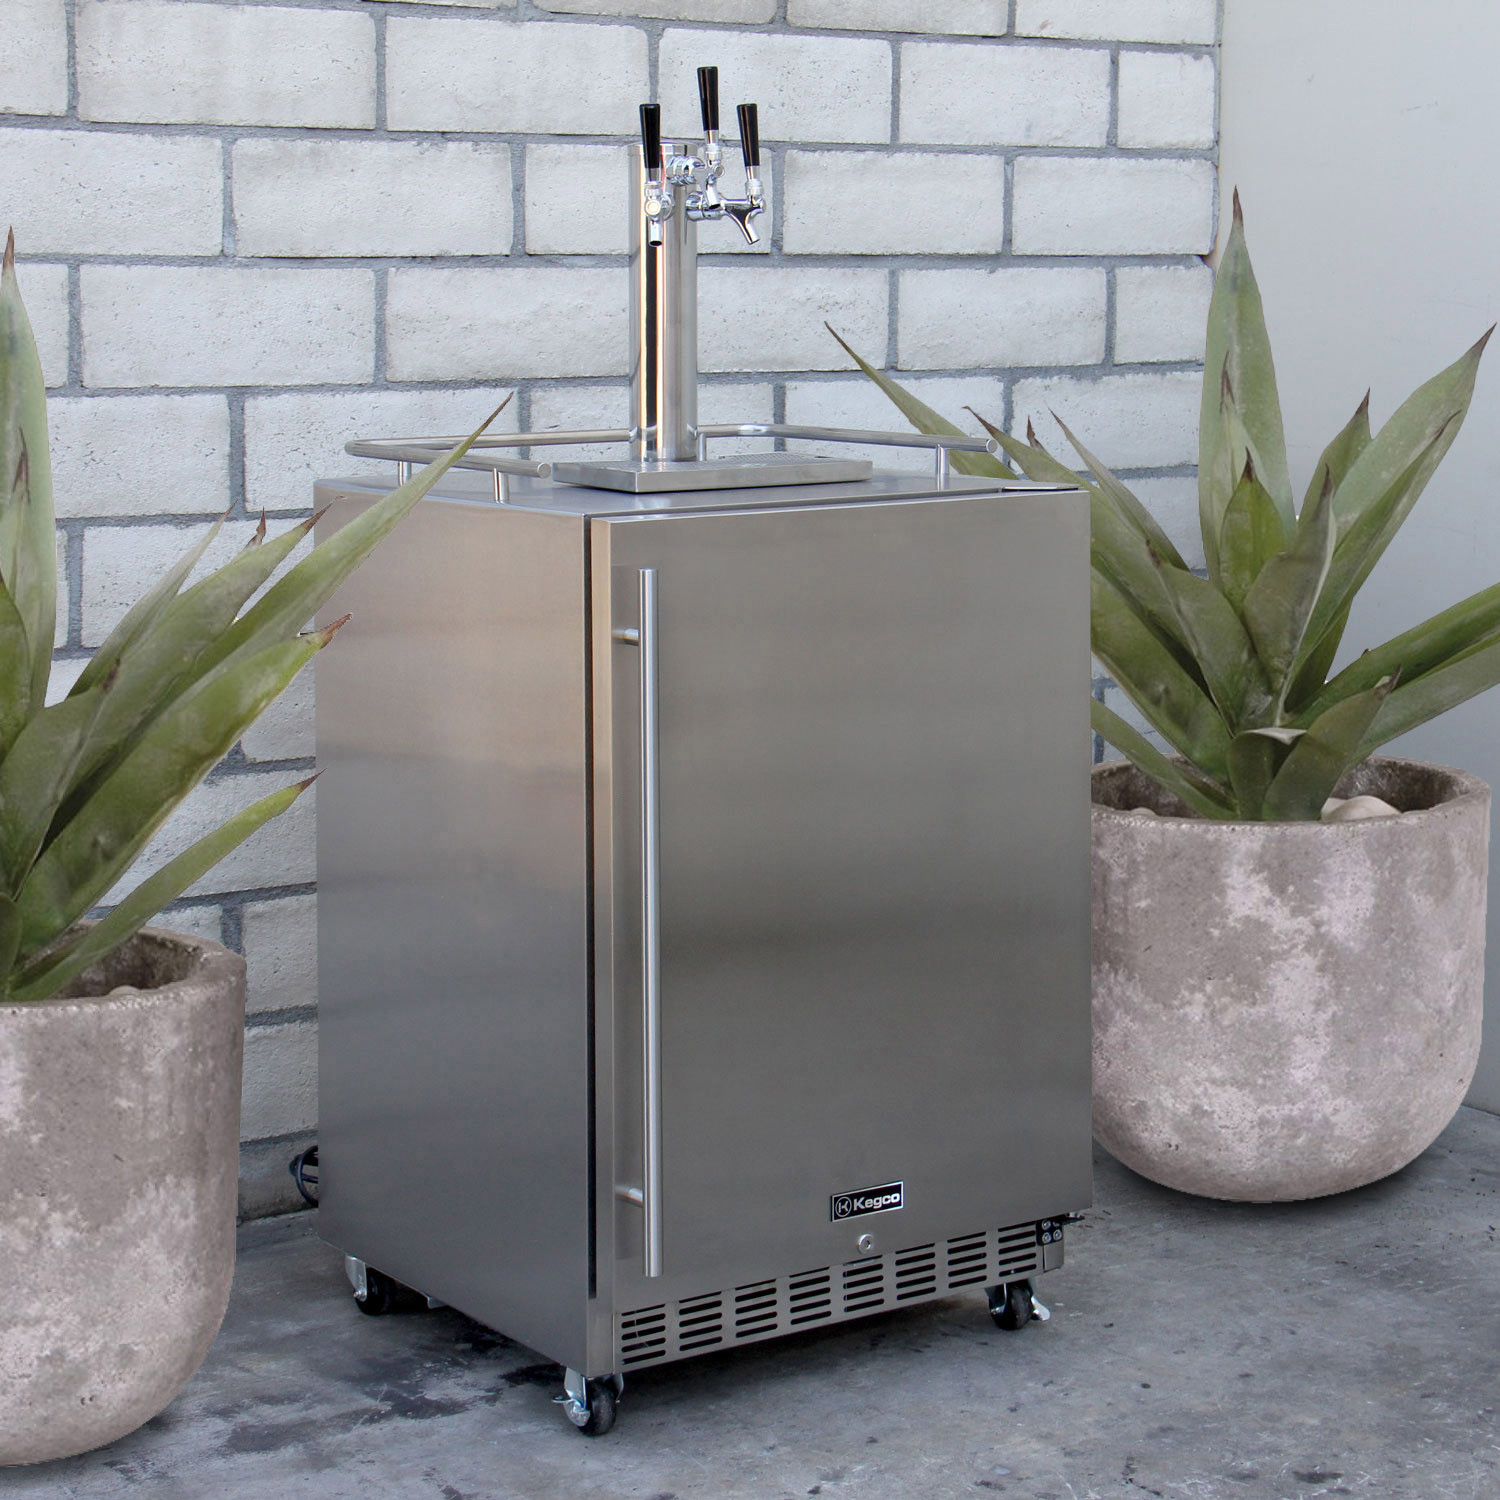
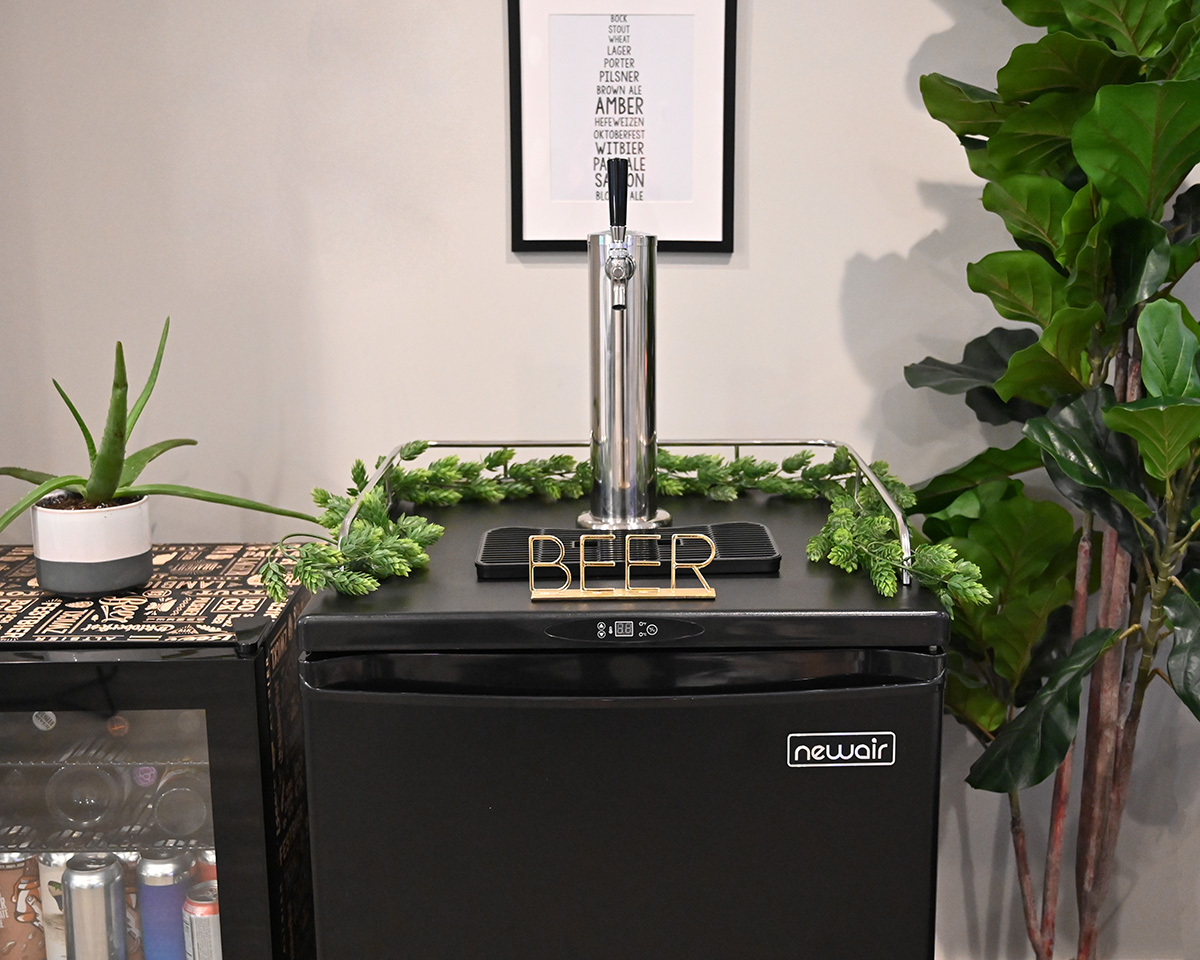
- A draft tower – This is the vertical structure that will hold your beer tap. You can choose a single or double tap tower depending on how many beers you want to dispense.
- Beer lines and connectors – You’ll need food-grade beer lines and connectors to connect the keg to the draft tower.
- A CO2 tank and regulator – This will be used to carbonate the beer and push it out of the keg.
- A drip tray – Place a drip tray under the beer tap to catch any spills or drips.
- A temperature controller – To ensure optimal cooling, consider investing in a temperature controller that allows you to set and monitor the temperature inside the kegerator.
- Tools – You’ll need basic tools such as a drill, screwdriver, and wrench to assemble and install the components.
Take some time to gather all the supplies before moving on to the next step. This will ensure a smooth and efficient process as you build your kegerator. Once you have everything you need, you’re ready to move on to preparing the refrigerator.
Step 2: Prepare the Refrigerator
Now that you have all the necessary supplies, it’s time to prepare the refrigerator to turn it into a kegerator. Follow these steps:
- Clean the refrigerator – Start by thoroughly cleaning the inside of the refrigerator. Remove all shelves, drawers, and any other removable parts. Use warm soapy water and a sponge or dishcloth to clean away any dirt or food residue. Rinse and dry the interior completely.
- Remove the door shelves – Take out the door shelves to make room for the keg. Most kegs are too tall to fit in with the shelves in place. Keep the shelves in a safe place in case you want to convert the kegerator back into a regular refrigerator in the future.
- Measure and mark the area for the draft tower – Decide where you want to install the draft tower on the top of the refrigerator. Measure the diameter of the tower and mark the center point with a pencil or marker. Make sure there is enough space for the tower to fit without obstructing any vents or other components.
- Drill a hole for the beer lines – Using a drill and a hole saw attachment, carefully drill a hole at the marked center point. Start with a small pilot hole before using a larger hole saw that matches the diameter of your beer lines.
- Install the draft tower – Insert the draft tower through the hole from the outside of the refrigerator. Secure it in place using the provided hardware and follow the manufacturer’s instructions. Make sure the tower is stable and properly aligned.
Once you have prepared the refrigerator, you’re one step closer to having your very own kegerator. In the next step, we’ll guide you on how to install the draft tower and connect the beer lines. Cheers!
Step 3: Install the Draft Tower
Installing the draft tower is an essential step in building your kegerator. The draft tower is where the beer tap will be attached, allowing you to pour your favorite brews. Follow these steps to properly install the draft tower:
- Measure and mark the position – Determine the desired location for the draft tower on top of the refrigerator. Take into account the height and clearance needed for the keg and beer lines.
- Drill a hole – Use a drill with a spade bit or a hole saw to create a hole that matches the diameter of the draft tower. Start with a small pilot hole, then gradually enlarge it until it matches the required size.
- Insert the draft tower – Carefully insert the draft tower into the hole, making sure it is centered and aligned properly. Apply gentle pressure as you push it down to secure it in place.
- Secure the draft tower – Once the draft tower is in position, use the provided mounting hardware to secure it firmly to the top of the refrigerator. Follow the manufacturer’s instructions for proper installation.
- Tighten fasteners – Double-check that all fasteners are tightly secured to ensure the stability of the draft tower. This will prevent any wobbling or movements when you use the beer tap.
With the draft tower now installed, your kegerator is taking shape. In the next step, we will guide you through the process of connecting the beer line from the keg to the draft tower, so you’ll be one step closer to enjoying your own draft beer at home.
When building a kegerator, make sure to properly insulate the refrigerator to maintain a consistent temperature and reduce energy consumption. This will help keep your beer cold and fresh for longer periods of time.
Step 4: Connect the Beer Line
Now that you have your draft tower installed, it’s time to connect the beer line. The beer line is responsible for carrying the delicious brew from the keg to the draft tower, where it will be dispensed through the beer tap. Follow these steps to connect the beer line:
- Prepare the beer line – Start by cleaning and sanitizing the beer line to ensure the best quality and taste. Follow the manufacturer’s instructions or use a beer line cleaning kit to remove any debris or bacteria that may affect the flavor of your beer.
- Attach the connectors – Take one end of the beer line and attach it to the coupler, which is located on top of the keg. Push and twist the connector until it fits securely in place. Make sure to use the appropriate connectors for your specific keg type (e.g., Sankey, Corny, etc.).
- Feed the beer line through the draft tower – Carefully guide the remaining length of the beer line through the hole in the top of the refrigerator where the draft tower is installed. Make sure there are no kinks or obstructions that could affect the flow of beer.
- Attach the beer line to the shank – Inside the draft tower, locate the shank, which is the tube that connects the beer line to the beer tap. Slide the other end of the beer line onto the barbed end of the shank, ensuring a tight fit. Use hose clamps if necessary to secure the connection.
- Test for leaks – Turn on the CO2 system and pressurize the keg. To check for leaks, apply a soapy water solution to all connections and look for any bubbling. Tighten any loose fittings if needed. A leak-free system will ensure a smooth and consistent flow of beer.
With the beer line properly connected, you’re one step closer to enjoying a refreshing pint straight from your keg. In the next step, we’ll guide you through the installation of the CO2 system, which is crucial for carbonating the beer and dispensing it effectively.
Read more: How To Build A Co2 Kegerator
Step 5: Install the CO2 System
The CO2 system is a crucial component of your kegerator as it is responsible for carbonating the beer and providing the pressure needed to dispense it. Follow these steps to properly install the CO2 system:
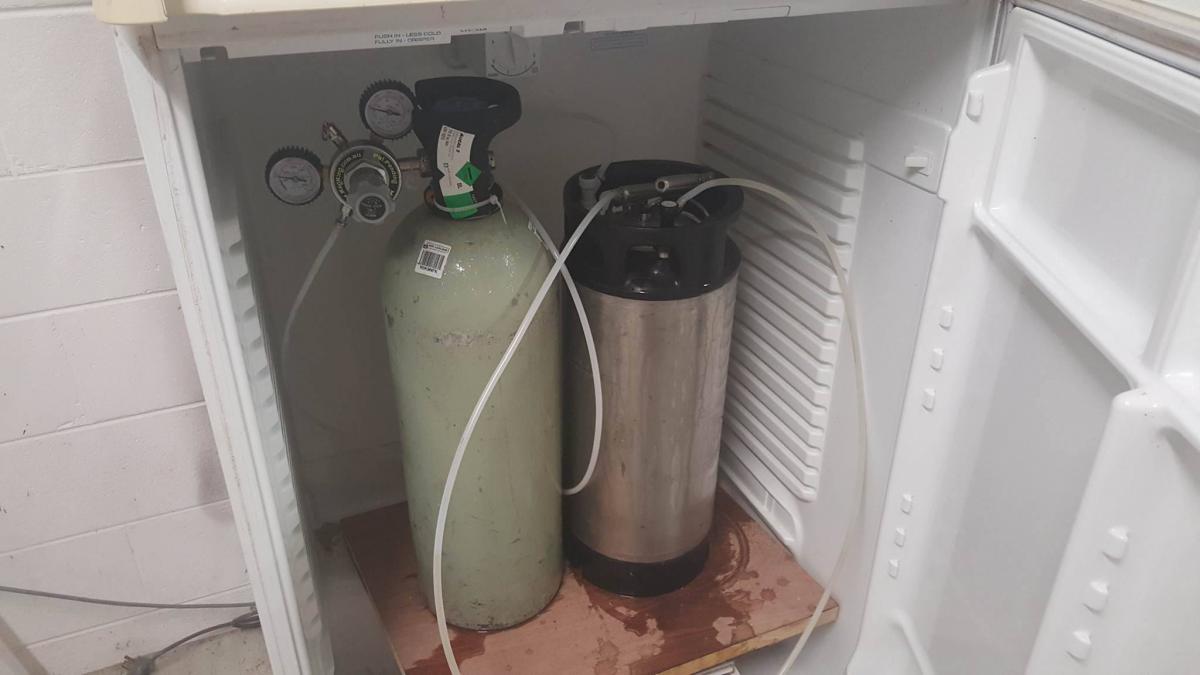
- Attach the CO2 tank – Place the CO2 tank in a secure and upright position near your kegerator. Attach the regulator to the tank by aligning the regulator’s inlet with the tank’s outlet and tightening it with an adjustable wrench.
- Connect the regulator to the keg – Use a CO2 line to connect the outlet on the regulator to the gas-in port on the keg’s coupler. Ensure a secure connection by tightening the fittings with an adjustable wrench.
- Set the desired pressure – Adjust the regulator to the desired pressure level for carbonation and dispensing. This will vary depending on the style of beer and personal preference. Consult the brewing guidelines or seek advice from a knowledgeable source to determine the appropriate pressure.
- Test for leaks – Just like with the beer line, test for any leaks in the CO2 system. Apply a soapy water solution to all connections and check for any bubbles. Tighten any loose fittings and ensure a tight seal to avoid any loss of pressure or carbonation.
- Secure the system – Ensure that the CO2 tank and regulator are securely fastened to prevent any accidental damage or movement. Use brackets or straps to secure them in place, especially if your kegerator is portable or subject to vibrations.
With the CO2 system properly installed, your kegerator is ready to carbonate the beer and dispense it with ease. In the next step, we’ll guide you on how to test and adjust the temperature, ensuring that your draft beer is served at its optimal chilling point.
Step 6: Test and Adjust the Temperature
Proper temperature control is essential for serving delicious and refreshing draft beer. In this step, we’ll guide you through the process of testing and adjusting the temperature in your kegerator:
- Allow the kegerator to stabilize – After setting up your kegerator, give it some time to stabilize and reach its operating temperature. This typically takes a few hours or as specified by the manufacturer.
- Check the temperature – Use a reliable thermometer to measure the temperature inside the kegerator. Ideally, the temperature should be around 36-40 degrees Fahrenheit (2-4 degrees Celsius) for most beer styles. Adjustments may be needed depending on the specific beer you’re serving.
- Adjust the temperature control – Locate the temperature control mechanism in your kegerator. It may be a dial, button, or digital settings. Adjust it accordingly to achieve the desired temperature. Allow some time for the temperature to stabilize after making adjustments.
- Monitor and fine-tune – Keep an eye on the temperature over the next few days and make any necessary adjustments. Opening and closing the kegerator may affect the internal temperature, so try to minimize temperature fluctuations.
- Consider a temperature controller – For more precise temperature control, you may want to invest in a temperature controller. This device connects to the kegerator and allows you to set and monitor the temperature more accurately. It can be especially beneficial if you plan to store different types of beer at different temperatures.
By testing and adjusting the temperature in your kegerator, you can ensure that your draft beer is served at the optimal temperature for maximum flavor and enjoyment. In the final step, we’ll dive into the ultimate reward – enjoying your homemade kegerator and savoring the fruits of your labor.
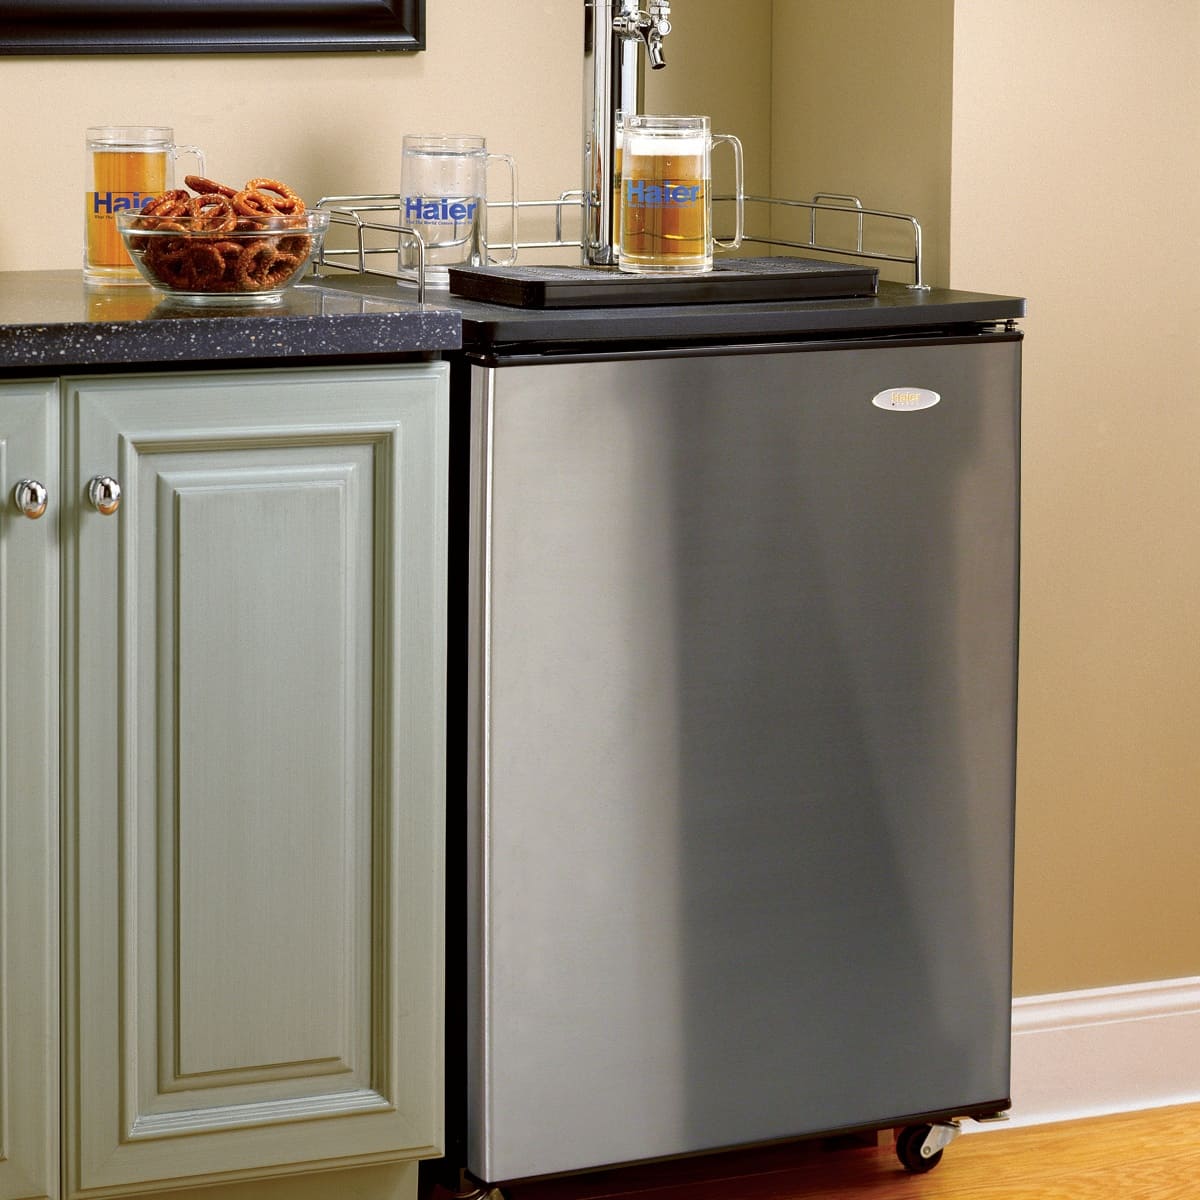
Step 7: Enjoy Your Homemade Kegerator
Congratulations! You’ve successfully built your own kegerator from scratch. Now it’s time to sit back, relax, and enjoy the fruits of your labor. Here’s how to make the most of your homemade kegerator:
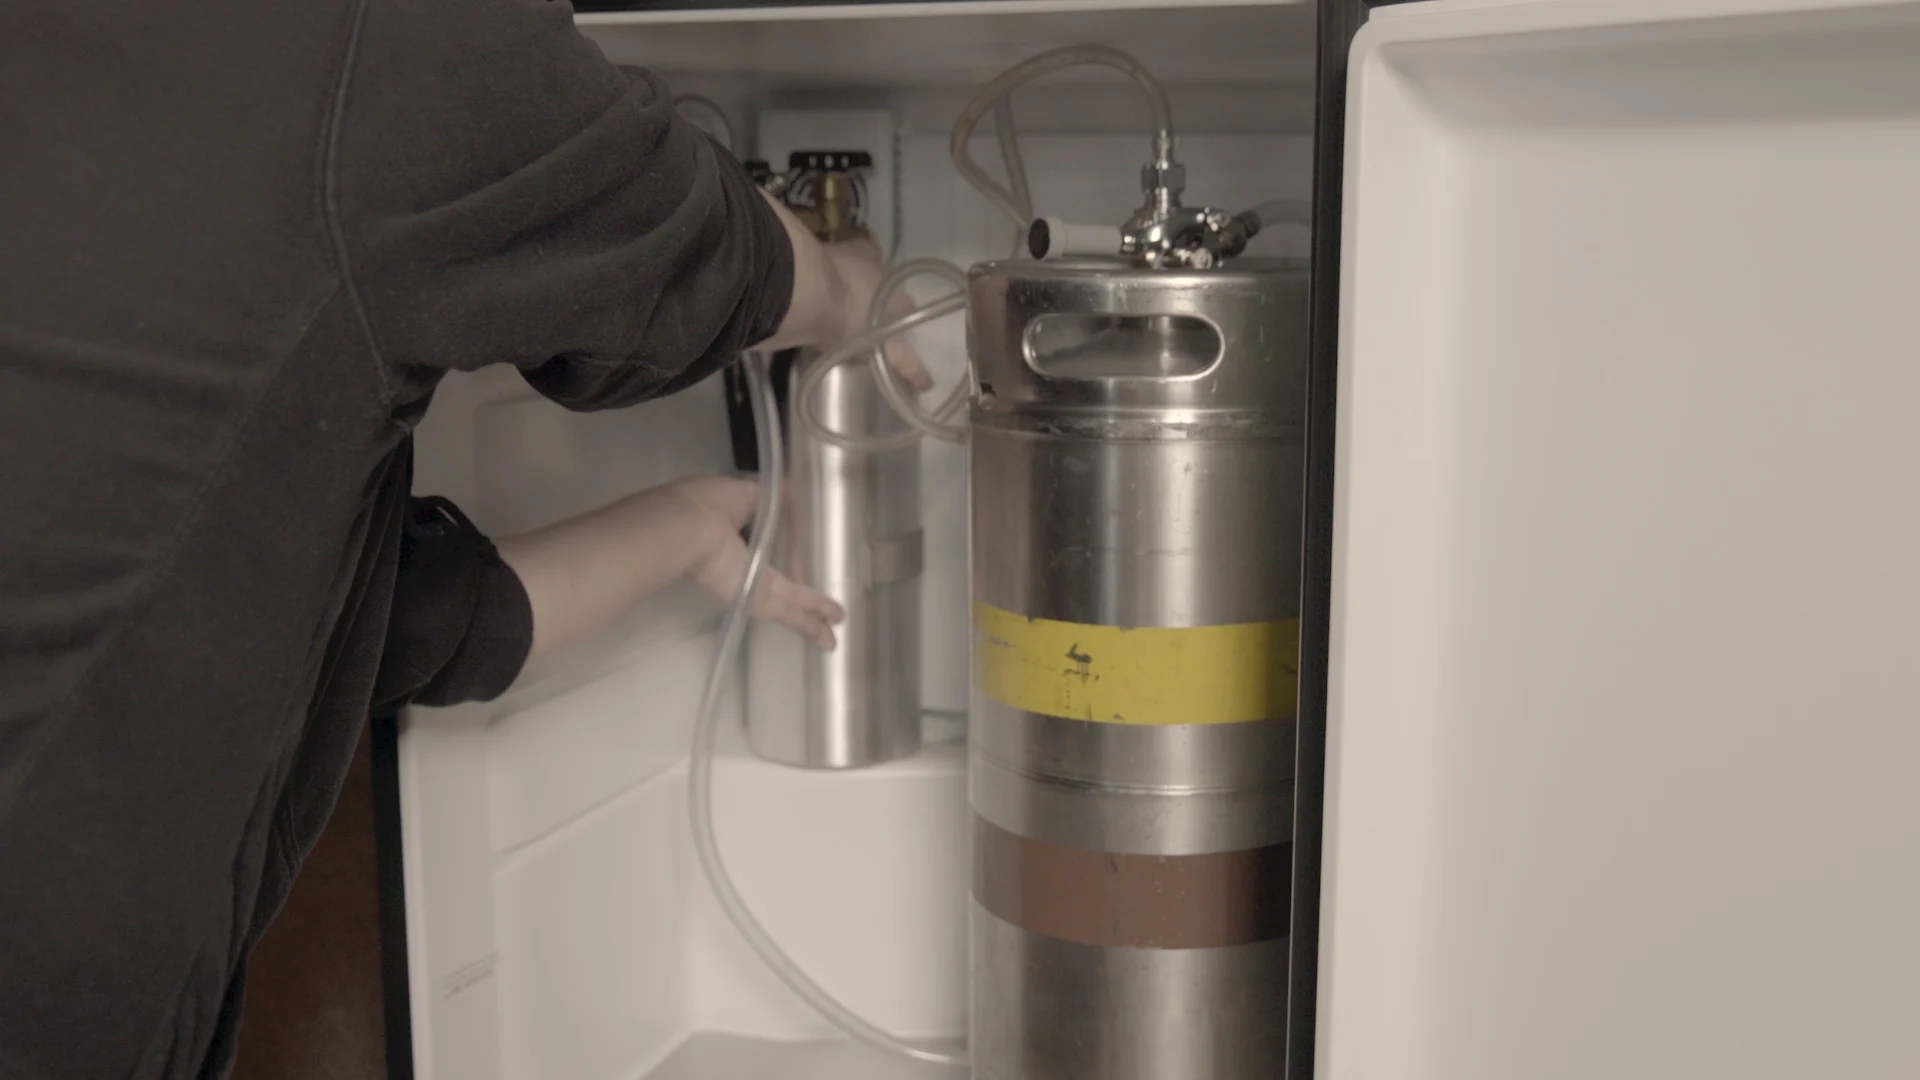
- Load the keg – Carefully load your chosen keg into the kegerator. Make sure it is properly seated and secure. Follow the instructions provided with the keg for best practices.
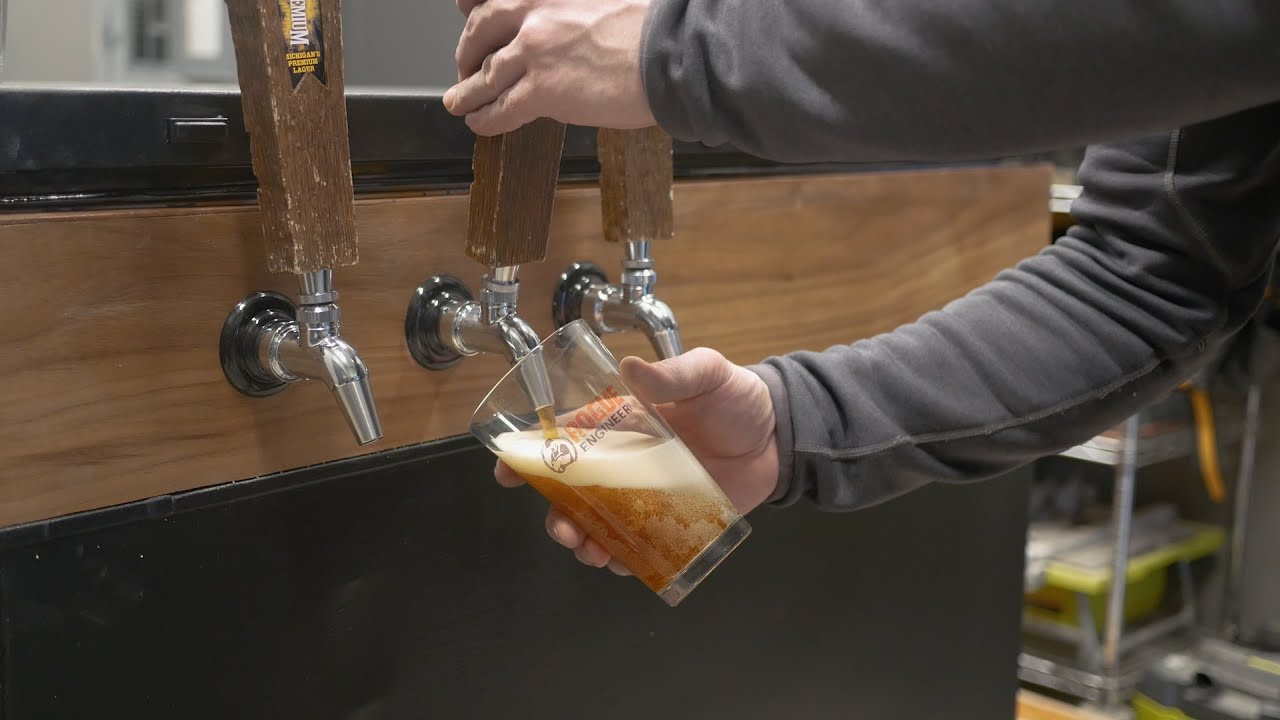
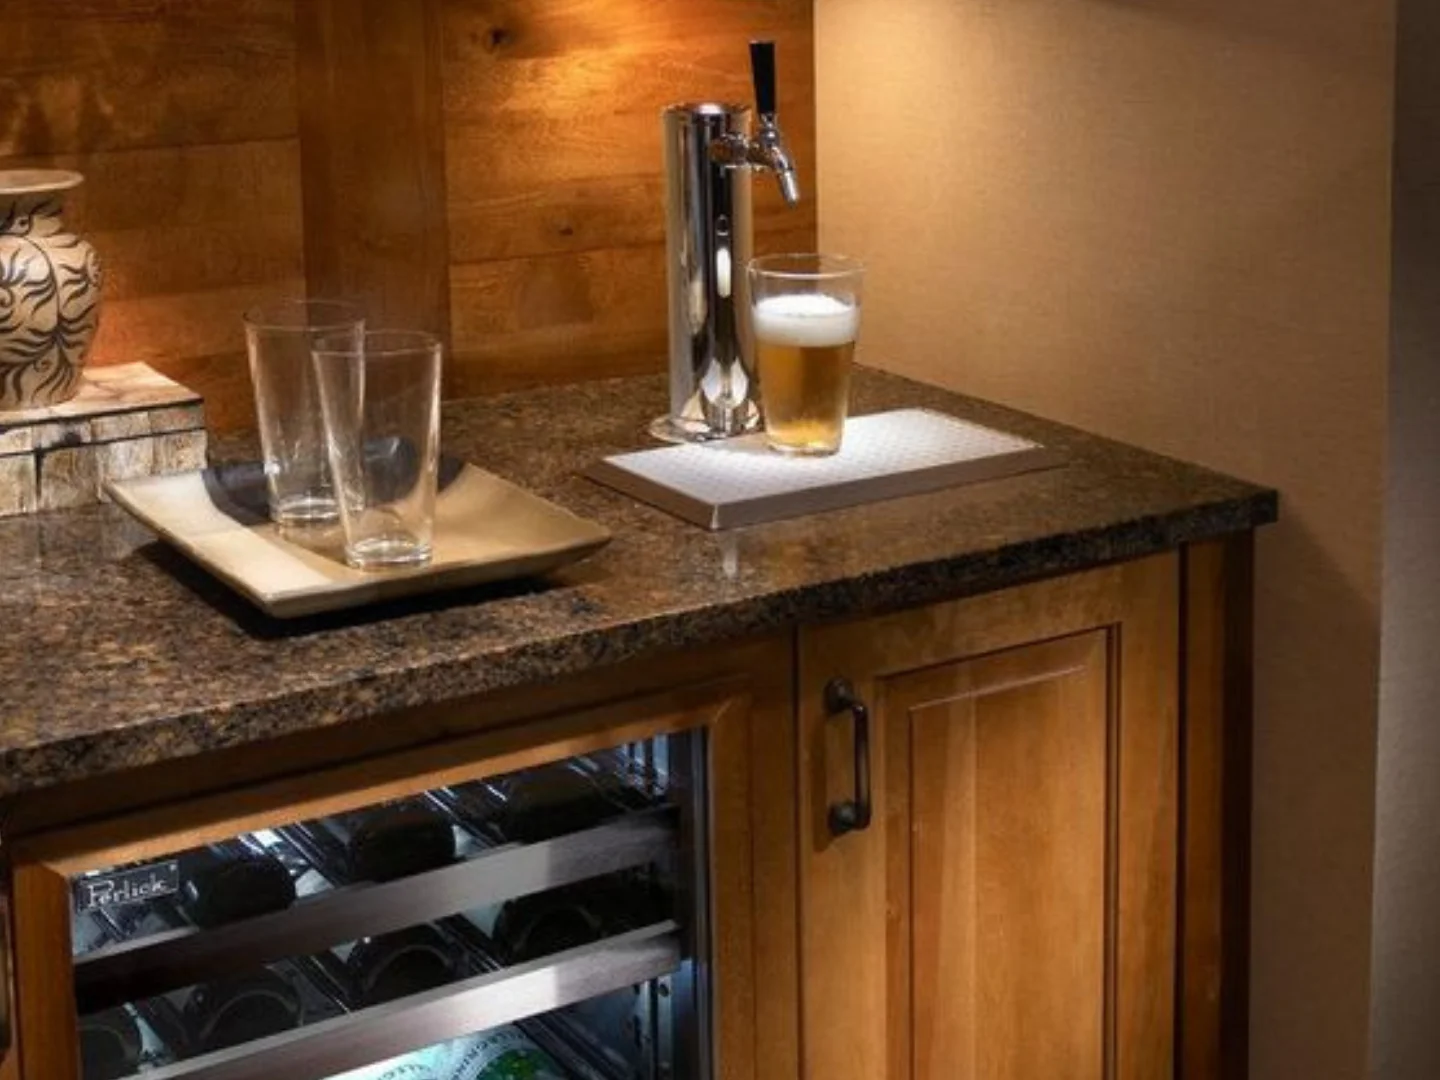
- Pour a perfect pint – Attach the beer tap to the draft tower and position your glass underneath. Slowly pull the handle forward to dispense the beer into the glass. Aim for a suitable head to enhance the flavor and aroma.
- Serve and share – Invite friends and family to experience your homemade kegerator. Share your favorite beers and let them enjoy the freshness of draught beer from the comfort of your home. It’s a great way to entertain and create lasting memories.
- Maintain cleanliness – Regularly clean and maintain your kegerator to ensure optimal performance and flavor. Clean the beer lines, couplers, and taps regularly, following the manufacturer’s instructions. This will help prevent any build-up, contamination, or off-flavors.
- Explore new brews – With your own kegerator, you have the freedom to experiment and try a wide variety of beers. Explore different styles, local craft brews, or even brew your own beer to further personalize your kegerator experience.
Remember to indulge responsibly and always drink in moderation. Enjoy the convenience, freshness, and unique experience of having your own kegerator. Cheers to your success!
Before beginning your kegerator build, always consult the user manual of the refrigerator and any other components for safety guidelines and manufacturer instructions. Safety should be a priority when handling tools, gas, and electrical systems.
Frequently Asked Questions about How To Build A Kegerator
Was this page helpful?
At Storables.com, we guarantee accurate and reliable information. Our content, validated by Expert Board Contributors, is crafted following stringent Editorial Policies. We're committed to providing you with well-researched, expert-backed insights for all your informational needs.


0 thoughts on “How To Build A Kegerator”