Articles
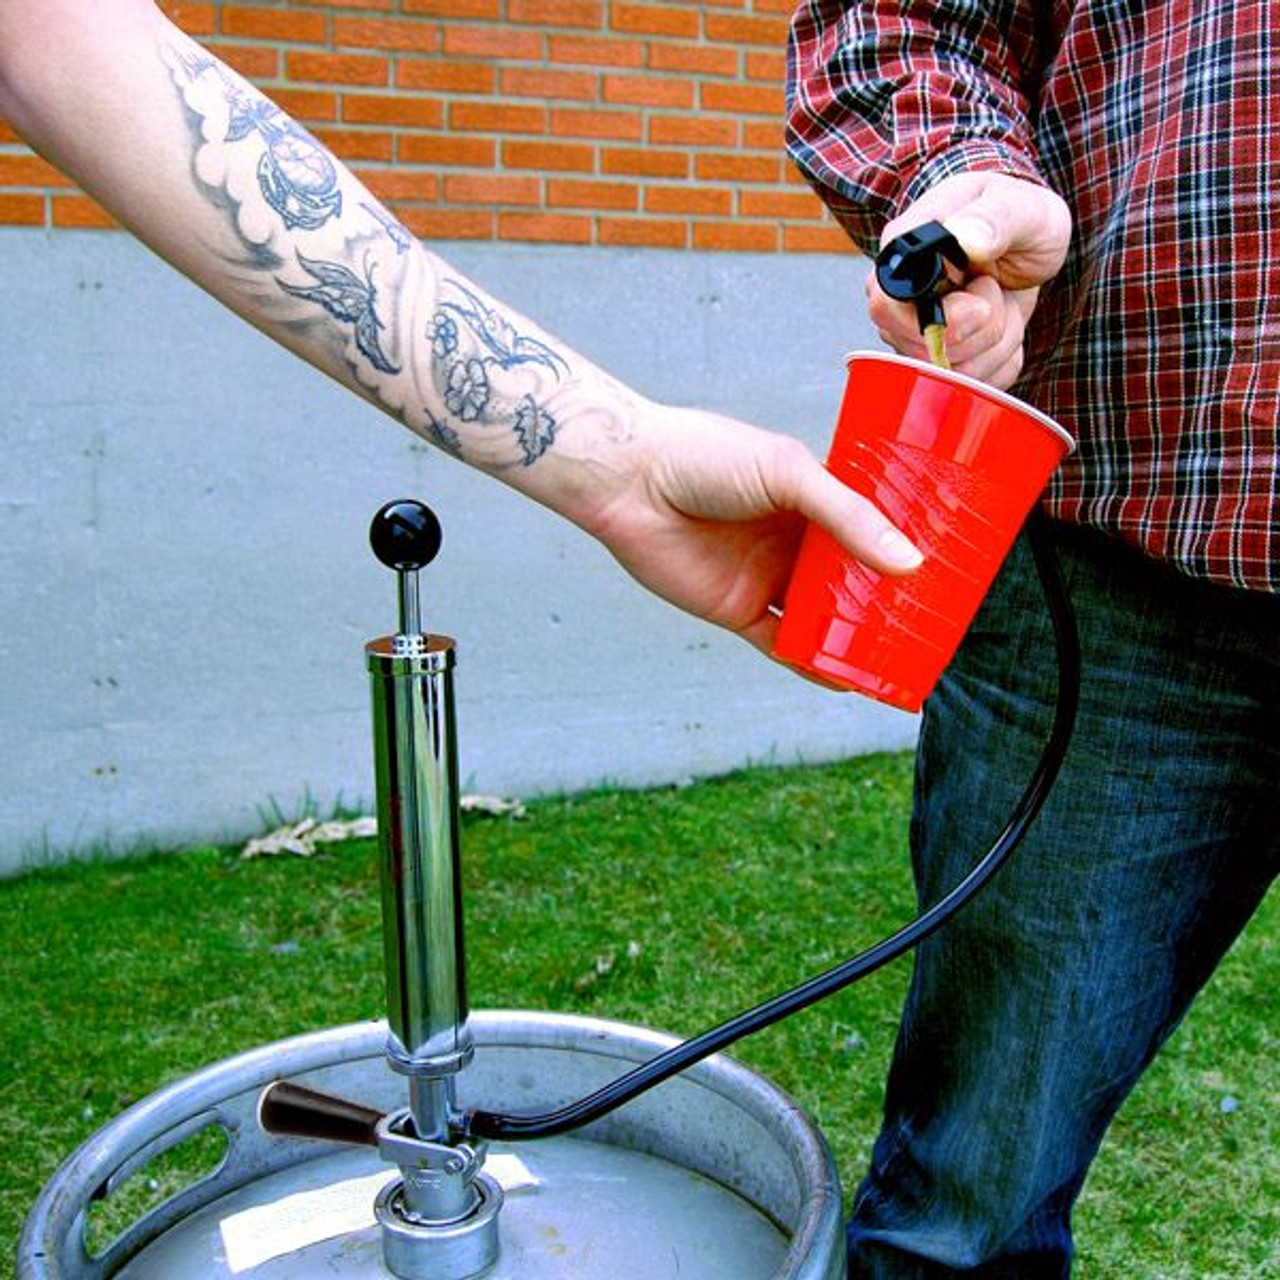
How To Change A Tower On A Kegerator
Modified: October 27, 2024
Learn how to change a tower on a kegerator with our helpful articles. Upgrade your setup and enjoy the perfect pour.
(Many of the links in this article redirect to a specific reviewed product. Your purchase of these products through affiliate links helps to generate commission for Storables.com, at no extra cost. Learn more)
Introduction
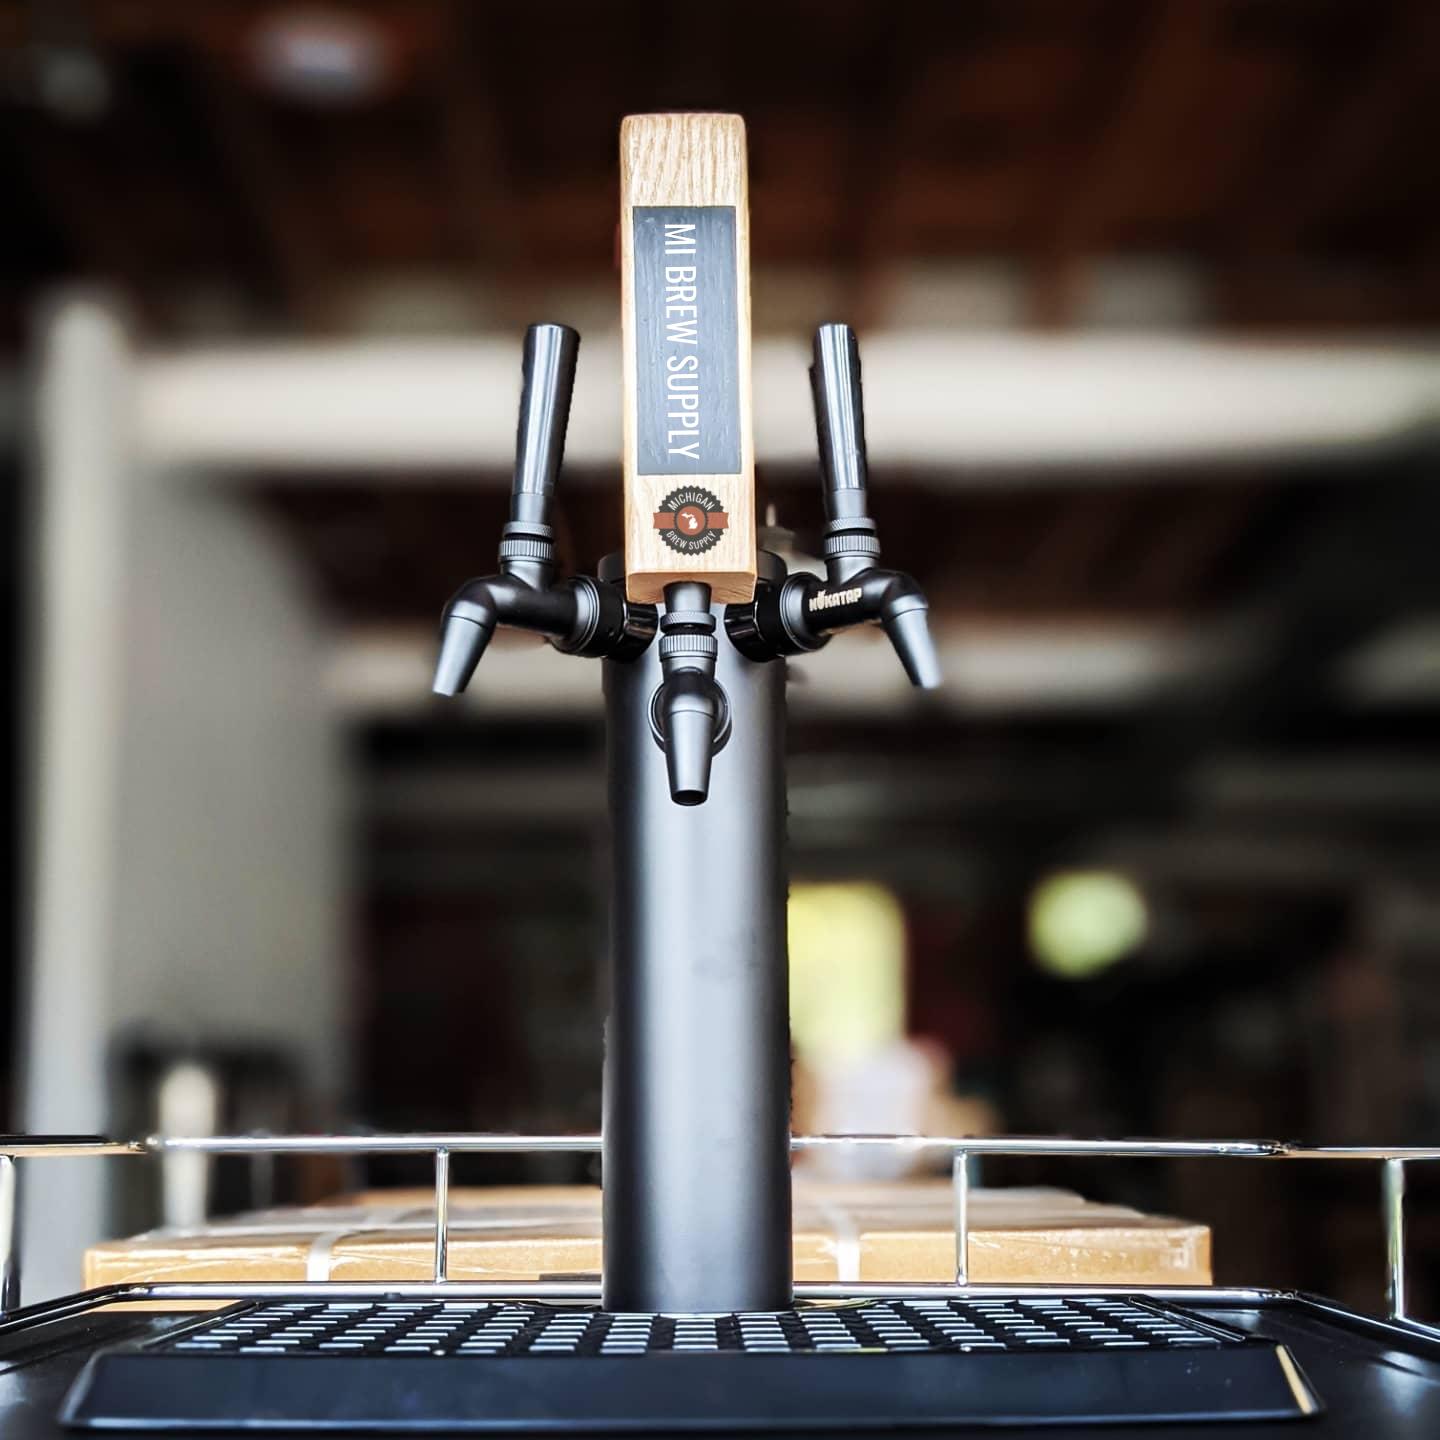
Having a kegerator at home allows you to enjoy your favorite draft beer anytime you want, but over time, you may find the need to upgrade or replace certain components, such as the tower. The tower is the vertical structure that houses the faucet, beer lines, and other essential components.
Whether you want to change the tower for aesthetic reasons or due to functionality issues, it is a relatively straightforward process. In this article, we will guide you on how to change a tower on a kegerator, step by step.
Before we dive into the process, it’s important to note that different kegerator models may have specific requirements or variations in the installation process. Be sure to consult your kegerator’s user manual or contact the manufacturer for any specific instructions.
Now, without further ado, let’s gather the necessary tools and materials and get started on changing the tower of your kegerator.
Key Takeaways:
- Upgrade your kegerator by changing the tower with ease. Follow our step-by-step guide to ensure a smooth transition, from preparation to testing for leaks. Enjoy a freshly poured draft beer at home!
- Keep your kegerator tower in top condition by establishing a routine for cleaning and maintenance. Preserve the quality and taste of your beer for a consistently enjoyable drinking experience.
Read more: How To Assemble Kegerator Tower
Tools and Materials Needed
Before you begin the process of changing the tower on your kegerator, make sure you have the following tools and materials:
- Adjustable wrench
- Screwdriver (flathead or Phillips, depending on your kegerator)
- Allen wrench or hex key (if required for your specific kegerator model)
- Replacement tower (make sure it is compatible with your kegerator model)
- New faucet
- Replacement beer lines
- Bucket or container for draining beer
- Cleaning solution (specifically designed for beer lines)
- Soft cloth or sponge
It’s important to note that the tools and materials required may vary depending on your kegerator model and personal preferences. Additionally, if you are using any other specialized tools or materials, make sure to have those ready as well.
Once you have gathered all the necessary tools and materials, you are ready to proceed with changing the tower on your kegerator.
Step 1: Prepare the Kegerator
Before you start removing the old tower, it’s important to properly prepare your kegerator for the process. Follow these steps:
- First, unplug the kegerator and make sure it is completely powered off.
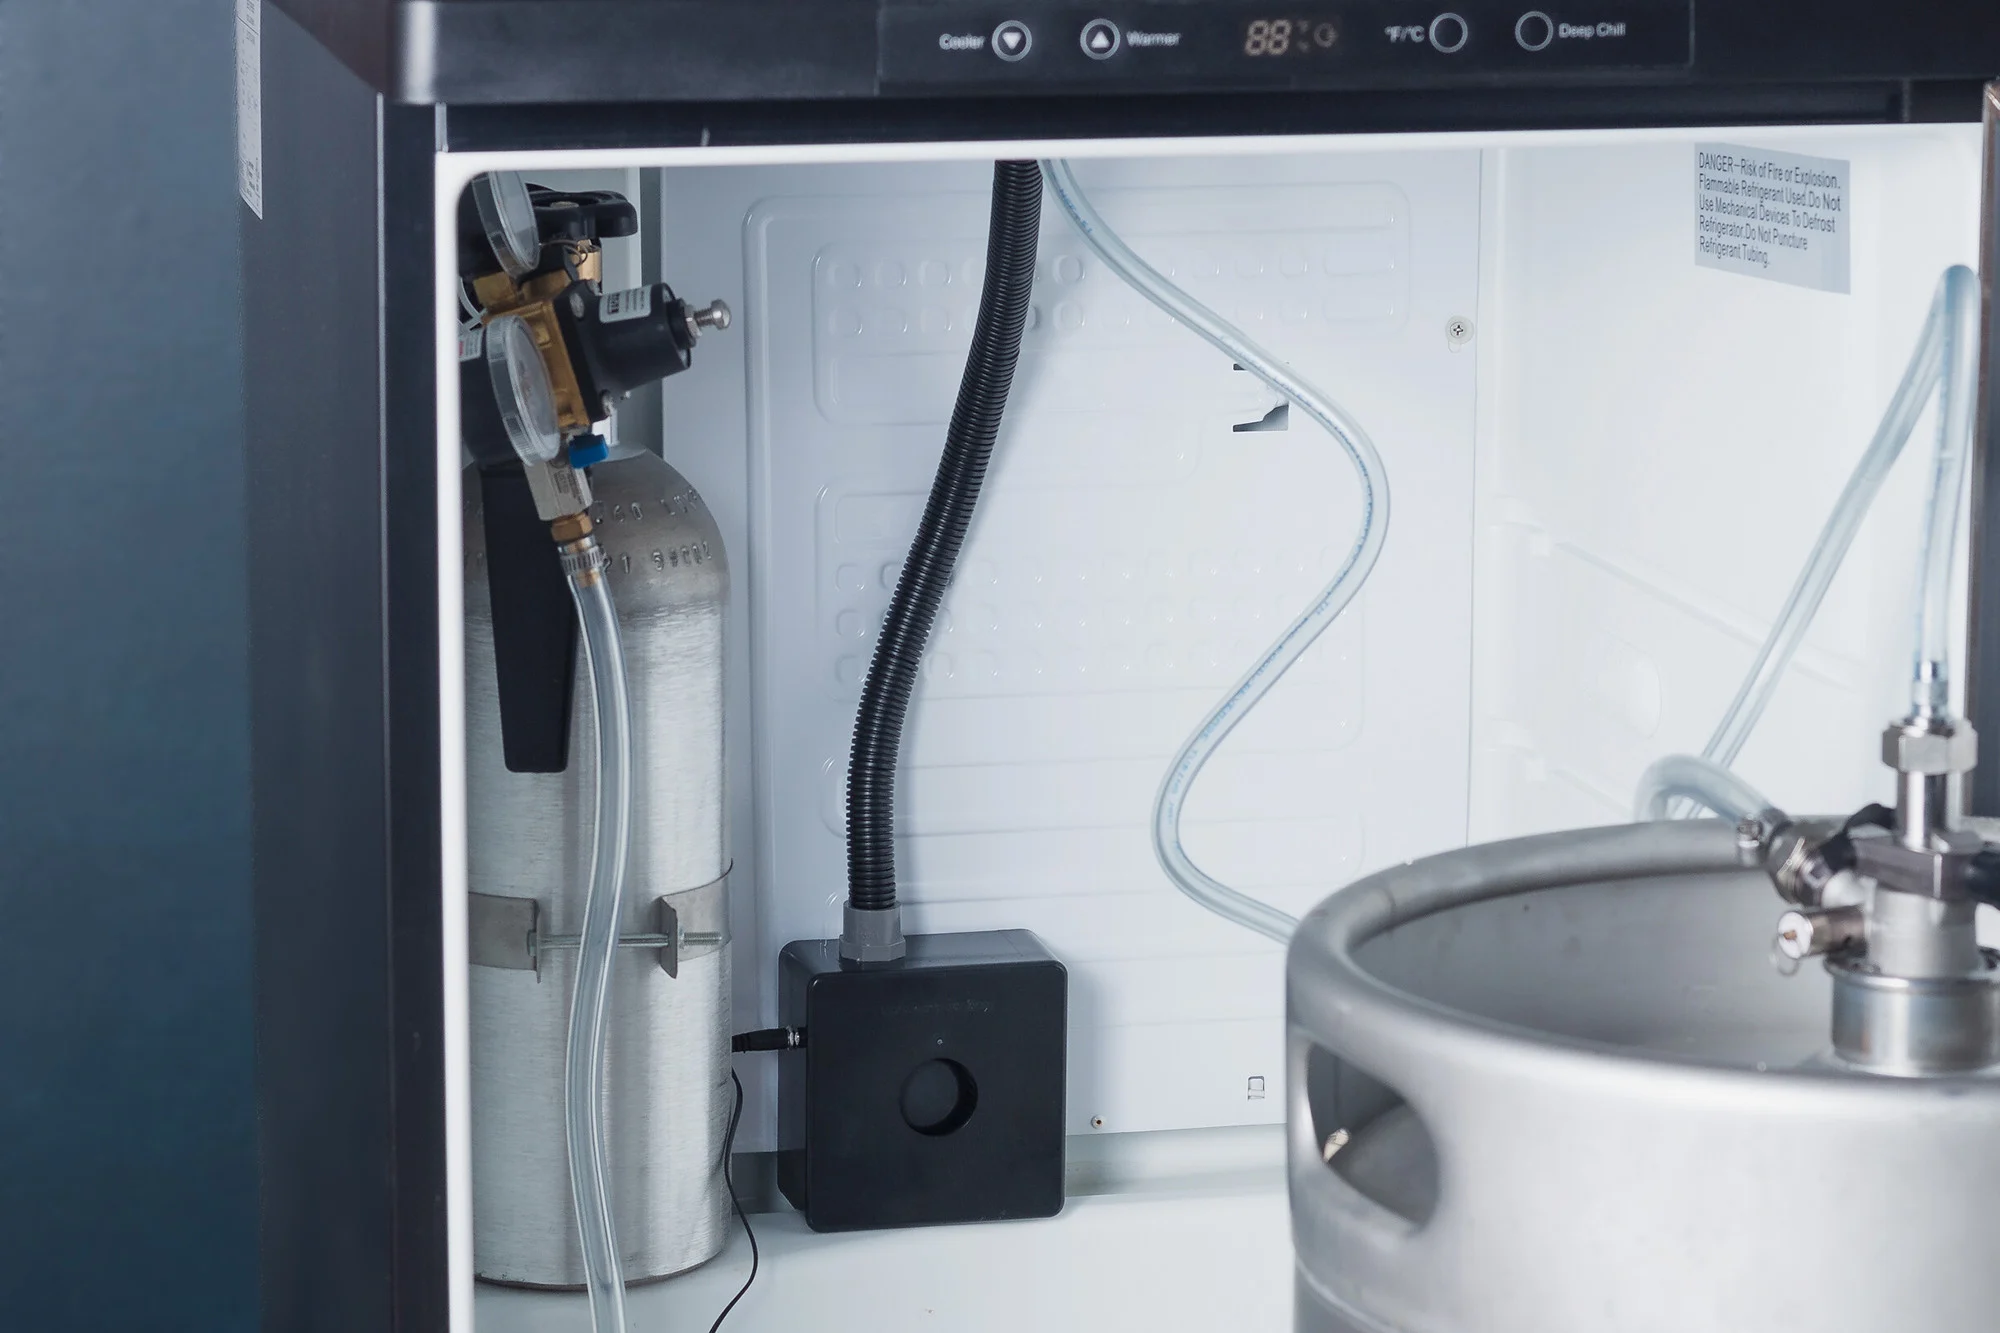
- If there is still beer in the keg, you will need to either finish the beer or transfer it to another container. Use a bucket or container to catch any overflow or drips.
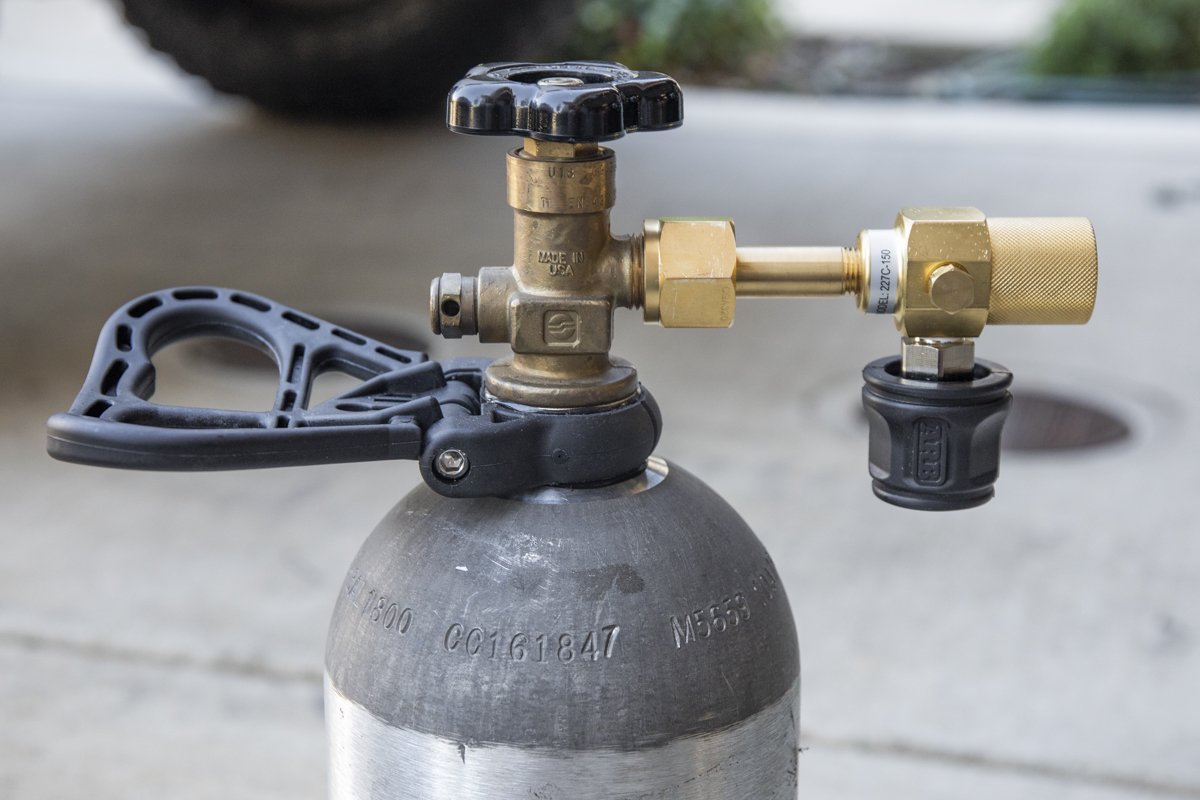
- If your kegerator has a built-in cooling system, turn off the CO2 supply valve to prevent any pressure inside the lines.
- Place a towel or old cloth at the base of the kegerator to catch any spills or drips during the process.
- Remove any objects or accessories that may obstruct your access to the tower, such as drip trays or bottle openers.
By properly preparing your kegerator, you ensure a cleaner and more efficient process of changing the tower. It also minimizes the risk of any damage to the kegerator or your surroundings.
Once you have completed these steps, you are now ready to move on to removing the old tower.
Step 2: Remove the Old Tower
Now that your kegerator is properly prepared, it’s time to remove the old tower. Follow these steps:
- Locate the screws or bolts that secure the tower to the top of the kegerator. These are usually located underneath the tower cover or cap.
- Using the appropriate screwdriver or Allen wrench, carefully remove the screws or bolts and set them aside.
- Once the screws or bolts are removed, gently lift the old tower straight up to detach it from the kegerator.
- Be cautious of any beer lines or wiring that may be connected to the tower. Carefully disconnect them, taking note of the connections or attachments for reassembly later.
- Set the old tower aside in a safe and clean location. You may need to disassemble it further to access any additional components or parts.
When removing the old tower, be mindful of any fragile or delicate parts, especially if you plan to reuse them. It’s always a good idea to take pictures or notes as you disassemble the tower to ensure an easier reinstallation process later.
With the old tower successfully removed, you are now ready to move on to the next step: disconnecting and removing the beer lines.
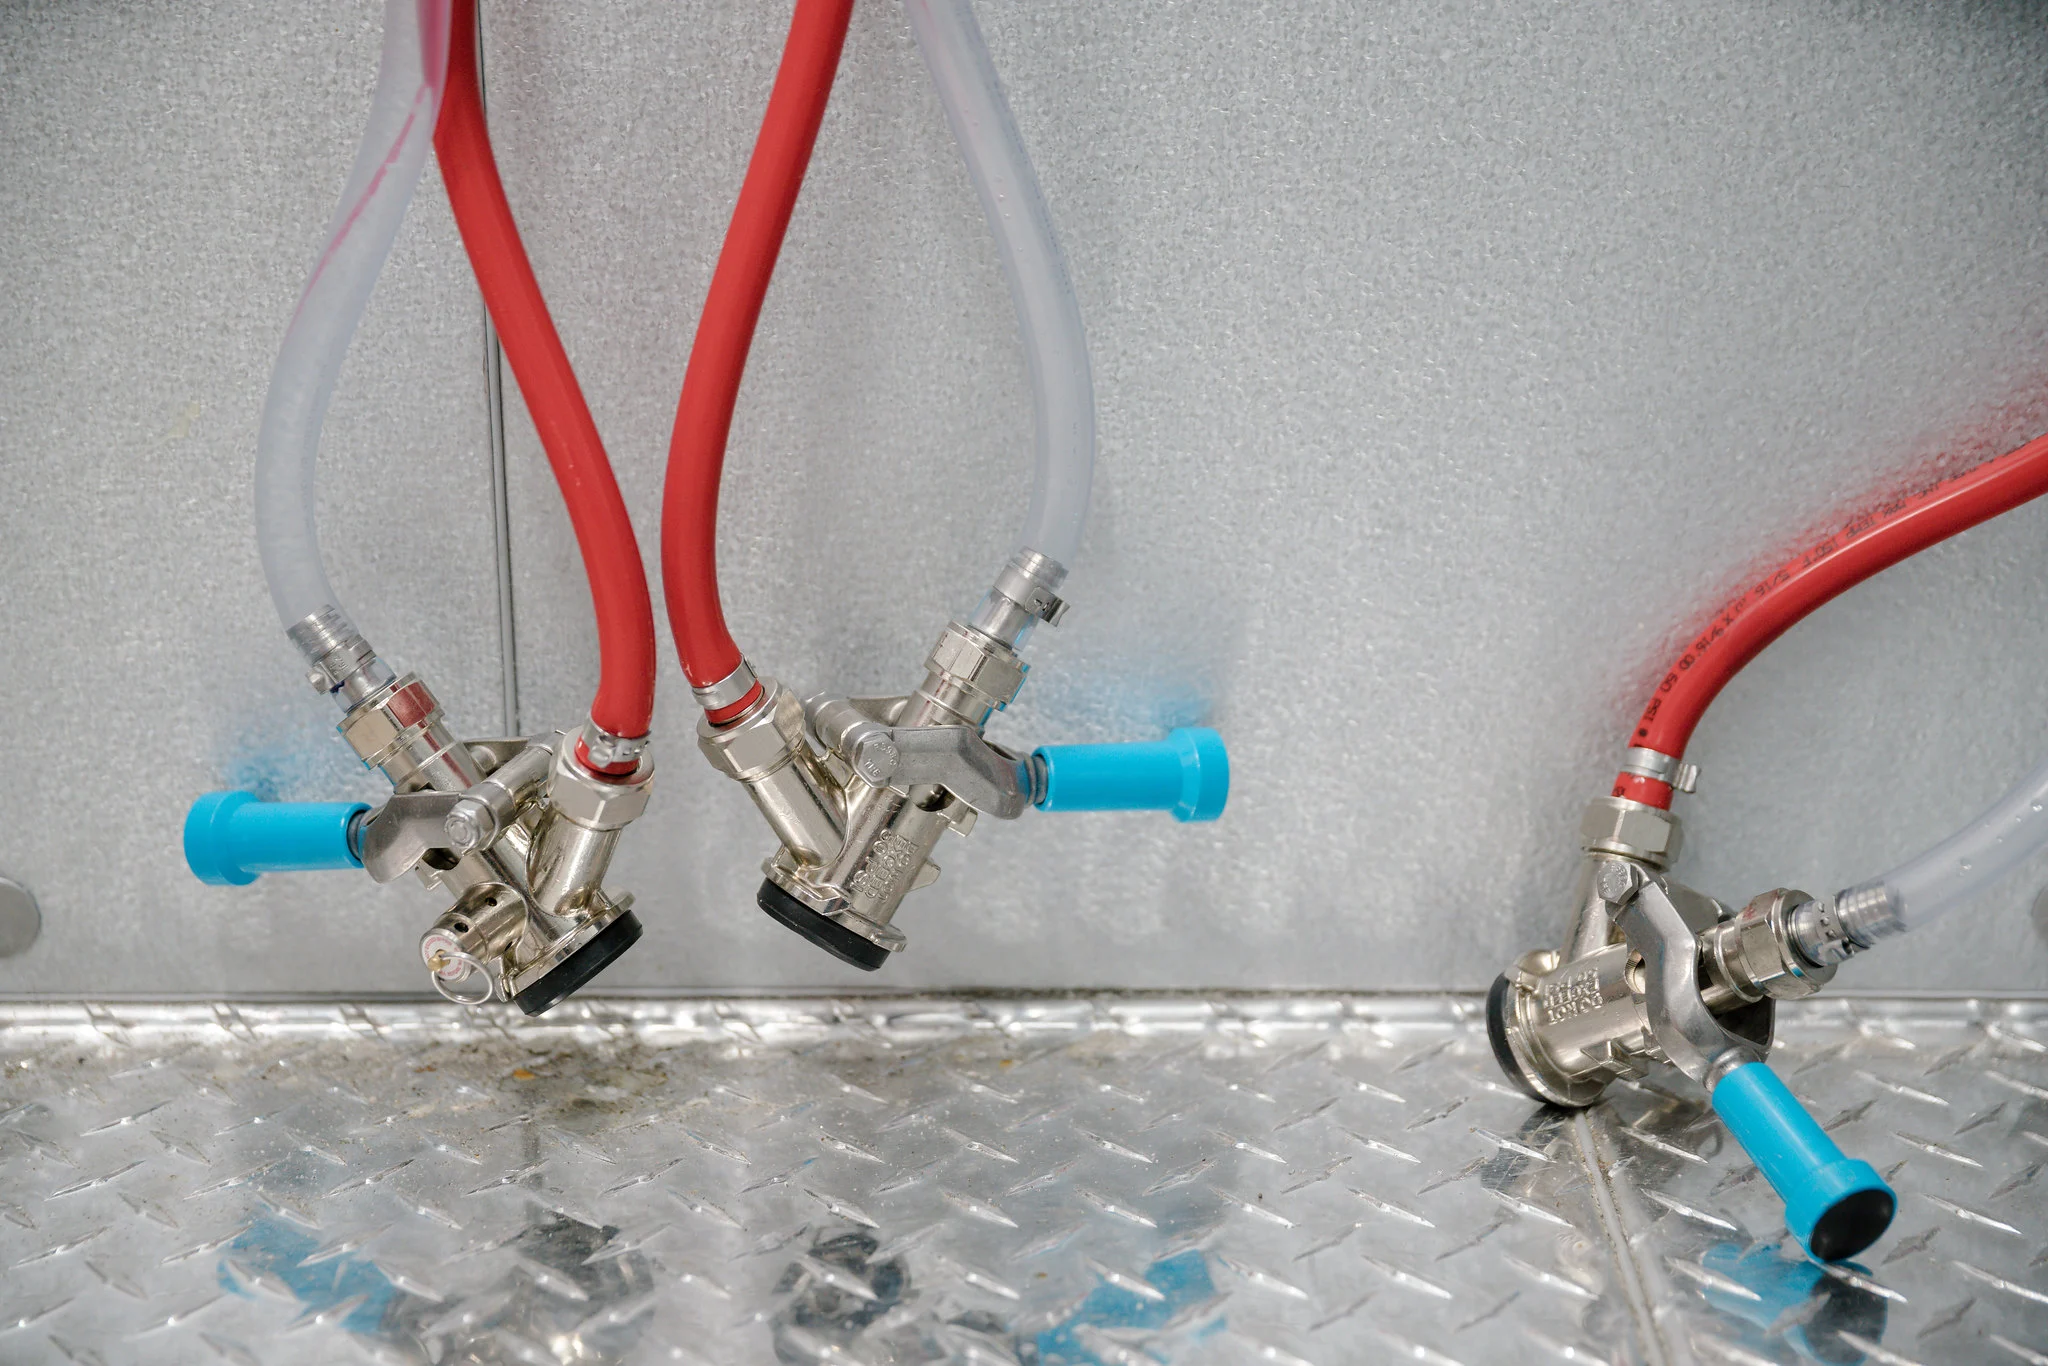
Step 3: Disconnect and Remove the Beer Lines
With the old tower removed, it’s time to disconnect and remove the beer lines. Follow these steps:
- Begin by locating the beer lines connected to the tower. These lines are responsible for transporting the beer from the keg to the faucet.
- Using an adjustable wrench, carefully loosen the fittings that connect the beer lines to the tower. Be cautious not to damage the fittings or the lines themselves.
- Once the fittings are loosened, gently pull the beer lines away from the old tower. If necessary, use a twisting motion to help loosen the seal. Be prepared for any residual beer or liquid to spill, so have a towel or bucket handy to catch any drips.
- Inspect the beer lines for any signs of wear or damage. If the lines are old or deteriorated, it’s recommended to replace them with new ones to ensure optimal performance and taste.
- Set aside the old beer lines and fittings, as you may need them for reference or replacement when installing the new tower.
Disconnecting and removing the beer lines allows for a clean and seamless transition to the new tower. It also gives you an opportunity to inspect the lines for any issues and replace them if necessary.
With the beer lines successfully removed, you’re ready to move on to the next step: detaching the old faucet.
Read more: How To Insulate Kegerator Tower
Step 4: Detach the Old Faucet
Now that the beer lines are disconnected, it’s time to detach the old faucet. Follow these steps:
- Inspect the area where the faucet is connected to the tower. Depending on your kegerator model, there may be a locking nut or clamp securing the faucet in place.
- Using the appropriate tool (typically an adjustable wrench or Allen wrench), loosen and remove the locking nut or clamp that holds the faucet in place.
- Gently twist and pull the old faucet out of the tower, being careful not to damage any surrounding parts or components.
- Inspect the old faucet for any signs of wear or damage. If necessary, replace the faucet with a new one to ensure a smooth flow of beer and prevent any leaks.
Detaching the old faucet allows for a clean installation of the new tower and faucet. It’s also an opportunity to assess the condition of the old faucet and make any necessary replacements.
Once the old faucet is detached, set it aside and get ready for the next step: installing the new tower.
When changing a tower on a kegerator, make sure to disconnect the beer lines and remove the old tower carefully to avoid damaging the unit. Clean the area before installing the new tower to ensure a proper seal.
Step 5: Install the New Tower
With the old faucet detached, it’s time to install the new tower. Follow these steps:
- Take the new tower and carefully align it with the opening on top of the kegerator. Ensure that it is centered and level.
- Attach the new faucet into the tower, following any specific instructions provided by the manufacturer. Usually, this involves inserting the faucet into the designated slot or hole and securing it with a locking nut or clamp.
- Tighten the locking nut or clamp to secure the faucet in place. Be careful not to overtighten, as this can lead to damaging the components or causing leaks.
- If your new tower requires any additional parts or attachments, such as a tower cap or cover, make sure to install them according to the manufacturer’s instructions.
- Double-check that the new tower is securely attached to the kegerator, and ensure that it is stable and level.
Installing the new tower brings a fresh look and functionality to your kegerator. Take your time during this step to ensure proper alignment and secure attachment. This will result in a more enjoyable and hassle-free beer dispensing experience.
With the new tower securely in place, you are now ready to move on to the next step: connecting the beer lines.
Step 6: Connect the Beer Lines
Now that the new tower is installed, it’s time to connect the beer lines. Follow these steps:
- First, inspect the new tower and identify the beer line fittings. These are usually located on the underside of the tower.
- Take the new beer lines and attach them to the corresponding fittings on the tower. Ensure that they are securely connected, but be careful not to overtighten.
- If necessary, use an adjustable wrench to tighten the fittings, but again, exercise caution to prevent damage or leaks.
- Once the beer lines are connected to the tower, it’s time to connect them to the keg. Follow the specific instructions for your kegerator model to properly attach the beer lines to the keg coupler.
- Make sure all connections are tight and secure, and that there are no visible leaks.
Connecting the beer lines is a crucial step to ensure a smooth and uninterrupted flow of beer from keg to faucet. Take your time to properly align and attach the lines to prevent any leaks or loss of carbonation.
With the beer lines successfully connected, you’re one step away from enjoying a refreshing glass of draft beer. The next step is to secure the new faucet.
Step 7: Secure the New Faucet
With the beer lines connected, it’s time to secure the new faucet to ensure proper functionality and prevent any leaks. Follow these steps:
- Carefully examine the area where the faucet is attached to the tower. Look for any locking nuts or clamps that need to be tightened to secure the faucet.
- Use the appropriate tool, such as an adjustable wrench, to tighten the locking nut or clamp. Be careful not to overtighten, as it can damage the faucet or cause leaks.
- Ensure that the faucet is positioned correctly and facing forward, allowing for easy dispensing of beer.
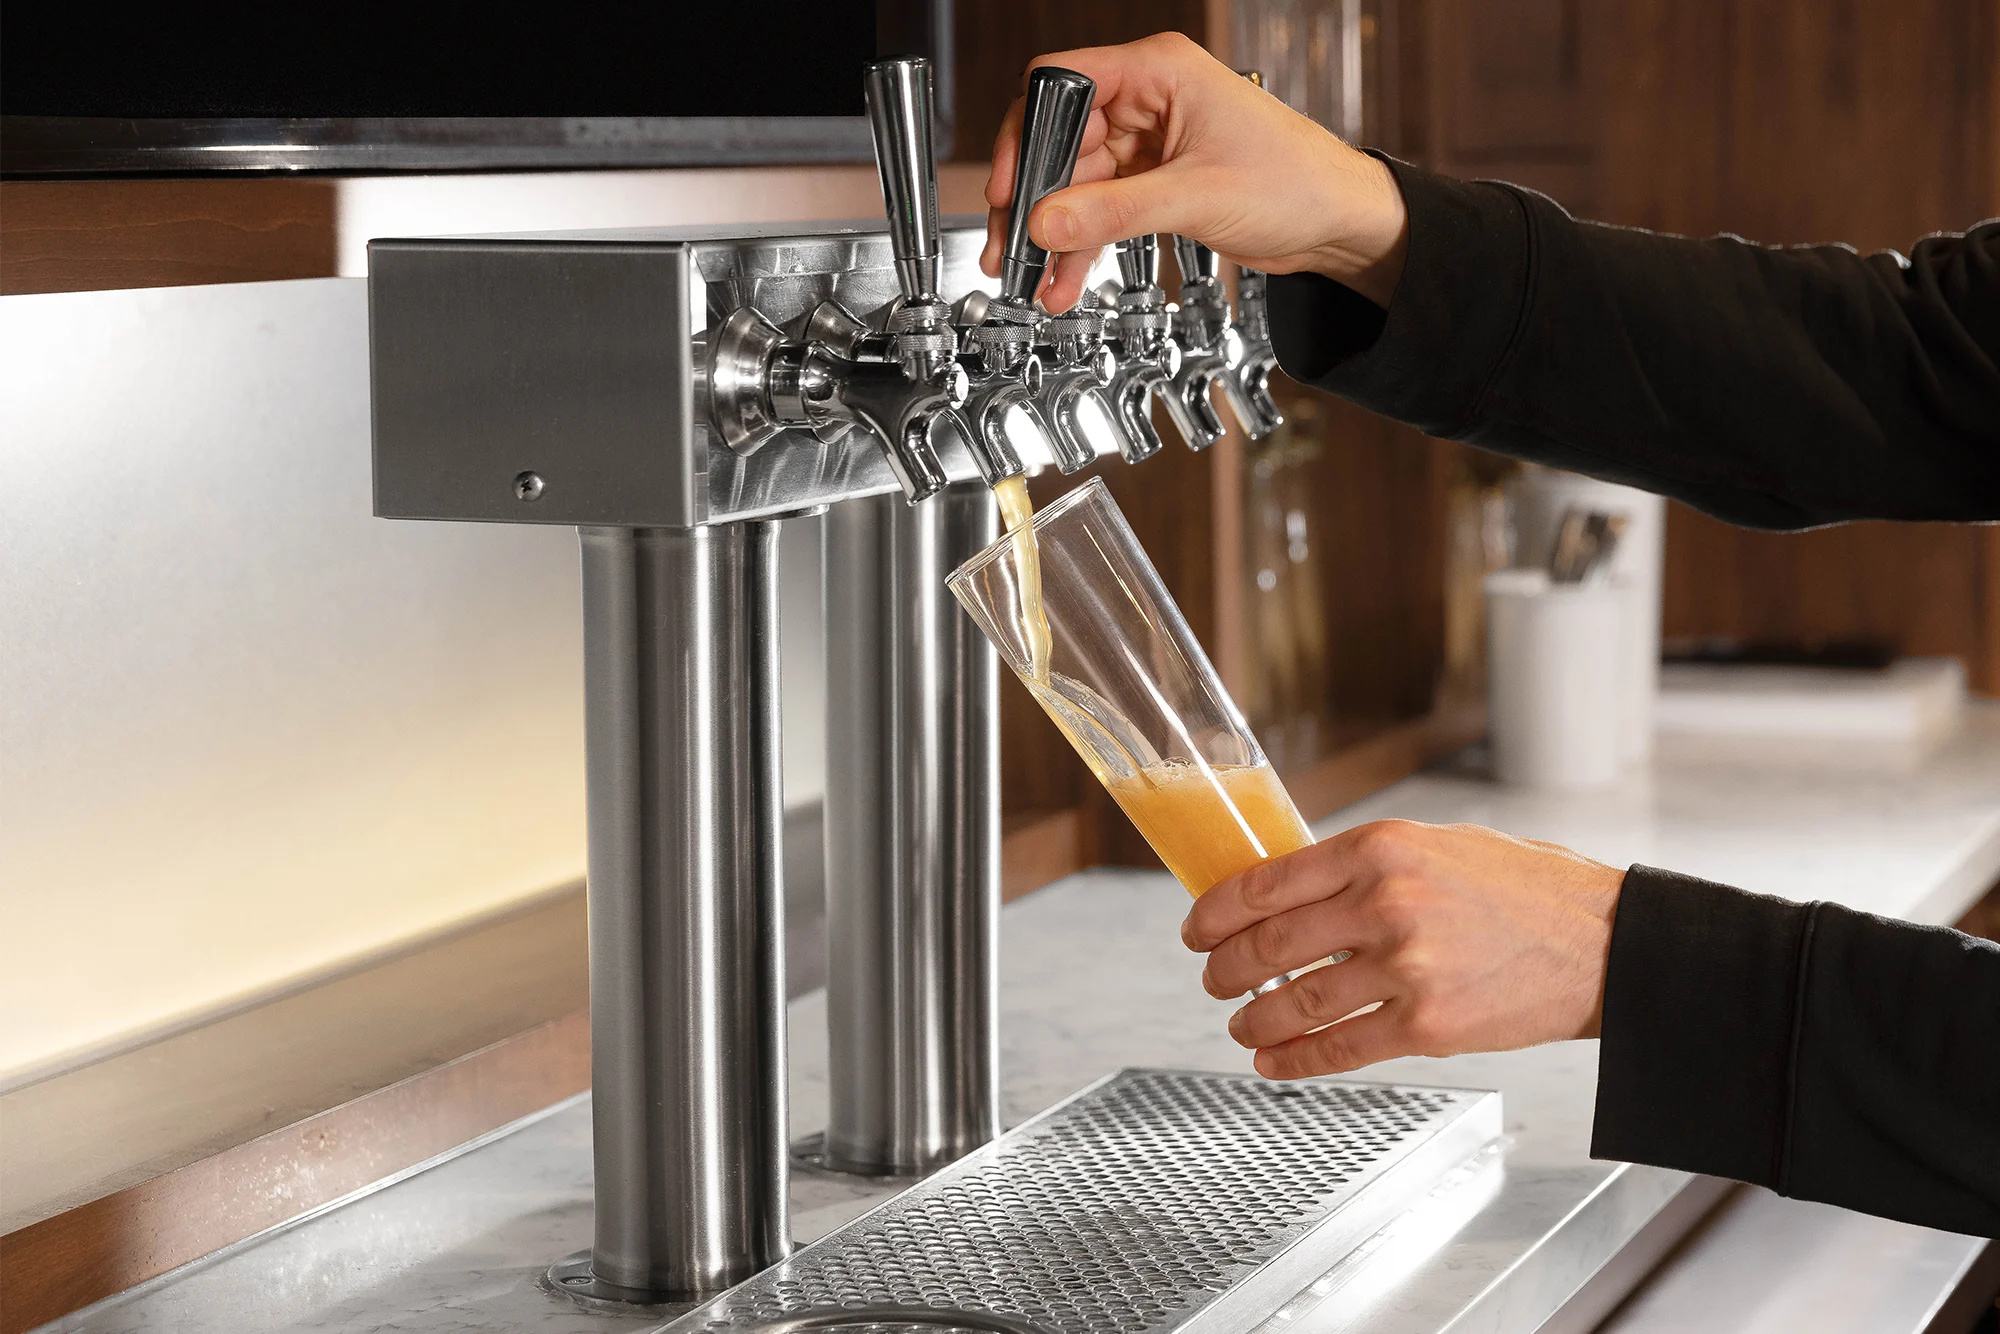
- Gently test the faucet by pulling the tap handle to dispense a small amount of beer. This will help ensure that the faucet is secured properly and that there are no leaks.
- If you notice any leaks or irregularities, try tightening the locking nut or adjusting the position of the faucet until the issue is resolved.
Securing the new faucet is crucial to ensure proper beer dispensing and minimize any potential leaks. Take the time to check and tighten the connections, ensuring a smooth and enjoyable pouring experience.
With the new faucet securely in place, it’s time to move on to the next step: testing for leaks.
Read also: 11 Incredible Kegerator Tower For 2025
Step 8: Test for Leaks
After installing the new tower and securing the connections, it’s important to test for any potential leaks. Follow these steps to ensure a leak-free kegerator:
- With the kegerator plugged in and turned on, pressurize the system by turning on the CO2 supply valve.
- Inspect all the connections, including the beer lines, fittings, and faucet, for any signs of leaks, such as drips or hissing sounds.
- If you notice any leaks, immediately turn off the CO2 supply valve and check the affected connections. Adjust and tighten them as necessary to stop the leaks.
- Once you’ve addressed any leaks, turn on the CO2 supply valve again and repeat the inspection process to ensure that all connections are secure and leak-free.
- Monitor the system for a few minutes to see if any new leaks develop. If everything remains tight and sealed, you’re good to go.
Testing for leaks is a crucial step to ensure the optimal functioning of your kegerator. Small leaks can lead to the loss of carbonation and affect the taste and quality of your beer.
If you’re unable to resolve any persistent leaks on your own, consider seeking assistance from a professional or consulting the manufacturer for further guidance.
With a successful leak test, you’re just one step away from enjoying a perfectly poured draft beer from your newly installed tower. The final step is to clean and maintain the tower for long-lasting performance.
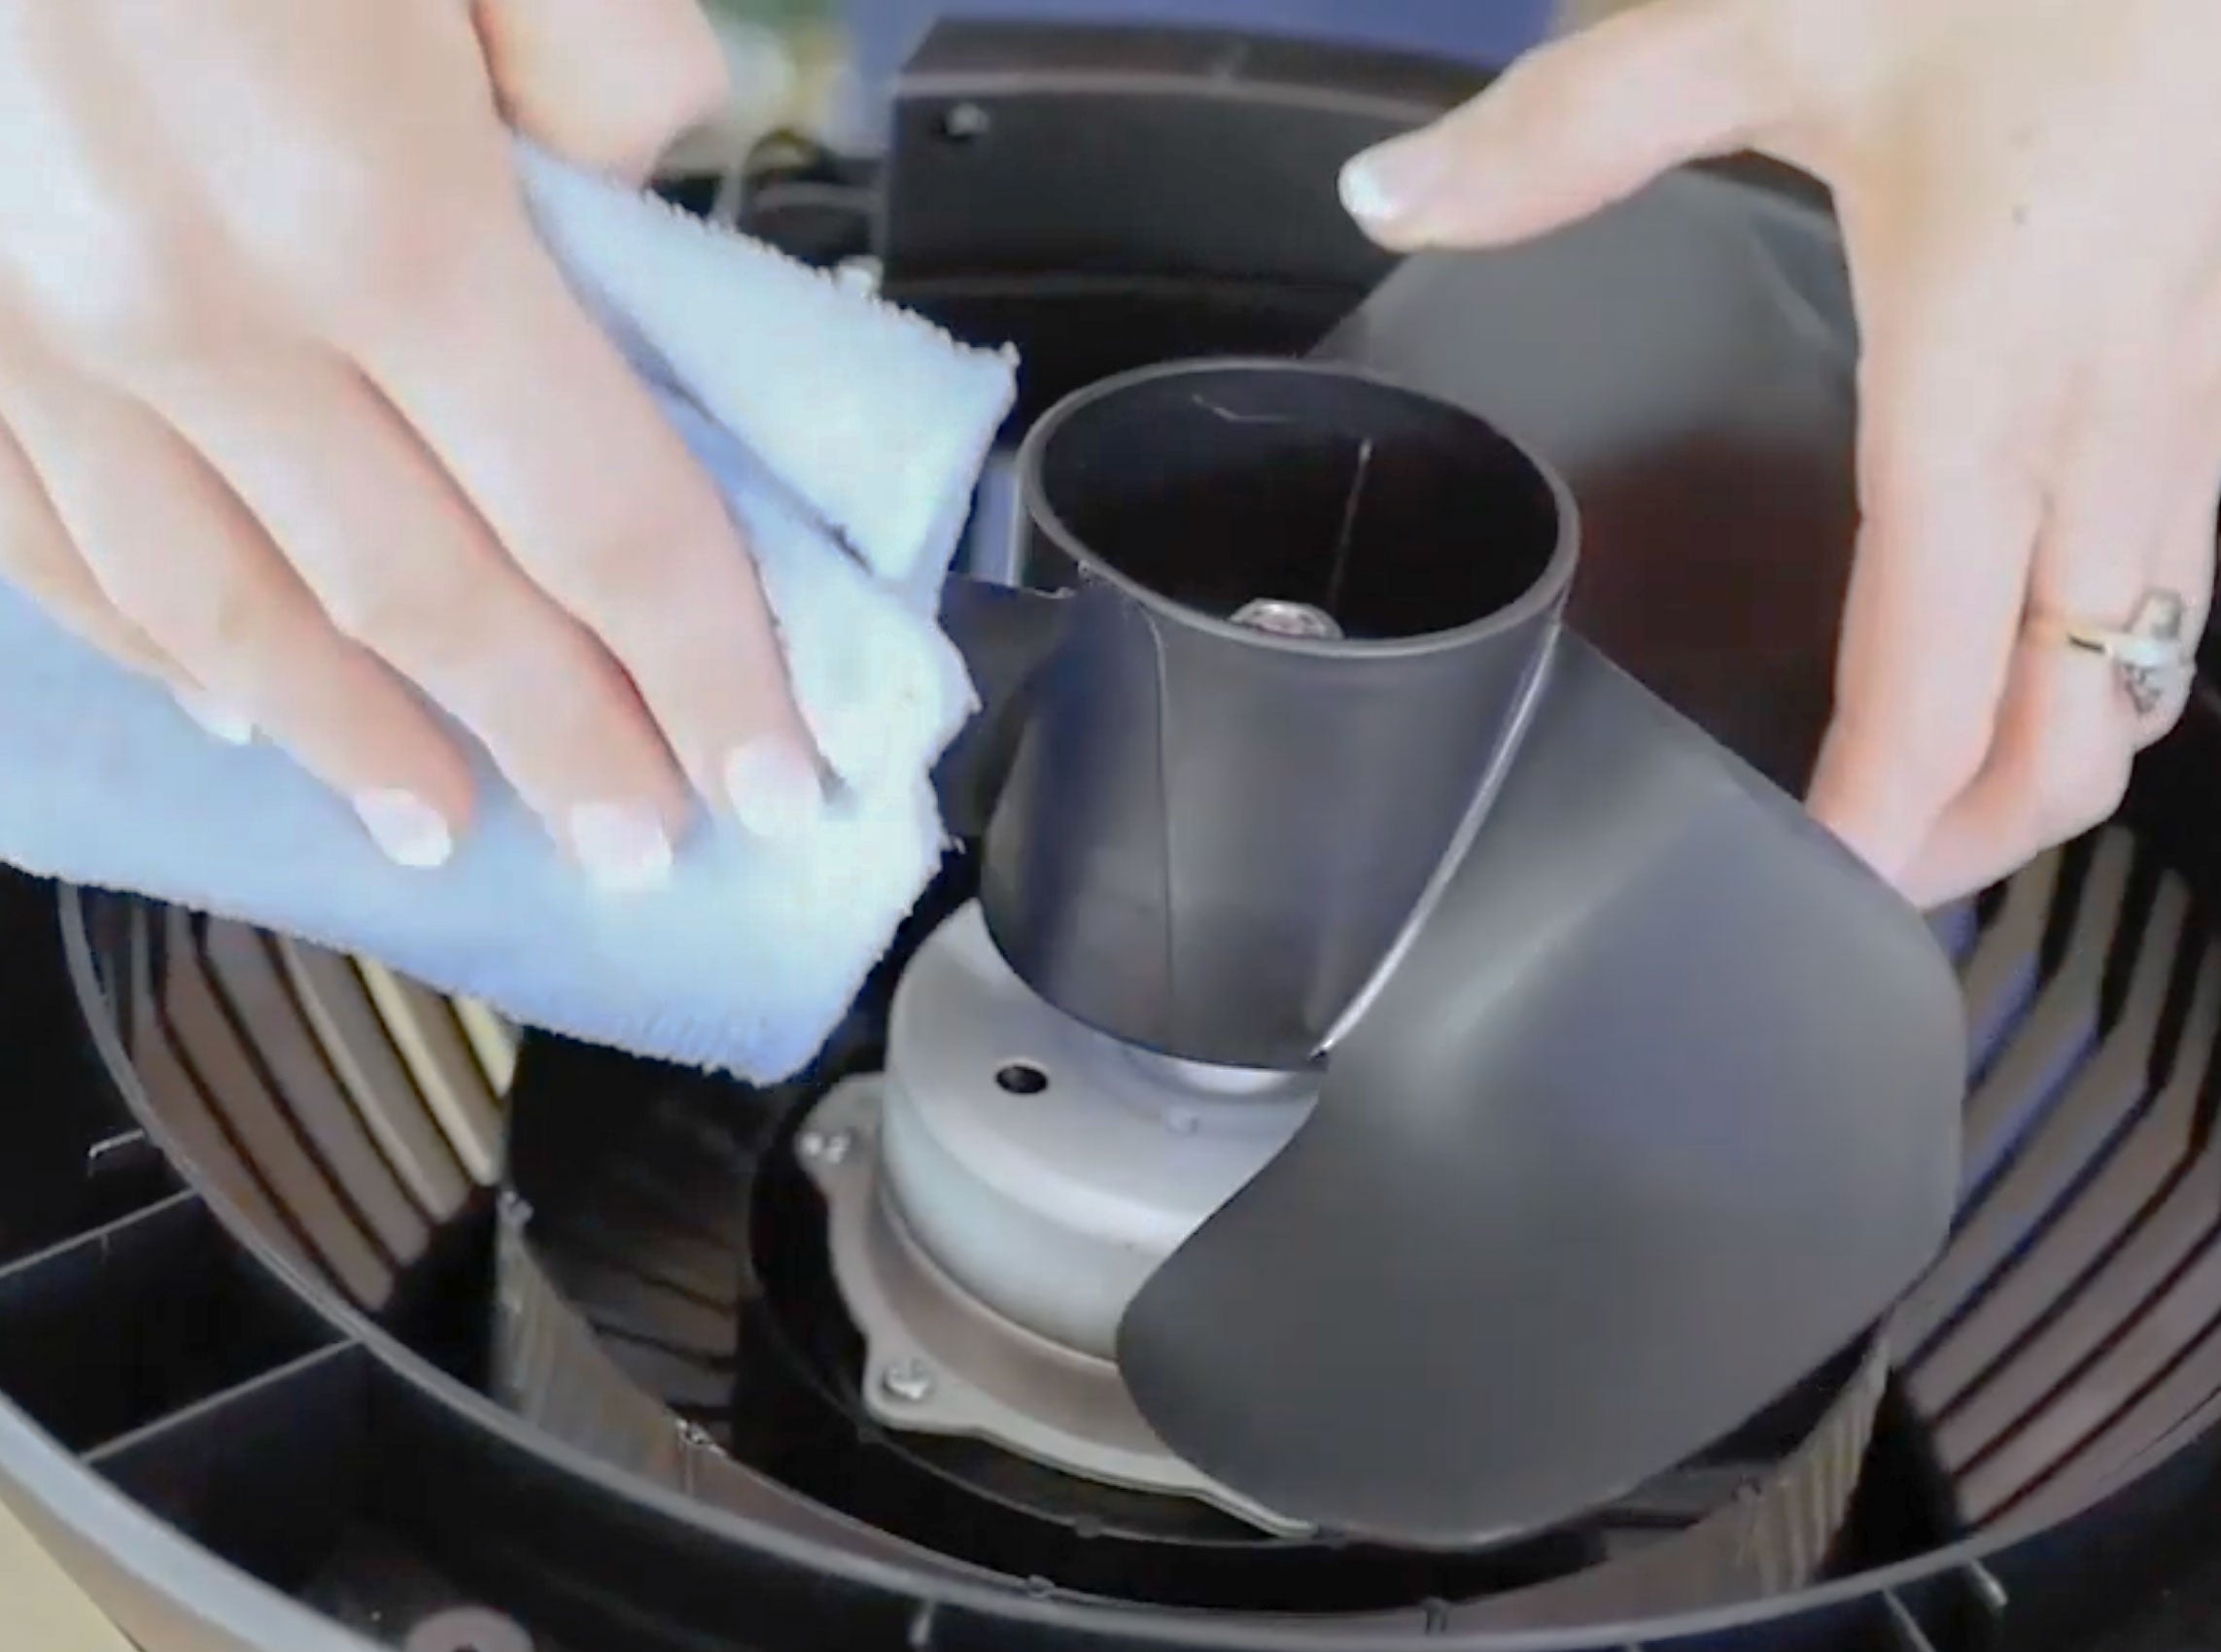
Step 9: Clean and Maintain the Tower
Once you have tested for leaks and confirmed that your new tower is functioning properly, it’s important to establish a routine for cleaning and maintaining the tower. Follow these steps to keep your kegerator tower in excellent condition:
- Regularly clean the exterior of the tower using a soft cloth or sponge dampened with warm water. This will help remove any dust, residue, or fingerprints.
- For a deeper clean, use a specialized cleaning solution designed for beer lines. Follow the instructions provided by the manufacturer to ensure safe and effective use.
- Periodically flush the beer lines to prevent any buildup of beer sediment or bacteria. This can be done by disconnecting the beer lines from the keg coupler and running a cleaning solution through the lines.
- Clean the faucet regularly by soaking it in a cleaning solution or using a faucet brush to remove any buildup or residue.
- Inspect the tower for any signs of damage, such as cracks or loose components. If you notice any issues, address them promptly to prevent further damage or leaks.
- Consider using a tower cover or cap when the kegerator is not in use. This will help protect the tower from dust, debris, and potential damage.
Maintaining a clean and well-maintained tower is essential for preserving the quality and taste of your beer. It also ensures that your kegerator remains in optimal condition for years to come.
By incorporating these cleaning and maintenance practices into your routine, you can enjoy a consistently excellent beer-drinking experience from your kegerator.
With the tower now cleaned and maintained, congratulations! You have successfully changed the tower on your kegerator. Sit back, relax, and savor your favorite draft beer right at home.
Remember, if you ever need to make any further changes or upgrades to your kegerator, refer back to this guide or consult the manufacturer for any specific instructions.
Enjoy your freshly poured beer!
Conclusion
Changing the tower on your kegerator can bring a new level of functionality and style to your beer-drinking experience. With this step-by-step guide, you have learned how to successfully replace the tower and upgrade your kegerator.
Throughout the process, you learned the importance of preparing the kegerator, removing the old tower, disconnecting and removing the beer lines, detaching the old faucet, installing the new tower, connecting the beer lines, securing the new faucet, testing for leaks, and cleaning and maintaining the tower.
By following these steps diligently, you can ensure a smooth transition to the new tower and enjoy a refreshing glass of draft beer whenever you desire. Remember to consult your kegerator’s user manual or contact the manufacturer for any specific instructions or variations based on your model.
Regular maintenance and cleaning of your kegerator tower will keep it in optimal condition and preserve the quality of your beer. By establishing a routine for cleaning and inspection, you can prevent potential issues and maintain a consistently enjoyable beer-drinking experience.
So go ahead, raise your glass, and cheers to your newly changed kegerator tower! Enjoy the convenience and pleasure of serving your favorite beers on tap from the comfort of your home.
Remember, changing the tower is just one aspect of kegerator maintenance. Be sure to regularly check and maintain other components such as CO2 levels, temperature control, and keg cleanliness to ensure the best-tasting beer each time.
Now, it’s time to sit back, relax, and enjoy your perfectly poured draft beer from your newly upgraded kegerator!
Frequently Asked Questions about How To Change A Tower On A Kegerator
Was this page helpful?
At Storables.com, we guarantee accurate and reliable information. Our content, validated by Expert Board Contributors, is crafted following stringent Editorial Policies. We're committed to providing you with well-researched, expert-backed insights for all your informational needs.


0 thoughts on “How To Change A Tower On A Kegerator”