Home>Articles>How Long To Knead Bread Dough In Kitchenaid Mixer
Articles
How Long To Knead Bread Dough In Kitchenaid Mixer
Modified: March 1, 2024
Learn how long to knead bread dough in a Kitchenaid mixer. Our expert articles provide step-by-step instructions and tips to achieve perfect results.
(Many of the links in this article redirect to a specific reviewed product. Your purchase of these products through affiliate links helps to generate commission for Storables.com, at no extra cost. Learn more)
Introduction
When it comes to baking bread, one of the essential steps in the process is kneading the dough. Kneading helps develop the gluten in the dough, giving bread its structure and ensuring a light and airy texture. Traditionally, kneading was done by hand, requiring significant time and effort. However, with the advent of modern kitchen appliances, such as the Kitchenaid mixer, kneading bread dough has become much more convenient and efficient.
In this article, we will explore the importance of kneading bread dough and how a Kitchenaid mixer can simplify the process. We will also discuss the factors to consider when kneading bread dough and how long it generally takes to achieve the desired results. By the end, you will have a clear understanding of how to properly knead bread dough using a Kitchenaid mixer and be able to achieve consistently delicious homemade bread.
Key Takeaways:
- Embrace the convenience and efficiency of using a Kitchenaid mixer for kneading bread dough, ensuring consistent results, precise control, and the ability to handle both small and large batches with ease.
- Master the art of kneading bread dough by understanding the importance of gluten development, yeast distribution, and dough consistency, and utilize visual and tactile cues to achieve perfectly kneaded dough for delicious homemade bread.
Read more: How Long To Knead Bread Dough In Stand Mixer
Understanding the Importance of Kneading Bread Dough
Kneading bread dough is a crucial step in the bread-making process. It serves several important purposes that contribute to the final texture and structure of the bread. By understanding these reasons, you can appreciate the significance of properly kneading your dough.
First and foremost, kneading helps develop gluten, a protein that forms when flour is mixed with water. Gluten gives bread its elasticity and strength, allowing it to rise and hold its shape during baking. Without sufficient gluten development, bread can turn out dense and flat.
In addition to gluten development, kneading also helps distribute yeast and other leavening agents evenly throughout the dough. Yeast is responsible for the fermentation process, where it produces carbon dioxide, causing the dough to rise. Proper distribution of yeast ensures that the bread will rise uniformly, resulting in a light and airy texture.
Kneading also promotes hydration. As you knead the dough, the liquid is evenly distributed, allowing the flour particles to fully absorb the moisture. This hydration process contributes to the development of gluten and helps create a moist and tender crumb in the finished bread.
Furthermore, kneading enhances dough elasticity. As you work the dough, you stretch and fold it, aligning the gluten strands and creating a structure that can hold the carbon dioxide produced during fermentation. This elasticity gives the dough strength and the ability to expand during baking, resulting in a well-risen loaf.
Lastly, kneading dough brings all the ingredients together, ensuring proper incorporation of fat, salt, and any additional flavors or mix-ins. This ensures that every bite of bread has a consistent taste and texture.
By understanding the importance of kneading bread dough, you can appreciate why it is a crucial step in the bread-making process. It contributes to gluten development, yeast distribution, hydration, elasticity, and ingredient incorporation, all of which are vital for achieving a delicious and well-textured loaf of bread.
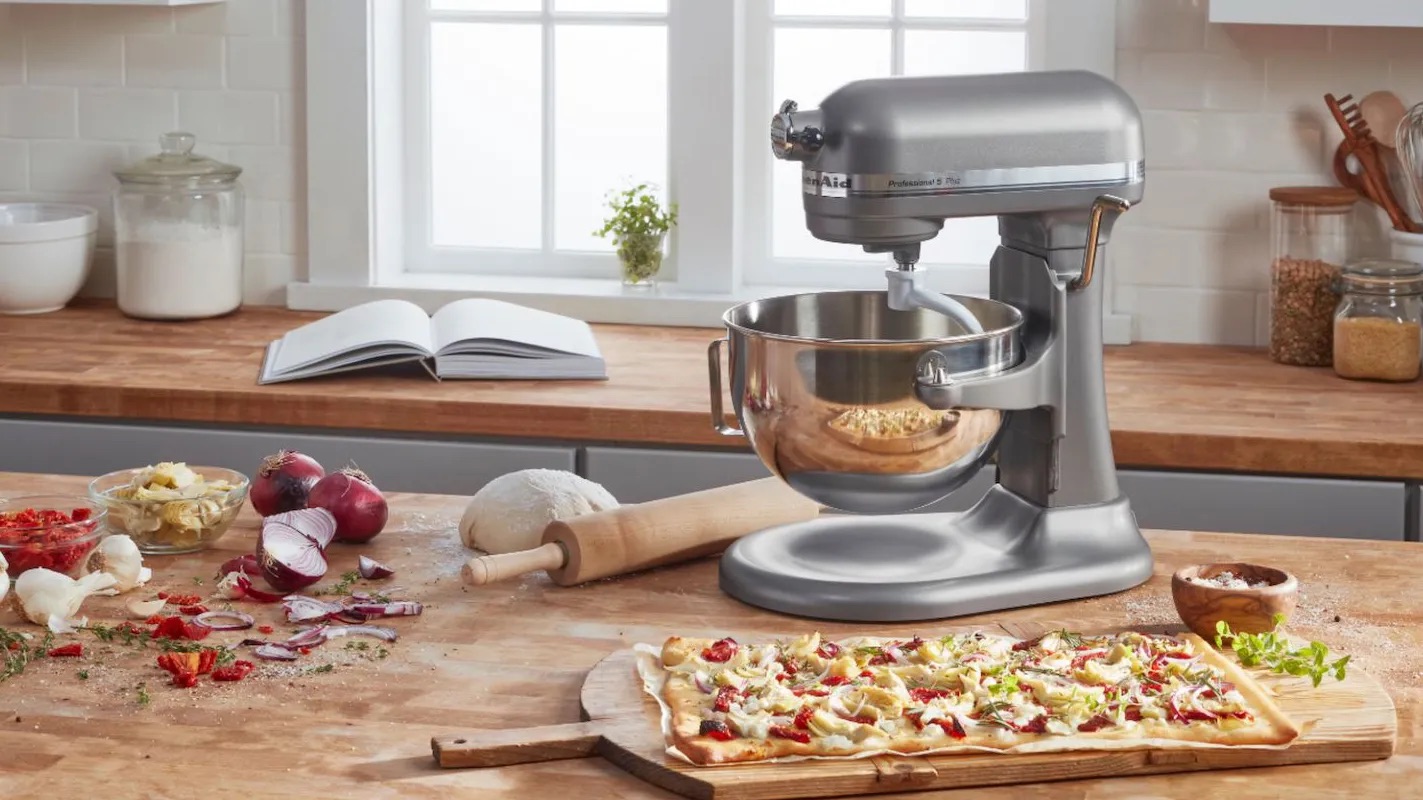
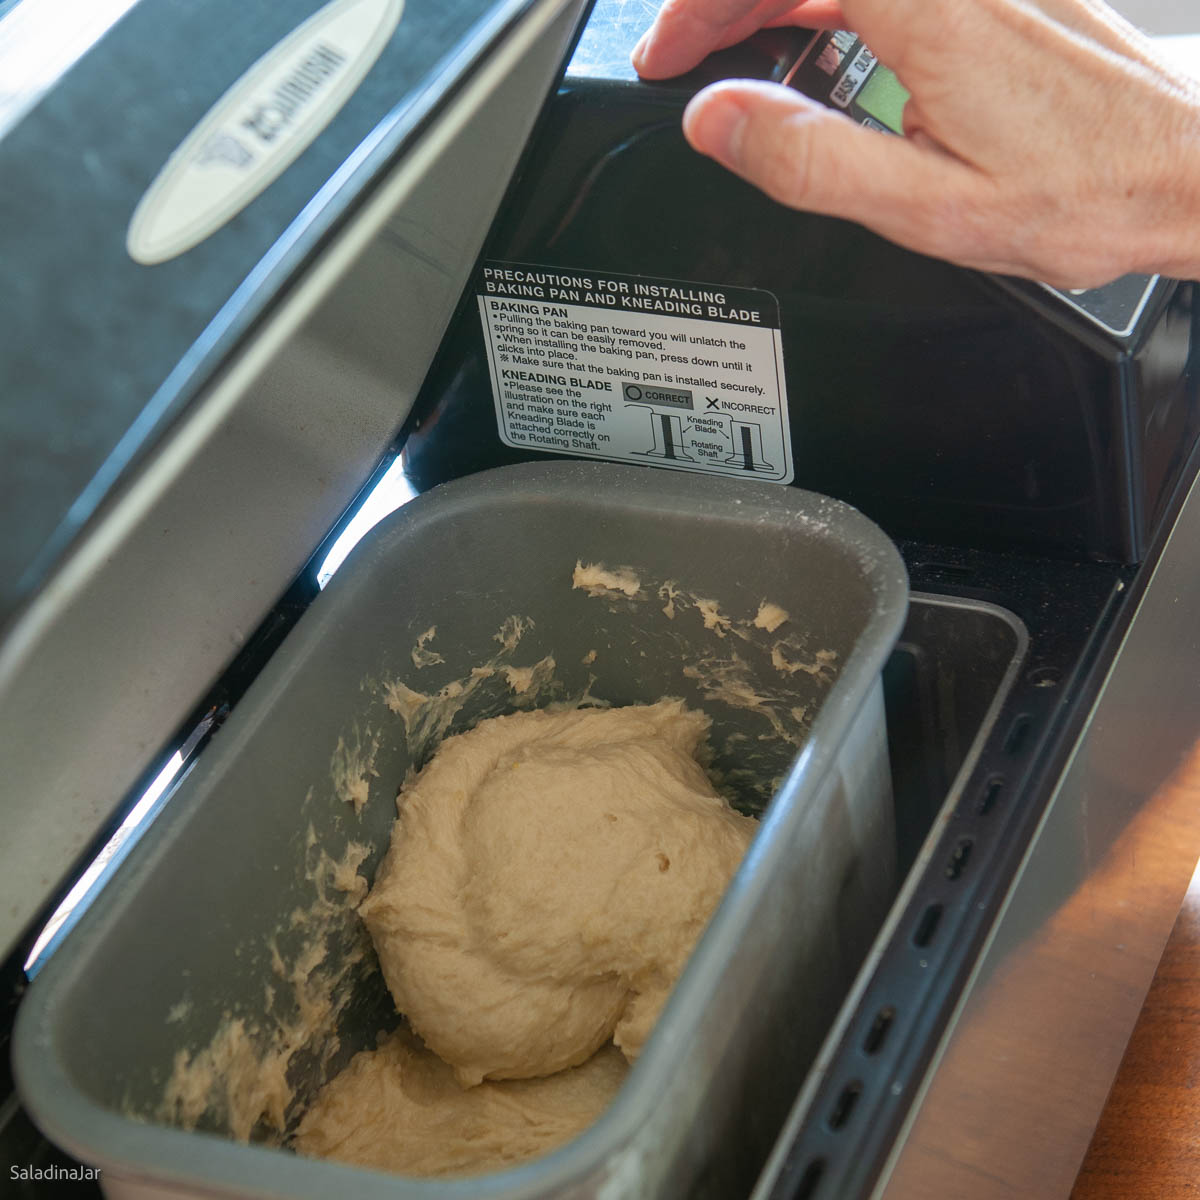
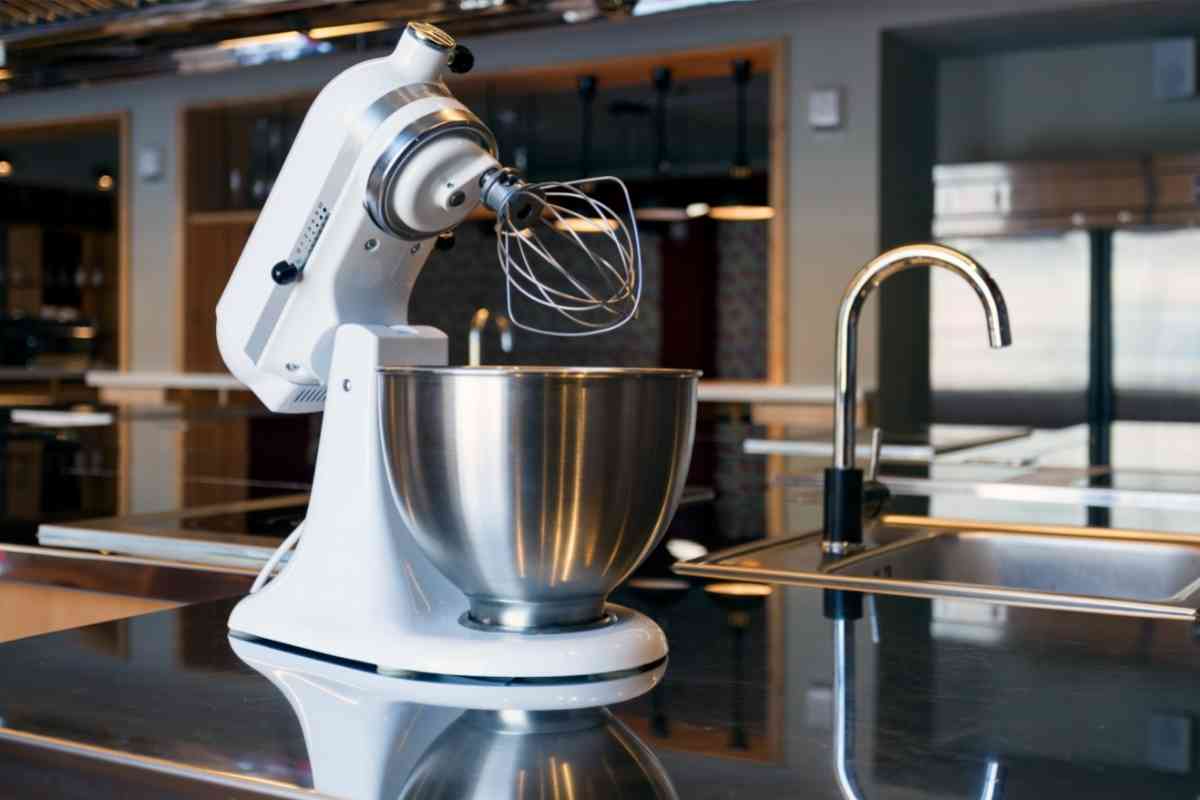
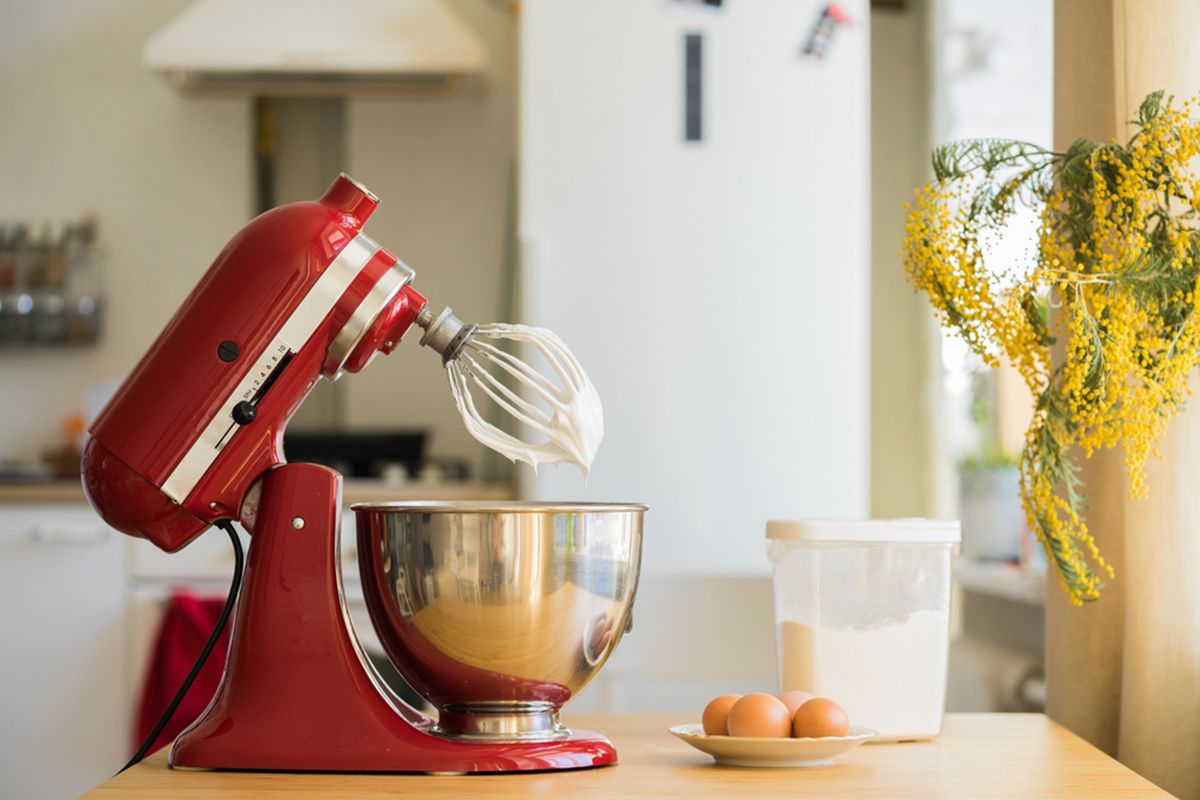
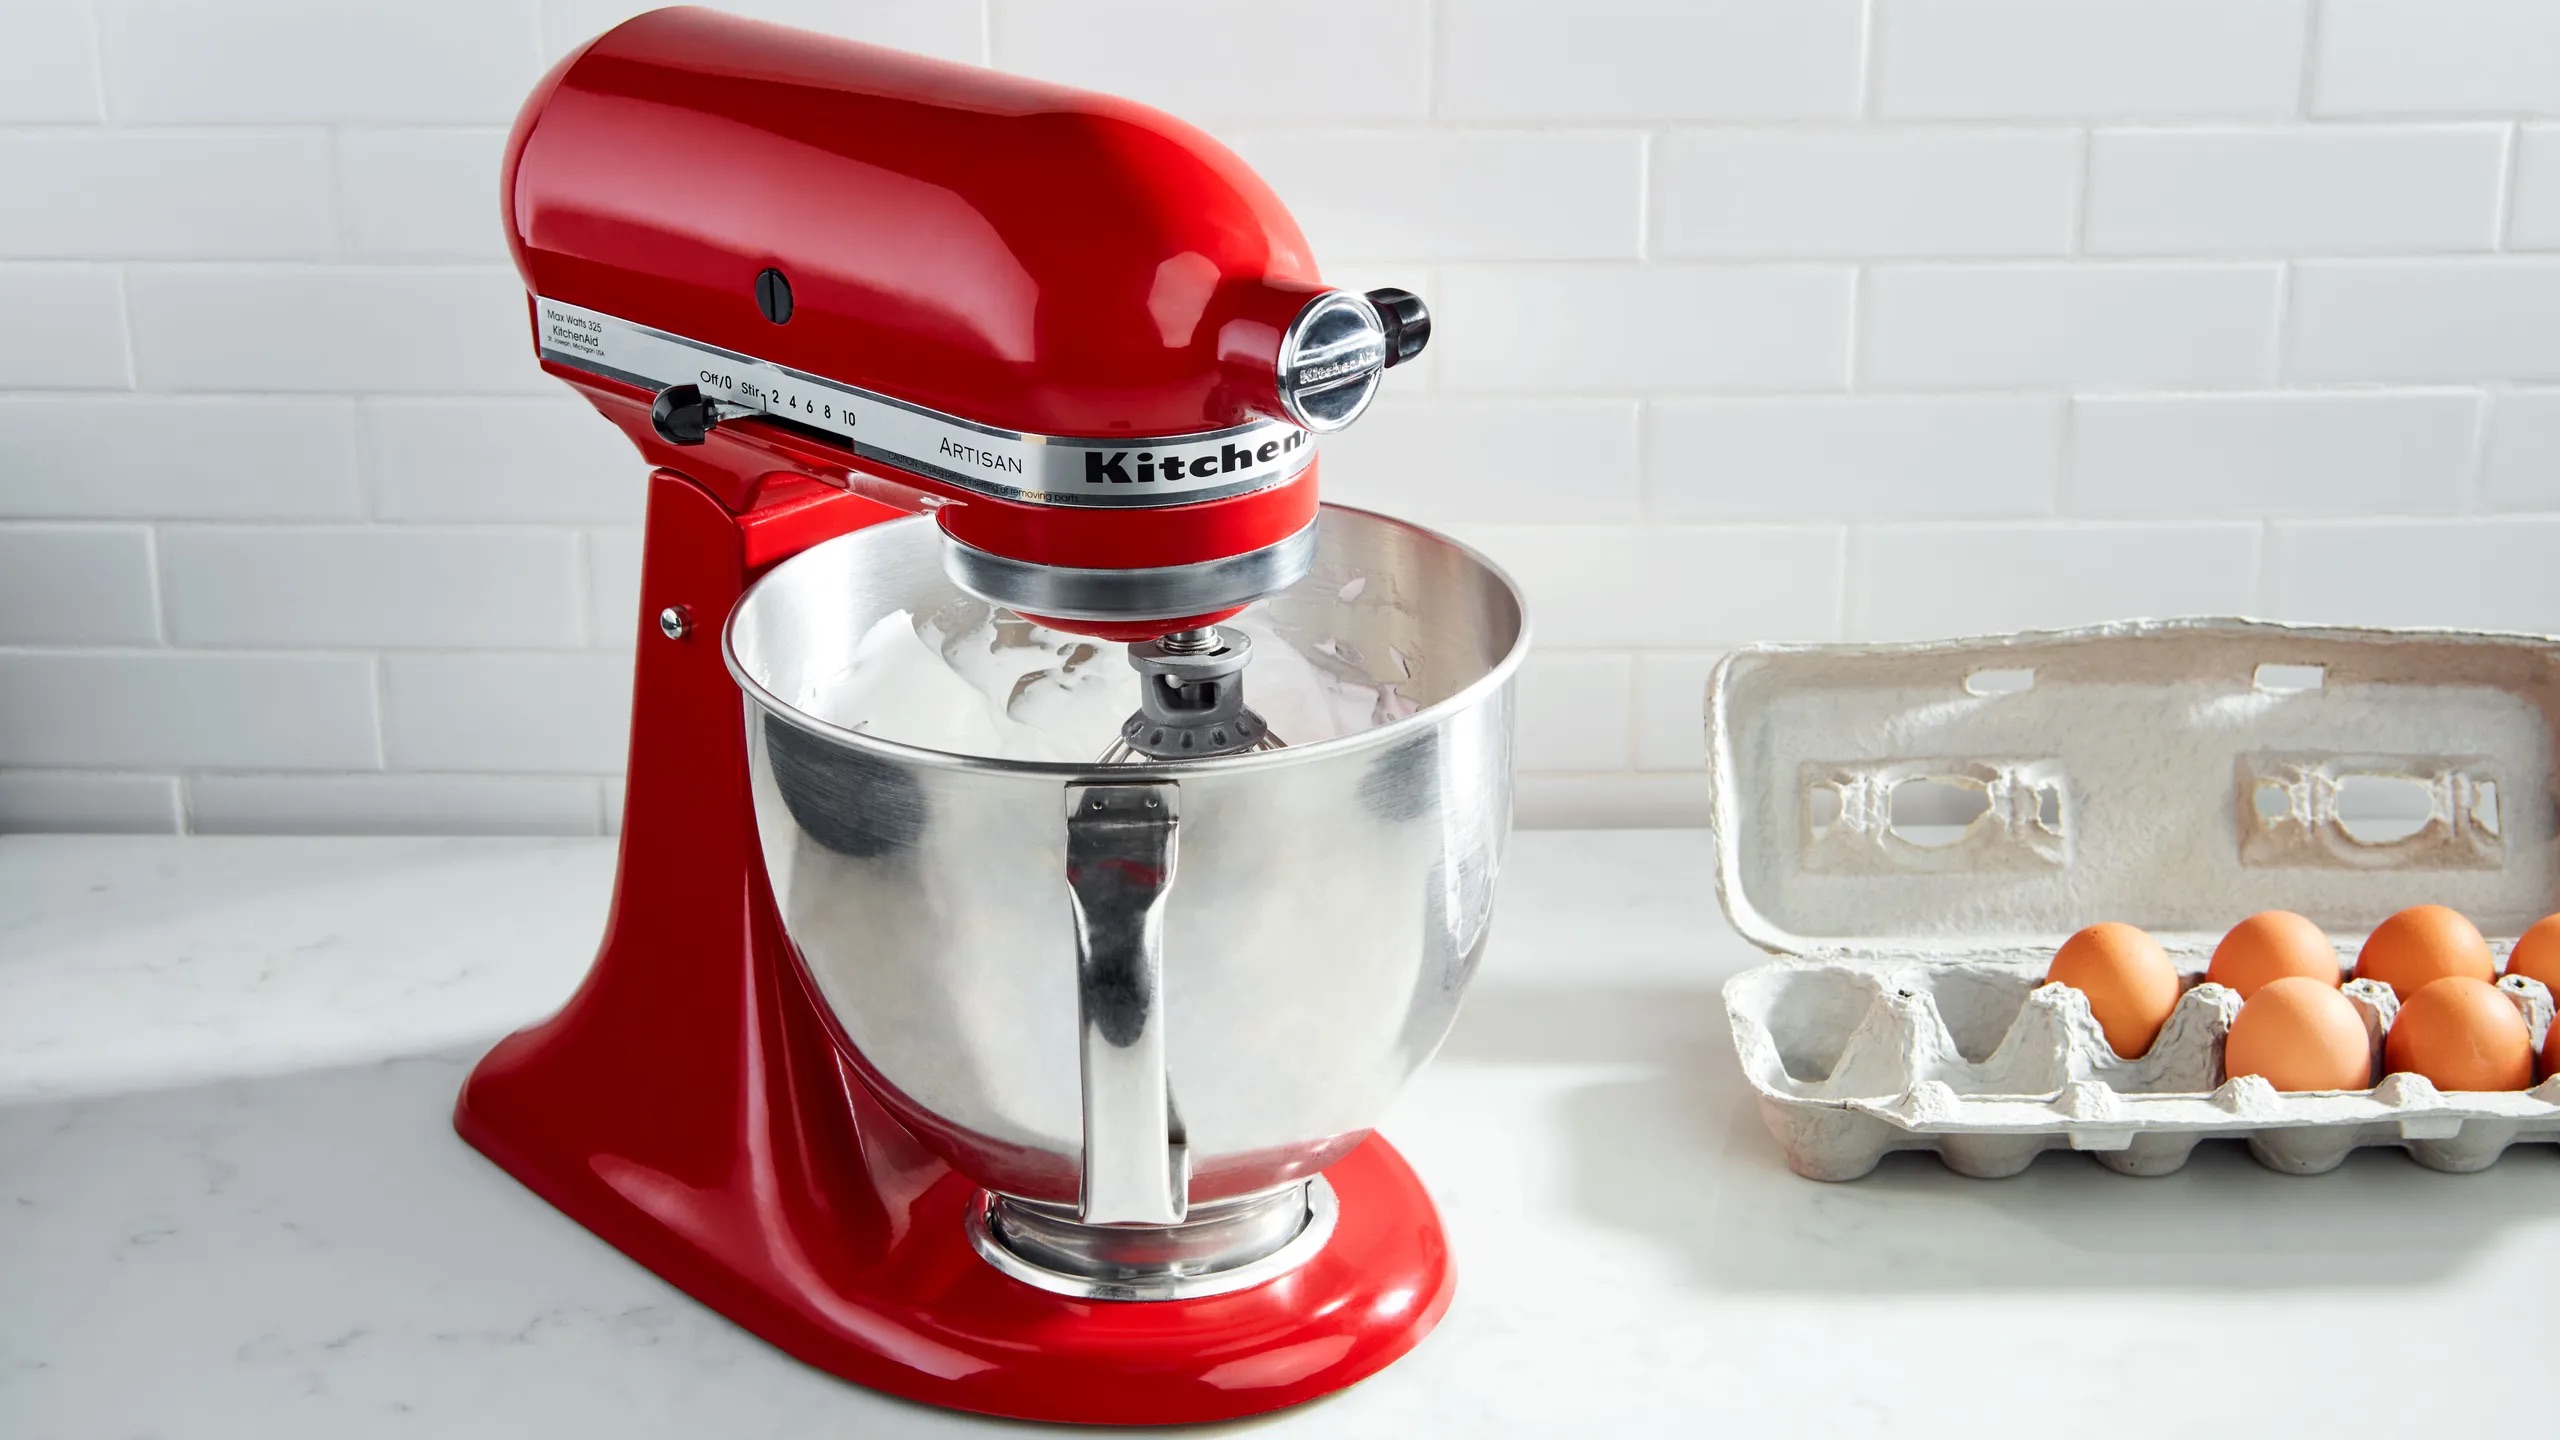
Using a Kitchenaid Mixer for Kneading Bread Dough
One of the greatest conveniences in modern baking is the Kitchenaid mixer, which can be a game-changer when it comes to kneading bread dough. This versatile appliance takes the hard work out of kneading by providing a powerful and consistent mixing action. Here are a few reasons why using a Kitchenaid mixer for kneading bread dough is beneficial:
Efficiency: Kneading bread dough by hand can be a time-consuming and physically demanding task. A Kitchenaid mixer, on the other hand, can effortlessly handle the kneading process, saving you time and effort. The powerful motor and various mixing attachments ensure efficient and consistent kneading.
Consistency: Kneading by hand can vary in terms of pressure, time, and technique, leading to inconsistent results. With a Kitchenaid mixer, you can achieve consistent kneading every time. The mixer maintains a steady speed and rotation, ensuring that the dough is evenly and thoroughly kneaded.
Precise control: Kitchenaid mixers come with different speed settings, allowing you to have precise control over the kneading process. You can start with a lower speed to incorporate the ingredients, gradually increase the speed for gluten development, and then decrease it again for a final mix. This level of control helps you achieve the desired texture and structure in your bread.
Multitasking: While the mixer is kneading the dough, you can take advantage of the hands-free operation to prepare other ingredients or attend to other tasks. This multitasking feature saves time and makes the baking process more efficient.
Consistency in large batches: Kneading large batches of dough by hand can be challenging and may lead to inconsistencies in gluten development. A Kitchenaid mixer, with its large capacity bowl and powerful motor, can handle larger amounts of dough with ease, ensuring consistent results even with bigger batches.
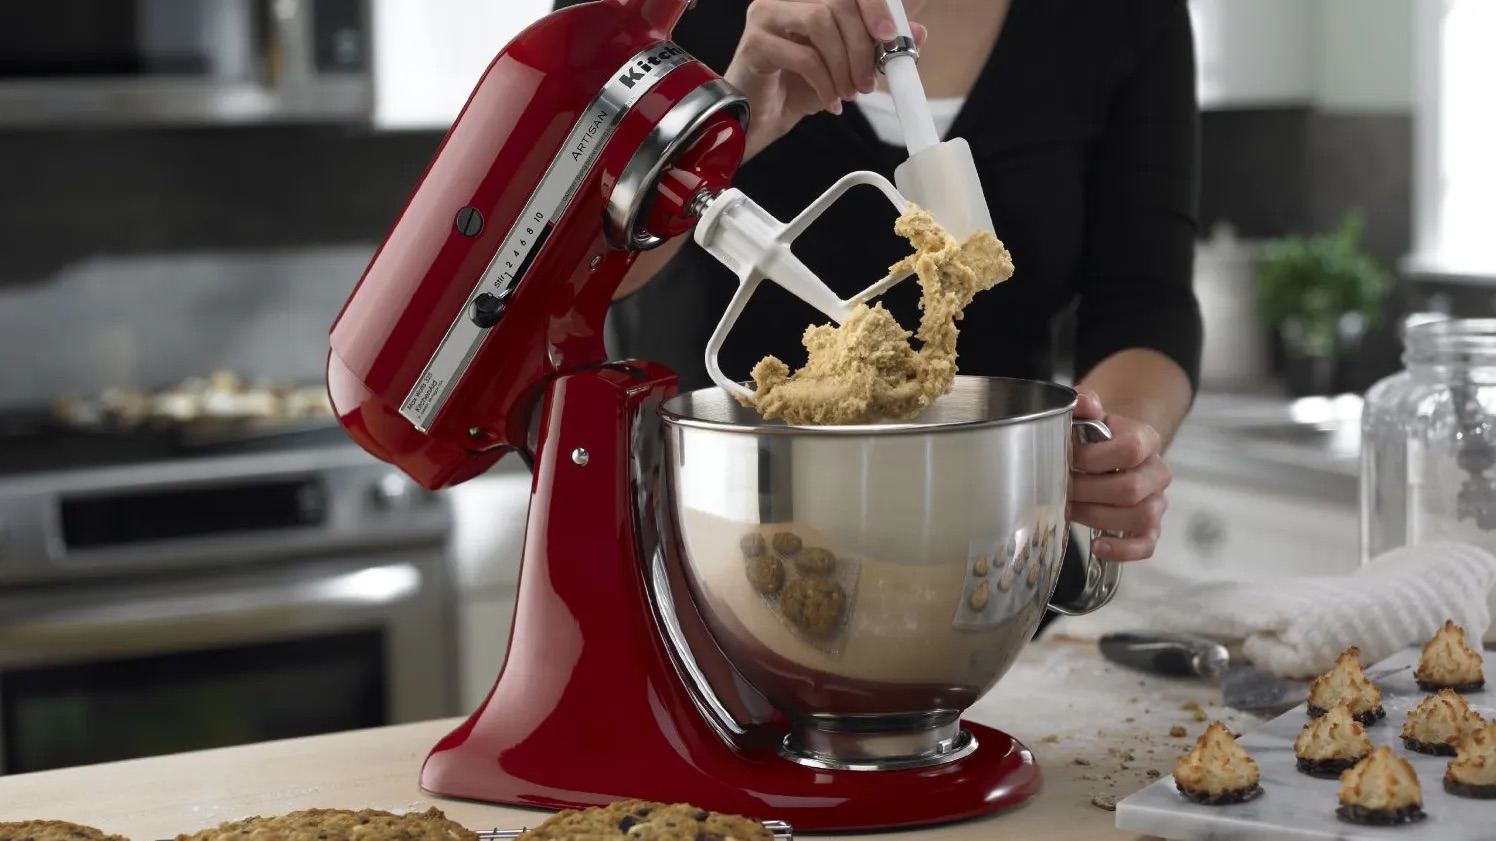
Variety of attachments: Kitchenaid mixers come with various attachments that can further enhance your bread-making experience. From dough hooks specially designed for kneading bread dough to paddle attachments for incorporating ingredients, you have multiple options to suit your specific needs.
Using a Kitchenaid mixer for kneading bread dough offers convenience, consistency, control, and the ability to handle both small and large batches. It simplifies the bread-making process, allowing you to achieve professional-quality results with ease.
Factors to Consider When Kneading Bread Dough
Kneading bread dough is not a one-size-fits-all process. There are several factors to consider to ensure that you achieve the best results possible. By understanding and taking these factors into account, you can adjust your kneading technique accordingly and create delicious homemade bread. Here are some important factors to consider:
Type of bread: Different types of bread require different kneading techniques. Soft and enriched bread, like sandwich bread or brioche, may require less kneading compared to rustic or artisan bread. So, consider the type of bread you are making and adjust the kneading time accordingly.
Ingredients: The ingredients used in the bread dough can also affect the kneading process. For example, breads made with high-protein flours, like bread flour or whole wheat flour, require more kneading compared to breads made with all-purpose flour. The higher protein content requires more gluten development for proper structure and rise.
Kitchenaid mixer speed: The speed at which you set your Kitchenaid mixer can have a significant impact on the kneading process. Lower speeds are ideal for incorporating the ingredients, while higher speeds are suitable for gluten development. Experiment with speed settings to find the ideal speed for your specific recipe and dough consistency.
Dough consistency: The hydration level and consistency of the dough can also affect the kneading process. Wetter doughs may require longer kneading times to ensure proper gluten development. On the other hand, drier doughs may need less kneading time. Adjust the kneading time based on the texture and consistency of your dough.
Personal preference: Everyone has their own preference when it comes to bread texture. Some prefer a denser crumb, while others like a lighter and more open texture. Adjust the kneading time to achieve the desired texture and structure that suits your personal preference.
Experience: Your experience level with bread-making will also influence your kneading technique. As you gain more experience and familiarity with different dough consistencies, you will be able to judge when the dough is adequately kneaded based on its feel and appearance.
By considering these factors and adapting your kneading technique accordingly, you can ensure that your bread dough is properly kneaded and ready for the next steps in the baking process. With practice, you will develop an intuitive understanding of how these factors interact and be able to consistently produce delicious homemade bread.
Knead bread dough in a KitchenAid mixer for 6-8 minutes on medium speed. This will help develop the gluten and create a smooth, elastic dough.
How Long to Knead Bread Dough in a Kitchenaid Mixer
One common question that arises when using a Kitchenaid mixer for kneading bread dough is how long the process should take. While there is no exact answer as it can vary depending on the recipe and other factors, there are general guidelines to consider.
In general, the kneading process in a Kitchenaid mixer usually takes around 8 to 10 minutes on medium-low to medium speed. This timeframe allows for proper gluten development and the incorporation of all the ingredients. However, it’s important to note that the actual time required can vary depending on several factors:
Recipe: Different bread recipes have different needs when it comes to kneading time. Some recipes may require longer kneading to develop a stronger gluten structure, while others may require shorter kneading times for a more tender texture. Always refer to the recipe instructions for specific guidance on kneading time.
Dough consistency: The consistency of the dough plays a role in the kneading time as well. Wetter doughs often require more kneading time to develop gluten, while drier doughs may need less. Keep an eye on the dough’s texture and adjust the kneading time accordingly.
Type of flour: The type of flour used can impact kneading time as well. Bread flours, which have higher protein content, require longer kneading to develop gluten compared to all-purpose or lower protein flours. Whole wheat flour also often requires a bit more kneading time to fully hydrate and develop gluten.
Kitchenaid mixer speed: The speed at which you set your Kitchenaid mixer can influence the kneading time. Start with medium-low to medium speed and monitor how the dough develops. If needed, adjust the speed accordingly to achieve optimal results.
Experience: With more experience, you will develop a better sense of when the dough is adequately kneaded. Pay attention to the dough’s texture and appearance. It should be smooth, elastic, and springy to the touch. If the dough passes the windowpane test (where you can stretch a small portion of dough thin enough to see light shining through without tearing), it is likely ready.
Remember that these are general guidelines, and it’s always important to follow the specific instructions in your recipe. The time given is merely a starting point, and you may need to adjust it based on the specific factors at play. With practice and experience, you’ll become more confident in determining the ideal kneading time for your bread dough in your Kitchenaid mixer.
Read more: How Long To Knead Pizza Dough In Mixer
Signs that Bread Dough is Adequately Kneaded
Kneading bread dough to the proper extent is crucial to achieving a well-textured and flavorful loaf. While there is no definitive time for how long to knead bread dough, there are several visual and tactile signs that indicate the dough is adequately kneaded. Here are some key indicators to look out for:
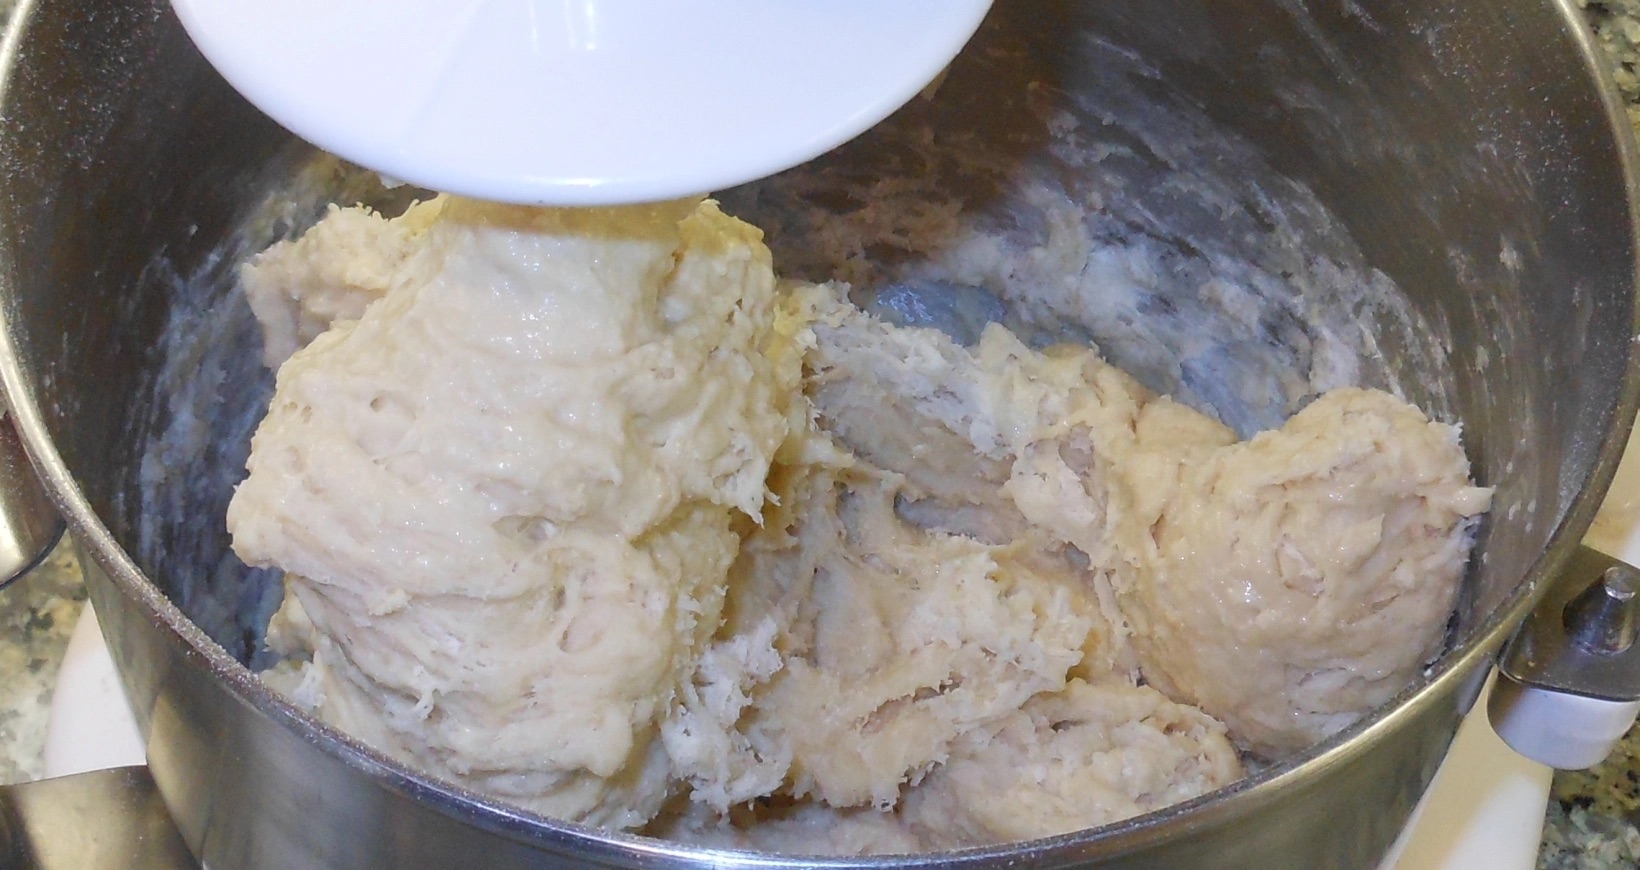
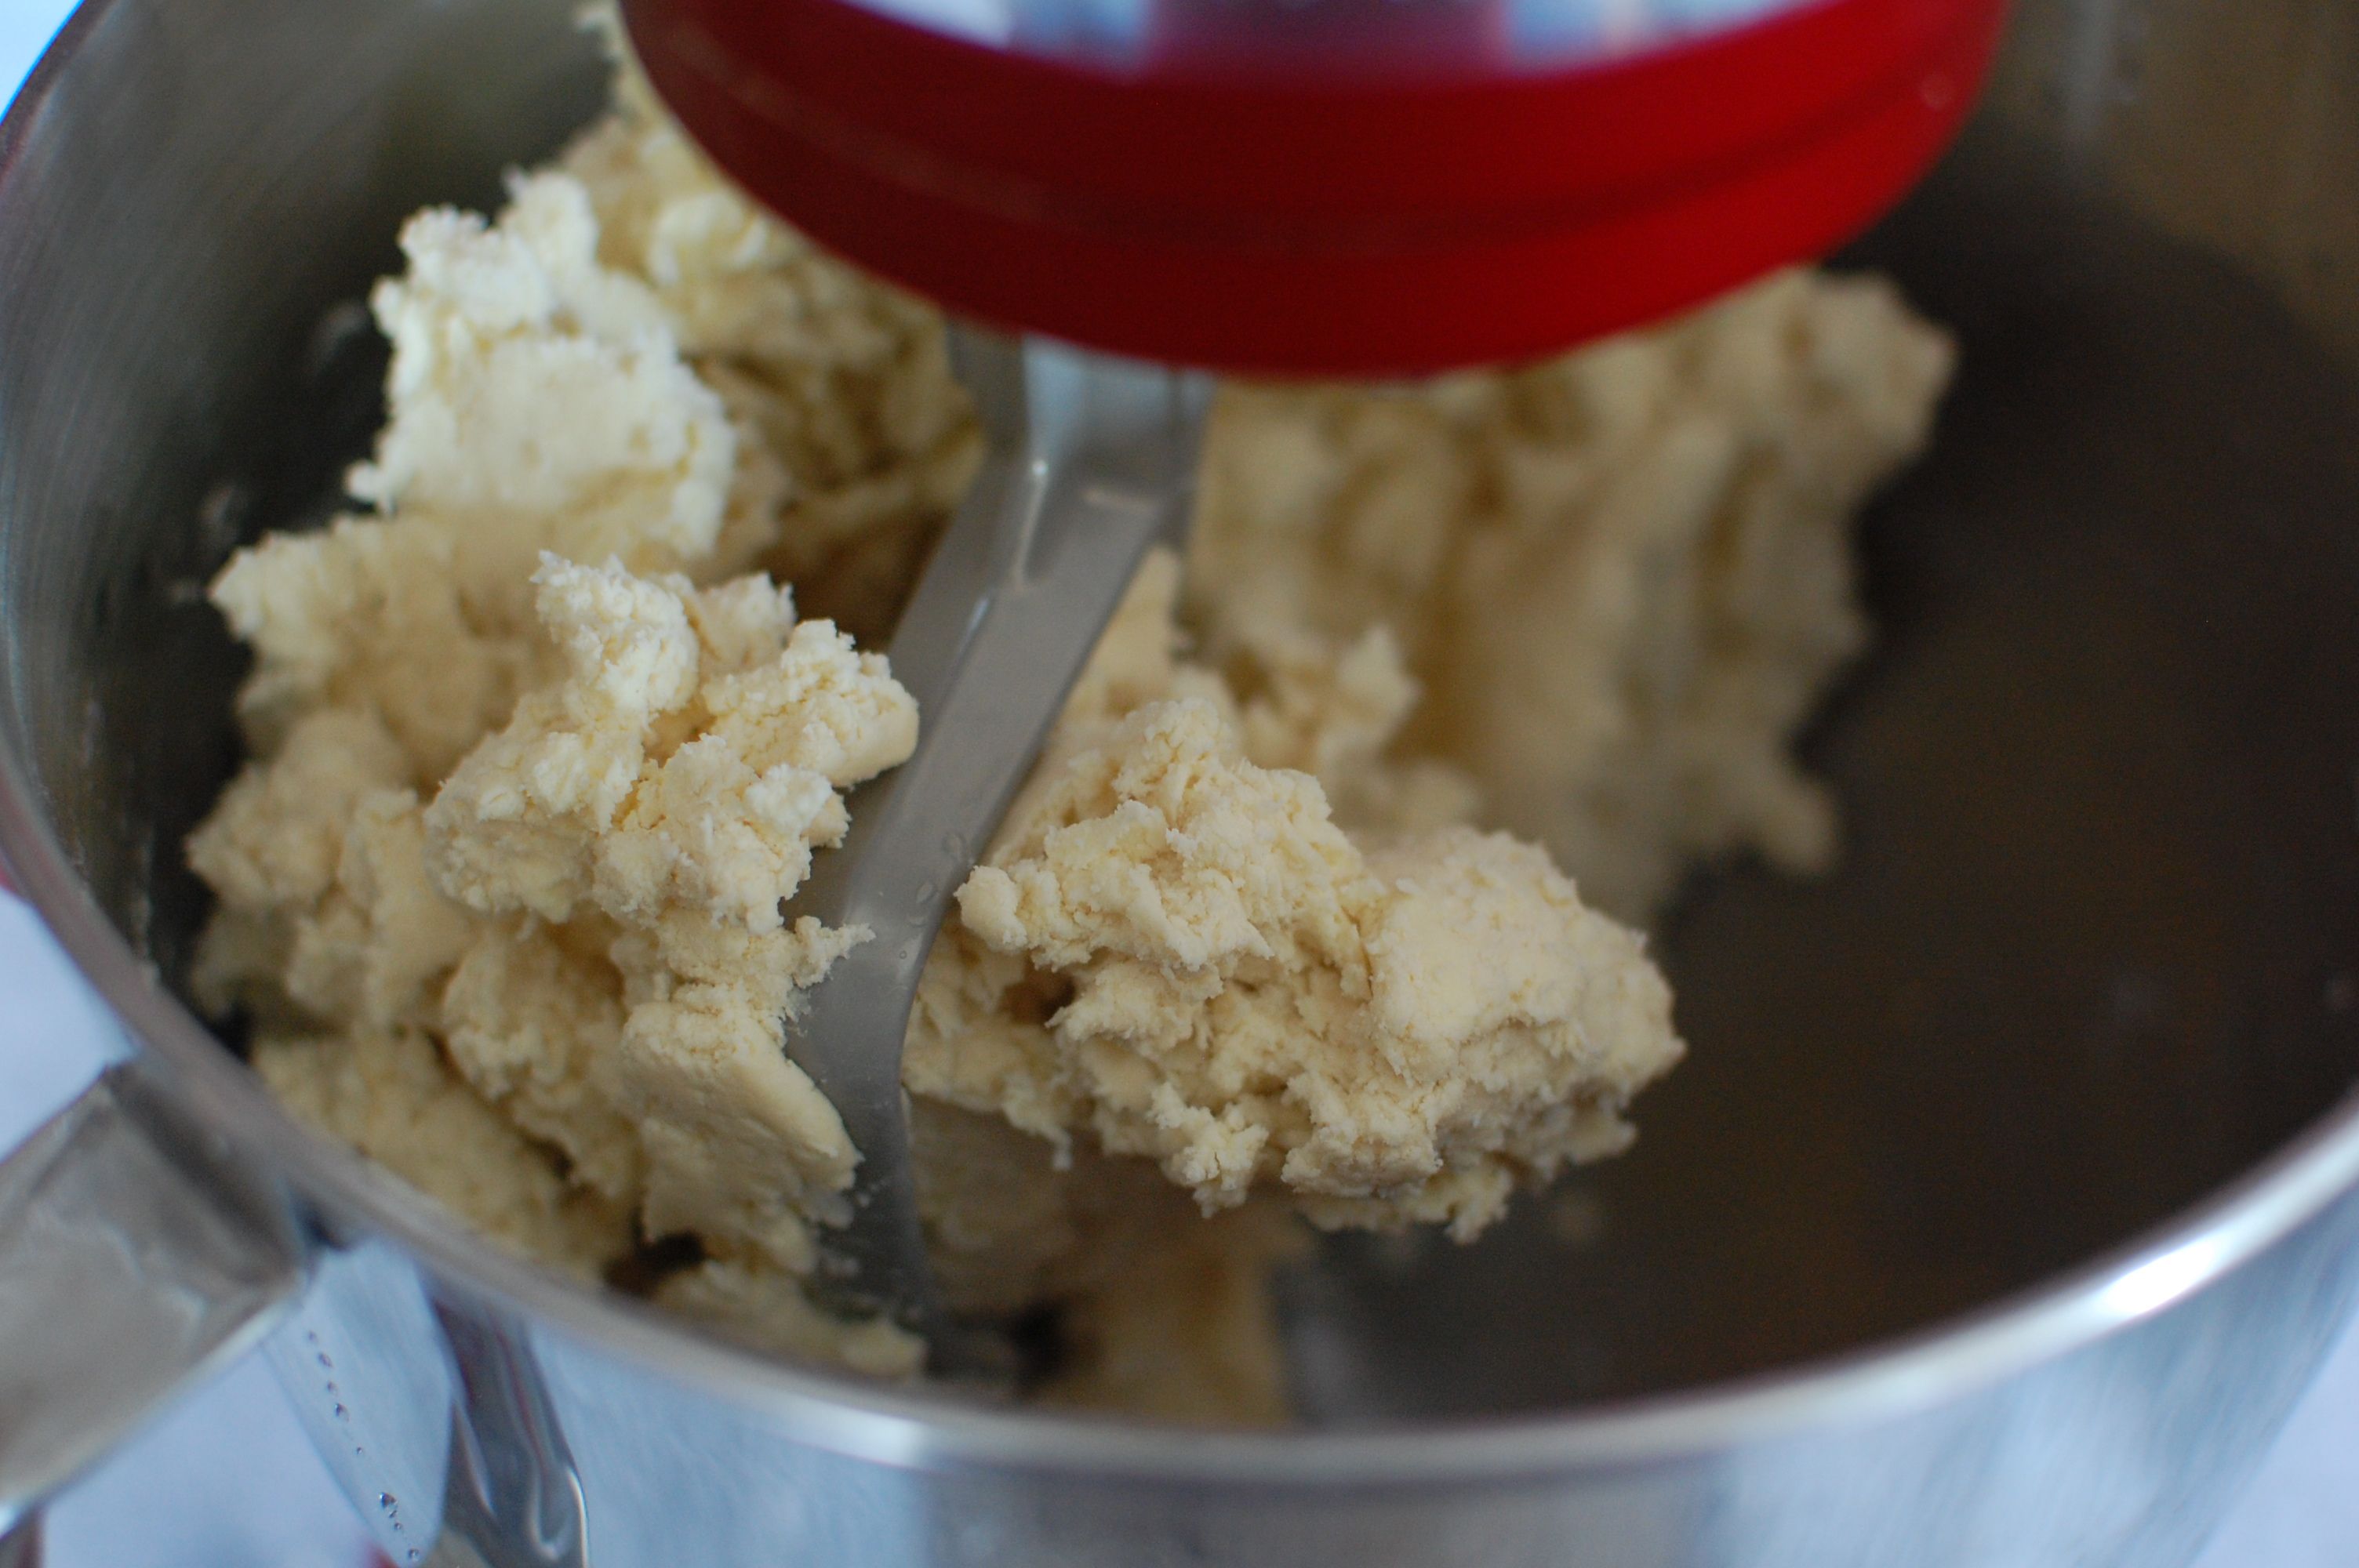
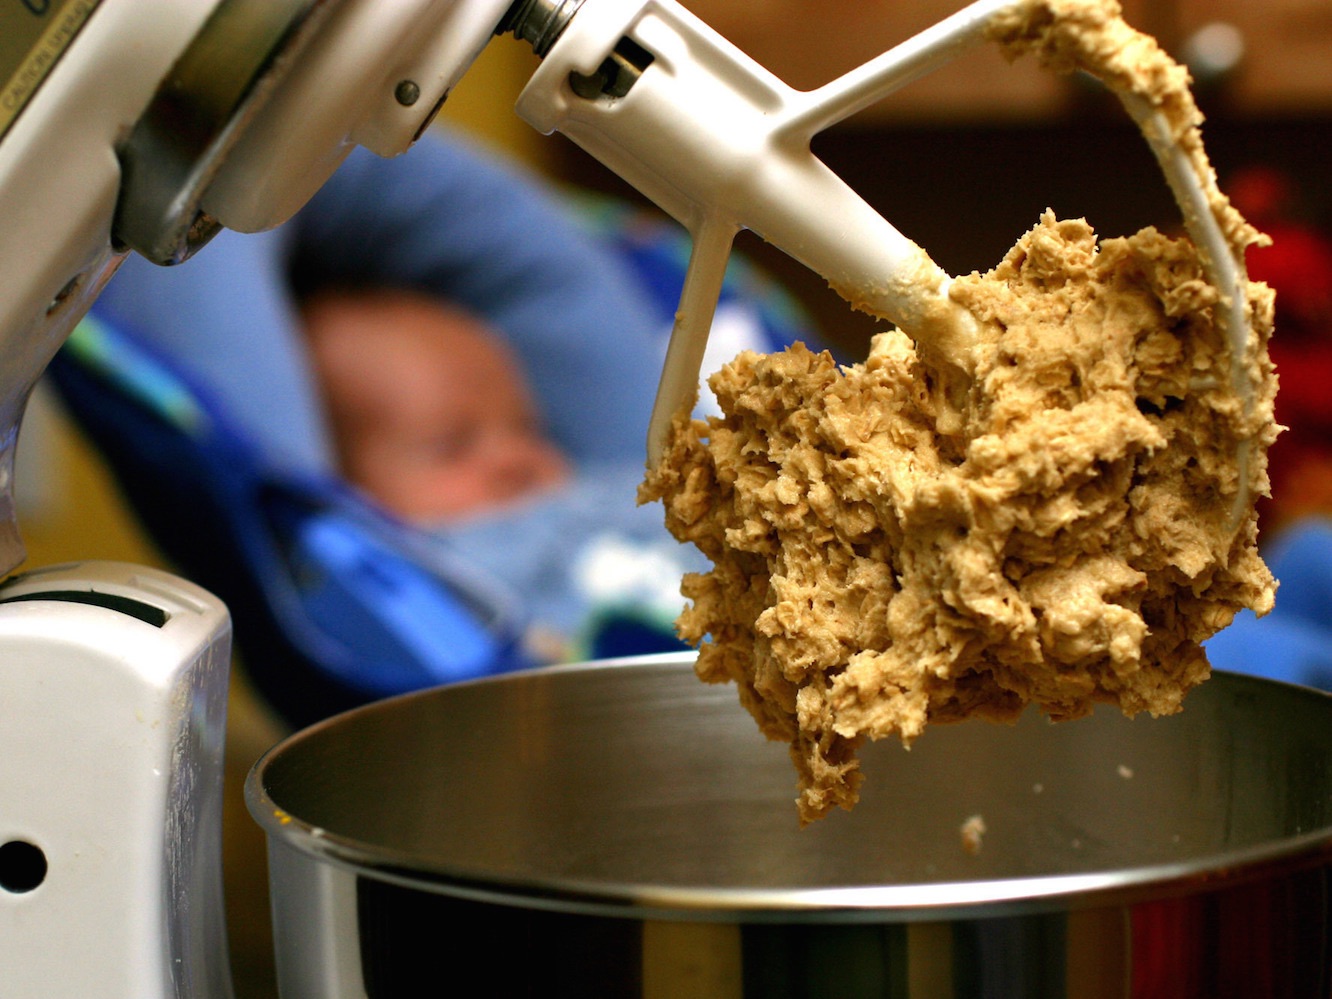
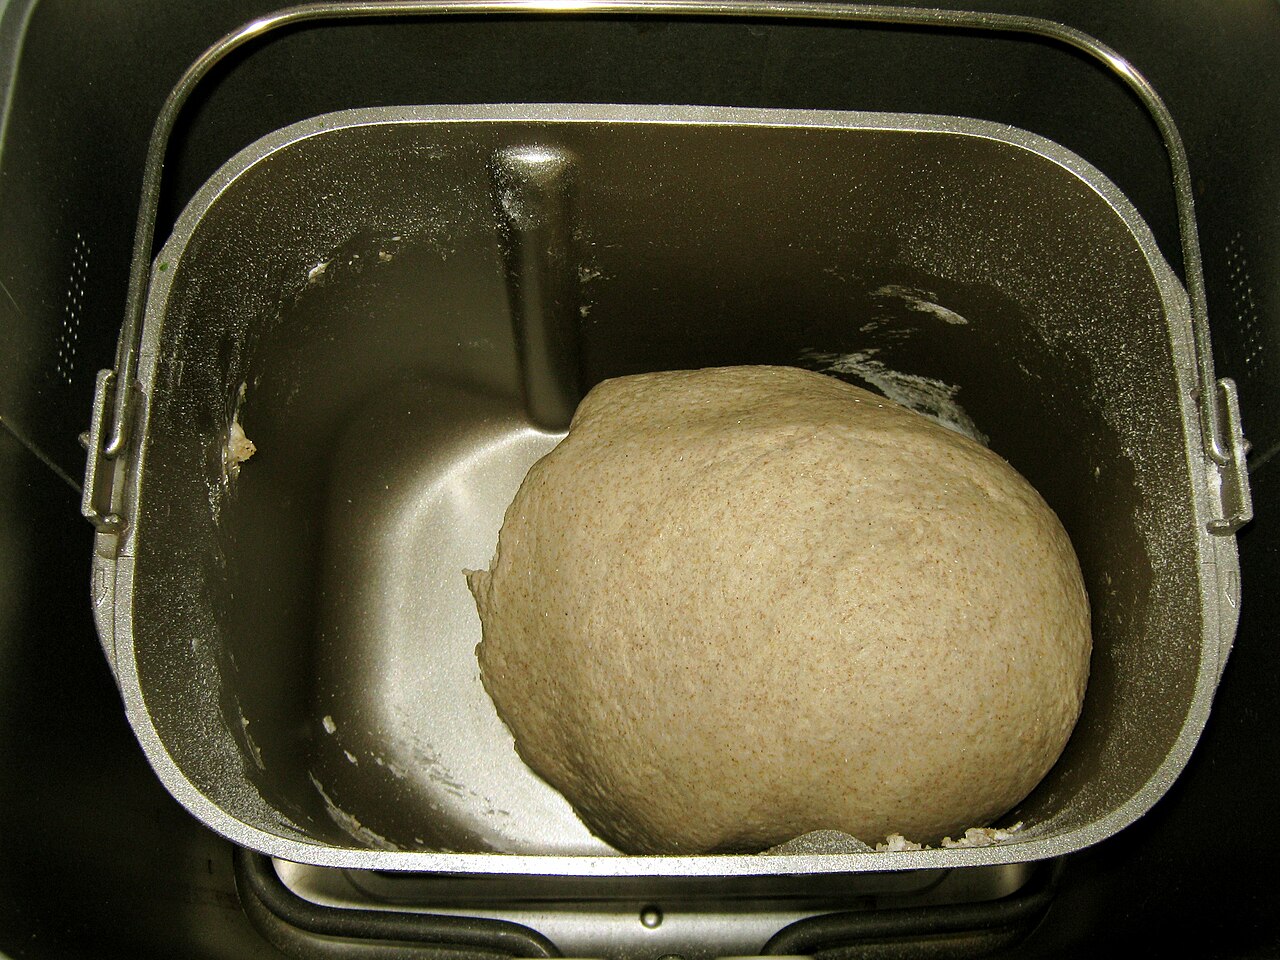
Texture and Consistency: Properly kneaded dough should have a smooth and elastic texture. When you touch it, it should spring back slowly, indicating that the gluten has developed sufficiently. The dough surface should also appear silky and free of any visible tears or rough patches.
Windowpane Test: The windowpane test is a reliable way to check gluten development. Take a small piece of the dough and gently stretch it using your fingers. If the dough stretches thin enough to allow light to shine through it without tearing, it means that gluten has been adequately developed, and the dough is ready for proofing.
Stretch Test: Another simple test to determine if the dough is adequately kneaded is the stretch test. Take a small piece of dough and stretch it gently. If the dough stretches and forms a thin, translucent membrane without tearing easily, it is a sign that the gluten has been adequately developed.
Smooth Surface: A well-kneaded dough will have a smooth, coherent surface. If you notice any lumps, bumps, or uneven surfaces, it may indicate that there are still pockets of unmixed ingredients or insufficient gluten development. Continue to knead until the surface becomes smoother.
Rise and Volume: After kneading, the dough should have increased in volume and have a noticeably lighter and springier texture. The yeast has been evenly distributed, and it is ready to rise properly during the fermentation process. If the dough appears dense and compact, it may indicate that it needs additional kneading to develop further.
Time Elapsed: While time alone is not a definitive indicator, it is worth noting that most bread recipes suggest a general timeframe for kneading. If you have followed the recommended kneading time in your recipe, along with observing the other signs mentioned above, it is likely that your dough is adequately kneaded.
Remember, practice and experience will help you better understand the signs of properly kneaded dough. Pay attention to these visual and tactile cues, and you will gradually develop a feel for when your bread dough is ready for the next steps in the baking process. Happy kneading!
Tips for Proper Bread Dough Kneading Using a Kitchenaid Mixer
Kneading bread dough using a Kitchenaid mixer can be a game-changer for home bakers, making the process more efficient and consistent. To ensure you achieve the best possible results, here are some valuable tips for proper bread dough kneading using a Kitchenaid mixer:
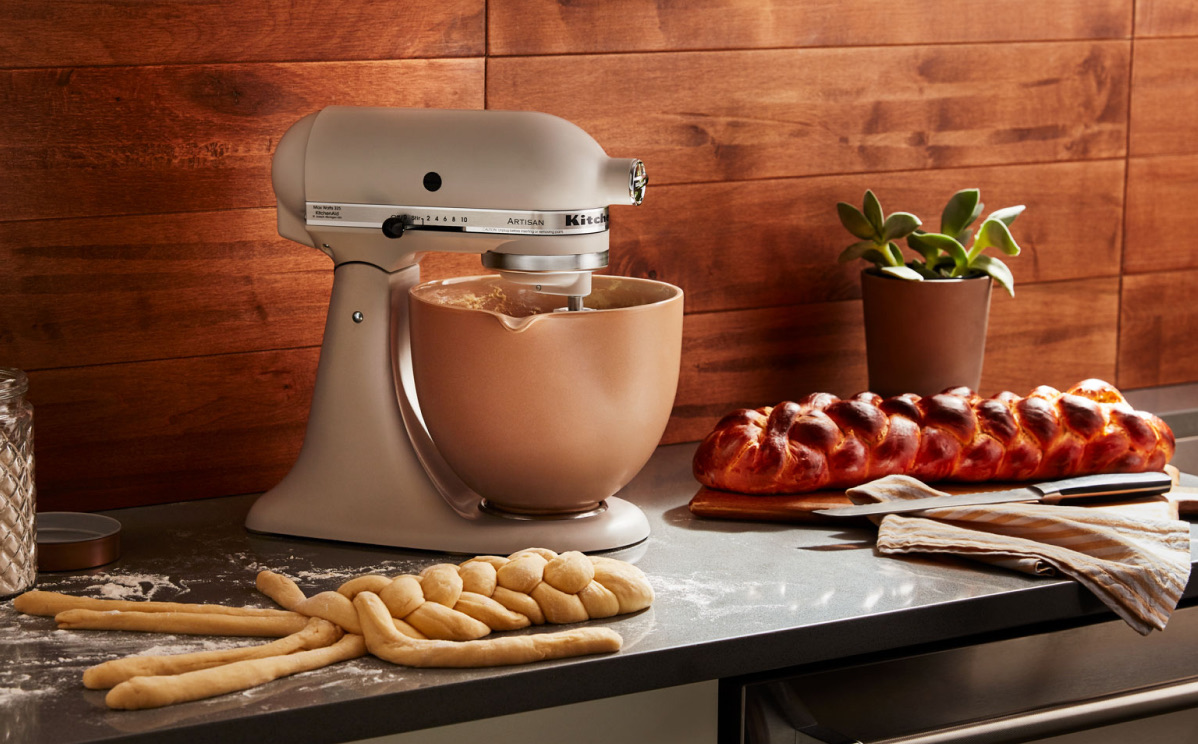
1. Start with the right attachment: Use the dough hook attachment specifically designed for kneading bread dough. This attachment mimics the kneading action by stretching and folding the dough, allowing for optimal gluten development.
2. Follow the recipe instructions: Every bread recipe is unique and may require specific kneading times, speeds, and ingredient orders. Always follow the instructions provided in your recipe for the best results.
3. Gradually add the ingredients: Start by combining the liquid ingredients in the mixing bowl, followed by the dry ingredients. Mix on low speed until the ingredients are incorporated. This helps prevent splattering and encourages even mixing.
4. Adjust the speed as needed: Begin kneading at a low speed to allow the ingredients to come together. Gradually increase the speed to medium or medium-high to promote gluten development. Pay attention to the dough’s consistency and adjust the speed if necessary.
5. Monitor the dough’s texture: Watch the dough closely as it kneads. It should start off shaggy and gradually become smoother and more elastic. Avoid over-kneading, as it can lead to excessive gluten development and result in a dense loaf.
6. Use the “fingertip test”: Periodically stop the mixer and perform the “fingertip test.” Press a finger gently into the dough. If it springs back slowly and leaves only a slight indentation, it is likely adequately kneaded. If it springs back immediately or remains too flat, continue kneading for a bit longer.
7. Avoid adding excessive flour: Resist the temptation to add too much flour during the kneading process. While the dough may feel sticky initially, adding too much flour can result in a dry and dense loaf. Instead, use a light dusting of flour on your work surface and hands to prevent sticking.
8. Break up and redistribute large air pockets: During the kneading process, occasionally stop the mixer and press down on the dough to break up any large air pockets that may have formed. This encourages even gluten development and helps prevent uneven texture in the final loaf.
9. Practice patience: Kneading takes time, and it’s essential to resist the urge to rush the process. Trust the mixer to do its job and allow enough time for the dough to develop proper gluten structure and elasticity.
10. Clean and maintain your Kitchenaid mixer: After each use, clean the mixer thoroughly according to the manufacturer’s instructions. Regular maintenance ensures that the mixer operates at its best and delivers consistent results during bread dough kneading.
By following these tips, you can make the most of your Kitchenaid mixer and achieve perfectly kneaded bread dough. Enjoy the process and savor the satisfaction of baking delicious homemade bread!
Conclusion
Kneading bread dough is a fundamental step in the bread-making process, and using a Kitchenaid mixer can make it more convenient and efficient. By understanding the importance of kneading, utilizing the capabilities of your Kitchenaid mixer, and considering essential factors, you can achieve the best results in your bread baking endeavors.
The Kitchenaid mixer offers many advantages, including efficiency, consistency, precise control, multitasking capabilities, and the ability to handle larger batches. With various attachments available, you can customize the kneading process to suit different bread recipes and achieve the desired texture and structure in your bread.
When kneading bread dough using a Kitchenaid mixer, it is crucial to consider factors such as the type of bread, ingredients, mixer speed, dough consistency, personal preference, and your level of experience. These factors will influence the kneading time and technique required to achieve optimal results.
Knowing the signs that indicate adequately kneaded dough, such as texture, windowpane or stretch test results, a smooth surface, rise, and volume, will help you determine when your dough is ready for the next steps in the baking process.
Lastly, following tips for proper bread dough kneading in your Kitchenaid mixer, such as starting with the right attachment, gradually adding ingredients, adjusting speed, monitoring texture, avoiding excessive flour, and practicing patience, will contribute to consistently excellent results in your bread baking endeavors.
In conclusion, kneading bread dough using a Kitchenaid mixer is a convenient and effective approach to achieve delicious homemade bread. With the right techniques, guidelines, and understanding of the bread-making process, you can create bread with perfect texture, structure, and flavor. So, embrace the possibilities that the Kitchenaid mixer offers, experiment with different recipes, and enjoy the satisfaction of baking fantastic bread right in your own kitchen.
Frequently Asked Questions about How Long To Knead Bread Dough In Kitchenaid Mixer
Was this page helpful?
At Storables.com, we guarantee accurate and reliable information. Our content, validated by Expert Board Contributors, is crafted following stringent Editorial Policies. We're committed to providing you with well-researched, expert-backed insights for all your informational needs.


0 thoughts on “How Long To Knead Bread Dough In Kitchenaid Mixer”