Home>Kitchen & Cooking>Kitchen Gadgets & Utensils>How To Clean A Stand Mixer
Kitchen Gadgets & Utensils
How To Clean A Stand Mixer
Modified: February 27, 2024
Learn the best techniques for cleaning your stand mixer and keeping it in top condition. Discover essential tips for maintaining your kitchen gadgets and utensils.
(Many of the links in this article redirect to a specific reviewed product. Your purchase of these products through affiliate links helps to generate commission for Storables.com, at no extra cost. Learn more)
Introduction
So, you've just finished whipping up a batch of delectable homemade treats using your trusty stand mixer. The aroma of freshly baked goods still lingers in the air, but now it's time to tackle the less glamorous task of cleaning up. While the thought of cleaning your stand mixer may seem daunting, fear not! With the right approach and a few simple steps, you can have your stand mixer looking and performing like new in no time.
Cleaning a stand mixer is essential for maintaining its functionality and ensuring that it remains a reliable kitchen companion for years to come. From removing stubborn dough residue to giving the exterior a sparkling shine, each step of the cleaning process plays a crucial role in preserving the mixer's performance and appearance.
In this guide, we'll walk you through the essential steps to clean your stand mixer thoroughly. Whether you're a seasoned baker or just getting started on your culinary adventures, mastering the art of stand mixer maintenance will not only prolong its lifespan but also contribute to the overall hygiene of your kitchen. So, roll up your sleeves, gather your cleaning supplies, and let's dive into the world of stand mixer cleaning!
Key Takeaways:
- Keep your stand mixer clean for optimal performance and longevity. Gather supplies, unplug, disassemble, clean thoroughly, and reassemble with care to ensure a sparkling-clean and reliable kitchen companion.
- Regular cleaning and maintenance are essential for a pristine stand mixer. Celebrate your effort and enjoy culinary adventures with confidence, knowing your trusty appliance is ready to assist in creating delicious treats.
Read more: How To Clean Stand Mixer
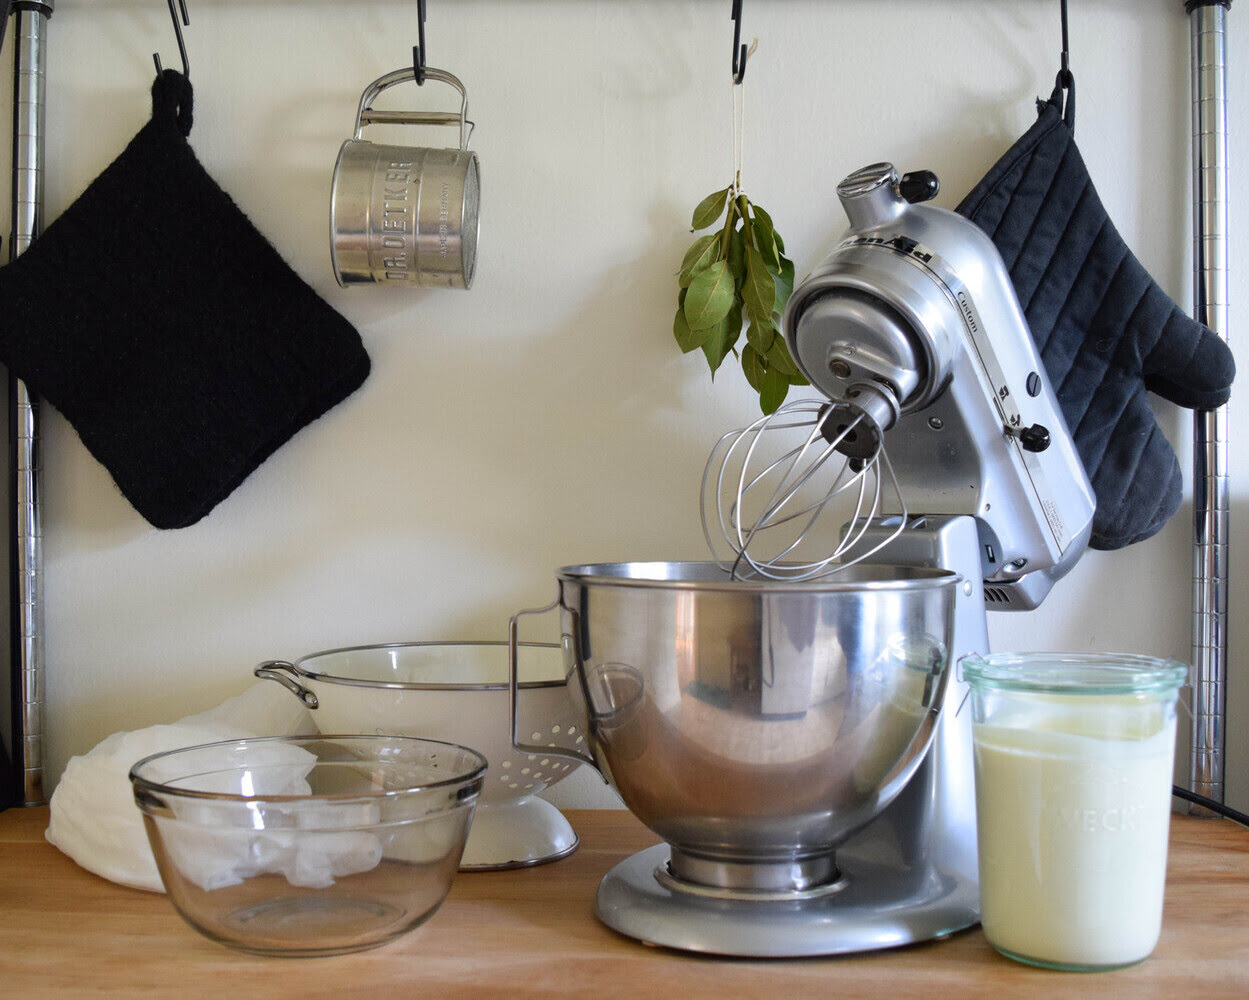
Step 1: Gather Your Supplies
Before embarking on your stand mixer cleaning journey, it’s crucial to gather all the necessary supplies. Having the right tools at your disposal will streamline the cleaning process and ensure that you can tackle each aspect of the mixer with ease. Here’s a list of essential supplies you’ll need:
- Mild dish soap: Opt for a gentle, non-abrasive dish soap to effectively remove grease and food residue without damaging the mixer’s surfaces.
- Warm water: Prepare a basin of warm water to use for soaking and rinsing various components of the stand mixer.
- Soft sponge or cloth: Choose a soft sponge or cloth to avoid scratching the mixer’s exterior and attachments during the cleaning process.
- Toothpicks or small brushes: These tools are handy for dislodging stubborn food particles from hard-to-reach crevices and attachments.
- Towel or drying rack: Have a clean towel or drying rack ready for drying the components after cleaning.
- Vinegar (optional): If your mixer has stubborn stains or mineral deposits, white vinegar can be used to help dissolve these blemishes.
By ensuring that you have all these supplies within arm’s reach, you’ll be well-prepared to tackle each cleaning task with confidence. With your supplies in hand, you’re ready to move on to the next step in the stand mixer cleaning process.
Step 2: Unplug the Mixer
Before diving into the cleaning process, it’s crucial to prioritize safety by unplugging the stand mixer from the power source. This simple yet essential step ensures that you can work on the appliance without the risk of electrical shock. Additionally, unplugging the mixer prevents accidental activation of the moving parts during the cleaning process, minimizing the potential for injuries.
By disconnecting the mixer from the power supply, you create a safe environment for thorough cleaning without any electrical hazards. Always remember to handle the power cord carefully and avoid tugging or pulling it forcefully to prevent damage. Once the mixer is unplugged, you can proceed with confidence to the next steps of disassembling and cleaning the various components.
Unplugging the mixer not only safeguards your well-being but also sets the stage for a smooth and uninterrupted cleaning experience. With the appliance safely disconnected, you’re ready to move on to the next steps, where you’ll tackle the disassembly and cleaning of the attachments, bowl, and mixing head.
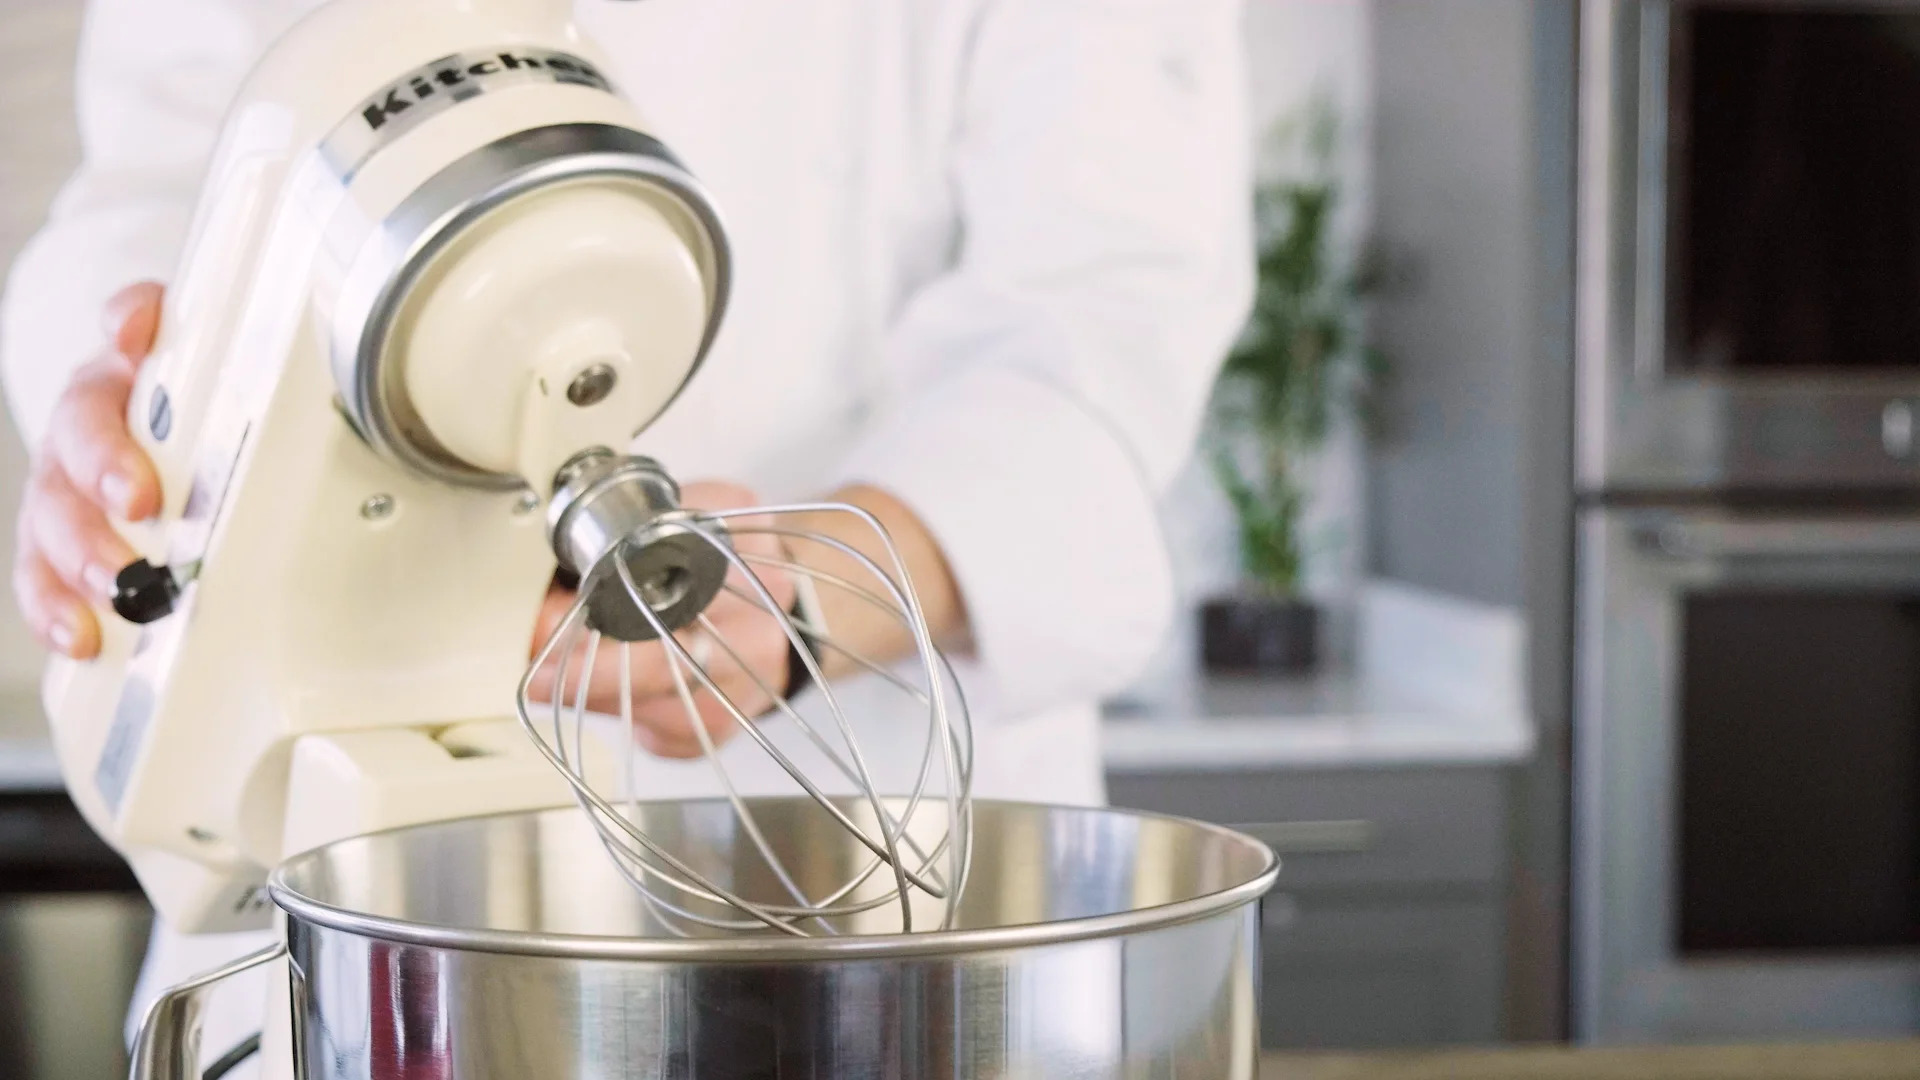
Step 3: Remove Attachments
With the mixer safely unplugged, it’s time to begin the disassembly process by removing the attachments. Start by gently lifting the attachments, such as the beater, whisk, or dough hook, from the mixing head. Depending on the model of your stand mixer, the attachments may be released by pressing a release button or simply twisting them counterclockwise for removal.
Once the attachments are detached, inspect them for any residual batter, dough, or other food particles. Use a soft sponge or cloth dampened with warm, soapy water to wipe down each attachment thoroughly. Pay close attention to any crevices or grooves where food debris may be lodged. For stubborn residue, a toothpick or small brush can be used to dislodge the particles effectively.
After cleaning, rinse the attachments with clean water to remove any soapy residue, and then dry them with a clean towel or allow them to air-dry completely. This step ensures that the attachments are free from any lingering food remnants and are ready to be reattached to the mixer once the cleaning process is complete.
By removing and cleaning the attachments, you not only maintain the hygiene of your stand mixer but also ensure that the attachments remain in optimal condition for future use. With the attachments cleaned and set aside, you’re now ready to proceed to the next steps of cleaning the mixer’s exterior and bowl.
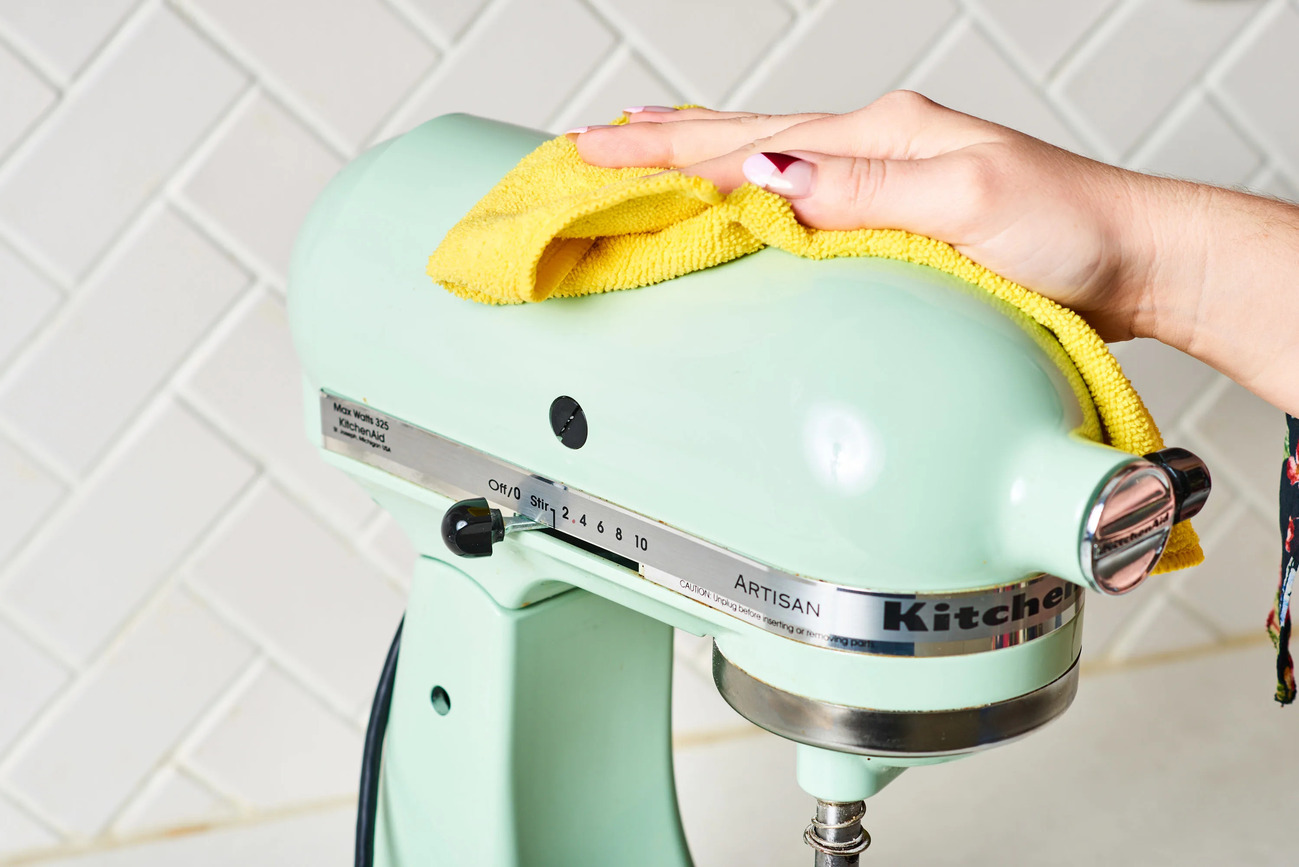
Step 4: Clean the Exterior
Now that the attachments have been removed and cleaned, it’s time to focus on the exterior of the stand mixer. The exterior surfaces, including the base and the tilt-head or bowl-lift mechanism, can accumulate splatters, spills, and general grime during the mixing process. To restore the mixer’s exterior to its pristine state, follow these steps:
- Wipe with a Damp Cloth: Begin by using a soft, damp cloth or sponge to wipe down the exterior surfaces of the mixer. If there are stubborn spots or dried-on residue, allow the cloth to soak for a few minutes on the affected areas to help loosen the grime before gently wiping it away.
- Use Mild Soap for Tough Stains: For more stubborn stains or greasy spots, apply a small amount of mild dish soap to the damp cloth and gently scrub the affected areas. Avoid using abrasive cleaners or harsh chemicals, as these can damage the finish of the mixer.
- Dry Thoroughly: Once the exterior surfaces have been cleaned, use a dry cloth to thoroughly dry the mixer, ensuring that no moisture remains on the surfaces. Pay special attention to seams and crevices where water may accumulate.
- Polish for Shine (Optional): If your stand mixer has a stainless steel or glossy finish, consider using a specialized stainless steel cleaner or polish to restore its luster. Apply the cleaner according to the manufacturer’s instructions and buff the surface to achieve a brilliant shine.
By cleaning the exterior of the stand mixer, you not only maintain its visual appeal but also prevent the accumulation of grime that could potentially affect its performance over time. With the exterior surfaces sparkling clean, you’re now ready to move on to the next steps, where you’ll focus on cleaning the mixer’s bowl and mixing head.
Read more: How To Clean Kitchenaid Mixer
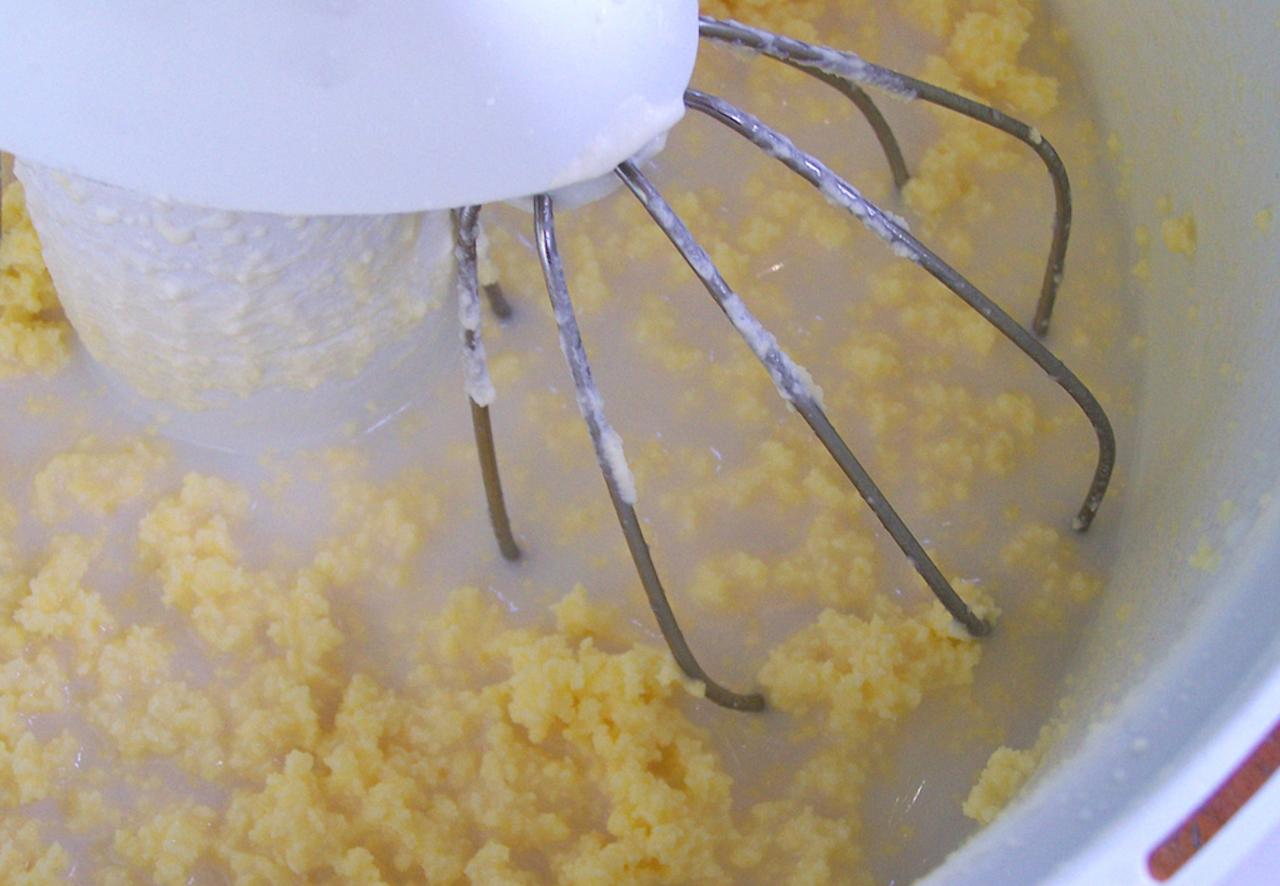
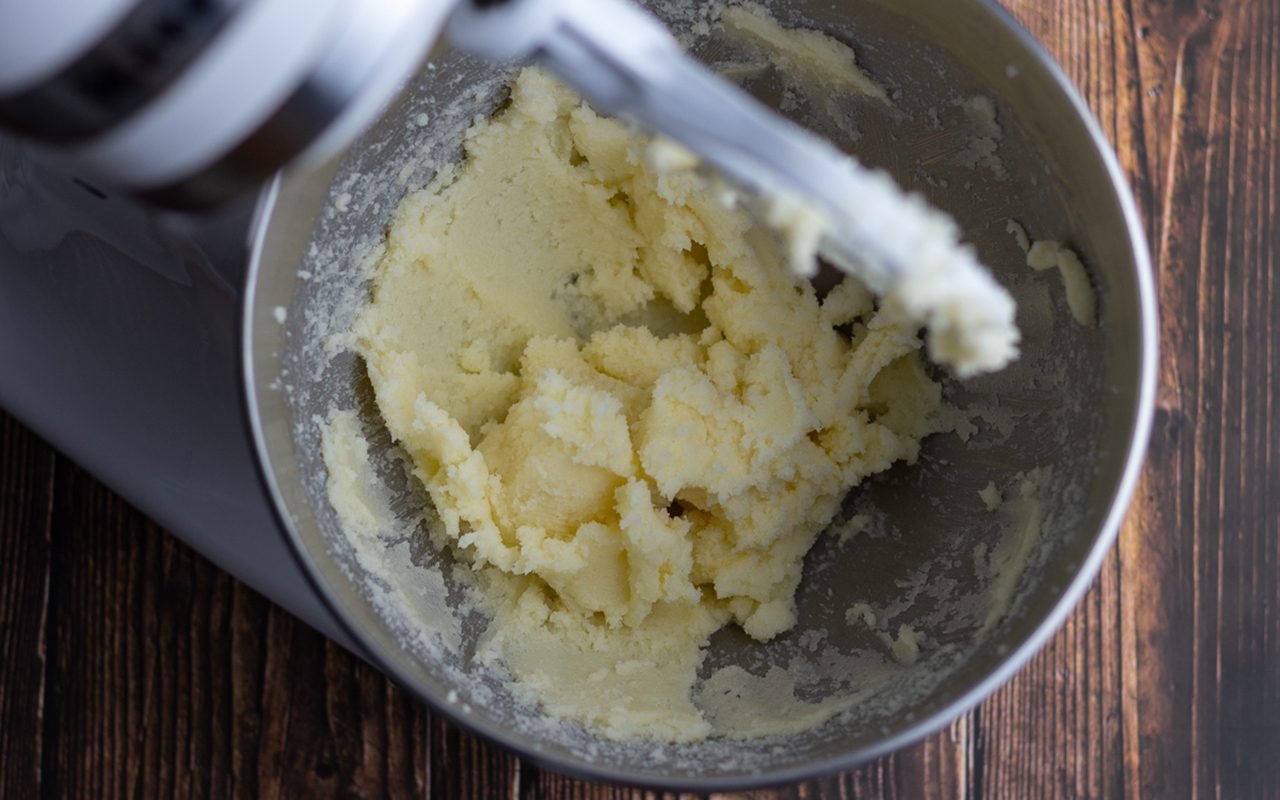
Step 5: Clean the Attachments
Now that the exterior of the stand mixer is gleaming, it’s time to ensure that the attachments are thoroughly cleaned and ready for future use. The attachments, including the beater, whisk, and dough hook, are essential components that come into direct contact with your culinary creations. Here’s how to give them the care they deserve:
- Soak in Warm, Soapy Water: Fill a basin or sink with warm water and add a small amount of mild dish soap. Submerge the attachments in the soapy water and allow them to soak for a few minutes to loosen any dried-on residue.
- Scrub and Rinse: Using a soft sponge or cloth, gently scrub the attachments to remove any remaining food particles or stains. Pay close attention to any crevices or hard-to-reach areas where residue may be trapped. Rinse the attachments thoroughly with clean water to remove all traces of soap.
- Dry Completely: After rinsing, ensure that the attachments are completely dry before reattaching them to the mixer or storing them. Use a clean towel to dry the attachments thoroughly or allow them to air-dry on a drying rack.
- Inspect for Damage: While cleaning the attachments, take the opportunity to inspect them for any signs of damage or wear. Check for cracks, dents, or other issues that may affect their performance. If any damage is detected, consider replacing the affected attachments to maintain the mixer’s efficiency.
By giving your attachments the attention they need, you not only ensure their cleanliness but also prolong their lifespan and performance. With the attachments cleaned and inspected, you’re now ready to focus on cleaning the mixer’s bowl, another crucial component that requires thorough maintenance for optimal results.
After using your stand mixer, unplug it and wipe down the exterior with a damp cloth. To clean the attachments and bowl, wash them with warm soapy water and dry thoroughly before storing.
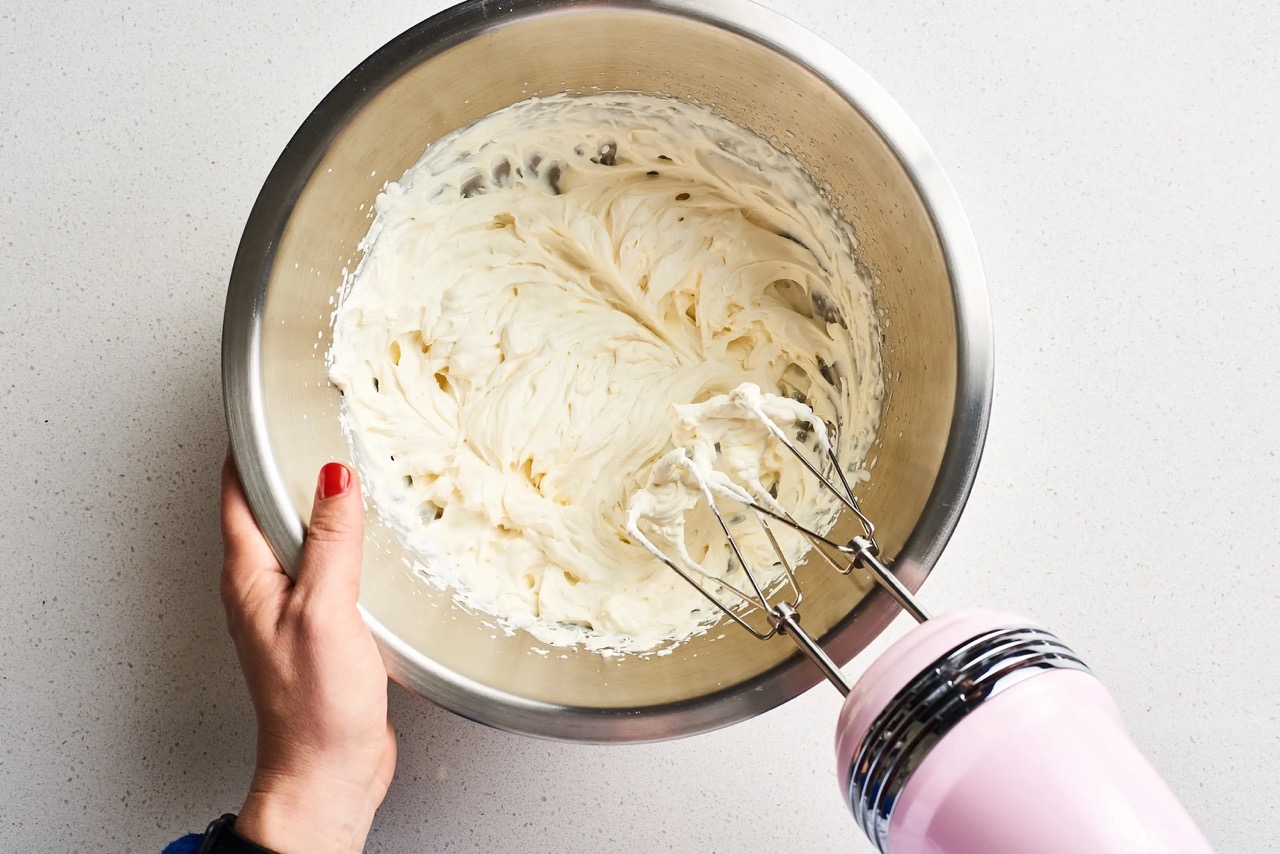
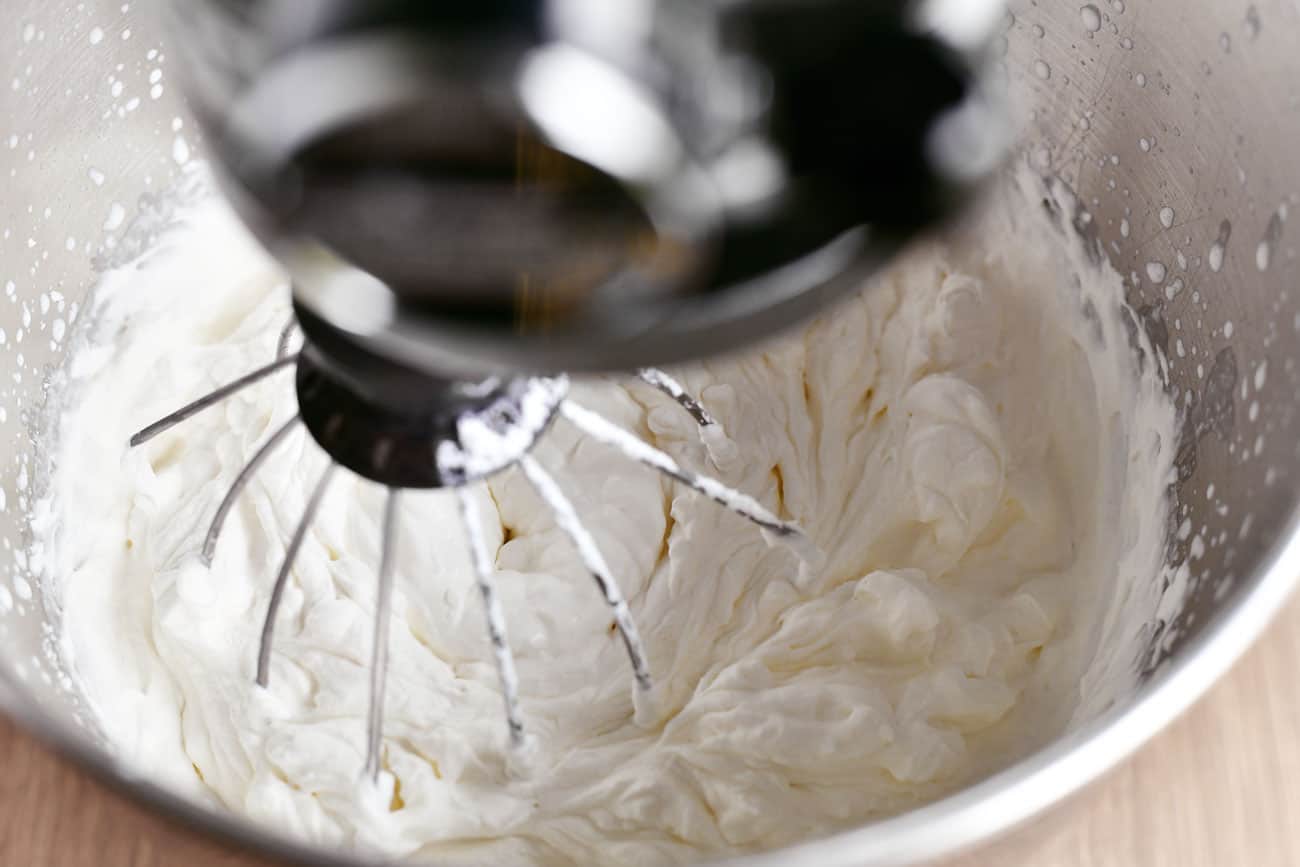
Step 6: Clean the Bowl
The mixing bowl of your stand mixer is where the magic happens, but it’s also a magnet for food residue and stains. To maintain its pristine condition and ensure the flavors of your creations remain uncompromised, cleaning the bowl thoroughly is essential. Here’s how to give your mixing bowl the care it deserves:
- Pre-Soak for Stubborn Residue: If the mixing bowl has stubborn residue or dried-on batter, fill it with warm, soapy water and allow it to soak for a brief period. This pre-soaking step helps to loosen any stuck-on particles, making them easier to remove.
- Scrub and Rinse: Using a soft sponge or cloth, gently scrub the interior and exterior of the mixing bowl with warm, soapy water. Pay attention to any residue or stains, ensuring thorough cleaning of all surfaces. Rinse the bowl with clean water to remove any remaining soap.
- Address Stains with Vinegar (Optional): For stubborn stains or mineral deposits, create a paste using equal parts of water and white vinegar. Apply the paste to the affected areas of the bowl and allow it to sit for a few minutes before gently scrubbing and rinsing thoroughly.
- Dry Completely: After cleaning and rinsing, use a clean towel to dry the mixing bowl thoroughly. Ensure that no moisture is left behind, especially in the base or rim of the bowl where water may collect.
By cleaning the mixing bowl meticulously, you maintain its hygiene and ensure that it remains a reliable vessel for your culinary endeavors. With the bowl cleaned and dried, you’re now ready to turn your attention to the cleaning of the mixer’s mixing head, the central component responsible for the mixer’s impressive capabilities.
Step 7: Clean the Mixing Head
The mixing head of your stand mixer is the powerhouse behind the blending, kneading, and whipping of ingredients. As a result, it’s important to keep this essential component clean and free from any residual food particles or grime. Follow these steps to ensure the mixing head remains in top condition:
- Wipe with a Damp Cloth: Start by using a soft, damp cloth to wipe down the mixing head, including the tilt-head or bowl-lift mechanism. This initial wipe helps remove any visible residue or splatters from the mixing process.
- Address Hard-to-Reach Areas: Use a toothpick or small brush to dislodge any trapped food particles or dough from hard-to-reach areas around the mixing head. Pay attention to seams and crevices where residue may accumulate.
- Inspect for Residue: Check the attachment hub and surrounding areas for any remaining food residue or grease. If necessary, dampen a cloth with warm, soapy water and gently scrub these areas to ensure thorough cleaning.
- Dry Thoroughly: After cleaning, use a dry cloth to ensure that the mixing head is completely dry. Pay attention to any recessed areas or joints where water may collect, ensuring that no moisture remains after drying.
By giving the mixing head the attention it needs, you contribute to the overall cleanliness and performance of your stand mixer. With the mixing head now sparkling clean, you’re ready to reassemble the attachments and prepare your mixer for its next culinary adventure.
Step 8: Reassemble the Mixer
With the individual components of your stand mixer thoroughly cleaned, it’s time to reassemble the appliance to prepare it for future culinary endeavors. Follow these steps to ensure that the attachments are securely in place and the mixer is ready for action:
- Attach Cleaned Components: Begin by reattaching the cleaned attachments, such as the beater, whisk, or dough hook, to the mixing head. Ensure that each attachment is securely in place, following the manufacturer’s instructions for proper attachment methods.
- Secure the Mixing Bowl: If your mixer features a removable mixing bowl, ensure that it is securely positioned on the base of the mixer. Double-check that the bowl is locked into place to prevent any movement during operation.
- Connect the Power Cord: With the attachments and mixing bowl in place, safely connect the power cord to the power supply. Ensure that the cord is positioned in a way that prevents it from being entangled or pulled during use.
- Perform a Test Run: Before diving into your next culinary creation, consider running the mixer for a brief moment to ensure that all components are functioning smoothly. This test run allows you to verify that the attachments are properly secured and that the mixer is ready for use.
By reassembling the stand mixer with care and attention to detail, you set the stage for seamless and successful culinary endeavors. With the mixer fully reassembled and ready for action, you’re now prepared to add the final touches to complete the cleaning process.
Read more: What Is A Mixer
Step 9: Final Touches
As you near the completion of the stand mixer cleaning process, it’s time to add the final touches to ensure that the appliance is not only clean but also primed for future use. These final steps will help you wrap up the cleaning process with finesse and attention to detail:
- Inspect and Polish the Exterior: Take a moment to inspect the exterior of the mixer for any lingering spots or smudges. Use a clean, dry cloth to gently polish the surfaces, ensuring that the mixer’s exterior gleams and is free from any residual moisture.
- Organize and Store Attachments: Once the attachments have been reattached to the mixer, consider organizing and storing them in a designated area. This ensures that the attachments remain easily accessible for future use and are protected from damage or misplacement.
- Clean and Organize the Workspace: Take the opportunity to clean and organize your kitchen workspace, including the area around the stand mixer. Wipe down countertops, store utensils, and ensure that the environment is conducive to your next culinary adventure.
- Celebrate Your Clean Mixer: Finally, take a moment to appreciate your freshly cleaned stand mixer. Celebrate the effort you’ve invested in maintaining this essential kitchen appliance, knowing that it’s now ready to assist you in creating delicious culinary delights.
By attending to these final touches, you not only complete the cleaning process with thoroughness and care but also set the stage for a seamless transition back to your culinary pursuits. With the final touches in place, you’ve successfully navigated the stand mixer cleaning process and can now look forward to utilizing your sparkling-clean appliance for your next culinary masterpiece.
Conclusion
Congratulations! You’ve successfully navigated the comprehensive process of cleaning your stand mixer, ensuring that it remains a reliable and hygienic companion for your culinary adventures. By following the step-by-step guide and investing the necessary care and attention, you’ve not only preserved the functionality of your stand mixer but also maintained its visual appeal and cleanliness.
Remember, regular cleaning and maintenance are essential to prolonging the lifespan of your stand mixer and ensuring that it continues to deliver exceptional results with every use. By incorporating the cleaning process into your kitchen routine, you contribute to the overall hygiene and efficiency of your culinary workspace.
As you embark on future baking and cooking endeavors, you can do so with the confidence that your stand mixer is primed and ready to assist you in creating delectable treats and savory dishes. Whether it’s whipping up a batch of fluffy meringue, kneading dough for artisanal bread, or mixing ingredients for a decadent cake, your freshly cleaned stand mixer is poised to be your steadfast kitchen ally.
So, take a moment to appreciate the effort you’ve invested in maintaining your stand mixer, knowing that it’s now prepared to elevate your culinary creations to new heights. With a clean and pristine stand mixer by your side, you’re ready to unleash your creativity in the kitchen and delight your taste buds with an array of culinary delights.
Now, armed with the knowledge and expertise to keep your stand mixer in top condition, you can confidently embrace the art of culinary exploration, knowing that your trusty appliance is always ready to support your gastronomic endeavors.
Here’s to the joy of cooking, the pleasure of baking, and the satisfaction of a sparkling-clean stand mixer – an indispensable tool in your culinary repertoire!
Frequently Asked Questions about How To Clean A Stand Mixer
Was this page helpful?
At Storables.com, we guarantee accurate and reliable information. Our content, validated by Expert Board Contributors, is crafted following stringent Editorial Policies. We're committed to providing you with well-researched, expert-backed insights for all your informational needs.


0 thoughts on “How To Clean A Stand Mixer”