Articles
How To Make Dough In A Kitchenaid Mixer
Modified: October 20, 2024
Learn how to make dough in a Kitchenaid mixer with our informative articles. Master the art of baking with ease and impress your family and friends.
(Many of the links in this article redirect to a specific reviewed product. Your purchase of these products through affiliate links helps to generate commission for Storables.com, at no extra cost. Learn more)
Introduction
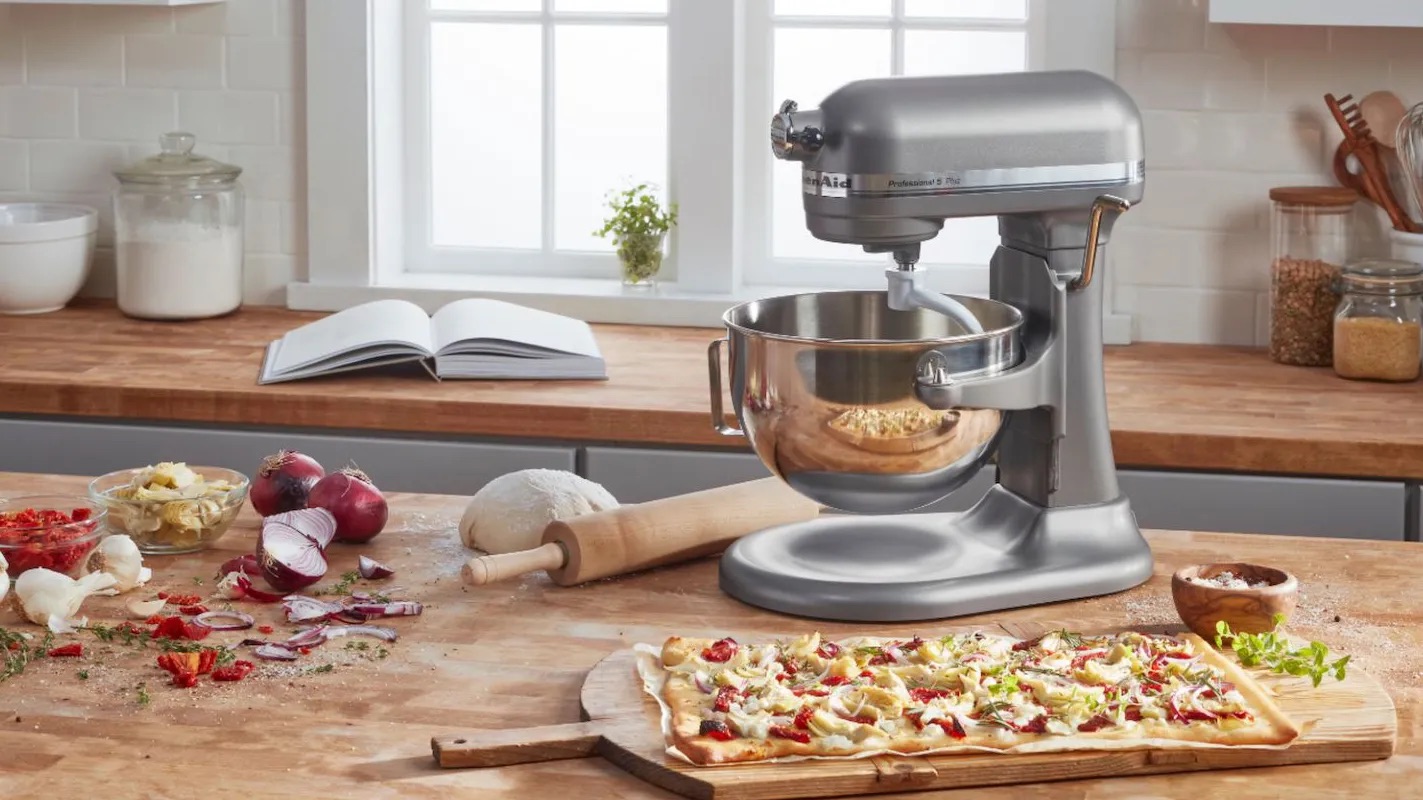
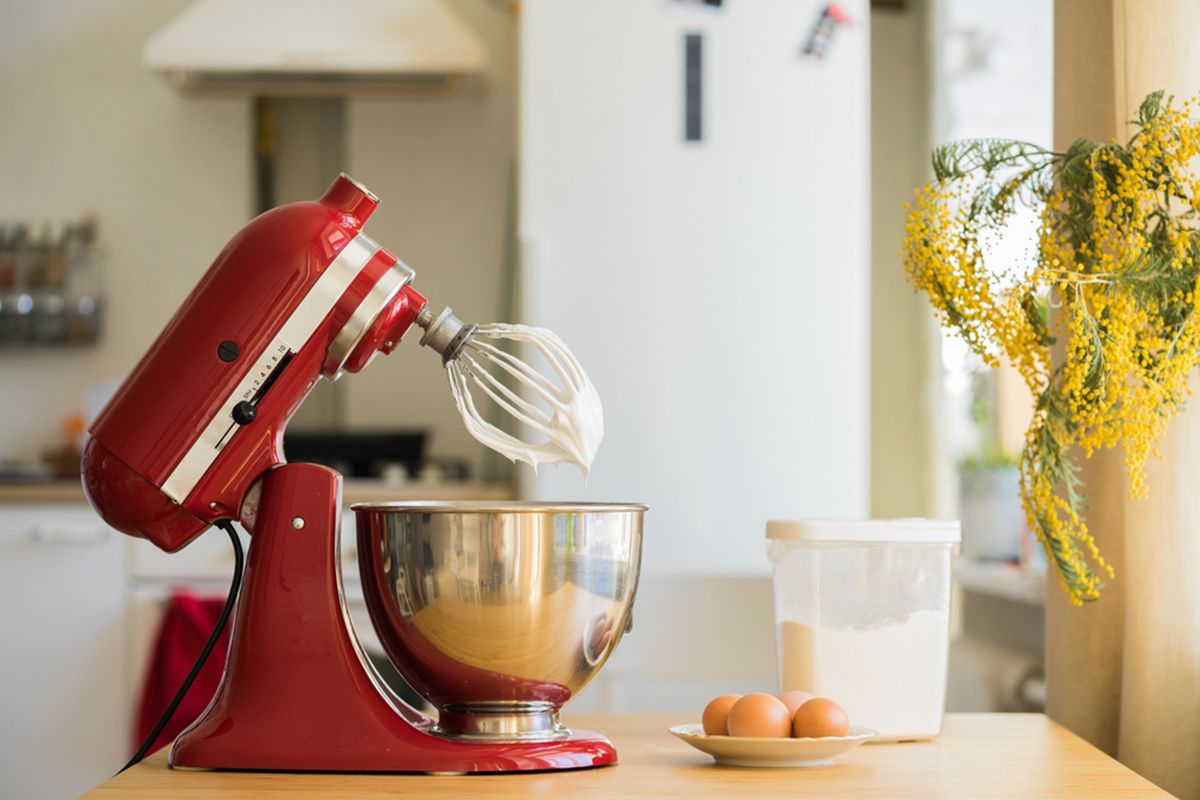
Welcome to the world of homemade bread! There’s nothing quite like the smell of freshly baked bread wafting through your kitchen. If you’ve recently acquired a Kitchenaid mixer and you’re wondering how to make dough with it, you’ve come to the right place.
A Kitchenaid mixer is a versatile kitchen tool that can make the dough-making process much easier and more efficient. Whether you’re a seasoned bread baker or a beginner taking your first steps into the world of homemade bread, using a Kitchenaid mixer to make dough will help you achieve consistent and professional results.
In this article, we’ll walk you through the step-by-step process of making dough in a Kitchenaid mixer. From the initial mixing to the final baking, we’ll cover all the essential tips and techniques you need to know to create the perfect dough.
So, let’s dust off your Kitchenaid mixer, roll up your sleeves, and get ready to make some delicious bread!
Key Takeaways:
- Master the art of making dough in a Kitchenaid mixer by choosing the right ingredients, properly mixing and kneading the dough, and allowing it to rest and proof. Embrace the rewarding journey of bread-making and savor the joy of freshly baked bread.
- Troubleshoot common challenges such as dry or sticky dough, poor rise, dense bread, overproofing, uneven browning, and bitter crust to refine your bread-making skills. Each challenge presents an opportunity to improve and become a more confident baker.
Getting Started with Your Kitchenaid Mixer
Before you start making dough with your Kitchenaid mixer, it’s important to familiarize yourself with the machine and its components. Here are a few key things to keep in mind:
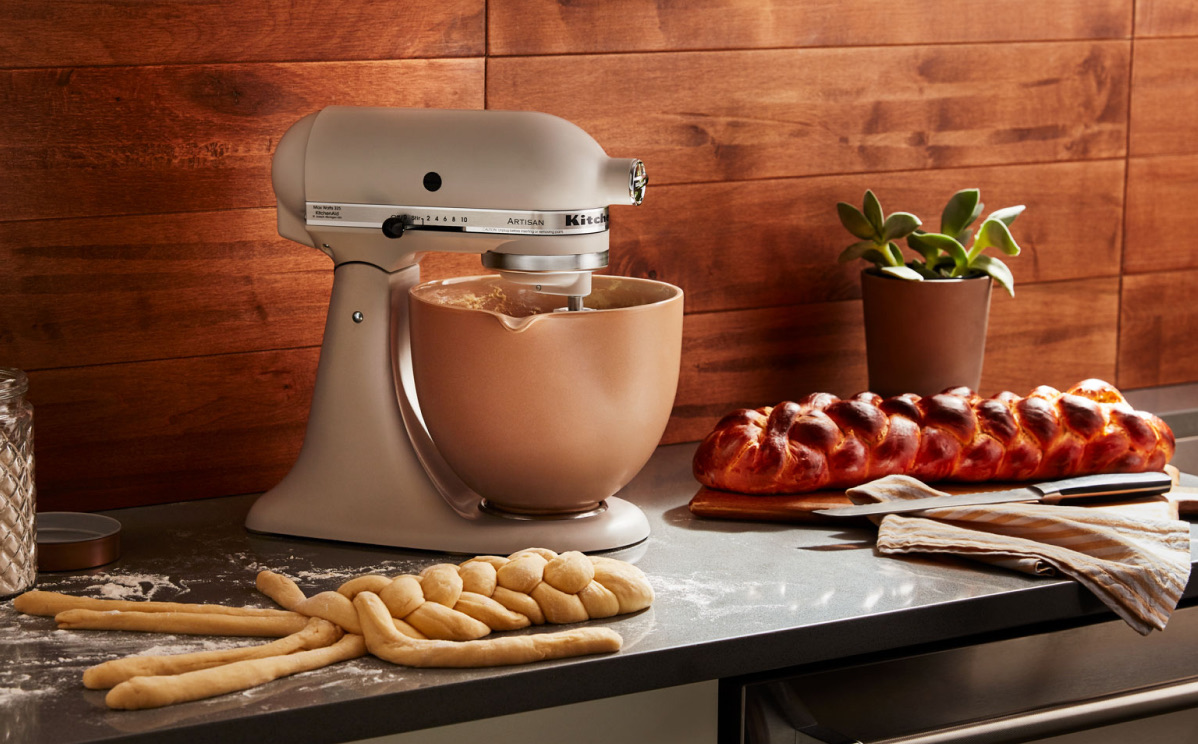
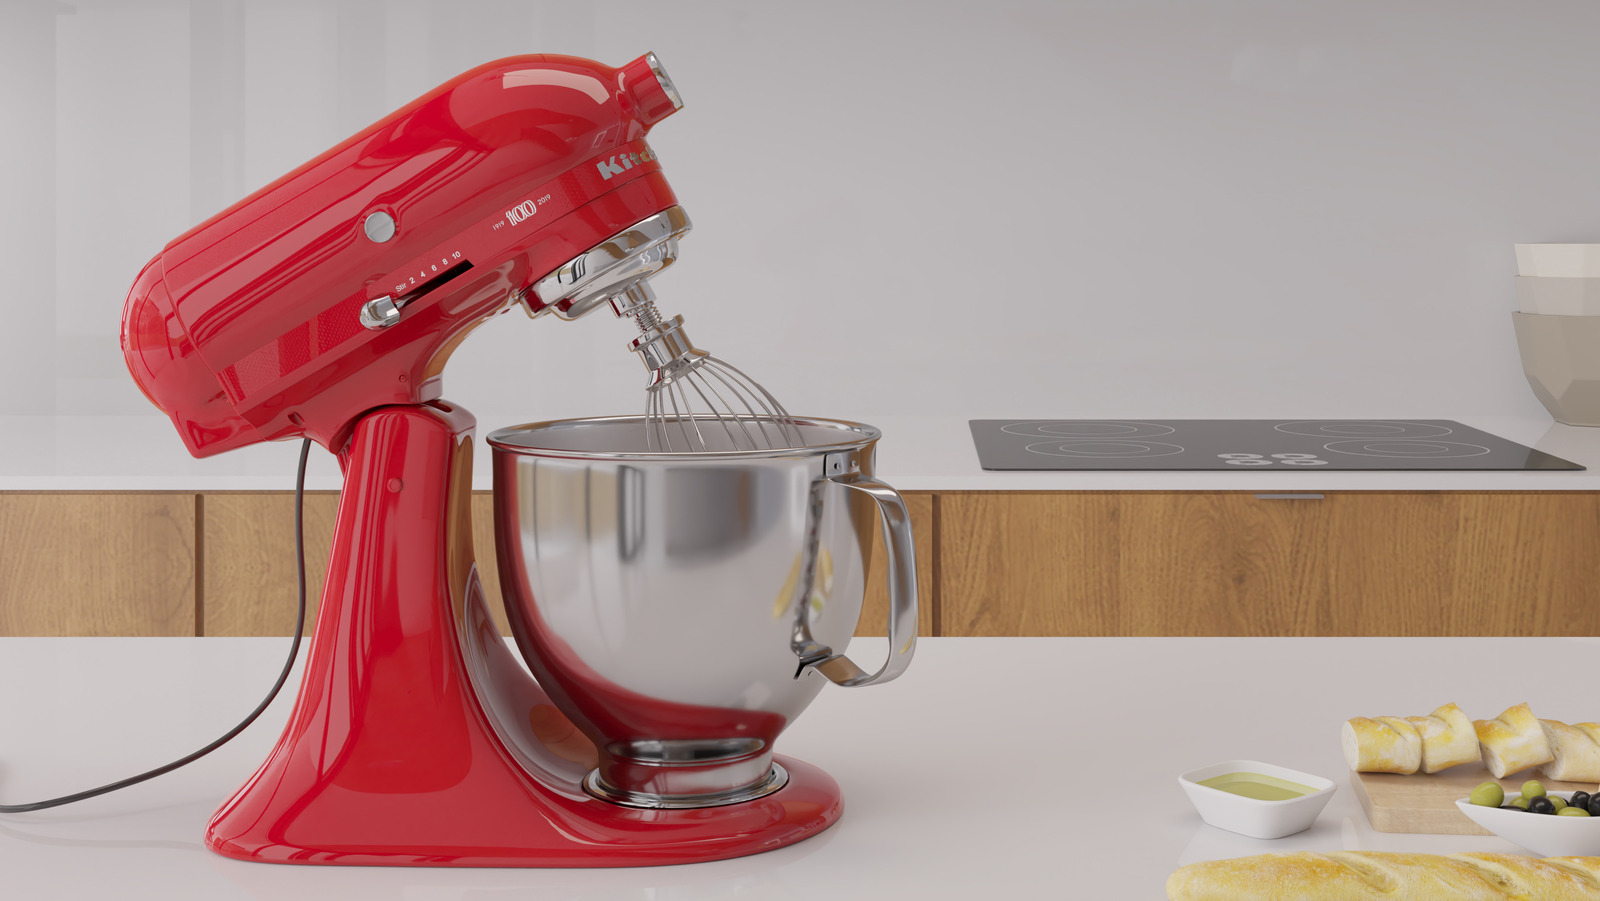
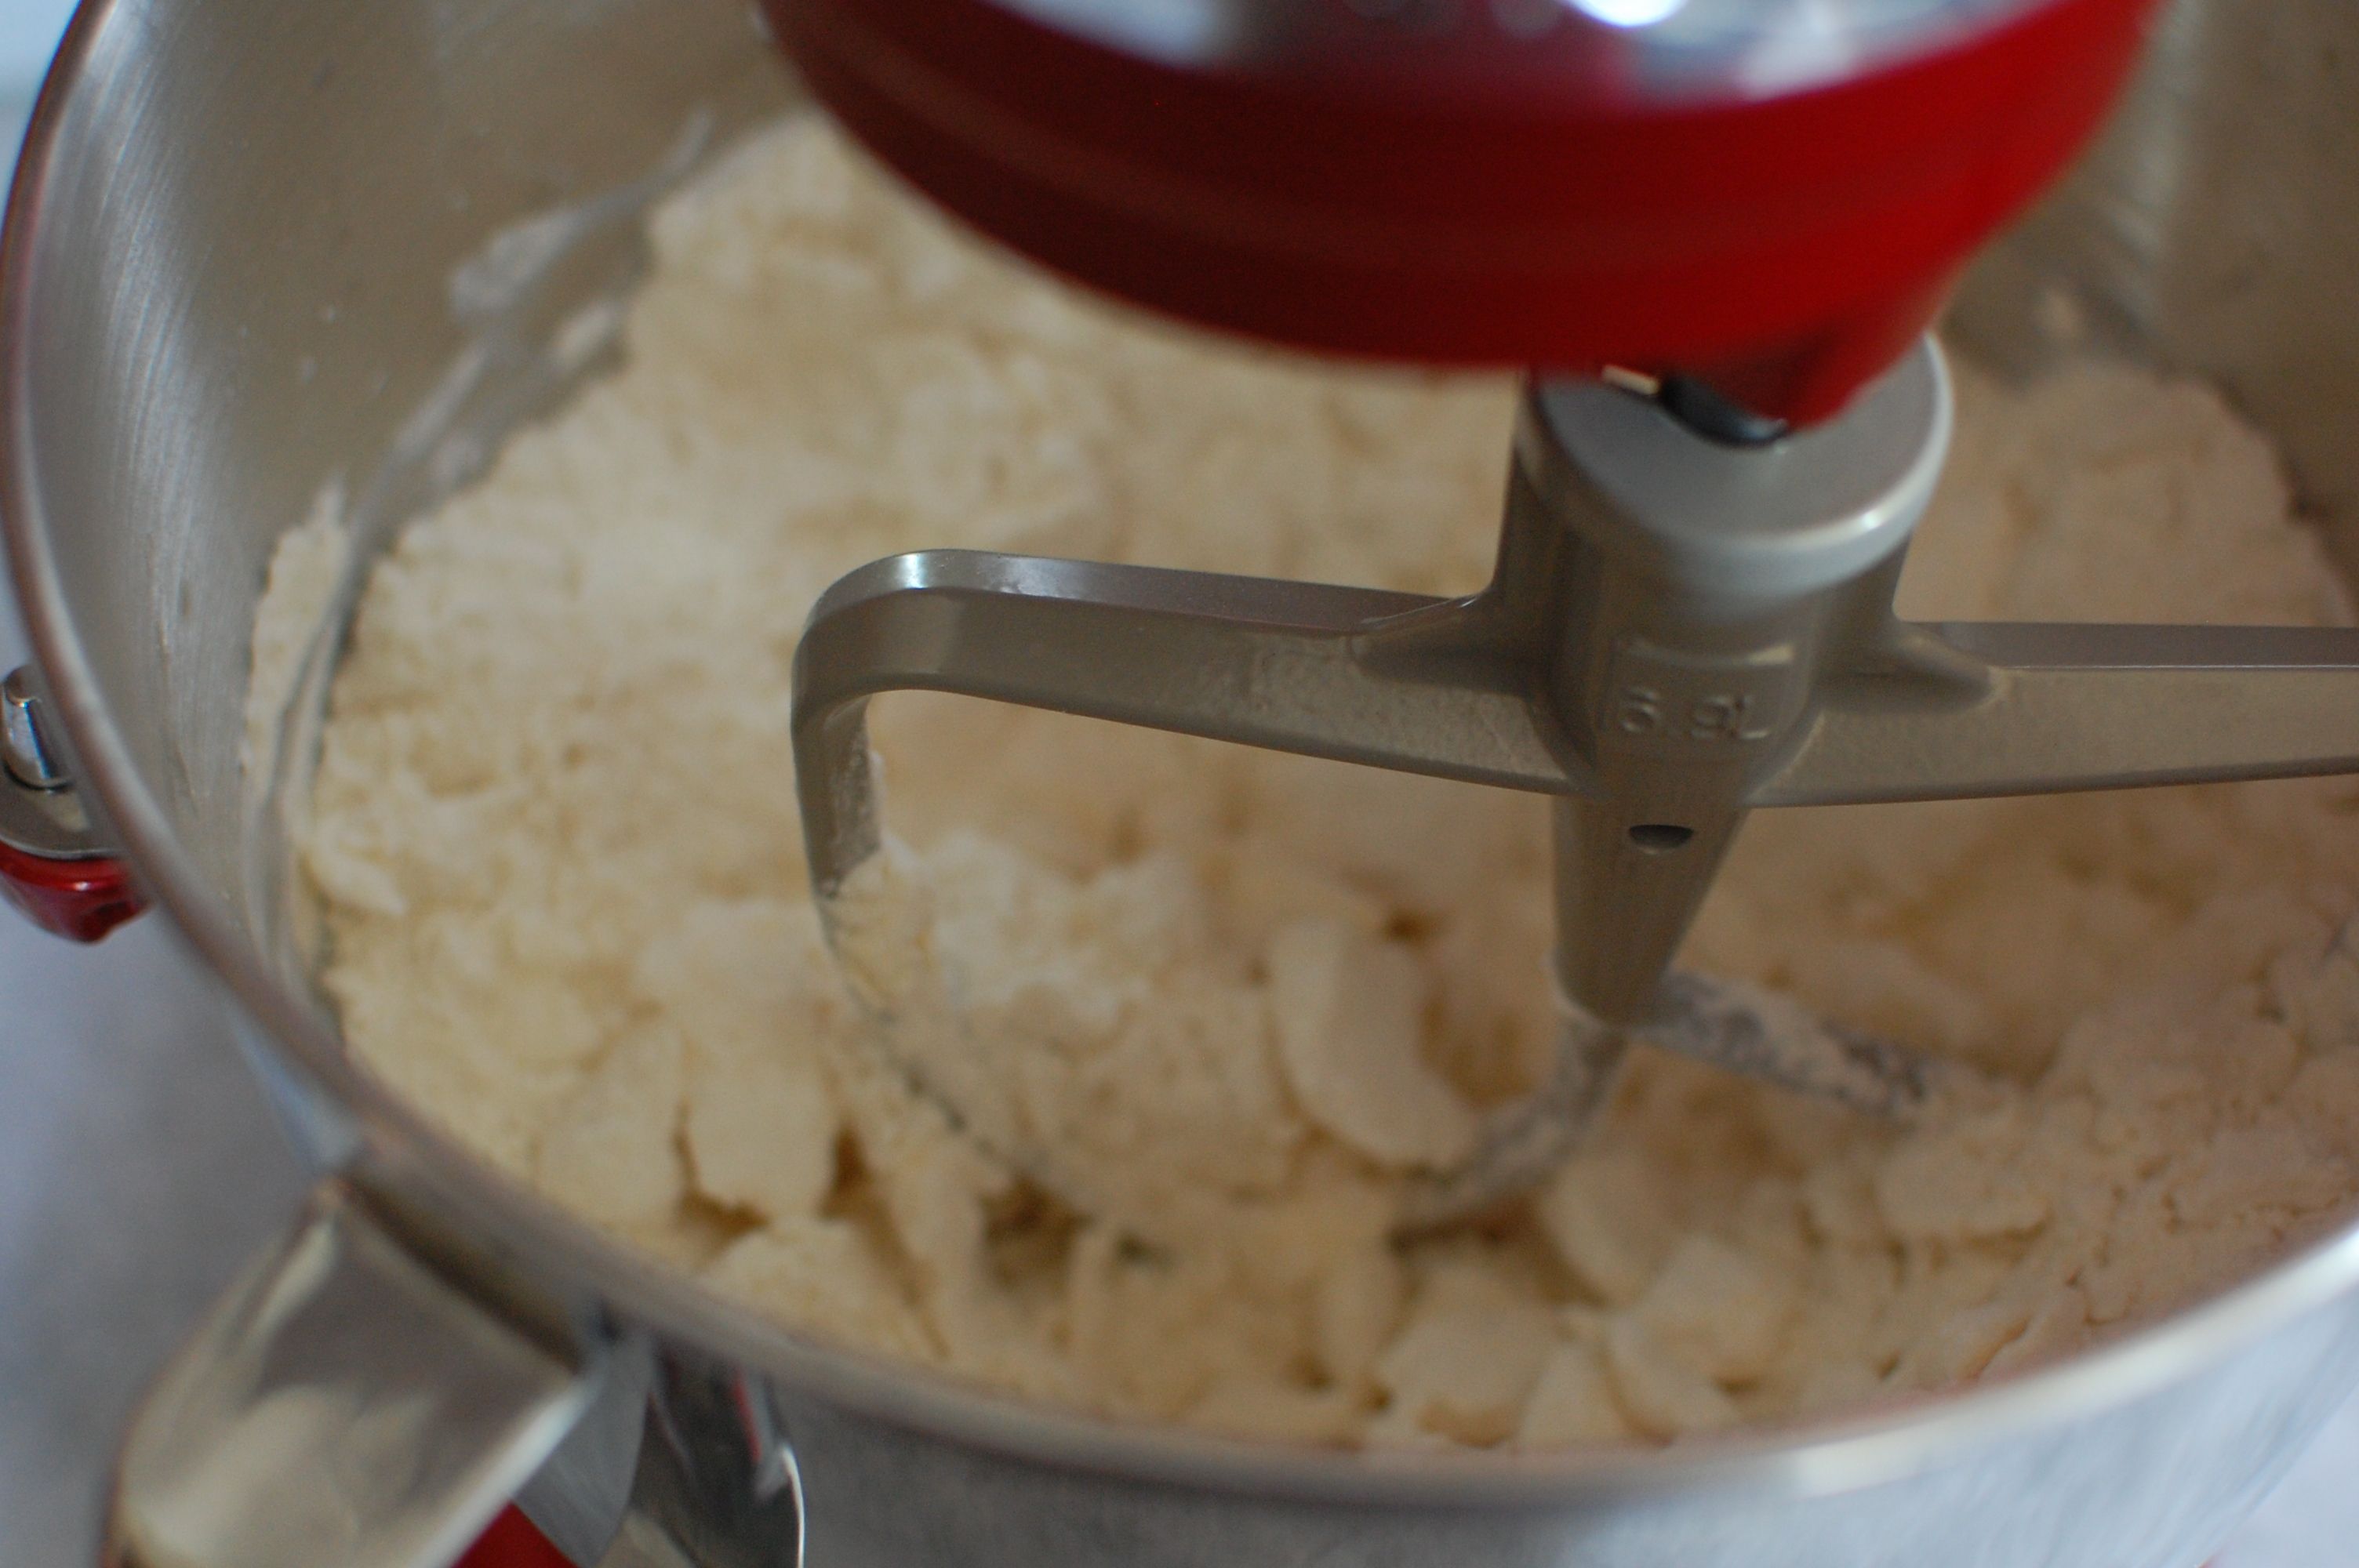
1. Assemble and Attach the Mixing Bowl and Paddle: Start by attaching the mixing bowl to the base of your Kitchenaid mixer. Ensure it is securely locked into place. Then, attach the paddle attachment to the mixer’s head by sliding it onto the beater shaft and twisting it clockwise until it locks.
2. Choose the Right Mixing Speed: The Kitchenaid mixer offers various speed settings, ranging from low to high. For most dough recipes, it’s best to start at a low speed and gradually increase as needed. The speed will depend on the type of dough you’re making and the instructions provided in your recipe.
3. Measure and Prepare Ingredients: Take the time to carefully measure and prepare all the ingredients for your dough. This includes flour, water, yeast, salt, and any additional ingredients your recipe calls for. Accurate measurements ensure consistent results.
4. Pre-Blend Dry Ingredients: It’s a good practice to pre-blend your dry ingredients before adding them to the mixer. This helps distribute the ingredients evenly and prevents clumping. Simply whisk the flour, yeast, and salt together in a separate bowl before incorporating them into the mixer.
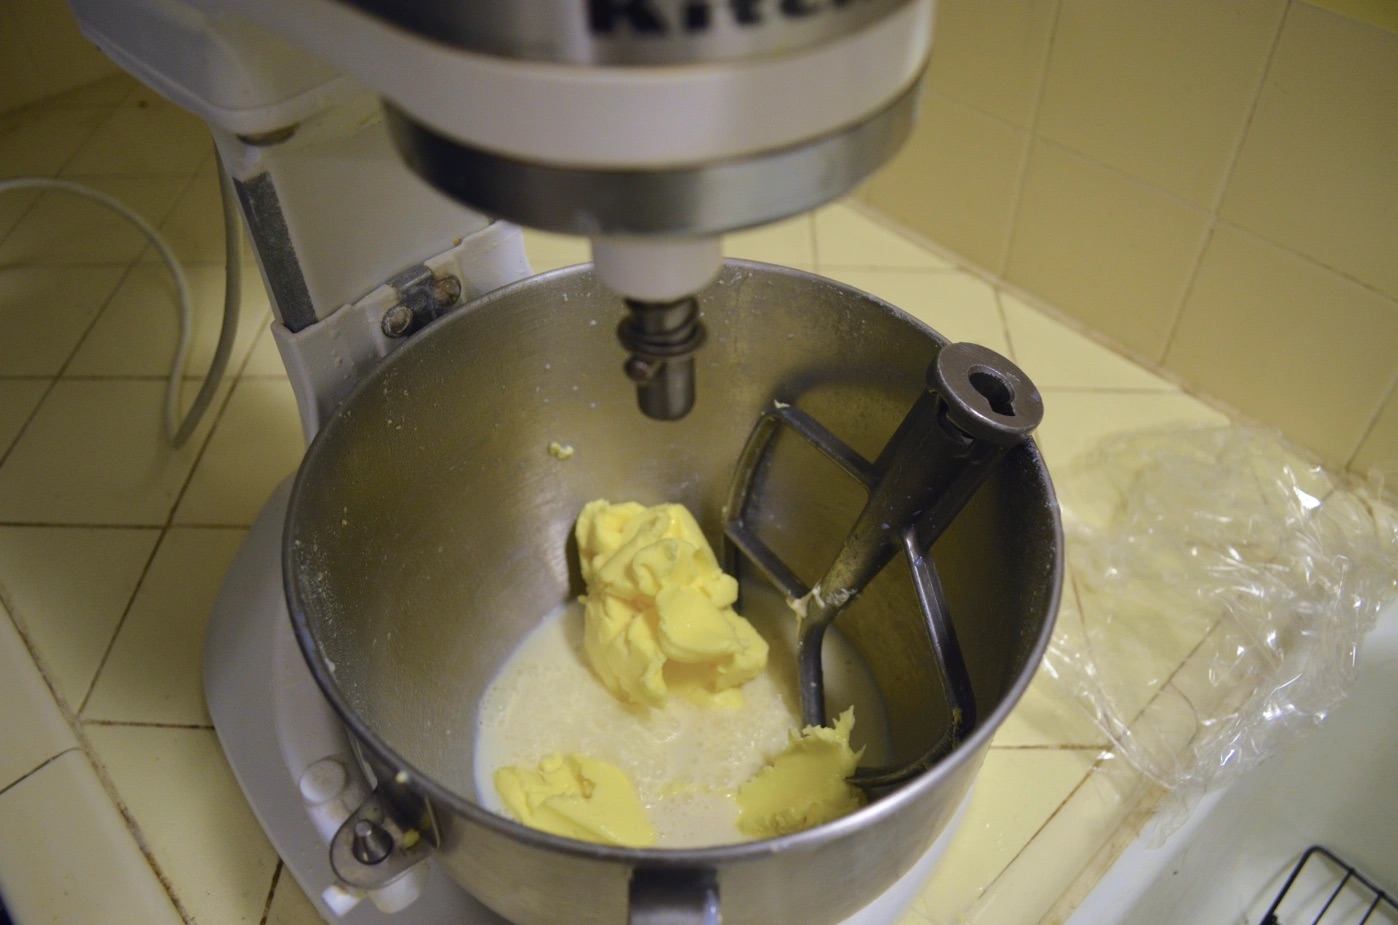
5. Gradually Add Wet Ingredients: With the mixer running on low speed, gradually pour in the wet ingredients, such as water or milk. Adding them slowly allows for better absorption and helps prevent splattering.
6. Scrape Down the Bowl: Throughout the mixing process, pause the mixer occasionally to scrape down the sides and bottom of the mixing bowl with a spatula. This ensures that all the ingredients are evenly incorporated.
7. Monitor the Consistency: Pay attention to the consistency of the dough as it mixes. Depending on the recipe, you may need to adjust the amount of flour or liquid to achieve the desired texture. Add small amounts of flour if the dough is too sticky or add water if it’s too dry.
By following these steps, you can ensure that your Kitchenaid mixer is set up correctly and ready to go. Now that you’re familiar with the basics, let’s delve into the process of choosing the right ingredients for your dough.
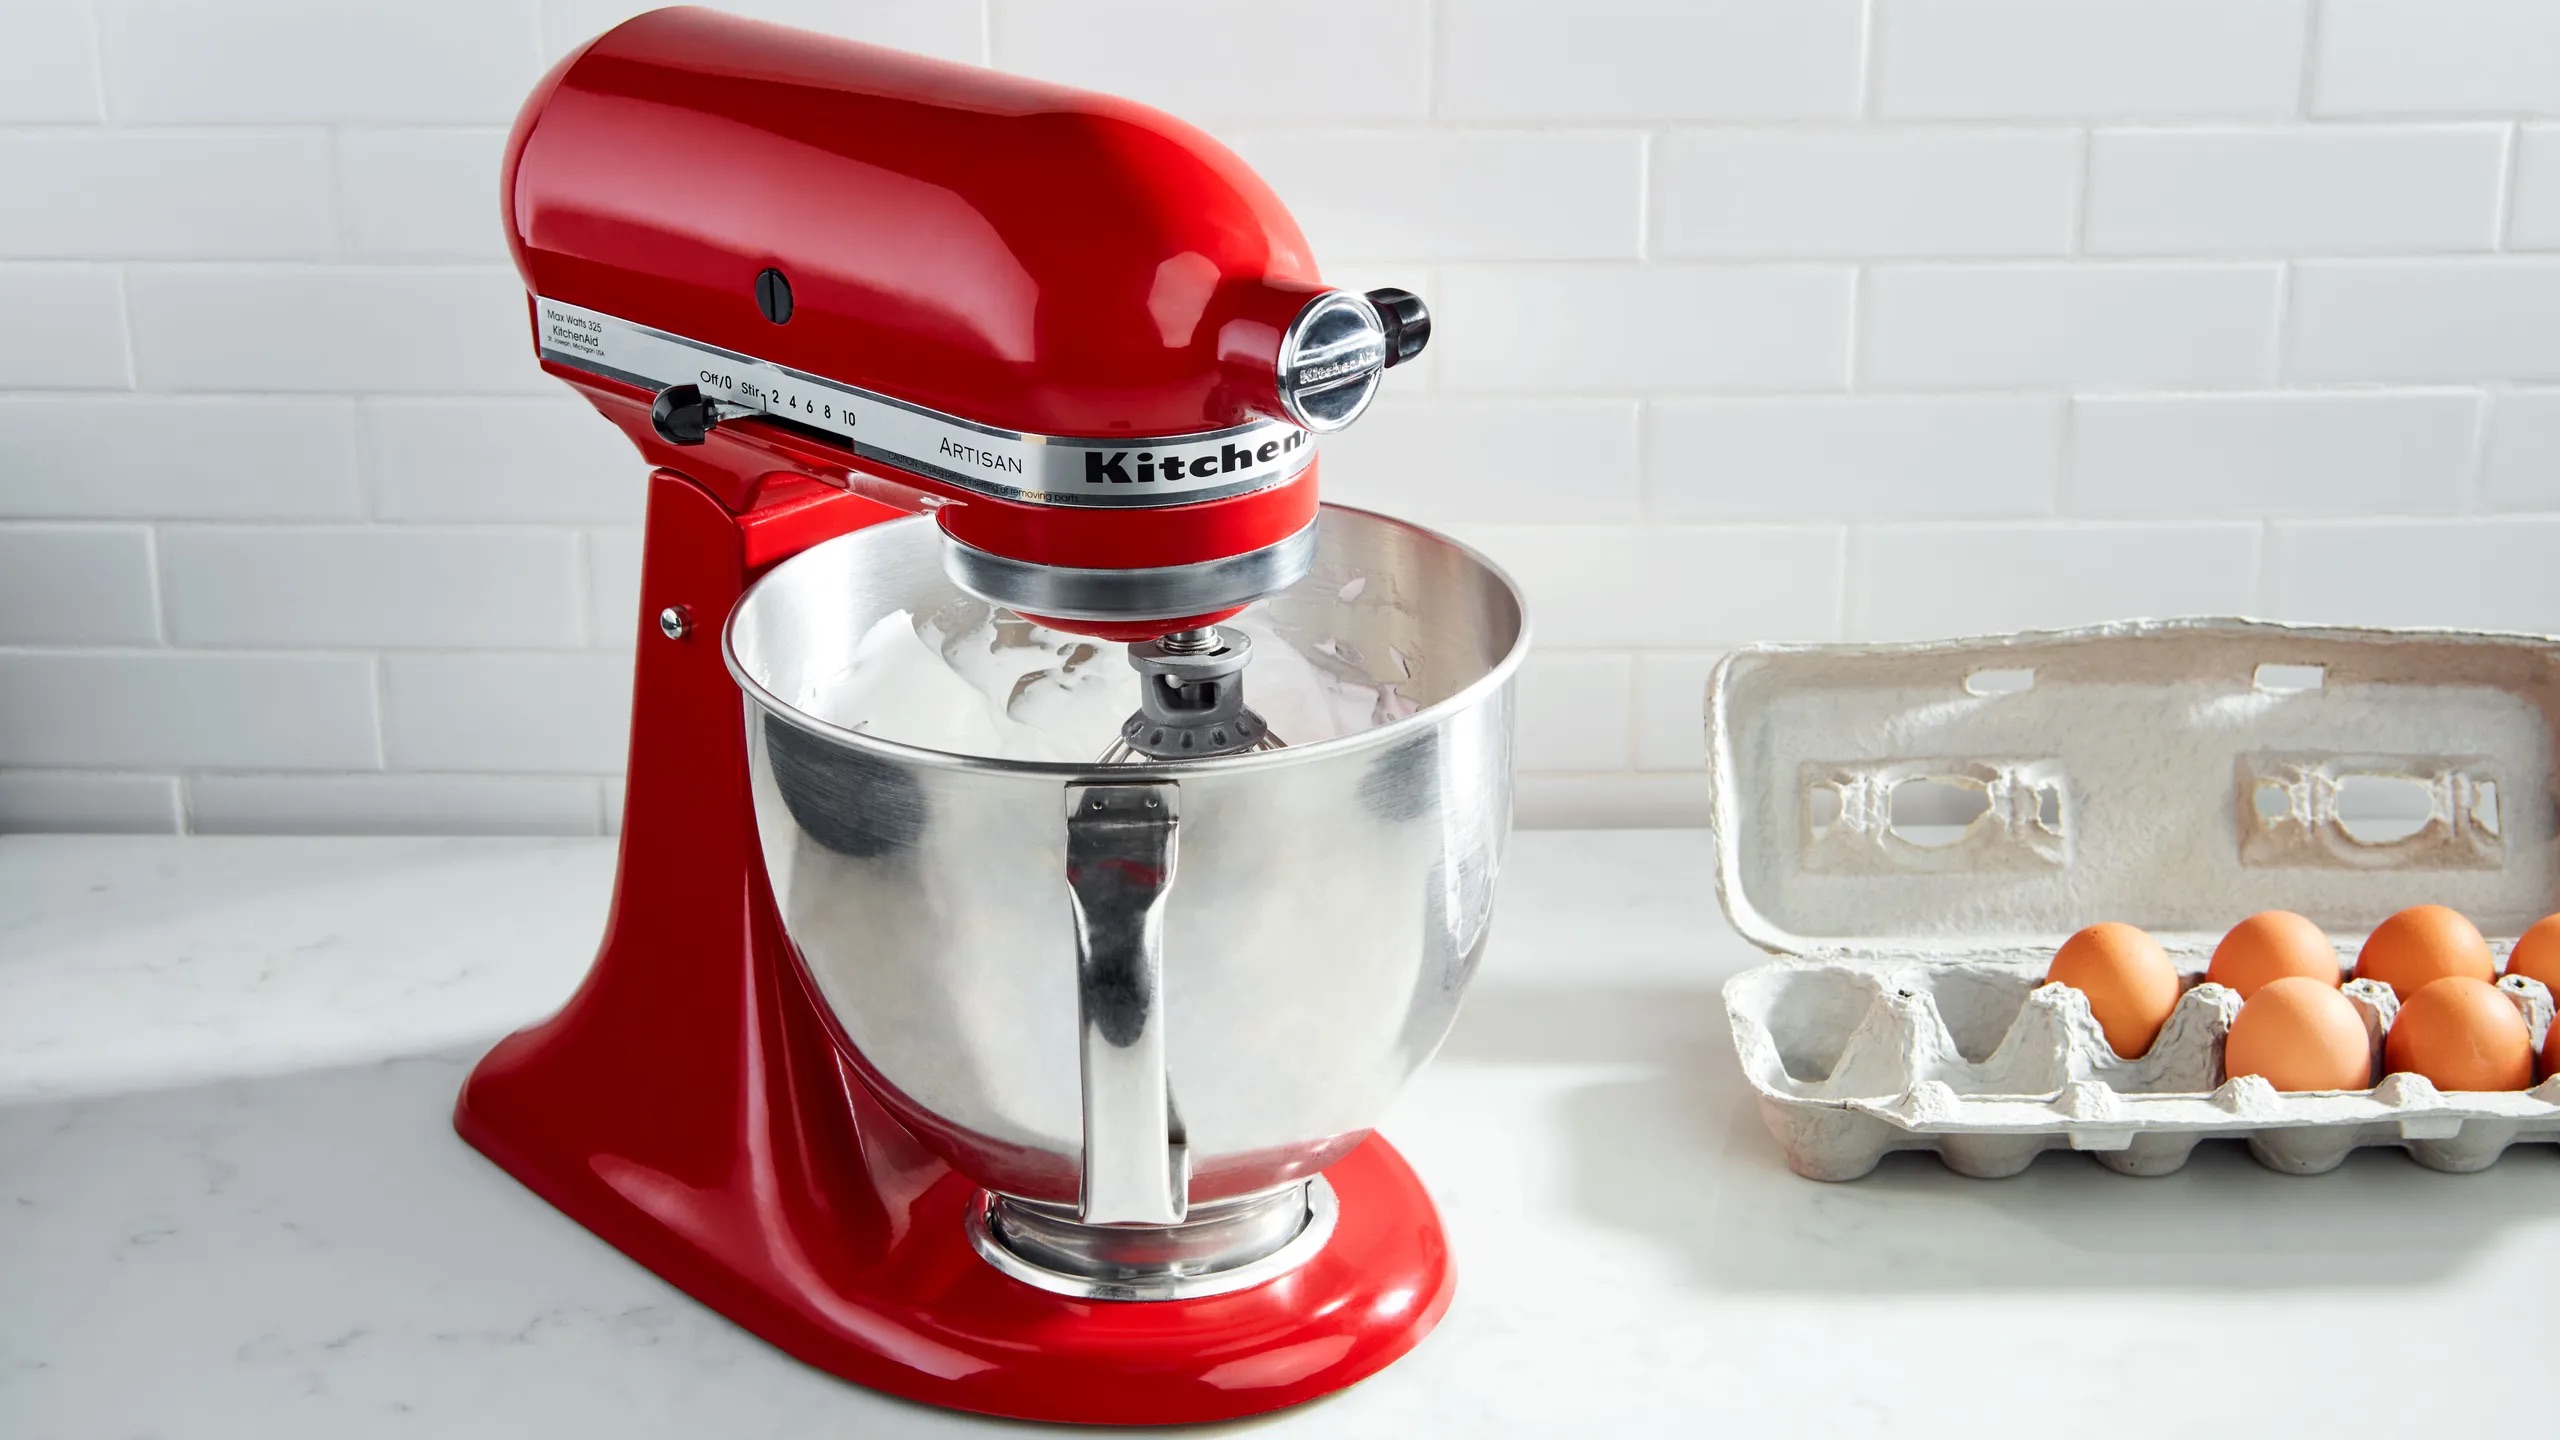
Choosing the Right Ingredients
When it comes to making dough with your Kitchenaid mixer, using high-quality ingredients is key to achieving great results. Here are some factors to consider when selecting your ingredients:
1. Flour: The type of flour you choose will greatly affect the texture and structure of your dough. For most bread recipes, it’s best to use bread flour or all-purpose flour. These flours have a higher protein content, which creates a stronger gluten network and results in a chewier and more elastic dough.
2. Yeast: Yeast is responsible for leavening the dough and giving it a rise. There are two main types of yeast: active dry yeast and instant yeast. Active dry yeast needs to be proofed in warm water before adding it to the dough, while instant yeast can be added directly to the dry ingredients. Follow the instructions on the yeast package and your recipe to determine which type to use.
3. Liquids: The amount and type of liquid you use in your dough can greatly impact its texture. Water is the most common liquid used in bread dough, but you can also use milk or other liquids for added richness and flavor. The temperature of the liquid is also important. It should be warm but not hot, as excessive heat can kill the yeast.
4. Salt: Salt not only adds flavor to the dough but also helps strengthen the gluten structure and regulate yeast activity. Be sure to use fine salt rather than coarse salt, as coarse salt may not dissolve evenly in the dough.
5. Additional Ingredients: Depending on your recipe, you may want to incorporate additional ingredients such as sugar, honey, herbs, spices, nuts, or dried fruits. These ingredients can add flavor, texture, and variety to your bread. Be mindful of the quantity and how they might affect the dough consistency.
It’s important to follow the measurements and ratios specified in your recipe when selecting ingredients. Different recipes and types of bread may call for specific proportions, so it’s vital to read and understand the recipe beforehand.
Now that you have a better understanding of the ingredients, let’s move on to the next step: mixing the dough in your Kitchenaid mixer.
Mixing the Dough
Now that you have gathered all your ingredients and have them properly measured, it’s time to mix the dough in your Kitchenaid mixer. Follow these steps to ensure a well-mixed and cohesive dough:
1. Start on Low Speed: Begin by setting your Kitchenaid mixer to the lowest speed setting. This will prevent the flour from flying out of the bowl and create a messy situation. Let the mixer run for a few seconds to incorporate the initial ingredients.
2. Gradually Increase Speed: Once the initial ingredients have combined, increase the speed of your mixer gradually. You want to achieve a consistent mix of the ingredients. Increase the speed gradually until you reach the recommended speed for your specific dough recipe.
3. Scrape Down the Sides: Pause the mixer occasionally and use a spatula to scrape down the sides of the bowl. This will ensure that all the dry ingredients are fully incorporated into the dough and that there are no pockets of unmixed flour or other ingredients.
4. Adjust the Consistency: Monitor the consistency of the dough as it mixes. If the dough seems too dry or crumbly, you can add a small amount of liquid, such as water or milk, one tablespoon at a time. On the other hand, if the dough appears too sticky or wet, add a little more flour gradually until it reaches the desired texture.
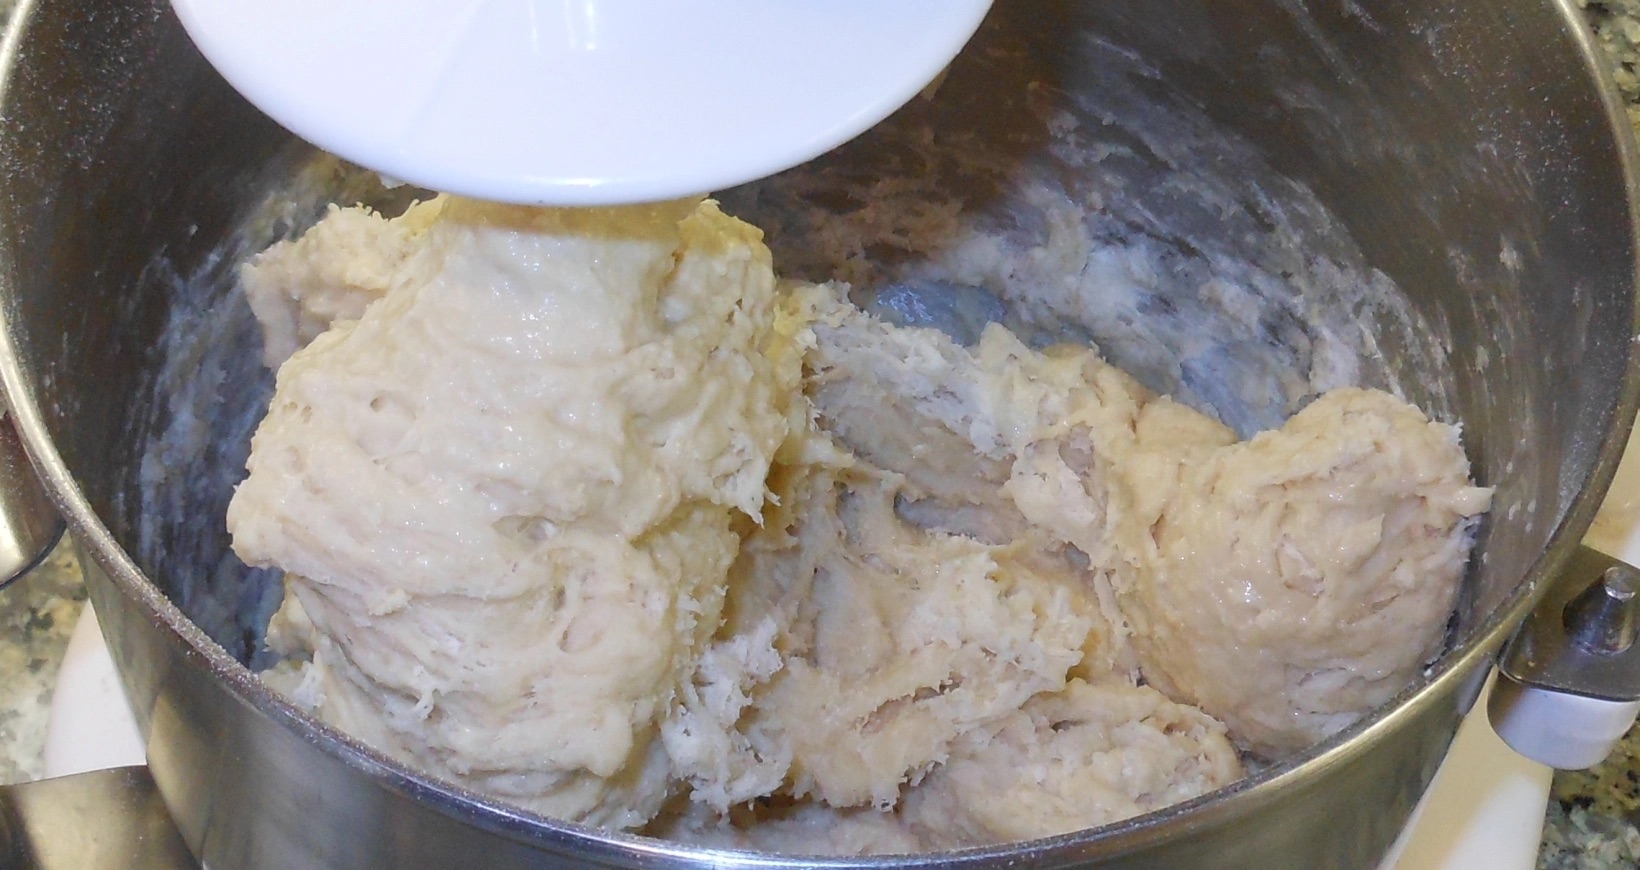
5. Mix Until Smooth and Elastic: Continue mixing the dough until it becomes smooth and elastic. This process typically takes around 5-7 minutes, but it may vary depending on the recipe and the speed of your mixer. To test if the dough is ready, you can perform the “windowpane test.” Take a small piece of dough and stretch it gently. If it can stretch without tearing and you can see light passing through it, your dough is well-mixed.
6. Adjust Mixing Time if Needed: Pay attention to the instructions provided in your recipe. Some doughs may require longer or shorter mixing times to achieve the desired consistency. Always refer to the recipe as a guideline and use your judgment to determine if any adjustments are necessary.
By following these steps, you’ll be able to mix your dough properly and achieve a smooth and elastic texture. Once the dough is mixed, the next step is to knead it to develop the gluten structure, which we’ll cover next.
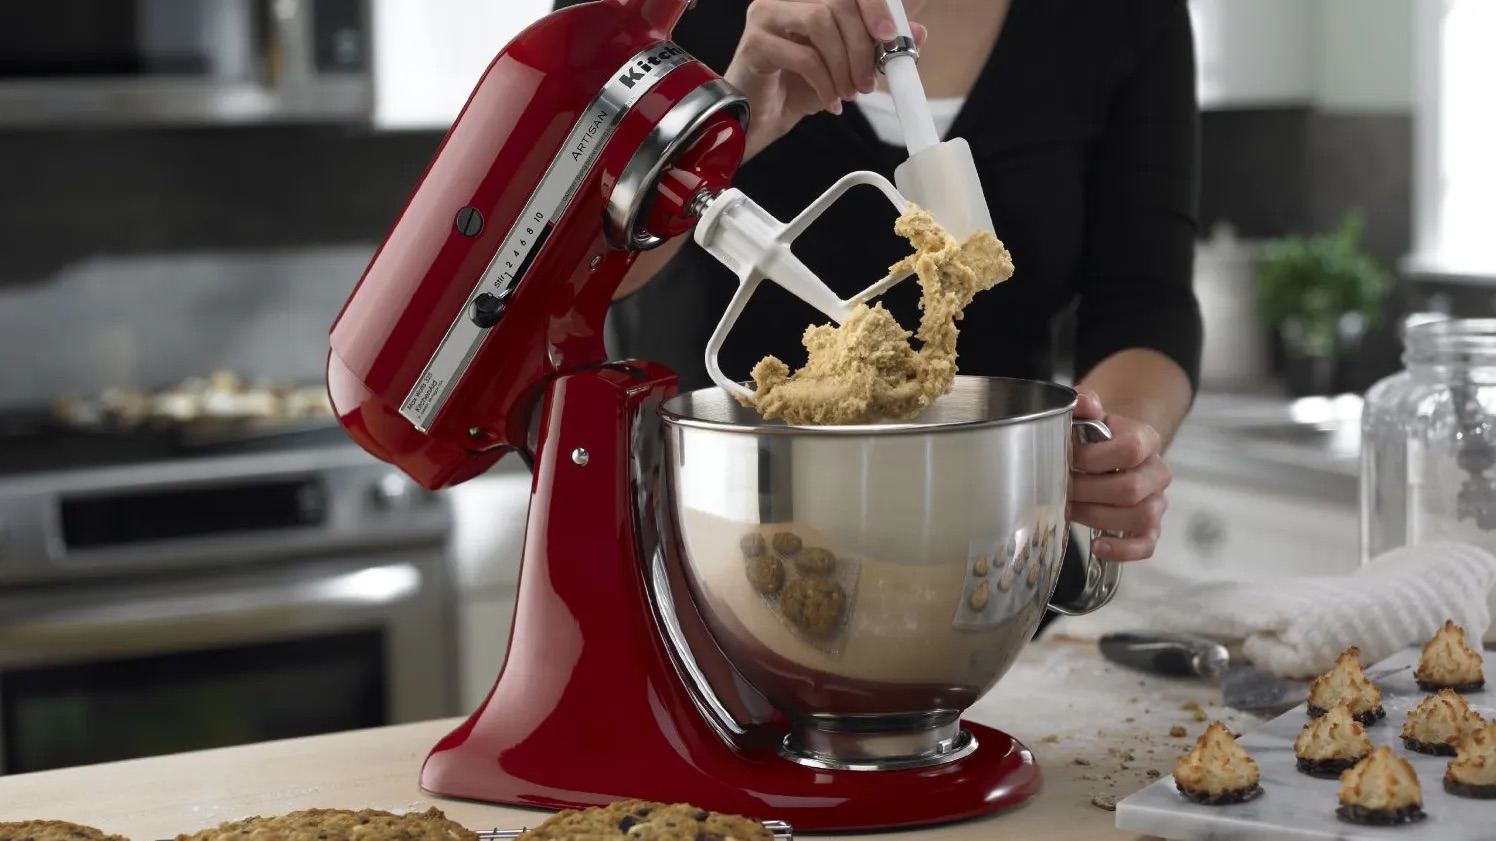
Kneading the Dough
After the initial mixing, the next crucial step in the dough-making process is kneading. Kneading helps develop the gluten structure, which gives the dough its elasticity and strength. Here’s how to knead your dough using a Kitchenaid mixer:
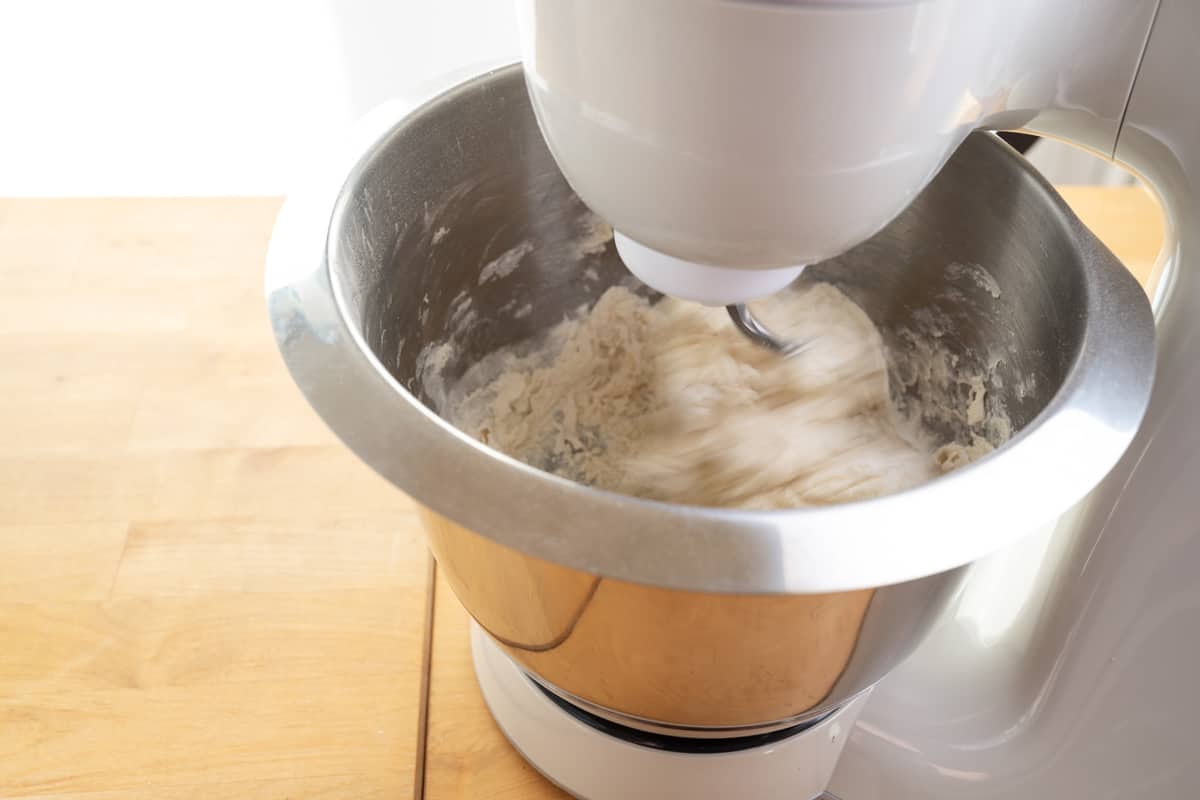
1. Switch to the Dough Hook Attachment: Remove the paddle attachment from your Kitchenaid mixer and attach the dough hook. Make sure it is securely locked in place before continuing.
2. Adjust the Speed: Set your mixer to a medium speed for kneading the dough. The exact speed may vary depending on the type of dough you’re making, so refer to your recipe for specific instructions.
3. Let the Mixer Do the Work: Allow the mixer to knead the dough for about 5-10 minutes. The dough hook will stretch and fold the dough, working the gluten strands together and creating a smooth and elastic texture. You can monitor the process and occasionally pause to check the dough’s consistency and texture.
4. Scrape Down the Sides: As the dough is being kneaded, make sure to stop the mixer occasionally to scrape down the sides of the bowl using a spatula. This helps ensure that all the dough is evenly kneaded.
5. Adjusting the Dough: If the dough seems too dry or stiff, add a small amount of liquid, such as water or milk, to adjust the consistency. On the other hand, if the dough appears too wet or sticky, gradually sprinkle in a little more flour while the mixer is running.
6. The Windowpane Test: To check if the dough is sufficiently kneaded, perform the “windowpane test.” Take a small piece of dough and stretch it gently between your fingers. If the dough can stretch without tearing and you can see light passing through, it means the gluten has developed properly and the kneading process is complete.
7. Monitor Temperature: Kneading generates heat that affects the dough’s temperature. If you notice the dough becoming too warm during the process, you can pause and let it rest for a few minutes to cool down. Alternatively, you can monitor the dough’s temperature using an instant-read thermometer to ensure it stays within the recommended range.
Remember, the kneading time may vary depending on the recipe and the speed of your mixer. Always refer to the instructions provided in your specific recipe as a guideline. Proper kneading is essential to develop the dough’s strength and structure, leading to a light and airy final product.
Now that you’ve mastered the art of kneading, let’s move on to the next step: resting and proofing the dough.
When making dough in a Kitchenaid mixer, start by using the paddle attachment to mix the ingredients, then switch to the dough hook for kneading. Gradually add flour to achieve the desired consistency.
Resting and Proofing the Dough
After kneading the dough, it’s time to allow it to rest and undergo the proofing process. Resting and proofing are crucial steps to develop the dough’s flavor, texture, and rise. Here’s what you need to know:
1. Shaping the Dough: Start by removing the dough from the mixer bowl and transferring it to a lightly floured surface. Gently shape the dough into a smooth ball by tucking the edges under, creating tension on the surface. This helps create a round and well-shaped loaf.
2. Resting the Dough: Place the shaped dough into a greased bowl, ensuring it is coated on all sides. Cover the bowl with a clean kitchen towel or plastic wrap. Let the dough rest at room temperature for about 1-2 hours, or until it has doubled in size. This resting period allows the yeast to continue fermenting and the gluten to relax, resulting in a more flavorful and easier-to-handle dough.
3. Proofing the Dough: Once the dough has risen during the initial rest, it’s time for the final proofing. Gently punch down the dough to release any trapped air, then shape it into the desired final form, whether it be a loaf, rolls, or any other shape. Place the shaped dough on a baking sheet or in a bread pan, cover it again, and let it proof for a second time. This final proofing allows the dough to rise one last time before baking.
4. Creating the Ideal Environment: To facilitate the proofing process, it’s best to create a warm and draft-free environment. You can preheat your oven to a very low temperature (around 100°F/38°C), then turn it off. Place the covered dough inside the oven with a small bowl of hot water to create a slightly humid environment. Alternatively, you can proof the dough at room temperature, but it may take longer for the dough to rise.
5. Timing the Proofing: The proofing time can vary depending on several factors, including the temperature of the environment and the amount of yeast in the dough. On average, the final proofing can take anywhere from 1 to 2 hours. To determine if the dough is ready for baking, gently press your fingertip into the dough. If it springs back slowly or leaves a slight indentation, the dough is properly proofed.
6. Avoid Overproofing: Be cautious not to overproof the dough, as it can lead to a collapsed or dense final result. Keep an eye on the dough during the proofing process and adjust the timing as needed.
Resting and proofing the dough allow it to develop its flavors and textures, resulting in a light and airy bread. Once the dough has completed its final proofing, it’s time to shape and bake it, which we’ll cover in the next section.
Shaping and Baking the Dough
After the dough has gone through the resting and proofing process, it’s time to shape it into the desired form and bake it to perfection. Follow these steps to ensure your bread turns out beautifully:
1. Preparing the Baking Surface: Preheat your oven to the temperature specified in your recipe. If you’re baking on a flat surface, such as a baking sheet, lightly grease it or line it with parchment paper to prevent the bread from sticking.
2. Shaping the Dough: Gently deflate the proofed dough by pressing it down with your hands. For a loaf, shape the dough into a cylinder by folding the sides towards the center and rolling it tightly. For rolls or other shapes, divide the dough equally and shape them accordingly. Make sure to create surface tension by tucking the edges under for a smooth and well-formed final product.
3. Final Rest (Optional): If your recipe calls for it, you can give the shaped dough a final short rest. This rest allows the dough to relax slightly, making it easier to handle and resulting in a better rise. Cover the shaped dough with a clean kitchen towel and let it rest for about 15-30 minutes.
4. Scoring the Dough: For the loaf or bread with a firm crust, use a razor blade or sharp knife to make shallow slashes along the surface of the dough. This process, called scoring, allows the bread to expand and prevents it from cracking in unpredictable places during baking.
5. Baking the Bread: Carefully transfer the shaped and scored dough to the preheated oven. Bake it according to the recommended temperature and time specified in your recipe. The baking time can vary depending on the size and shape of the bread, but as a general rule, most bread loaves take around 25-35 minutes to bake. Keep an eye on the bread as it bakes and adjust the time if needed for an even and golden brown crust.
6. Checking for Doneness: To ensure your bread is thoroughly baked, you can use a digital thermometer to check its internal temperature. For most bread, the internal temperature should range between 190°F and 200°F (88°C-93°C). Another way to test doneness is by tapping the bottom of the bread. If it sounds hollow, the bread is done.
7. Cooling the Bread: Once the bread is baked to perfection, carefully remove it from the oven and transfer it to a wire rack. Allow it to cool completely before slicing. This cooling process helps the bread set and develop its final texture.
Shaping and baking the dough is the exciting final step in the bread-making journey. Enjoy the tantalizing aroma of freshly baked bread as you pull it from the oven, and admire the beautiful results of your hard work. Now you can savor the fruits of your labor by slicing into your delicious homemade bread!
Before we conclude, let’s go over some troubleshooting tips in case you encounter any challenges along the way.
Troubleshooting Tips
Even the most experienced bakers encounter challenges in their bread-making journey. Here are some common troubleshooting tips to help you overcome any obstacles you may face:
1. Dough too dry: If your dough appears dry and crumbly, it may be due to insufficient hydration. Gradually add small amounts of water or milk while the mixer is running until the dough reaches a smoother and more cohesive consistency.
2. Dough too sticky: On the other hand, if your dough is too sticky and difficult to handle, it may have too much moisture. Counterbalance it by gradually adding small amounts of flour, allowing it to incorporate fully before adding more, until the dough becomes more manageable.
3. Poor rise: If your dough isn’t rising adequately, it could be due to various factors, such as expired yeast or incorrect proofing conditions. Make sure your yeast is fresh and active by proofing it in warm water before using. Additionally, check that the room temperature for proofing is warm enough to encourage yeast activity.
4. Dense bread: If your bread turns out dense and heavy, it may imply that there was insufficient gluten development. Ensure that you knead the dough adequately to develop the gluten structure, allowing it to rise properly. Moreover, verify that you’ve used the appropriate type of flour with enough protein content for bread-making.
5. Overproofed bread: Overproofing can lead to a collapsed or dense texture in the final bread. Keep a close eye on the dough during the proofing process, and be mindful of the ambient temperature and humidity. Adjust the proofing time accordingly to prevent overproofing.
6. Uneven browning: If your bread has patches of uneven browning, it may indicate an uneven oven temperature or improper placement in the oven. Make sure to preheat your oven thoroughly and prioritize placing the bread in the center of the oven to ensure even heat distribution.
7. Bitter crust: A bitter crust can occur if the bread is baked at too high of a temperature or if there is excessive browning or charring. Ensure that you adhere to the recommended baking temperature and consider reducing the baking time if your crust tends to become overly dark.
Remember, troubleshooting is a valuable learning experience. Each challenge provides an opportunity to refine your bread-making skills. With practice, you’ll become more familiar with the process and be able to tackle any issues that arise along the way.
Now that you have a better understanding of the troubleshooting possibilities, let’s wrap up this article.
Conclusion
Congratulations! You have learned how to make dough in a Kitchenaid mixer, from the initial mixing to the final baking. By following the step-by-step process outlined in this article, you can create homemade bread with ease and confidence.
A Kitchenaid mixer is a versatile tool that streamlines the dough-making process and ensures consistent results. Whether you’re a seasoned baker or a beginner, using a Kitchenaid mixer helps you achieve professional-quality dough without the need for extensive hand kneading.
Remember to choose the right ingredients, including high-quality flour, yeast, liquids, and additional ingredients. Properly mix and knead the dough to develop the gluten structure and achieve a smooth and elastic texture. Allow the dough to rest and proof, giving it time to rise and develop its flavors. Finally, shape and bake the dough to create delicious and beautifully golden bread.
Should you encounter any troubleshooting issues along the way, refer to the tips provided to overcome the challenges and improve your baking skills.
Embrace the experience of bread-making as a creative and rewarding journey. Experiment with different flours, flavors, and shapes to create unique and personalized breads. And most importantly, savor the joy of slicing into a freshly baked loaf, sharing the warmth and aroma with loved ones.
Now, armed with the knowledge of how to make dough in a Kitchenaid mixer, it’s time to unleash your inner bread baker and embark on countless flavorful and satisfying baking adventures. Happy baking!
Frequently Asked Questions about How To Make Dough In A Kitchenaid Mixer
Was this page helpful?
At Storables.com, we guarantee accurate and reliable information. Our content, validated by Expert Board Contributors, is crafted following stringent Editorial Policies. We're committed to providing you with well-researched, expert-backed insights for all your informational needs.


0 thoughts on “How To Make Dough In A Kitchenaid Mixer”