Home>Kitchen & Cooking>Kitchen Gadgets & Utensils>How Long To Knead Dough In A Stand Mixer

Kitchen Gadgets & Utensils
How Long To Knead Dough In A Stand Mixer
Modified: February 28, 2024
Discover the ideal kneading time for dough in a stand mixer. Explore the best kitchen gadgets and utensils for effortless dough preparation.
(Many of the links in this article redirect to a specific reviewed product. Your purchase of these products through affiliate links helps to generate commission for Storables.com, at no extra cost. Learn more)
Introduction
When it comes to mastering the art of baking, achieving the perfect dough consistency is often the key to success. Whether you're crafting a delectable loaf of bread, preparing homemade pizza dough, or indulging in the creation of delicate pastries, the kneading process plays a pivotal role in determining the texture and flavor of the final product. While traditional hand-kneading methods have long been revered for their ability to infuse love and care into the dough, the introduction of stand mixers has revolutionized the way in which bakers approach this fundamental step.
In the realm of kitchen gadgets and utensils, the stand mixer stands as a true culinary powerhouse, offering unparalleled convenience and efficiency. Its ability to seamlessly handle a myriad of tasks, including kneading dough, has made it a beloved staple in both home kitchens and professional bakeries. However, the question of how long to knead dough in a stand mixer often arises, prompting a deeper exploration into the intricacies of this process.
In this comprehensive guide, we will delve into the art of kneading dough in a stand mixer, shedding light on the benefits of utilizing this versatile appliance, the factors that influence kneading time, and the best practices for determining the ideal duration. Whether you're a seasoned baker seeking to refine your technique or a novice eager to embark on your culinary journey, this article will equip you with the knowledge and insights needed to elevate your baking endeavors to new heights. So, roll up your sleeves, preheat your oven, and let's embark on a flavorful exploration of kneading dough in a stand mixer.
Key Takeaways:
- Kneading dough in a stand mixer saves time and effort, ensuring consistent and well-developed dough for delicious baked goods. It’s a game-changer for both amateur bakers and professionals, offering hands-free convenience and multitasking capability.
- Factors like dough hydration and flour type influence kneading time in a stand mixer. By observing the dough’s texture and following recipe guidelines, bakers can skillfully determine the right kneading duration for perfect dough consistency.
Benefits of Using a Stand Mixer for Kneading Dough
Embracing the use of a stand mixer for kneading dough offers a myriad of advantages that cater to the needs and preferences of both amateur bakers and seasoned professionals. Here are some compelling benefits that make the stand mixer a game-changer when it comes to dough preparation:
- Effortless Kneading: One of the most notable benefits of using a stand mixer for kneading dough is the effortless and hands-free experience it provides. Unlike traditional hand-kneading, which demands physical exertion and prolonged effort, a stand mixer automates the kneading process, allowing you to achieve consistent and well-developed dough without the need for manual labor.
- Time Efficiency: Stand mixers are designed to expedite the kneading process, significantly reducing the time and effort required to attain the desired dough consistency. This time-saving advantage is particularly valuable for busy individuals or professional bakers who seek to streamline their baking operations without compromising on quality.
- Uniform Kneading: The precision and power of a stand mixer ensure uniform kneading, resulting in a thoroughly mixed and well-developed dough. This consistency is essential for creating evenly textured bread, pastries, and other baked goods, ultimately enhancing the overall quality of the finished products.
- Multitasking Capability: Beyond kneading dough, stand mixers offer the versatility to perform a wide range of culinary tasks, such as mixing, whipping, and blending. This multifunctional capability makes the stand mixer a valuable investment for kitchen enthusiasts looking to expand their culinary repertoire and simplify their cooking and baking endeavors.
- Hands-Free Convenience: By entrusting the kneading process to a stand mixer, bakers gain the freedom to attend to other kitchen duties or engage in additional recipe preparations while the appliance diligently tends to the dough. This hands-free convenience promotes efficiency and productivity in the kitchen, allowing for a more seamless and enjoyable baking experience.
With these compelling benefits in mind, it’s evident that a stand mixer serves as a reliable ally in the pursuit of exceptional dough consistency, offering a blend of efficiency, precision, and convenience that caters to the diverse needs of baking enthusiasts and culinary professionals alike.
Factors Affecting Kneading Time in a Stand Mixer
While the stand mixer streamlines the kneading process, ensuring consistent and well-developed dough, the optimal kneading time can vary based on several factors. Understanding these influential elements is crucial for achieving the perfect dough consistency. Here are the key factors that can affect kneading time in a stand mixer:
- Dough Hydration: The hydration level of the dough, determined by the ratio of flour to water, significantly impacts the kneading time. Wetter doughs generally require longer kneading periods to develop gluten structure and achieve the desired elasticity, while drier doughs may necessitate shorter kneading durations to prevent overworking the gluten.
- Flour Type and Quality: The type and quality of flour used in the dough formulation play a pivotal role in determining the kneading time. Different flours, such as all-purpose, bread, whole wheat, or gluten-free varieties, possess unique gluten-forming properties that influence the duration needed to achieve proper dough development.
- Kneading Speed and Technique: The speed setting and kneading technique employed in the stand mixer can impact the required kneading time. Higher speeds and more aggressive kneading actions may expedite gluten development, while gentler, prolonged kneading at lower speeds can yield similar results with longer processing times.
- Recipe Specifics: The specific recipe being prepared, including the type of baked good and its intended texture, can dictate the optimal kneading time. For instance, softer, enriched doughs like brioche may benefit from longer, gentler kneading to achieve a delicate crumb, while lean doughs for rustic breads may require more robust kneading for a chewy, artisanal texture.
- Stand Mixer Power and Capacity: The power and capacity of the stand mixer model utilized can influence the efficiency of gluten development and, subsequently, the required kneading time. More powerful mixers with larger capacities may expedite the process, while smaller, less potent models might necessitate extended kneading durations.
By taking these factors into account and adapting the kneading time to suit the unique characteristics of the dough and the specific baking objectives, bakers can optimize the stand mixer’s capabilities to achieve exceptional dough consistency and elevate the quality of their baked creations.
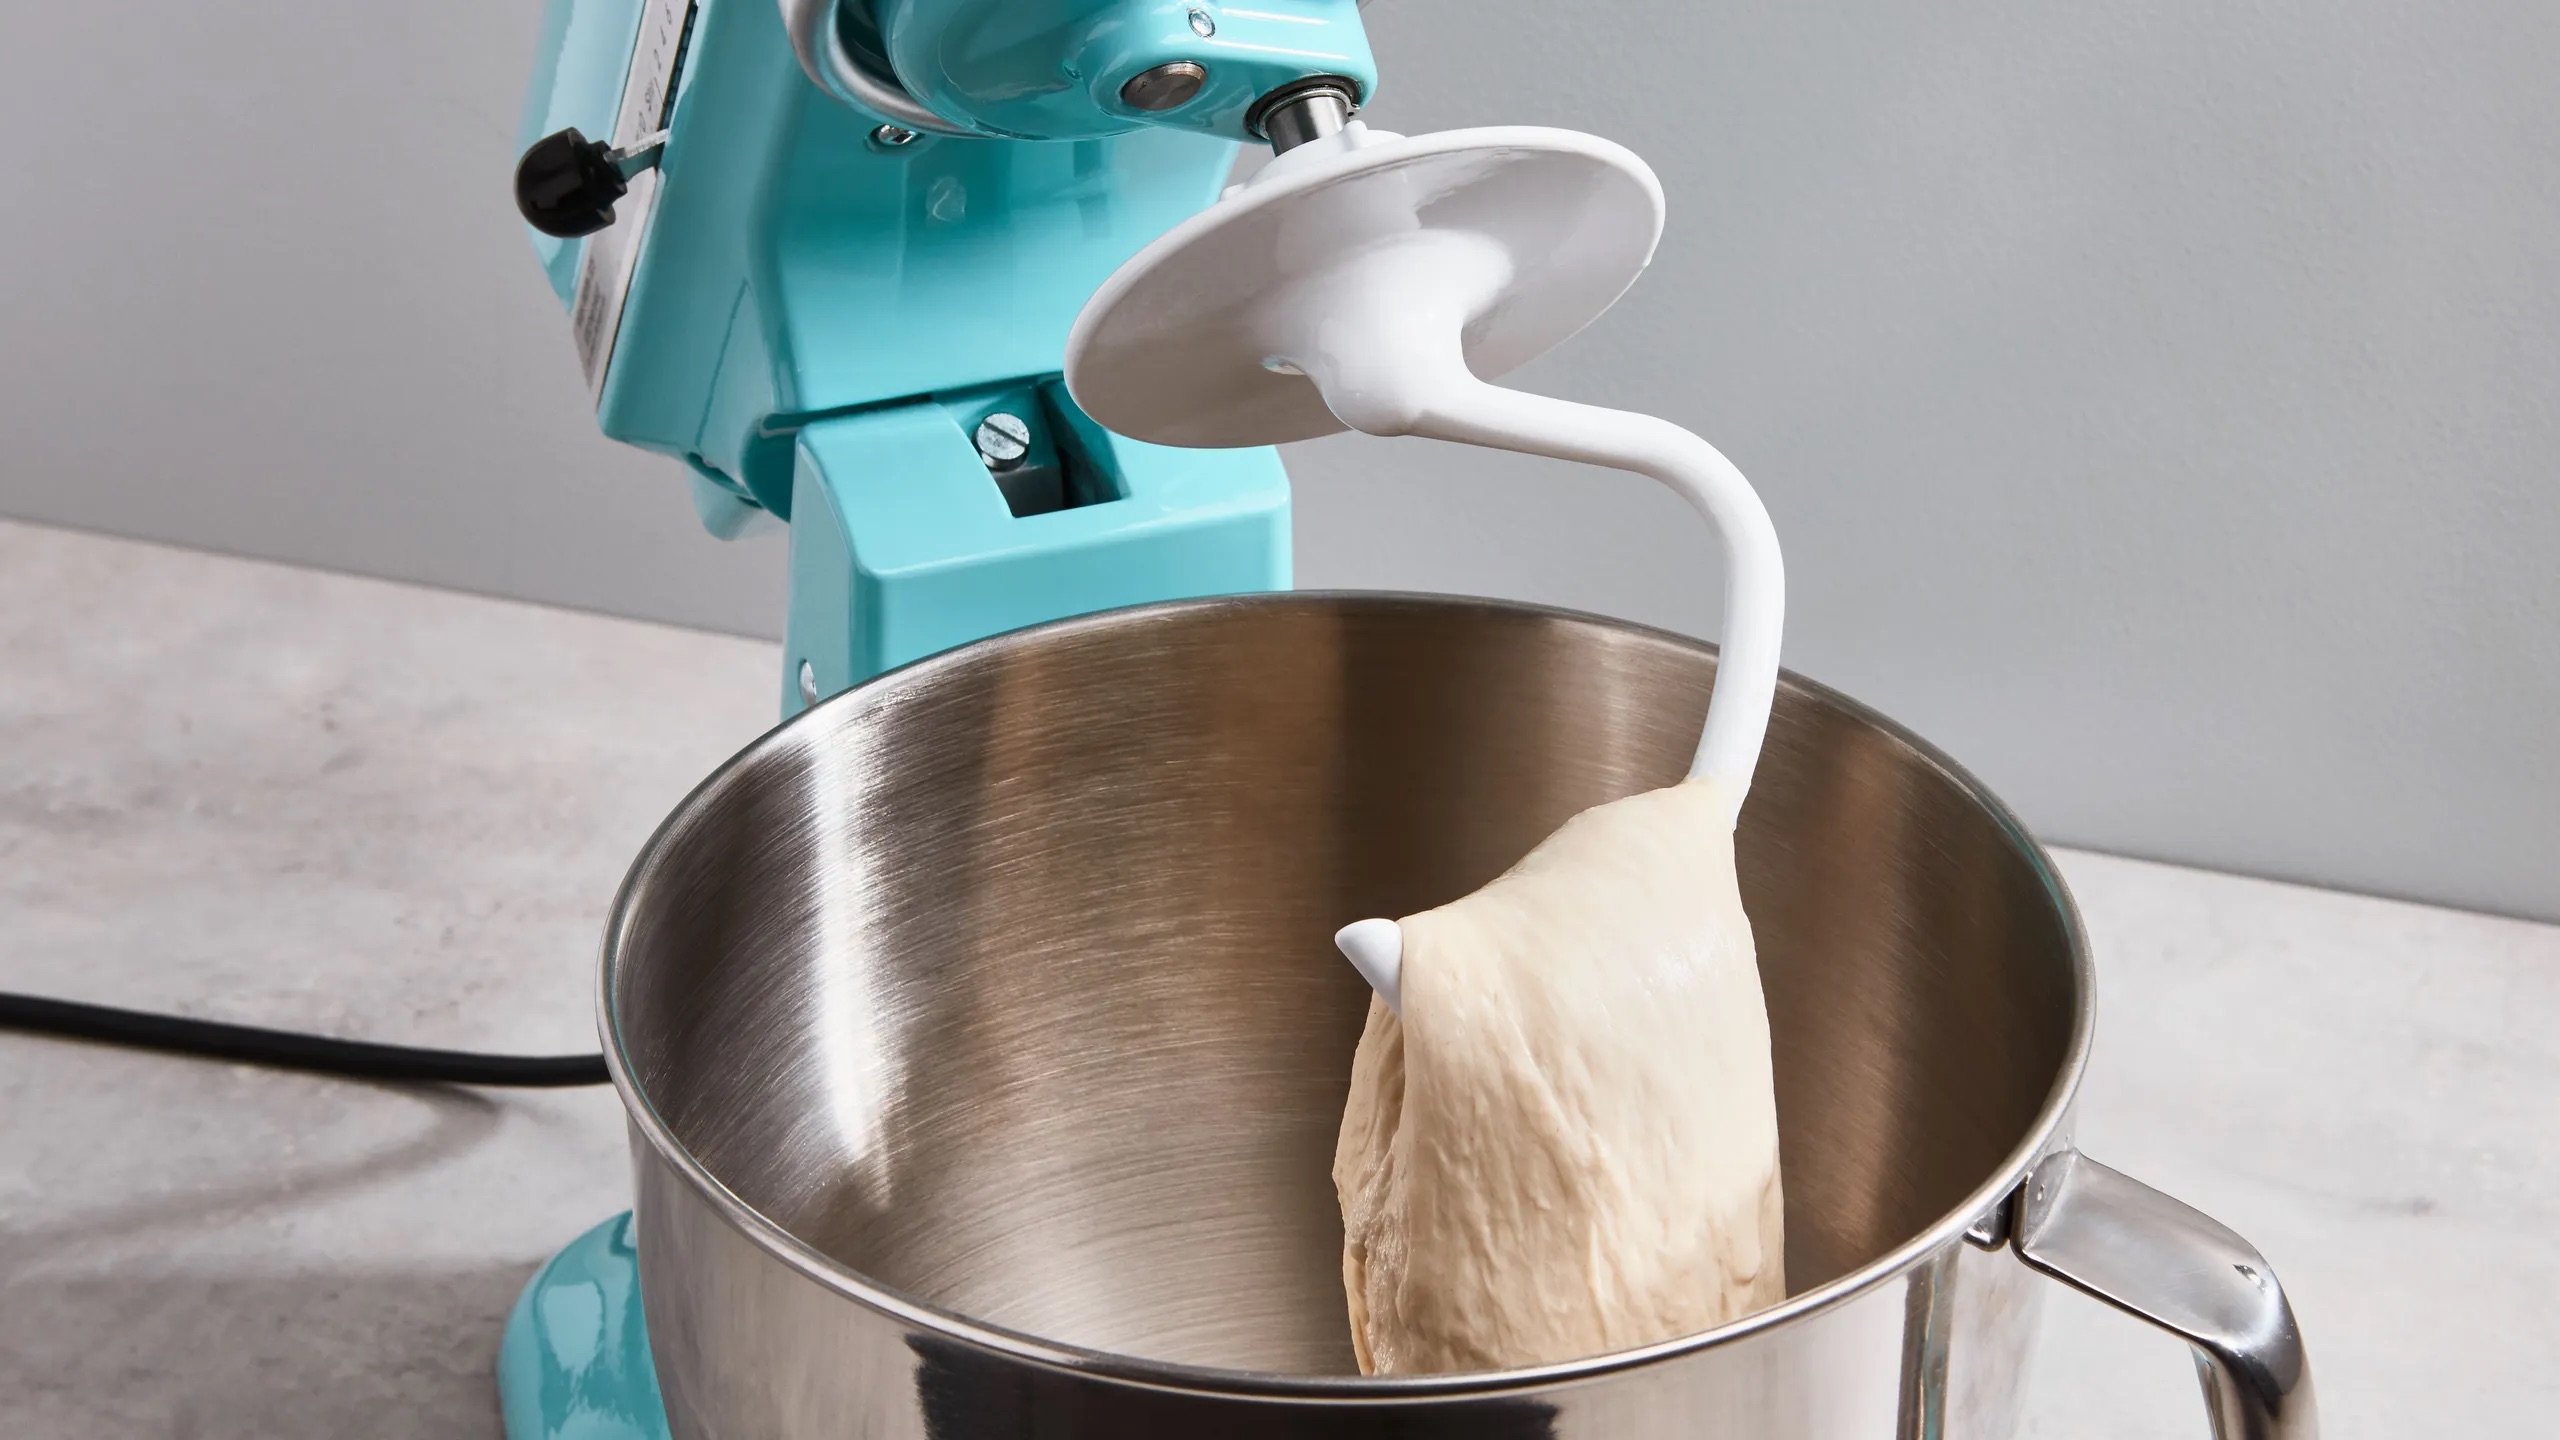
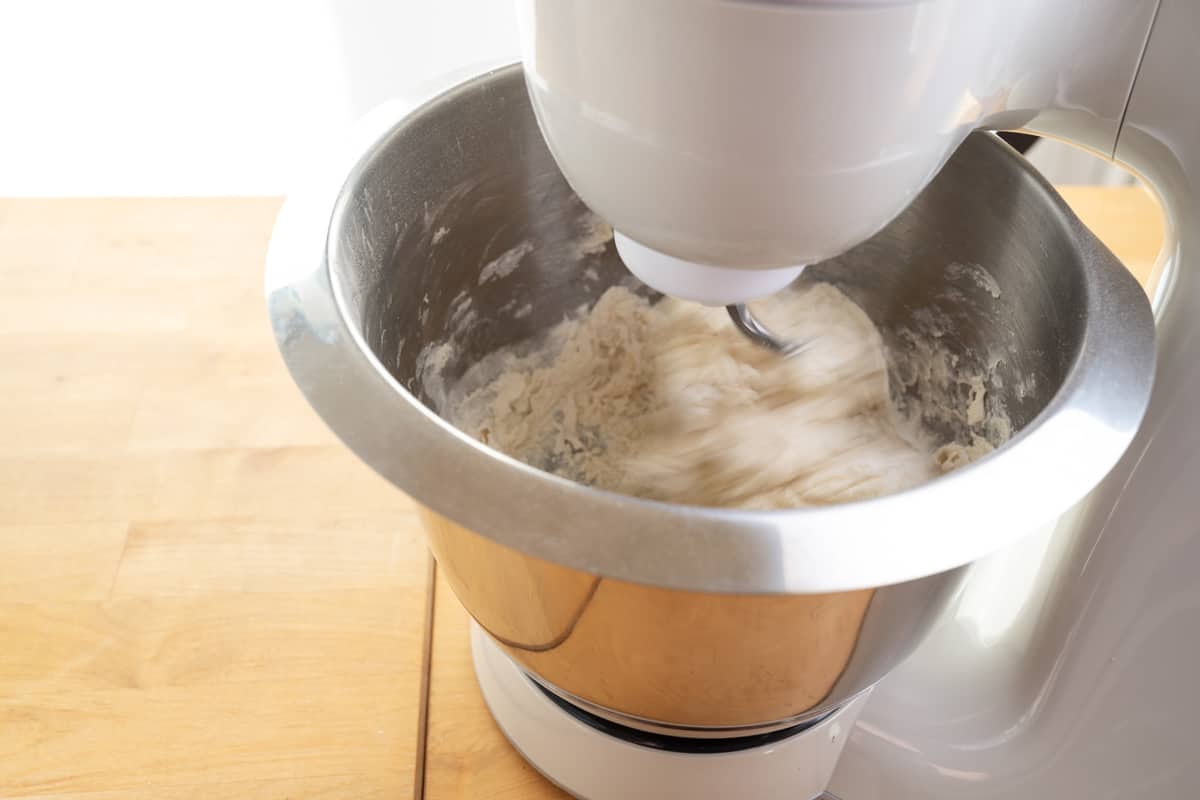
Knead dough in a stand mixer for 8-10 minutes on medium speed. This helps develop gluten for a good texture.
How to Determine the Right Kneading Time
Deciphering the optimal kneading time in a stand mixer is both an art and a science, requiring keen observation, intuition, and a dash of culinary expertise. While precise timeframes can vary based on the specific dough and recipe, there are several reliable methods for determining the right kneading duration:
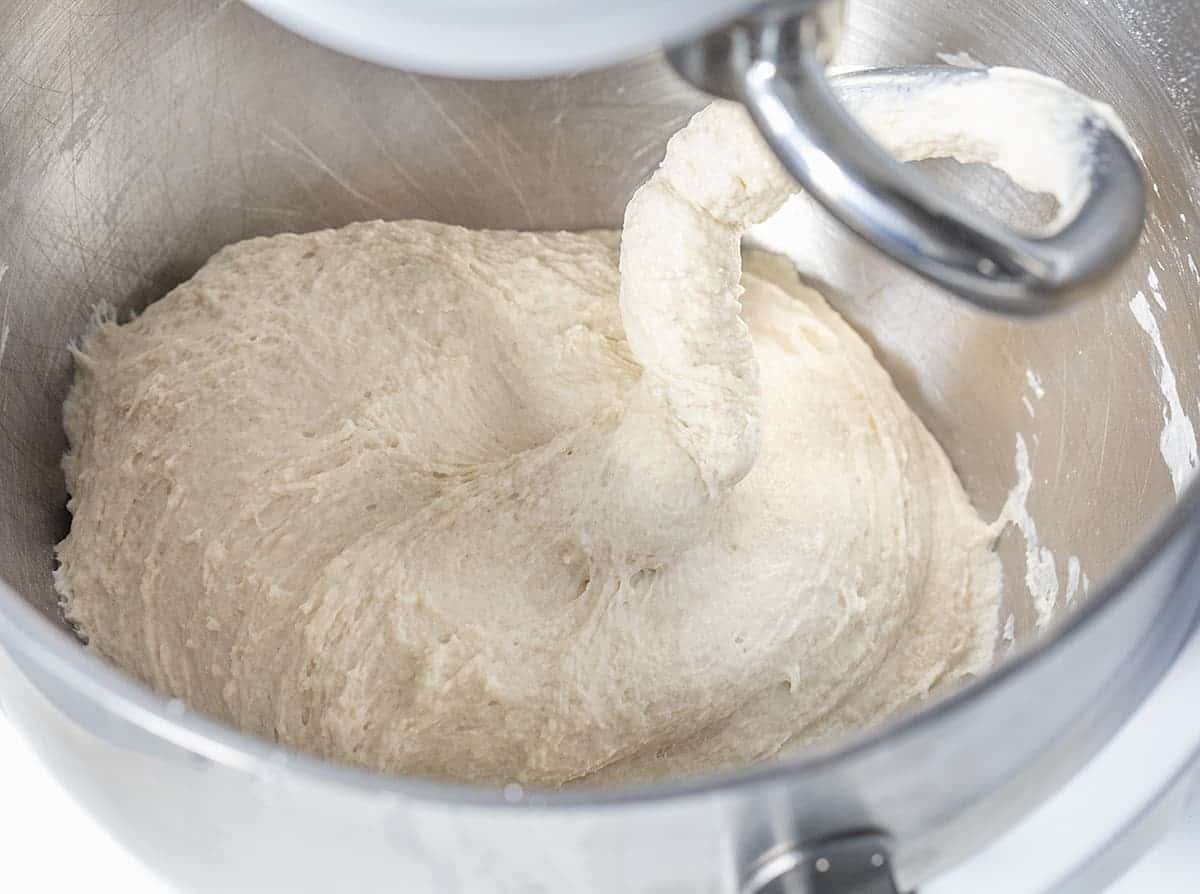
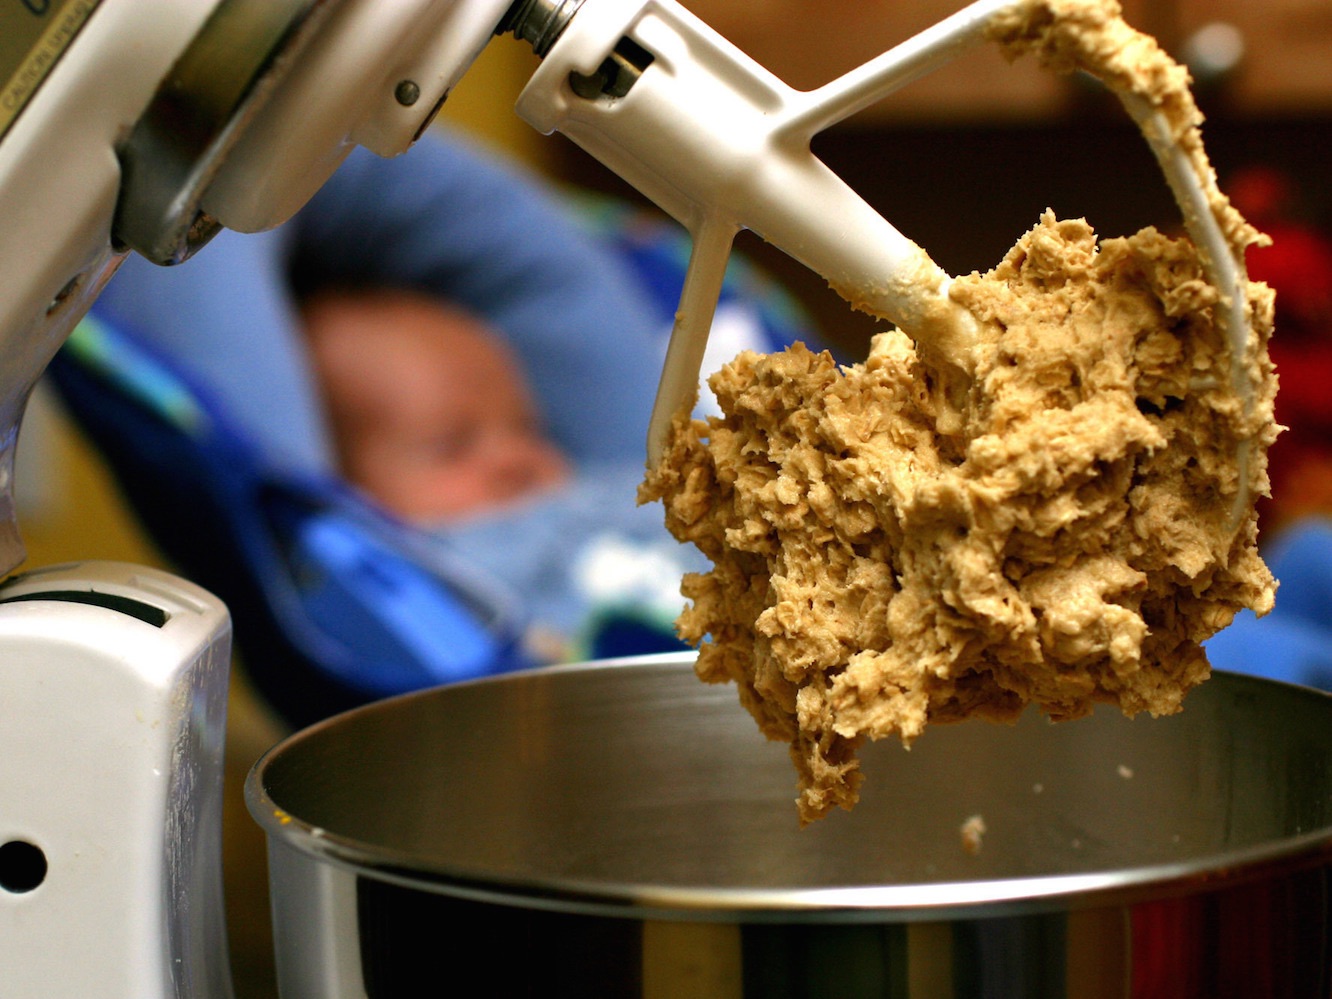
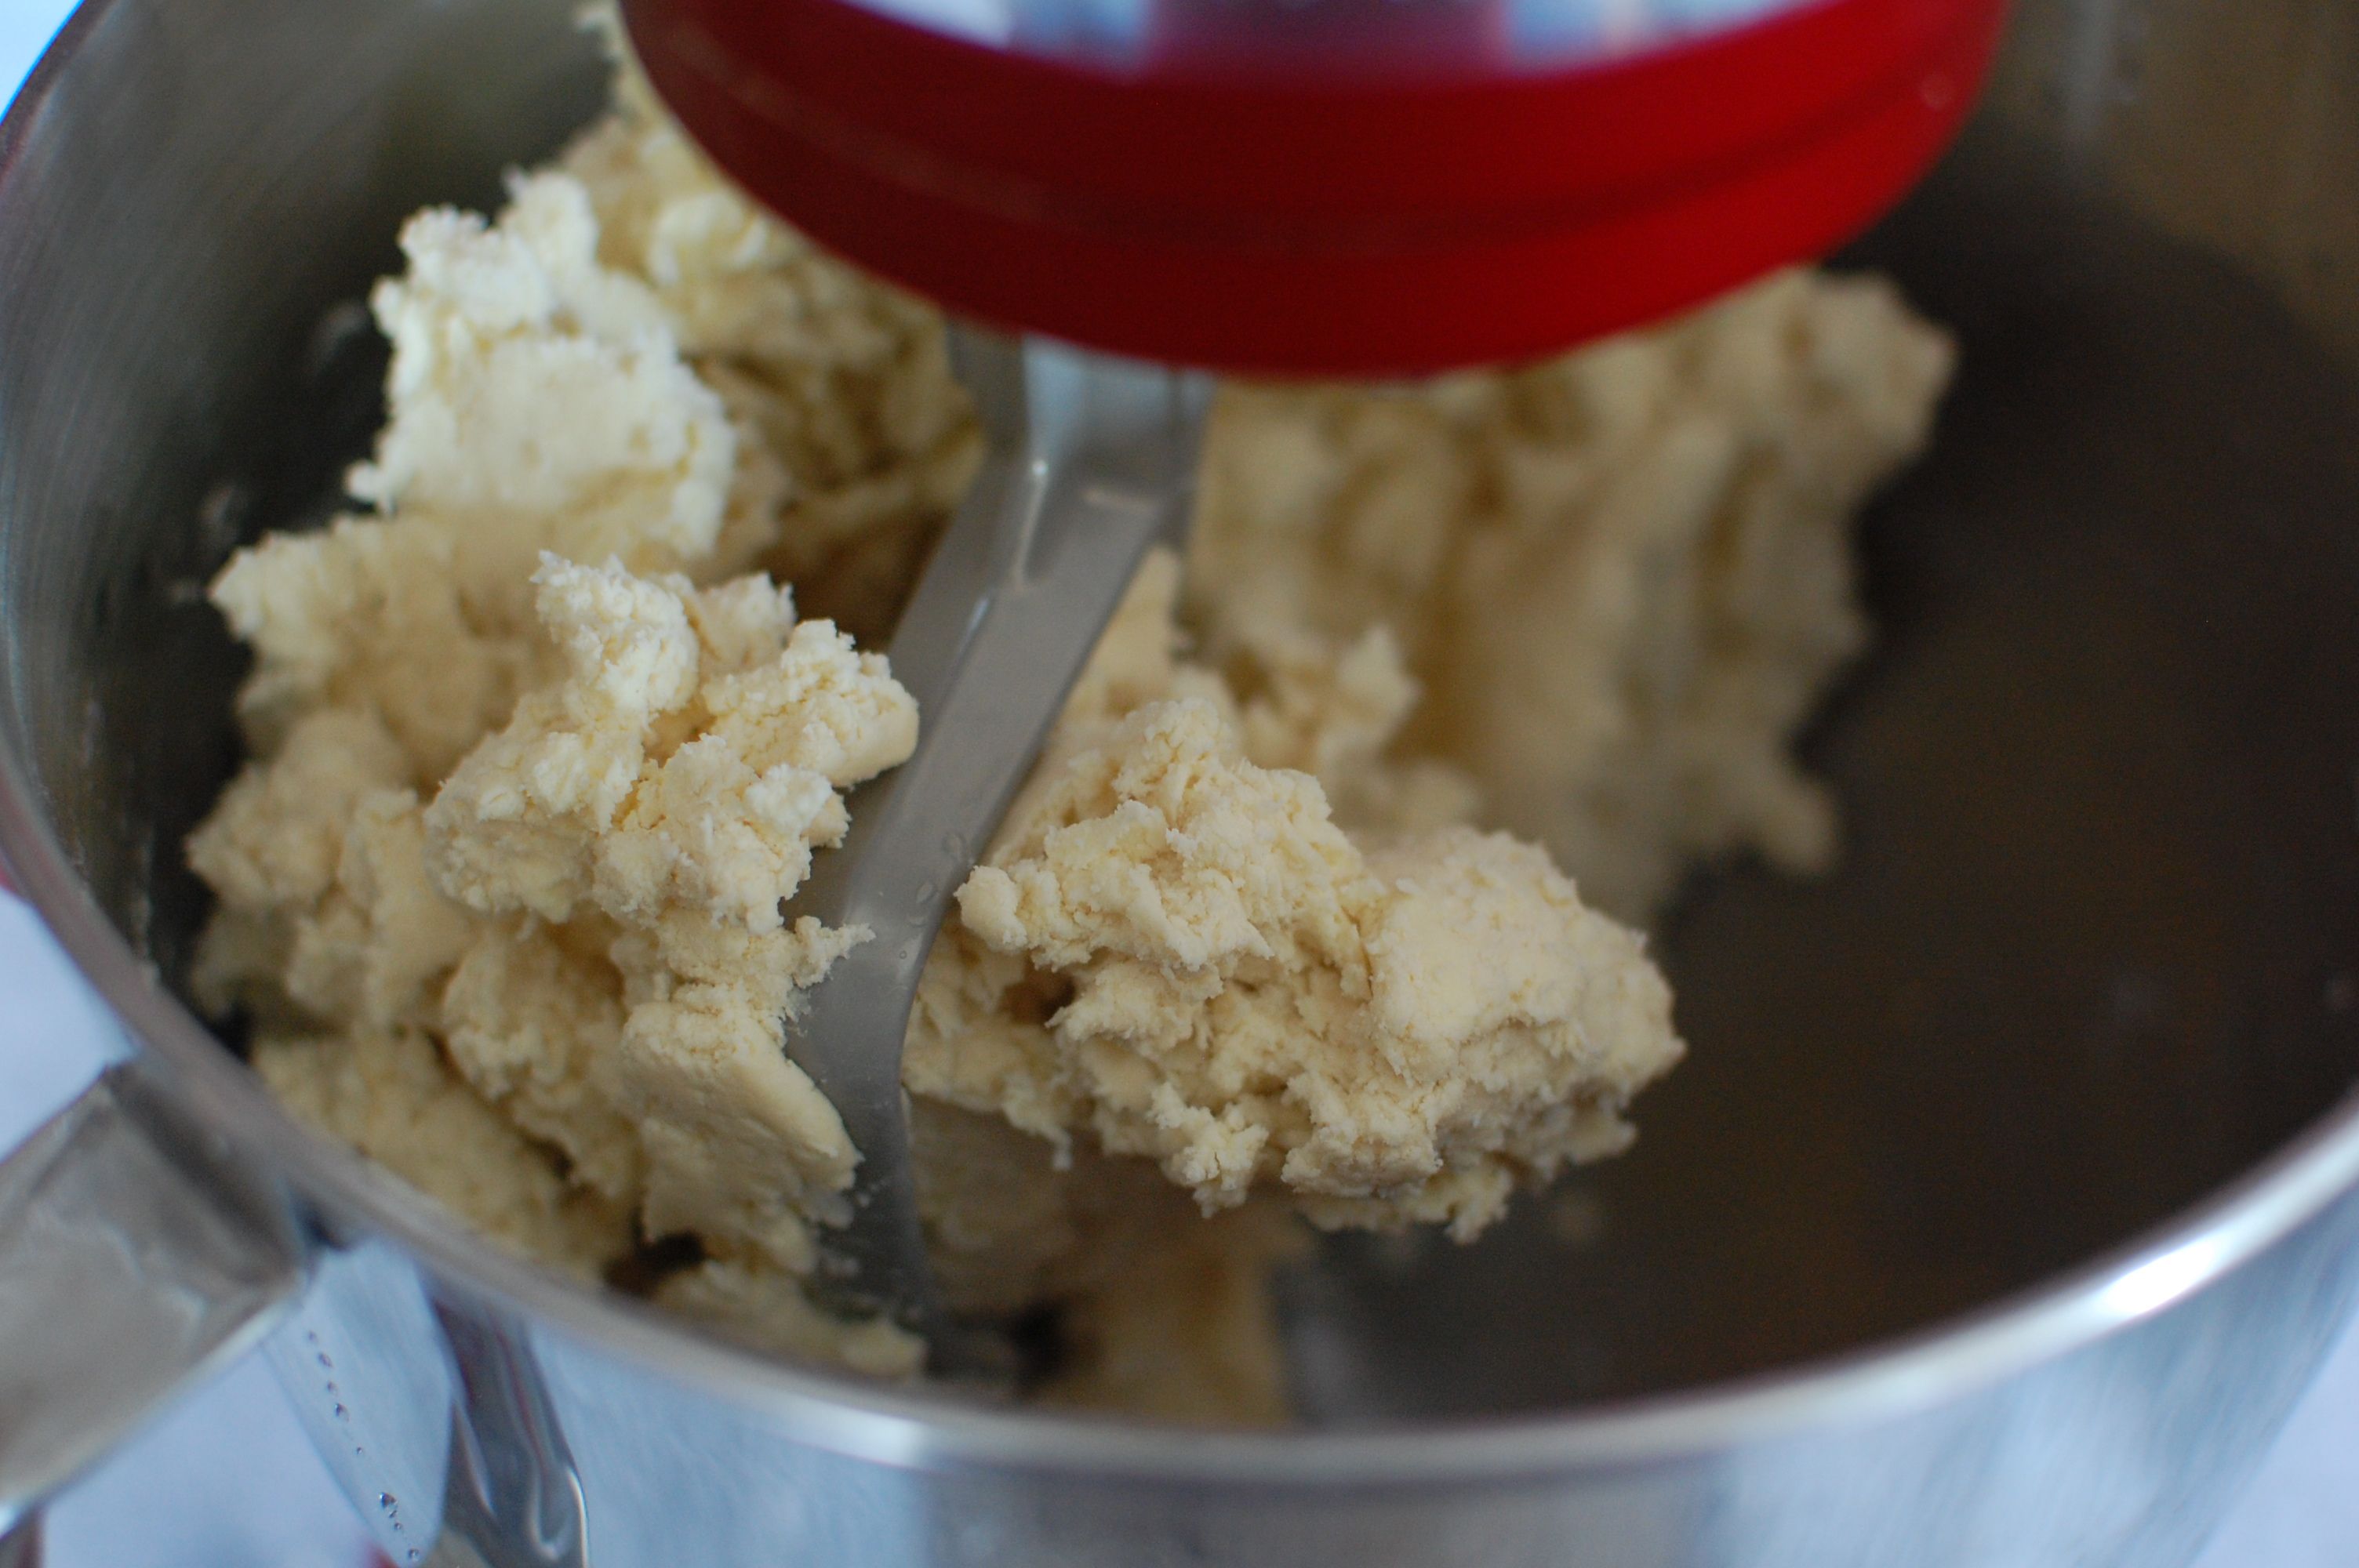
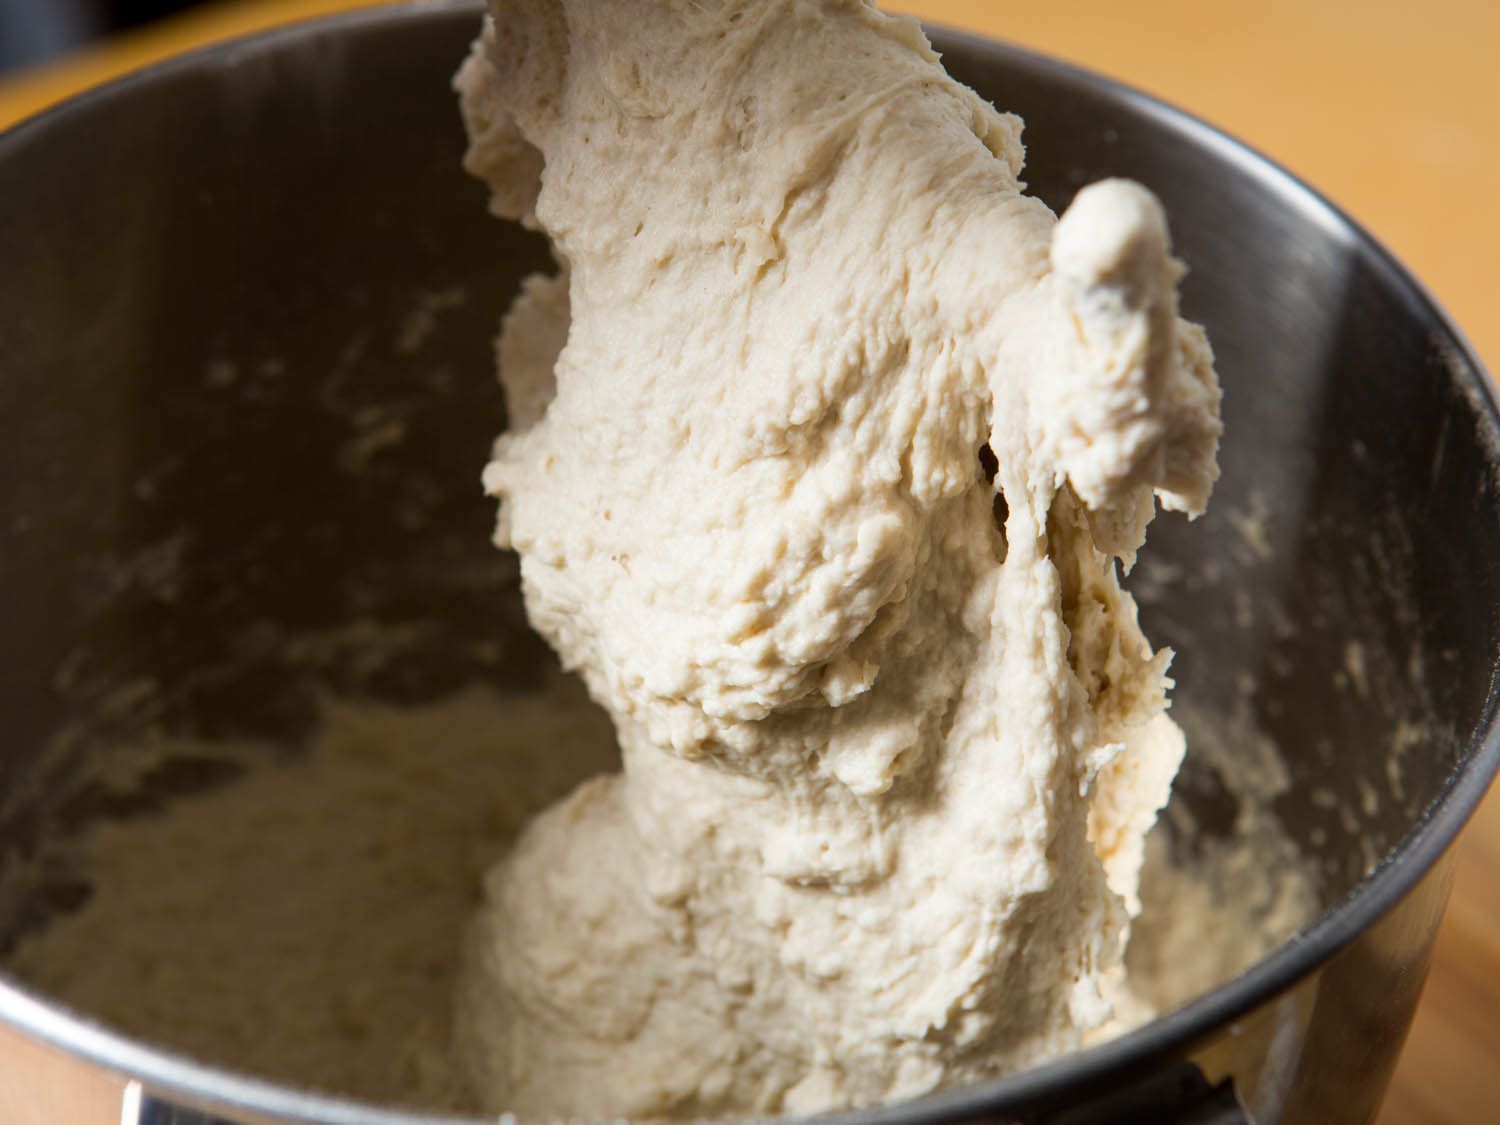
- Visual and Tactile Cues: Observing the dough’s appearance and texture during the kneading process provides valuable insights. As the gluten develops, the dough should gradually transform from a shaggy, rough consistency to a smooth, elastic texture. Additionally, performing the windowpane test—stretching a small portion of the dough to see if it forms a thin, translucent membrane without tearing—can indicate sufficient gluten development.
- Recipe Guidelines: Many recipes offer general guidelines for kneading time, providing a helpful starting point for determining the optimal duration. While these recommendations serve as valuable references, it’s essential to remain attentive to the dough’s actual progress and adjust the kneading time based on its unique characteristics and the desired end result.
- Time and Speed Adjustments: Experimenting with different kneading durations and speeds can help pinpoint the ideal combination for a specific dough. Starting with a moderate kneading time and speed, then gradually adjusting based on the dough’s response, allows for a customized approach tailored to the dough’s unique requirements.
- Experience and Intuition: Seasoned bakers often rely on their intuition and experience to gauge the right kneading time. Over time, familiarity with various dough consistencies and the behavior of different dough types enables bakers to instinctively recognize when the dough has reached its optimal state.
- Consistency and Elasticity: Ultimately, the goal of kneading is to achieve a consistent, elastic dough that exhibits proper gluten development. Paying close attention to the dough’s resilience, elasticity, and overall cohesiveness serves as a reliable indicator of whether the kneading process has been sufficiently executed.
By leveraging a combination of sensory cues, recipe guidance, and personal judgment, bakers can skillfully navigate the intricacies of determining the right kneading time, ensuring that each batch of dough is meticulously crafted to perfection in the trusty embrace of the stand mixer.
Tips for Kneading Dough in a Stand Mixer
Kneading dough in a stand mixer is a transformative process that demands attention to detail and a nuanced approach. To harness the full potential of this versatile appliance and achieve exceptional dough consistency, consider the following expert tips:
- Gradual Flour Incorporation: When adding flour to the stand mixer, do so gradually to allow for proper hydration and gluten development. This incremental approach prevents the dough from becoming excessively dry or tough, ensuring a well-balanced and thoroughly mixed result.
- Scraping and Re-Positioning: Periodically pause the stand mixer to scrape down the sides of the bowl and re-position the dough, ensuring uniform kneading and optimal incorporation of ingredients. This proactive measure promotes even gluten development and prevents any pockets of unmixed dough.
- Consistent Speed and Duration: Maintain a consistent speed and duration throughout the kneading process, allowing the dough to gradually evolve and attain the desired texture. Avoid abrupt speed changes or excessive interruptions, as these can disrupt the gluten formation and compromise the overall dough quality.
- Temperature Considerations: Pay attention to the dough’s temperature during kneading, as excessive heat generated by prolonged mixing can adversely affect the dough’s structure and rise. If necessary, adjust the kneading time or incorporate brief resting periods to prevent overheating.
- Customized Kneading Techniques: Experiment with different kneading techniques, such as alternating between gentle, prolonged kneading and brief, more vigorous intervals, to tailor the gluten development to the specific requirements of the dough type and recipe.
- Observation and Adjustment: Remain vigilant throughout the kneading process, closely observing the dough’s progression and making real-time adjustments as needed. Trust your instincts and intuition, and don’t hesitate to fine-tune the kneading time based on the dough’s response and texture.
- Post-Kneading Assessment: After the kneading process is complete, perform a final assessment of the dough’s consistency and elasticity. This post-kneading evaluation allows for any last-minute adjustments and ensures that the dough has reached its optimal state before proceeding with the next steps of the recipe.
By implementing these strategic tips and techniques, bakers can harness the full potential of their stand mixers, elevating the kneading process to an art form that yields impeccably crafted dough, setting the stage for a delectable array of baked delights.
Read more: How To Knead Dough With A Stand Mixer
Conclusion
Embarking on the journey of kneading dough in a stand mixer unveils a world of culinary possibilities, where precision, creativity, and the art of baking converge to yield exceptional results. The stand mixer, with its remarkable efficiency and versatility, empowers bakers to elevate their dough preparation to new heights, offering a seamless and convenient approach to achieving the perfect dough consistency.
Throughout this exploration, we’ve uncovered the myriad benefits of utilizing a stand mixer for kneading dough, from its time-saving efficiency and hands-free convenience to its ability to ensure uniform and well-developed dough. By harnessing the power of this indispensable kitchen tool, bakers can streamline their baking processes without compromising on quality, leading to consistently delightful creations that captivate the senses.
As we’ve delved into the factors influencing kneading time, it becomes evident that dough hydration, flour characteristics, and stand mixer dynamics play pivotal roles in determining the optimal duration for achieving the desired dough texture and gluten development. Understanding these factors empowers bakers to adapt their approach, customizing the kneading process to suit the unique requirements of each recipe and dough formulation.
Determining the right kneading time emerges as a harmonious blend of sensory awareness, recipe guidance, and experienced intuition. By leveraging visual and tactile cues, coupled with recipe insights and personal judgment, bakers can skillfully navigate the complexities of kneading dough in a stand mixer, ensuring that each batch of dough is meticulously crafted to perfection.
Finally, armed with a repertoire of expert tips and techniques, bakers can approach the kneading process with confidence and finesse, harnessing the full potential of their stand mixers to achieve impeccably crafted dough that serves as the foundation for a delectable array of baked delights.
So, whether you’re embarking on a culinary adventure or seeking to refine your baking prowess, the art of kneading dough in a stand mixer invites you to embrace creativity, precision, and the joy of crafting delectable baked goods, one perfectly kneaded batch of dough at a time.
Frequently Asked Questions about How Long To Knead Dough In A Stand Mixer
Was this page helpful?
At Storables.com, we guarantee accurate and reliable information. Our content, validated by Expert Board Contributors, is crafted following stringent Editorial Policies. We're committed to providing you with well-researched, expert-backed insights for all your informational needs.

0 thoughts on “How Long To Knead Dough In A Stand Mixer”