Home>Kitchen & Cooking>Kitchen Gadgets & Utensils>How To Knead Dough With A Stand Mixer

Kitchen Gadgets & Utensils
How To Knead Dough With A Stand Mixer
Modified: January 20, 2024
Learn how to knead dough with a stand mixer and make the most of your kitchen gadgets and utensils. Master the art of baking with ease and efficiency!
(Many of the links in this article redirect to a specific reviewed product. Your purchase of these products through affiliate links helps to generate commission for Storables.com, at no extra cost. Learn more)
Introduction
Read more: How To Knead Dough In A Stand Mixer
Introduction
Kneading dough is an essential step in the bread-making process, as it develops the gluten in the flour, resulting in a soft and elastic texture. While kneading by hand can be a rewarding experience, it can also be time-consuming and physically demanding. This is where a stand mixer comes to the rescue. With its powerful motor and versatile attachments, a stand mixer can effortlessly knead dough to perfection, saving time and effort in the kitchen.
Using a stand mixer for kneading dough offers numerous benefits, including consistent results, reduced kneading time, and the ability to handle large batches of dough with ease. In this article, we will explore the advantages of using a stand mixer for kneading dough, discuss how to choose the right stand mixer for this task, and provide step-by-step instructions for achieving perfectly kneaded dough. Whether you are a seasoned baker or a novice in the kitchen, mastering the art of kneading dough with a stand mixer can elevate your baking endeavors to new heights.
Benefits of Using a Stand Mixer for Kneading Dough
Key Takeaways:
- Say goodbye to hand-kneading! A stand mixer makes dough-kneading a breeze, saving time and effort while ensuring consistent results and handling large batches with ease.
- Choose a powerful stand mixer with a dough hook and variable speed settings for efficient dough-kneading. Follow expert tips to achieve perfectly kneaded dough for delightful baked goods.
Benefits of Using a Stand Mixer for Kneading Dough
Utilizing a stand mixer for kneading dough offers a plethora of advantages that can significantly enhance the bread-making process. Here are some compelling benefits:
- Consistent Results: Stand mixers are designed to knead dough thoroughly and uniformly, ensuring that the gluten is adequately developed. This consistency leads to better-textured bread and eliminates the variability that can occur with hand kneading.
- Time Efficiency: Kneading dough by hand can be a time-consuming task, requiring significant physical effort. A stand mixer, on the other hand, can swiftly and efficiently knead the dough, freeing up valuable time for other kitchen tasks or allowing you to attend to other responsibilities while the mixer does the work.
- Handling Large Batches: When baking in bulk or preparing large quantities of dough, a stand mixer can handle the workload effortlessly. This is especially beneficial for commercial bakeries or individuals who enjoy baking for gatherings or events.
- Reduced Physical Strain: For individuals with hand or wrist issues, using a stand mixer for kneading dough can alleviate physical strain and discomfort, making the bread-making process more accessible and enjoyable.
- Versatility: Stand mixers often come with a range of attachments, allowing them to perform various tasks beyond kneading, such as mixing, whipping, and blending. This versatility makes them indispensable tools in the kitchen.
These benefits collectively make stand mixers a valuable asset for anyone passionate about baking and seeking to streamline the dough-kneading process. The next section will delve into the factors to consider when selecting the right stand mixer for kneading dough.
Choosing the Right Stand Mixer for Kneading Dough
Read more: How Long To Knead Dough In A Stand Mixer
Choosing the Right Stand Mixer for Kneading Dough
When it comes to selecting a stand mixer for kneading dough, several key considerations can help you make an informed decision. Here are the factors to keep in mind:
- Motor Power: Opt for a stand mixer with a powerful motor, as this will ensure that it can handle the demands of kneading dense and heavy dough. Look for mixers with at least 325 watts of power for efficient dough kneading.
- Bowl Capacity: Consider the size of the bowl, especially if you often work with large batches of dough. A larger capacity bowl can accommodate more dough, reducing the need for multiple batches and streamlining the baking process.
- Dough Hook Attachment: Ensure that the stand mixer comes with a sturdy dough hook attachment specifically designed for kneading dough. This attachment is essential for effectively working the dough and developing the gluten structure.
- Speed Settings: Look for a stand mixer with variable speed settings, including a low speed for initial dough incorporation and a higher speed for thorough kneading. Multiple speed options provide greater control over the kneading process.
- Stability and Durability: Choose a stand mixer with a stable base and a durable construction to withstand the rigors of kneading heavy dough. A robust and stable mixer will operate smoothly and consistently, contributing to the quality of the kneaded dough.
- Brand Reputation and Reviews: Research reputable brands known for their stand mixers and read customer reviews to gauge the performance and reliability of the models you are considering. A well-regarded brand with positive reviews is more likely to deliver a high-quality stand mixer.
By taking these factors into account, you can select a stand mixer that is well-suited for kneading dough and capable of meeting your baking needs. Once you have chosen the right stand mixer, it’s time to master the art of kneading dough with this versatile kitchen appliance.
Steps for Kneading Dough with a Stand Mixer
Steps for Kneading Dough with a Stand Mixer
Using a stand mixer to knead dough involves a systematic process that optimizes the appliance’s capabilities for achieving perfectly kneaded dough. Follow these step-by-step instructions for seamless dough kneading:
- Prepare the Ingredients: Measure out the flour, water, yeast, salt, and any other ingredients specified in your recipe. Having all the ingredients ready ensures a smooth and efficient kneading process.
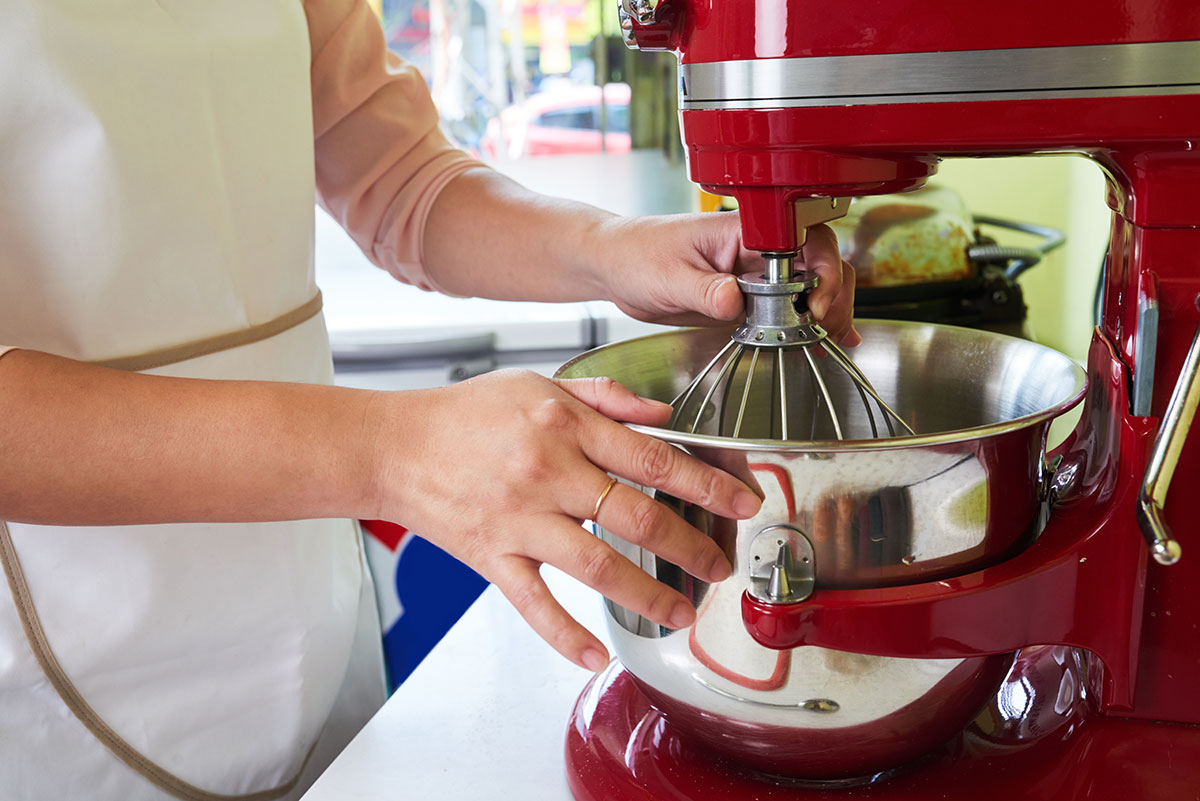
- Attach the Dough Hook: Affix the dough hook attachment to the stand mixer’s head, ensuring that it is securely in place. The dough hook is specifically designed for kneading and will facilitate the gluten development in the dough.
- Combine the Ingredients: Place the measured ingredients into the mixing bowl of the stand mixer. Start by adding the dry ingredients, followed by the liquids. This sequence prevents the formation of lumps and promotes even mixing.
- Initial Mixing: Begin mixing the ingredients on the lowest speed setting to initially incorporate the flour and liquids. This initial mixing phase ensures that the ingredients are combined before the kneading process begins.
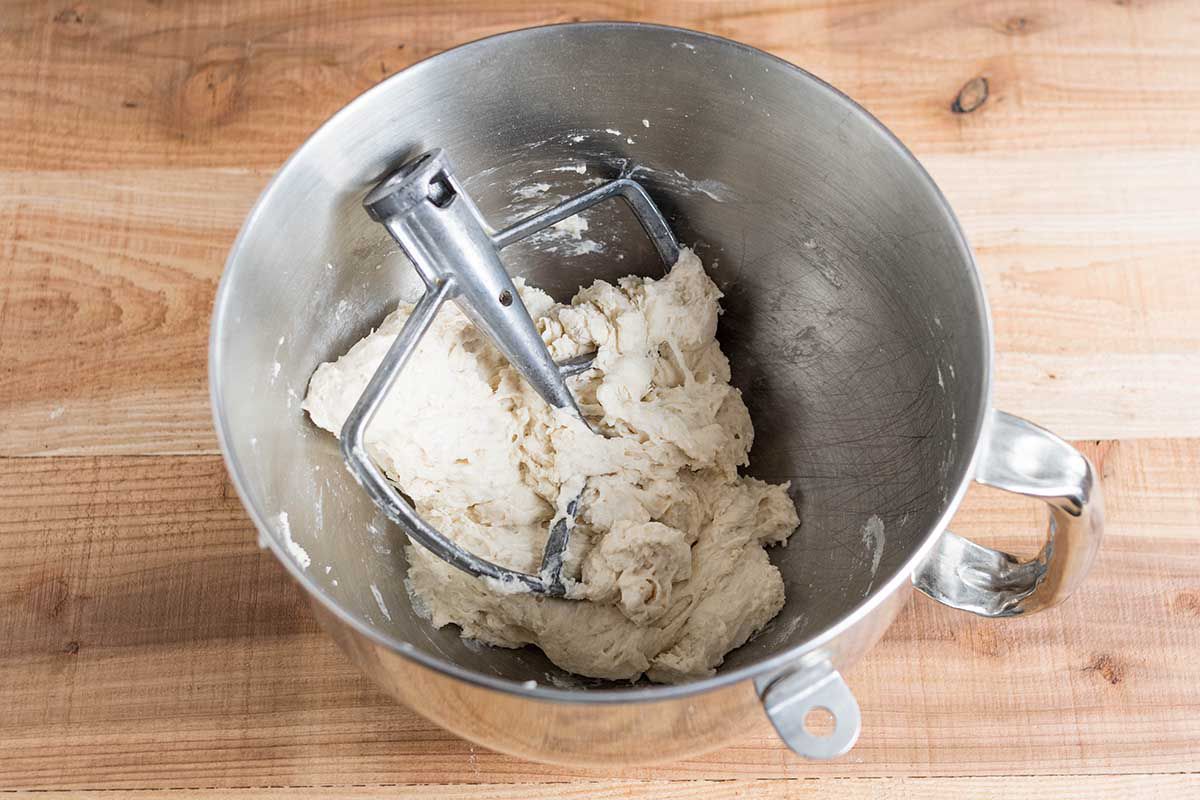
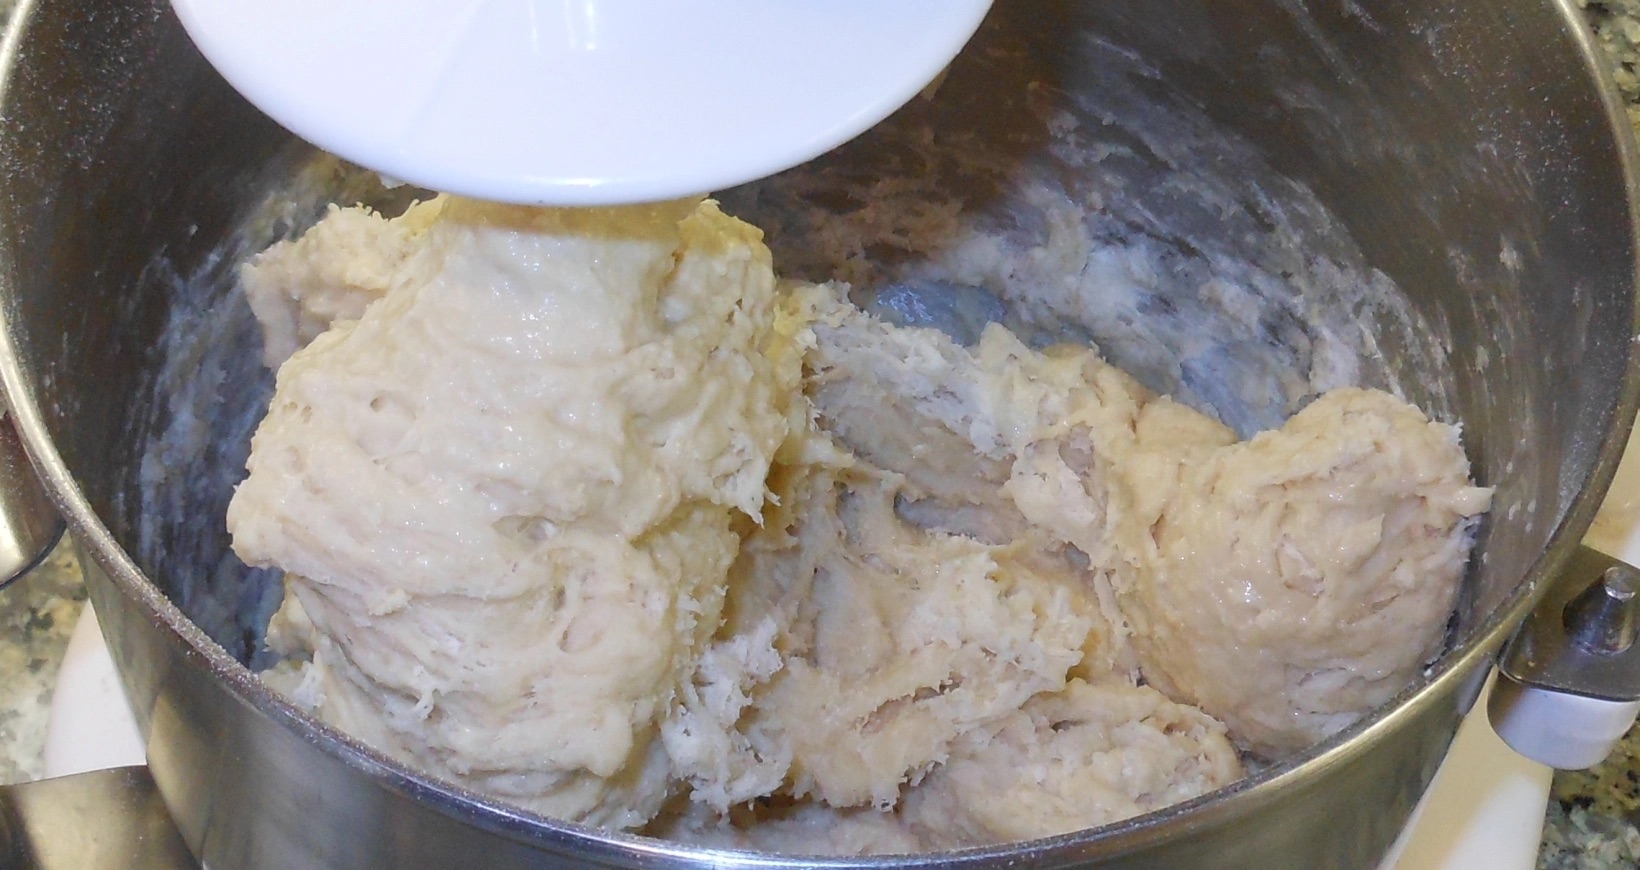
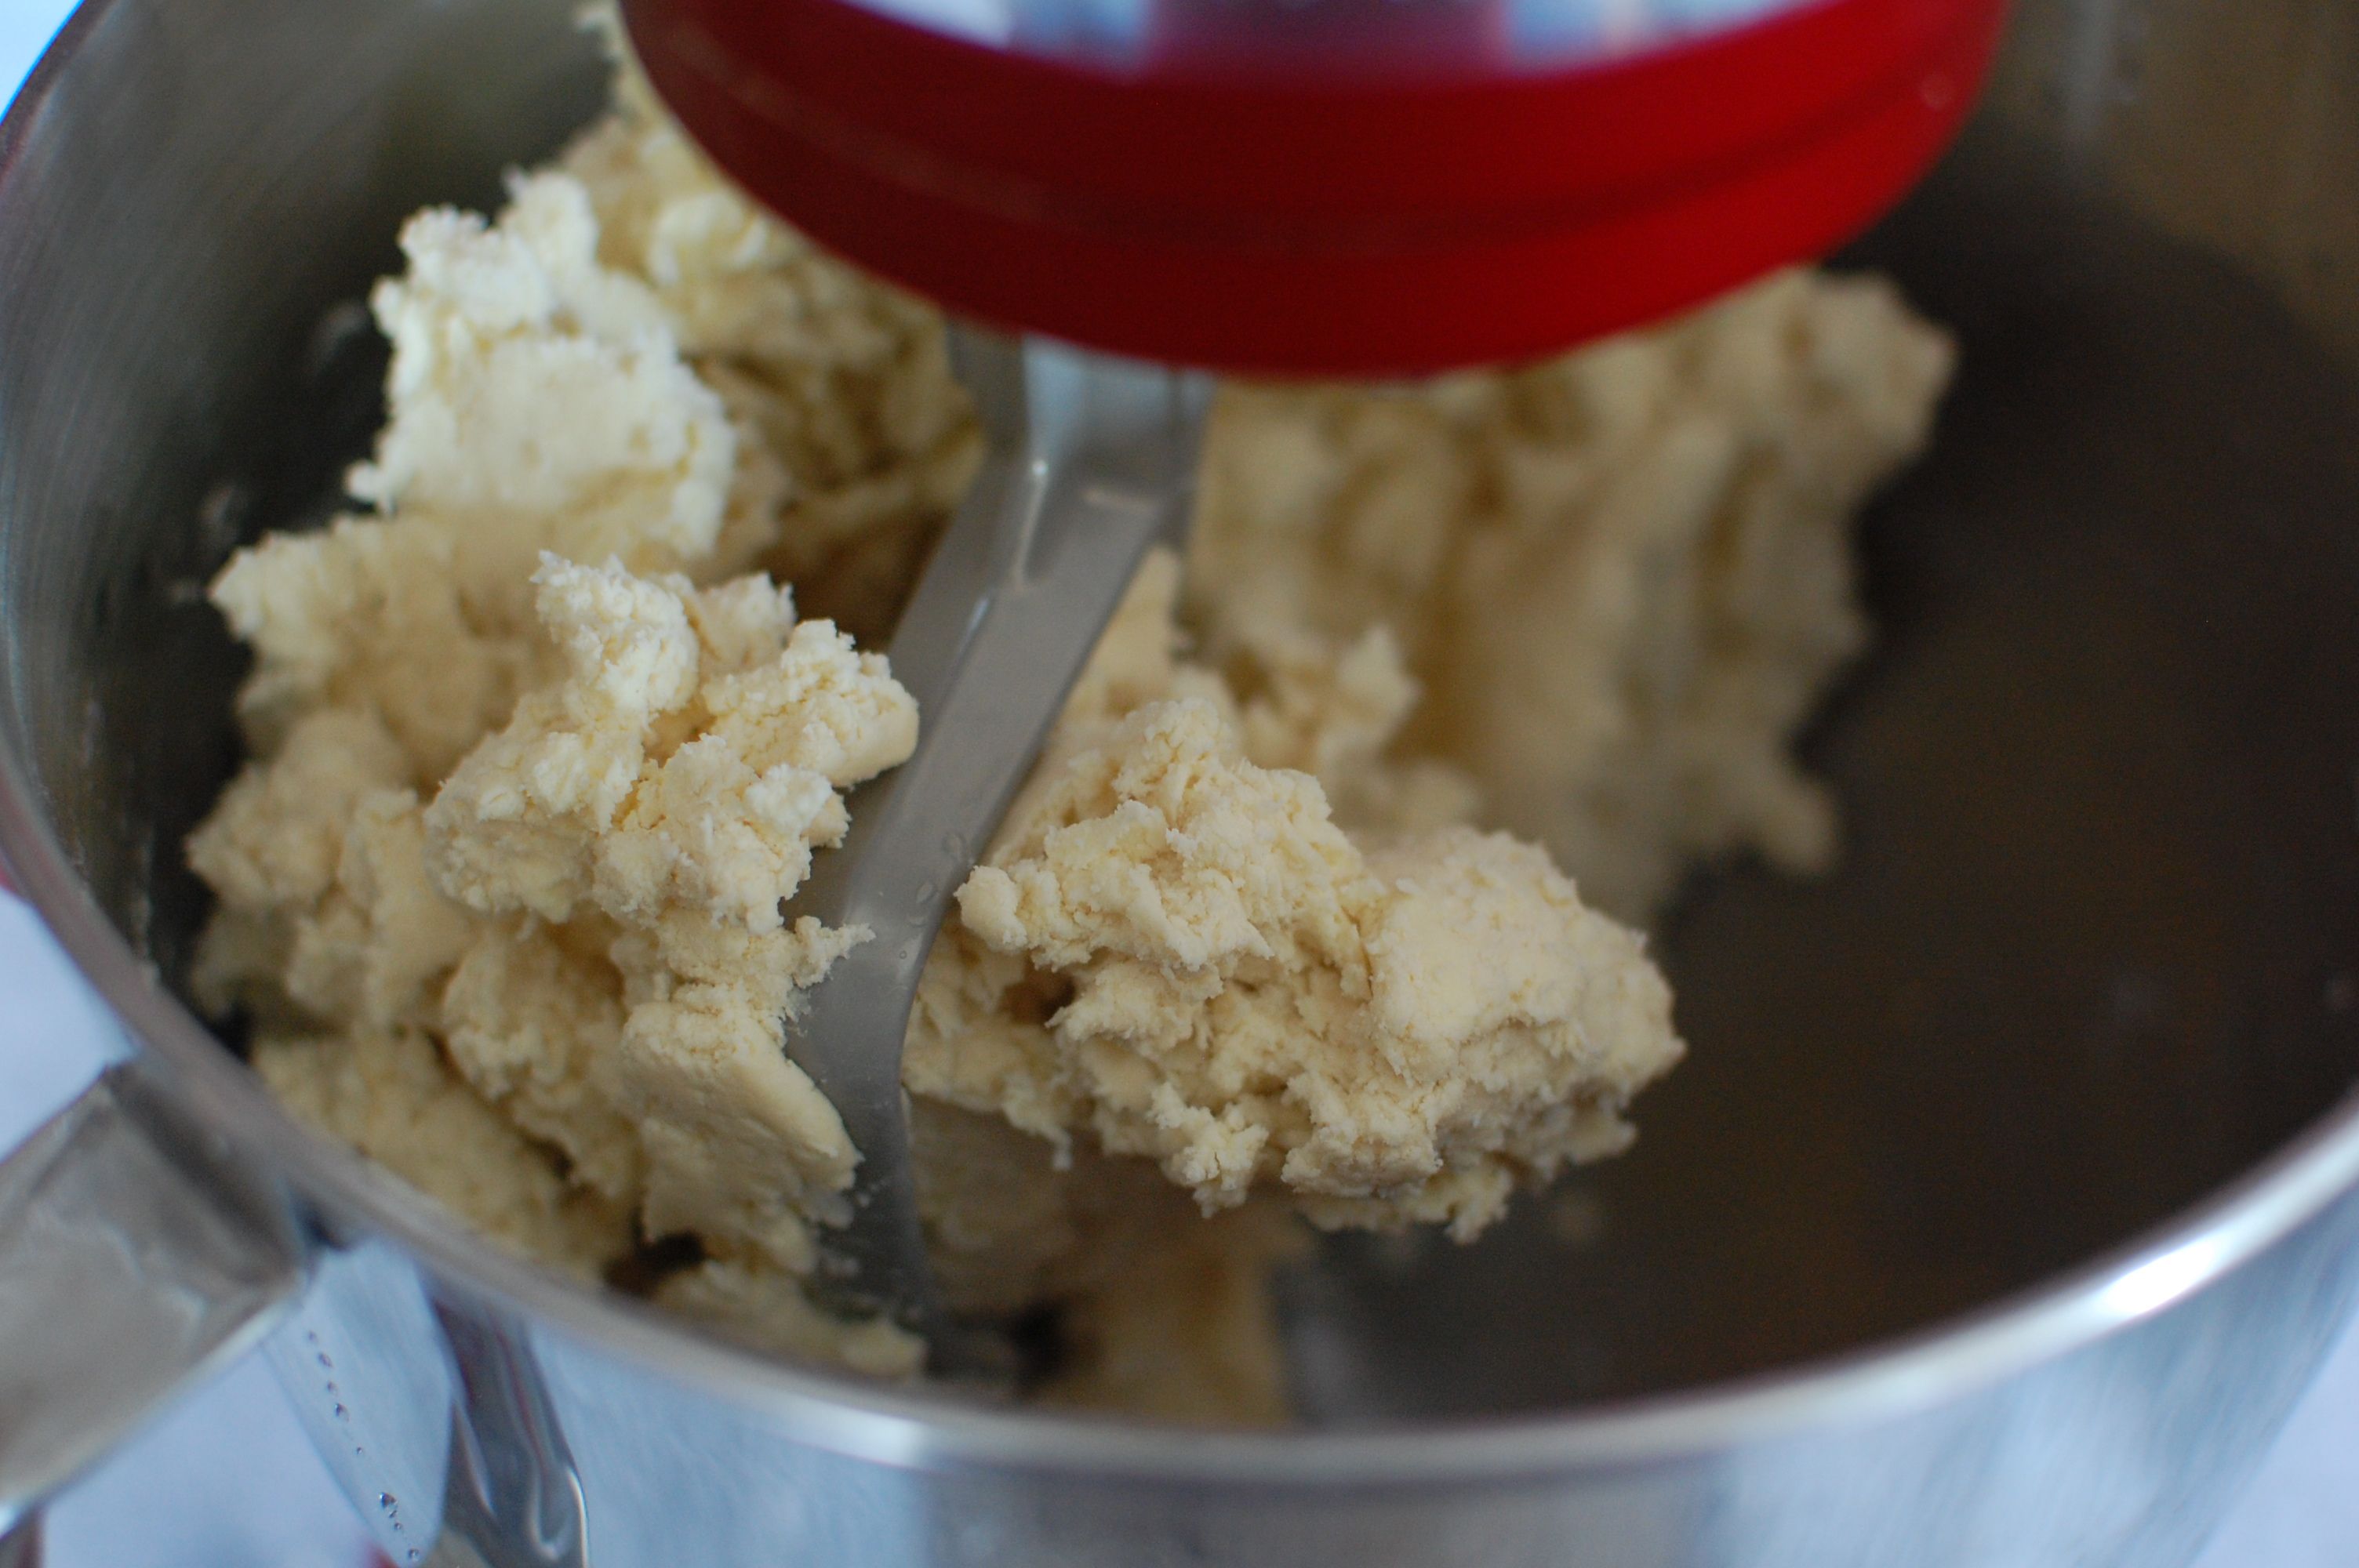
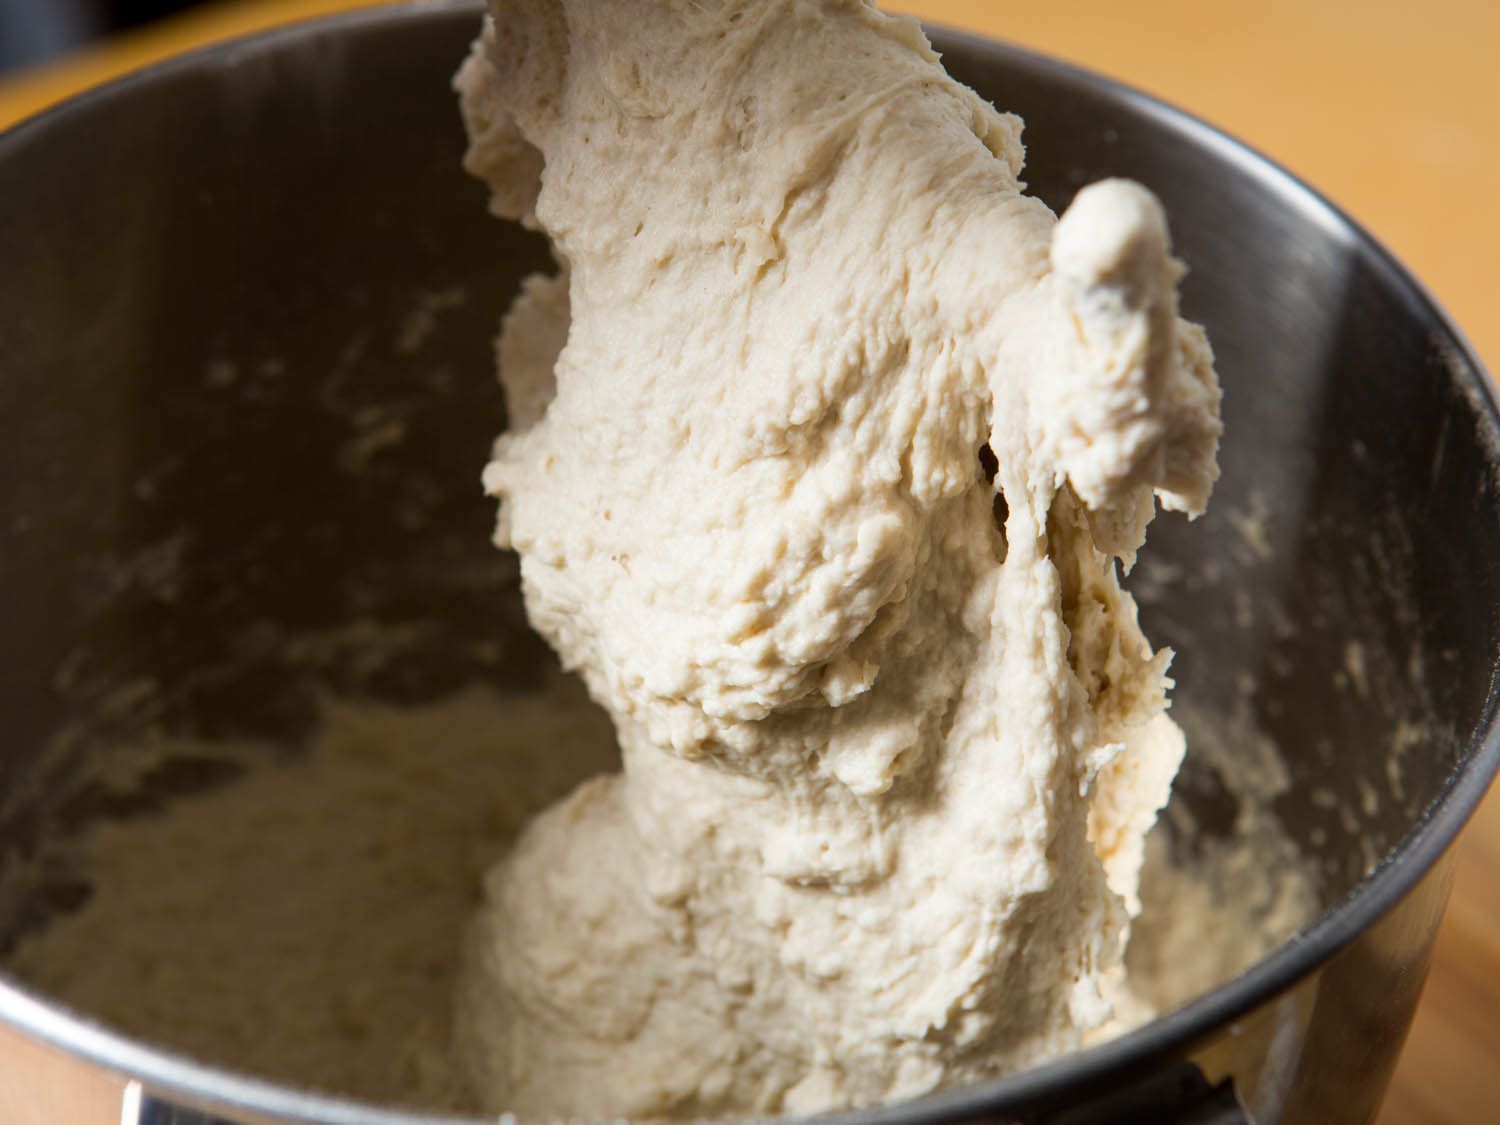
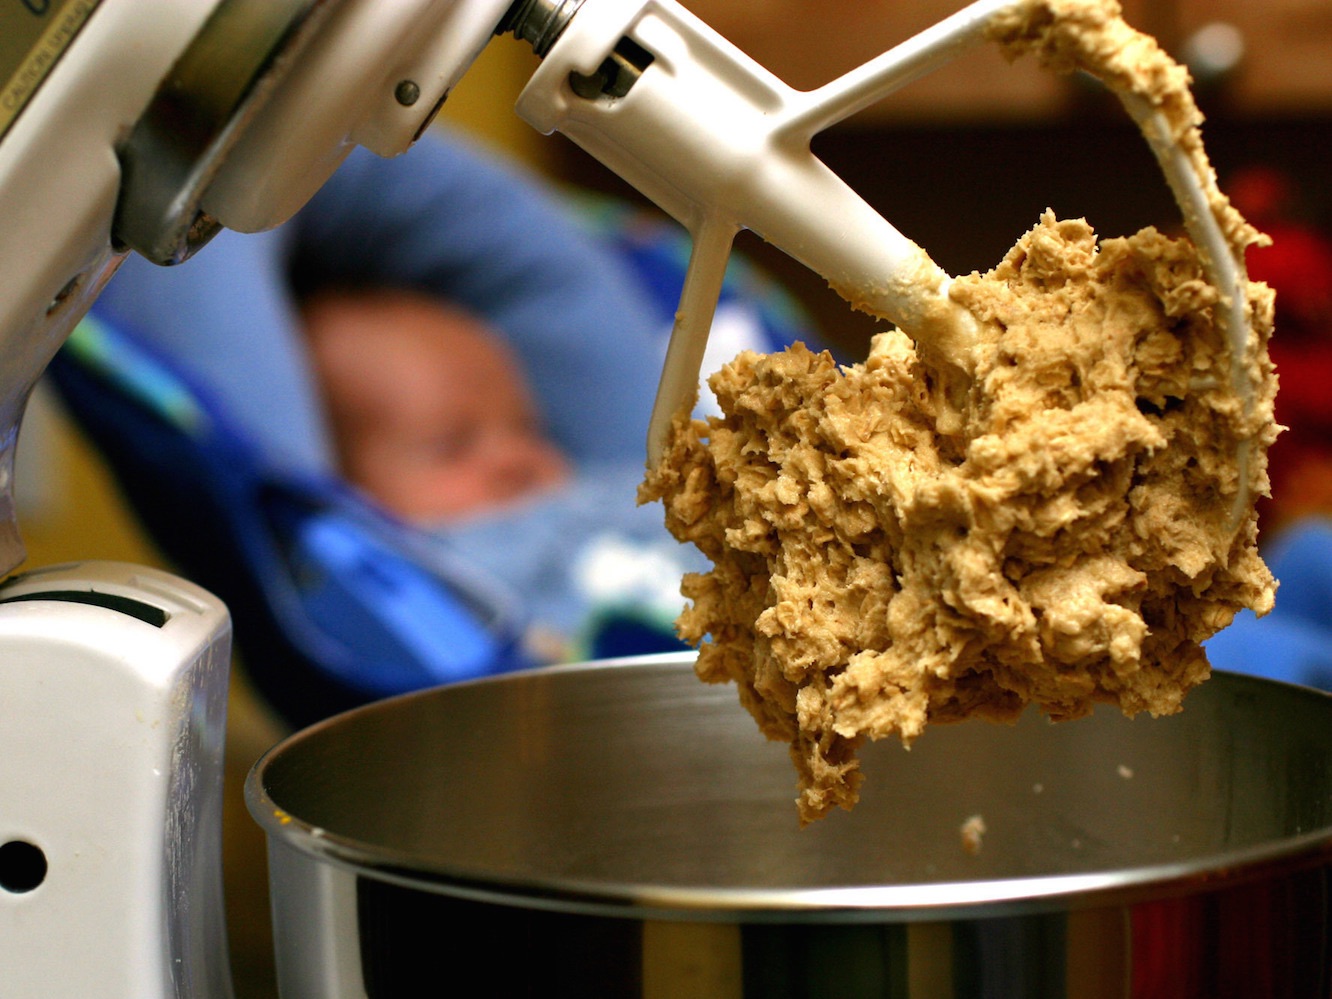
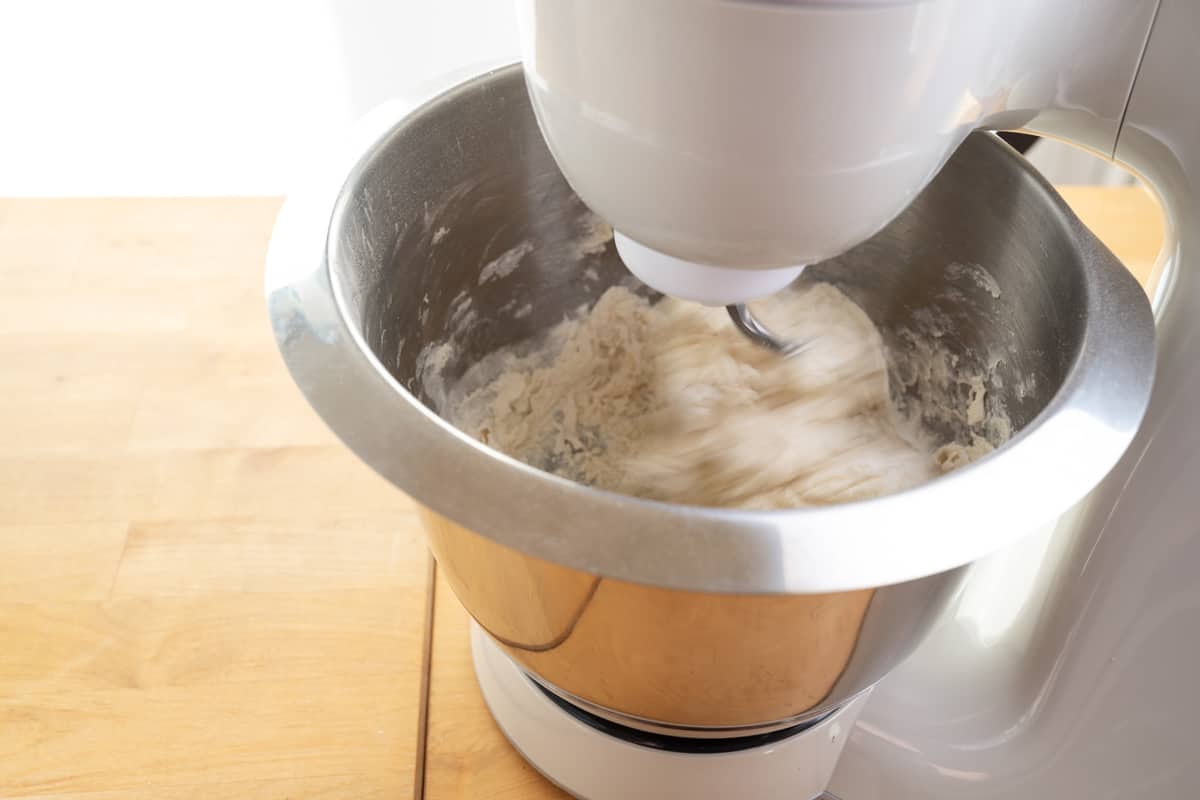
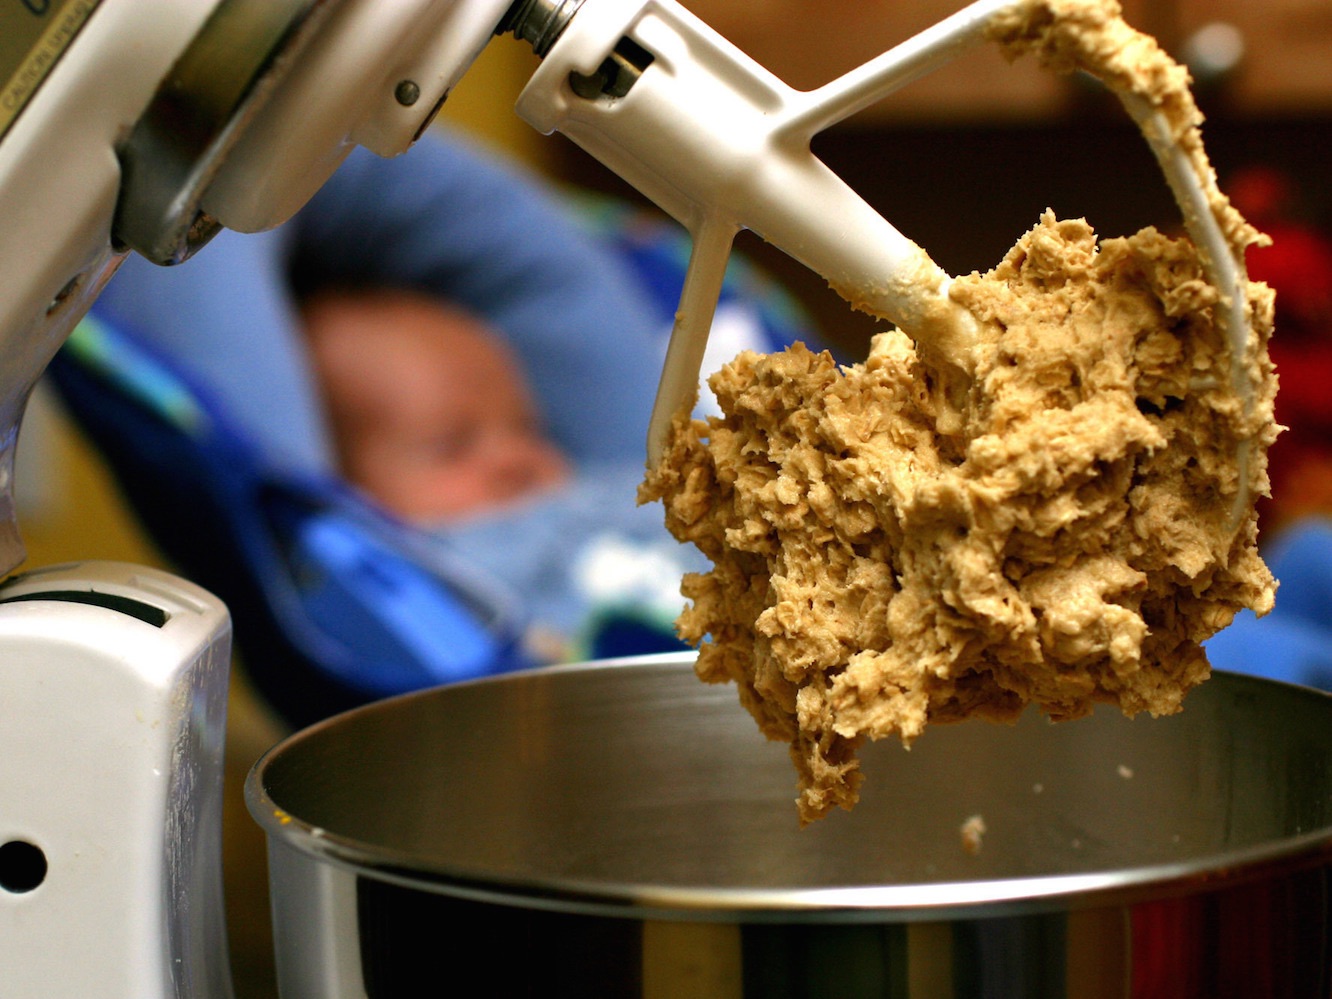
- Kneading Process: Once the ingredients are combined, increase the speed to a moderate level suitable for kneading. Allow the stand mixer to knead the dough for the specified duration in your recipe, typically around 8 to 10 minutes. Monitor the dough’s progress, ensuring that it forms a smooth, elastic ball and cleanly detaches from the sides of the mixing bowl.
- Assess Dough Consistency: Pause the stand mixer periodically to assess the dough’s consistency. It should be supple, slightly tacky, and able to stretch without tearing. If the dough is too dry, add small amounts of water; if it is too sticky, sprinkle in a little flour. Adjust the consistency as needed to achieve the desired texture.
- Rest and Proof: Once the dough is perfectly kneaded, remove it from the mixing bowl and place it in a greased bowl for proofing. Cover the dough with a kitchen towel or plastic wrap and allow it to rise according to your recipe’s instructions.
By following these steps, you can harness the capabilities of a stand mixer to efficiently and effectively knead dough, setting the stage for delightful bread and baked goods. The next section will provide valuable tips for achieving perfectly kneaded dough with a stand mixer.
Tips for Perfectly Kneaded Dough
Read more: How Long To Knead Pizza Dough In Mixer
Tips for Perfectly Kneaded Dough
Mastering the art of kneading dough with a stand mixer involves attention to detail and a few expert tips to ensure consistently excellent results. Consider the following tips to achieve perfectly kneaded dough:
- Monitor Kneading Time: Pay close attention to the recommended kneading time in your recipe. Over-kneading can lead to tough and dense bread, while under-kneading may result in a lack of structure and poor rise. Adhering to the specified kneading duration is crucial for achieving optimal dough consistency.
- Adjusting Dough Consistency: Dough consistency plays a pivotal role in the quality of the final baked product. If the dough appears too dry during kneading, add small amounts of water gradually. Conversely, if the dough is excessively sticky, incorporate a little flour until the desired consistency is reached.
- Temperature Considerations: Pay attention to the dough’s temperature during kneading. If the dough becomes too warm due to prolonged kneading or a warm kitchen environment, it can affect the rise and texture of the bread. Conversely, cold dough may require additional kneading time to reach the desired elasticity.
- Observing Gluten Development: Keep an eye on the gluten development as the dough is being kneaded. Properly kneaded dough exhibits a smooth and elastic texture, indicating that the gluten has been adequately developed. This essential step contributes to the dough’s structure and rise during baking.
- Testing Dough Readiness: Periodically perform the windowpane test to assess the dough’s readiness. Gently stretch a small portion of the dough between your fingers to see if it forms a thin, translucent membrane without tearing. This test confirms that the gluten has been sufficiently developed, signaling that the kneading process is complete.
- Practice Patience During Proofing: After kneading, allow the dough to proof in a warm, draft-free environment according to your recipe’s instructions. Patiently observing the proofing time ensures that the dough rises adequately, contributing to a light and airy texture in the finished bread.
By implementing these tips and techniques, you can harness the full potential of a stand mixer for kneading dough, resulting in consistently exceptional bread and baked goods. With the right approach and attention to detail, achieving perfectly kneaded dough becomes an attainable and rewarding aspect of the baking process.
Conclusion
Conclusion
Mastering the art of kneading dough with a stand mixer opens up a world of possibilities in the realm of baking. The benefits of using a stand mixer for dough kneading, including consistent results, time efficiency, and the ability to handle large batches, make it an invaluable tool for both home bakers and culinary professionals. When choosing a stand mixer for this purpose, factors such as motor power, bowl capacity, and stability should be carefully considered to ensure optimal performance.
By following the systematic steps for kneading dough with a stand mixer, from preparing the ingredients to assessing dough consistency, bakers can streamline the dough-kneading process and achieve superior results. The incorporation of expert tips, such as monitoring kneading time, adjusting dough consistency, and observing gluten development, further elevates the quality of the kneaded dough, setting the stage for exceptional baked goods.
Ultimately, the ability to knead dough with precision and efficiency using a stand mixer empowers individuals to embark on diverse baking endeavors, from artisanal bread to delectable pastries. The seamless integration of a stand mixer into the bread-making process not only simplifies the laborious task of kneading but also enhances the overall baking experience, allowing for greater creativity and exploration in the kitchen.
As aspiring and seasoned bakers alike embrace the art of kneading dough with a stand mixer, they embark on a journey marked by innovation, consistency, and the joy of creating delicious bread and baked treats. With the right techniques, attention to detail, and the aid of a reliable stand mixer, the pursuit of perfectly kneaded dough becomes a gratifying and achievable endeavor, enriching the culinary repertoire of baking enthusiasts everywhere.
Frequently Asked Questions about How To Knead Dough With A Stand Mixer
Was this page helpful?
At Storables.com, we guarantee accurate and reliable information. Our content, validated by Expert Board Contributors, is crafted following stringent Editorial Policies. We're committed to providing you with well-researched, expert-backed insights for all your informational needs.

0 thoughts on “How To Knead Dough With A Stand Mixer”