Articles
How To Light An Electric Water Heater
Modified: January 5, 2024
Learn how to light an electric water heater with our comprehensive articles. Discover step-by-step instructions and troubleshooting tips to ensure optimal performance.
(Many of the links in this article redirect to a specific reviewed product. Your purchase of these products through affiliate links helps to generate commission for Storables.com, at no extra cost. Learn more)
Introduction
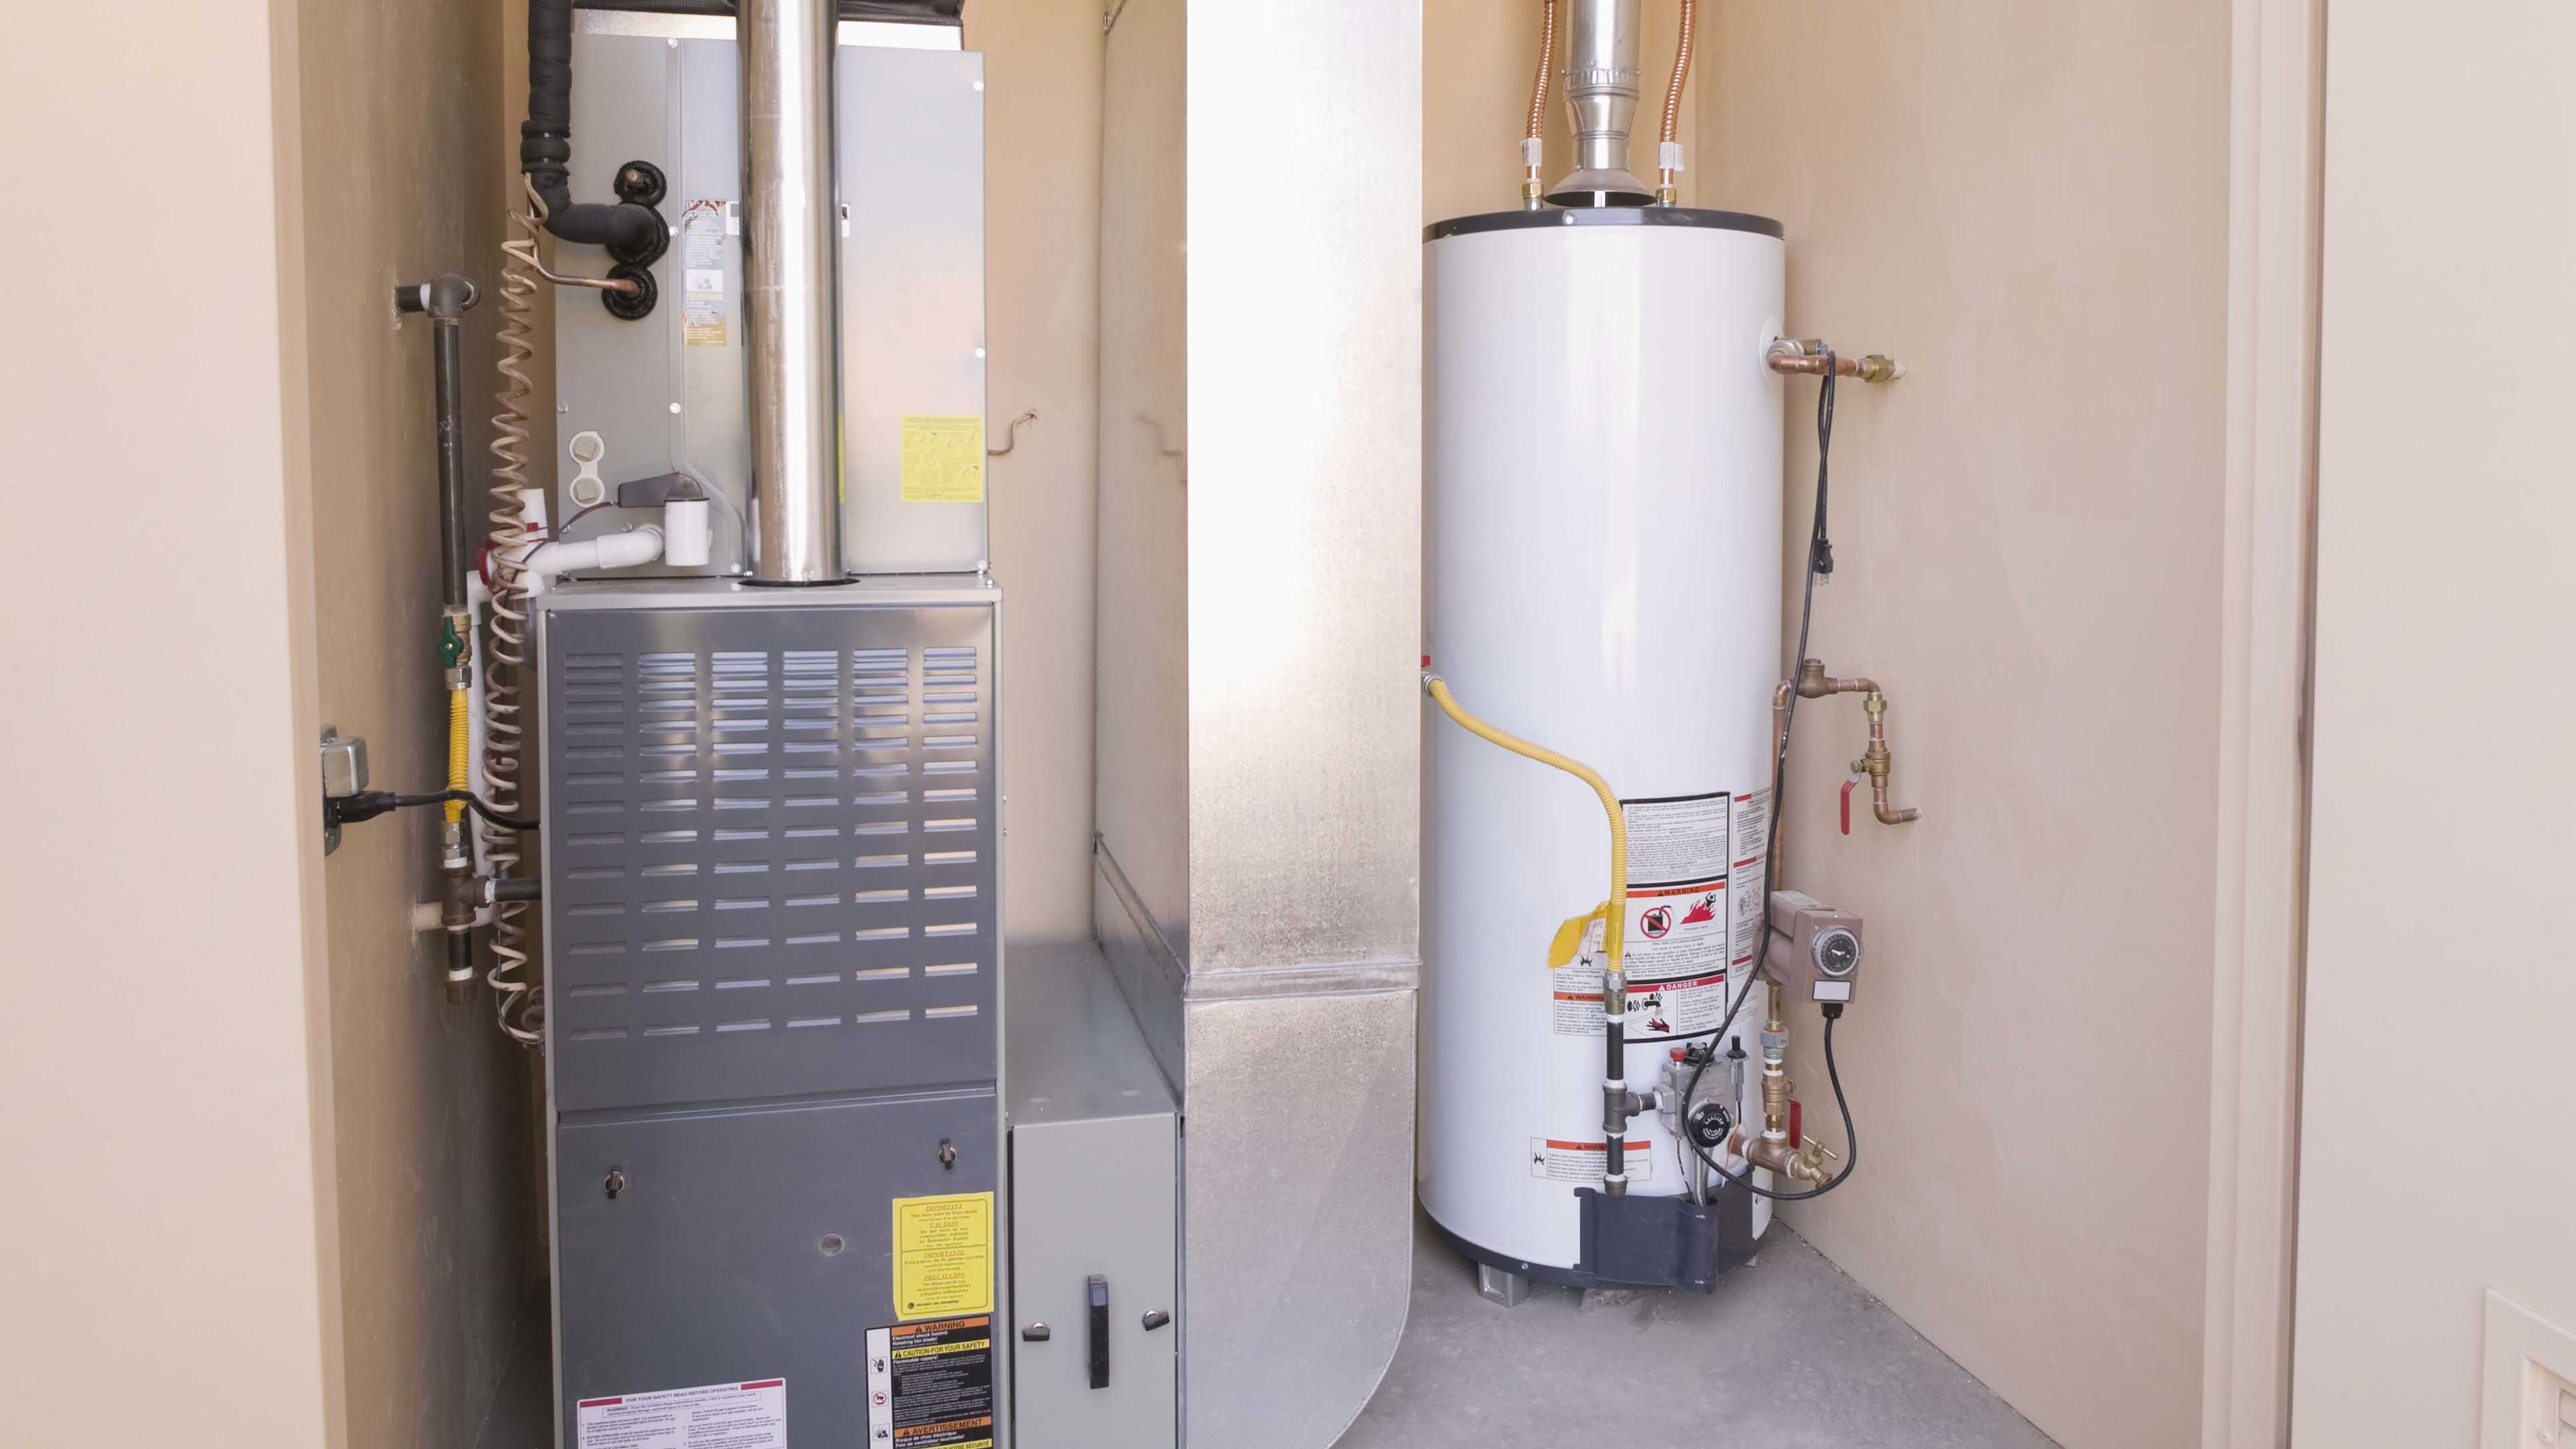
Electric water heaters are an essential appliance in many households, providing a steady supply of hot water for various needs such as bathing, cooking, and cleaning. However, just like any other piece of equipment, electric water heaters can encounter issues that may require troubleshooting and maintenance. One common problem is a malfunctioning heating element, which can lead to inadequate or no hot water.
Knowing how to properly light an electric water heater can save you time and money by avoiding the need to call a professional plumber. In this article, we will guide you through the step-by-step process of lighting an electric water heater safely and efficiently. However, it’s crucial to note that electrical work can be dangerous, and if you are unsure or uncomfortable with any steps, it is always recommended to seek professional assistance.
Before we dive into the process, let’s go over some essential safety precautions to keep in mind while working with an electric water heater.
Key Takeaways:
- Safety First
When lighting an electric water heater, prioritize safety by following essential precautions such as turning off the power supply, wearing protective gear, and testing for voltage to minimize the risk of accidents and ensure a secure working environment. - Regular Maintenance Matters
Regular maintenance, including testing the water heater and replacing heating elements if necessary, is crucial for ensuring a reliable supply of hot water. By following the outlined steps, you can maintain the efficiency and longevity of your electric water heater.
Read more: How To Light A Honeywell Water Heater
Safety Precautions
Working with an electric water heater involves dealing with high-voltage electrical connections and potentially scalding hot water, so it’s important to take the following safety precautions:
- Turn off the power supply: Before attempting any maintenance or repairs, make sure to turn off the power supply to the water heater. Locate the circuit breaker or the fuse box and switch off the corresponding circuit or remove the fuse.
- Allow the water to cool down: Hot water can cause severe burns. Give the water in the tank enough time to cool down before proceeding with any work. It is recommended to wait for at least an hour or longer to ensure the water is at a safe temperature.
- Wear protective gear: To protect yourself from potential electrical shocks and burns, wear personal protective equipment such as gloves, safety goggles, and non-slip shoes.
- Clear the area: Make sure the area around the water heater is clear of any flammable materials or debris. This will reduce the risk of accidents or fires.
- Follow manufacturer instructions: Always refer to the manufacturer’s instructions and guidelines specific to your specific electric water heater model. Different heaters may have different specifications and requirements.
- Avoid water contact: Keep all electrical components and connections dry. Do not touch any electrical parts or wires when you or the surrounding area is wet.
- Use proper tools: Only use tools specifically designed for electrical work. Avoid using makeshift tools or tools that are damaged.
- Work with a partner: It’s always safer to have someone else present while working on an electric water heater. They can provide assistance if needed or get help in case of an emergency.
- Know when to seek professional help: If you are unsure or uncomfortable with any step of the process or if you suspect a more complex issue, it’s best to hire a licensed electrician or plumber to handle the repair.
By following these safety precautions, you can minimize the risk of accidents and ensure a safer working environment when lighting an electric water heater.
Step 1: Gather Necessary Tools and Materials
Before starting the process of lighting your electric water heater, it’s important to gather all the necessary tools and materials. Having everything you need on hand will make the process smoother and more efficient. Here’s a list of the tools and materials you’ll need:
- Adjustable wrench or pliers: These tools will be used to loosen and tighten the connections on the water heater.
- Screwdriver: You’ll need a screwdriver to remove the access panel(s) on the water heater.
- Non-contact voltage tester: This device will help you determine if there is any electrical current present in the water heater.
- Replacement heating element: If your heating element is faulty and needs to be replaced, make sure to have a compatible replacement on hand. Refer to your water heater’s manual or consult the manufacturer to ensure you get the correct part.
- Teflon tape: This tape is used to create a watertight seal on the threads of the heating element.
- Bucket or basin: You’ll need a container to catch any water that may leak out during the process.
- Old towels or rags: Keep some towels or rags nearby to clean up any spills or drips.
- Flashlight: If your water heater is located in a dimly lit area, a flashlight will help you see more clearly.
Make sure to gather all these tools and materials before proceeding to the next steps. This will save you time and frustration later on as you won’t have to pause the process to search for missing items.
Once you have everything ready, you’re prepared to move on to step two: turning off the power supply to the water heater.
Step 2: Turn Off Power Supply to the Water Heater
Before working on your electric water heater, it is crucial to ensure that the power supply is completely turned off to avoid any potential electrical shocks. Follow these steps to safely turn off the power supply:
- Locate the circuit breaker: In your electrical panel or fuse box, find the circuit breaker that controls the power supply to the water heater. The circuit breaker should be labeled accordingly.
- Switch off the circuit: Once you have located the correct circuit breaker, flip it to the “off” position. This will cut off electricity to the water heater and prevent any accidental electric shocks.
- Double-check the power supply: To ensure that the power supply is indeed turned off, use a non-contact voltage tester. Hold the tester near the water heater’s electrical connections or wiring. If the tester does not detect any voltage, it’s safe to proceed.
It is essential to take these precautions before proceeding to the next steps. Double-checking the power supply with a voltage tester adds an extra layer of safety to the process. Always prioritize your safety and the safety of others when working with electrical appliances.
Once you have confirmed that the power supply is turned off, you can proceed to step three: locating and accessing the heating element(s) on your electric water heater.
Step 3: Locate and Access the Heating Element(s)
The heating element(s) in an electric water heater are responsible for heating the water. To begin the process of lighting your electric water heater, you first need to locate and access the heating element(s). Follow these steps:
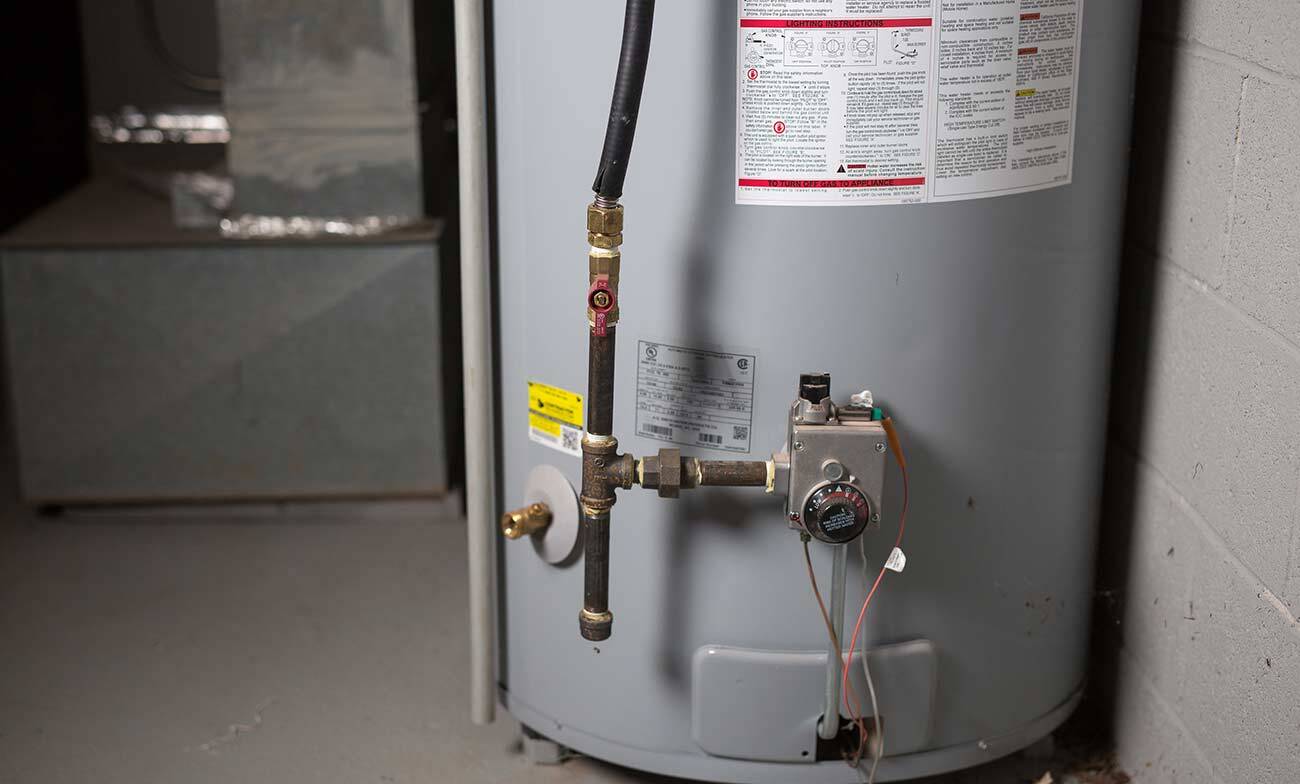
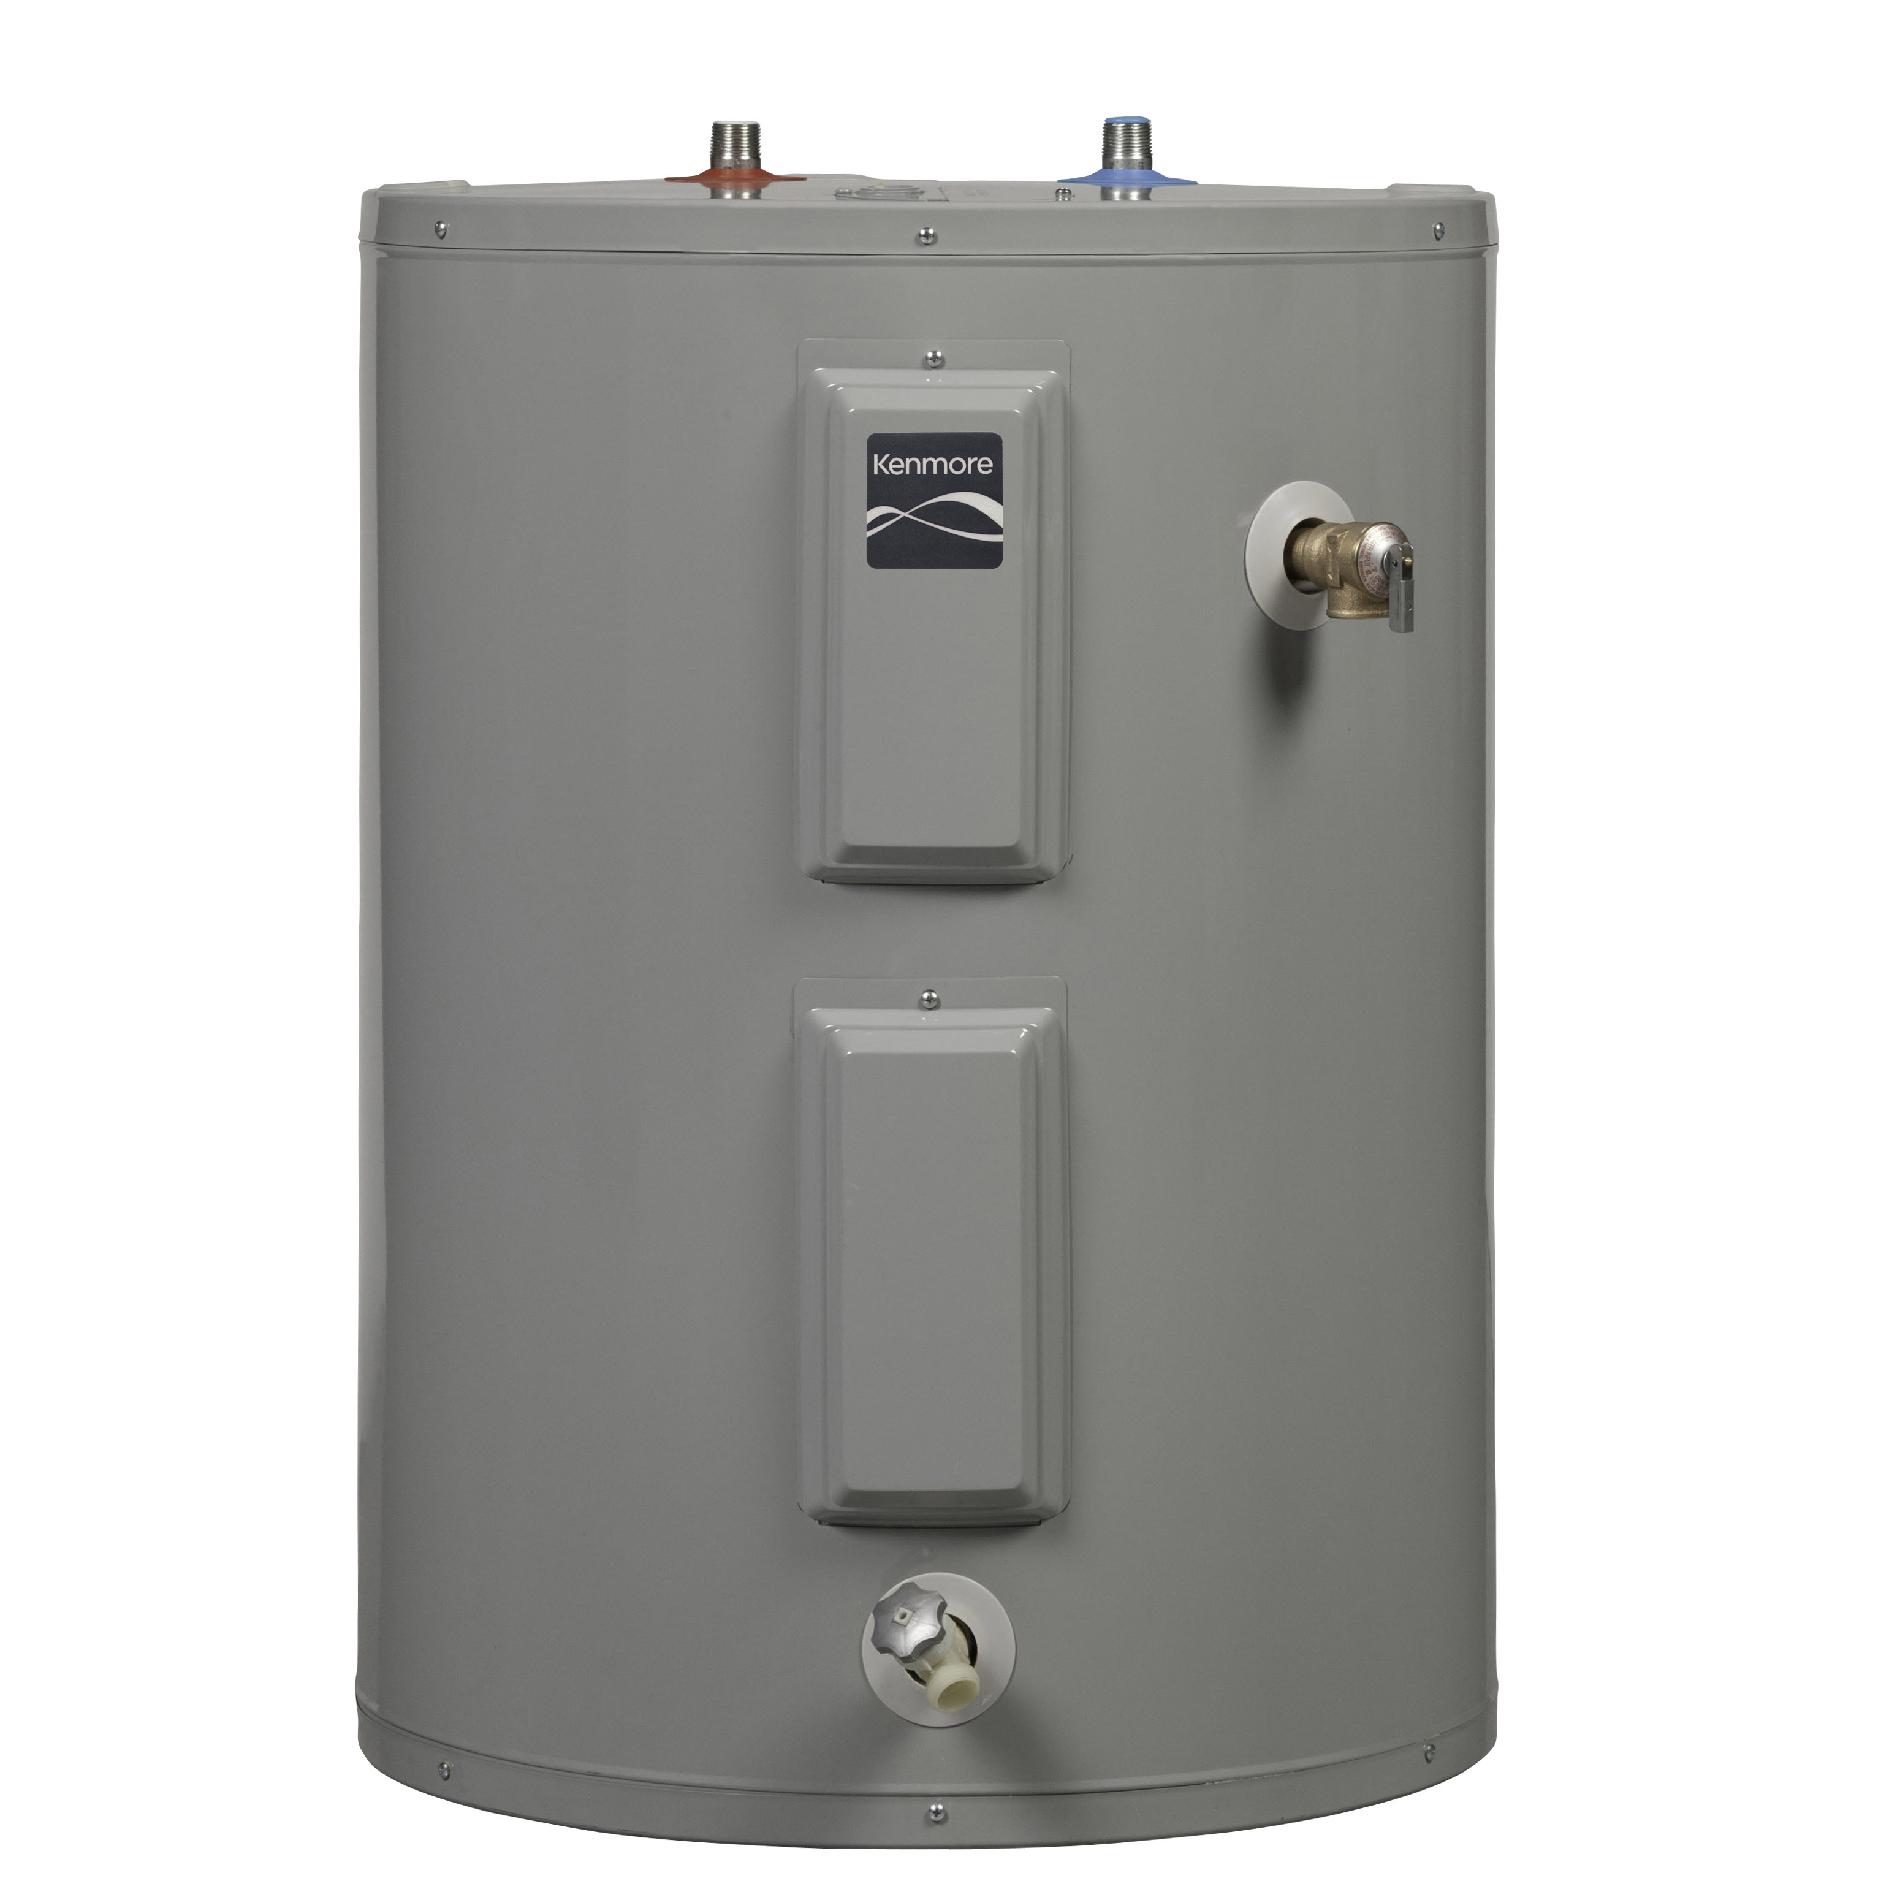
- Find the access panel: The access panel is typically located on the side of the water heater tank. It may be secured with screws or clips.
- Use a screwdriver or pliers: If the access panel is secured with screws, use a screwdriver to remove the screws. If it’s secured with clips, use pliers to gently open the clips and remove the panel.
- Expose the heating element(s): Once the access panel is removed, you will be able to see the heating element(s) inside the water heater tank. The number of heating elements in your water heater depends on the size and model. Most residential electric water heaters have either one or two heating elements.
Take a moment to inspect the heating element(s) for any signs of damage, such as corrosion or visible cracks. This is also a good opportunity to clean any sediment or debris that may have accumulated around the element(s). Use caution and avoid touching the heating element(s) to prevent burns.
Once you have located and accessed the heating element(s), you can proceed to step four: removing the access panel(s) to gain further access to the heating element(s).
Read more: How To Drain An Electric Water Heater
Step 4: Remove the Access Panel(s)
Now that you have located the heating element(s) in your electric water heater, it’s time to remove the access panel(s) to gain further access to them. The access panel(s) need to be removed in order to disconnect and replace the heating element(s) if necessary. Follow these steps:
- Inspect the access panel(s): Take a close look at the access panel(s) to determine how they are attached. They are typically secured with screws or clips.
- Use the appropriate tool: If the access panel(s) are secured with screws, use a screwdriver to loosen and remove the screws. If they are secured with clips, gently open the clips using pliers or your fingers.
- Set aside the screws or clips: Place the screws or clips in a safe place where they won’t get lost. You will need them later to reassemble the access panel(s).
- Remove the access panel(s): Once the screws or clips are removed, carefully take off the access panel(s) from the water heater tank. Set them aside in a secure location.
With the access panel(s) removed, you now have better visibility and access to the heating element(s) inside the water heater. This will allow you to proceed with the necessary steps to disconnect and replace the heating element(s) if required.
Keep in mind that the specific steps to remove the access panel(s) may vary based on the make and model of your electric water heater. Always refer to the manufacturer’s instructions for your particular water heater to ensure you follow the correct procedure.
Once you have successfully removed the access panel(s), you can move on to step five: testing the voltage to ensure it is safe to proceed with the next steps.
Step 5: Test the Voltage
Before you proceed with any further work on your electric water heater, it is important to test the voltage to ensure that there is no electrical current present. This step is crucial for your safety and the proper functioning of the heater. Follow these steps to test the voltage:
- Equip yourself with a non-contact voltage tester: Ensure you have a non-contact voltage tester, a handheld device that can detect the presence of electrical current without direct contact.
- Turn on the voltage tester: Activate the voltage tester according to the instructions provided by the manufacturer. This usually involves pressing a button or switching it on.
- Verify the tester’s functionality: Before testing, verify that the voltage tester is working properly by testing it on a known live electrical source, such as an outlet. If the tester emits an audible or visual signal, it is functioning correctly.
- Approach the electrical connections: Carefully bring the voltage tester near the wiring or electrical connections of the heating element(s) on the water heater.
- Observe the voltage detection: If the voltage tester does not emit any signals or lights up, it means that there is no electrical current present and it is safe to proceed. However, if the tester emits a signal or lights up, DO NOT continue with the next steps. This indicates that there is still electricity flowing, and you should seek professional assistance to diagnose and rectify the issue.
Testing the voltage is a crucial step to ensure your safety. Neglecting this step may result in severe electric shocks or accidents. Always double-check the voltage before moving on to the next steps.
If the voltage tester indicates that there is no electrical current present, you can proceed with confidence to the next step: disconnecting the heating element(s) to replace them if necessary.
Make sure the power to the water heater is turned off before attempting to light it. Follow the manufacturer’s instructions for relighting the pilot light, and always use caution when working with gas appliances.
Step 6: Disconnect the Heating Element(s)
Now that you have tested the voltage and confirmed that there is no electrical current present, you can safely proceed with disconnecting the heating element(s) in your electric water heater. Follow these steps:
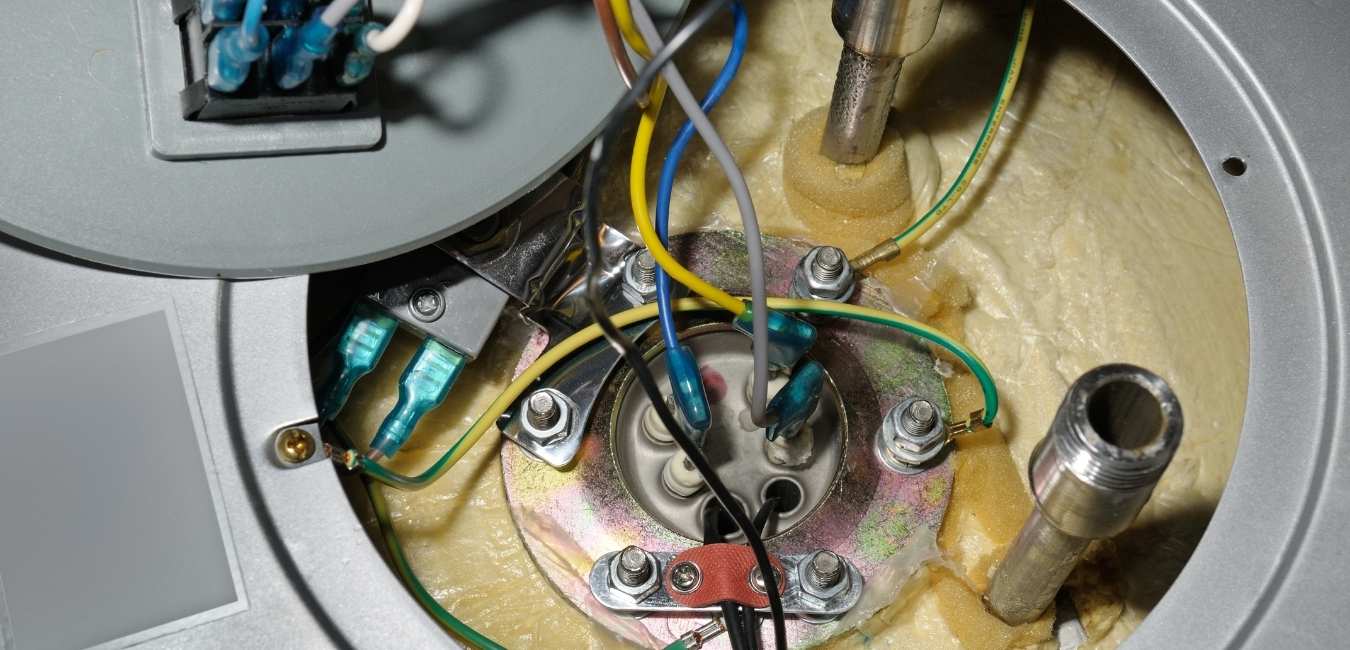
- Identify the electrical connections: Take a moment to identify the electrical connections attached to the heating element(s). These connections typically consist of wires and may be secured with nuts or screws.
- Use an adjustable wrench or pliers: Depending on the type of connection, use an adjustable wrench or pliers to loosen and remove the nuts or screws securing the electrical wires to the heating element(s).
- Gently pull apart the connections: Once the nuts or screws are loosened, gently pull apart the electrical connections from the heating element(s). Take care not to damage the wires in the process.
- Set aside the disconnected wires: Place the disconnected wires in a safe location, ensuring that they do not touch any metal parts or come into contact with water.
It is important to note that if you have multiple heating elements in your electric water heater, you will need to repeat these steps for each heating element.
By disconnecting the heating element(s), you create the necessary space to remove and replace them if needed. However, keep in mind that not all water heater issues can be resolved simply by replacing the heating element(s). If you are unsure about the cause of the problem or the appropriate course of action, it’s best to consult a professional plumber or electrician.
Once the heating element(s) are safely disconnected, you can move on to step seven: replacing the heating element(s) if necessary.
Step 7: Replace the Heating Element(s)
If your electric water heater requires a heating element replacement, this step will guide you through the process. Follow these steps to replace the heating element(s) in your electric water heater:
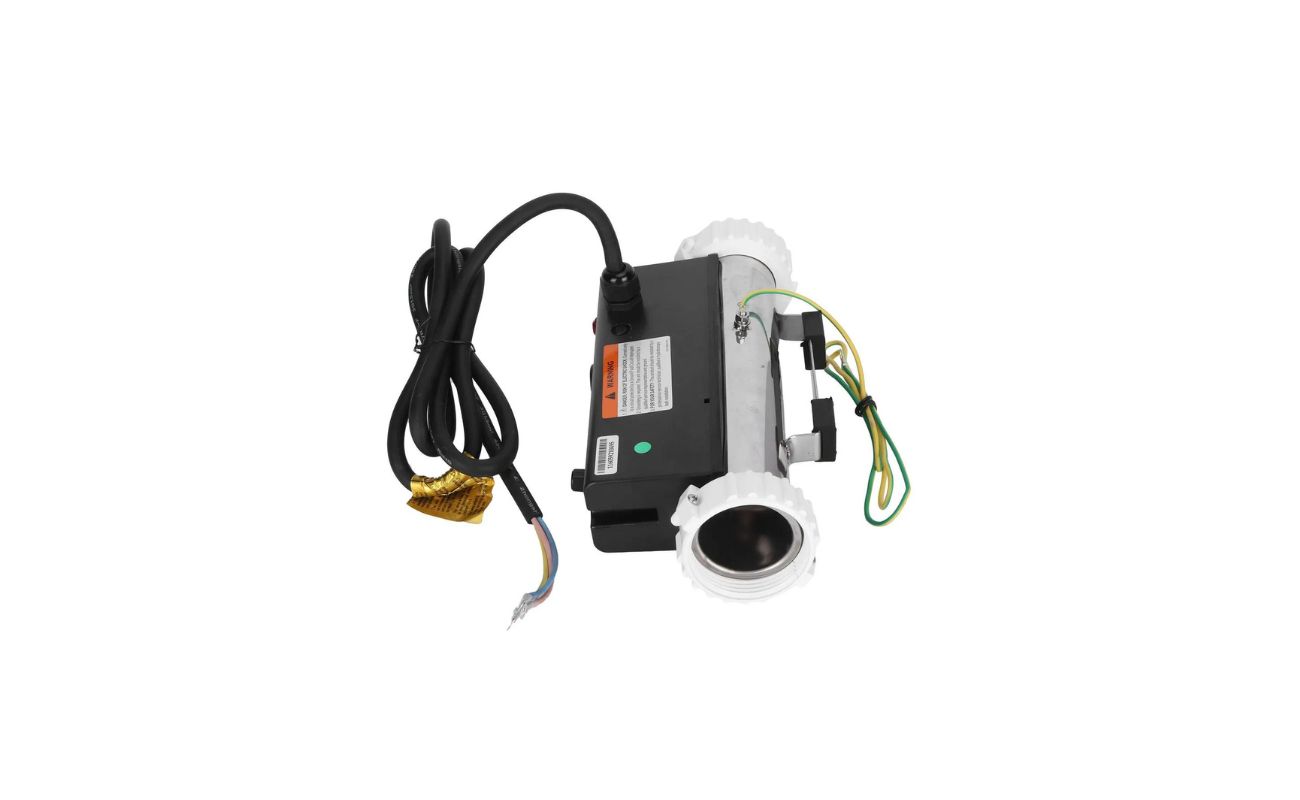
- Remove the faulty heating element(s): Using an adjustable wrench or pliers, unscrew and remove the old heating element(s) from the water heater tank. Take note of the type and size of the heating element(s) for accurate replacement.
- Prepare the new heating element(s): Before installing the new heating element(s), make sure they are compatible with your water heater model. Check the labels and specifications provided by the manufacturer. If necessary, apply Teflon tape to the threaded portion of the new heating element(s) to create a watertight seal.
- Install the new heating element(s): Carefully insert the new heating element(s) into the designated openings in the water heater tank. Use your hand to tighten them securely, then use an adjustable wrench or pliers to give them an additional quarter-turn to ensure a firm connection. Be cautious not to overtighten the element(s) to prevent damage.
- Reconnect the electrical wires: Take the electrical wires you disconnected in step six and reattach them to the new heating element(s). Make sure the connections are secure, and the wires are properly tightened using an adjustable wrench or pliers.
As a safety precaution, it is recommended to use dielectric grease on the electrical connections. This helps to prevent corrosion and ensures better conductivity.
Once the new heating element(s) are securely installed and the electrical connections are reestablished, you can proceed to the next step: reassembling the access panel(s) on the water heater.
Remember, if you are unsure about replacing the heating element(s) or encounter any difficulties during the process, it is always wise to consult a professional plumber or electrician to ensure the job is done safely and effectively.
Read more: How To Check Electric Water Heater
Step 8: Reassemble the Access Panel(s)
Now that you have replaced the heating element(s) in your electric water heater, it’s time to reassemble the access panel(s) to secure everything in place. Follow these steps to reassemble the access panel(s) on your water heater:
- Retrieve the access panel(s): Locate the access panel(s) that you removed earlier in the process.
- Align the panel(s) properly: Align the panel(s) with the opening on the water heater tank. Make sure they fit securely and line up with any screw holes or clips.
- Secure the panel(s): If the access panel(s) attach with screws, insert the screws into the correct holes and tighten them using a screwdriver. If the panel(s) use clips, firmly press them into place until you hear a click or feel them secure.
- Double-check the installation: Once the access panel(s) are secured, ensure they are properly aligned and there are no gaps or loose parts. This will prevent any potential leaks or accidents.
By reassembling the access panel(s), you ensure that the heating element(s) are safely enclosed within the water heater tank. This not only protects the elements from damage but also provides a clean and organized appearance.
With the access panel(s) securely back in place, you are ready to move on to the next step: turning on the power supply to the water heater.
Remember, safety is paramount when working with electrical appliances. If you are unsure about the reassembly process or encounter any difficulties, it is advisable to seek professional assistance to ensure everything is correctly installed and functioning as it should.
Step 9: Turn On the Power Supply
With the access panel(s) reassembled and the heating element(s) replaced in your electric water heater, it’s time to turn on the power supply. Follow these steps to safely restore power to your water heater:
- Locate the circuit breaker: Return to the electrical panel or fuse box where you previously turned off the power supply.
- Identify the correct circuit: Locate the circuit breaker that controls the power supply to the water heater. This should be labeled accordingly.
- Switch on the circuit: Flip the circuit breaker to the “on” position. This will restore electricity to the water heater.
- Double-check the power supply: To ensure that the power supply is indeed turned on, you can use a non-contact voltage tester near the electrical connections or wiring of the water heater. It should detect the presence of voltage.
It’s important to double-check the power supply with a voltage tester to ensure that electricity is flowing correctly. This will confirm that your water heater has been properly connected and is ready to operate.
Once you have confirmed that the power supply is turned on, proceed to the final step: testing your water heater to ensure it is functioning properly.
Remember, if you encounter any issues or concerns during the process of turning on the power supply, it’s advisable to seek professional assistance to avoid any potential electrical hazards or damage to the water heater.
Step 10: Test the Water Heater
Now that the power supply has been restored to your electric water heater, it’s time to test the system to ensure it is working properly. Follow these steps to test your water heater:
- Allow time for the water to heat up: Once the power supply is turned on, give the water heater some time to heat up the water. It typically takes around 20 to 30 minutes for the water to reach the desired temperature.
- Turn on a hot water faucet: Choose a faucet in your home that uses hot water, such as a sink or shower. Turn on the hot water faucet and wait for a few moments.
- Check for hot water: After waiting for a few moments, check if hot water is flowing from the faucet. If hot water is present, it indicates that your water heater is working properly and has successfully heated the water. If there is no hot water or it is insufficient, there may still be an issue with the heating element(s) or another component of the water heater.
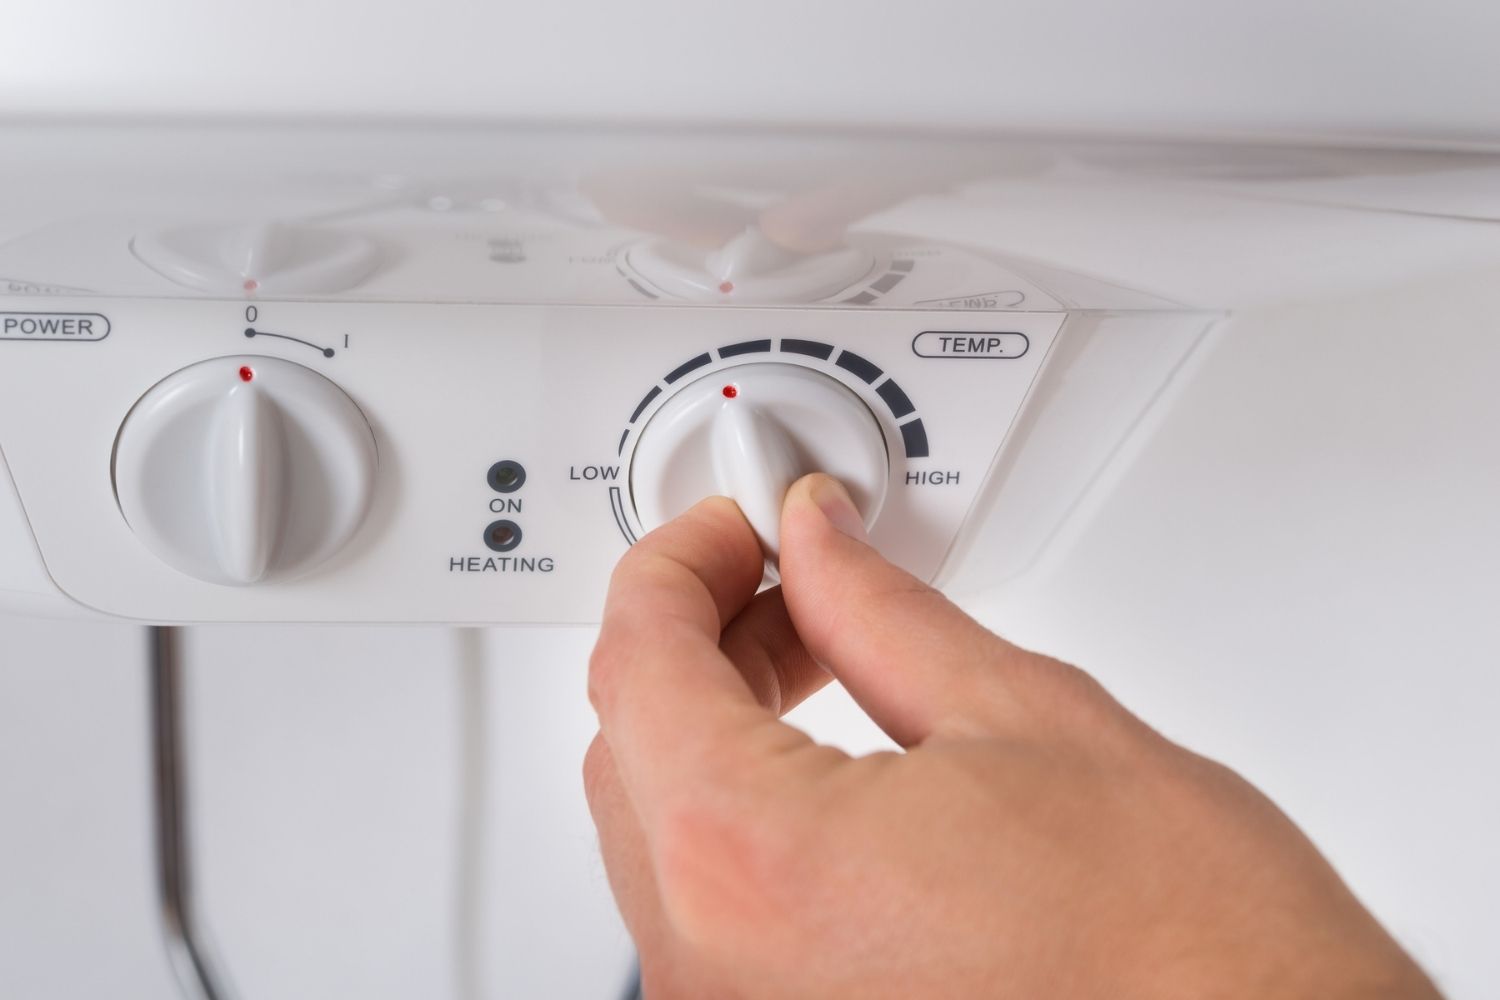
- Adjust the temperature settings (if necessary): If the water temperature is too hot or not hot enough, you can adjust the thermostat settings on your water heater. Refer to the manufacturer’s instructions or consult the user manual to make the necessary adjustments.
By testing the water heater, you can verify that the heating element(s) replacement and the overall maintenance have been successful. It ensures that you have a reliable supply of hot water for your daily needs.
If you encounter any problems during the testing phase or if you’re not satisfied with the hot water output, it’s advisable to contact a professional plumber or electrician who can diagnose and resolve any underlying issues.
With the water heater successfully tested and functioning properly, you have completed the process of lighting and maintaining your electric water heater. Regular maintenance and periodic checks can help ensure the longevity and efficiency of your water heater for years to come.
Conclusion
Maintaining and lighting an electric water heater doesn’t have to be a daunting task, as long as you follow the necessary steps and safety precautions. By understanding the process and taking the time to perform regular maintenance, you can ensure that your water heater continues to provide you with a reliable supply of hot water.
In this article, we have covered the essential steps to light an electric water heater, including gathering the necessary tools and materials, turning off the power supply, locating and accessing the heating element(s), removing and replacing the heating element(s), reassembling the access panel(s), turning on the power supply, testing the water heater, and adjusting the temperature settings if necessary.
Throughout the process, we emphasized the importance of safety precautions, such as turning off the power supply, allowing the water to cool down, wearing protective gear, and seeking professional assistance if needed. These measures are crucial to ensure your personal safety and the integrity of the water heater.
Remember, if you are ever unsure or uncomfortable with any step of the process, it is always best to consult a qualified plumber or electrician who can provide expert guidance and assistance.
By following these guidelines and conducting regular maintenance on your electric water heater, you can enjoy the benefits of a reliable and efficient hot water supply for your daily needs. So, take the time to familiarize yourself with your water heater, perform routine checks, and address any issues promptly to ensure optimal performance and longevity.
Frequently Asked Questions about How To Light An Electric Water Heater
Was this page helpful?
At Storables.com, we guarantee accurate and reliable information. Our content, validated by Expert Board Contributors, is crafted following stringent Editorial Policies. We're committed to providing you with well-researched, expert-backed insights for all your informational needs.

0 thoughts on “How To Light An Electric Water Heater”