Articles
How To Wire An Electric Hot Water Heater
Modified: April 22, 2024
Learn how to wire an electric hot water heater with our step-by-step guide. Read our informative articles on the correct installation process and ensure the safety of your home.
(Many of the links in this article redirect to a specific reviewed product. Your purchase of these products through affiliate links helps to generate commission for Storables.com, at no extra cost. Learn more)
Introduction
Having access to hot water is a modern convenience that we often take for granted. From taking a warm shower to washing dishes, a properly functioning electric hot water heater plays a crucial role in our daily lives. However, there may come a time when you need to wire a new electric hot water heater or replace the wiring on an existing one. This article will guide you through the step-by-step process of wiring an electric hot water heater safely and efficiently.
Before we dive into the steps, it’s important to prioritize safety. Working with electricity can be dangerous, so make sure to follow all safety precautions throughout the process. If you’re not comfortable or confident in your ability to complete the wiring, it’s best to hire a professional to ensure the job is done correctly.
Now that we’ve established the importance of safety, let’s gather the necessary tools and materials for the project.
Tools and Materials Needed:
- Insulated screwdriver
- Wire strippers
- Electrical tape
- Wire nuts
- Junction box
- 2-pole circuit breaker
- Wire connectors
- Flexible conduit
- Wire cutters
- Electric hot water heater
- Wiring diagram (specific to your water heater model)
Now that you have all the necessary tools and materials, let’s get started with the wiring process. Remember, it’s always a good idea to consult the manufacturer’s instructions for your specific water heater model, as the wiring may vary.
Continue reading to learn the step-by-step process of wiring an electric hot water heater.
Key Takeaways:
- Prioritize safety by following all precautions when wiring an electric hot water heater. Always consult a professional if unsure about any aspect of the process.
- Gather the necessary tools and materials, and follow the step-by-step guide to efficiently wire your electric hot water heater for consistent hot water supply.
Read more: What Size Wire For Hot Water Heater
Safety Precautions
When working with electricity, it is important to prioritize safety to prevent any accidents or injuries. Before you begin wiring your electric hot water heater, make sure to take the following safety precautions:
- Turn off the power: Before starting any electrical work, shut off the power to the water heater at the circuit breaker. This will ensure that there is no electricity running to the unit while you work on the wiring.
- Wear safety gear: Always wear protective gloves and safety glasses when working with electrical components. This will help protect you from any potential shocks or burns.
- Inspect the wiring: Before beginning any work, inspect the existing wiring for any signs of damage or wear. If you notice any exposed wires or frayed insulation, repair or replace them before proceeding.
- Use proper tools: Make sure you have the right tools for the job. Insulated screwdrivers, wire strippers, and wire connectors designed for electrical work will help prevent accidental electric shock.
- Follow local electrical codes: Familiarize yourself with the electrical codes in your area and ensure that your wiring complies with the regulations. This will ensure the safety and efficiency of your electric hot water heater.
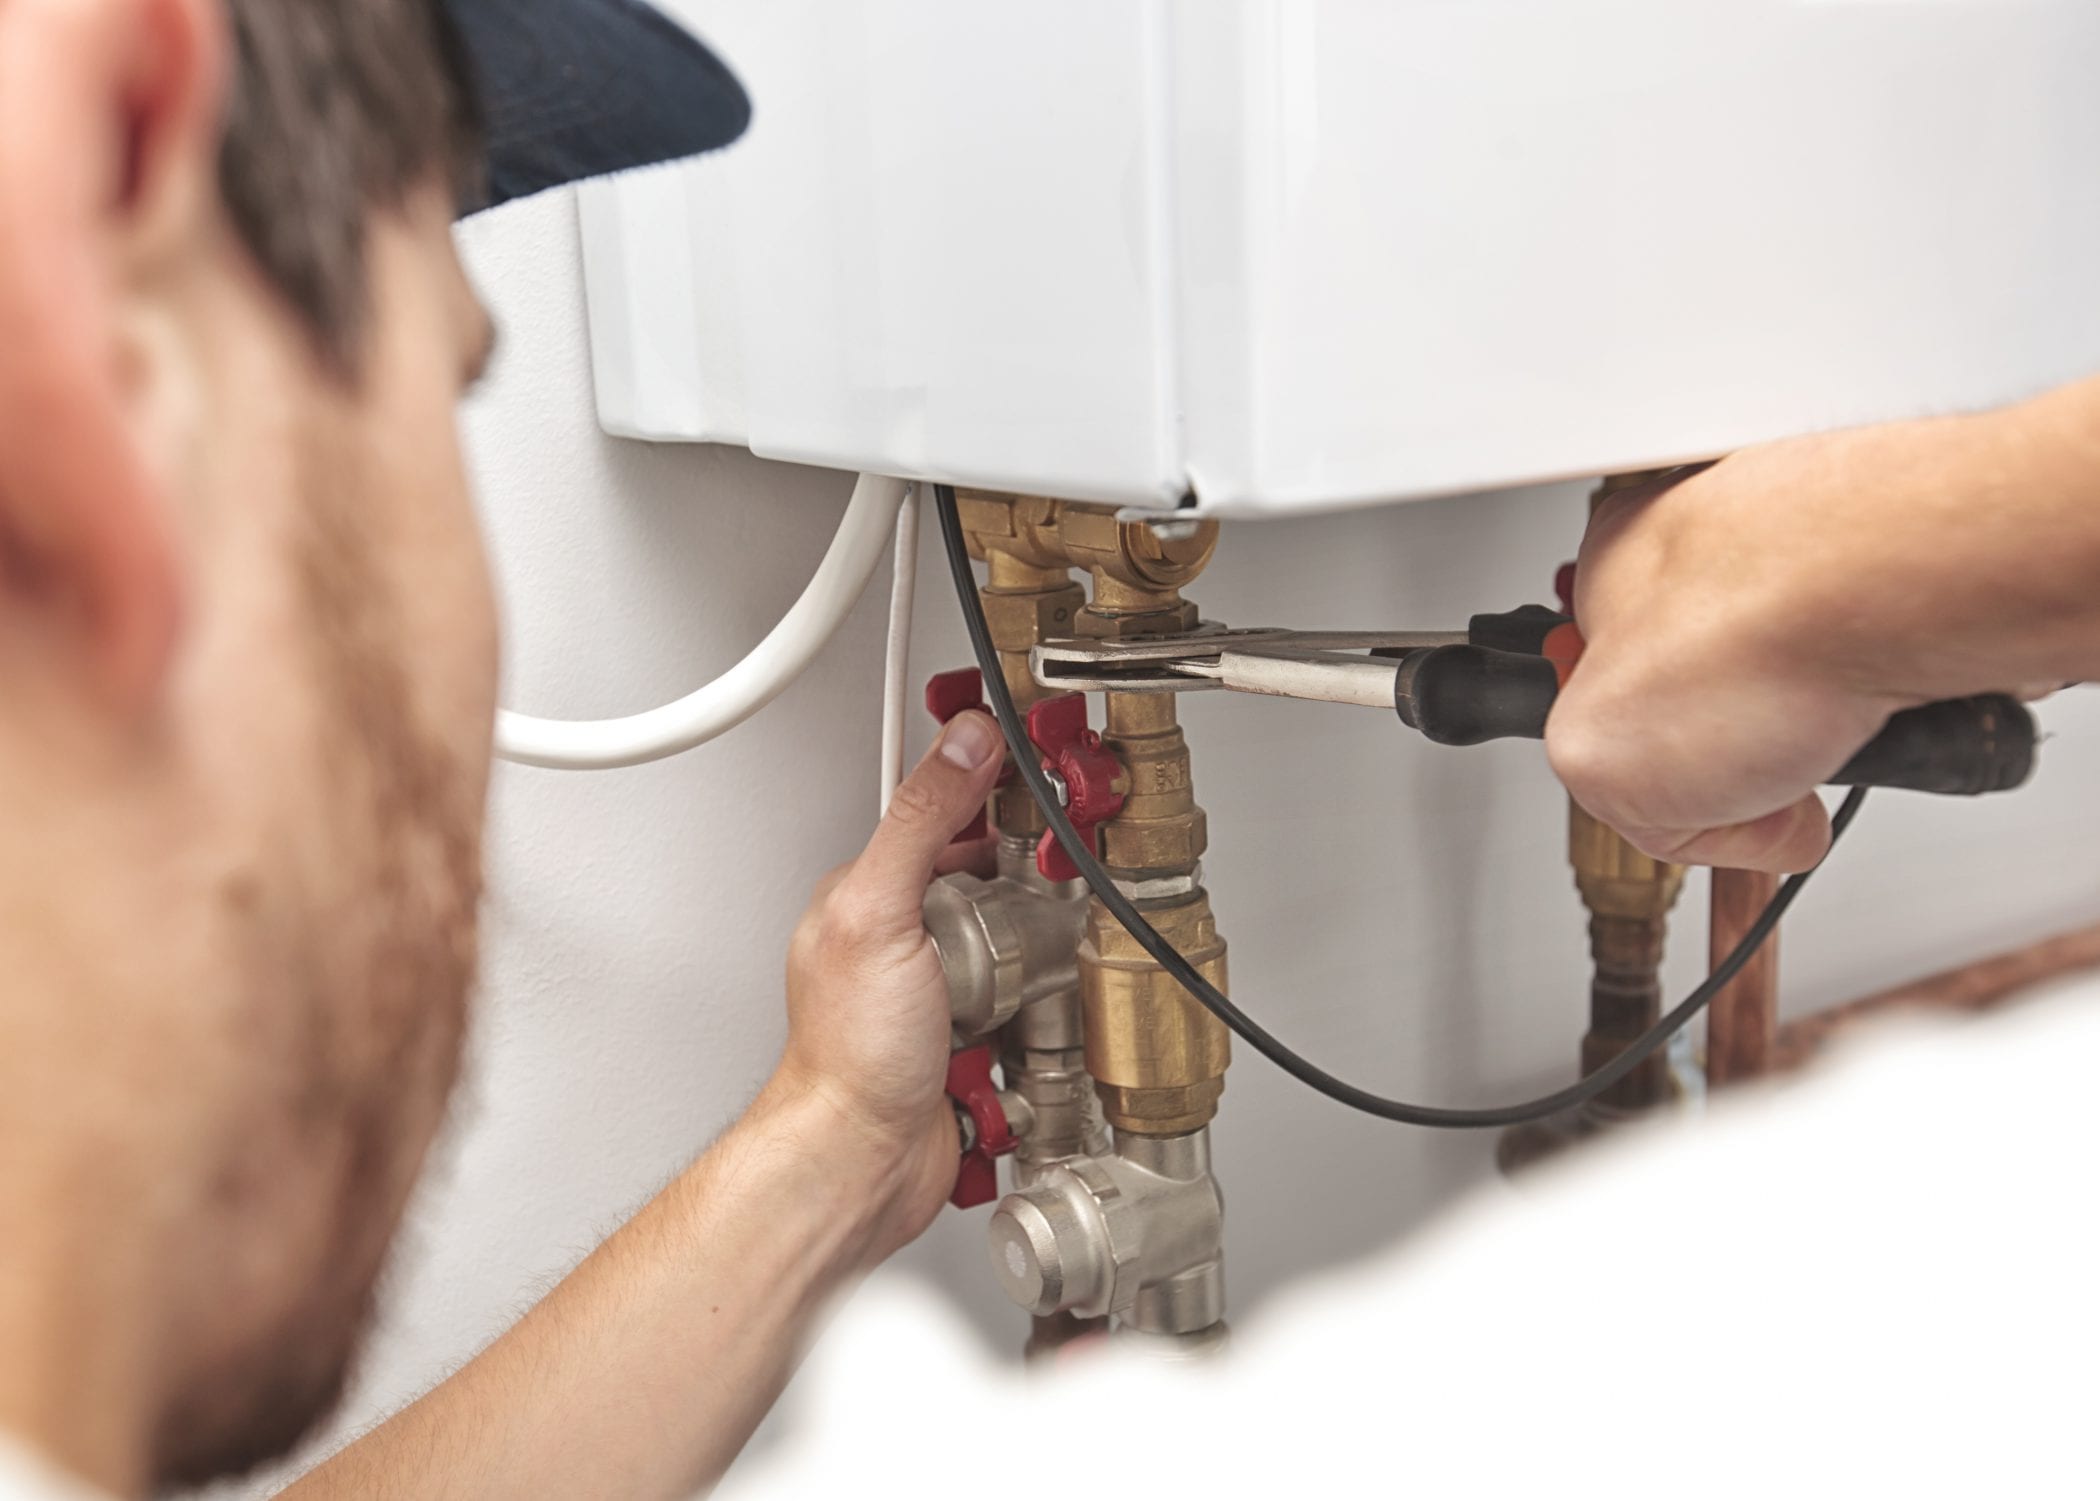
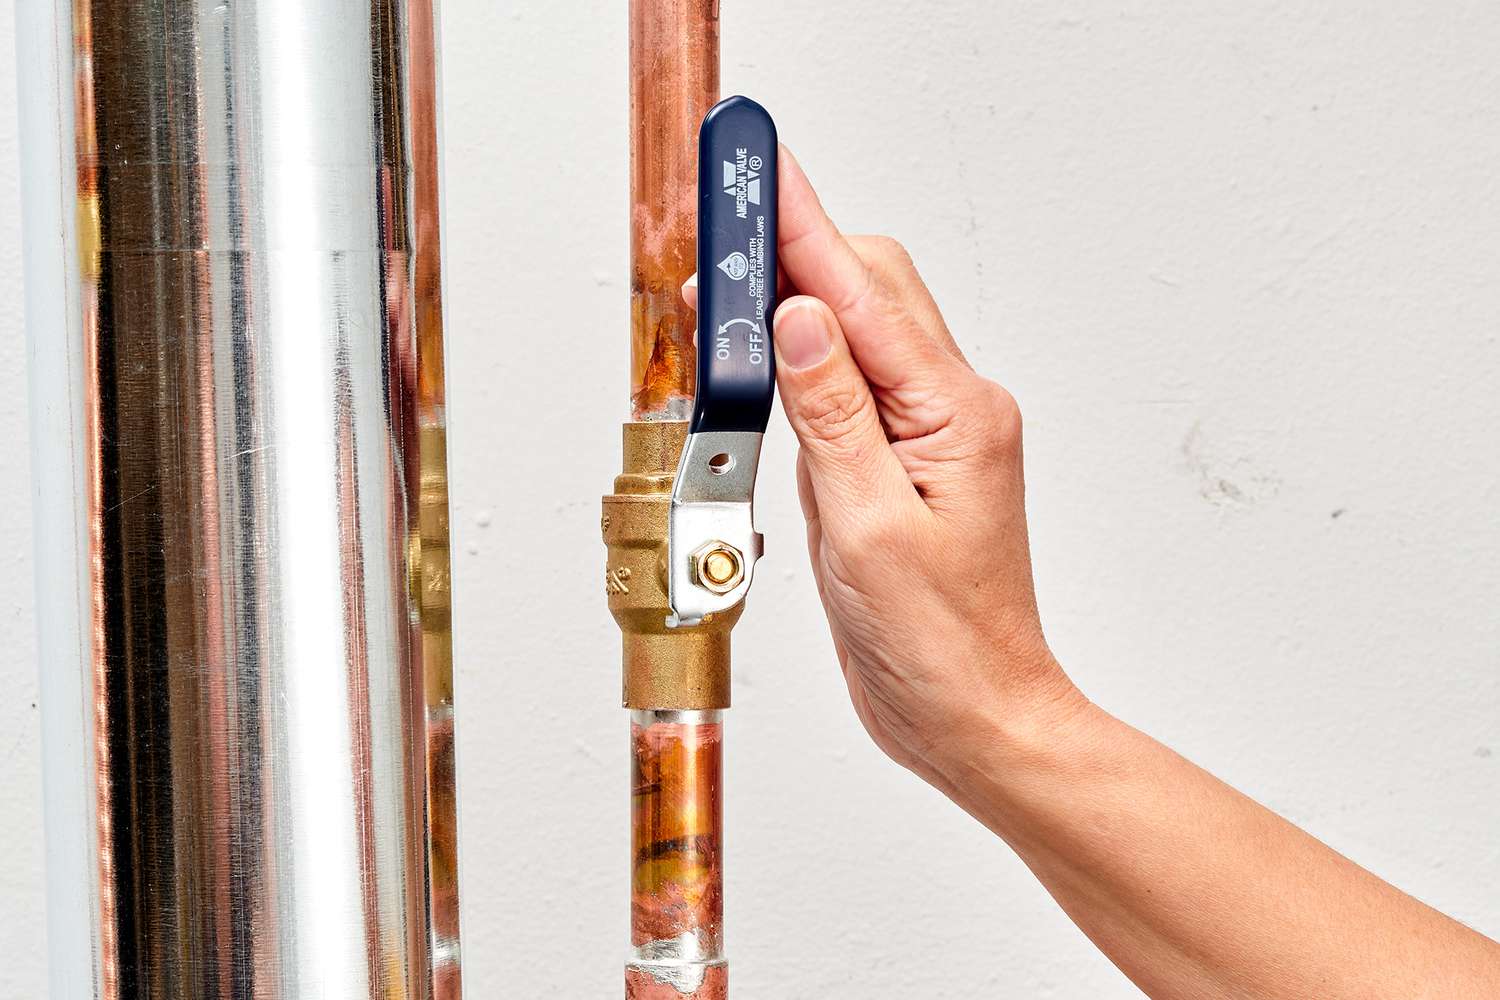
- Turn off the water supply: Before draining the water heater, shut off the water supply valve. This will prevent any accidental leakage or flooding while you work.
- Take your time: Rushing through the wiring process can lead to mistakes or overlooking important safety measures. Take your time to ensure that each connection is secure and each wire is properly insulated.
- Consult a professional if needed: If you are unsure about any aspect of wiring your electric hot water heater, it is always best to consult a licensed electrician. They have the knowledge and experience to ensure that the job is done correctly and safely.
By following these safety precautions, you can minimize the risk of accidents and ensure a safe working environment while wiring your electric hot water heater.
Tools and Materials Needed
Before you begin wiring your electric hot water heater, it’s essential to have the right tools and materials on hand. Here’s a list of what you’ll need:
- Insulated screwdriver: This tool is used to tighten and loosen electrical connections. Make sure it has a rubber or plastic handle to provide insulation.
- Wire strippers: Wire strippers are necessary for removing the insulation from the wires, allowing for proper connection.
- Electrical tape: Electrical tape is used to secure and insulate wire connections to prevent any short circuits.
- Wire nuts: Wire nuts are connectors used to join multiple wires together securely. They come in different sizes, so choose the appropriate ones for your wire gauge.
- Junction box: A junction box is used to house wire connections and protect them from damage or tampering.
- 2-pole circuit breaker: A 2-pole circuit breaker is necessary to connect the electrical supply to the water heater and protect the circuit from overloading.
- Wire connectors: These connectors are used to secure the wires to the terminal connections on the water heater.
- Flexible conduit: A flexible conduit provides protection and helps guide the wiring to the water heater.
- Wire cutters: Wire cutters are essential for cutting and trimming the wires to the correct length.
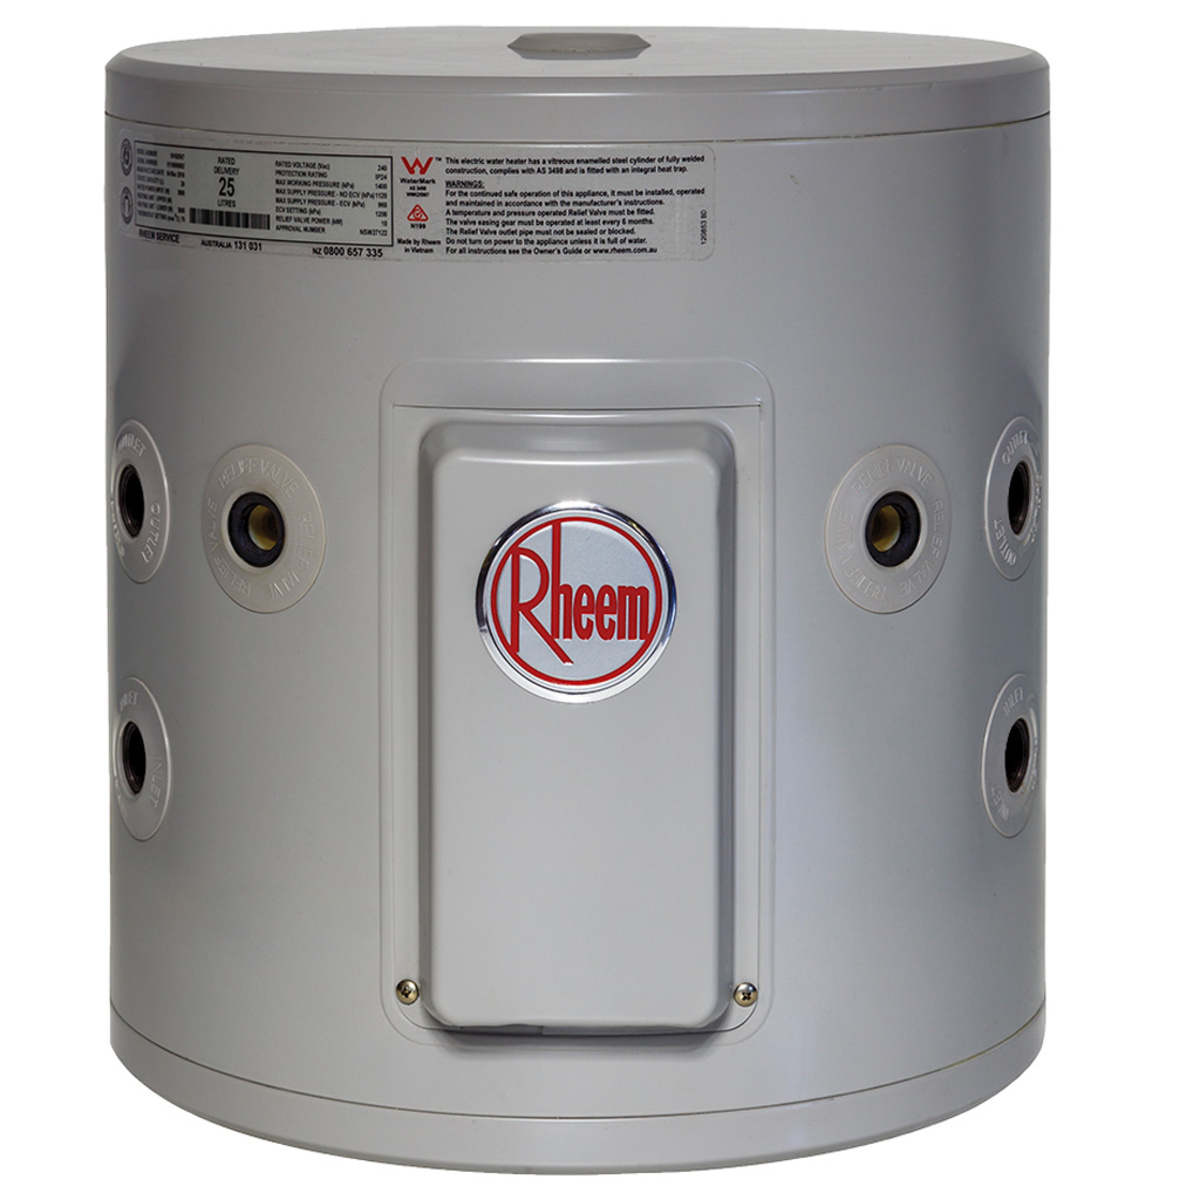
- Electric hot water heater: Of course, you’ll need the electric hot water heater itself. Make sure you have the necessary specifications and details about your specific model.
- Wiring diagram: Consult the manufacturer’s instructions or a wiring diagram specific to your water heater model. This will help you understand the correct wiring configuration.
Having these tools and materials readily available will ensure that you can complete the wiring process efficiently and safely.
Step 1: Shut off the Power
Before you begin wiring your electric hot water heater, the first and most crucial step is to shut off the power supply. This will ensure your safety while working with electrical components. Follow these steps:
- Locate the circuit breaker panel in your home. It is usually located in the basement, utility room, or garage.
- Identify the circuit breaker that controls the power supply to your hot water heater. It is typically labeled as “water heater” or indicated by a specific number.
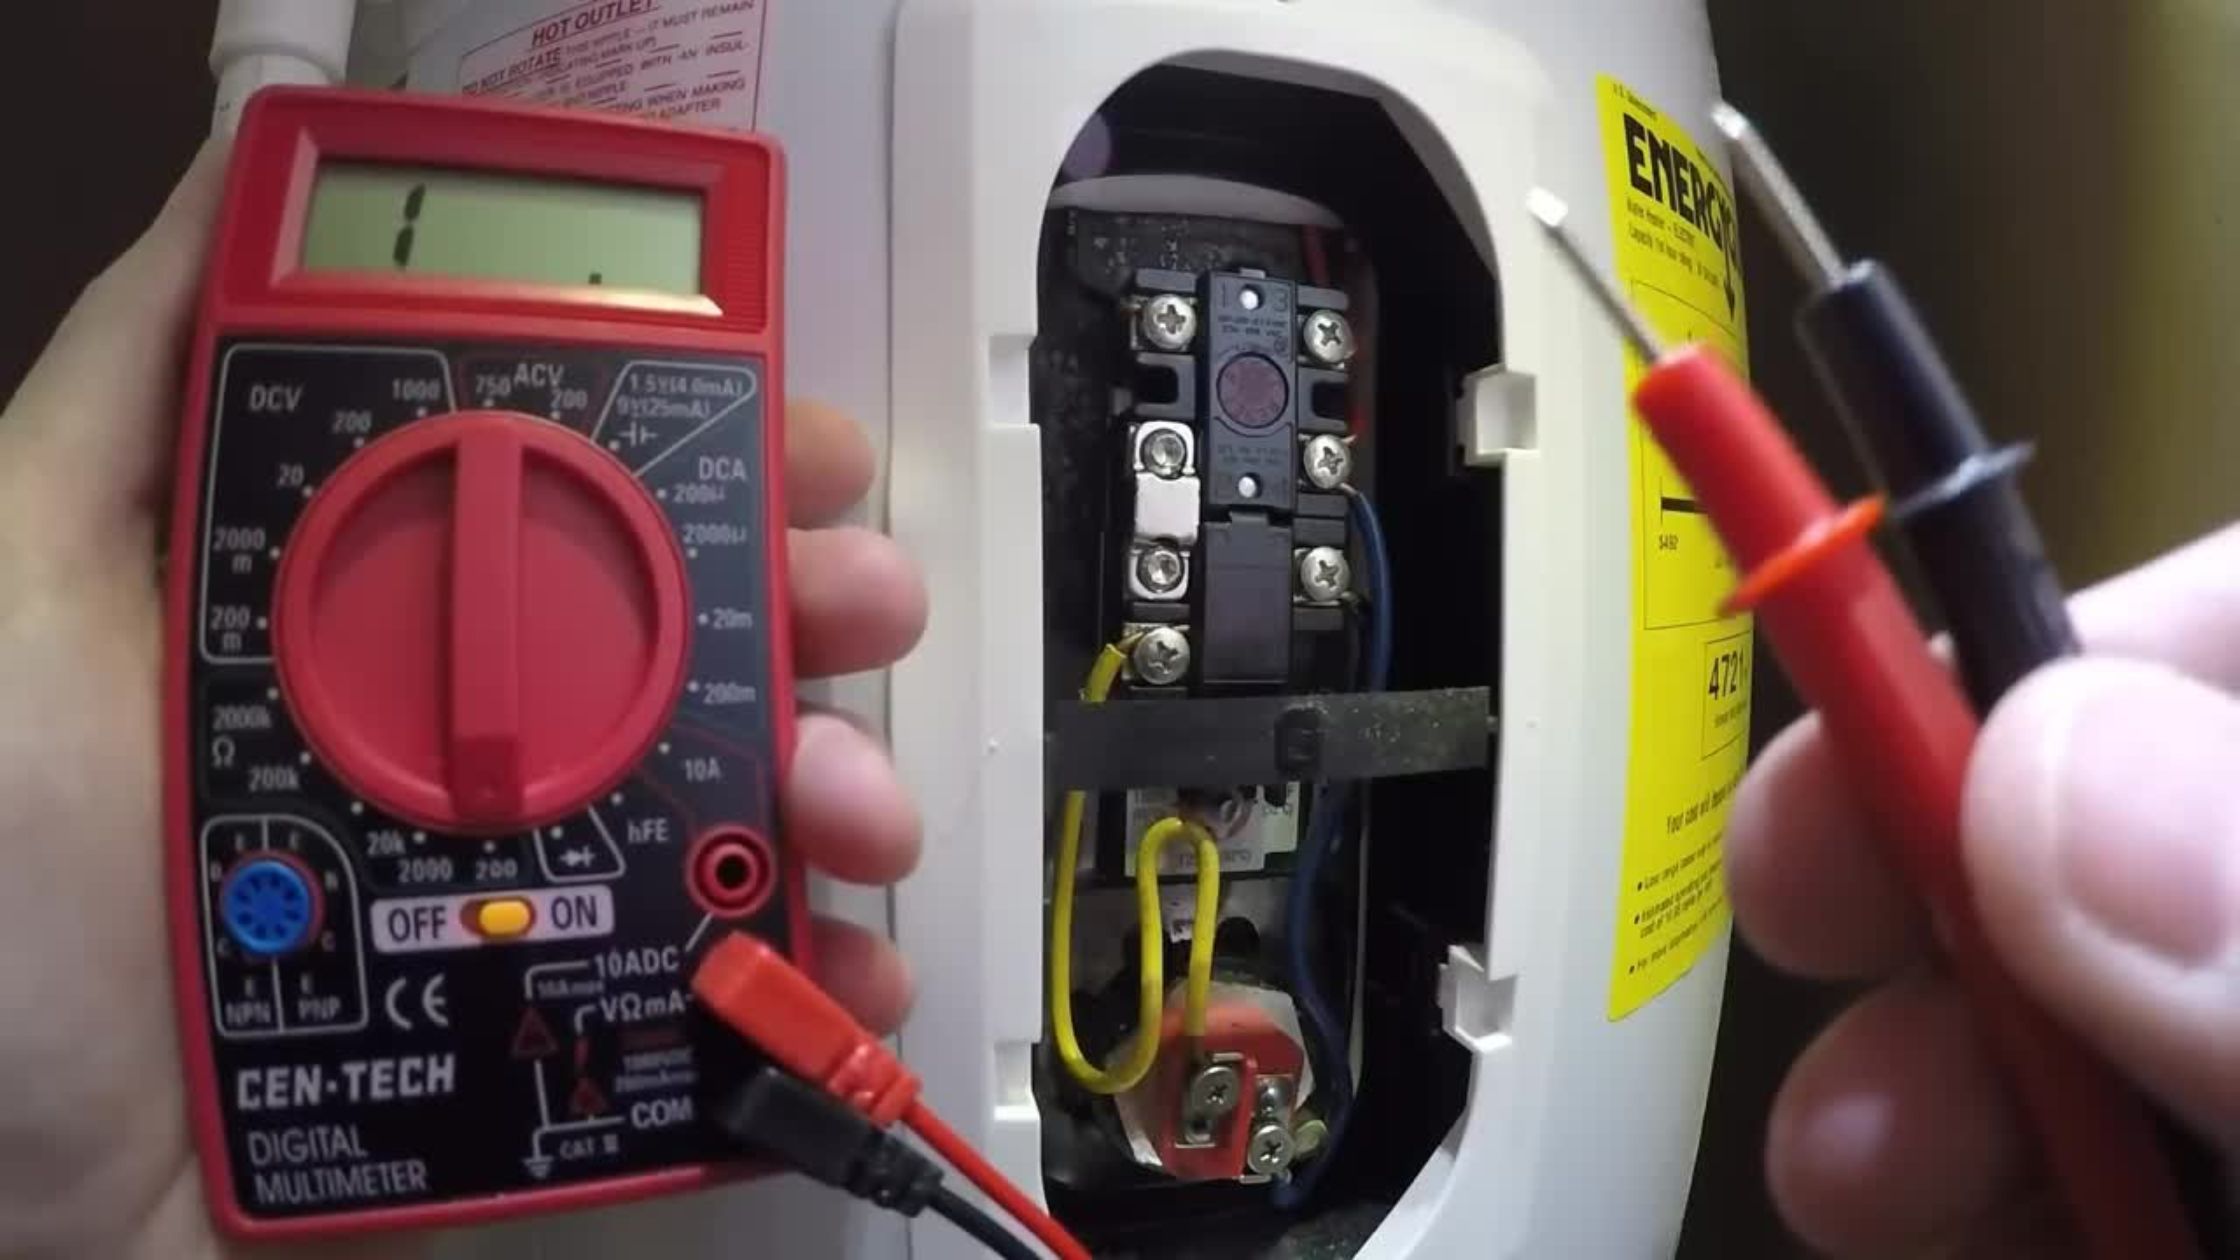
- Flip the switch on the circuit breaker to the “Off” position. This will shut off the power to the water heater. You can verify that the power is off by checking if the water heater no longer functions or by using a voltage tester.
- For added safety, place a piece of tape over the circuit breaker switch to indicate that it should not be turned back on while you are working on the wiring.
By turning off the power supply, you eliminate the risk of electrical shock or accidental injury while working on the wiring of your electric hot water heater.
Step 2: Drain the Water Heater
Before you begin working on the wiring of your electric hot water heater, it’s important to drain the tank to prevent any potential leaks or spills. Follow these steps to drain the water heater:
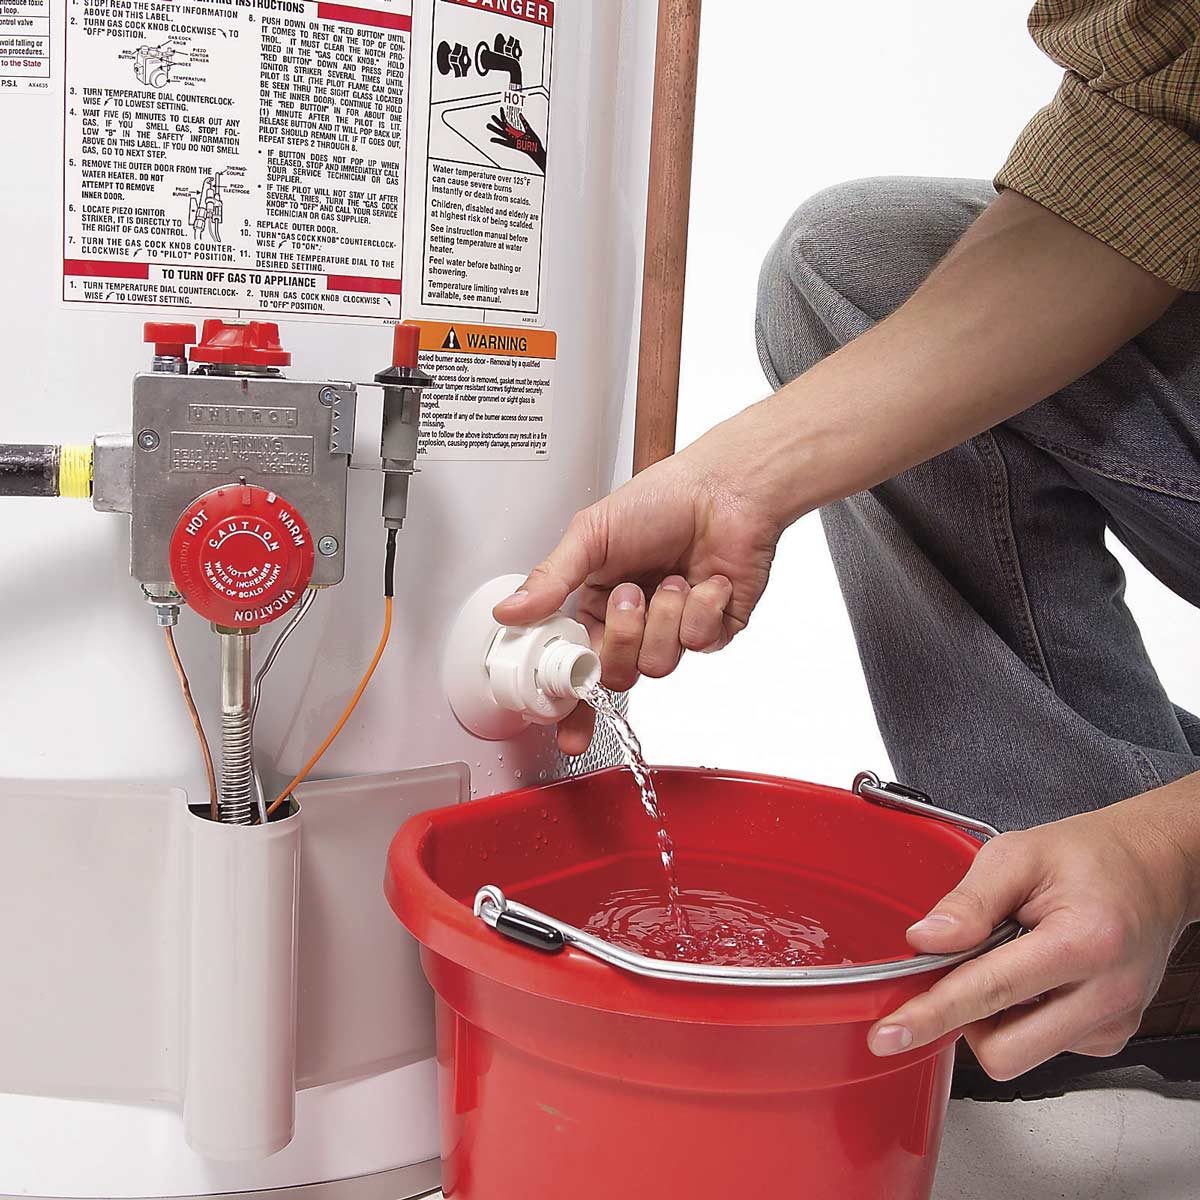
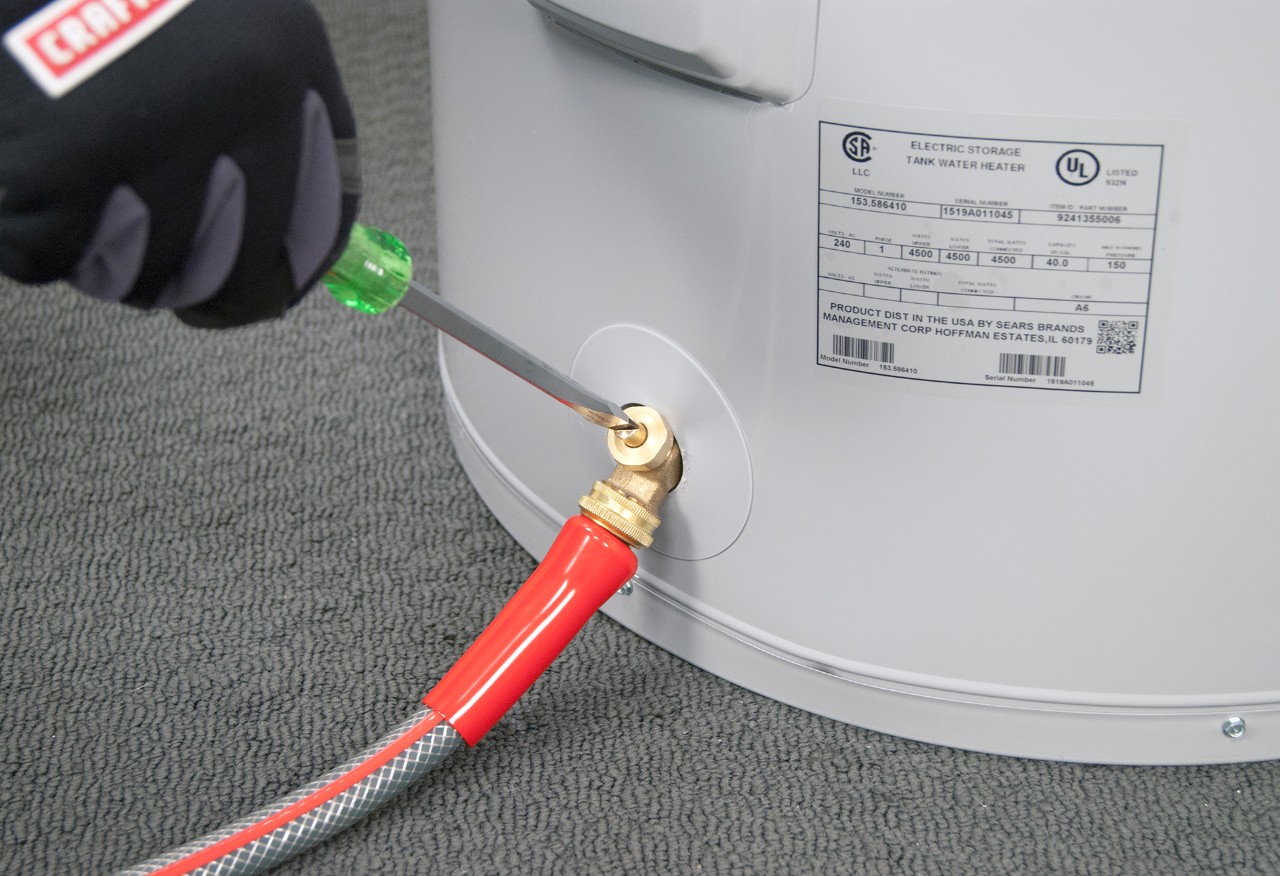
- Locate the drain valve at the base of the water heater. This valve is typically located near the bottom of the tank and is equipped with a handle or a faucet-like lever.
- Prepare a drainage area for the water to flow. Place a bucket or a drain pan beneath the drain valve to collect the water.
- Connect a garden hose to the drain valve if necessary. If the drain valve does not have a hose connection, you can attach a hose to the valve to direct the water to your desired location.
- Open the drain valve by turning it counterclockwise. Allow the water to flow out of the tank and into the bucket or drain pan. Be cautious as the water may be hot.
- Once the water has finished draining, close the drain valve by turning it clockwise. Double-check that there are no leaks around the valve.
Draining the water heater removes any excess water from the tank, making it easier and safer to work on the wiring. It also helps prevent any water damage or spills during the wiring process. Remember to exercise caution when working with hot water and ensure proper drainage to avoid any accidents or damage.
Read more: How To Turn On Electric Hot Water Heater
Step 3: Disconnect the Old Wiring
Now that you have shut off the power supply and drained the water heater, it’s time to disconnect the old wiring. Follow these steps to safely disconnect the old wiring:
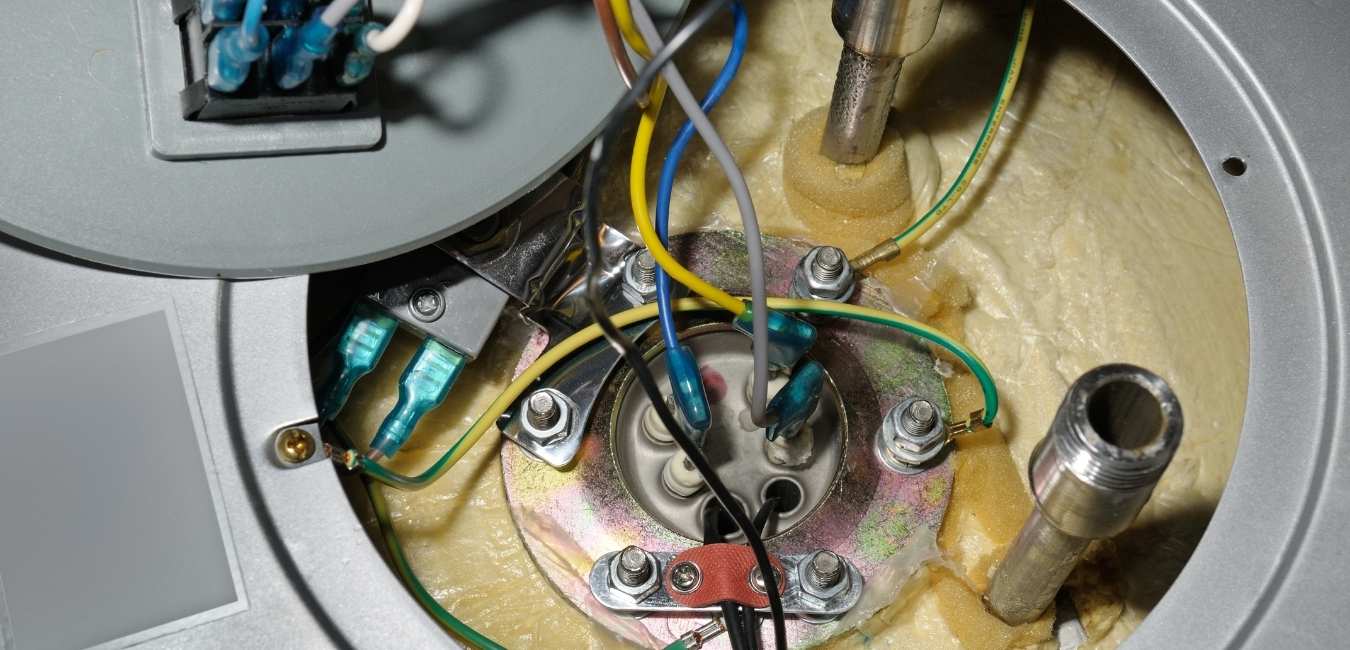
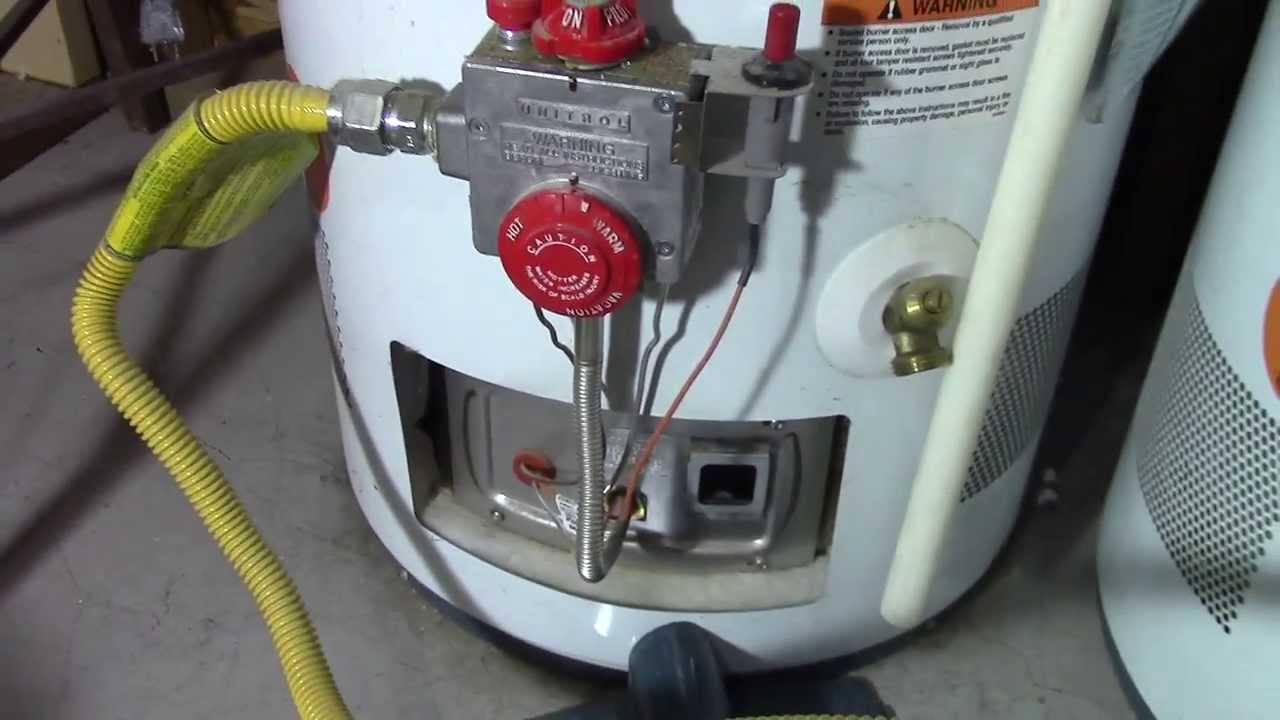
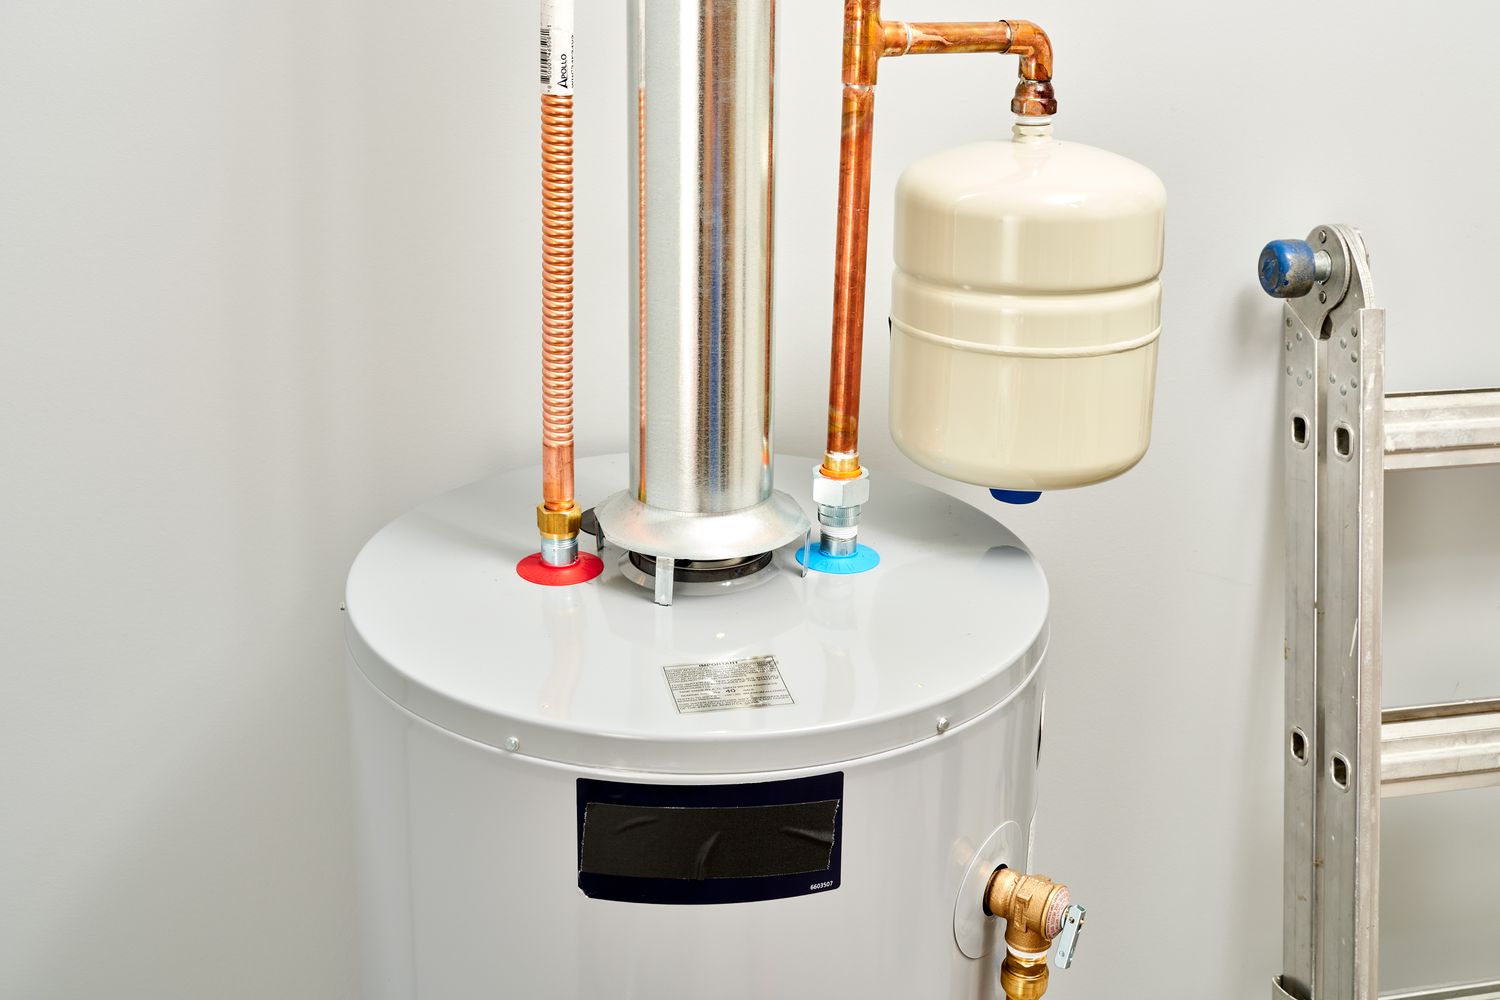
- Locate the electrical junction box where the wiring for the water heater is connected. This box is usually located near the top of the water heater, typically on the side or on the front.
- Open the junction box by removing the cover. This may require unscrewing a few screws or releasing tabs, depending on the type of junction box.
- Observe the existing wiring connections inside the junction box. Take note of how the wires are connected, as you will need to replicate the same connections with the new wiring.
- Start by disconnecting the wires from the terminal connections. Use a screwdriver to loosen the screws holding the wires in place. You may need to use wire strippers to remove any insulation or wire nuts that are securing the wires together.
- Gently pull out the old wiring from the junction box. Be careful not to damage any other components or wiring in the process.
- Inspect the old wiring for any signs of damage or wear. If you notice any frayed insulation or exposed wires, trim them back using wire cutters.
By following these steps, you have successfully disconnected the old wiring from the electrical junction box of your electric hot water heater. Remember to take note of the specific wiring connections as you will need this information when connecting the new wiring later on.
When wiring an electric hot water heater, make sure to use the correct gauge of wire and a dedicated circuit to handle the load. It’s important to follow the manufacturer’s instructions and local building codes to ensure safety and proper functioning.
Step 4: Prepare the New Wiring
With the old wiring disconnected, it’s time to prepare the new wiring for installation. Follow these steps to ensure that the new wiring is ready for connecting to your electric hot water heater:
- Measure and cut the new wiring according to the length needed to connect to the electrical junction box of the water heater. Make sure to leave some extra length for flexibility.
- Strip the insulation from the ends of the wires using wire strippers. The length of the stripped section should match the length of the terminal connections on the water heater.
- If necessary, install a new junction box or replace the existing one. Ensure that the new box is securely fastened and compatible with the size and type of your hot water heater.
- If you are using flexible conduit, attach it to the junction box using appropriate connectors or clamps. This will protect and guide the wiring to the water heater.
- Reroute the new wiring through the conduit or along the designated path towards the electrical junction box of the water heater. Be gentle to avoid any damage to the wires.
- Leave enough extra length of the new wiring inside the junction box for easy connection.
By following these steps, you have successfully prepared the new wiring for installation. Next, we will proceed with connecting the new wiring to the electrical components of the electric hot water heater.
Step 5: Connect the Wiring
With the new wiring prepared, it’s time to connect it to the electrical components of your electric hot water heater. Follow these steps to ensure a secure and proper connection:
- Refer to the manufacturer’s wiring diagram specific to your water heater model. This diagram will provide guidance on the correct wiring configuration.
- Inside the electrical junction box of the water heater, identify the terminal connections for the wiring.
- Connect the black (hot) wire from the new wiring to the appropriate terminal connection. Use a wire nut to secure the wire to the terminal. Make sure to twist the wire nut tightly.
- Connect the white (neutral) wire from the new wiring to the corresponding terminal connection. Again, use a wire nut to secure the wire to the terminal.
- If your water heater has a ground wire, connect the green or bare copper wire from the new wiring to the ground terminal connection. Use a wire nut or a grounding screw to secure the wire.
- Double-check that all connections are secure and insulated with electrical tape for added safety.
It is crucial to ensure that the wiring connections are made correctly and securely. Improper connections can lead to electrical hazards or damage to the water heater. If you are unsure about any step or connection, it’s best to consult a professional electrician for assistance.
With the wiring connected, we can proceed to the next step of testing the connections for proper functionality.
Step 6: Test the Connections
After connecting the new wiring to the electrical components of your electric hot water heater, it’s important to test the connections to ensure they are functioning properly. Follow these steps to test the connections:
- Double-check that all wire connections are secure and properly insulated with electrical tape.
- Turn the circuit breaker for the water heater back on at the main electrical panel.
- Observe the water heater to see if it powers up and starts to heat the water. You should hear the heating elements activating and feel the warmth if the connections are correct.
- If the water heater does not power up or there are any issues, turn off the circuit breaker immediately.
- Check all wiring connections again to ensure they are secure and properly connected to the correct terminals.
- If necessary, consult the manufacturer’s instructions or a professional electrician to troubleshoot and resolve any issues.
Testing the connections is crucial to ensure that the wiring has been done correctly and that the electric hot water heater is functioning as expected. It is important to address any issues or errors in the connections before proceeding further.
Next, we will move on to the next step of filling the water heater with water.
Read more: How Does An Electric Hot Water Heater Work
Step 7: Fill the Water Heater
After successfully testing the connections of your electric hot water heater, it’s time to fill the tank with water. Follow these steps to ensure proper water filling:
- Close the drain valve on the water heater if it’s not already closed.
- Turn on the water supply valve to allow water to flow into the tank.
- Monitor the water heater as it fills. You may hear the sound of water flowing and see the water level rising in the tank.
- Once the tank is filled, check for any leaks around the water connections or the drain valve. If you notice any leaks, shut off the water supply and address the issue before proceeding further.
It’s crucial to ensure a proper water fill to prevent any damage to the heating elements and ensure optimal performance of your electric hot water heater. By following these steps, you have successfully filled the tank with water.
Next, we will move on to the final step of restoring the power supply to the water heater.
Step 8: Restore Power
With the water heater tank filled with water, it’s time to restore the power supply to your electric hot water heater. Follow these steps to safely restore the power:
- Double-check that the drain valve is closed and there are no leaks around the connections or the drain valve.
- Go to the main electrical panel where the circuit breaker for the water heater is located.
- Locate the circuit breaker that controls the power supply to the water heater.
- Flip the switch on the circuit breaker to the “On” position, restoring power to the water heater.
- Wait for the water heater to heat the water to the desired temperature. This may take some time depending on the size of the tank and the heating capacity of the unit.
- Check for any unusual sounds, leaks, or issues with the water heater as it heats the water. If you notice anything out of the ordinary, immediately turn off the power supply and address the issue.
- Monitor the water temperature using the temperature control on the water heater and adjust it as needed to meet your requirements.
By following these steps, you have successfully restored the power supply to your electric hot water heater. Congratulations! You can now enjoy the benefits of a fully functioning electric hot water heater in your home.
Remember to periodically check the water heater for any signs of leaks or issues and perform regular maintenance to ensure its longevity and efficiency.
Thank you for following this step-by-step guide on wiring an electric hot water heater. Stay safe and enjoy the consistent supply of hot water!
Conclusion
Wiring an electric hot water heater is a task that requires careful attention to detail and adherence to safety precautions. By following the step-by-step guide outlined in this article, you can successfully wire your electric hot water heater and ensure it operates efficiently and safely.
Throughout the process, it’s crucial to prioritize safety. Always shut off the power supply to the water heater before starting any electrical work and wear appropriate safety gear, such as gloves and safety glasses. Take your time to understand the wiring connections and consult the manufacturer’s instructions or a professional electrician if needed.
Remember to gather all the necessary tools and materials before starting the project, including insulated screwdrivers, wire strippers, wire nuts, and a junction box. Having the right tools ensures that the wiring process is smooth and efficient.
Each step, from shutting off the power to filling the water heater and restoring power, must be carried out carefully and accurately. Testing the connections is essential to ensure that the wiring has been done correctly and that the water heater functions as intended.
Once the water heater is filled with water and the power is restored, you can enjoy the benefits of a fully operational electric hot water heater. Monitor the water heater for any signs of leaks or issues and perform regular maintenance to ensure its longevity and optimal performance.
Remember, if you are uncertain about any aspect of the wiring process or electrical work in general, it’s always best to consult a licensed professional to ensure the job is done correctly and safely.
With the proper knowledge, tools, and precautions, you can confidently wire your electric hot water heater, ensuring a consistent supply of hot water in your home.
Frequently Asked Questions about How To Wire An Electric Hot Water Heater
Was this page helpful?
At Storables.com, we guarantee accurate and reliable information. Our content, validated by Expert Board Contributors, is crafted following stringent Editorial Policies. We're committed to providing you with well-researched, expert-backed insights for all your informational needs.

0 thoughts on “How To Wire An Electric Hot Water Heater”