Articles
How To Check Electric Water Heater
Modified: August 26, 2024
Learn how to check your electric water heater with our comprehensive articles. Gain insights on troubleshooting, maintenance, and safety precautions.
(Many of the links in this article redirect to a specific reviewed product. Your purchase of these products through affiliate links helps to generate commission for Storables.com, at no extra cost. Learn more)
Introduction
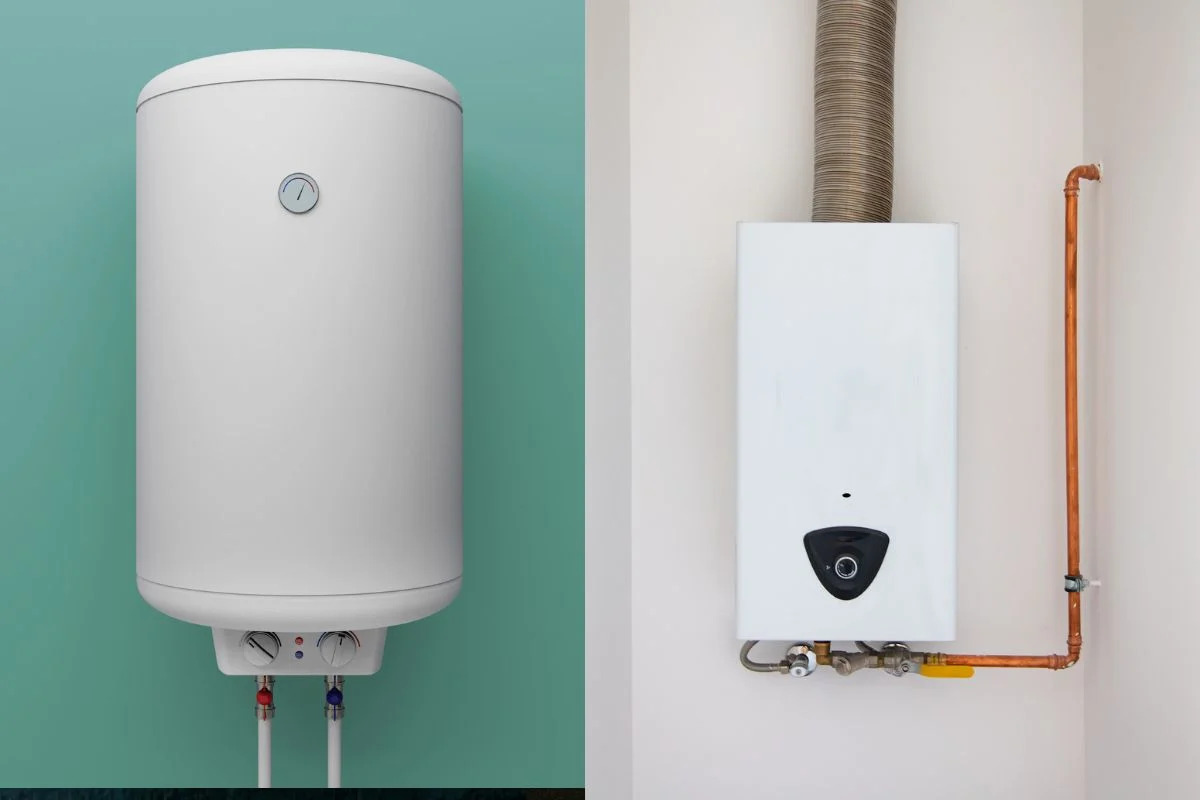
When it comes to home appliances, the electric water heater plays a vital role in providing us with hot water for various domestic purposes. However, just like any other device, electric water heaters can sometimes encounter issues that may require troubleshooting.
If you’re facing problems with your electric water heater, it’s important to check its condition and functioning before considering calling a professional plumber. By knowing how to check your electric water heater, you can potentially identify the cause of the problem and even resolve it yourself.
In this article, we’ll guide you through the step-by-step process of checking your electric water heater to determine if there are any issues with its components. From inspecting the heating elements to testing the thermostat, we’ll cover everything you need to know to troubleshoot your electric water heater effectively.
Before we dive into the details, it’s important to note that working with electricity can be dangerous, especially if you’re not familiar with electrical systems. If at any point you feel unsure or uncomfortable, it’s always best to seek the assistance of a professional.
Now, let’s gather the necessary tools and materials and get started with the troubleshooting process for your electric water heater.
Key Takeaways:
- Regularly checking your electric water heater’s components, such as heating elements and thermostat, can help troubleshoot issues and ensure optimal performance. Prioritize safety and seek professional help if needed.
- Inspecting insulation, seals, and wiring connections is crucial for maintaining energy efficiency and preventing performance issues. By following the step-by-step process, you can confidently troubleshoot your electric water heater.
Read more: How To Check Water Heater Element
Step 1: Gather the Tools and Materials
Before you begin checking your electric water heater, it’s crucial to have the right tools and materials at hand. Here’s a list of items you’ll need:
- Protective gear: Safety should always be a priority. Make sure you have the necessary safety equipment, such as gloves and safety goggles, to protect yourself from any potential hazards.
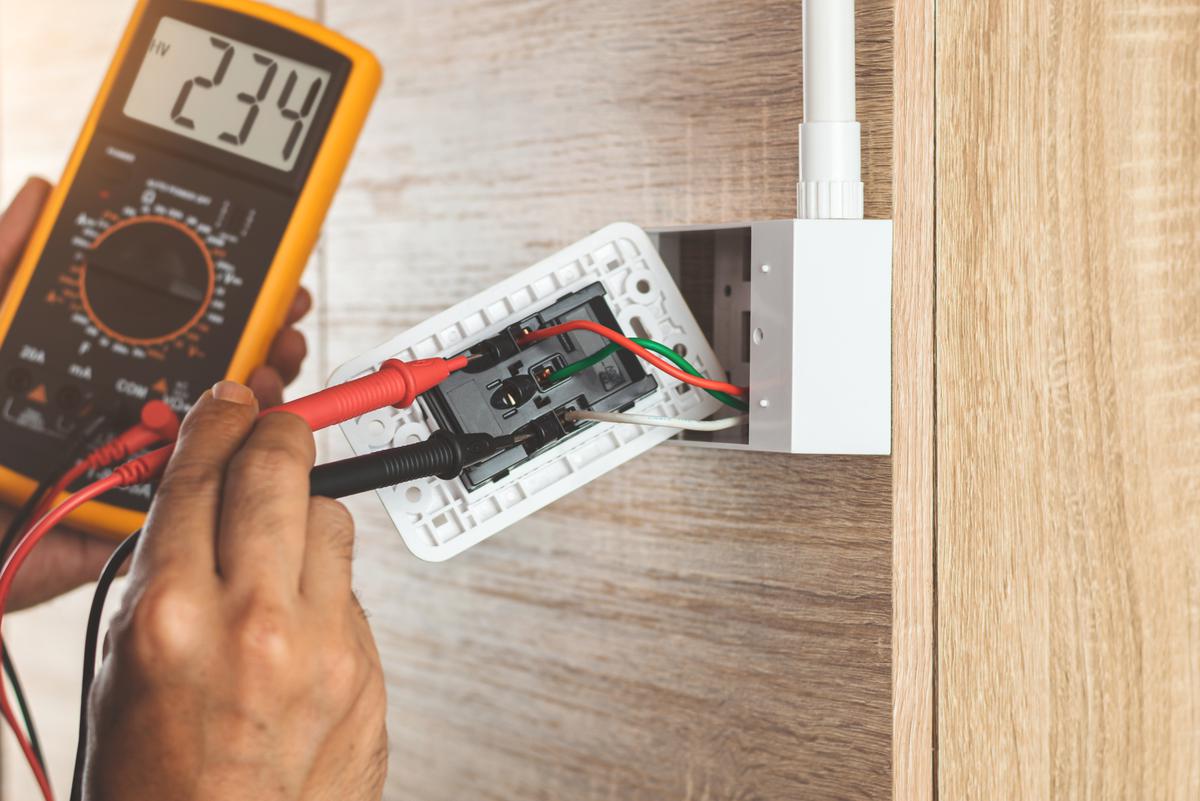
- Voltmeter: A voltmeter is an essential tool for checking the electrical connections and voltage in your water heater.
- Screwdriver: A flathead or Phillips screwdriver will be needed to remove the access panel and inspect the components.
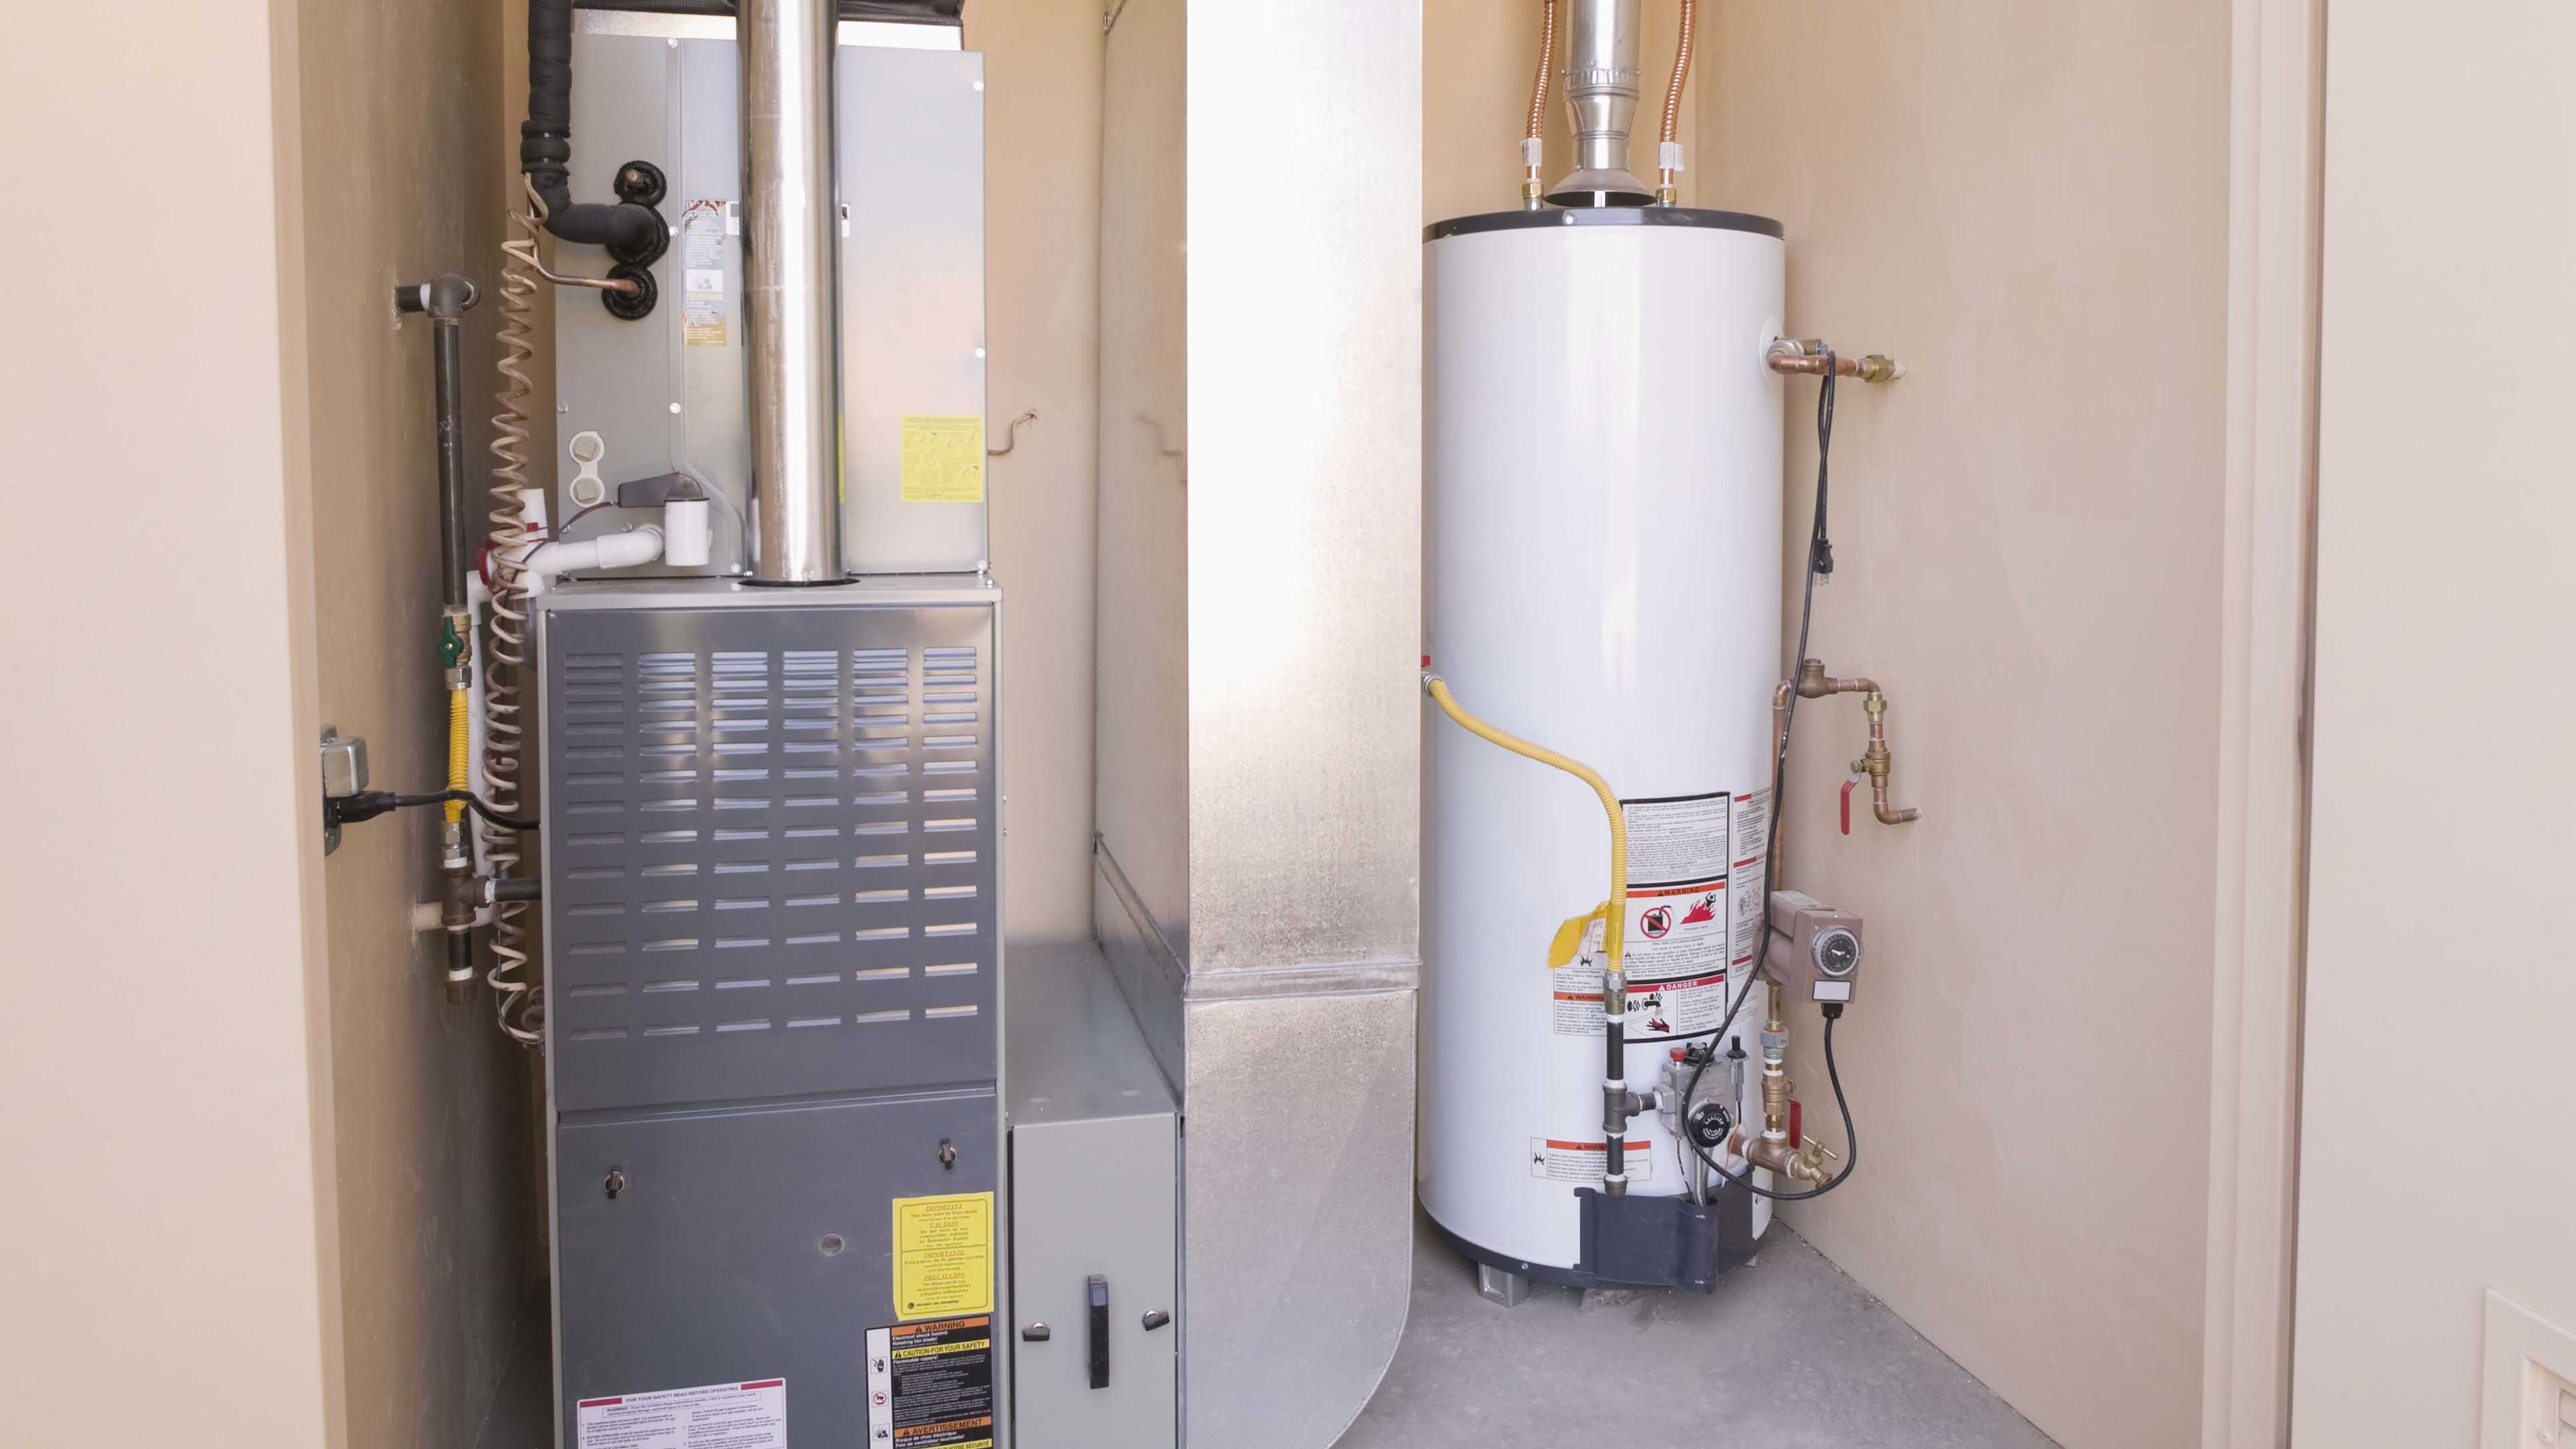
- Flashlight: Since electric water heaters are often located in dimly lit areas like basements or utility rooms, having a flashlight will help you see the components clearly.
- Replacement parts (optional): If you suspect a specific component is faulty, it’s a good idea to have replacement parts on hand in case they need to be replaced.
Once you have all the necessary tools and materials ready, you’ll be well-prepared to move on to the next steps of checking your electric water heater.
Step 2: Turn off the Power Supply
Before you begin inspecting your electric water heater, it’s crucial to ensure your safety by turning off the power supply to the unit. Here’s how you can do it:
- Locate the circuit breaker: Find the circuit breaker panel in your home, usually located in the basement, utility room, or garage. Look for the breaker labeled for your water heater. If it’s not clearly marked, refer to the electrical panel’s diagram to identify the correct breaker.
- Turn off the breaker: Once you’ve located the correct breaker, switch it to the “off” position. This will cut off power to the electric water heater, preventing any accidental electrical shocks while you work on it.
- Double-check the power supply: To ensure complete safety, use a non-contact voltage tester or voltmeter to confirm that there is no power flowing to the water heater. This step is essential to avoid any potential accidents during the inspection process.
Remember, working with electricity can be dangerous, and it’s crucial to take the necessary precautions. Always make sure to turn off the power supply before starting any work on your electric water heater.
With the power supply switched off, you can now proceed to the next step: locating the access panel on your electric water heater.
Step 3: Locate the Access Panel
Once you’ve turned off the power supply to your electric water heater, the next step is to locate the access panel. The access panel provides you with access to the inner components of the water heater for inspection and maintenance. Here’s what you need to do:
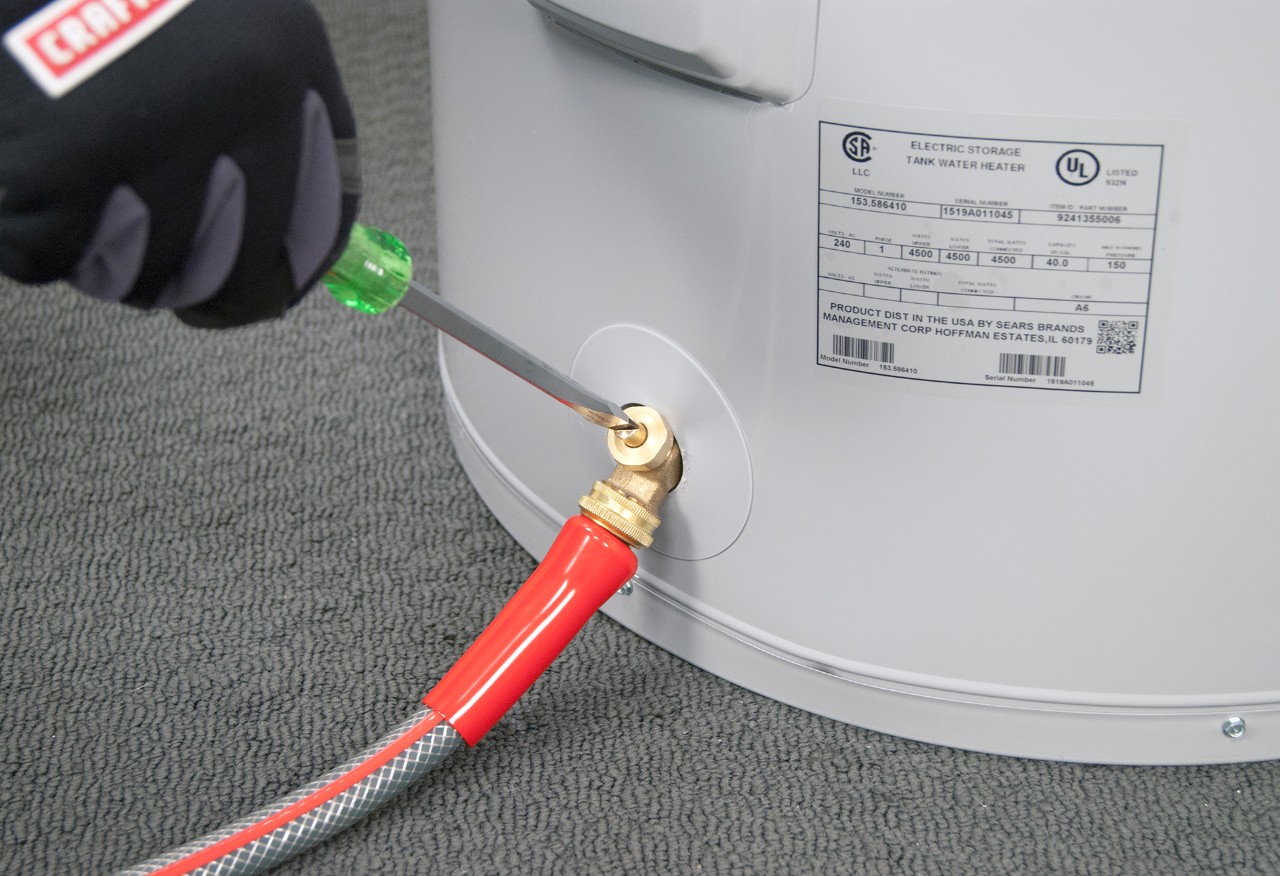
- Look for the access panel: The location of the access panel can vary depending on the make and model of your electric water heater. In most cases, the access panel is located on the side of the unit, near the bottom. It is typically secured with screws.
- Remove the screws: Use a screwdriver to remove the screws that hold the access panel in place. Keep the screws in a safe place, as you’ll need them when reassembling the panel later.
- Set aside the access panel: Once the screws are removed, carefully set aside the access panel. Take note of any insulation or seals that may be attached to it, as they will need to be inspected later.
With the access panel removed, you now have a clear view of the internal components of your electric water heater. This will allow you to conduct a thorough inspection of the heating elements, thermostat, wiring connections, insulation, and seals, as we’ll explore in the following steps.
Now that you’ve successfully located the access panel, it’s time to move on to the next step: inspecting the heating elements of your electric water heater.
Step 4: Inspect the Heating Elements
Once you have accessed the internal components of your electric water heater, the next step is to inspect the heating elements. The heating elements are responsible for heating the water inside the tank. Here’s how you can inspect them:
- Identify the heating elements: The electric water heater typically has two heating elements – one at the top and another at the bottom of the tank. They are usually metal rods with electrical terminals.
- Inspect for visible signs of damage: Carefully examine both heating elements for any visible signs of damage, such as corrosion, burning, or cracks. If you notice any of these issues, the heating element may need to be replaced.
- Check for mineral buildup: Over time, mineral deposits can accumulate on the heating elements, reducing their efficiency. Look for any signs of mineral buildup, such as white or crusty deposits on the surface of the elements. This buildup can be removed by gently scrubbing the elements with a soft brush.
- Ensure proper alignment: Make sure that the heating elements are properly aligned and firmly attached to the tank. Loose or misaligned elements can cause poor heating performance.
Inspecting the heating elements is an important step in diagnosing the performance of your electric water heater. If you notice any damage or excessive mineral buildup, it may be necessary to replace the heating element to restore optimal functioning.
Now that you’ve inspected the heating elements, it’s time to move on to the next step: testing the heating elements for continuity.
Step 5: Test the Heating Elements for Continuity
Testing the heating elements for continuity is an essential step in troubleshooting your electric water heater. This test will determine if the heating elements are functioning properly and can provide the necessary heat to the water. Here’s how you can test the continuity of the heating elements:
- Set your voltmeter: Switch your voltmeter to the continuity or resistance setting. Refer to the user manual of your specific voltmeter if you’re unsure of how to do this.
- Turn off the power supply: Before proceeding with the test, ensure that the power supply to the electric water heater is switched off. Safety should always be your top priority when working with electrical components.
- Disconnect the wires: Locate the wires that are connected to the heating elements and carefully disconnect them. Take note of the wire connections or take pictures for reference when reconnecting them later.
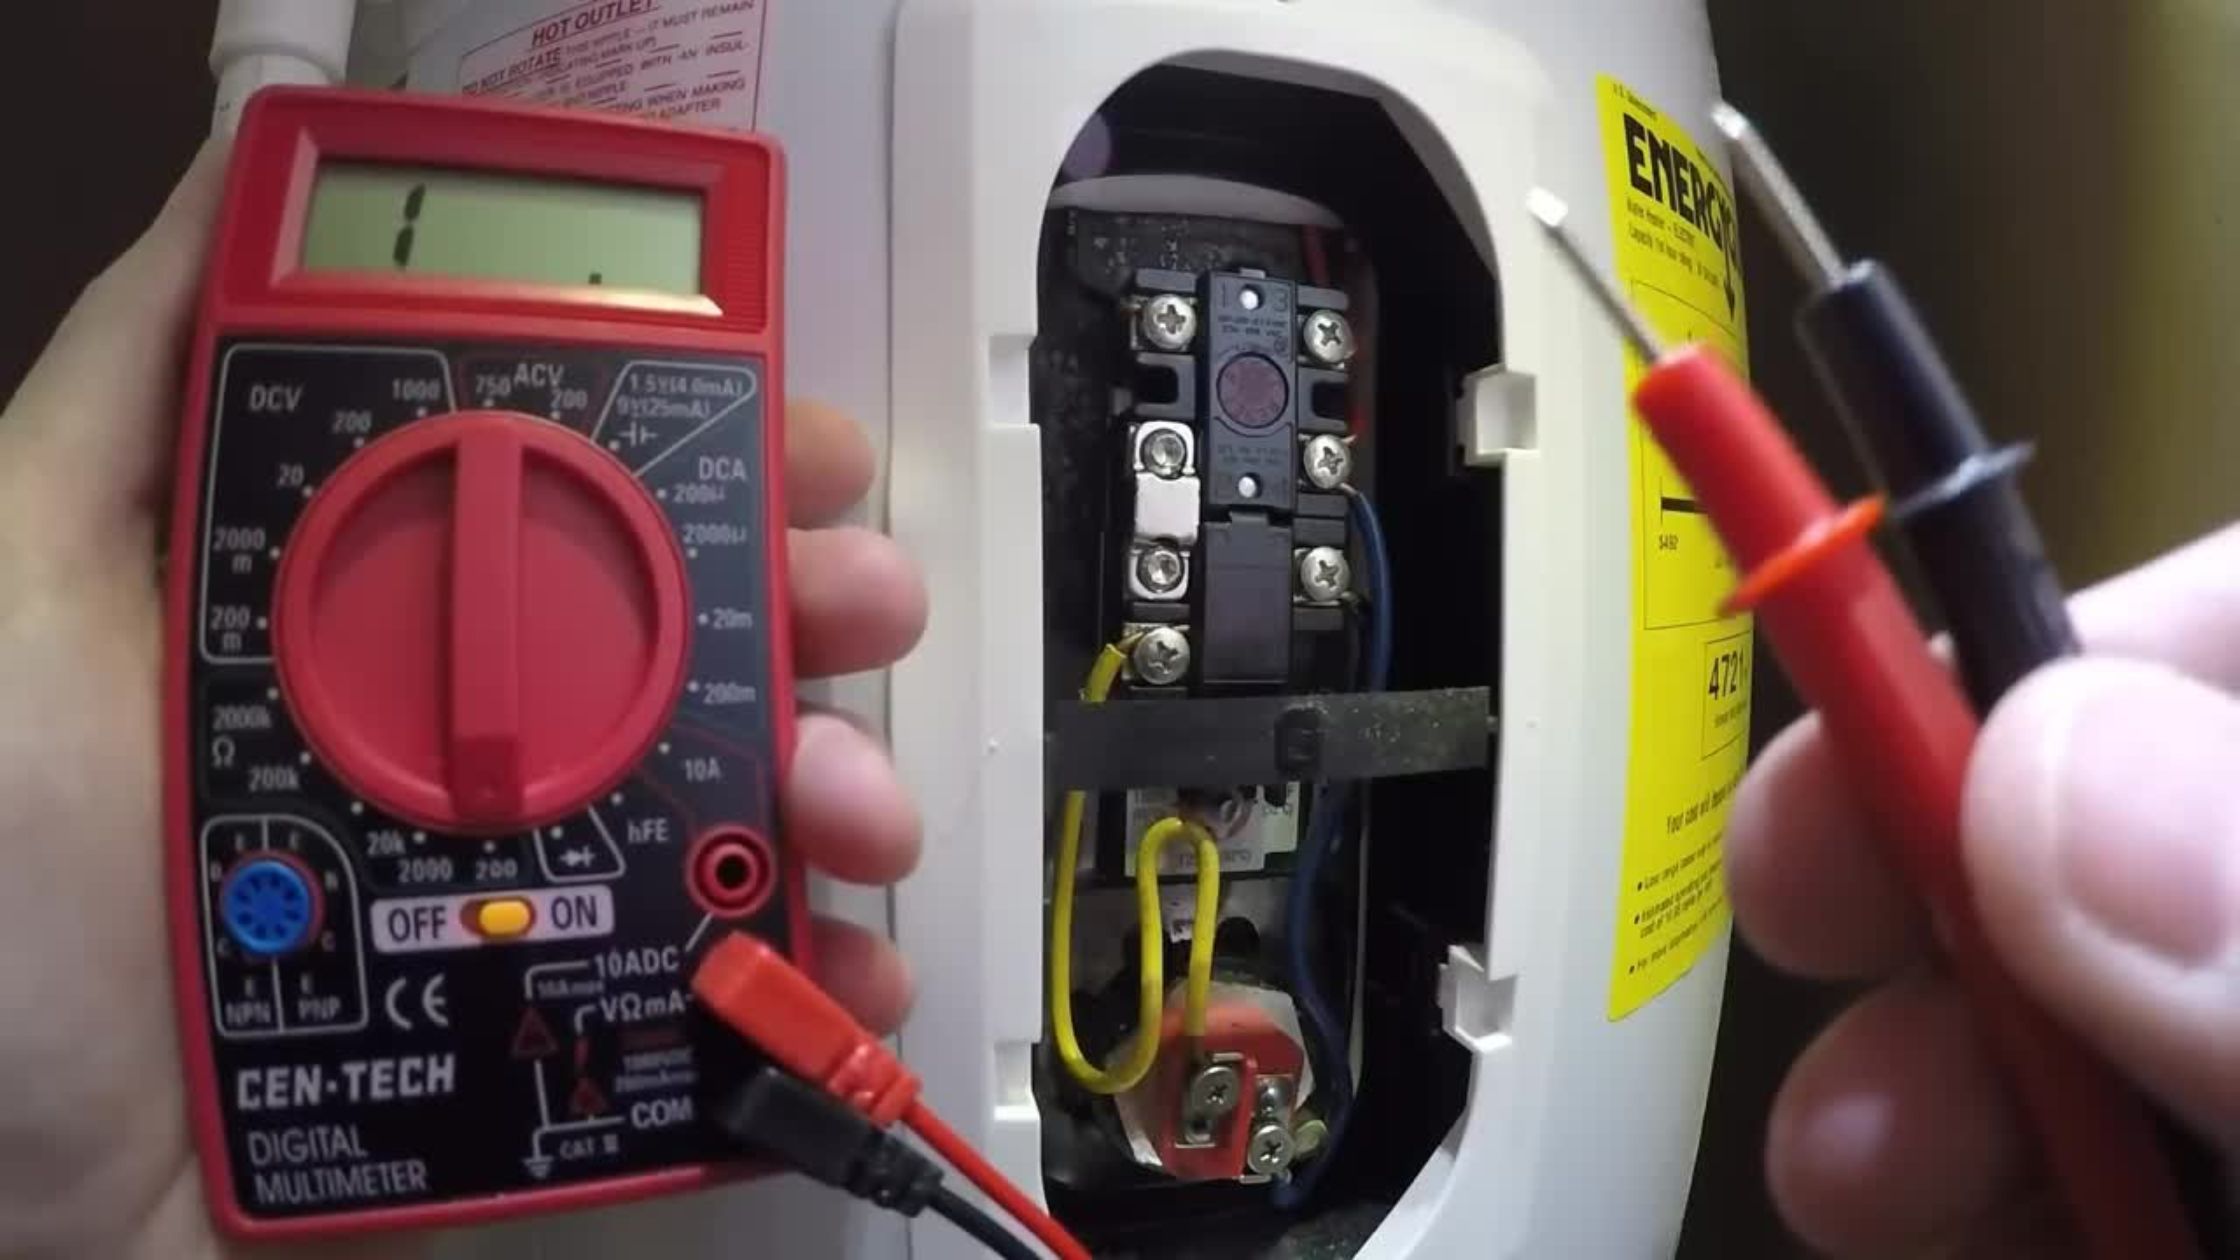
- Test the heating element: With the wires removed, place the probes of your voltmeter on the electrical terminals of the heating element. If the voltmeter reading shows continuity (usually indicated by a beep or a low resistance reading), it means that the heating element is functioning properly. If there is no continuity, it indicates a faulty element that needs to be replaced.
- Repeat the test for the second heating element: Follow the same steps to test the continuity of the second heating element.
By testing the heating elements for continuity, you can determine if they are the source of the problem. If either of the heating elements fails the continuity test, it’s likely that it needs to be replaced to restore the hot water supply in your electric water heater.
Now that you’ve tested the heating elements, it’s time to move on to the next step: checking the thermostat settings of your electric water heater.
Tip: To check an electric water heater, first turn off the power and water supply. Then, use a multimeter to test the heating elements for continuity. If there is no continuity, the element may need to be replaced.
Step 6: Check the Thermostat Settings
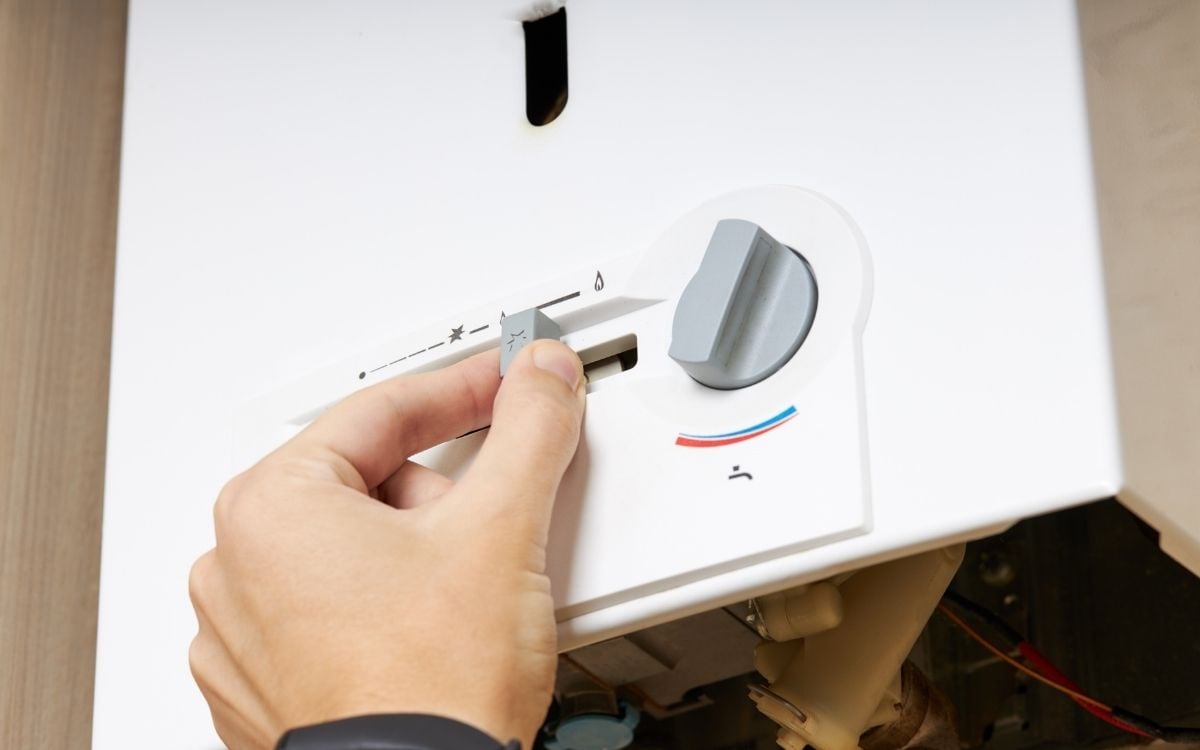
The thermostat in your electric water heater controls the temperature of the water inside the tank. If the water is not reaching the desired temperature or is too hot, it’s important to check the thermostat settings. Here’s how you can do it:
- Locate the thermostat: The thermostat is usually located behind a cover on the side of the electric water heater. Remove the cover using a screwdriver.
- Take note of the current settings: Once the cover is removed, take note of the current temperature settings of the thermostat. It’s important to ensure that the temperature settings are suitable for your needs and preferences.
- Adjust the thermostat settings: If you need to adjust the temperature settings, use a screwdriver or the designated adjustment dial on the thermostat. Gradually turn the dial to increase or decrease the temperature settings according to your desired level.
- Wait for the water heater to stabilize: After making any adjustments to the thermostat settings, allow the water heater some time to stabilize. This will ensure that the water temperature accurately reflects the new settings.
Checking the thermostat settings is a simple yet crucial step in troubleshooting your electric water heater. By ensuring that the thermostat is set at the appropriate temperature, you can optimize the performance of your water heater and achieve the desired hot water temperature.
Now that you’ve checked the thermostat settings, it’s time to move on to the next step: testing the thermostat for proper functioning.
Step 7: Test the Thermostat for Proper Functioning
Testing the thermostat is an important step in diagnosing any issues with your electric water heater. The thermostat controls the heating elements and ensures that the water is heated to the desired temperature. Here’s how you can test the thermostat for proper functioning:
- Set your voltmeter: Switch your voltmeter to the voltage setting. Again, refer to the user manual of your specific voltmeter if you’re unsure of how to do this.
- Turn on the power supply: Before proceeding with the test, ensure that the power supply to the electric water heater is switched on. However, exercise caution while working with electricity to avoid any accidents.
- Locate the wiring terminals: On the back of the thermostat, you’ll find the wiring terminals. These are where the electrical wires are connected to the thermostat.
- Test for voltage: Place one probe of your voltmeter on the “Line” terminal and the other probe on the “Load” terminal of the thermostat. If the voltmeter shows voltage, it indicates that the thermostat is sending a signal to the heating elements to heat the water. If there is no voltage, it suggests that the thermostat is faulty and needs to be replaced.
- Repeat the test for the second thermostat (if applicable): Some electric water heaters have two thermostats – one for the upper heating element and one for the lower heating element. Perform the same voltage test on the second thermostat to confirm its functioning.
By testing the thermostat and checking for voltage, you can determine if it is working correctly. If either thermostat fails the voltage test, it may need to be replaced to ensure that the heating elements are receiving the necessary signals to heat the water.
Now that you’ve tested the thermostat for proper functioning, it’s time to move on to the next step: checking the wiring connections of your electric water heater.
Step 8: Check the Wiring Connections
Checking the wiring connections of your electric water heater is crucial to ensure the proper flow of electricity to the various components. Loose or faulty wiring can lead to issues with the performance of your water heater. Here’s how you can check the wiring connections:
- Turn off the power supply: Before you begin checking the wiring connections, make sure to turn off the power supply to your electric water heater. This is essential for your safety during the inspection process.
- Inspect the wiring: Carefully examine the wiring connections on the thermostat, heating elements, and other electrical components. Look for any loose, frayed, or damaged wires. Additionally, ensure that the wires are securely connected to their respective terminals.
- Tighten any loose connections: If you come across any loose connections, use a screwdriver to tighten them. Ensure that the wires are securely fastened to the terminals, but be careful not to over-tighten them.
- Repair or replace damaged wires: If you notice any frayed or damaged wires, they need to be repaired or replaced. Cut off the damaged portion of the wire using wire cutters and strip the insulation off the ends. Then, reconnect the wire to the respective terminal using wire connectors or by wrapping it tightly around the terminal screw.
Checking the wiring connections is an important step to rule out any problems caused by loose or damaged wires. By ensuring that the connections are secure and intact, you can prevent any electrical issues and maintain the proper functioning of your electric water heater.
Now that you’ve checked the wiring connections, it’s time to move on to the next step: inspecting the insulation and seals of your electric water heater.
Step 9: Inspect the Insulation and Seals
Inspecting the insulation and seals of your electric water heater is essential to maintain its energy efficiency and prevent heat loss. Damaged insulation or faulty seals can lead to a decrease in performance and an increase in energy consumption. Here’s how you can inspect the insulation and seals:
- Visually inspect the insulation: Carefully examine the insulation surrounding the electric water heater tank. Look for any signs of wear, damage, or gaps in the insulation. Damaged insulation can lead to heat loss and reduce the efficiency of your water heater.
- Check the seals: Check the seals around the access panel, thermostat, and heating elements. Ensure that they are intact and free from cracks or gaps. Faulty seals can allow heat to escape, resulting in energy wastage.
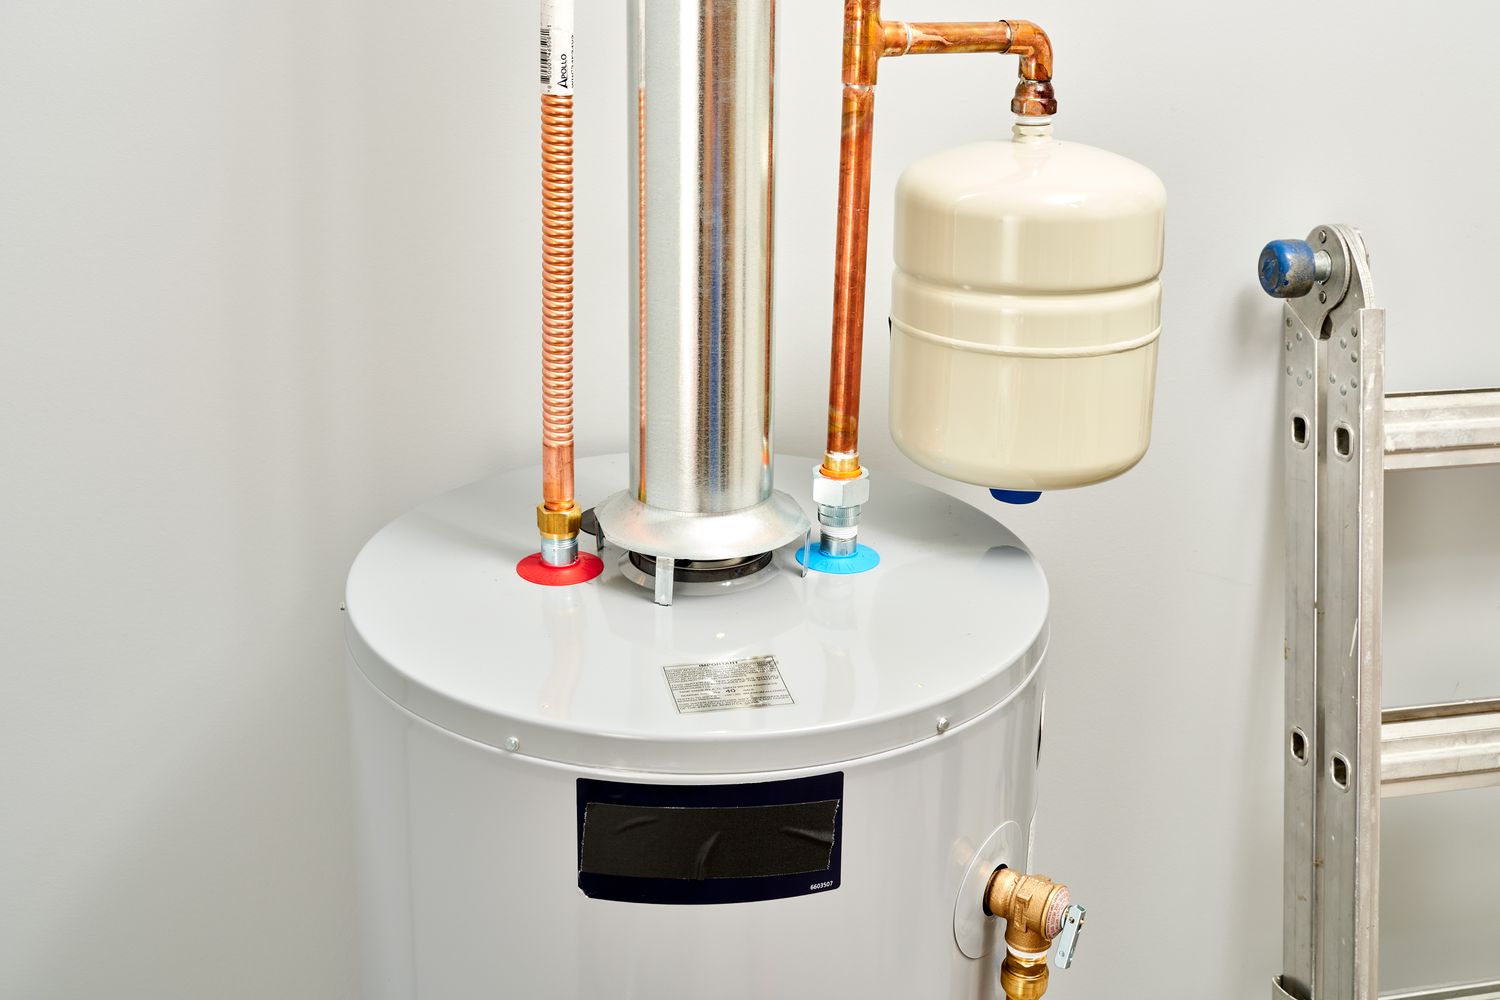
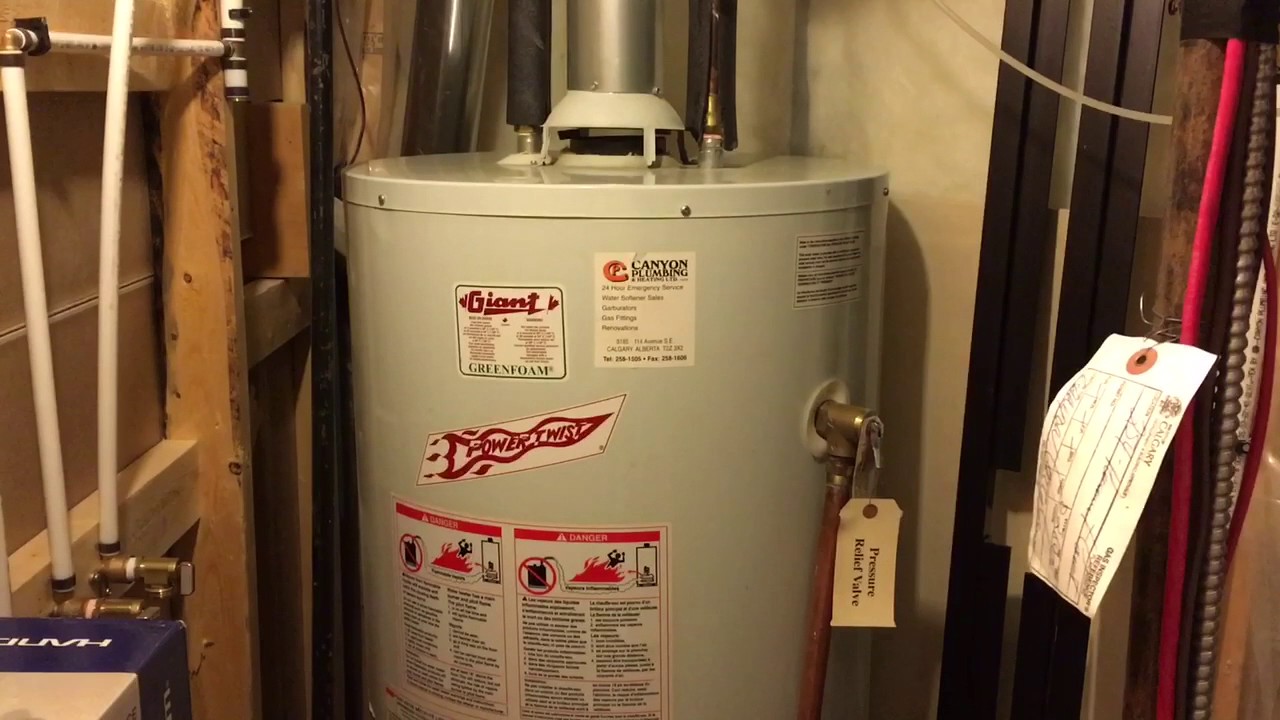
- Inspect the temperature and pressure relief valve (if applicable): Some water heaters have a temperature and pressure relief valve, located near the top of the tank. Check for any signs of leaks or corrosion around this valve. A faulty valve may need to be replaced to ensure safe operation.
- Replace damaged insulation or seals: If you notice any damage or gaps in the insulation or seals, it’s important to replace them. Use appropriate insulation material to wrap the tank, ensuring that it covers all exposed areas. Replace faulty seals with new ones to ensure a tight and secure fit.
By inspecting the insulation and seals of your electric water heater, you can maintain its energy efficiency and prevent unnecessary heat loss. Proper insulation and seals will help your water heater operate efficiently and reduce energy consumption.
Now that you’ve inspected the insulation and seals, it’s time to move on to the final step: turning on the power supply and testing your electric water heater.
Step 10: Turn on the Power Supply
After completing all the necessary inspections and maintenance steps, it’s time to turn on the power supply to your electric water heater. This final step will allow you to test the functionality of the water heater and ensure that it is operating properly. Here’s what you need to do:
- Ensure all components are properly connected: Double-check that all the wiring connections, heating elements, thermostat, insulation, and seals are securely in place and properly connected.
- Replace the access panel: If you had removed the access panel during the inspection process, reattach it by securely screwing it back into place.
- Turn on the power supply: Go to the circuit breaker panel and locate the breaker that controls the power supply to your electric water heater. Flip the breaker to the “on” position to restore power to the unit.
- Monitor the water heater: Once the power supply is turned on, monitor the electric water heater for proper functionality. Listen for any unusual sounds, check for leaks, and observe if the water is heating up to the desired temperature.
- Test the hot water supply: Turn on a hot water faucet in your home to verify if the water is heated properly. Ensure that hot water is flowing consistently and at the desired temperature.
If you notice any issues or the water heater is not functioning as expected, it’s advisable to seek the assistance of a professional plumber or electrician. They will be able to diagnose and resolve any complex problems that may require specialized expertise.
By turning on the power supply and testing your electric water heater, you can ensure that the necessary repairs and maintenance have been successful, and that your water heater is back to operating efficiently.
Congratulations! You have successfully completed all the steps to check your electric water heater and perform necessary troubleshooting. Regular maintenance and inspections are key to extending the lifespan and performance of your water heater, so make sure to schedule routine checks in the future.
Now you can enjoy the reliable supply of hot water from your electric water heater with confidence!
Conclusion
Checking your electric water heater is an important skill to have, as it allows you to troubleshoot and identify potential issues with your unit. By following the step-by-step process outlined in this guide, you can inspect the various components of your water heater and determine if any repairs or maintenance are required.
Throughout the inspection process, it is crucial to prioritize safety. Always remember to turn off the power supply before working on your electric water heater and exercise caution while handling electrical components.
By gathering the necessary tools and materials, turning off the power supply, locating the access panel, inspecting the heating elements, testing for continuity, checking the thermostat settings, testing the thermostat for proper functioning, examining the wiring connections, inspecting the insulation and seals, and finally, turning on the power supply and testing the water heater, you can effectively troubleshoot and address any potential issues.
If you encounter any problems that you are uncomfortable or unsure about fixing, it is recommended to seek the assistance of a professional plumber or electrician. They possess the necessary expertise and can ensure that your water heater is functioning safely and efficiently.
Regular maintenance and inspections of your electric water heater are essential to prolong its lifespan and maintain optimal performance. By investing a little time and effort into checking your water heater, you can enjoy the benefits of reliable hot water for your daily needs.
Remember, if you’re unsure about any aspect of checking your electric water heater, it’s always best to seek professional help. With the right knowledge and resources, you can keep your electric water heater in excellent working condition for years to come.
Now that you've got the know-how on checking your electric water heater, why not consider upgrading? Our next piece covers some top electric water heaters set to hit the market in 2024. This article is perfect for anyone looking to replace or upgrade their current model. You'll find detailed reviews and insights that could help simplify your decision. Don't miss out on finding your ideal water heater!
Frequently Asked Questions about How To Check Electric Water Heater
Was this page helpful?
At Storables.com, we guarantee accurate and reliable information. Our content, validated by Expert Board Contributors, is crafted following stringent Editorial Policies. We're committed to providing you with well-researched, expert-backed insights for all your informational needs.


0 thoughts on “How To Check Electric Water Heater”