Articles
How To Take Down Graber Blinds
Modified: August 28, 2024
Learn how to easily take down Graber blinds with our informative articles. Tips and tricks for hassle-free removal and maintenance.
(Many of the links in this article redirect to a specific reviewed product. Your purchase of these products through affiliate links helps to generate commission for Storables.com, at no extra cost. Learn more)
Introduction
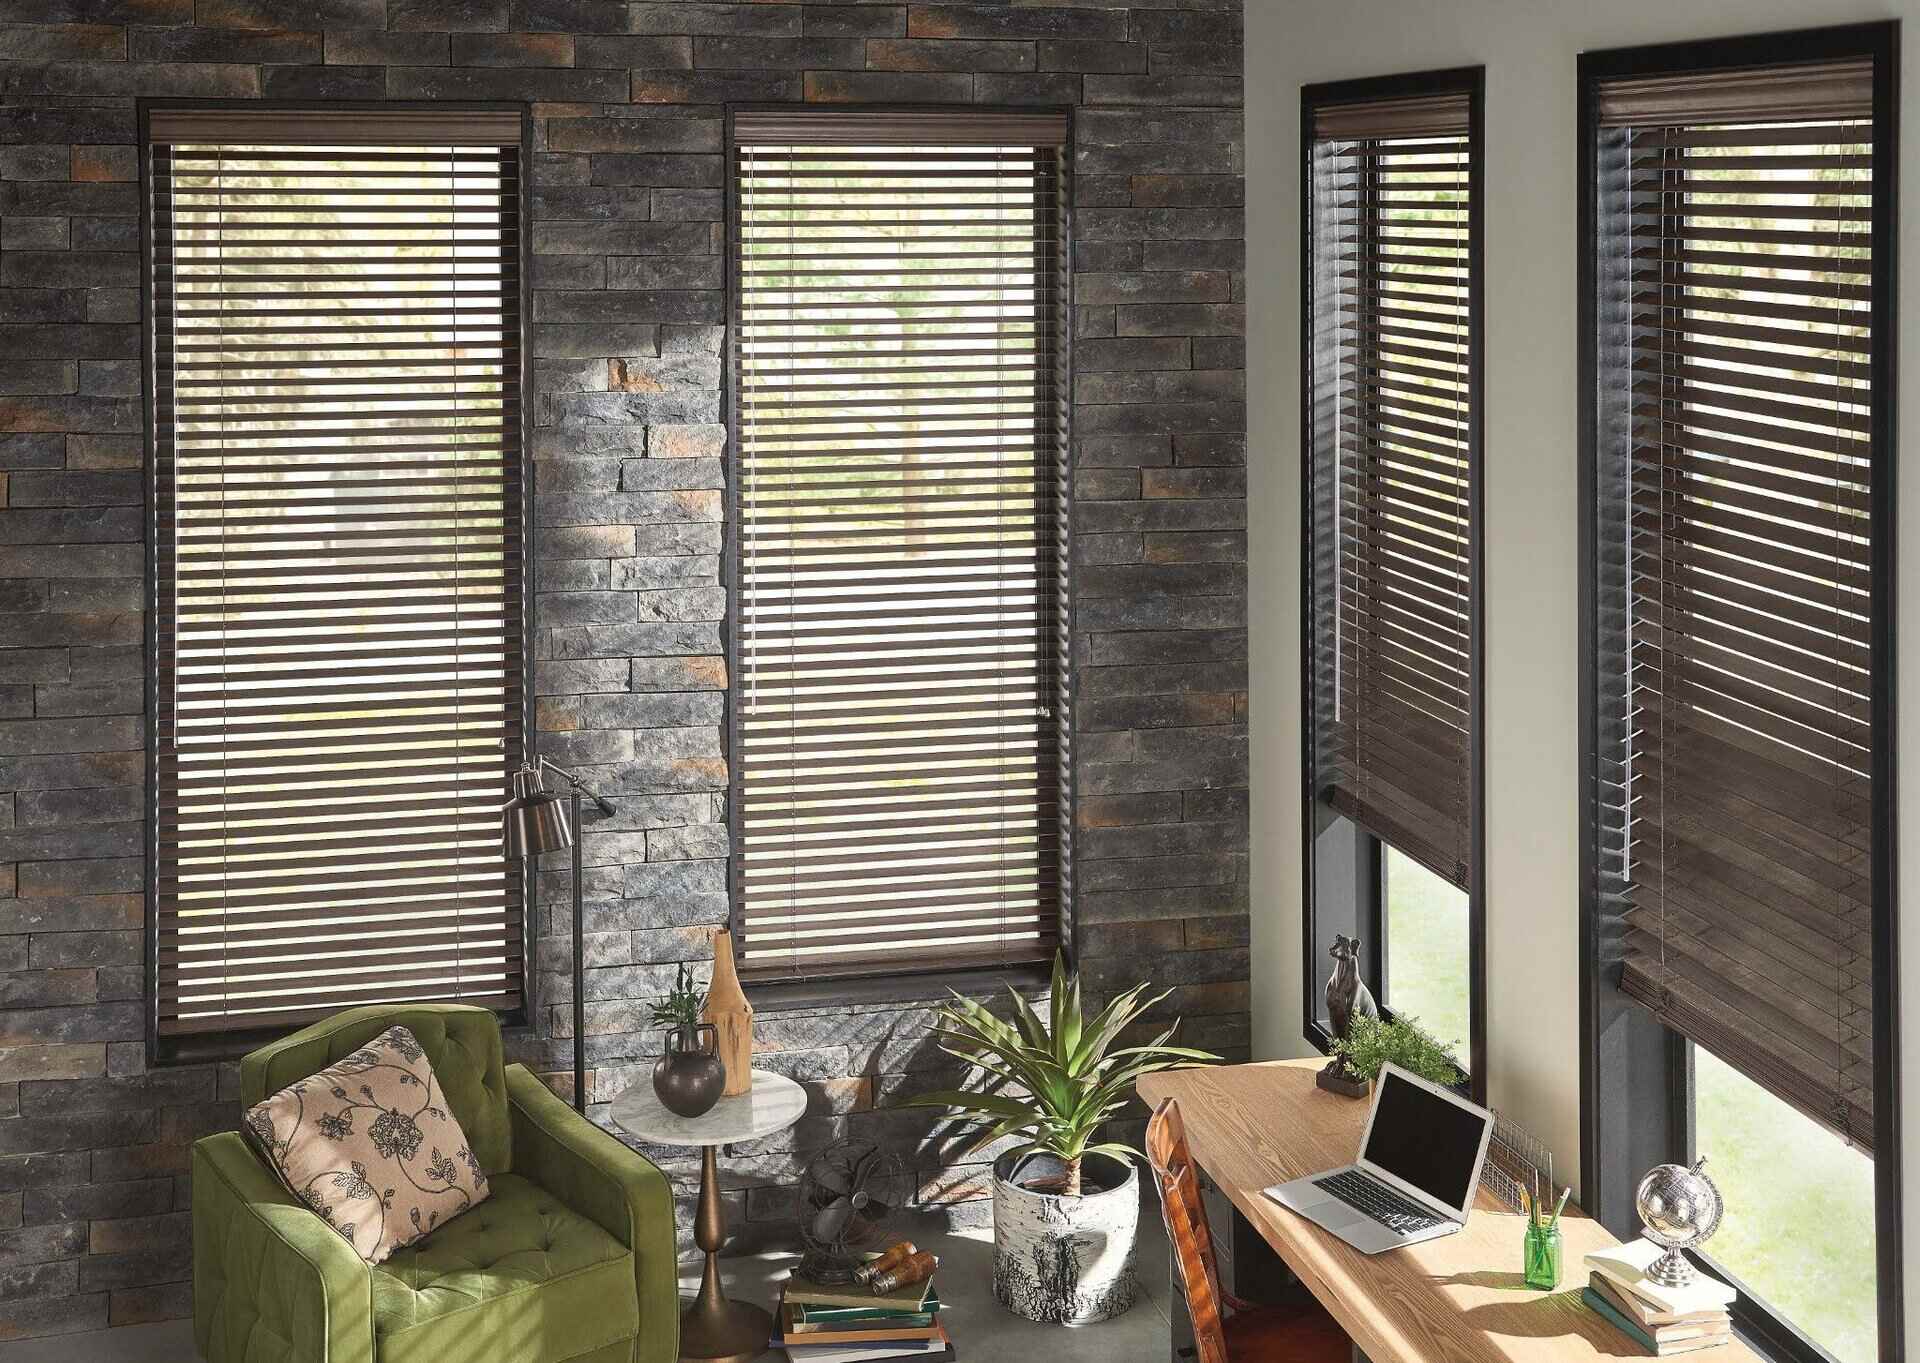
Graber blinds are a popular choice for window coverings due to their stylish design and functionality. However, there may come a time when you need to take them down, whether it’s for cleaning, repairs, or replacing them with new blinds. In this article, we will guide you through the process of removing Graber blinds from your windows with ease and precision.
Before we delve into the removal process, let’s take a moment to understand what makes Graber blinds unique and why they have become a go-to option for homeowners and interior designers alike.
Graber blinds are known for their exceptional craftsmanship and attention to detail. They are available in a wide range of materials, including wood, faux wood, fabric, and aluminum, allowing you to select the perfect blinds to complement your home’s decor. With various styles, colors, and finishes to choose from, Graber blinds offer both practicality and aesthetic appeal.
Now that we have gained an understanding of Graber blinds and their appeal, let’s move on to the process of assessing the removal of these blinds from your windows.
Key Takeaways:
- Easily remove Graber blinds by following step-by-step instructions, ensuring a smooth process and allowing for thorough cleaning, repairs, or replacements as needed.
- Regularly clean and maintain Graber blinds to prolong their lifespan, retain their beauty, and ensure optimal functionality, enhancing the look and feel of your living space.
Read more: How To Take Down Norman Blinds
Understanding Graber Blinds
Before you dive into the process of taking down Graber blinds, it’s important to have a good understanding of their construction and how they are installed.
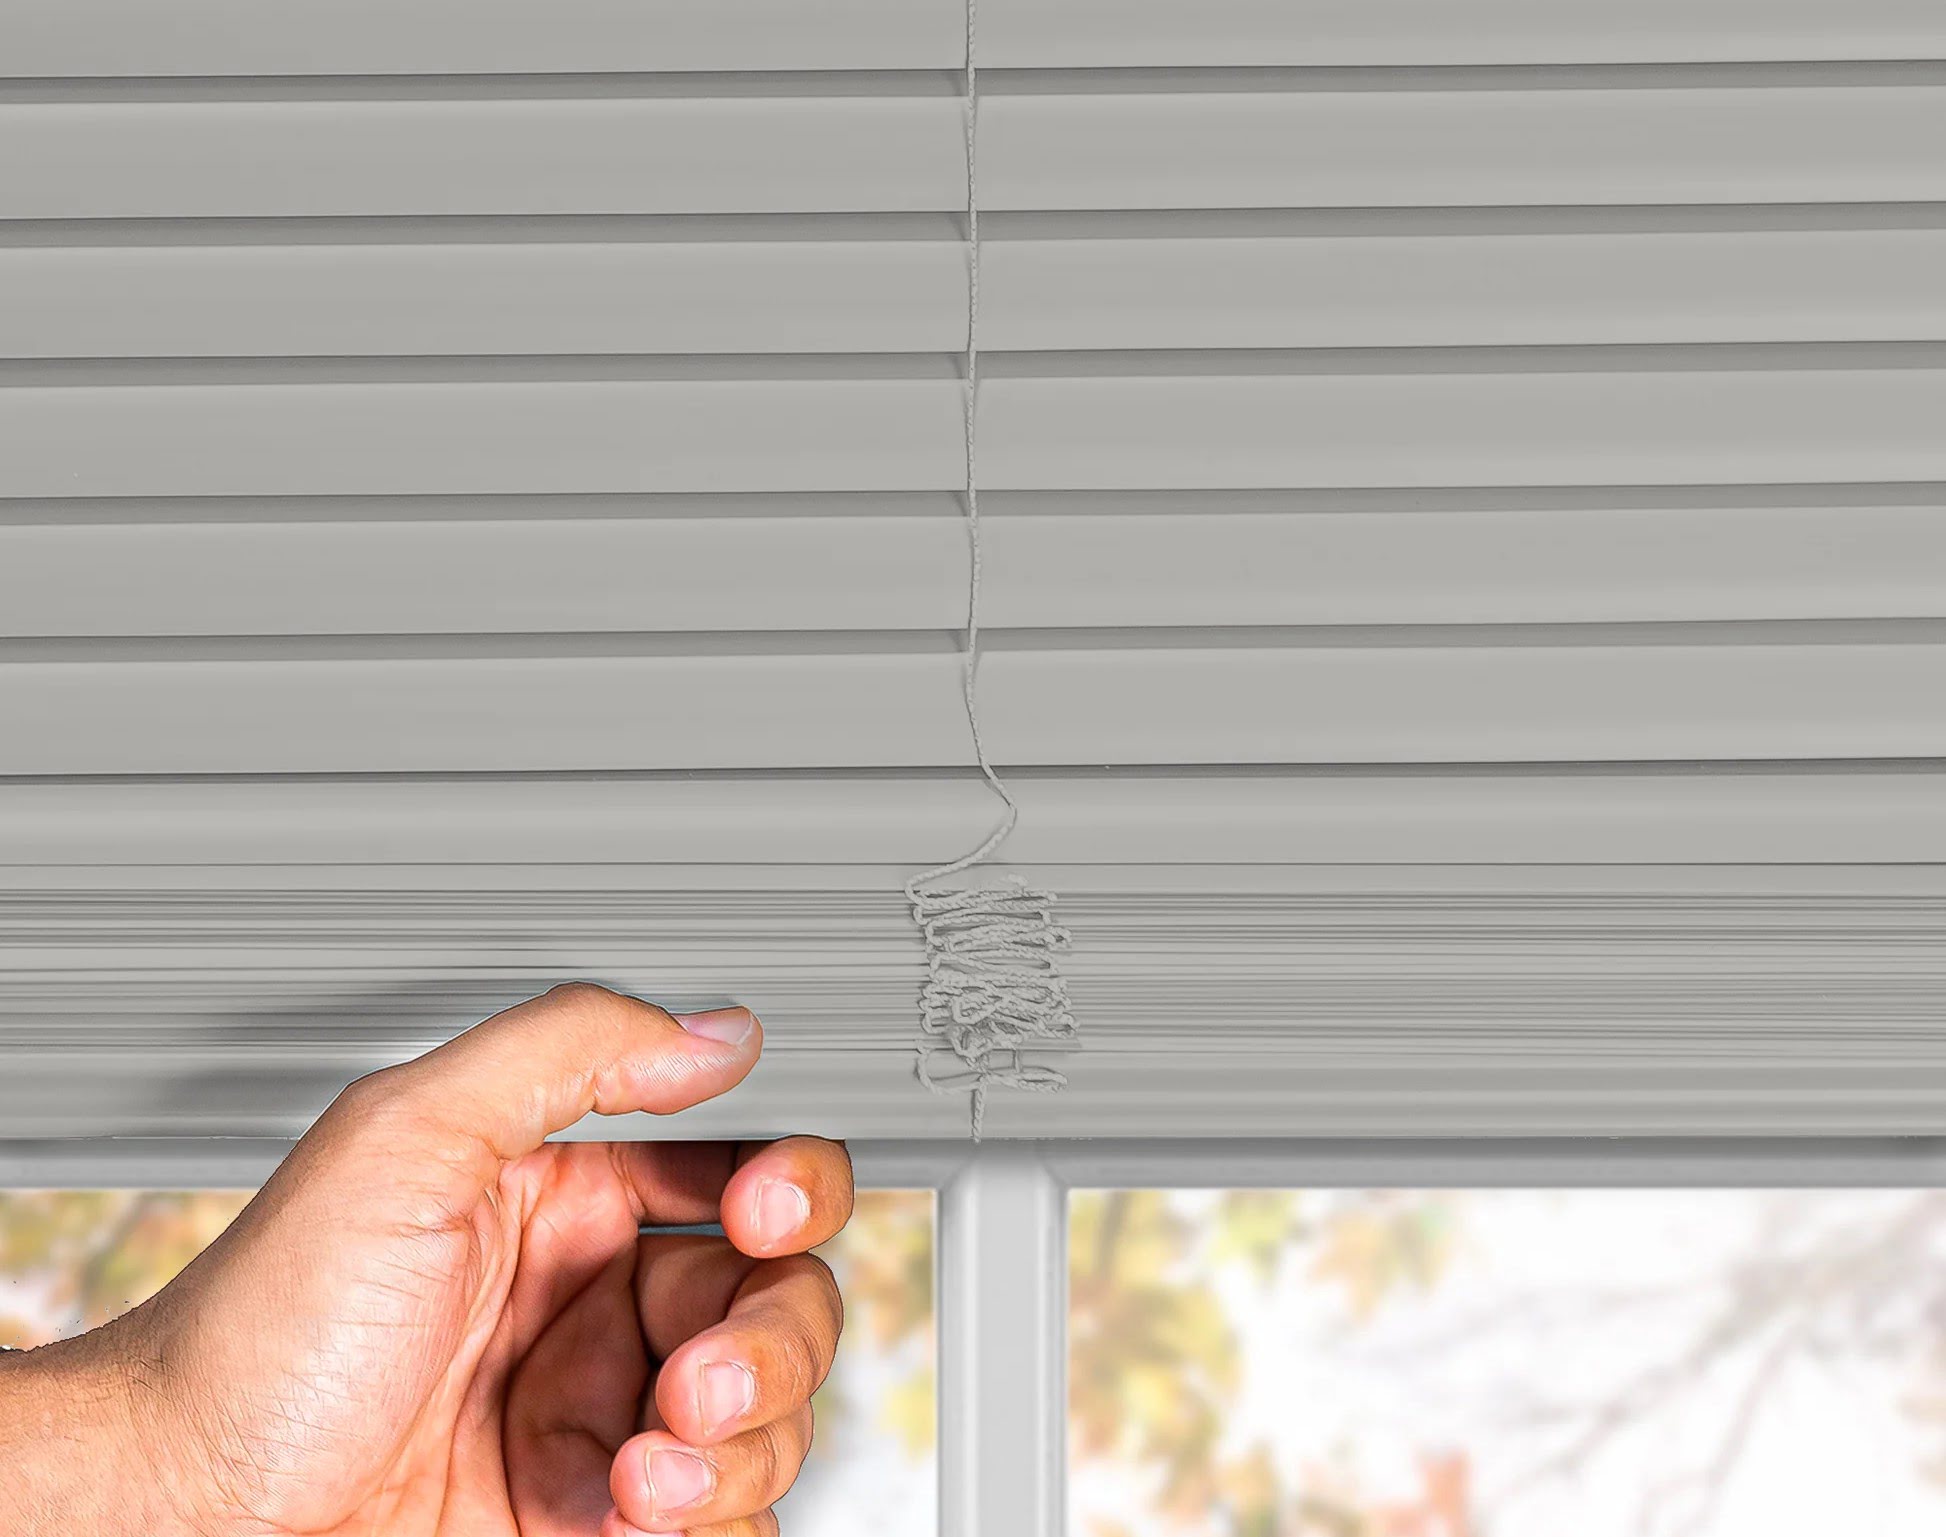
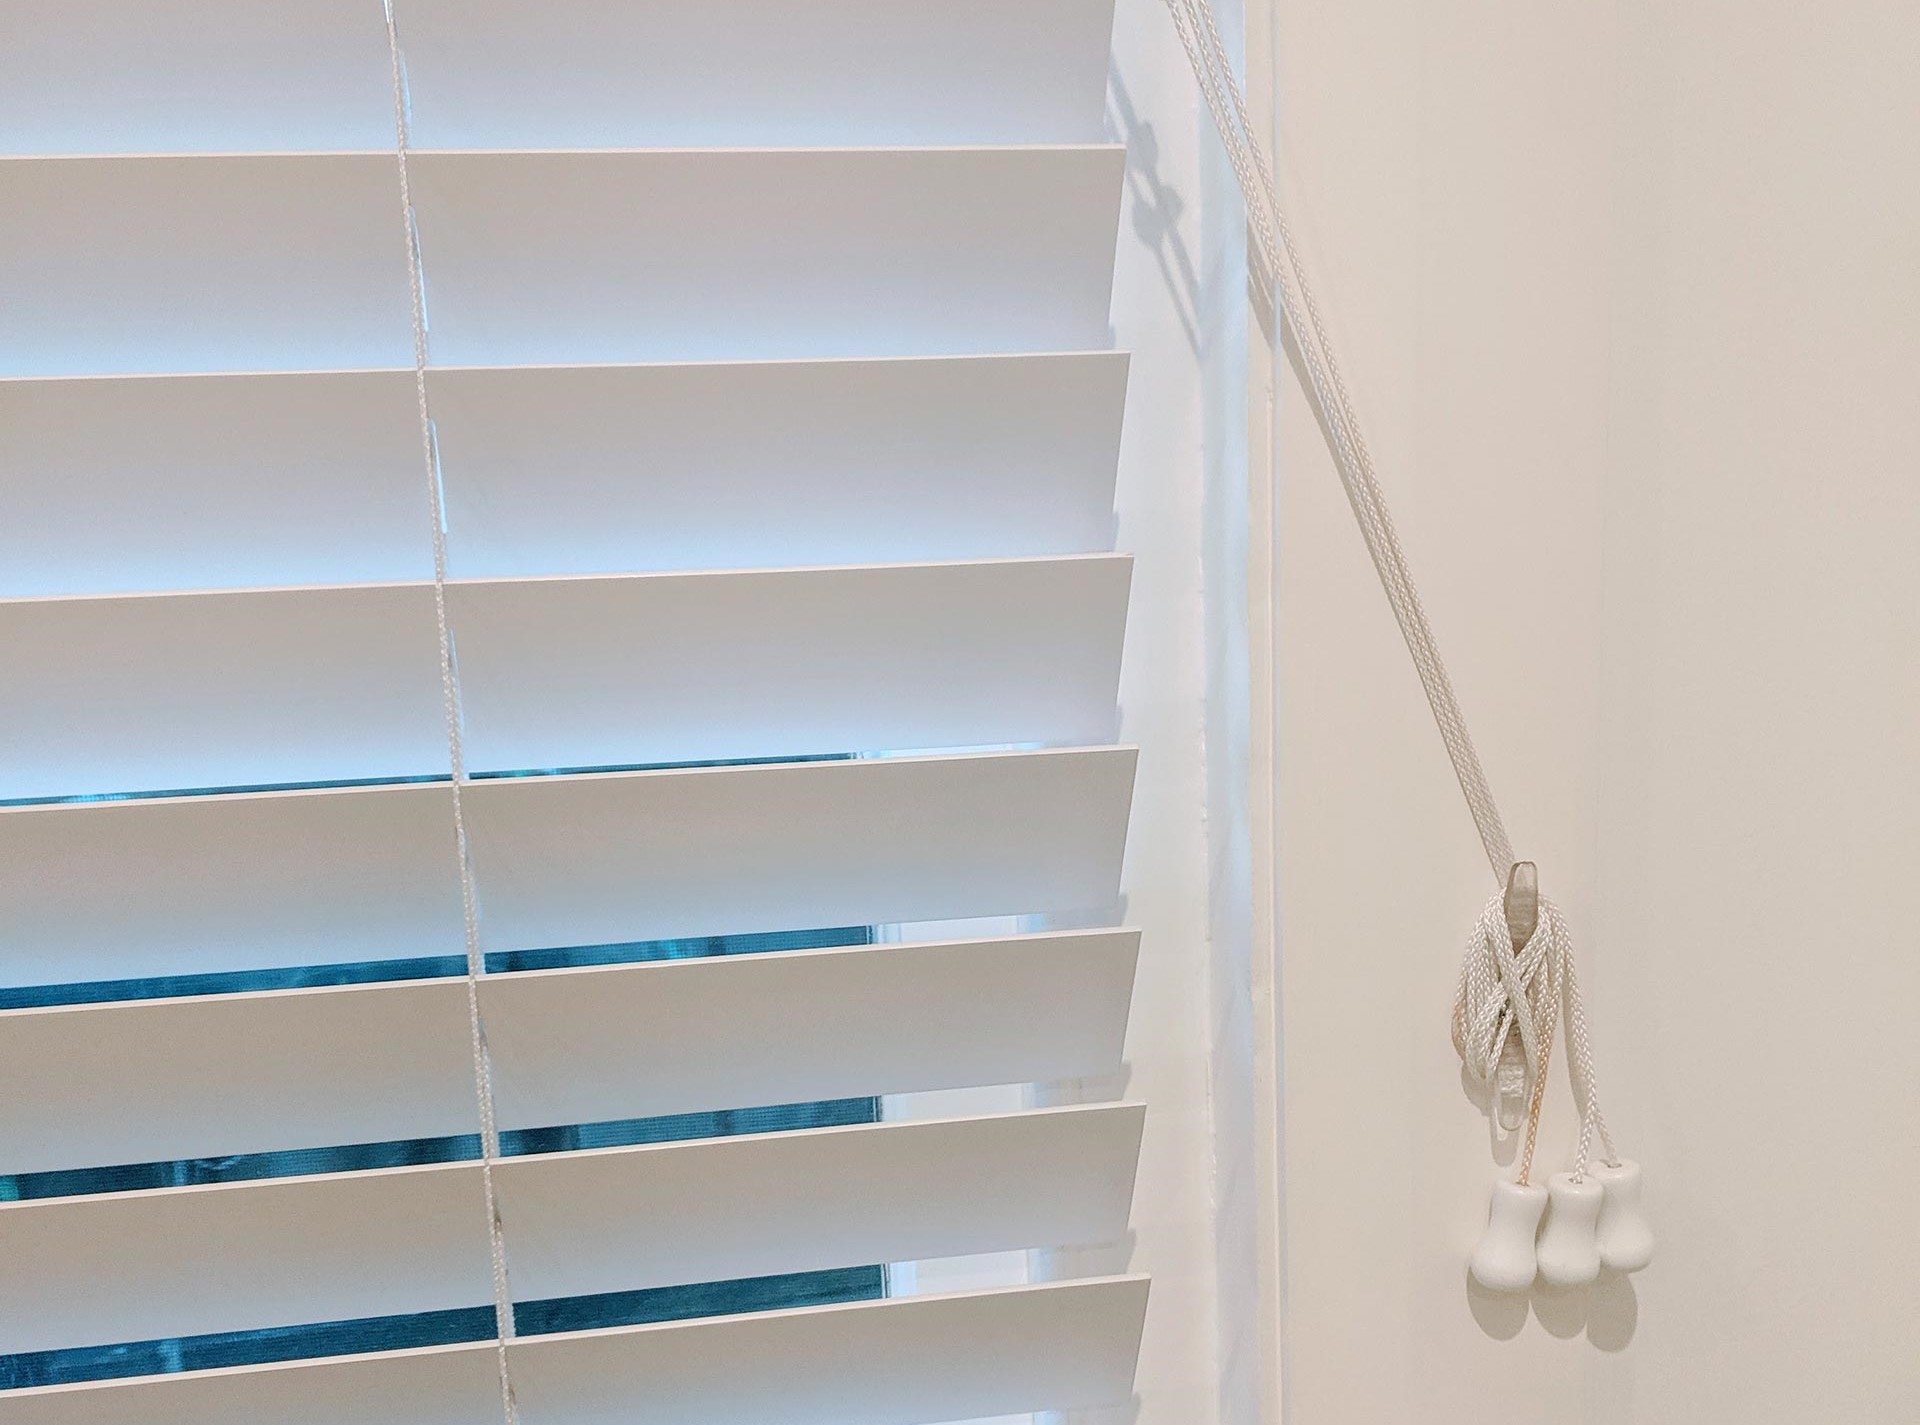
Graber blinds typically consist of several components, including the slats, headrail, tilt mechanism, and lift cords. The slats are the individual horizontal sections that can be tilted to control the amount of light entering the room. The headrail is the top part of the blinds that holds the slats and provides support. The tilt mechanism allows you to adjust the slats’ position, while the lift cords are used to raise and lower the blinds.
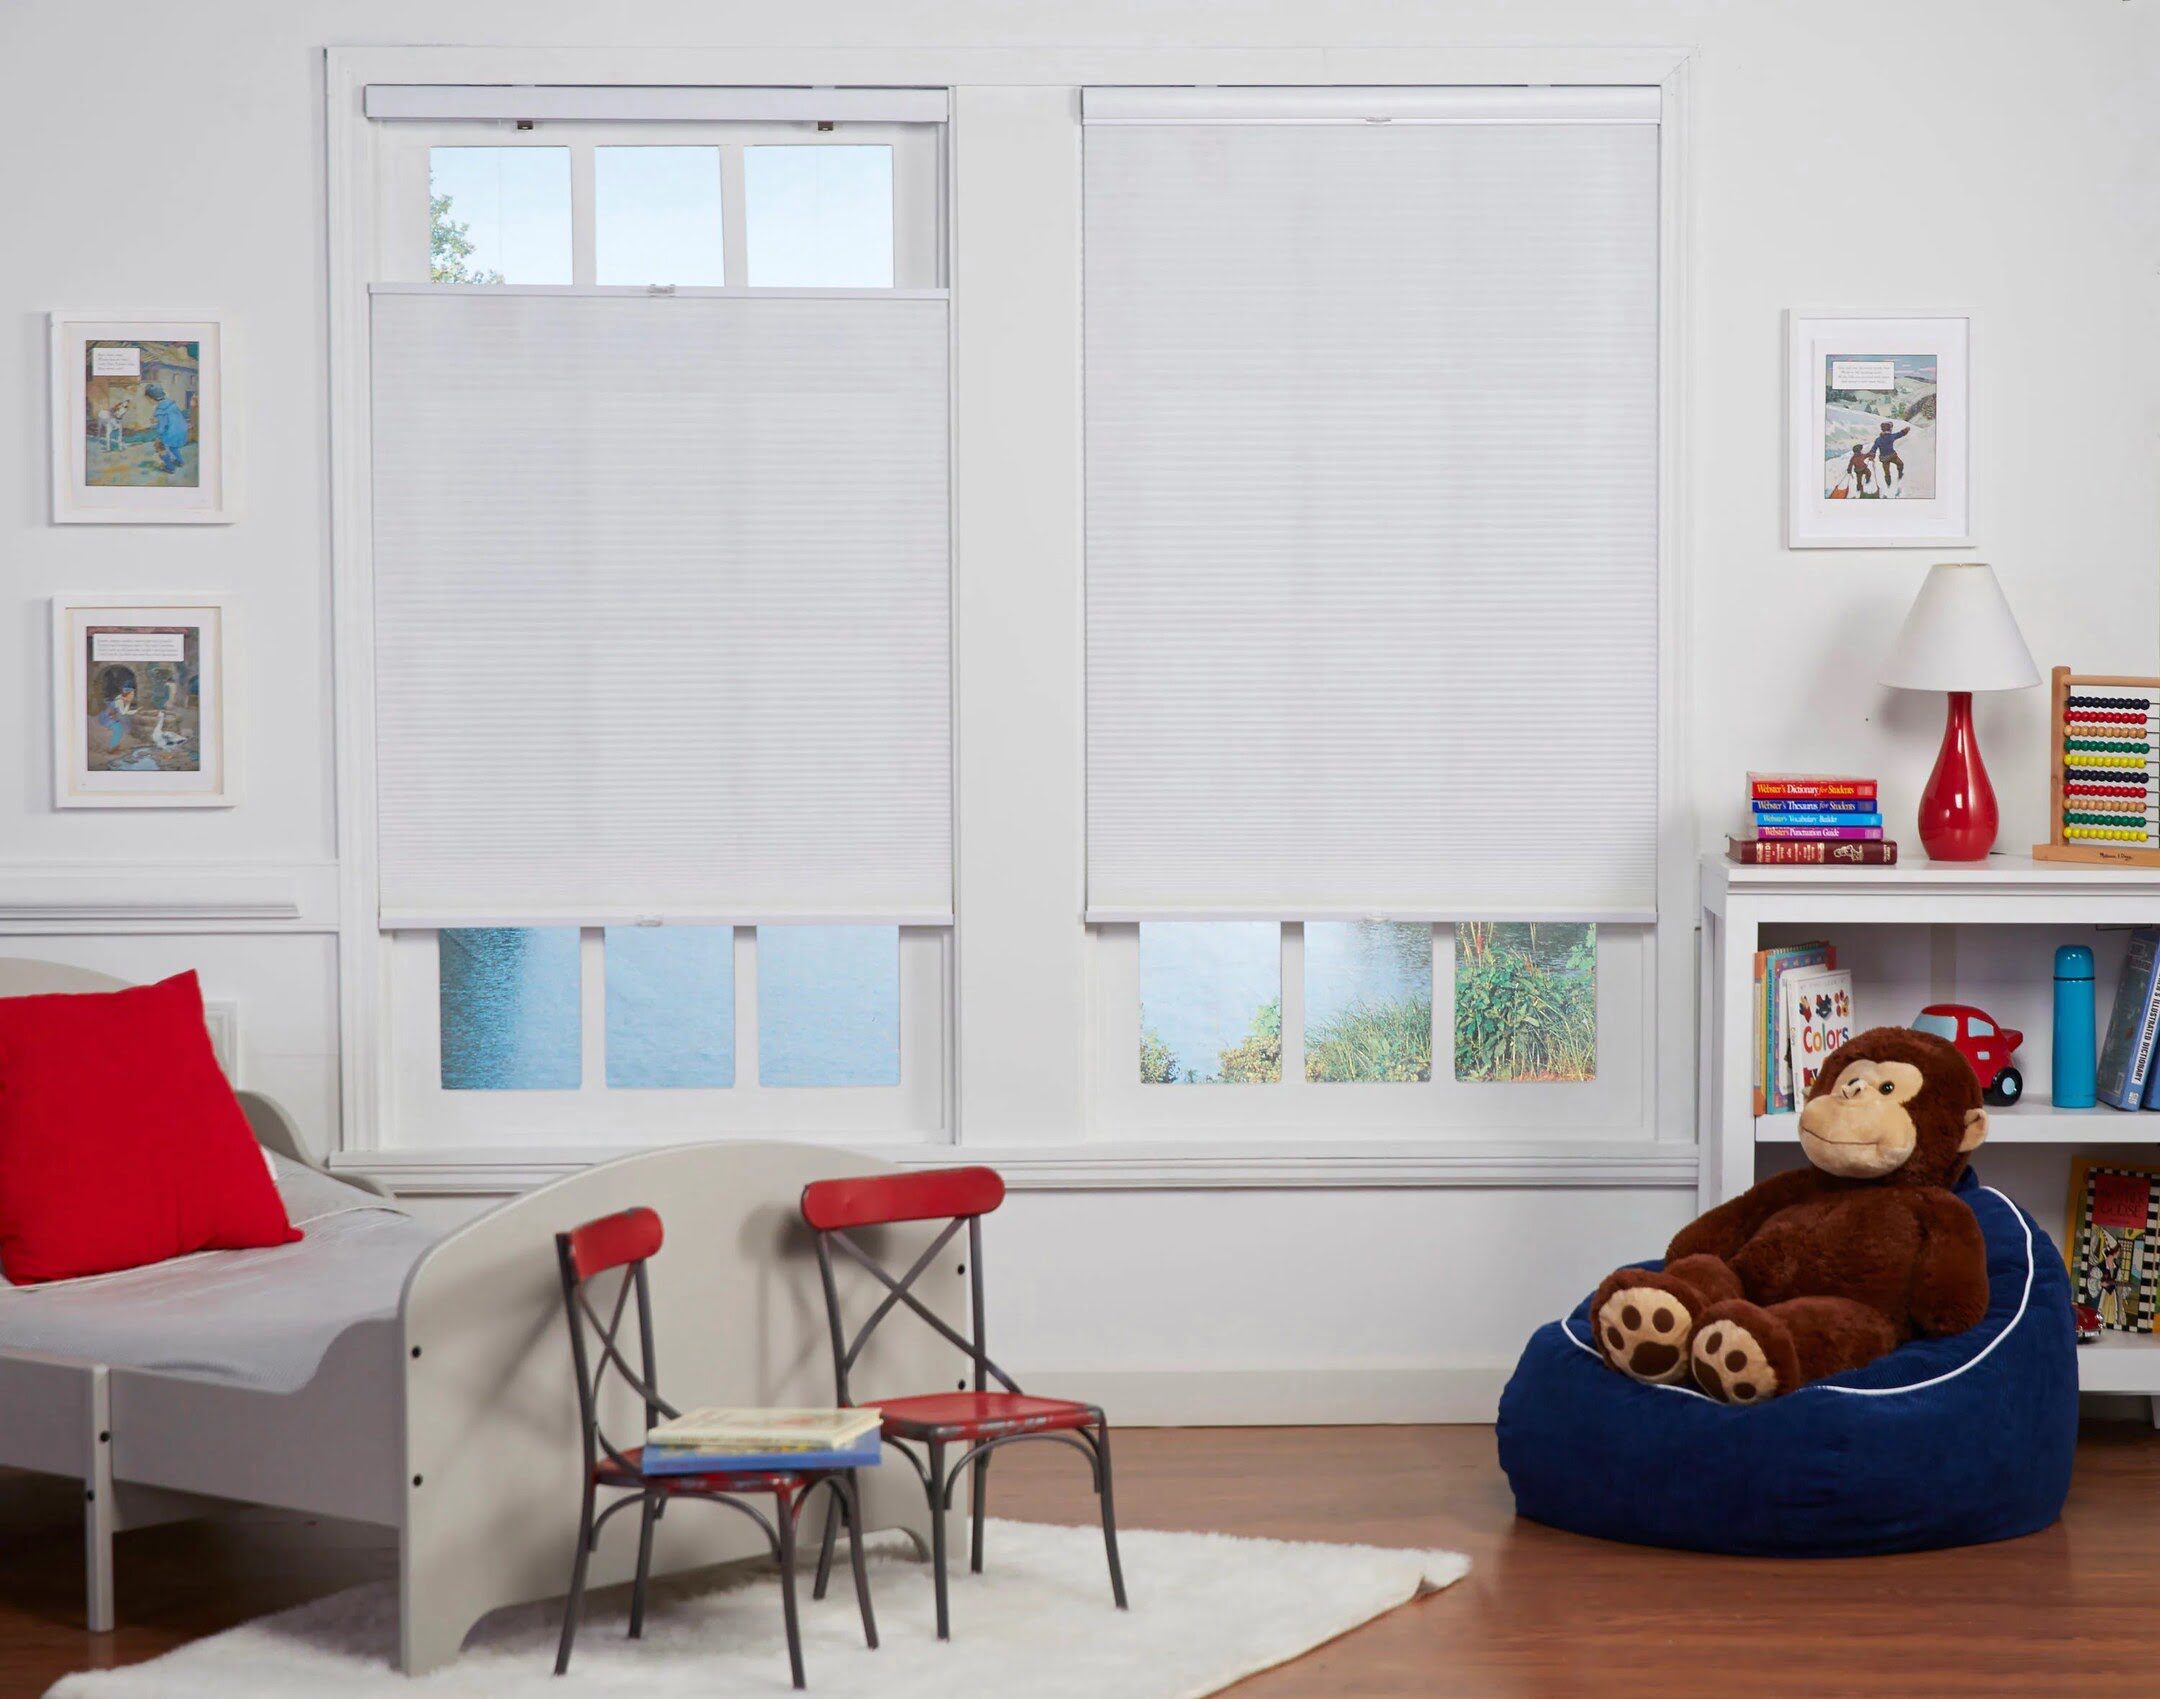
Graber blinds are installed inside the window frame or on the outside of it, depending on personal preference and window type. Inside mount installation provides a sleek and streamlined look, while outside mount installation can create the illusion of larger windows and allow for better light blocking.
It’s important to note that Graber blinds may have different installation methods depending on the material and style. For example, wood blinds may have brackets that need to be secured to the window frame, while faux wood blinds may use hold-down brackets to keep them in place. Make sure to consult the manufacturer’s instructions or seek professional guidance if you are unsure about the specific installation details of your Graber blinds.
Now that you have a basic understanding of Graber blinds and their components, we can move on to assessing the removal process.
Assessing the Removal Process
Before you begin removing your Graber blinds, it’s important to assess the specific requirements and intricacies of your window coverings. This will help ensure a smooth and successful removal process.
Start by identifying the type of blinds you have, whether it’s wood, faux wood, fabric, or aluminum. Each material may require a slightly different approach for removal, so it’s essential to know what you’re dealing with.
Next, determine whether your blinds are mounted inside or outside the window frame. This will dictate the steps you need to take to remove them. Inside mount blinds may be secured with brackets or clips, while outside mount blinds may be attached with screws or brackets.
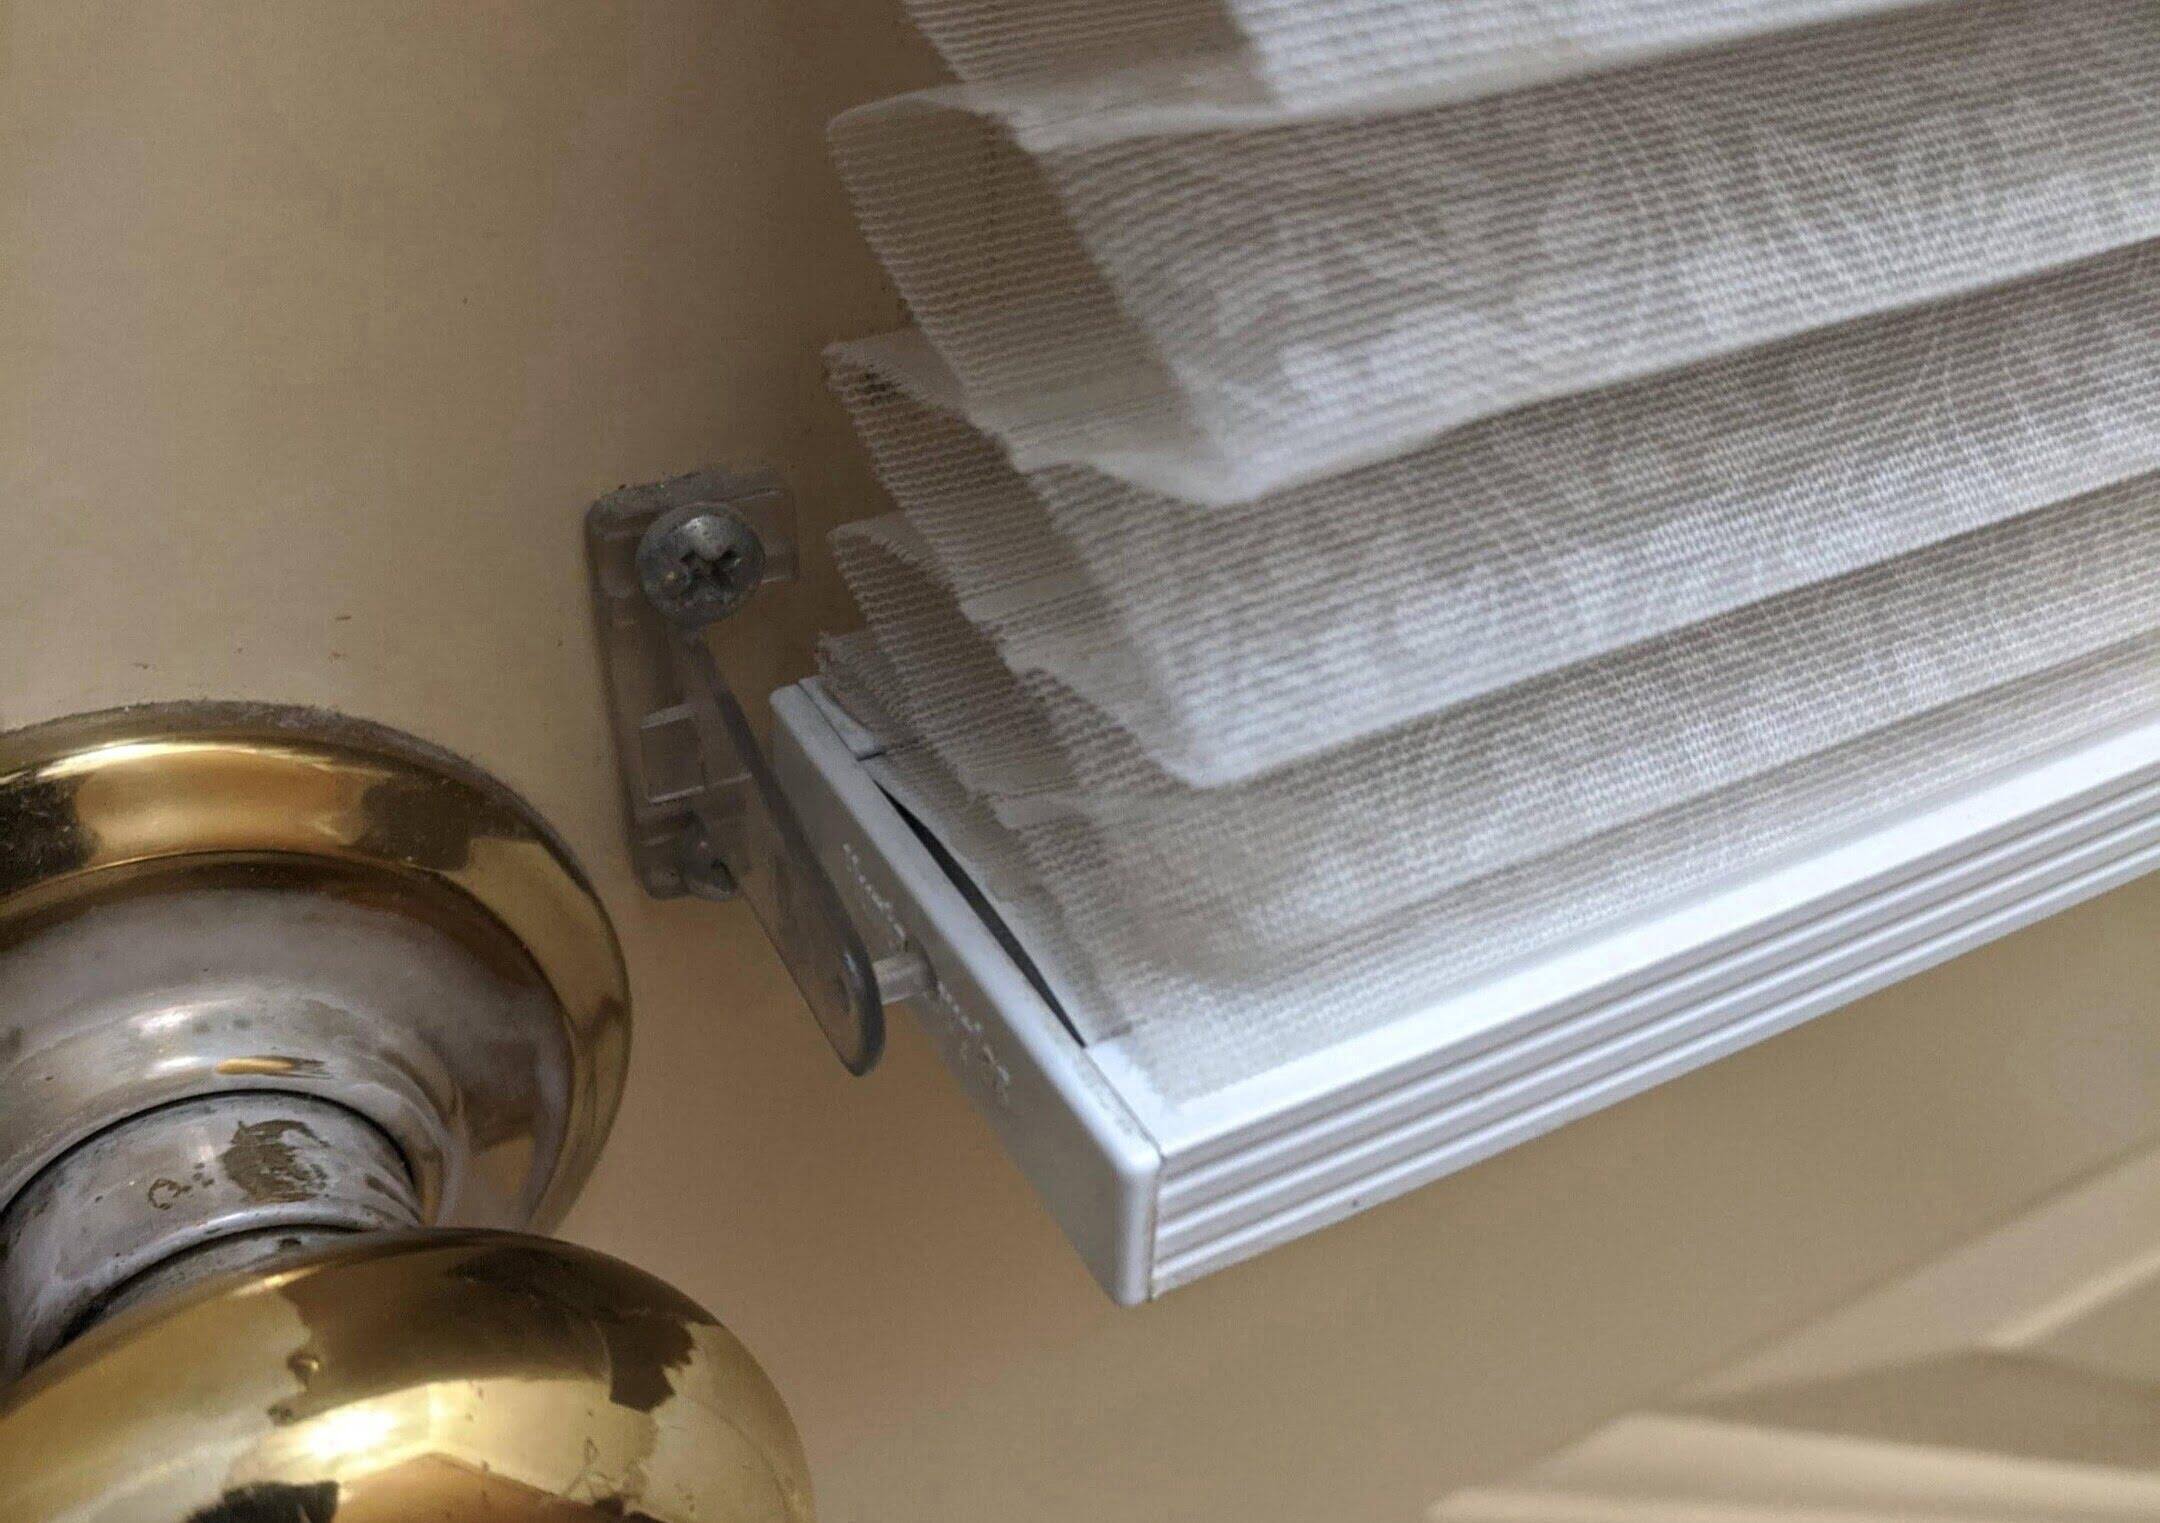
Take a close look at the headrail of your Graber blinds. Look for any clips or brackets that are holding it in place. These clips or brackets may need to be released or unscrewed to detach the headrail from the window frame.
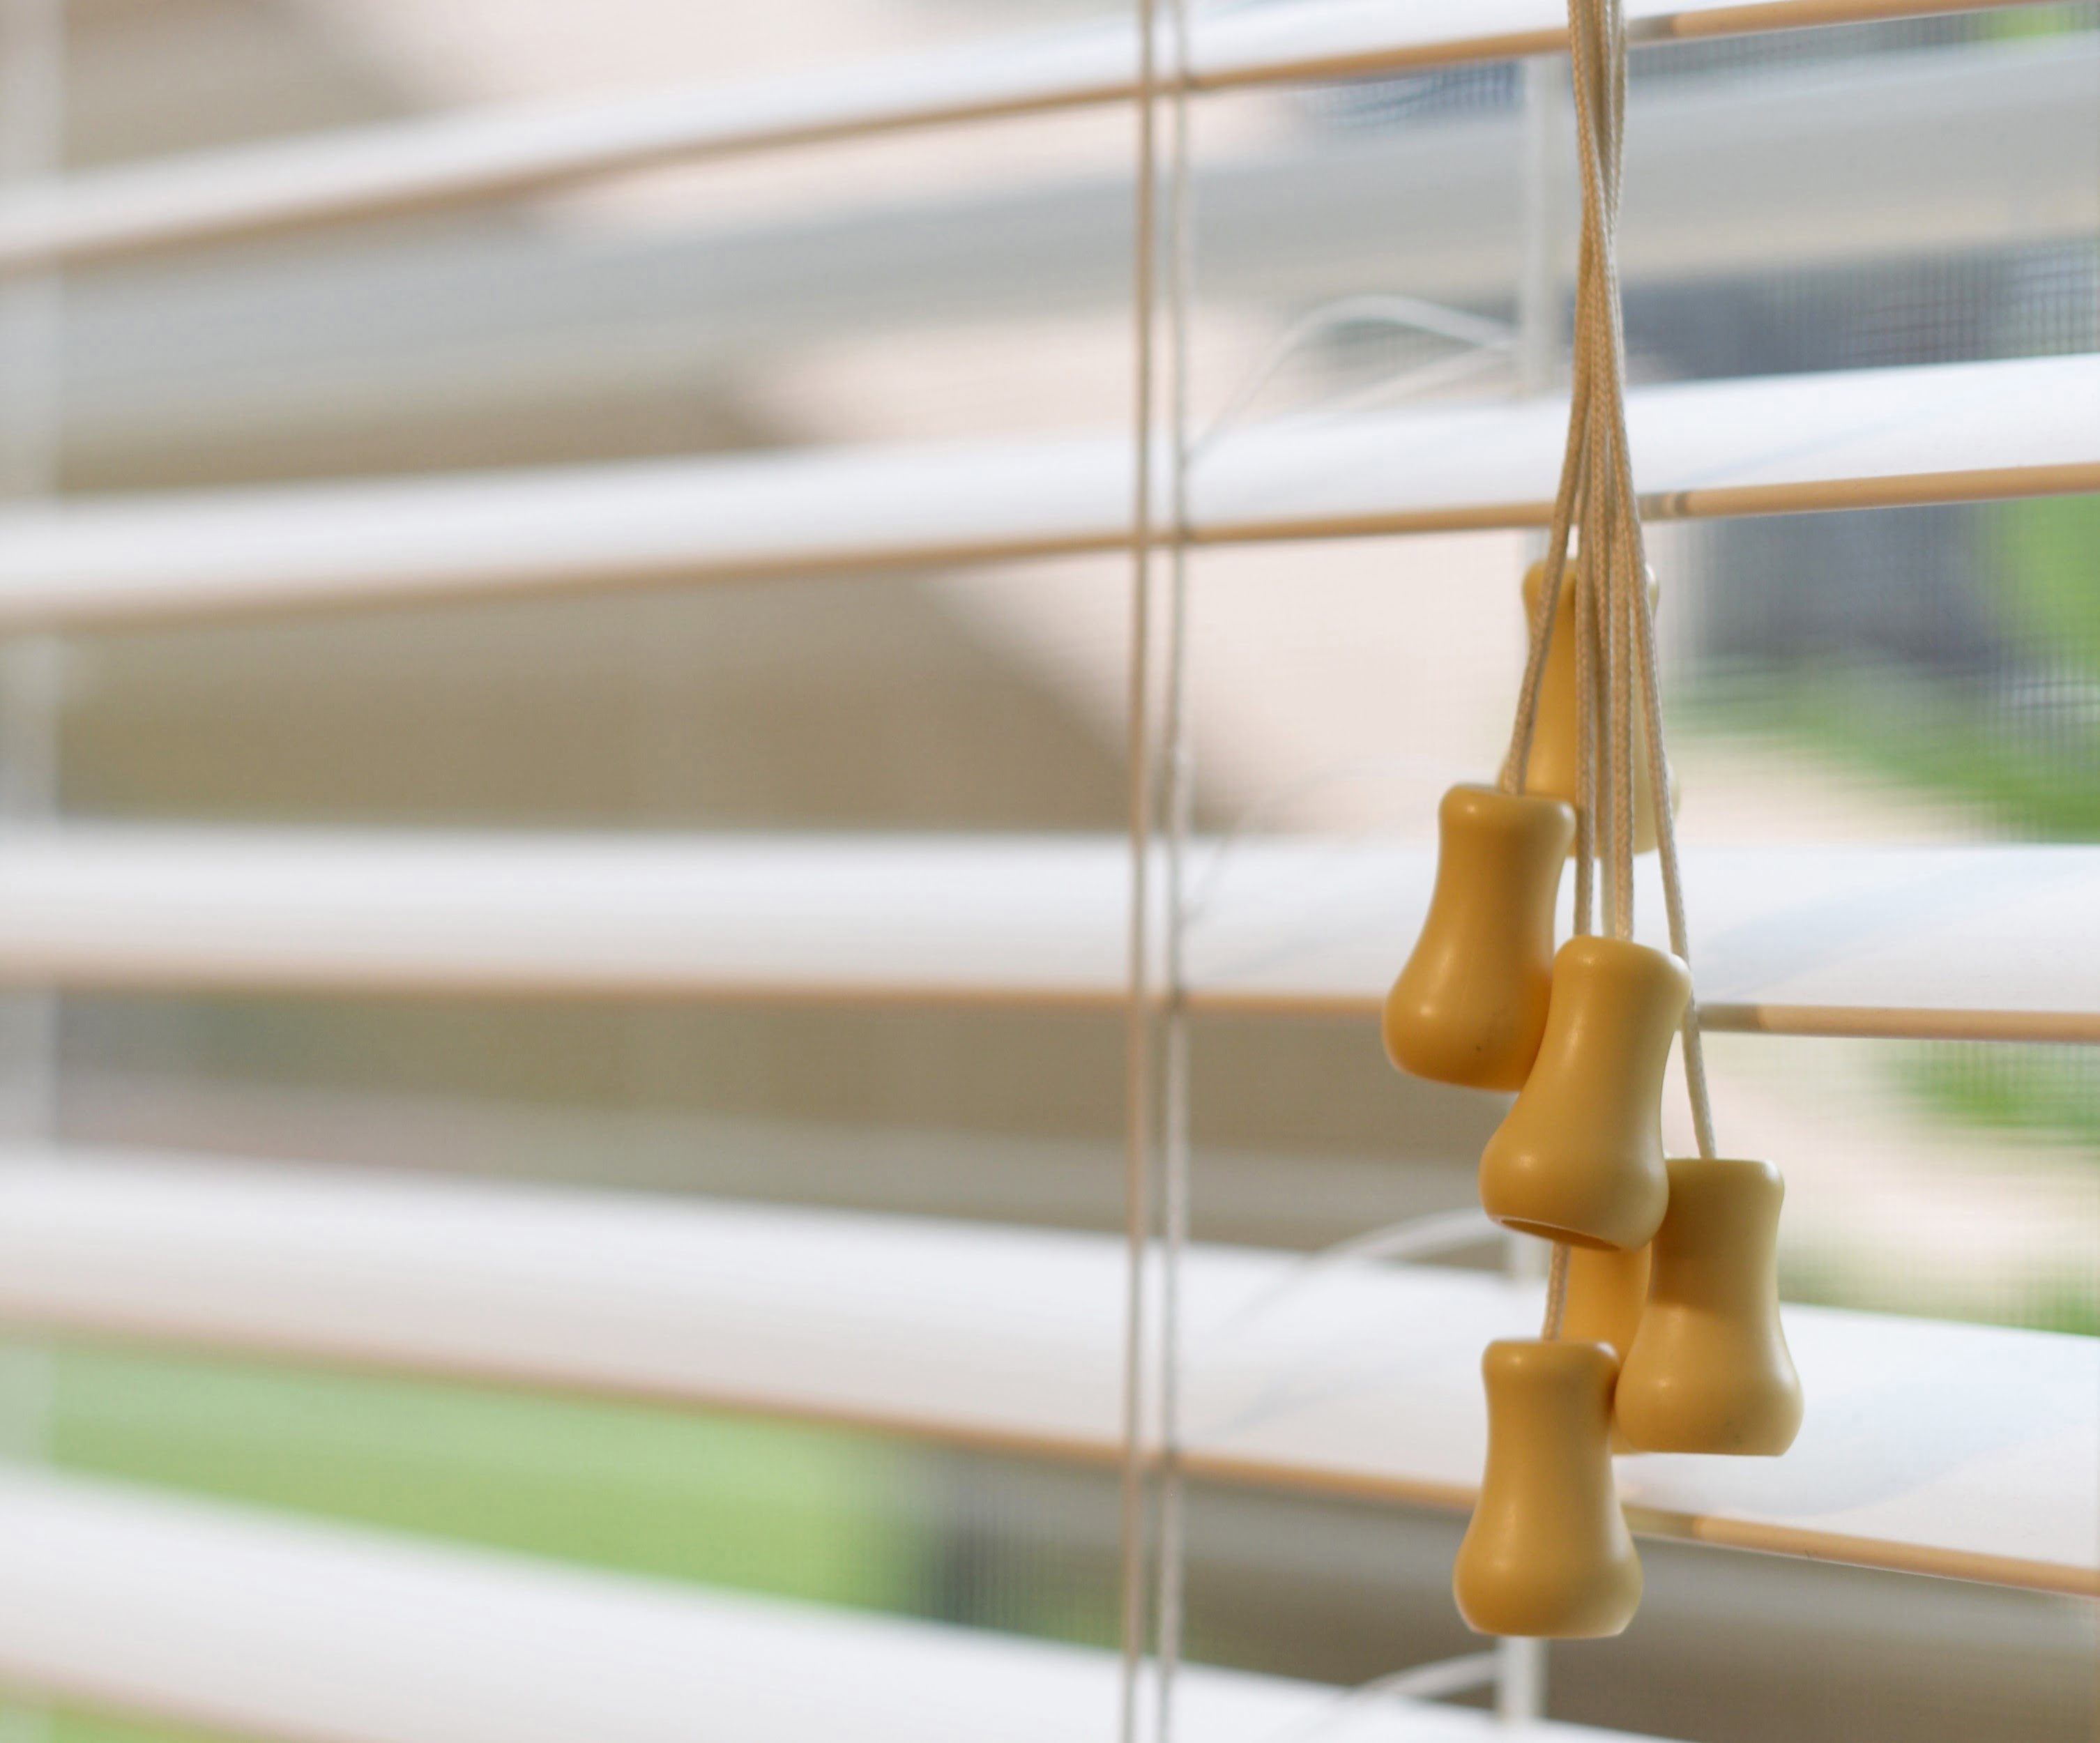
Consider the type of control mechanism used in your blinds. Some Graber blinds have a cordless lift system, while others have lift cords or a wand. Understanding how the blinds are operated will help you remove them effectively without causing any damage.
Lastly, assess the condition of your blinds. If they are damaged or worn out, you may need to be extra careful during the removal process to avoid exacerbating any existing issues. It’s also important to handle the blinds with care to prevent any accidental breakage.
By taking the time to assess these factors before starting the removal process, you’ll be well-prepared and able to proceed with confidence, ensuring a successful and stress-free removal of your Graber blinds.
Removing Graber Blinds from Windows
Now that you have assessed the specific requirements of your Graber blinds, it’s time to begin the process of removing them from your windows. Follow these step-by-step instructions to ensure a smooth removal process:
- Start by fully opening the blinds, tilting the slats in an upward position.
- Locate the release clips or brackets on the headrail. These are usually found on either end of the blinds.
- Release the clips or unscrew the brackets to detach the headrail from the window frame. Be sure to support the weight of the blinds as you do this to prevent them from falling.
- Safely remove the headrail from the window frame and set it aside.
- If your blinds have lift cords or a wand, detach them from the headrail. This may involve removing end caps or other small components.
- If your blinds are mounted inside the window frame, carefully pull them away from the window, releasing any clips or brackets that secure them.
- If your blinds are mounted outside the window frame, unscrew any brackets or remove screws that are holding them in place.
- Once the blinds are fully detached from the window frame, you can set them aside for cleaning, repairs, or replacement.
Throughout the process, it’s important to handle the blinds with care to avoid any accidental damage or breakages. If you are unsure about any step or encounter any difficulties, it’s always recommended to consult the manufacturer’s instructions or seek the assistance of a professional.
By following these steps, you will be able to remove your Graber blinds from your windows safely and efficiently, allowing you to proceed with any necessary maintenance or replacement tasks.
When taking down Graber blinds, start by removing the valance and then locate the release clips on the headrail. Gently push the clips to release the blinds and carefully lower them down.
Disassembling Graber Blinds Components
Once you have removed the Graber blinds from your windows, you may find it necessary to disassemble certain components for cleaning, repairs, or replacement. Here are the steps to disassemble the various parts of your Graber blinds:
1. Slats: If you need to remove individual slats for cleaning or replacement, start by tilting the slats to an open position. Locate the small plastic plugs at the bottom of each slat. Gently push these plugs upwards to release the slats from the bottom rail. Slide the slats out one by one, starting from the bottom and working your way up.
2. Headrail: If you want to disassemble the headrail for thorough cleaning or repair, you will need to remove any end caps or valance clips first. These can usually be gently pulled or pried off. Once the end caps or valance clips are removed, you can slide the headrail out of its brackets or clips. Be careful to support the weight of the headrail as you remove it.
3. Tilt and Lift Mechanism: If you need to access or repair the tilting or lifting mechanism of your Graber blinds, refer to the specific instructions provided by the manufacturer. This may involve disassembling small components, such as gears or springs, within the headrail. Take note of the position and arrangement of these parts before disassembling to ensure proper reassembly later on.
4. Lift Cords or Wand: If your Graber blinds have lift cords or a wand, you may need to detach them from the headrail or individual slats. Look for any knots or connectors that secure the cords or wand. Carefully undo these knots or disconnect the connectors to separate the lift cords or wand from the blinds.
Remember to keep track of the disassembled components and store them in a safe place. Take pictures or make notes as you disassemble the blinds to assist in reassembly later on.
As you disassemble the components, take the opportunity to inspect them for any signs of damage or wear. This will help you determine if any parts need to be repaired or replaced before reassembling the blinds.
Once you have completed the necessary disassembly, you can proceed with cleaning the individual components, making any repairs, or sourcing replacements as needed.
By following these steps, you can successfully disassemble the different components of your Graber blinds, allowing for thorough cleaning, repairs, or replacement.
Read more: How To Take Down Mini Blinds
Cleaning and Maintenance Tips
Keeping your Graber blinds clean and well-maintained not only helps to prolong their lifespan but also ensures that they continue to function properly and look their best. Here are some useful tips for cleaning and maintaining your Graber blinds:
1. Regular Dusting: Dust and debris can accumulate on the slats of your blinds, making them look dull and potentially affecting their functionality. Regularly dust your blinds with a soft cloth, microfiber duster, or gentle vacuum cleaner attachment to remove any surface dust.
2. Spot Cleaning: For more stubborn stains or spills, spot cleaning may be necessary. Use a mild detergent or a mixture of gentle soap and water to lightly clean the affected areas. Gently wipe the stains using a clean cloth or sponge, being careful not to saturate the blinds. Avoid using harsh chemicals or abrasive cleaners, as they can damage the blinds’ finish.
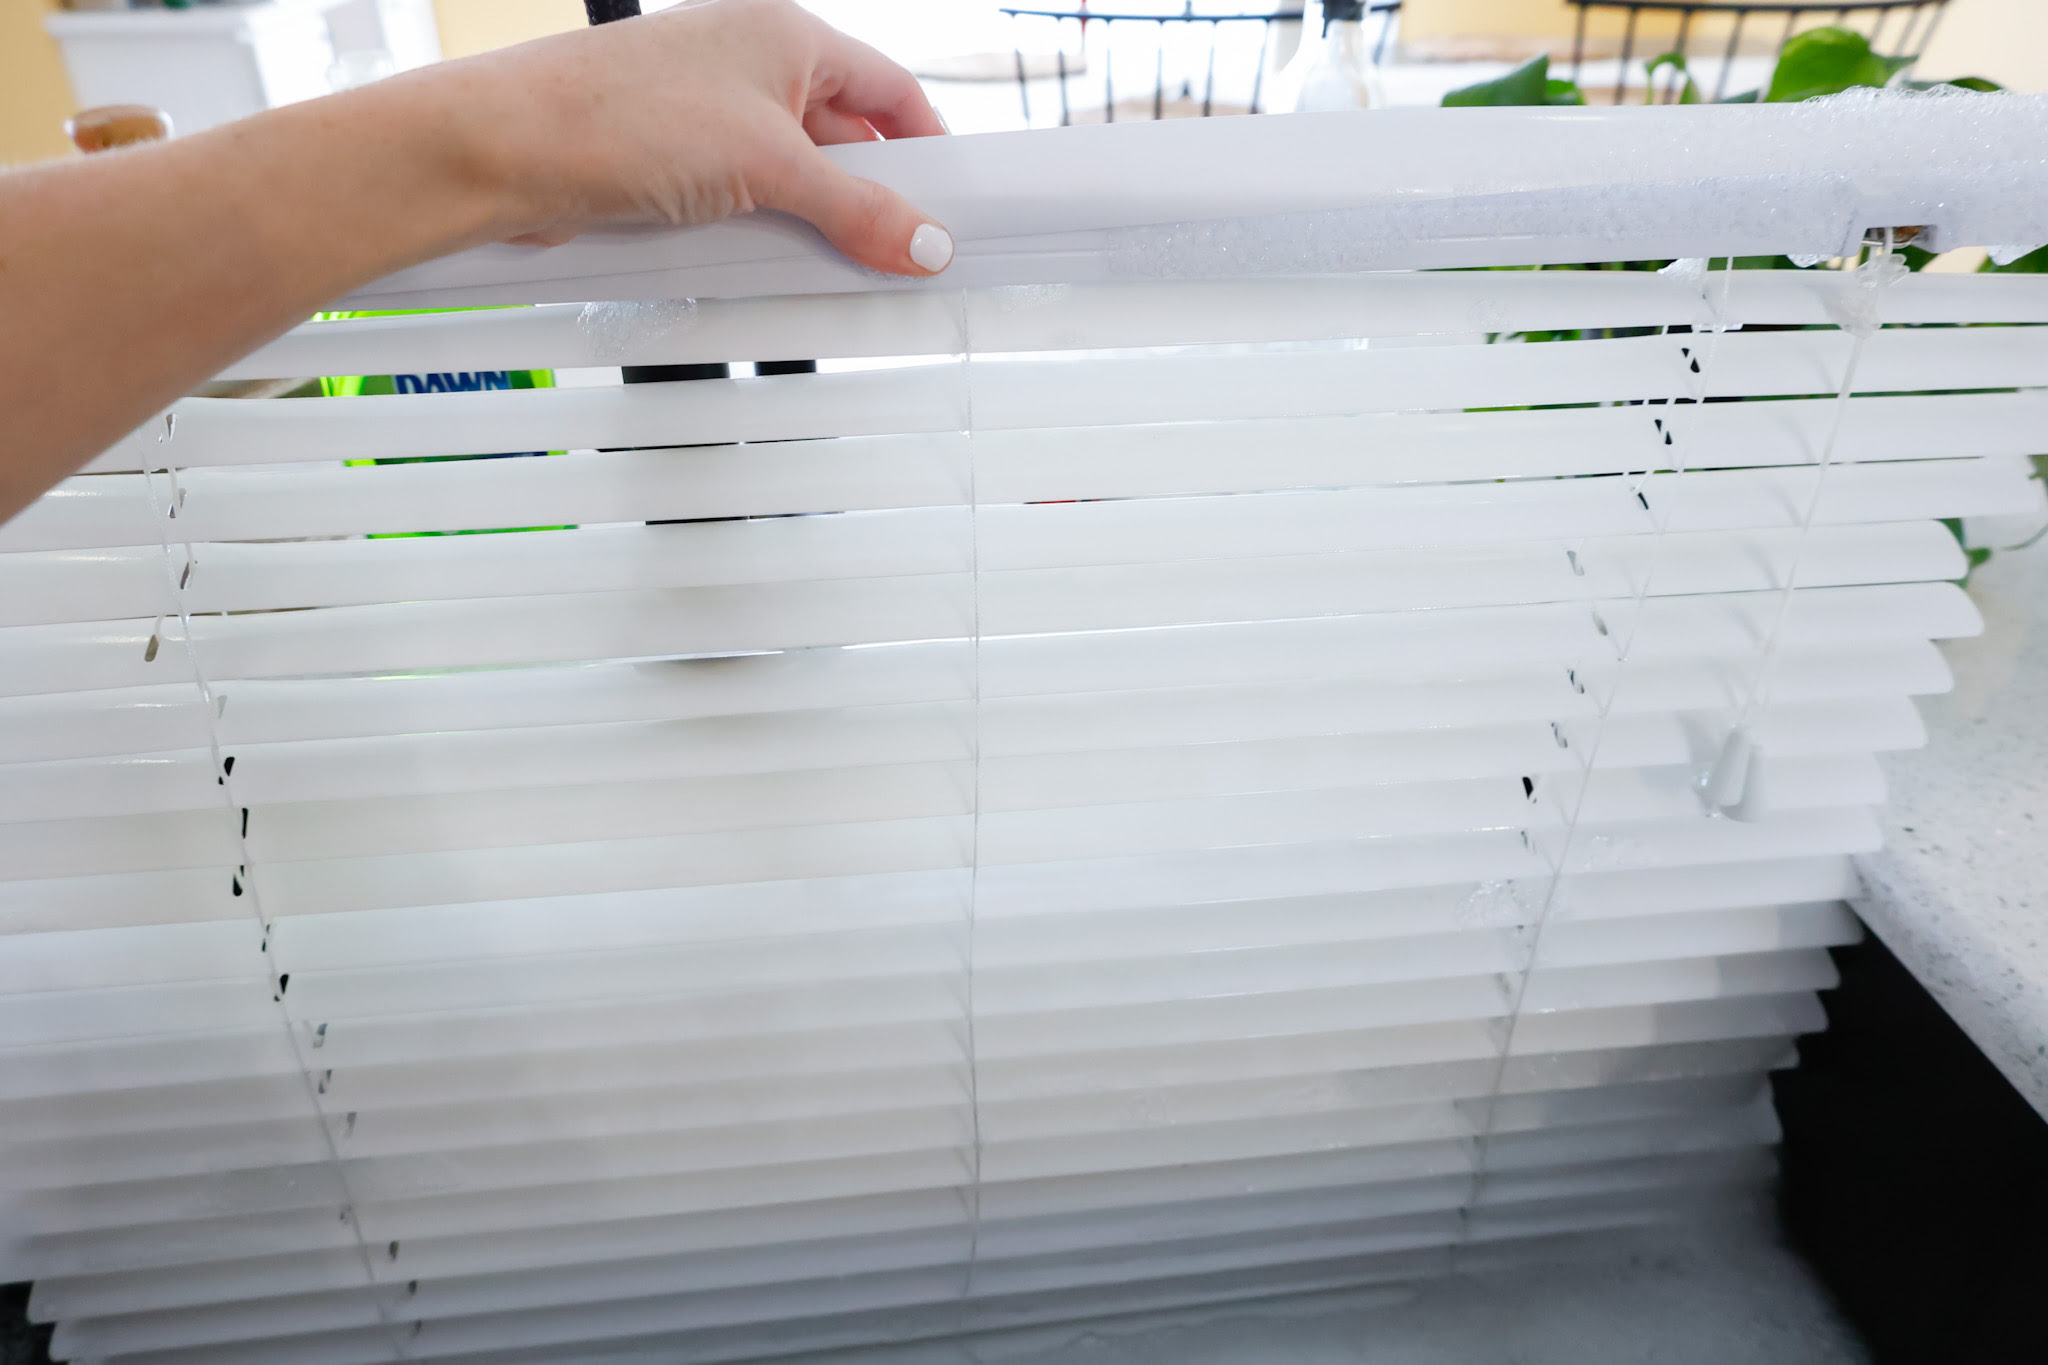
3. Deep Cleaning: Occasionally, you may need to perform a deeper cleaning to remove built-up dirt and grime. Depending on the material of your Graber blinds, you can either soak the slats in a bathtub filled with warm water and mild detergent or use a professional blind cleaning tool specifically designed for your blinds. Follow the manufacturer’s instructions for best results.
4. Drying: After cleaning, ensure that your blinds are thoroughly dried before reinstallation. Wipe them down with a clean cloth to remove excess moisture, or allow them to air dry in a well-ventilated area. Avoid reinstalling damp blinds, as this can lead to damage or the growth of mold and mildew.
5. Lubrication: If your Graber blinds have a tilt or lift mechanism that is becoming stiff or difficult to operate, you may need to lubricate it. Use a silicone-based lubricant or a dry silicone spray to lubricate the moving parts, following the specific instructions provided by the manufacturer. This will help maintain smooth and effortless operation.
6. Inspect for Damages: Regularly inspect your blinds for any signs of damage, such as broken slats, bent mechanisms, or loose brackets. If you notice any issues, address them promptly to prevent further damage and ensure the blinds’ proper functioning. In some cases, you may need to replace damaged components or consider professional repairs.
7. Avoid Excessive Force: When operating your Graber blinds, handle them with care to avoid applying excessive force. Avoid yanking the lift cords or forcefully adjusting the slats, as it can cause damage to the blinds’ mechanisms. Use gentle and controlled movements to ensure longevity and smooth operation.
By following these cleaning and maintenance tips, you can keep your Graber blinds in excellent condition, ensuring their longevity and optimal performance. Regular care and attention will help retain their beauty and functionality for years to come.
Reinstalling or Replacing Graber Blinds
Once you have completed the cleaning, repairs, or replacements, it’s time to reinstall your Graber blinds or consider replacing them if necessary. Here are some guidelines to help you with the reinstallation or replacement process:
1. Reinstalling:
- Start by ensuring that the window frame is clean and free from any dust or debris.
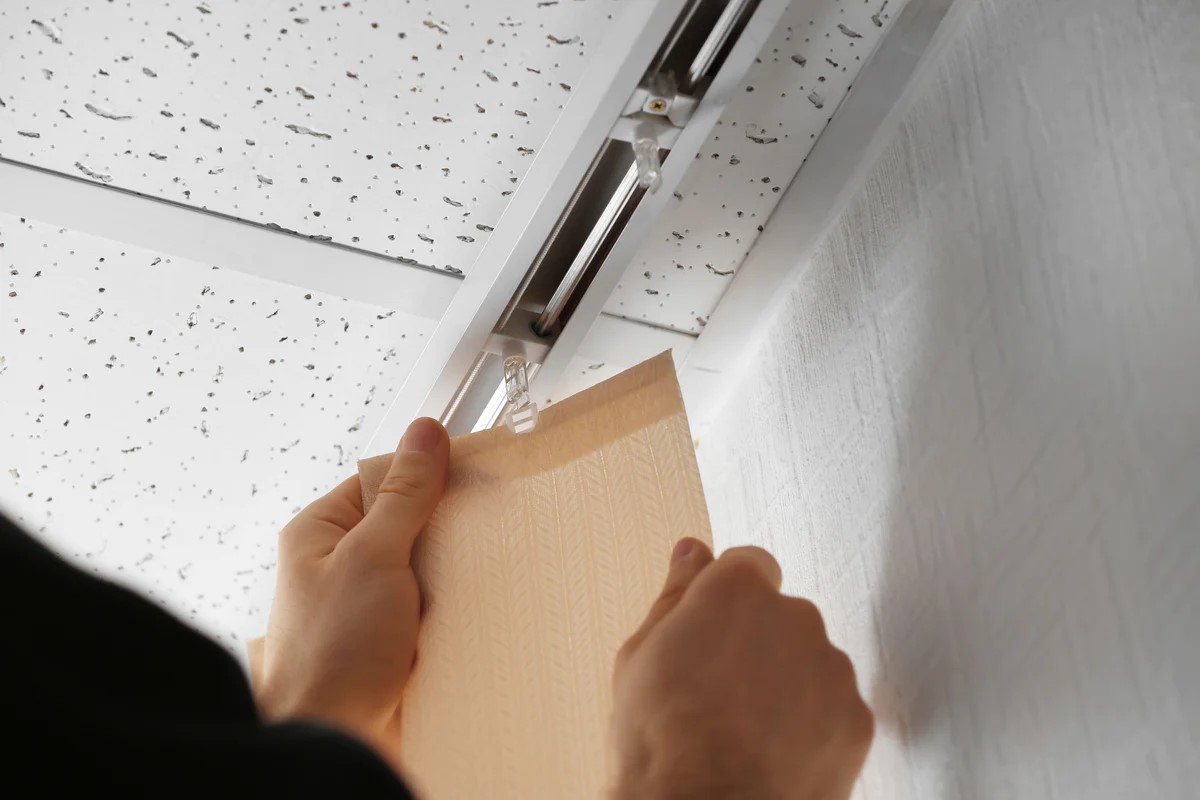
- If you had removed the brackets or clips during the removal process, reattach them to the window frame according to the manufacturer’s instructions.
- Hold the headrail at an angle and align it with the brackets or clips. Insert one end of the headrail into the bracket or clip and tilt it into place.
- Slowly lower the opposite end of the headrail into the bracket or clip until it is securely held in place.
- If your blinds have lift cords, make sure they are properly threaded through the openings in the headrail and the bottom rail.
- Test the blinds by gently raising and lowering them to ensure they are functioning correctly.
- If necessary, adjust the slats to the desired position by tilting them using the tilt mechanism.
2. Replacing:
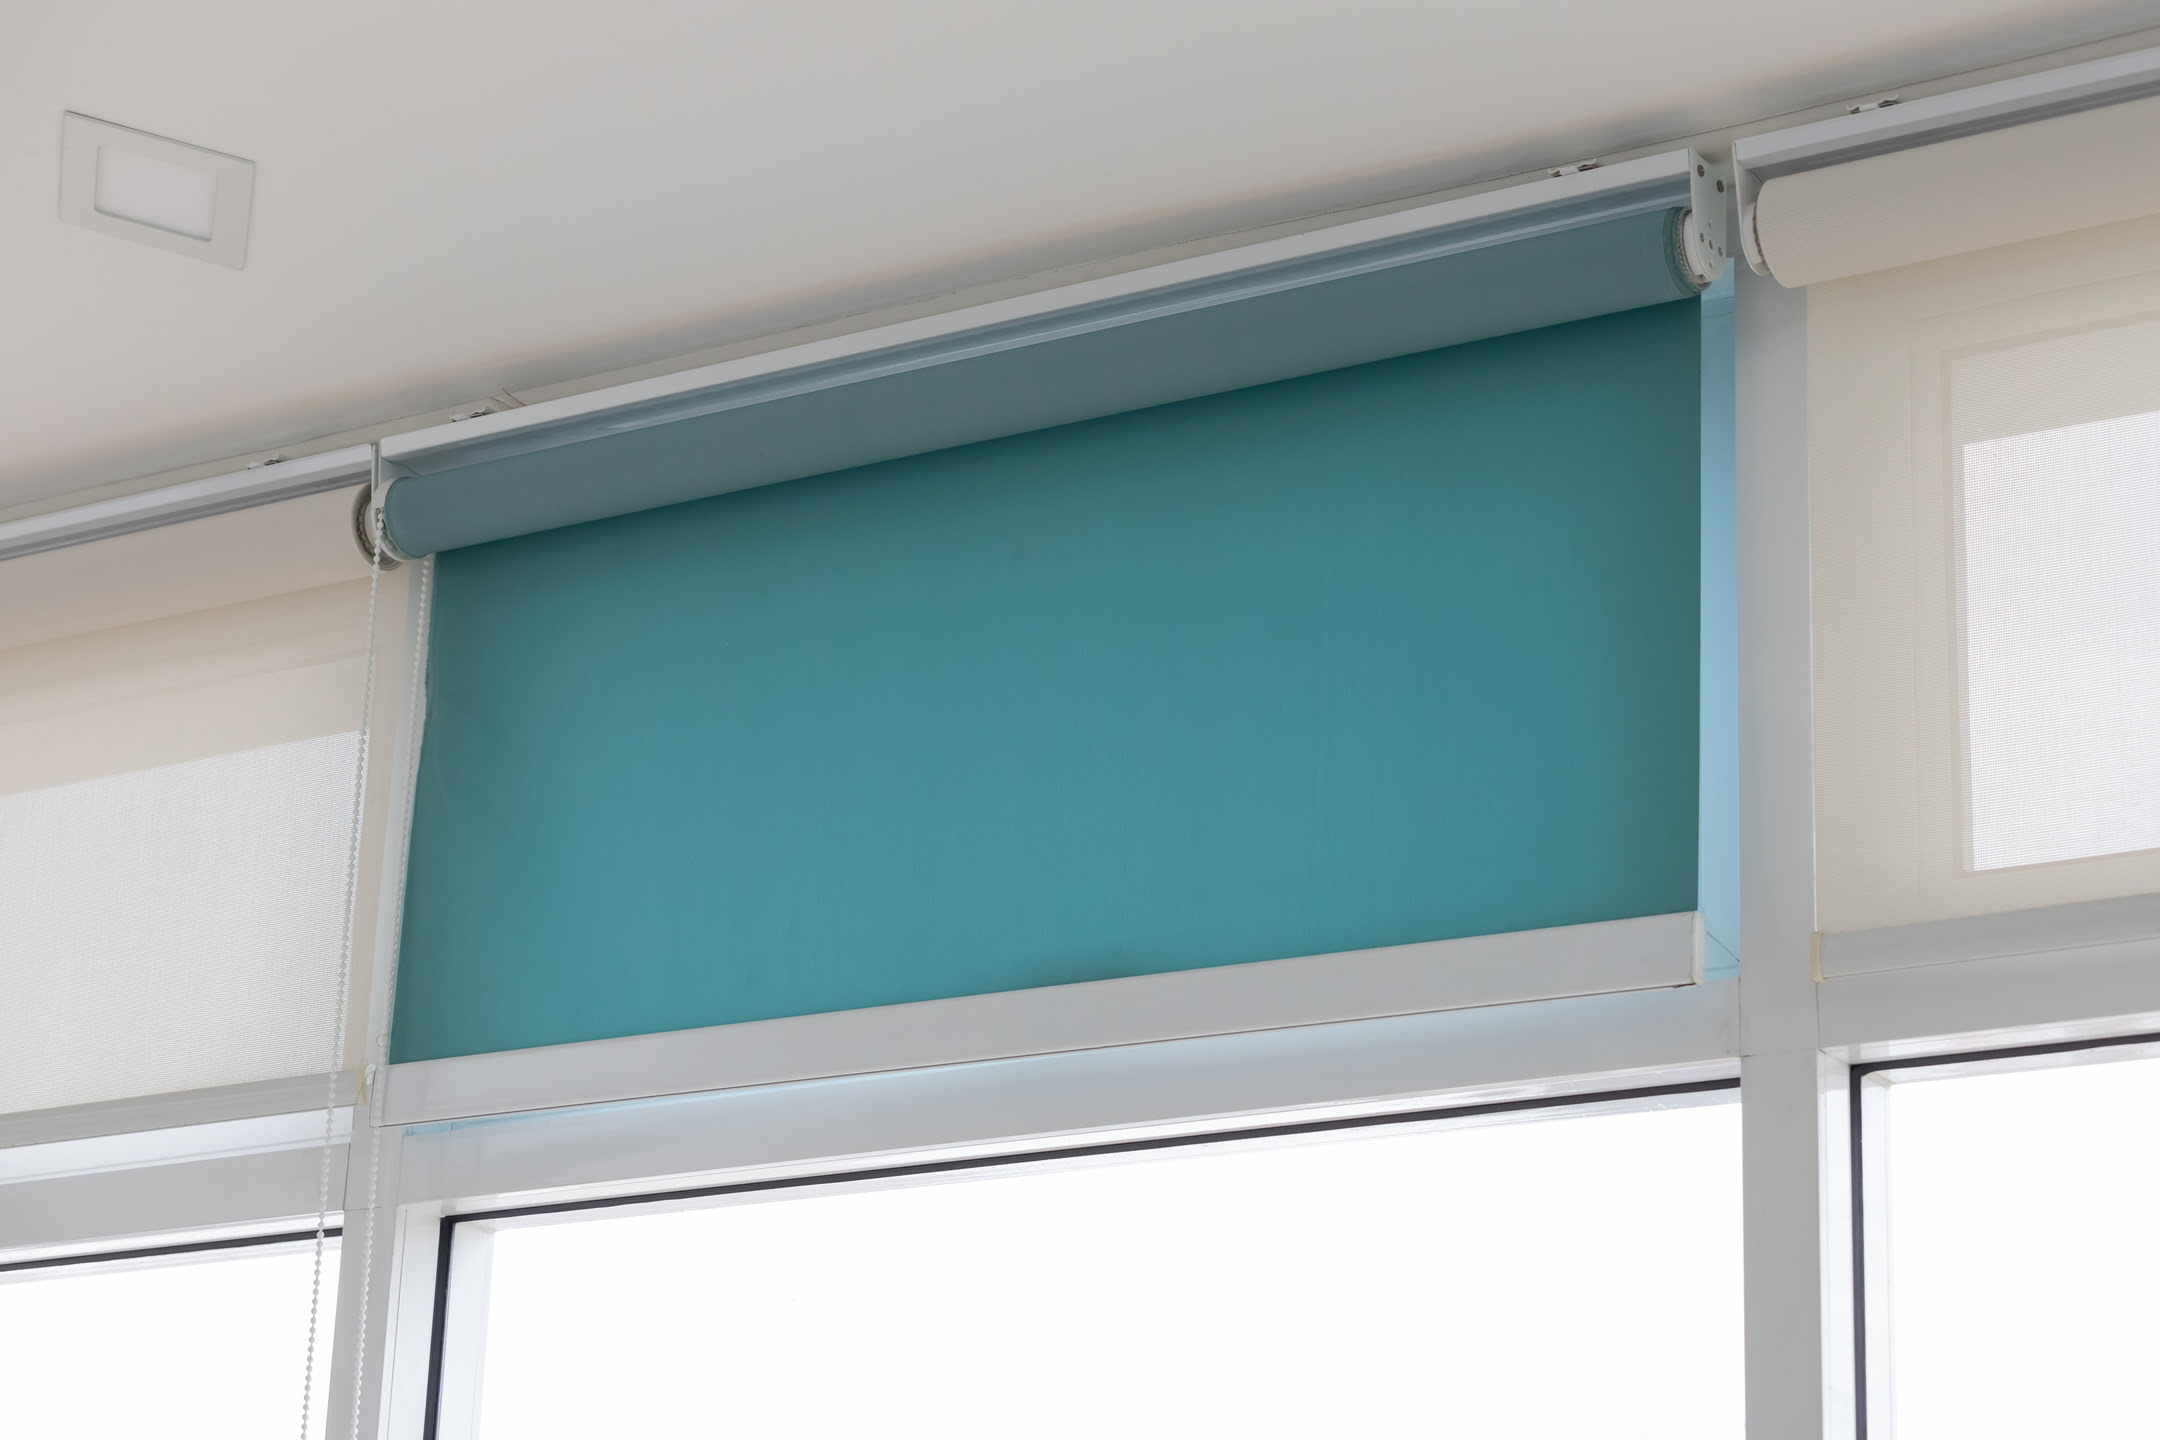
- If you have decided to replace your Graber blinds, start by measuring the window to determine the appropriate size for the new blinds.
- Select the style, material, and color of the replacement blinds that best suit your preferences and needs.
- Follow the manufacturer’s instructions for installation, as the process may vary depending on the type of blinds you have chosen.
- If necessary, remove any existing brackets or clips from the window frame and install the new ones according to the instructions provided.
- Align the headrail of the new blinds with the brackets or clips and insert it into place.
- Securely attach the headrail to the brackets or clips.
- Thread the lift cords through the appropriate openings and test the blinds to ensure they are operating smoothly.
Whether you are reinstalling or replacing your Graber blinds, it’s important to follow the manufacturer’s instructions specific to your blinds’ model and style. This will ensure a proper fit and installation, resulting in blinds that function optimally and enhance the aesthetics of your windows.
Remember to handle the blinds with care during the reinstallation or replacement process to avoid any accidental damage.
With your Graber blinds successfully reinstalled or replaced, you can now enjoy their functionality and beauty once again.
Conclusion
Taking down Graber blinds doesn’t have to be a daunting task. With the proper knowledge and guidance, you can remove, clean, repair, and reinstall these window coverings with ease. Understanding the construction and installation of Graber blinds is the first step in successfully removing them from your windows.
By assessing the specific requirements of your blinds and following the step-by-step instructions, you can ensure a smooth removal process. Disassembling the various components of Graber blinds allows for thorough cleaning, repairs, or replacements, if necessary.
Remember to clean and maintain your Graber blinds regularly to keep them looking their best and functioning properly. Dusting and spot cleaning are essential for everyday maintenance, while deeper cleaning and lubrication may be required periodically.
If you’re reinstalling Graber blinds, carefully follow the manufacturer’s instructions to secure the headrail and rethread the lift cords properly. If you opt for replacement blinds, measure your windows accurately and select the right style and material for your needs.
By following these steps, you can successfully remove and reinstall Graber blinds or replace them, ensuring a seamless transition and maintaining the beauty and functionality of your window coverings.
Remember to handle your Graber blinds with care throughout the process to avoid any accidental damage or breakage. If you encounter any difficulties or have specific concerns, it’s always a good idea to consult the manufacturer’s instructions or seek professional assistance.
With these tips and guidelines, you can confidently take down your Graber blinds and make any necessary adjustments or replacements. Enjoy the benefits of clean, well-maintained blinds that enhance the look and feel of your living space.
Now that you're savvy with removing Graber blinds, why not learn where you can purchase them for your home? Our detailed guide on Graber blinds sellers provides all the necessary details to find the best deals near you. Whether upgrading or simply curious about pricing, this resource is indispensable for savvy shoppers like yourself. Check out our guide and make an informed choice on your next home improvement purchase!
Frequently Asked Questions about How To Take Down Graber Blinds
Was this page helpful?
At Storables.com, we guarantee accurate and reliable information. Our content, validated by Expert Board Contributors, is crafted following stringent Editorial Policies. We're committed to providing you with well-researched, expert-backed insights for all your informational needs.


0 thoughts on “How To Take Down Graber Blinds”