Articles
How To Make A Chair With Hand Tools
Modified: April 22, 2024
Learn how to make a chair using only hand tools with our comprehensive articles. Get step-by-step instructions and expert tips for a rewarding DIY project.
(Many of the links in this article redirect to a specific reviewed product. Your purchase of these products through affiliate links helps to generate commission for Storables.com, at no extra cost. Learn more)
Introduction
Welcome to the fascinating world of woodworking! In this article, we will explore the art of making a chair using only hand tools. Creating a chair from scratch can be a highly rewarding and fulfilling experience, allowing you to tap into your creativity and showcase your craftsmanship. Whether you are a seasoned woodworker or just starting out, this guide will provide you with the step-by-step instructions to craft a functional and beautiful chair using traditional techniques.
There’s something timeless and authentic about working with hand tools. It allows us to connect with the materials we are working with on a deeper level and can provide a sense of accomplishment that is hard to match with power tools. While it may take a bit more effort and time, the process of using hand tools involves a level of precision and attention to detail that can result in a truly exquisite piece of furniture.
Before we dive into the woodworking process, let’s gather our materials and tools. You will need a few essential items to get started on this project:
- A durable hardwood of your choice for the chair frame
- Hand saw for cutting the wood
- An assortment of chisels in various sizes
- Marking and measuring tools such as a square and tape measure
- Bevel gauge for angle measurements
- Rasp and file for shaping the wood
- Drill with a variety of drill bits
- A set of wood carving tools for adding decorative details
- Sandpaper and a sanding block for finishing touches
- Wood glue and clamps for assembly
Once you have gathered all the necessary materials and tools, we can move on to preparing the wood. Stay tuned for the next part of this guide!
Key Takeaways:
- Embrace the timeless art of woodworking by crafting a beautiful and functional chair using only hand tools. Connect with the materials on a deeper level and unleash your creativity while mastering traditional techniques.
- From gathering materials to finishing touches, follow step-by-step instructions to create a unique and personalized chair. Enjoy the gratifying experience of working with hand tools and showcase your dedication and craftsmanship.
Read more: Who Makes Milwaukee Hand Tools?
Gathering the Materials and Tools
Before you embark on the chair-making journey, it is important to ensure that you have all the necessary materials and tools at your disposal. This step will not only save you time and frustration later on but also help you plan your project effectively. Let’s take a look at what you’ll need:
1. Wood: Start by selecting a durable hardwood for your chair frame. Popular choices include oak, walnut, maple, or cherry. Consider the aesthetics, durability, and availability of the wood. It is recommended to choose wood boards that are at least 1 inch thick to ensure stability and strength.
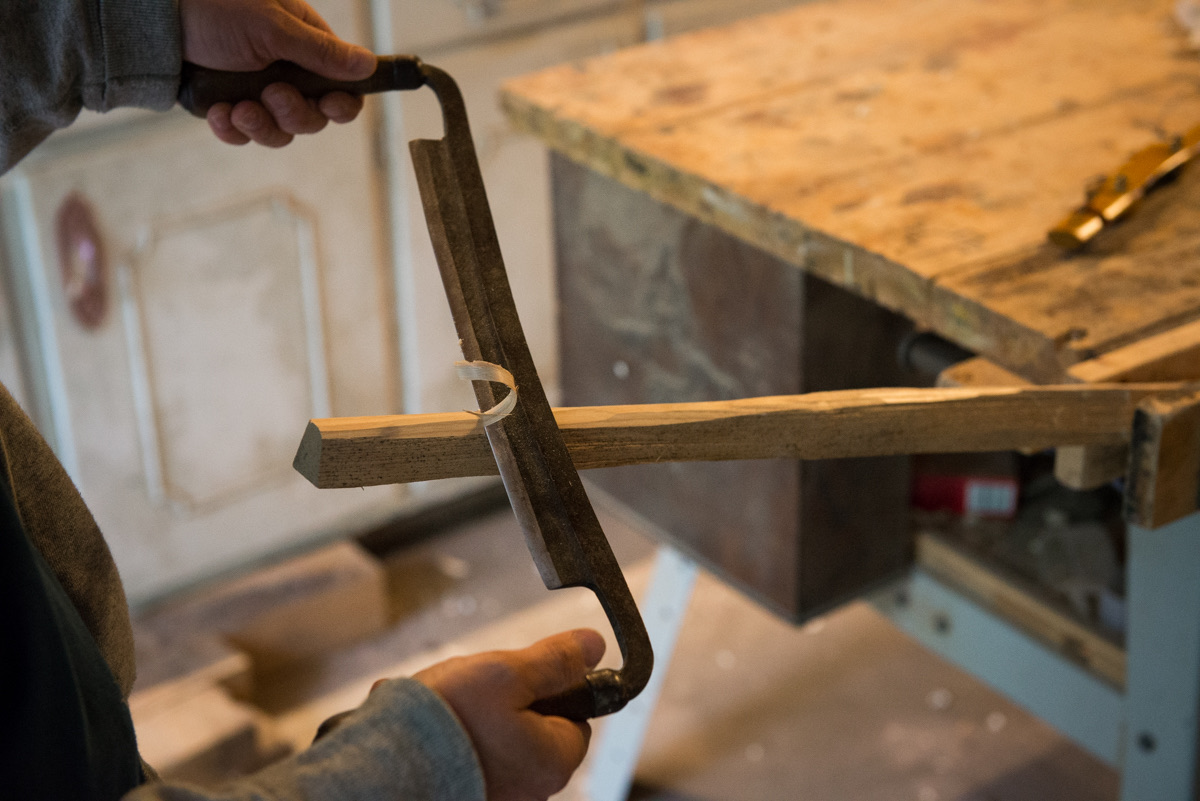
2. Hand saw: You will need a reliable hand saw to cut the wood into the desired lengths and shapes. A crosscut saw or a tenon saw works well for this purpose. Ensure that the saw is sharp to achieve clean and precise cuts.
3. Chisels: Invest in a set of good-quality chisels in various sizes. These will be essential for shaping and carving the wood. Sharp chisels ensure clean edges and smooth surfaces, so make sure to keep them well-honed.
4. Marking and measuring tools: Accuracy is key when creating a chair, so having the right measuring and marking tools is essential. A combination square, tape measure, and marking gauge will help you make precise measurements and markings.
5. Bevel gauge: To accurately measure and replicate angles, a bevel gauge is indispensable. This tool ensures that all the components of your chair align perfectly, resulting in a sturdy and cohesive structure.
6. Rasp and file: A rasp and file are handy tools for shaping wood and refining curves and contours. They allow you to smooth rough edges and fine-tune the shape of your chair, ensuring both comfort and aesthetics.
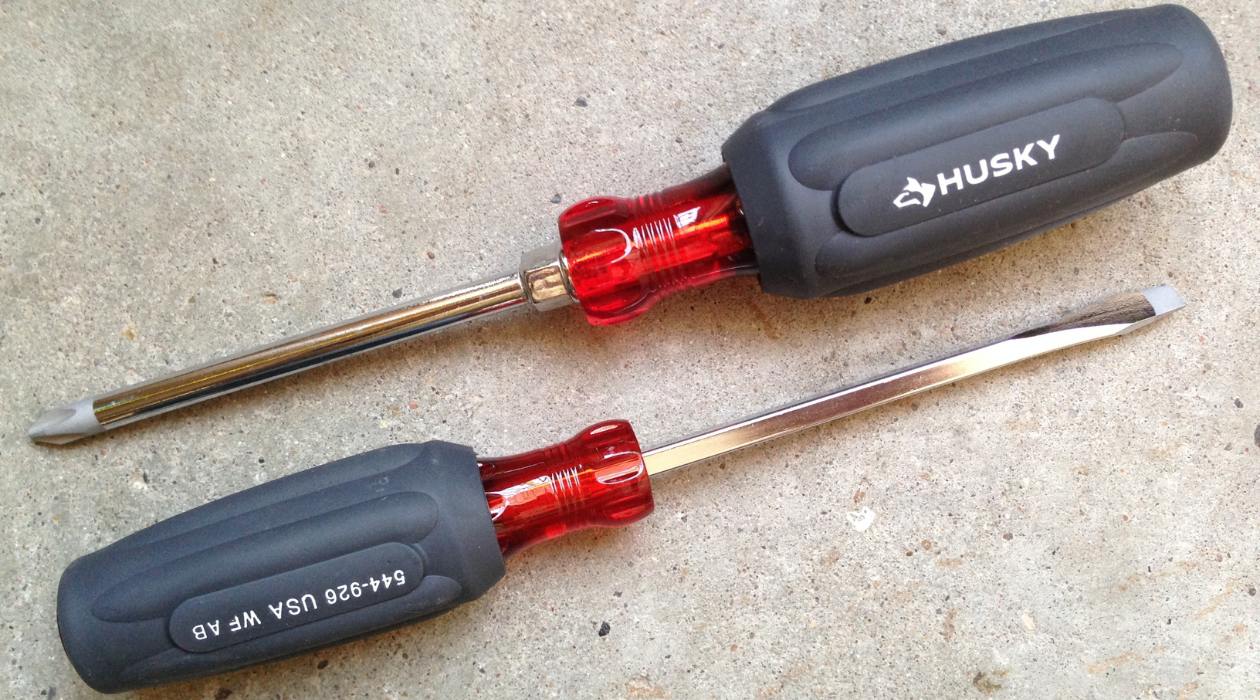
7. Drill and drill bits: A good-quality drill with a variety of drill bits will come in handy during the chair-making process. This allows you to drill holes for joinery, attach hardware, and make other necessary adjustments.
8. Wood carving tools: If you want to add intricate details or decorative elements to your chair, a set of wood carving tools will be invaluable. These tools allow you to unleash your creativity and personalize your chair with unique designs.
9. Sandpaper and sanding block: Creating a smooth finish is essential for a chair that not only looks great but is also comfortable to sit on. Sandpaper of various grits and a sanding block will help you achieve that desired level of smoothness by removing any rough edges or imperfections.
10. Wood glue and clamps: Finally, you’ll need wood glue and clamps to ensure a strong and secure joinery. Choose a reliable wood glue and use clamps to hold the pieces together while the glue dries, creating a solid chair frame.
With all the materials and tools ready, you are well-prepared to start your chair-making project. In the next section, we will dive into the process of preparing the wood, ensuring that it is in the best possible condition before proceeding with the construction of your chair. Stay tuned!
Preparing the Wood
Before you begin cutting and shaping the wood for your chair, it is crucial to properly prepare the material. This step ensures that the wood is in the best possible condition and ready for the construction process. Here are the key steps to follow for preparing the wood:
1. Acclimation: Wood is naturally affected by changes in moisture content and temperature. To prevent warping or cracking in your chair, it is essential to allow the wood to acclimate to the environment where it will be used. Place the wood in the room where your chair will be located for at least 48 hours, allowing it to adjust to the humidity and temperature of the space.
2. Milling: If you have purchased rough lumber, it will need to be milled to a usable thickness and flatness. This can be done using a planer and jointer. Pass the boards through the planer to achieve a consistent thickness, then run them through the jointer to flatten one face and create a square reference edge.
3. Cutting to size: With your flattened and squared boards, it’s time to cut them to the appropriate lengths for your chair components. Measure and mark the desired dimensions on the wood, using a square to ensure accuracy. Then, use a hand saw to cut along the marked lines.
4. Removing imperfections: Inspect the cut pieces for any knots, cracks, or other imperfections. Use a chisel or a rasp to remove any such defects, creating smooth and clean surfaces. This step is crucial for achieving a professional and refined look on your finished chair.
5. Smoothing the wood: After removing imperfections, it’s time to smooth the wood surfaces. Start with a coarse-grit sandpaper to remove any roughness or irregularities, then progressively move to finer grits for a smoother finish. This process will prepare the wood for any shaping or carving that needs to be done later on.
6. Sanding end grain: End grain surfaces tend to absorb more finish and appear darker unless properly treated. To achieve a consistent finish across all surfaces, lightly sand the end grain with a higher grit sandpaper to reduce its absorbency. This will help create a more uniform appearance on your chair components.
7. Dust removal: Lastly, ensure that all dust and debris are removed from the wood surfaces before proceeding with the construction process. Use a clean cloth or a brush to wipe away any residual dust, as it can interfere with the adhesion of glue or the quality of the finish.
By following these steps, you will have prepared the wood for the construction of your chair. Taking the time to properly prepare your materials will ultimately result in a higher-quality and longer-lasting finished product. In the next section, we will dive into the process of cutting the wood pieces to the appropriate shapes for your chair. Stay tuned!
Cutting the Pieces
Now that you have prepared the wood, it’s time to move on to cutting the pieces for your chair. This step involves carefully measuring and shaping the wood components to create a sturdy and well-proportioned structure. Here’s how to cut the pieces for your chair:
1. Referencing measurements: Begin by referring to your chair design or plans to determine the necessary dimensions for each component. Measure and mark the appropriate lengths on the wood using a pencil or marking gauge. Ensure the measurements are accurate to achieve a well-fitting chair.
2. Cutting the seat and back panels: Start by cutting the seat panel to the desired size and shape. Use a saw to make straight cuts along the marked lines, ensuring they are precise and parallel. Repeat this process to cut the back panel, adjusting the length and curvature as required by your design.
3. Shaping the seat and back curves: If your chair design includes curved seat or backrest, use a band saw or coping saw to carefully cut along the curved lines. Take your time and work slowly to create smooth and flowing curves that add aesthetic appeal and comfort to your chair.
4. Creating the armrests and supports: Measure and mark the dimensions for the armrests and support pieces. Use a saw to cut them to the appropriate lengths and angles, ensuring they are identical for symmetry. Take extra care with the angles to ensure a snug fit when assembling the chair.
5. Cutting the legs and stretchers: Measure and mark the dimensions for the chair legs and stretchers. Use a saw to make clean and accurate cuts, ensuring all legs and stretchers are cut to the same length. Pay attention to any angles or tapers required, as they can add both stability and aesthetics to your chair.
6. Beveling edges: To add a touch of refinement and comfort, consider beveling the edges of certain components, such as the seat, backrest, and armrests. Use a chisel or a block plane to carefully shape the edges, creating smooth and comfortable surfaces that are pleasant to touch.
7. Dry-fitting: Once all the pieces have been cut, dry-fit them together to ensure they align properly and create a harmonious structure. This step allows you to make any necessary adjustments before moving on to the assembly process.
Remember, precision is key when cutting the pieces for your chair. Take your time, measure twice, and cut once to achieve accurate and well-fitting components. In the next section, we will explore the process of shaping the seat and backrest to add comfort and aesthetics to your chair. Stay tuned!
Shaping the Seat and Backrest
Shaping the seat and backrest of your chair is an important step in creating both comfort and visual appeal. By carefully sculpting these components, you can ensure that your chair provides a comfortable seating experience while highlighting the beauty of the wood grain. Here’s how you can shape the seat and backrest:
1. Marking your design: Start by visualizing the desired shape and contours for the seat and backrest. Use a pencil or marking gauge to mark the outline of your design on the wood. Take your time to ensure that the marks are accurate and symmetrical.
2. Rough shaping: Begin roughing out the shape of the seat and backrest using a band saw or coping saw. Follow the marked lines as a guide, cutting away excess material gradually. Work slowly and make smooth, sweeping cuts to create graceful curves. It’s better to remove too little at first than to remove too much.
3. Refining the shape: Once you have rough-shaped the seat and backrest, switch to hand tools such as rasps, files, and sandpaper to refine the curves. Use a rasp to remove any remaining material and shape the contours to your desired form. Transition to finer tools to achieve a smoother finish.
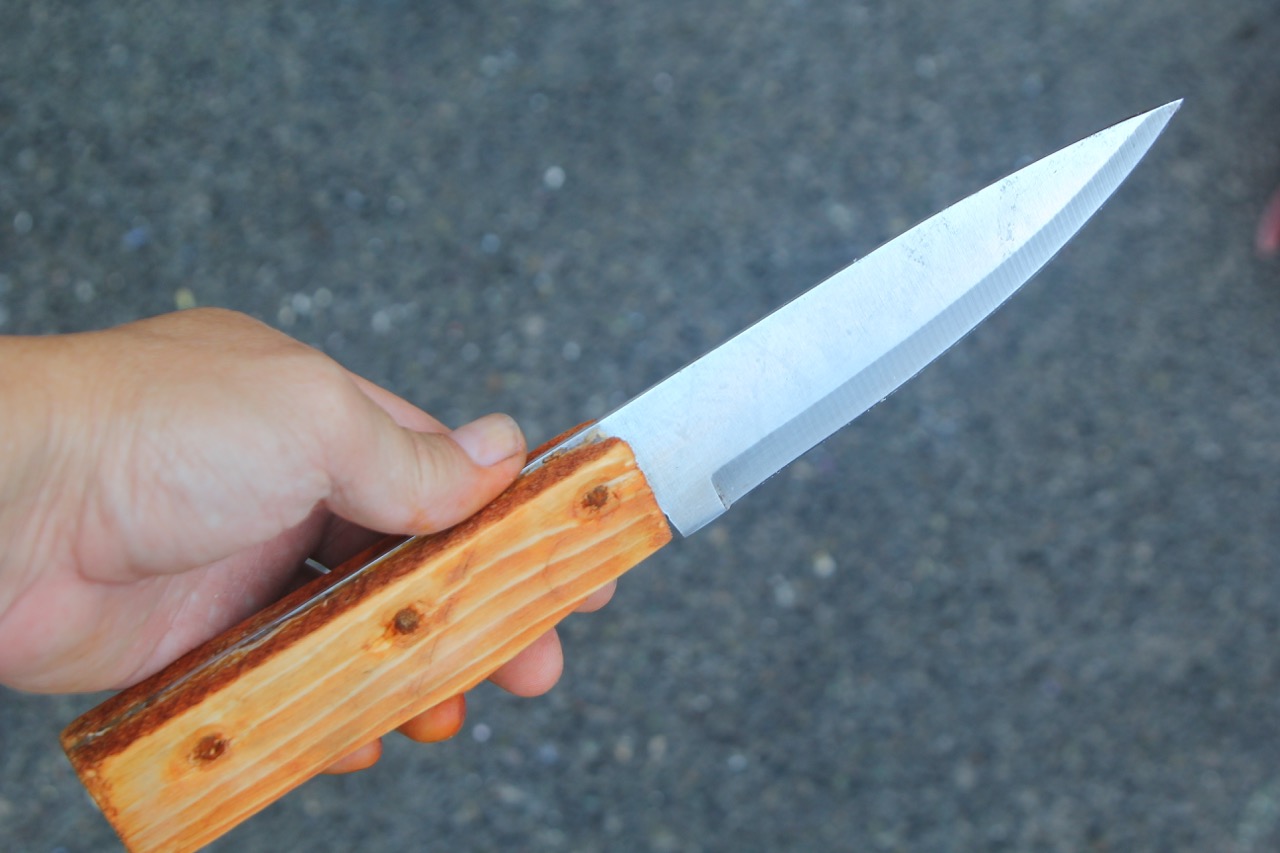
4. Creating contours: Consider adding contours to the seat and backrest to enhance comfort and aesthetics. Use a spokeshave or a carving knife to create gentle dips or curves that support the natural curves of the human body. Pay attention to ergonomics and test the chair as you shape it to ensure a comfortable seating experience.
5. Sanding and smoothing: After shaping the seat and backrest, it’s important to sand and smooth the surfaces to remove any tool marks or imperfections. Start with a coarse-grit sandpaper and gradually move to finer grits for a polished finish. Pay special attention to the edges and curves to ensure a comfortable feel.
6. Finishing touches: Once the seat and backrest have been shaped and smoothed, take a step back and assess the overall look and feel of your chair. Make any final adjustments to ensure that the curves flow smoothly and harmoniously. If desired, you can also add decorative elements or subtle details to further enhance the aesthetic appeal.
Remember, shaping the seat and backrest requires patience and attention to detail. Take your time and frequently step back to evaluate your progress. By sculpting the wood with care, you can create a chair that not only looks stunning but also provides exceptional comfort. In the next section, we will explore the process of assembling the chair frame. Stay tuned!
When making a chair with hand tools, ensure that all your tools are sharp and well-maintained. Dull tools can make the process more difficult and lead to a less professional finish.
Read more: How To Make A Bow With Hand Tools
Assembling the Chair Frame
With the seat and backrest shaped and ready, it’s time to move on to assembling the frame of your chair. This step involves joining the various components together to form a sturdy and stable structure. Here’s how you can assemble the chair frame:
1. Dry fit: Begin by dry-fitting the pieces together without any glue or fasteners. This will allow you to ensure that all the components fit properly and that the chair frame is aligned correctly. Make any necessary adjustments or minor modifications at this stage.
2. Apply glue: Once you are satisfied with the dry fit, disassemble the pieces and apply wood glue to the joints. Spread a thin and even layer of glue on both surfaces that will be joined together. Be careful not to use too much glue, as excess glue can create a messy appearance and compromise the strength of the joint.
3. Reassemble and clamp: Reassemble the pieces, fitting them snugly together. Use clamps to hold the joints tightly during the drying process. Ensure that the joints are aligned correctly and the pieces are squared before tightening the clamps. Wipe off any excess glue that squeezes out of the joints with a damp cloth.
4. Check for squareness: It is important to check that the chair frame is square after clamping. Use a tape measure or a framing square to measure diagonally from corner to corner. The measurements should be equal, indicating that the frame is square and properly aligned. Make any necessary adjustments before the glue fully sets.
5. Allow to dry: Leave the clamps in place and allow the glue to dry according to the manufacturer’s instructions. This usually takes several hours. It is important to be patient and allow the glue to fully cure before proceeding to the next step. Rushing this stage can compromise the strength and durability of the joints.
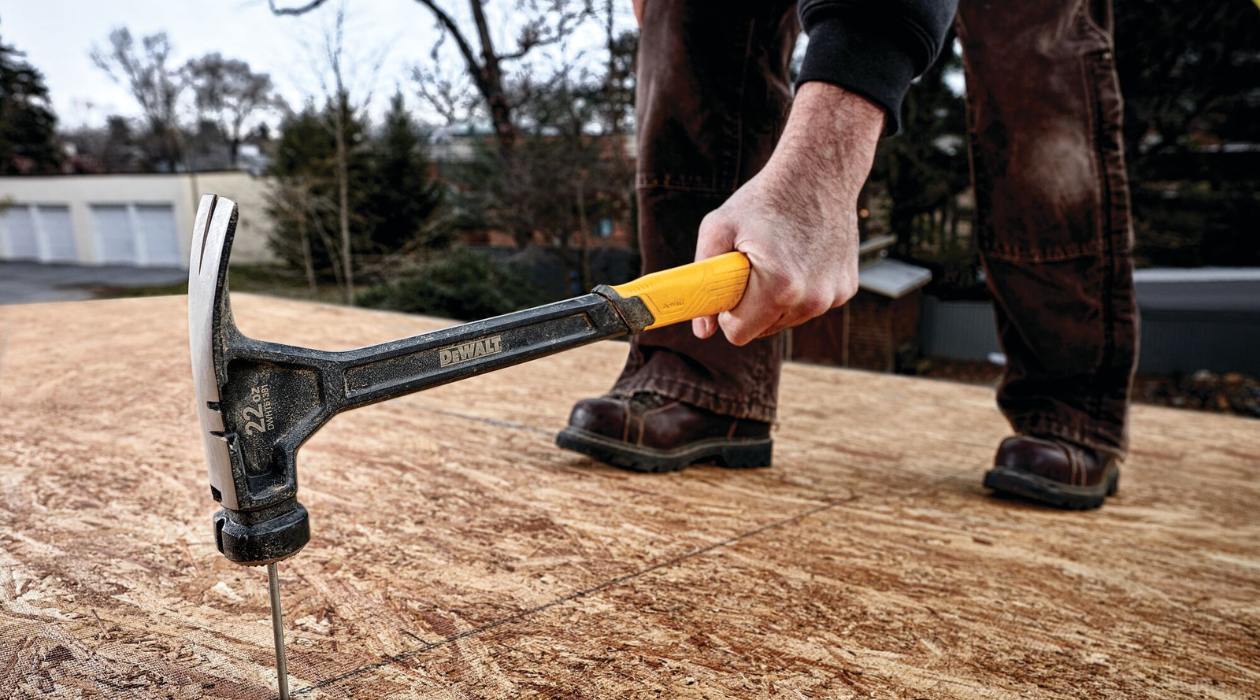
6. Reinforce with dowels or screws (optional): Depending on your preference and the style of your chair, you may choose to reinforce the joints with dowels or screws. This can provide additional strength and stability. Drill pilot holes if necessary and insert dowels or drive screws into the joints. Ensure that they are countersunk to create a flush surface.
7. Remove clamps: Once the glue has fully cured and any additional reinforcements have been added, carefully remove the clamps. Inspect the joints to ensure that they are solid and secure. Your chair frame should now be sturdy and ready for the next steps of the construction process.
By following these steps, you can successfully assemble the frame of your chair. The use of quality glue and proper clamping will result in a strong and durable structure. In the next section, we will explore the process of adding support braces to further enhance the stability of your chair. Stay tuned!
Adding Support Braces
To enhance the overall stability and structural integrity of your chair, it is important to add support braces. These additional components will help distribute weight evenly and prevent any wobbling or rocking. Here’s how you can add support braces to your chair:
1. Assess the need: Evaluate the design of your chair and identify areas where additional support is required. This may include connecting the legs, reinforcing the backrest, or adding cross braces for overall stability. Consider both the aesthetic and functional aspects of the chair when determining the placement of support braces.
2. Choose the support brace material: Select a hardwood similar to the one you used for the chair frame for consistency and strength. Measure and mark the dimensions for the support braces based on your design considerations.
3. Cut the support braces: Use a saw to carefully cut the support braces to the appropriate lengths and angles according to your measurements. Ensure that the cuts are precise and clean, as this will affect the overall appearance and functionality of the chair.
4. Prepare the surfaces: Before attaching the support braces, ensure that the areas where they will be placed are clean and free of any debris or glue residue. Sand the surfaces if necessary to create a smooth and flat base for attaching the braces.
5. Apply glue and secure the braces: Apply a thin layer of wood glue to the surfaces where the braces will be attached. Carefully align the braces with the chair frame and make sure they are flush against the surfaces. Use clamps to hold the braces firmly in place while the glue dries. Wipe off any excess glue immediately with a damp cloth.
6. Reinforce with fasteners (optional): For added strength and stability, you may choose to reinforce the attachment of the support braces with screws, dowels, or wooden pegs. Drill pilot holes to prevent splitting and carefully drive in the fasteners or insert dowels, ensuring they are countersunk for a flush finish.
7. Allow the glue to dry: Leave the clamps in place and allow the glue to fully dry according to the manufacturer’s instructions. This typically takes several hours. Be patient and resist the temptation to rush this step, as it is essential for the strength and longevity of the support braces.
8. Remove clamps and sand if necessary: Once the glue has dried and the support braces are securely attached, remove the clamps. Inspect the joints to ensure they are solid and secure. If required, sand the surfaces of the support braces for a smooth and seamless integration with the rest of the chair.
Adding support braces will reinforce the structure of your chair and contribute to its overall stability and longevity. Take your time and follow these steps carefully to ensure a solid and well-built chair frame. In the next section, we will explore the process of creating and attaching the chair legs. Stay tuned!
Creating and Attaching the Legs
The legs of a chair are not only essential for providing stability but also contribute to its overall aesthetic appeal. Creating and attaching the legs requires careful measurement, precision, and attention to detail. Here’s how you can create and attach the legs for your chair:
1. Determine the leg design: Consider the style and function of your chair when deciding on the leg design. Whether you prefer straight, tapered, or curved legs, make sure they are proportionate to the size and scale of the chair. Sketch out the design and measurements for each leg.
2. Choose the leg material: Select a hardwood that matches or complements the wood used for the chair frame. Ensure that the wood is strong and durable to support the weight of the chair. Measure and mark the dimensions for the legs on the chosen wood.
3. Cut the leg blanks: Use a saw to carefully cut the leg blanks according to your measurements and design. Pay attention to maintaining precise angles and lengths for consistent and visually appealing legs. Ensure that each leg is identical in size and shape.
4. Shape the legs: After cutting the leg blanks, shape them according to your design. Use a combination of hand tools such as chisels, rasps, and sandpaper to create smooth and refined leg profiles. Pay attention to details such as chamfers, curves, or any decorative elements you wish to add. Ensure that all legs are shaped evenly and proportionately.
5. Pre-drill holes for attachment: Measure and mark the locations for attaching the legs to the chair frame. Pre-drill pilot holes to prevent splitting of the wood. The size of the pilot holes should be slightly smaller than the screws or fasteners you plan to use.
6. Attach the legs to the chair frame: Apply a thin layer of wood glue to the surfaces where the legs will be attached. Carefully line up the pre-drilled holes with the corresponding attachment points on the chair frame. Drive in screws or insert dowels through the pre-drilled holes to secure the legs in place. Ensure that the legs are level, straight, and aligned correctly.
7. Reinforce if desired: Depending on your preference and the style of your chair, you may choose to reinforce the attachment of the legs with additional screws, dowels, or corner brackets. This can provide extra stability and durability to the chair. Consider the overall design and functionality when deciding on reinforcement methods.
8. Allow the glue to dry: Leave the chair to dry and allow the wood glue to fully cure according to the manufacturer’s instructions. Avoid applying weight or stress to the chair until the glue has completely dried. This step is crucial for ensuring the strength and stability of the leg attachments.
By following these steps, you can create and attach the legs to your chair, enhancing both its stability and visual appeal. Take your time and work with precision to ensure a well-constructed chair frame. In the next section, we will explore the process of finishing and sanding the chair. Stay tuned!
Finishing and Sanding the Chair
Finishing and sanding the chair is the final step in the construction process, where you can bring out the natural beauty of the wood and protect it from wear and tear. This process involves applying a finish and sanding the surfaces to achieve a smooth and polished look. Here’s how you can finish and sand your chair:
1. Select the finish: Choose a finish that enhances the appearance of the wood and provides the desired level of protection. Common options include varnish, lacquer, shellac, or oil-based finishes. Consider factors such as durability, ease of application, and the desired sheen for your chair.
2. Prepare the surfaces: Before applying the finish, ensure that the surfaces are clean and free of any dust, debris, or glue residue. Use a tack cloth or a soft brush to remove any particles. If necessary, lightly sand the surfaces with a fine-grit sandpaper to create a smooth and even base for the finish.
3. Apply the finish: Follow the manufacturer’s instructions for the specific finish you have chosen. Use a brush, rag, or spray applicator to evenly apply the finish onto the wood surfaces. Work in small sections, ensuring smooth and thin coats. Allow the finish to dry according to the recommended drying time.
4. Sand between coats: If you desire a smoother and more refined finish, sand the surfaces lightly between coats. Use a fine-grit sandpaper or sanding block to remove any imperfections or roughness. After sanding, wipe away any dust with a clean cloth before applying subsequent coats of finish.
5. Build up layers: Apply additional coats of finish as needed to achieve the desired level of protection and sheen. Follow the recommended drying time between coats to ensure proper bonding and curing of the finish. Multiple thin coats are generally preferable to fewer thick coats for a more durable and professional-looking finish.
6. Sand the final coat: Once the final coat of finish has dried, lightly sand the surfaces with a fine-grit sandpaper or a sanding block to smooth out any imperfections or brush marks. Take care not to sand through the finish, especially on edges and corners. Wipe away all sanding dust with a clean cloth.
7. Apply a topcoat (optional): Depending on the type of finish you have chosen and your desired level of protection, you may want to apply a topcoat. This can further enhance the durability and appearance of your chair. Follow the manufacturer’s instructions for the specific topcoat product you select.
8. Final touches: Inspect the chair for any unevenness or areas that may require additional sanding or touch-ups. Address any imperfections with additional sanding or the application of a touch-up finish. Wipe down the chair with a clean cloth to remove any lingering dust or residue.
By finishing and sanding your chair, you not only protect the wood but also enhance its natural beauty, creating an attractive and professional-looking piece of furniture. Take your time, follow the recommended guidelines for the specific finish you choose, and enjoy the rewarding process of transforming your chair into a finished masterpiece.
Now that you have completed the final step, your chair is ready to be used and enjoyed! Whether as a functional seating piece or as a decorative accent in your home, your handmade chair is a testament to your woodworking skills and creativity. Congratulations on successfully crafting a chair with hand tools!
Read more: How To Make Beams With Hand Tools
Conclusion
Congratulations on completing the journey of making a chair with hand tools! By following the step-by-step instructions in this guide, you have crafted a beautiful and functional piece of furniture that showcases your woodworking skills and creativity.
Throughout the process, you have learned the importance of gathering the right materials and tools, and how to prepare the wood to ensure a solid foundation for your chair. You have also mastered the techniques of cutting and shaping the wood, assembling the chair frame, adding support braces, creating and attaching the legs, and finally, finishing and sanding the chair to bring out its natural beauty.
Working with hand tools can be a gratifying experience, allowing you to connect with the materials on a deeper level and creating a truly unique and personalized piece. The attention to detail and precision required in using hand tools can result in a chair that is not only visually appealing but also reflects your dedication and craftsmanship.
Remember that woodworking is an ongoing learning process, and each project presents an opportunity to further refine your skills. As you continue your woodworking journey, feel free to explore different chair designs, wood species, and finishing techniques to expand your repertoire.
Whether you plan to use your chair for relaxation, work, or as a statement piece in your living space, it will undoubtedly bring joy and pride knowing that it was crafted by your own hands.
Thank you for taking this woodworking adventure with us. We hope you have found this guide helpful and inspiring. Remember to always prioritize safety, take your time, and enjoy the process as you unleash your creativity and woodworking skills.
Now go ahead, take a seat, and admire the result of your hard work and craftsmanship. Your handmade chair is a testament to your dedication, passion, and the timeless art of woodworking.
Frequently Asked Questions about How To Make A Chair With Hand Tools
Was this page helpful?
At Storables.com, we guarantee accurate and reliable information. Our content, validated by Expert Board Contributors, is crafted following stringent Editorial Policies. We're committed to providing you with well-researched, expert-backed insights for all your informational needs.


0 thoughts on “How To Make A Chair With Hand Tools”