Articles
How To Make A Range Hood Cover
Modified: August 28, 2024
Learn how to make a stylish range hood cover with these informative articles. Enhance your kitchen decor and hide unsightly vents with our expert tips.
(Many of the links in this article redirect to a specific reviewed product. Your purchase of these products through affiliate links helps to generate commission for Storables.com, at no extra cost. Learn more)
Introduction
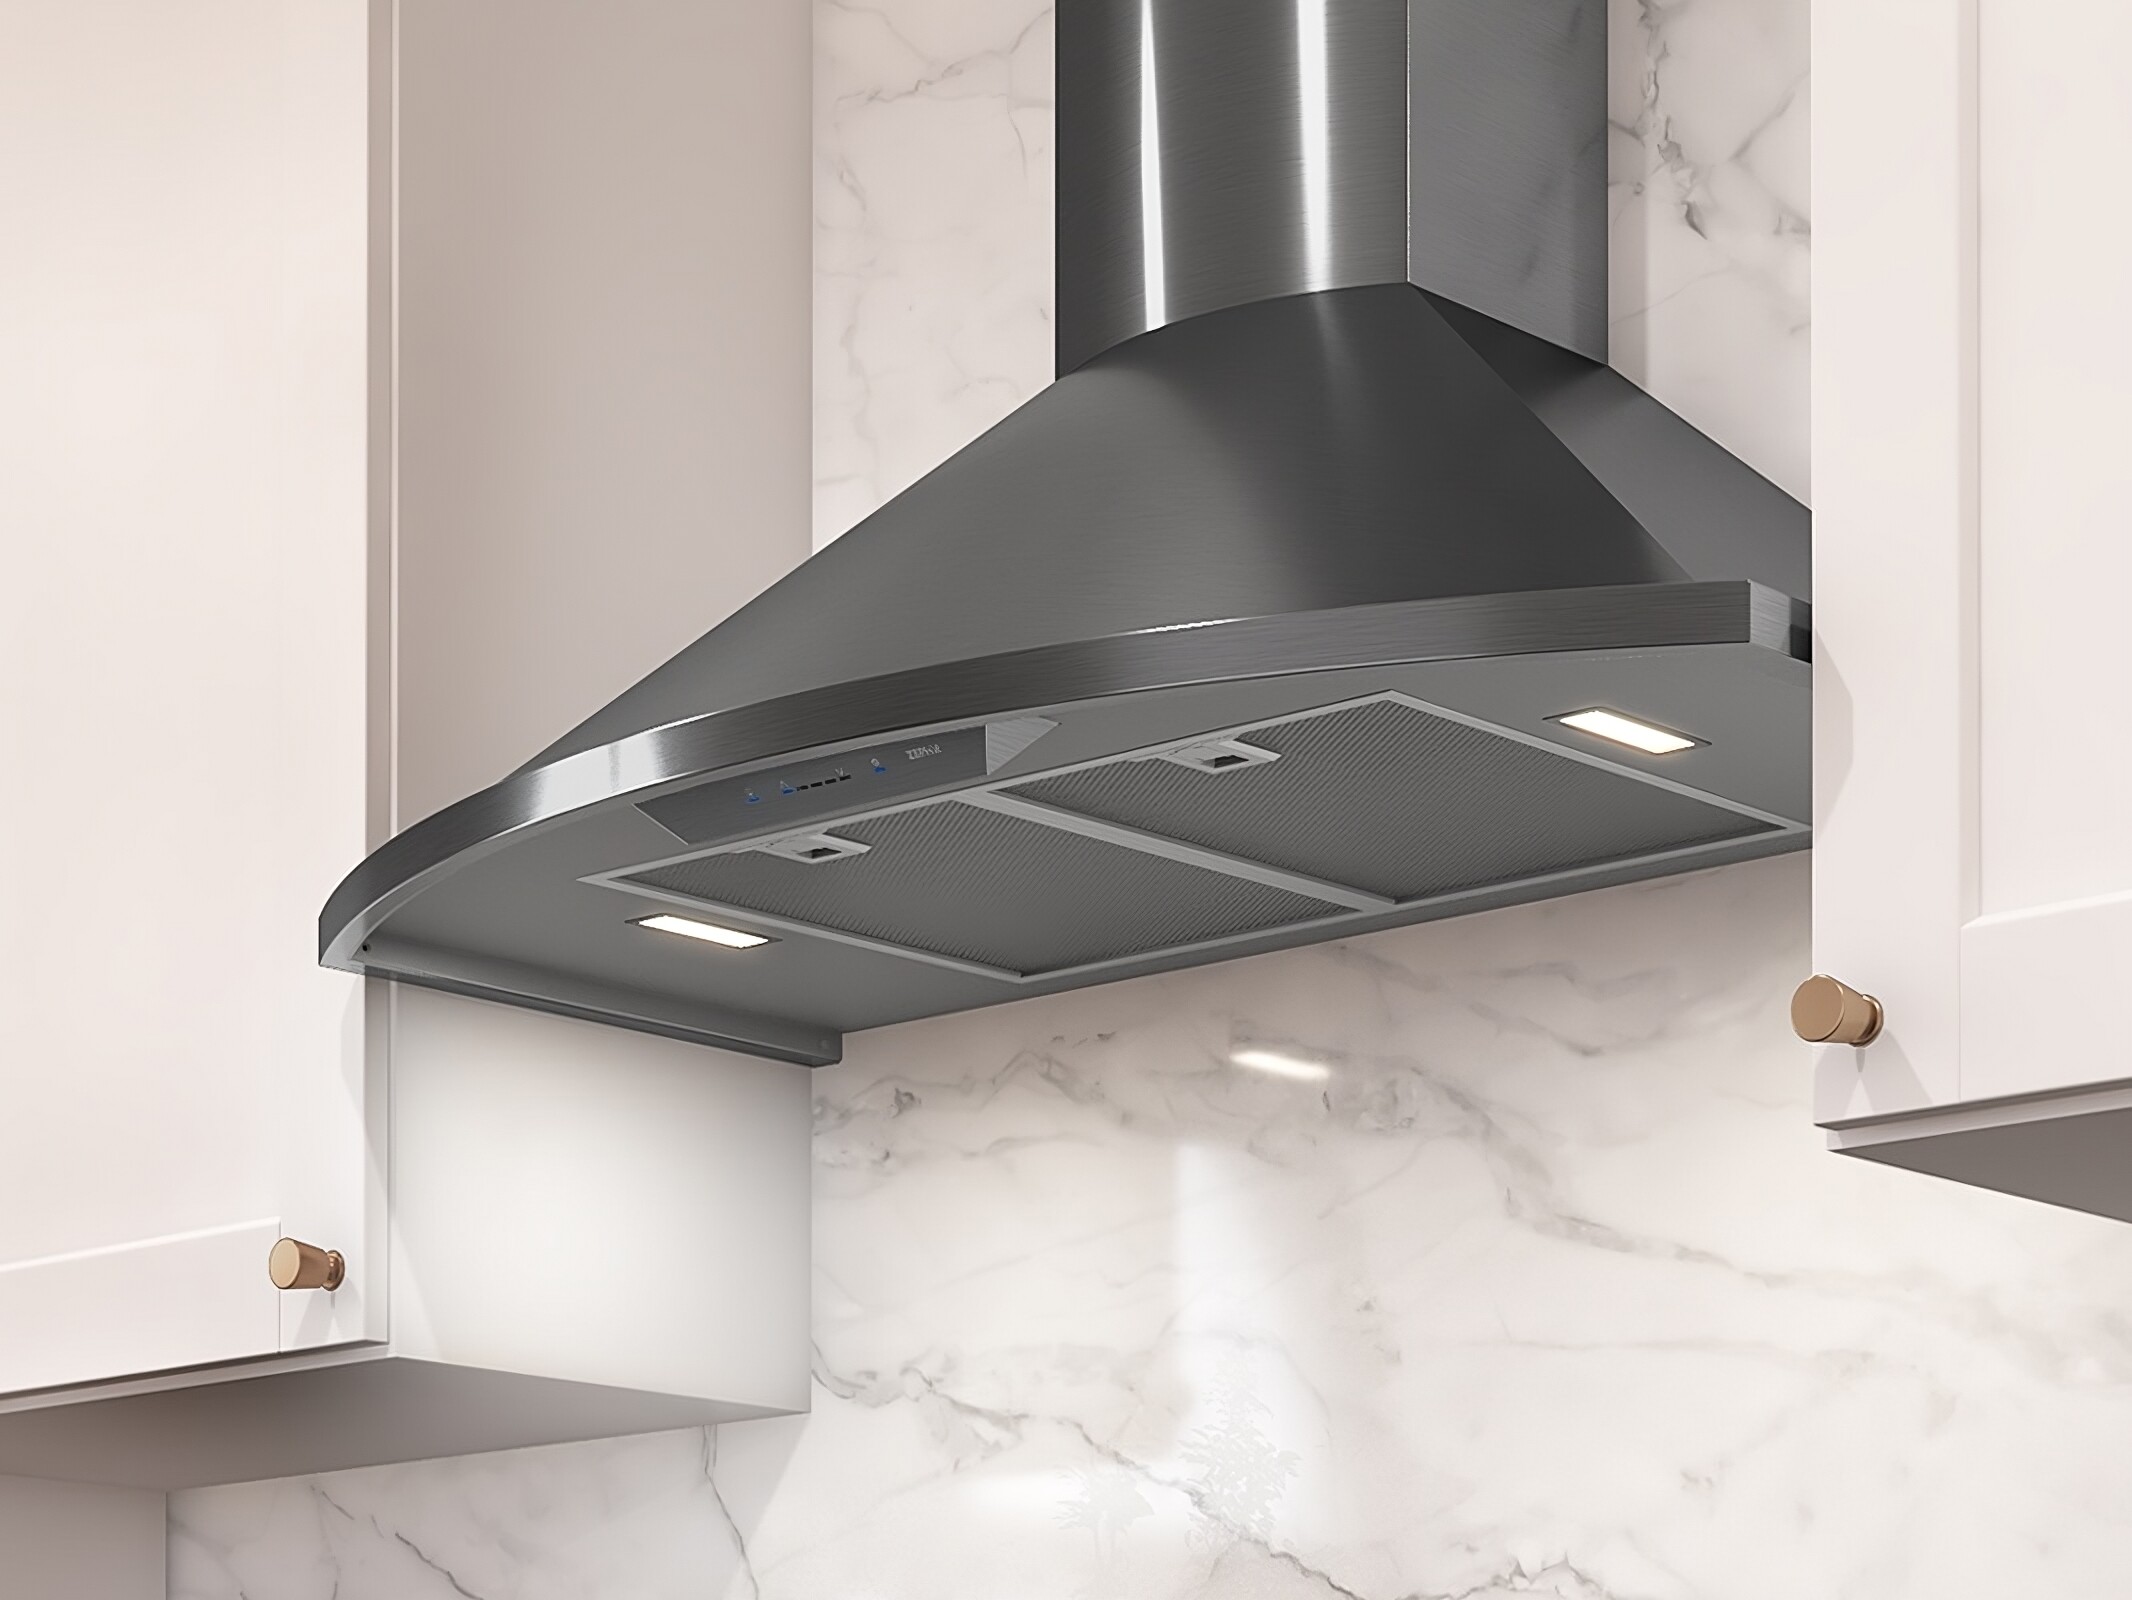
Having a range hood in your kitchen is essential for removing smoke, odors, and grease from the air. However, sometimes the standard look of a range hood can be uninspiring and doesn’t fit well with the overall design of your kitchen. That’s where a range hood cover can come in handy.
A range hood cover is a decorative element that can transform the appearance of your range hood, making it blend seamlessly with the rest of your kitchen decor. It not only adds a touch of elegance and style but also allows you to customize the look of your range hood to match your personal taste.
In this article, we will guide you through the process of making a range hood cover from scratch. We will provide step-by-step instructions, along with suggestions for materials and tools you’ll need. By the end of this article, you’ll have all the knowledge and inspiration to create a stunning and personalized range hood cover that will enhance the aesthetic of your kitchen.
Key Takeaways:
- Transform your range hood with a personalized cover that reflects your style and enhances your kitchen’s aesthetic. Follow step-by-step instructions to create a stunning and functional DIY project.
- From measuring and shaping to painting and installation, crafting a range hood cover allows you to showcase your creativity and add a unique touch to your kitchen. Enjoy the process and the transformed look of your range hood!
Read also: 10 Unbelievable Range Hood Cover For 2025
Materials Needed
Before you start making your range hood cover, it’s important to gather all the necessary materials. Here’s a list of essentials:
- Sheet metal or plywood: This will serve as the base material for your cover.
- Tape measure: You’ll need this to measure the dimensions of your range hood.
- Marker or pencil: This is essential for marking the measurements on the sheet metal.
- Safety goggles and gloves: It’s important to protect yourself while working with sheet metal or any sharp tools.
- Snips or tin shears: These will be used to cut the sheet metal to the desired size and shape.
- Sanding block: You’ll need this to smooth out any rough edges on the sheet metal.
- Screws or adhesive: Depending on your preference, you can either secure the cover to your range hood using screws or adhesive.
- Primer and paint: If you want to paint your cover, make sure to have primer and paint in your desired colors.
- Optional: Decorative elements such as trim, molding, or stencils to add a personalized touch.
Make sure to gather all the materials before you start the project. This will ensure a smooth and uninterrupted workflow.
Step 1: Measure the Range Hood
The first step in making a range hood cover is to accurately measure the dimensions of your range hood. This will ensure that your cover fits perfectly and looks seamless. Follow these steps:
- Ensure that your range hood is clean and free from any grease or grime.
- Use a tape measure to measure the width, height, and depth of the range hood. Take precise measurements and write them down for reference.
- Measure the distance from the bottom of the range hood to the ceiling or the desired height for your cover.
- Consider any protruding elements on the range hood, such as lights or buttons, and take note of their positions.
- Take into account any space needed for airflow and ventilation. It’s important to ensure that your range hood cover doesn’t obstruct the functionality of the range hood.
By accurately measuring your range hood, you’ll be able to create a cover that fits perfectly and enhances the overall look of your kitchen.
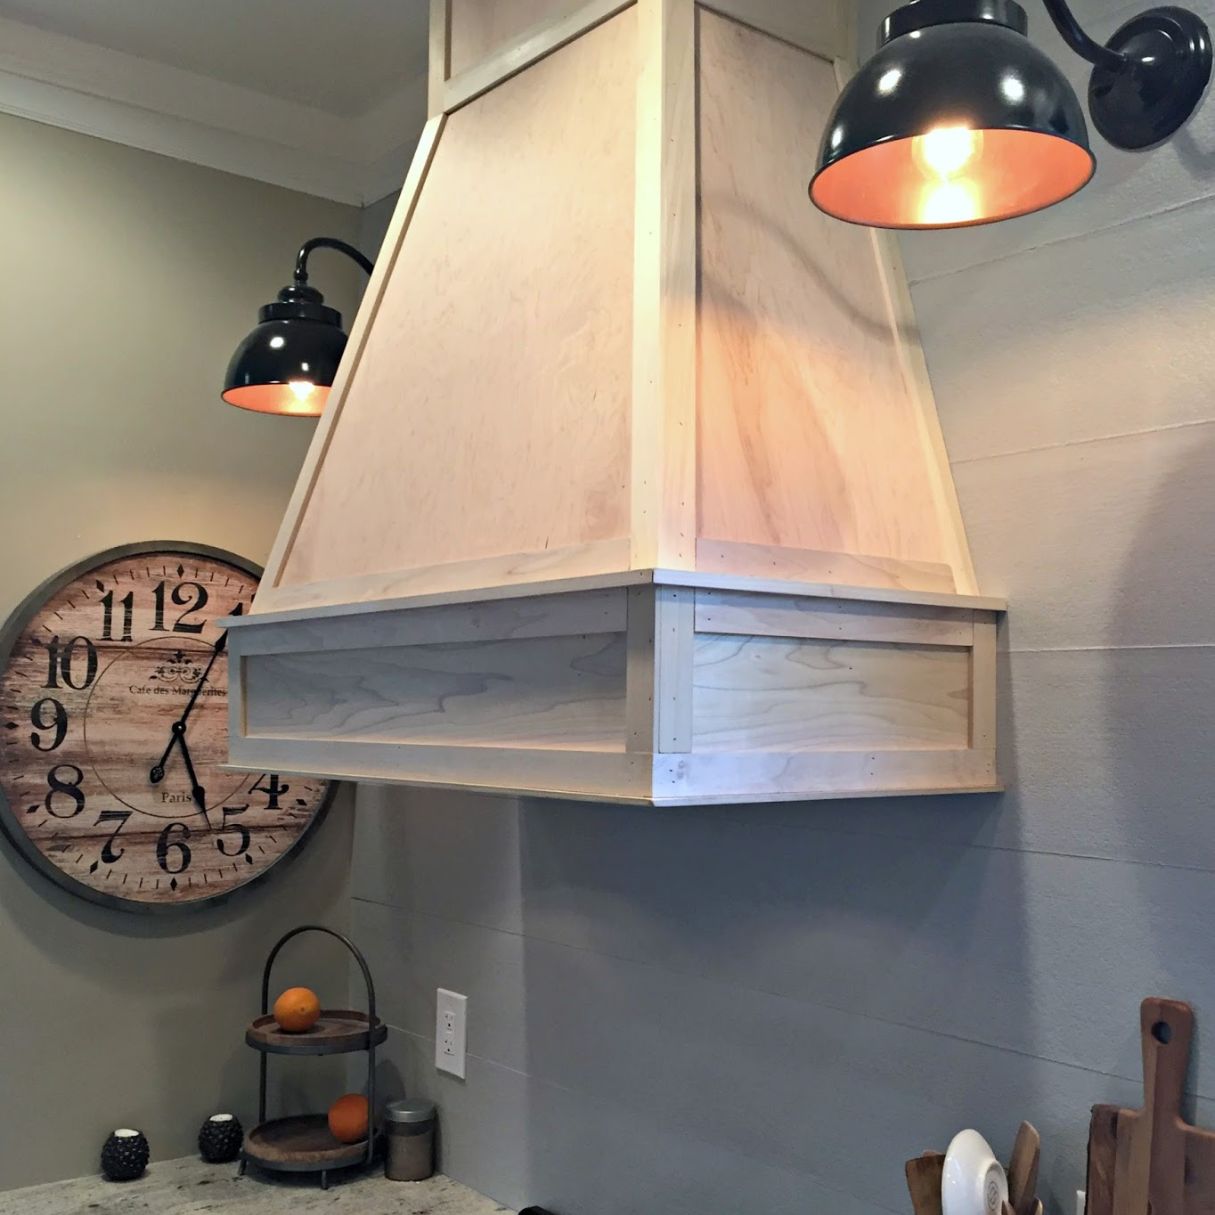
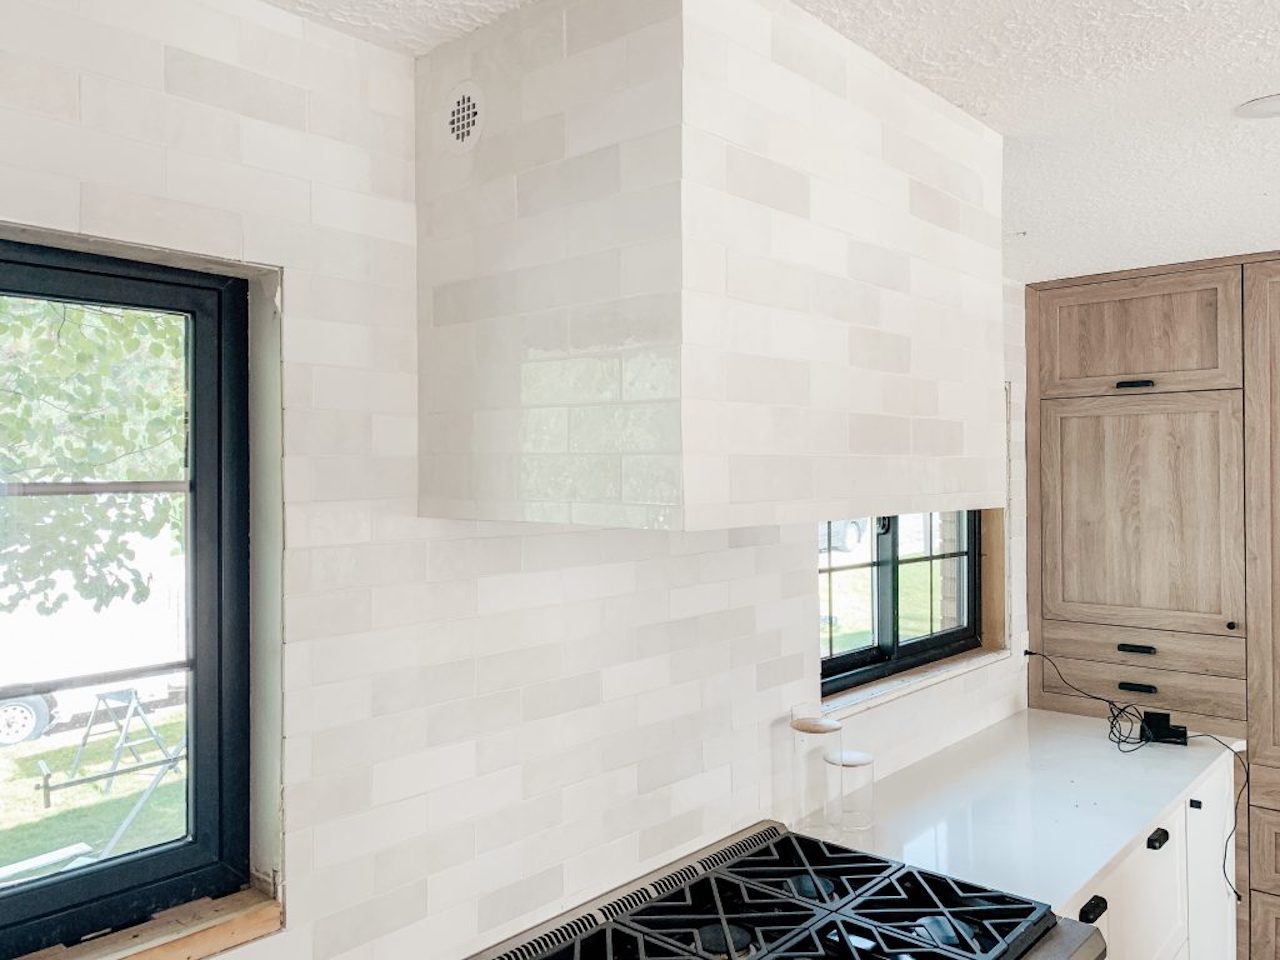
Step 2: Choose the Cover Design
Once you have measured your range hood, it’s time to decide on the design of your cover. This is where you can let your creativity shine and personalize the look of your range hood. Here are a few suggestions to help you get started:
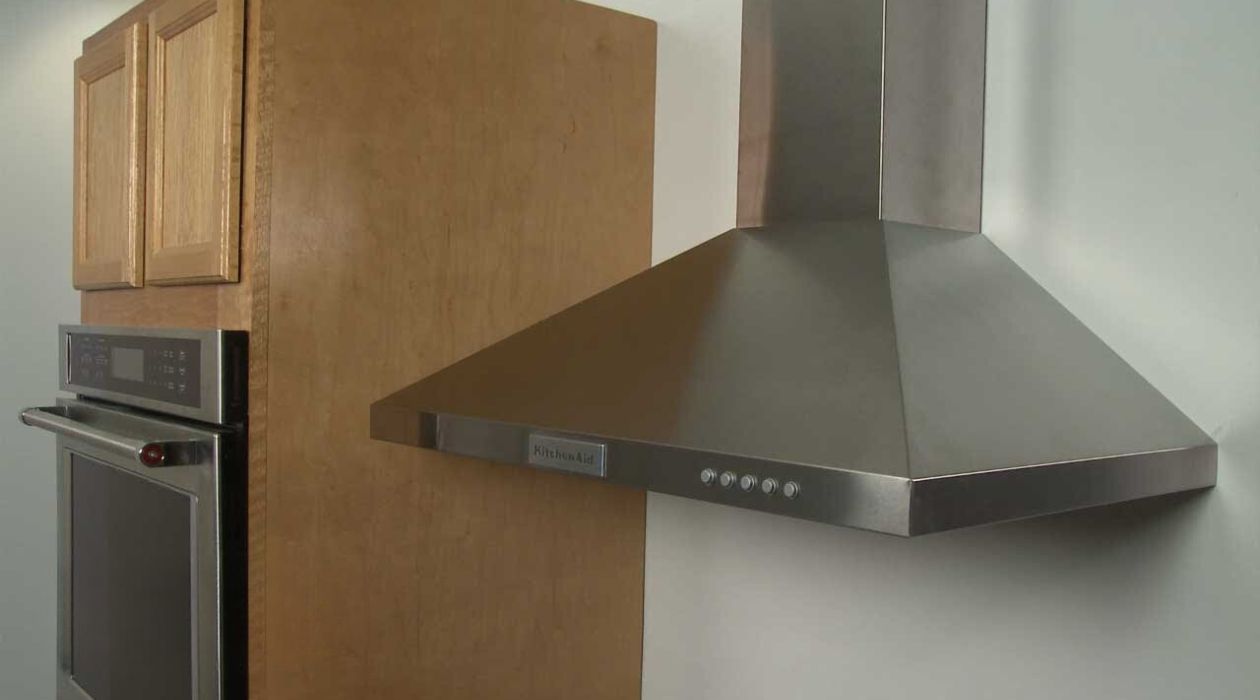
- Sleek and Minimalistic: If your kitchen has a modern and minimalist design, consider opting for a simple and clean cover design. Choose a material like stainless steel or white plywood for a sleek look.
- Rustic and Natural: For a more rustic or farmhouse-style kitchen, consider using reclaimed wood or distressed metal to create a cover that adds warmth and character to the space.
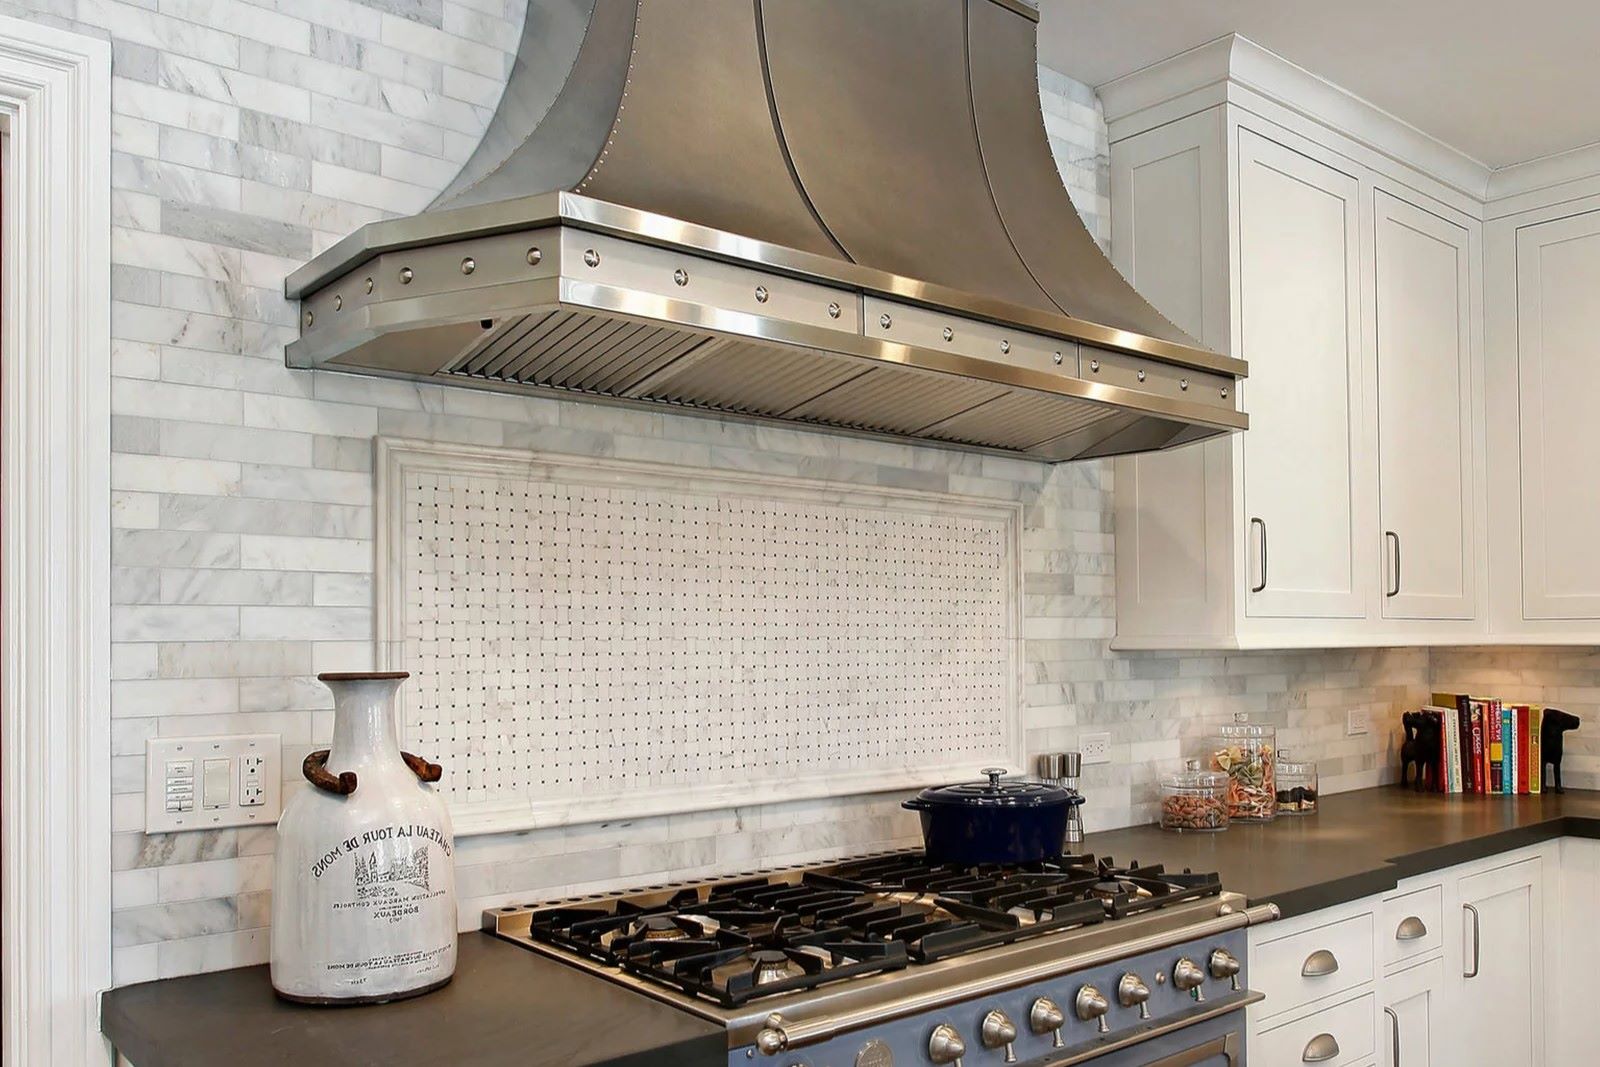
- Elegant and Decorative: If you want to make a statement with your range hood cover, consider adding decorative elements such as molding, trim, or scrollwork. These embellishments can elevate the overall look of your kitchen.
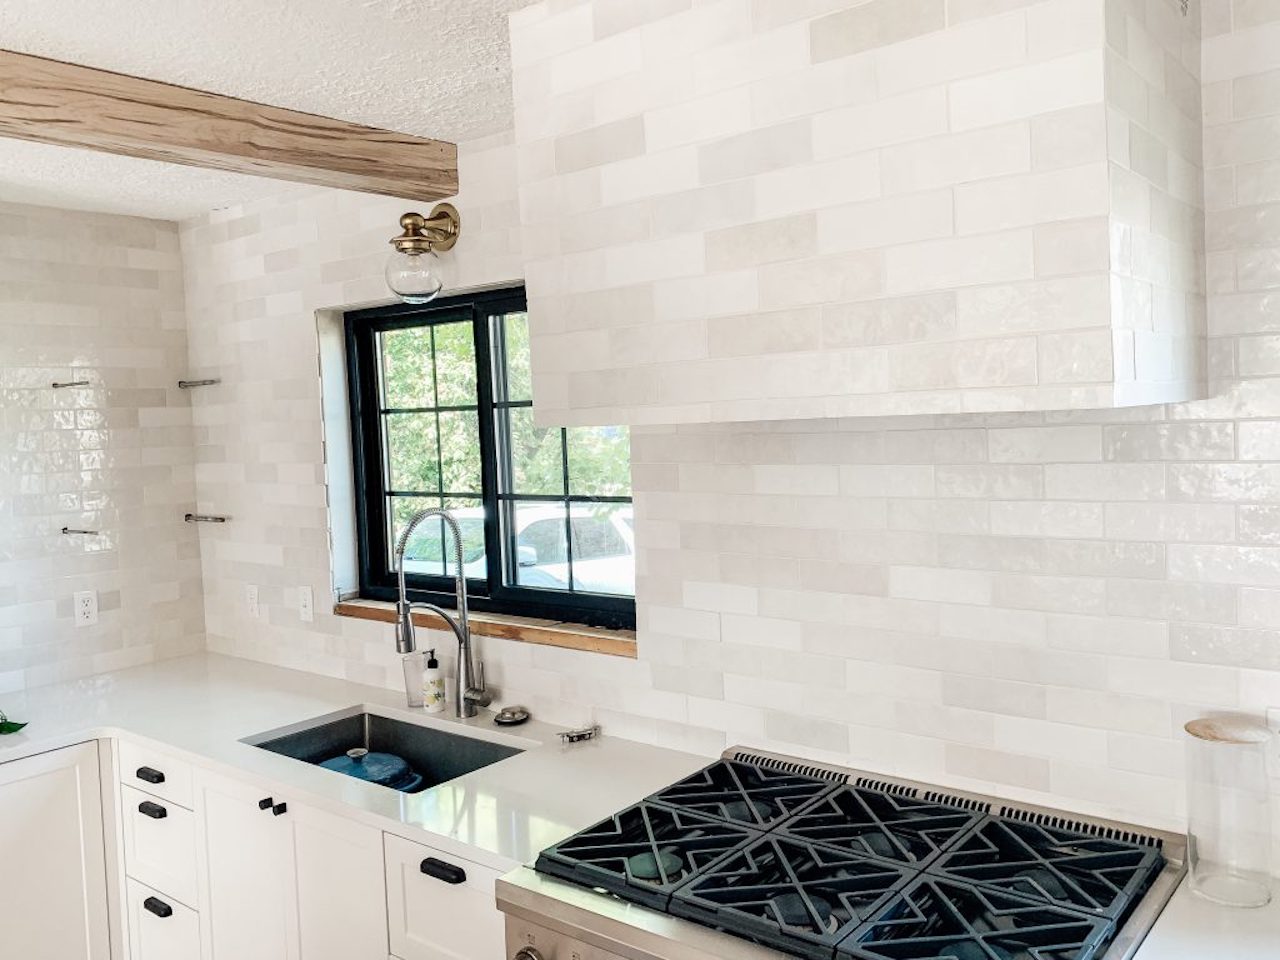
- Match the Cabinetry: If you want your range hood cover to seamlessly blend with your kitchen cabinetry, try using the same material and finish as your cabinets. This creates a cohesive and harmonious look.
Remember to consider the overall style and theme of your kitchen when choosing the design for your range hood cover. It should complement the existing elements and enhance the overall aesthetic appeal.
Once you have an idea of the design, you can move on to the next step, which involves gathering the necessary tools for the project.
Step 3: Gather the Necessary Tools
Before you begin creating your range hood cover, it’s important to gather all the necessary tools. Having the right tools on hand will make the process easier and more efficient. Here’s a list of tools you’ll need for this project:
- Tape measure: Essential for measuring the dimensions of your range hood and ensuring an accurate fit.
- Marker or pencil: Used to mark measurements on the sheet metal or plywood.
- Safety goggles and gloves: Important for protecting yourself while working with sharp tools and materials.
- Snips or tin shears: These tools are used to cut the sheet metal or plywood to the desired size and shape.
- Sanding block: Used to smooth out any rough edges on the cut material.
- Screws or adhesive: Depending on your preference, you’ll need screws or adhesive to secure the cover to the range hood.
- Primer and paint: If you plan on painting your cover, make sure to have primer and paint in your desired colors.
- Optional: Decorative elements such as trim, molding, or stencils to add a personalized touch.
Ensure that you have all the necessary tools before you begin working on your range hood cover. This will help you complete the project smoothly and efficiently.
Now that you have your materials and tools gathered, it’s time to move on to the next step: cutting the sheet metal or plywood to size.
Step 4: Cut the Sheet Metal
With your measurements in hand and the necessary tools gathered, it’s time to cut the sheet metal to the appropriate size for your range hood cover. Follow these steps:
- Using your marker or pencil, mark the measurements on the sheet metal according to the dimensions of your range hood. Double-check the measurements to ensure accuracy.
- Put on your safety goggles and gloves to protect yourself from any sharp edges. Safety should always be a priority when working with metal.
- Use snips or tin shears to cut along the marked lines on the sheet metal. Take your time and make smooth, precise cuts. If you’re using plywood, use a saw appropriate for cutting wood.
- Once you’ve cut the main piece, check if any additional sections or angles are required to fit your range hood design. Mark these additional cuts on the sheet metal and make the necessary adjustments.
- After cutting all the necessary sections, use a sanding block to smooth out any rough edges or sharp corners. This will ensure the cover is safe and visually appealing.
Once you have successfully cut and smoothed the sheet metal, you’re ready to move on to the next step: shaping the cover.
When making a range hood cover, be sure to measure the dimensions of your range hood and the space around it accurately to ensure a proper fit. This will help you avoid any issues with installation and functionality.
Step 5: Shape the Cover
Now that you have your sheet metal cut to size, it’s time to shape it into the desired form for your range hood cover. Follow these steps to shape your cover:
- Referencing your design and measurements, use your hands or appropriate tools to gently bend or shape the sheet metal. This will give it the necessary contours to fit over your range hood.
- Take care to ensure that the edges and corners are aligned properly and that the cover fits snugly over the range hood.
- If additional shaping or bending is required, use pliers, a mallet, or other suitable tools to achieve the desired shape.
- Double-check the fit by placing the shaped cover over the range hood to see if any adjustments are needed.
- Once you are satisfied with the shape, use clamps or another secure method to hold the cover in place temporarily while you move on to the next steps.
Shaping the cover may require some trial and error, so take your time to ensure a perfect fit. The goal is to create a cover that not only looks beautiful but also functions well.
Now that you’ve shaped the cover, we can move on to the next step: attaching it to the range hood.
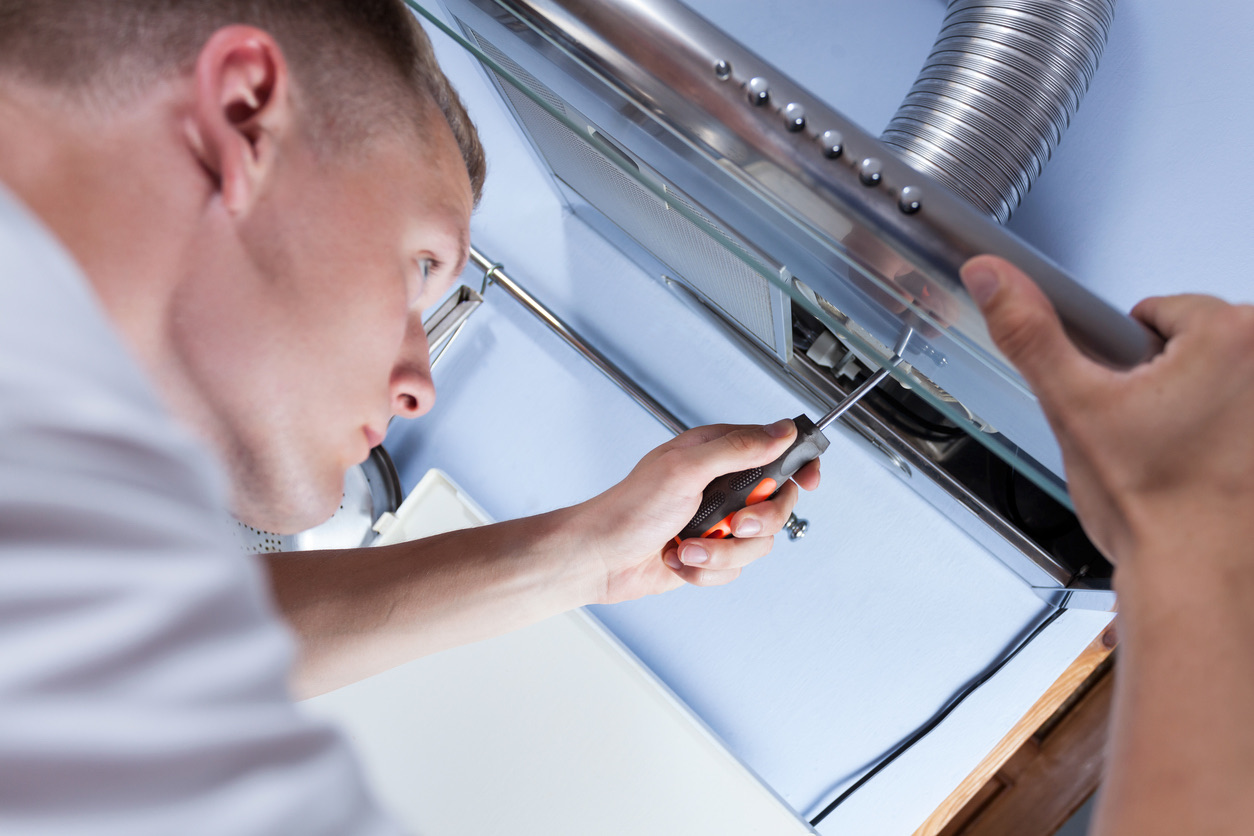
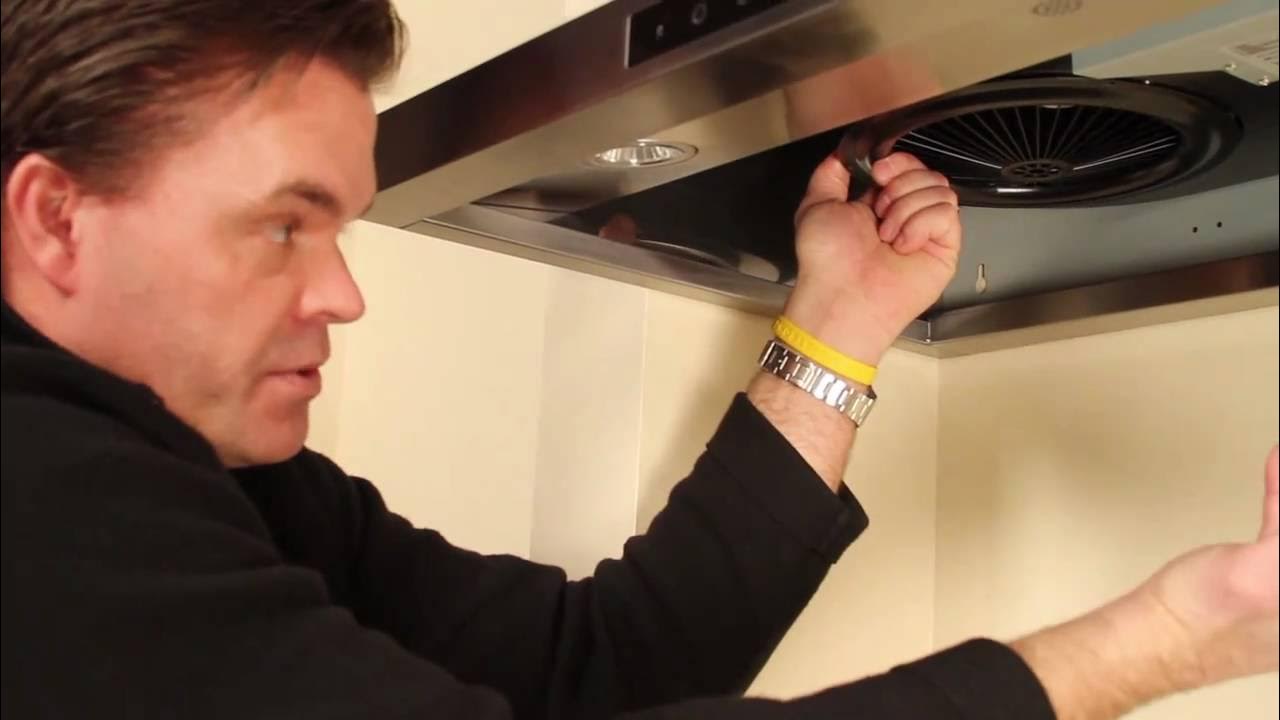
Step 6: Attach the Cover to the Range Hood
With your cover shaped to perfection, it’s time to securely attach it to your range hood. Here’s how you can proceed:
- Remove any temporary clamps or holding mechanisms from the cover.
- Depending on the design and material of your cover, you have two options for attaching it: screws or adhesive.
- Screws: If you choose to use screws, position the cover over the range hood and mark the spots where you will drill holes. Make sure the holes align with the existing holes or mounting points on the range hood.
- Using appropriate screws, secure the cover to the range hood. Take care not to over-tighten the screws, as this may damage the cover or the range hood.
- Adhesive: If you prefer not to use screws, you can use a strong adhesive to attach the cover to the range hood. Apply the adhesive to the back of the cover, following the manufacturer’s instructions.
- Position the cover over the range hood carefully, aligning it with the existing holes or mounting points.
- Apply pressure and hold the cover in place for the recommended curing time suggested by the adhesive manufacturer to ensure a secure bond.
- Once the cover is attached, step back and assess the alignment and overall appearance. Make any necessary adjustments to ensure it is level and properly aligned with the range hood.
Attaching the cover to the range hood is a crucial step in the process. Take your time and ensure a secure and visually appealing attachment.
Next, we’ll move on to step 7, where you can paint or decorate your cover to add the finishing touch.
Step 7: Paint or Decorate the Cover
Now that your cover is securely attached to the range hood, it’s time to add a touch of personalization by painting or decorating it. Follow these steps to give your cover the finishing touch:
- If you prefer a painted finish, start by applying a primer to the cover. This will help the paint adhere better and provide a more even finish. Allow the primer to dry completely according to the manufacturer’s instructions.
- Once the primer is dry, you can apply the paint of your choice. Use a brush or a spray paint can, depending on the desired finish. Apply multiple thin coats for better coverage and let each coat dry before applying the next.
- If you want to add decorative elements, such as stencils, trim, or molding, now is the time to do so. Use adhesive or screws to attach these elements securely to the cover, following the manufacturer’s guidelines.
- Allow the paint and any decorative elements to dry completely before moving forward. This will ensure a professional and polished look.
- Inspect the painted or decorated cover for any imperfections or touch-ups that may be needed. Take your time to make any necessary adjustments for a flawless finish.
The painting or decorating step allows you to customize the cover and make it truly unique. Take this opportunity to align the cover with the style and color scheme of your kitchen.
With the painting or decorating complete, it’s time to move on to the next step: installing the cover on the range hood.
Read more: What Is A Range Hood
Step 8: Install the Cover on the Range Hood
With your cover painted or decorated to perfection, it’s time to install it onto your range hood. Follow these steps to ensure a secure and seamless installation:
- Carefully position the painted or decorated cover over the range hood, aligning it with the existing holes or mounting points.
- If you haven’t done so already, use screws or adhesive to attach the cover to the range hood. Make sure to follow the steps outlined in Step 6 to ensure a secure attachment.
- Double-check the alignment and overall appearance of the cover. Make any necessary adjustments to ensure it is level and properly aligned with the range hood.
- Gently tighten the screws (if using) or press down firmly on the cover (if using adhesive) to ensure a tight fit. Take care not to over-tighten the screws as this may damage the cover or the range hood.
- Step back and admire your installed range hood cover. Ensure that it enhances the overall look of your kitchen and blends seamlessly with the surrounding elements.
Installing the cover is the final step in the process. Take your time to ensure a secure and visually appealing installation. Once you’re satisfied with the results, you can move on to the final touches and maintenance in Step 9.
Step 9: Final Touches and Maintenance
With your range hood cover successfully installed, it’s time to add the final touches and establish a maintenance routine to keep it looking its best. Follow these steps to complete the project:
- Inspect the cover for any remaining imperfections or touch-ups that may be needed. Use touch-up paint or additional decorative elements as necessary.
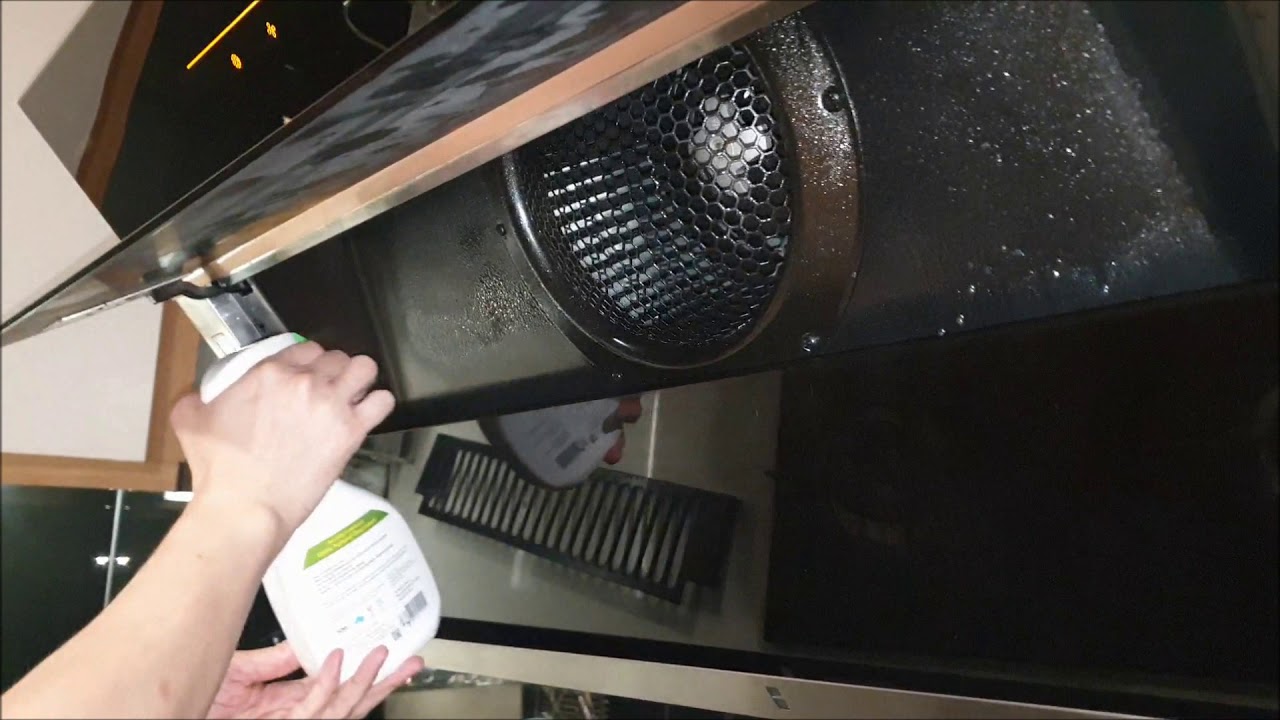
- Clean the cover and range hood regularly to keep them looking their best. Refer to the manufacturer’s instructions for specific cleaning recommendations.
- If your cover has a painted finish, avoid using harsh cleaning chemicals or abrasive scrubbers that may damage the paint. Opt for gentle cleaning solutions and a soft cloth instead.
- Periodically check the attachment of your cover to the range hood. Tighten any loose screws or reapply adhesive if necessary.
- Consider adding a protective coating, such as a clear sealant or wax, to the painted or decorated areas of the cover. This will help maintain the finish and protect it from daily wear and tear.
- Finally, enjoy the transformed look of your range hood cover and the enhanced aesthetic of your kitchen. Take pride in your DIY project and the personalization it brings to your space.
By implementing a regular maintenance routine, you can ensure that your range hood cover remains in great condition and continues to enhance the overall ambiance of your kitchen.
With Step 9 completed, you have successfully created and installed a customized range hood cover that not only adds style and character to your kitchen but also ensures the functionality of your range hood. Congratulations!
Finally, refer back to the guidelines provided in the previous steps as needed for any touch-ups or adjustments, and to refresh your memory on the techniques used throughout the project.
Conclusion
Transforming the look of your range hood is a rewarding project that allows you to showcase your creativity and add a personal touch to your kitchen. By following the steps outlined in this article, you can create a stunning and customized range hood cover that seamlessly integrates with your kitchen’s design.
From measuring your range hood and choosing a cover design that reflects your style, to cutting and shaping the materials, attaching the cover, adding a personal touch with paint or decorations, and finally, installing it onto the range hood—each step contributes to the overall success of the project.
Remember to pay attention to details, take accurate measurements, and prioritize safety throughout the process. Take the time to plan and gather the necessary tools and materials, as well as maintain your range hood cover to keep it looking its best.
Creating and installing a range hood cover is a DIY project that not only enhances the aesthetics of your kitchen but also adds a unique and personalized element to the space. With your newly transformed range hood, you can enjoy a kitchen that reflects your style and elevates your cooking experience.
Now, armed with the knowledge and inspiration provided in this article, it’s time to get started on your range hood cover project. Let your creativity shine and enjoy the process of turning your range hood into a captivating centerpiece in your kitchen!
Frequently Asked Questions about How To Make A Range Hood Cover
Was this page helpful?
At Storables.com, we guarantee accurate and reliable information. Our content, validated by Expert Board Contributors, is crafted following stringent Editorial Policies. We're committed to providing you with well-researched, expert-backed insights for all your informational needs.


0 thoughts on “How To Make A Range Hood Cover”