Articles
How To Clean The Range Hood
Modified: January 6, 2024
Learn effective techniques and methods for cleaning your range hood in this informative article. Keep your kitchen clean and maintain the efficiency of your hood with our step-by-step guide.
(Many of the links in this article redirect to a specific reviewed product. Your purchase of these products through affiliate links helps to generate commission for Storables.com, at no extra cost. Learn more)
Introduction
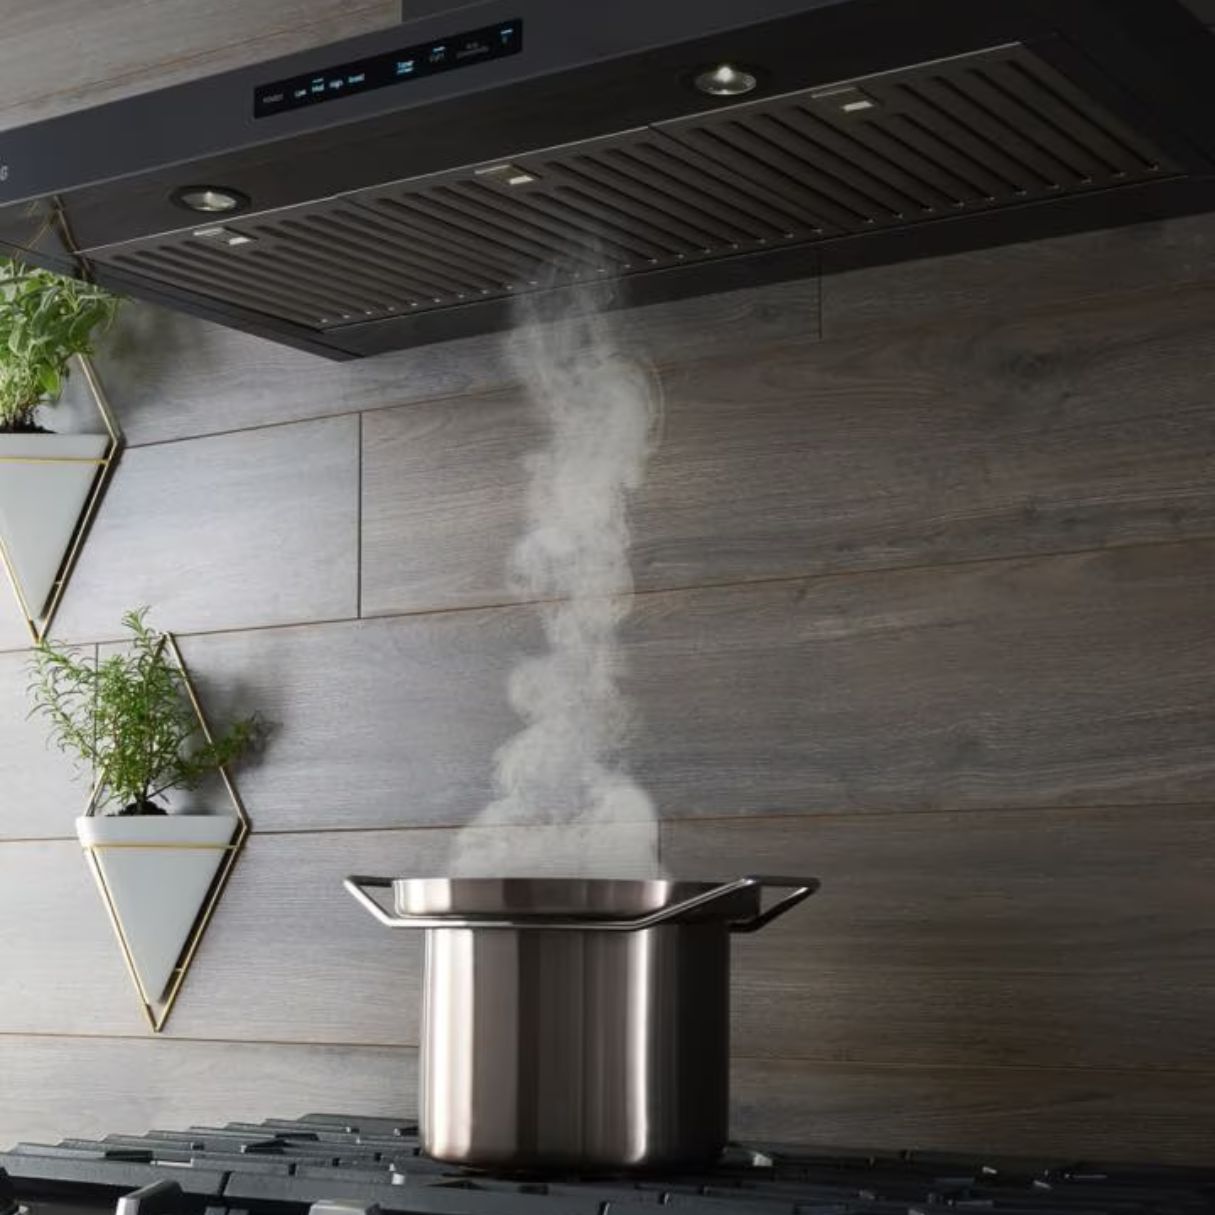
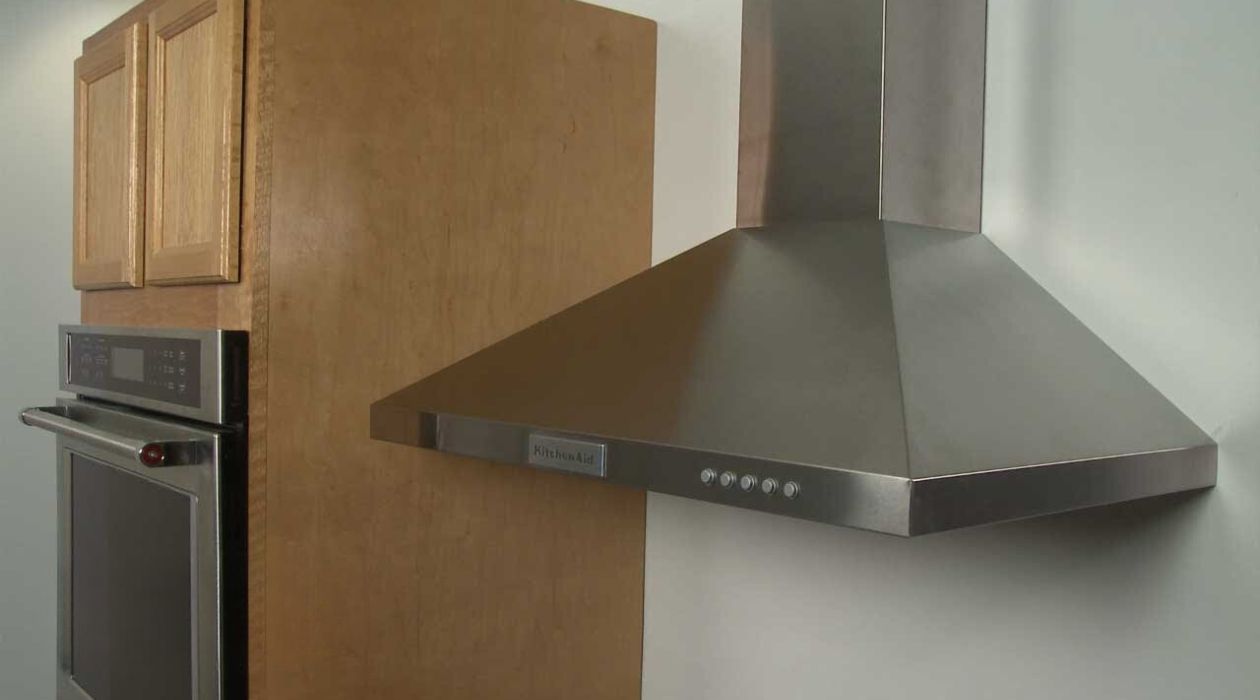
Keeping your kitchen clean is essential for a healthy and pleasant cooking environment. One often overlooked but important area to clean is the range hood. The range hood not only helps to remove smoke, odors, and grease from your kitchen, but it can also accumulate dirt and grime over time.
Regularly cleaning your range hood not only keeps it looking spick and span but also ensures its proper functioning. A clean range hood functions more efficiently and prevents the buildup of grease and debris that can pose a fire hazard. Additionally, a clean range hood helps to maintain indoor air quality, reducing the risk of respiratory issues caused by cooking fumes.
In this article, we will guide you through the process of cleaning your range hood, step by step. By following these instructions, you can ensure that your range hood remains in top condition, functioning effectively and enhancing the overall cleanliness of your kitchen space.
Before we begin, it’s important to note that you should always refer to the manufacturer’s instructions for specific cleaning guidelines for your range hood model. Now, let’s dive into the step-by-step process of cleaning your range hood.
Key Takeaways:
- Regularly cleaning your range hood not only maintains its appearance but also improves indoor air quality, reduces fire hazards, and ensures efficient airflow, creating a healthy and pleasant cooking environment.
- Following the step-by-step guide for cleaning and maintaining your range hood helps prolong its lifespan, maintain optimal performance, and ensures a fresh and efficient cooking experience in your kitchen.
Read more: How To Clean Fotile Range Hood
Step 1: Gather necessary materials
Before you start cleaning your range hood, gather the necessary materials to ensure a thorough and efficient cleaning process. Here are the items you’ll need:
- Warm water
- Dish soap
- Degreaser
- All-purpose cleaner
- Microfiber cloths or cleaning rags
- Soft-bristled brush
- Vinegar (optional)
- Bucket
- Gloves
Having these materials on hand will make the cleaning process much easier and help ensure a sparkling clean range hood.
Once you’ve gathered all the necessary materials, move on to the next step.
Step 2: Turn off power and remove filters
Before you begin cleaning your range hood, it’s crucial to turn off the power to avoid any electrical accidents. Locate the power switch that controls the range hood and switch it off.
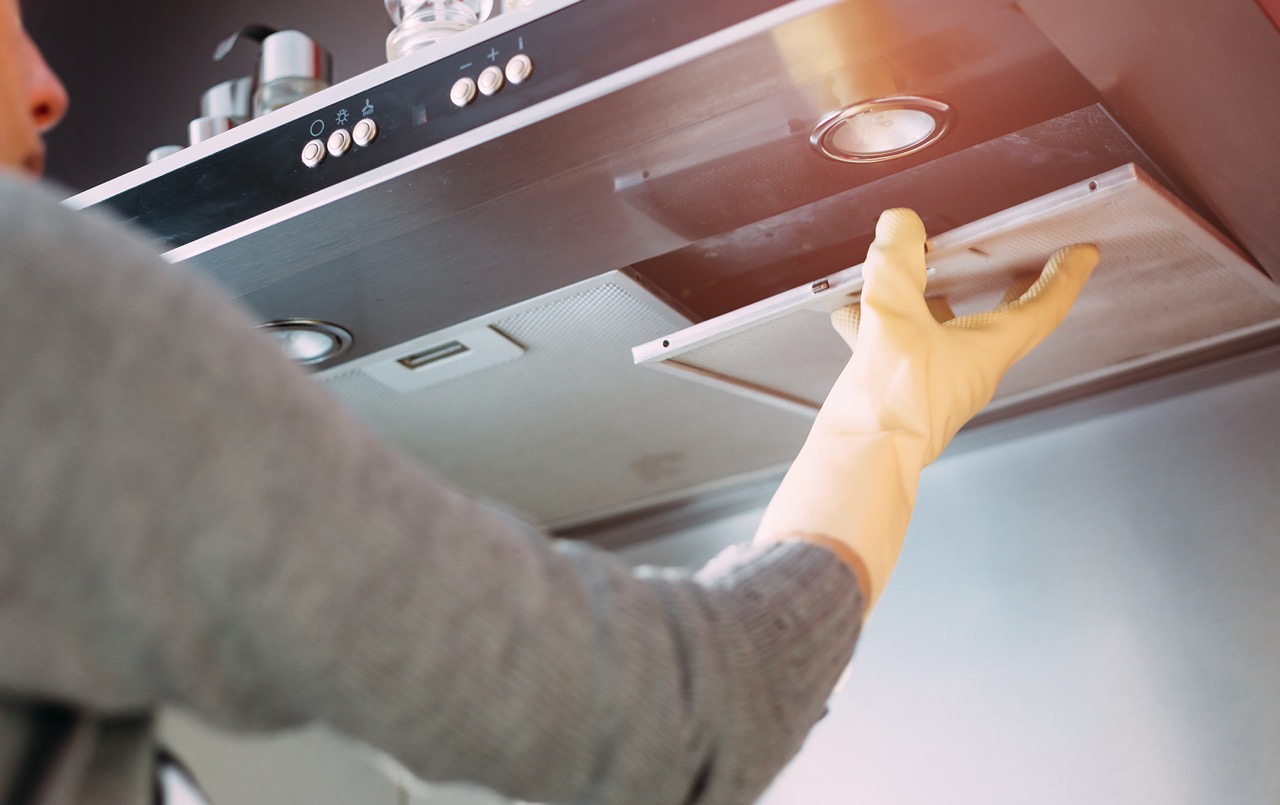
Once the power is turned off, it’s time to remove the filters. Most range hoods have one or more filters that capture grease and other particles. These filters can usually be easily removed for cleaning. Here’s how to do it:
- Refer to your range hood’s user manual to determine the type of filters it has. Commonly, there are metal mesh filters and activated charcoal filters.
- For metal mesh filters: Most metal mesh filters can be easily removed by pushing or sliding them out. If they are held in place with screws, use a screwdriver to unscrew them before removing the filters.
- For activated charcoal filters: These filters are usually located behind the metal mesh filters. Remove the metal filters first before accessing the charcoal filters. Activated charcoal filters are disposable and should be replaced rather than cleaned.
After removing the filters, place them in a sink or bucket filled with warm water and a few drops of dish soap. Allow them to soak while you proceed with the next cleaning steps.
Remember to wear gloves during this process to protect your hands.
Now that you have turned off the power and removed the filters, you are ready to move on to the next step in cleaning your range hood.
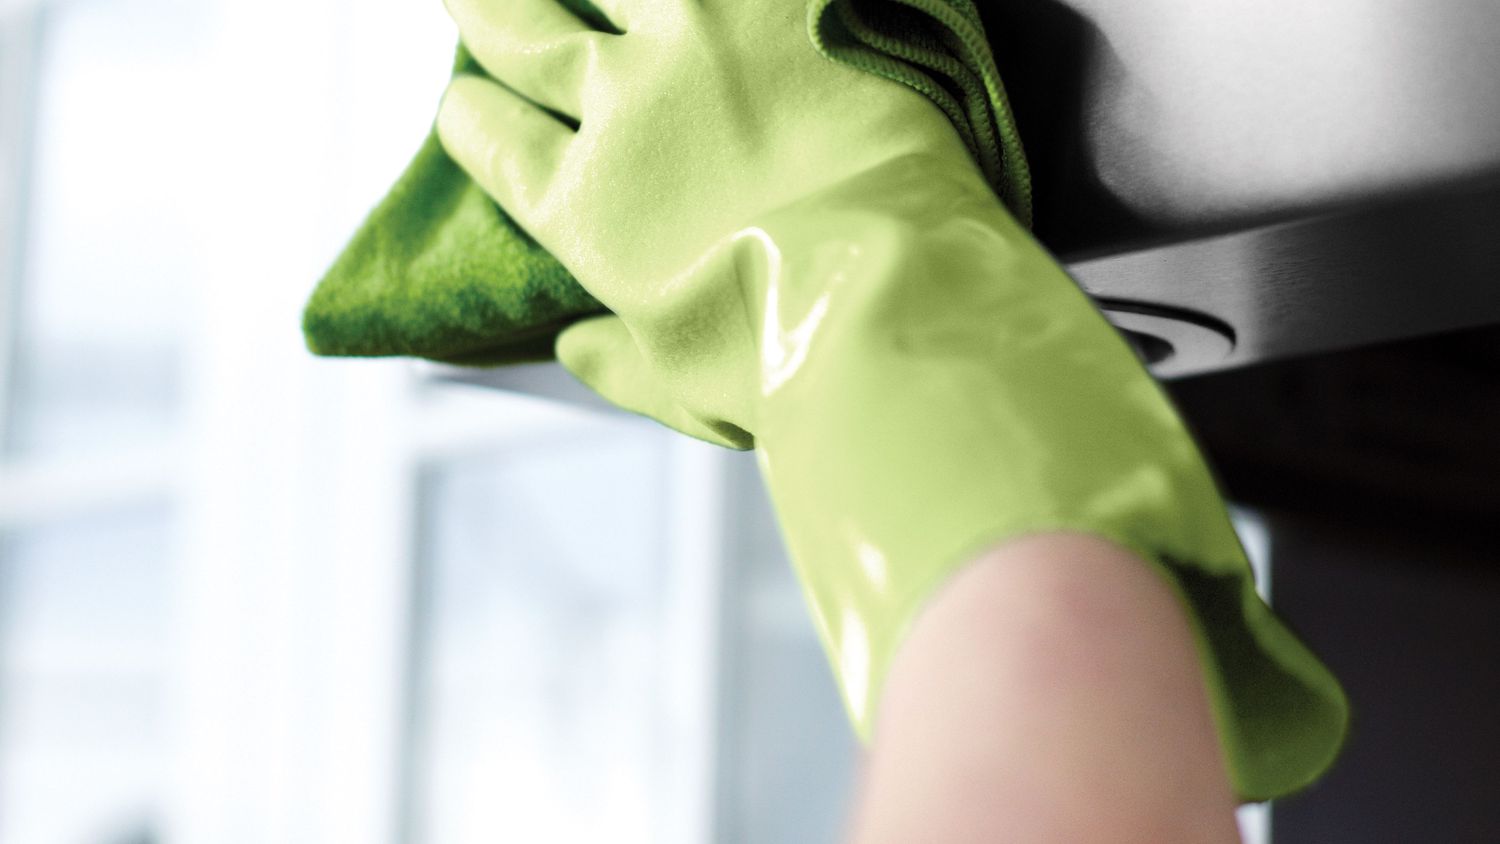
Step 3: Wipe down the exterior surfaces
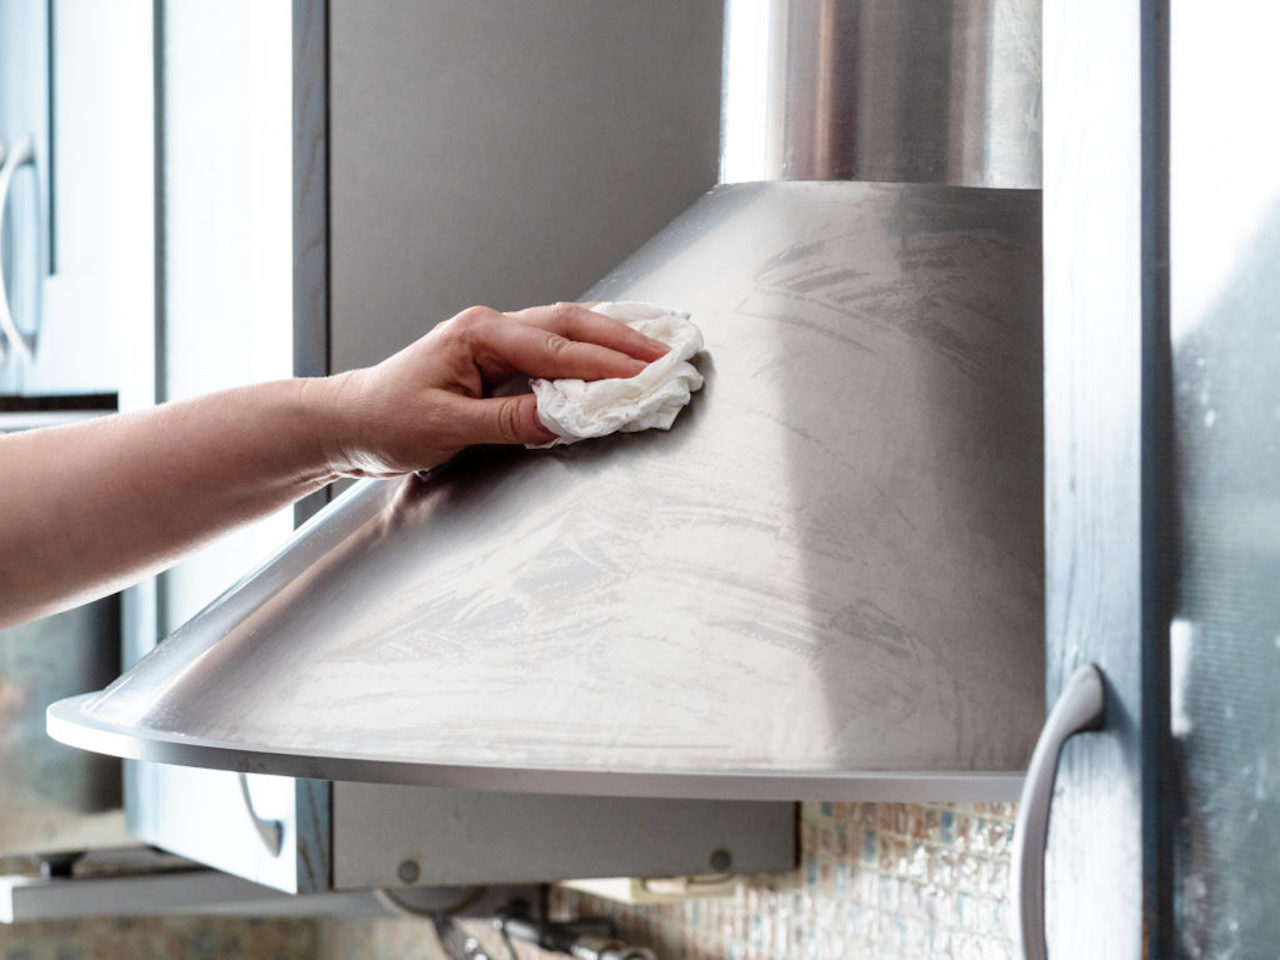
Once you have successfully removed the filters, it’s time to focus on cleaning the exterior surfaces of your range hood. Over time, these surfaces can accumulate grease, dust, and other residues. Here’s how you can effectively clean them:
- Start by preparing a cleaning solution. Mix warm water with a few drops of dish soap or an all-purpose cleaner in a bucket.
- Dip a microfiber cloth or cleaning rag into the cleaning solution and wring out any excess liquid.
- Gently wipe down the exterior surfaces of your range hood, including the hood itself, the control panel, and any buttons or knobs.
- If there are stubborn stains or grease buildup, use a soft-bristled brush dipped in the cleaning solution to scrub the affected areas.
- Pay special attention to areas that are prone to grease buildup, such as around the vent openings and the area above the stove.
- Rinse the cloth or rag in clean water, wring out excess water, and continue wiping the surfaces to remove any remaining cleaning solution.
- For stainless steel range hoods, you can use a stainless steel cleaner or a solution of equal parts water and vinegar to help remove fingerprints and restore shine.
Remember to be gentle during this process to avoid scratching or damaging the surface of your range hood. If there are any areas that are difficult to reach or clean, use a toothbrush or cotton swab to remove dirt and grime.
Once you have thoroughly cleaned the exterior surfaces, move on to the next step to clean the hood filters.
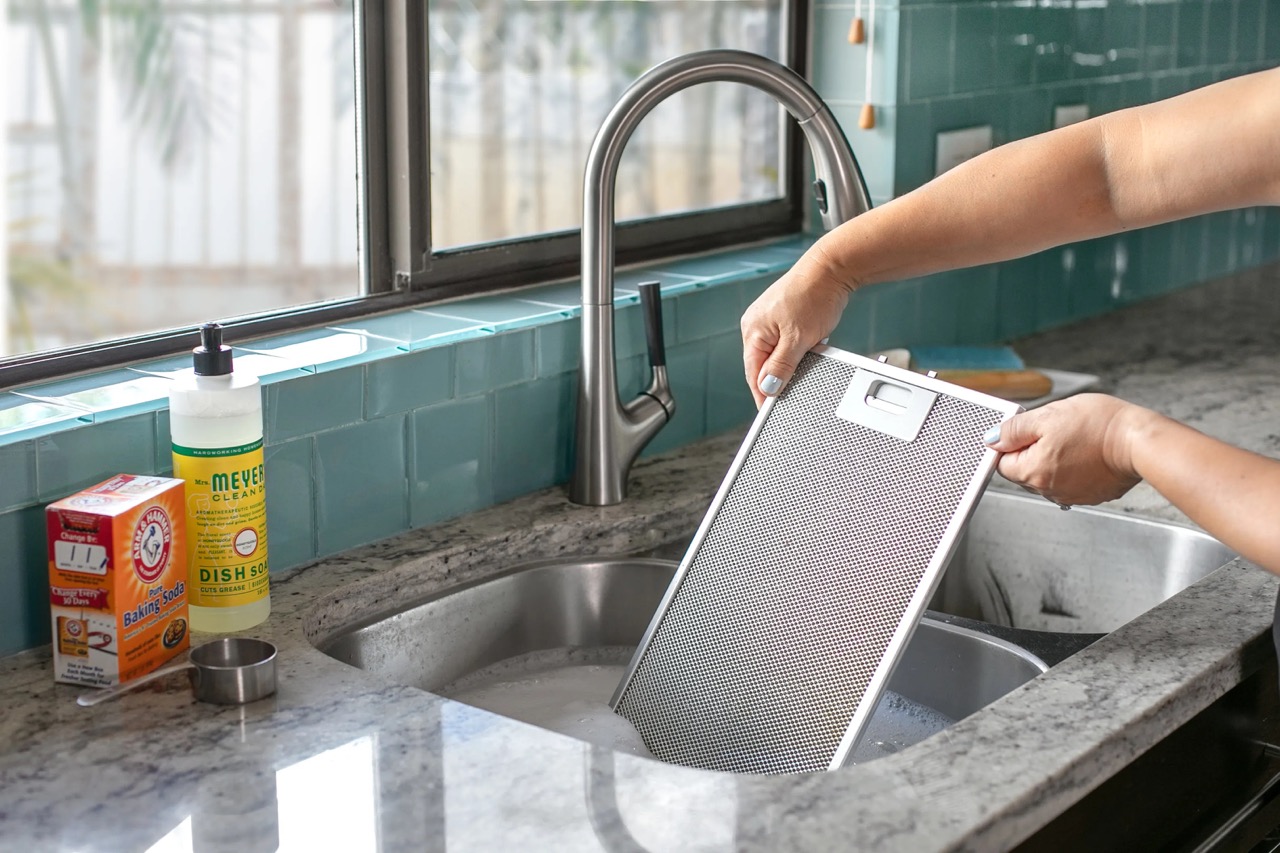
Step 4: Clean the hood filters
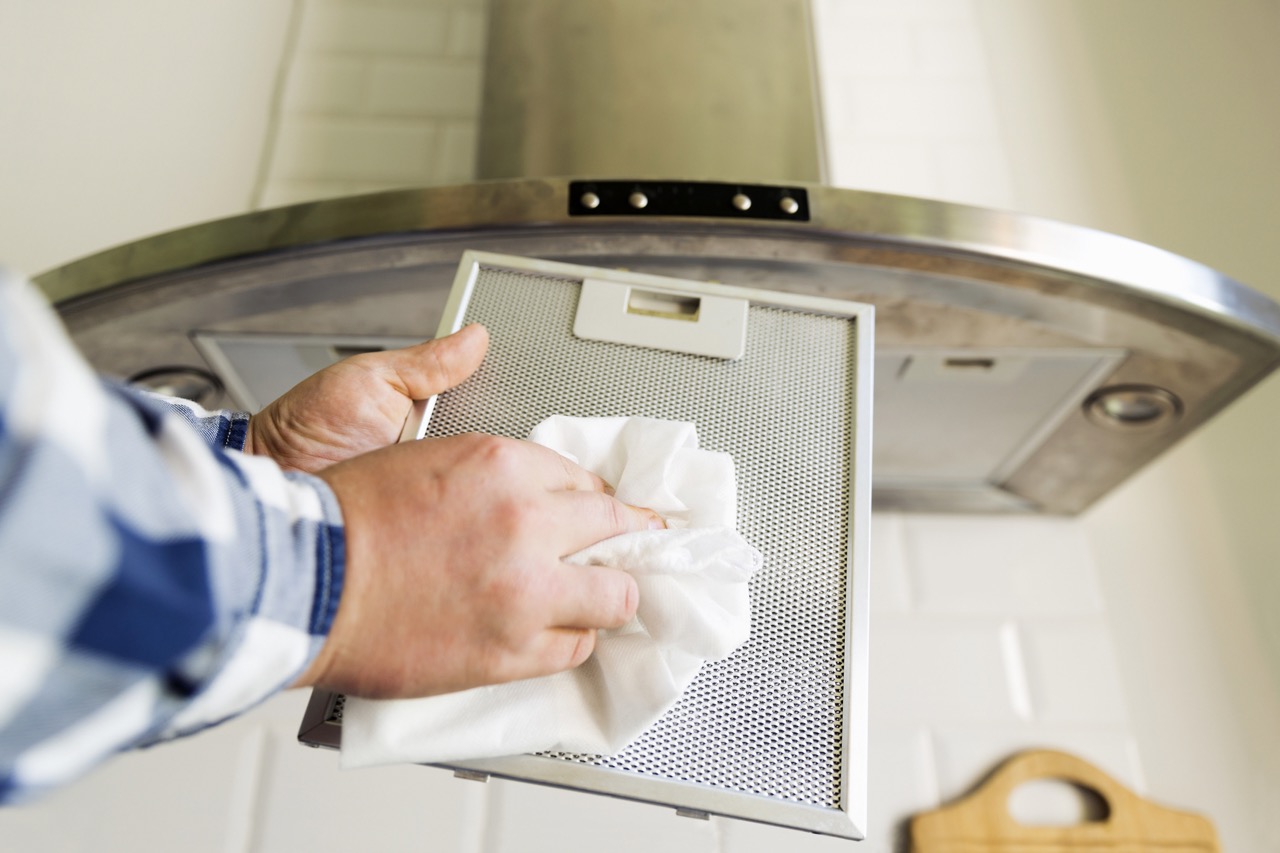
Now that you have successfully cleaned the exterior surfaces of your range hood, it’s time to focus on the filters. The filters collect grease and other particles, so it’s important to clean them regularly to ensure optimal performance. Follow these steps to clean the hood filters:
- Take the filters that have been soaking in warm water and dish soap.
- Using a soft-bristled brush, gently scrub the filters to dislodge any trapped grease and debris.
- Pay close attention to any stubborn areas or corners where grease buildup is significant.
- Rinse the filters thoroughly with warm water to remove the loosened dirt and soap residue.
- Inspect the filters for any remaining grease or grime. If necessary, repeat the cleaning process.
- Once the filters are clean, set them aside to air dry completely before reinstalling them.
While the filters are drying, you can proceed to the next step to clean the fan and motor of your range hood.
Note: If your filters are not removable or are disposable, check the manufacturer’s instructions for replacement or cleaning guidelines.
Read more: How To Clean A Zephyr Range Hood
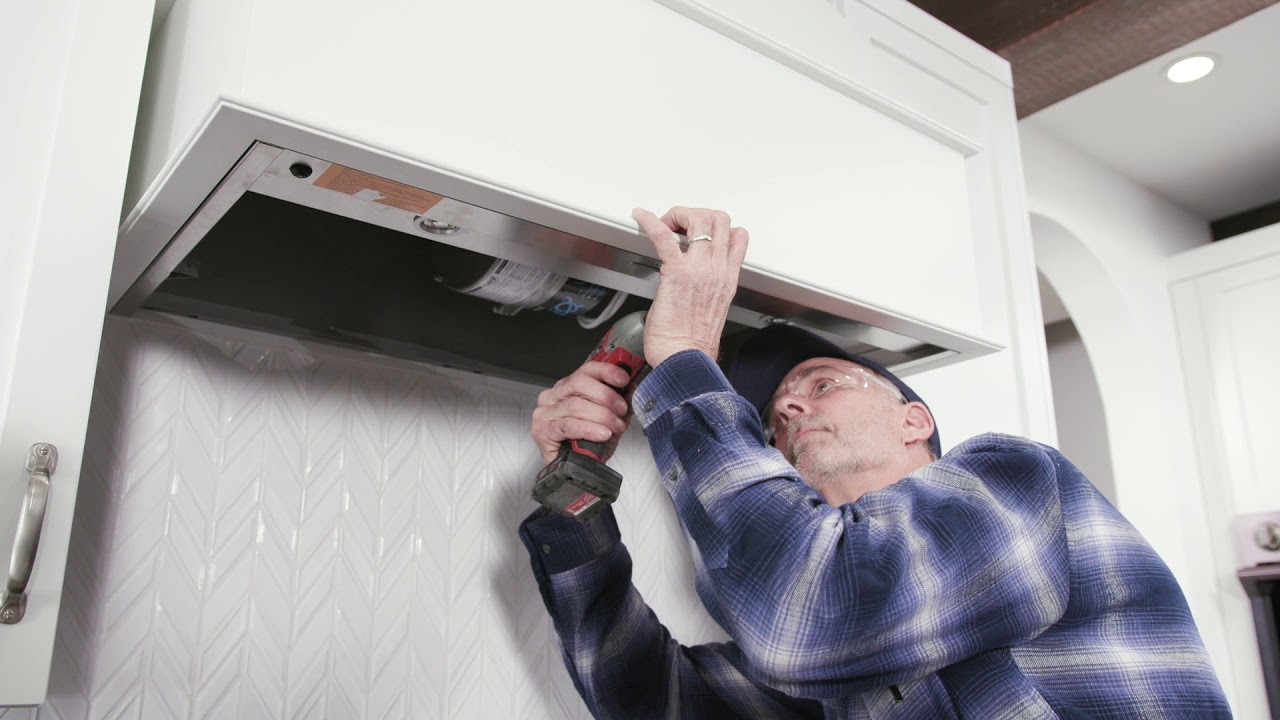
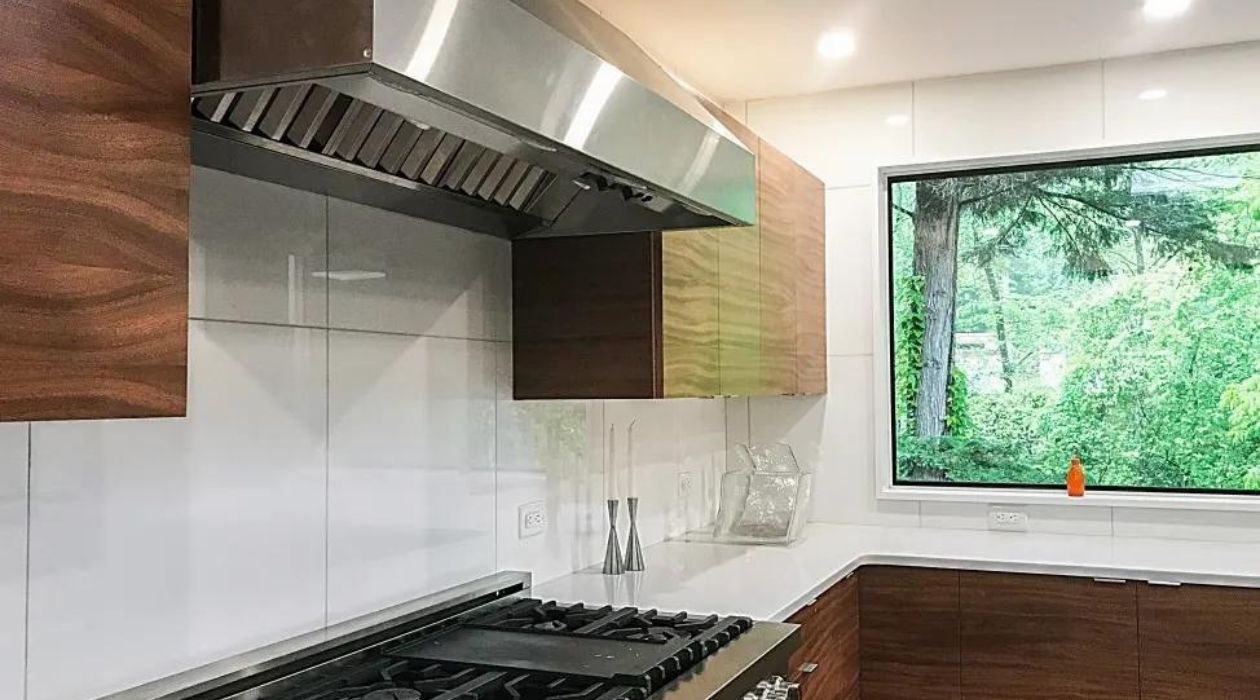
Step 5: Clean the fan and motor
The fan and motor are essential components of your range hood that require periodic cleaning to maintain proper functioning. Follow these steps to clean the fan and motor:
- Ensure that the power to your range hood is still turned off for safety.
- Locate the fan housing, which is usually located behind the filters.
- Using a soft-bristled brush or a vacuum cleaner with a brush attachment, carefully remove any dust or debris from the fan blades.
- Be sure to clean both sides of the blades and any other visible parts of the fan housing.
- If your range hood has an accessible motor, use a soft cloth or brush to remove any dust or dirt accumulation.
- If the fan blades or motor are particularly dirty, you can use a degreaser or all-purpose cleaner for more thorough cleaning.
- When using any cleaning products, be sure to read the instructions and apply them according to the manufacturer’s recommendations.
- Once you’ve cleaned the fan and motor, wipe down any remaining surfaces with a damp cloth to remove any residue.
Remember to take extra care when cleaning the fan blades and motor to avoid damage. If you’re unsure about accessing or cleaning these components, it’s best to consult a professional or refer to the manufacturer’s instructions.
With the fan and motor cleaned, you’re ready to move on to the next step of the range hood cleaning process.
To clean the range hood, remove the filters and soak them in hot, soapy water. Use a degreaser to clean the hood and wipe down with a damp cloth. Dry thoroughly before reassembling.
Step 6: Reinstall filters
After the filters have thoroughly dried, it’s time to reinstall them back into your range hood. Properly installed filters help to effectively capture grease and other particles, ensuring the optimal performance of your range hood. Follow these steps to reinstall the filters:
- Take the dry filters and make sure they are clean and free from any remaining debris.
- Refer to your range hood’s user manual for the correct placement and orientation of the filters.
- If you had separate charcoal filters, place them behind the metal mesh filters before installing them.
- Carefully slide or push the filters back into their designated slots. Secure them in place with screws, if necessary.
- Double-check that the filters are securely in place and properly aligned.
Once the filters are reinstalled, your range hood is ready to effectively filter out grease and other airborne particles.
Regularly cleaning and maintaining your filters will prolong their lifespan and ensure optimum performance. It’s recommended to clean your filters every 1-3 months, depending on how frequently you use your range hood and the amount of cooking that takes place in your kitchen.
Now that you have successfully reinstalled the filters, it’s time to move on to the next step, which is cleaning the vent ducts.
Step 7: Clean the vent ducts
Cleaning the vent ducts of your range hood is crucial to ensure proper airflow and ventilation. Over time, these ducts can become clogged with grease, debris, and other particles, which can hinder the efficiency of the range hood. Follow these steps to clean the vent ducts:
- Before you start, make sure the power to your range hood is turned off for safety.
- Locate the vent ducts, which are usually located at the back of the range hood.
- Inspect the ducts for any signs of accumulation, such as grease or dirt.
- Using a soft-bristled brush or a vacuum cleaner with a brush attachment, carefully remove any visible dirt, dust, or debris from the ducts.
- If the ducts are particularly dirty, you can use a damp cloth or a sponge dipped in warm soapy water to wipe down the interior surfaces of the ducts.
- For hard-to-reach areas, you may need to use a flexible duct brush or a long-handled brush to gently scrub the surfaces.
- Make sure to remove any loose debris and wipe down the surfaces until they are clean.
- Allow the ducts to dry completely before reassembling the range hood.
Regular cleaning of the vent ducts helps to maintain proper airflow, reduce the risk of fire hazards, and ensure the efficient functioning of your range hood.
With the vent ducts cleaned, you’re almost done with the range hood cleaning process. Let’s move on to the next step – polishing and shining the range hood.
Step 8: Polish and shine the range hood
Polishing and shining your range hood not only adds a final touch to the cleaning process but also helps to protect the surfaces and maintain their appearance. Here’s how you can polish and shine your range hood:
- Prepare a solution of equal parts water and vinegar in a spray bottle.
- Spray the solution onto a microfiber cloth or a soft cloth.
- Gently wipe down the surfaces of your range hood, including the hood itself and any stainless steel or other metal parts.
- For stubborn stains or fingerprints, you can use a stainless steel cleaner or a small amount of rubbing alcohol on a cloth.
- After wiping down the surfaces, use a dry and clean cloth to buff and shine the range hood.
- Pay attention to any visible streaks or residue and continue polishing until the surfaces are smooth and shiny.
If your range hood has any glass or plastic components, use a glass cleaner or a mild soap solution to clean and polish them, following the manufacturer’s instructions.
Polishing and shining your range hood not only enhances its appearance but also helps to repel fingerprints and make future cleaning easier.
With the range hood polished and shining, you’re almost done. Let’s move on to the final step – performing a final check and providing maintenance tips.
Read more: How To Clean Range Hood Motor
Step 9: Final check and maintenance tips
After completing the cleaning process for your range hood, it’s important to perform a final check to ensure everything is in order. Additionally, implementing regular maintenance practices can help keep your range hood in optimal condition. Follow these final check and maintenance tips:
- Check that all the components, including the filters, fan blades, and vent ducts, are properly installed and secured.
- Turn on the power to your range hood and ensure that it is running smoothly and quietly.
- Test the lighting and other functions of your range hood to ensure they are working correctly.
- Regularly clean and replace the filters according to the manufacturer’s recommendations. This will help maintain the efficiency of your range hood.
- Keep the exterior surfaces of your range hood clean by wiping them down regularly with a damp cloth or as needed.
- Avoid using abrasive cleaners or scouring pads that can scratch or damage the surfaces of your range hood.
- Regularly inspect the vent ducts for any signs of clogging or blockage and clean them as necessary.
- Consider scheduling professional maintenance or cleaning for your range hood on an annual basis, especially if you use it frequently or notice any unusual odors or issues.
By performing regular maintenance and cleaning, you can ensure the longevity and optimal performance of your range hood, as well as maintain a clean and healthy kitchen environment.
Congratulations! You have successfully completed the process of cleaning your range hood. With a clean and well-maintained range hood, you can now enjoy a fresh and efficient cooking experience in your kitchen.
Remember to refer to your range hood’s user manual for any specific cleaning instructions or guidelines provided by the manufacturer.
Thank you for following this step-by-step guide. Happy cooking and happy cleaning!
Conclusion
Maintaining a clean and functional range hood is essential for a healthy and efficient kitchen. By following the step-by-step guide outlined in this article, you can effectively clean and maintain your range hood to ensure proper ventilation and optimal performance.
Throughout the cleaning process, we have covered important steps such as gathering necessary materials, turning off the power and removing filters, wiping down the exterior surfaces, cleaning the hood filters, addressing the fan and motor, reinstalling filters, cleaning the vent ducts, and polishing and shining the range hood. Each step contributes to a thorough cleaning routine.
Regularly cleaning your range hood not only enhances its appearance but also improves indoor air quality by removing grease, smoke, and other airborne particles. A clean range hood also prevents the buildup of grease, which can be a fire hazard, and ensures efficient airflow, effectively removing odors and cooking fumes from your kitchen.
Remember to perform regular maintenance practices such as cleaning or replacing filters as recommended by the manufacturer, checking for any blockages in the vent ducts, and keeping the exterior surfaces free from dirt and grease. These maintenance efforts will help prolong the lifespan of your range hood and maintain its optimal performance.
By incorporating these cleaning and maintenance practices into your kitchen routine, you can enjoy a clean and healthy environment while cooking your favorite meals. So, take the time to regularly clean and maintain your range hood, and enjoy the benefits of a clean and efficient kitchen space.
Thank you for taking the time to read this comprehensive guide. We hope it has provided you with valuable information and insights into the proper cleaning and maintenance of your range hood. Happy cooking and cleanings!
Frequently Asked Questions about How To Clean The Range Hood
Was this page helpful?
At Storables.com, we guarantee accurate and reliable information. Our content, validated by Expert Board Contributors, is crafted following stringent Editorial Policies. We're committed to providing you with well-researched, expert-backed insights for all your informational needs.

0 thoughts on “How To Clean The Range Hood”