Articles
How To Replace A Range Hood
Modified: August 27, 2024
Looking for articles on how to replace a range hood? Find step-by-step guides and expert tips on replacing your range hood in our comprehensive collection.
(Many of the links in this article redirect to a specific reviewed product. Your purchase of these products through affiliate links helps to generate commission for Storables.com, at no extra cost. Learn more)
Introduction
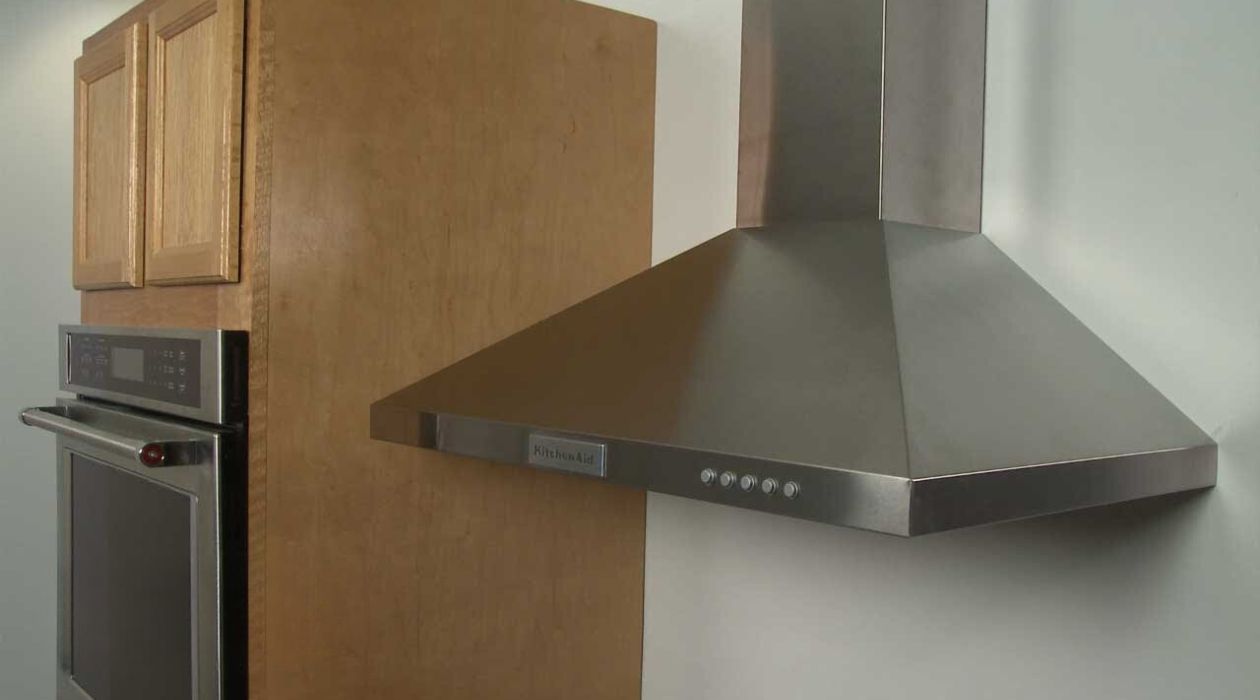
Replacing a range hood is a common home improvement project that can improve the functionality and aesthetics of your kitchen. Whether you’re upgrading to a more powerful ventilation system or simply giving your kitchen a makeover, replacing a range hood is a task that can be successfully accomplished with the right tools and knowledge.
In this article, we will guide you through the step-by-step process of replacing a range hood. From gathering the necessary tools and materials to testing and adjusting the new range hood, we will cover all the important details to ensure a successful installation.
Before we dive into the process, it’s important to note that working with electrical connections can be dangerous. It is recommended to turn off the power supply before starting any work and to consult a professional if you’re unsure about any aspect of the installation process.
Now let’s get started with the first step: gathering the necessary tools and materials.
Key Takeaways:
- Replacing a range hood involves gathering tools, disconnecting the old unit, preparing the new hood, and ensuring secure installation. Follow safety precautions and seek professional help if needed for electrical connections.
- After installing the new range hood, test its functions, adjust settings, and ensure proper ventilation and lighting. Enjoy the benefits of an improved kitchen environment with a functional and aesthetically pleasing range hood.
Read more: How To Replace Range Hood With Microwave
Step 1: Gather Necessary Tools and Materials
Before you begin replacing the range hood, it is essential to gather all the necessary tools and materials to ensure a smooth and efficient installation process. Here are the tools you will need:
- Phillips screwdriver
- Flat-head screwdriver
- Pliers
- Wire stripper
- Drill and drill bits
- Tape measure
- Level
- Electrical tester
In addition to the tools, you will need the following materials:
- New range hood
- Screws
- Mounting brackets
- Wire nuts
- Electrical tape
- Venting duct
Ensure that you have all the necessary tools and materials at hand before you begin the installation process. This will prevent any delays or interruptions during the process.
Once you have gathered all the tools and materials, you are ready to move on to the next step: turning off the power supply.
Step 2: Turn Off Power Supply
Before you start working on the range hood installation, it is crucial to turn off the power supply to ensure your safety. Follow these steps to turn off the power:
- Locate the circuit breaker or fuse box in your home.
- Identify the circuit that supplies power to the range hood.
- Switch off the circuit breaker or remove the fuse that corresponds to the range hood.
- Double-check that the power is off by testing the range hood lights and fan switch.
Turning off the power supply will prevent any accidents or electrical shocks while you work on disconnecting and removing the old range hood. It is vital to exercise caution and ensure that the power remains off throughout the entire installation process.
Once you have verified that the power supply is off, you can proceed to the next step, which involves disconnecting the old range hood.
Step 3: Disconnect Old Range Hood
Now that the power supply is turned off, it’s time to disconnect the old range hood. Follow these steps to safely disconnect the old unit:
- Locate the electrical junction box at the back of the range hood.
- Remove the cover plate of the junction box.
- Using a screwdriver, unscrew the wire nuts that are connecting the wires from the range hood to the house wiring.
- Carefully separate the wires and set aside the wire nuts for later use.
- If the range hood is ducted, locate the screws holding it in place on the wall or cabinets.
- Using a screwdriver, remove the screws and carefully detach the range hood from the mounting brackets.
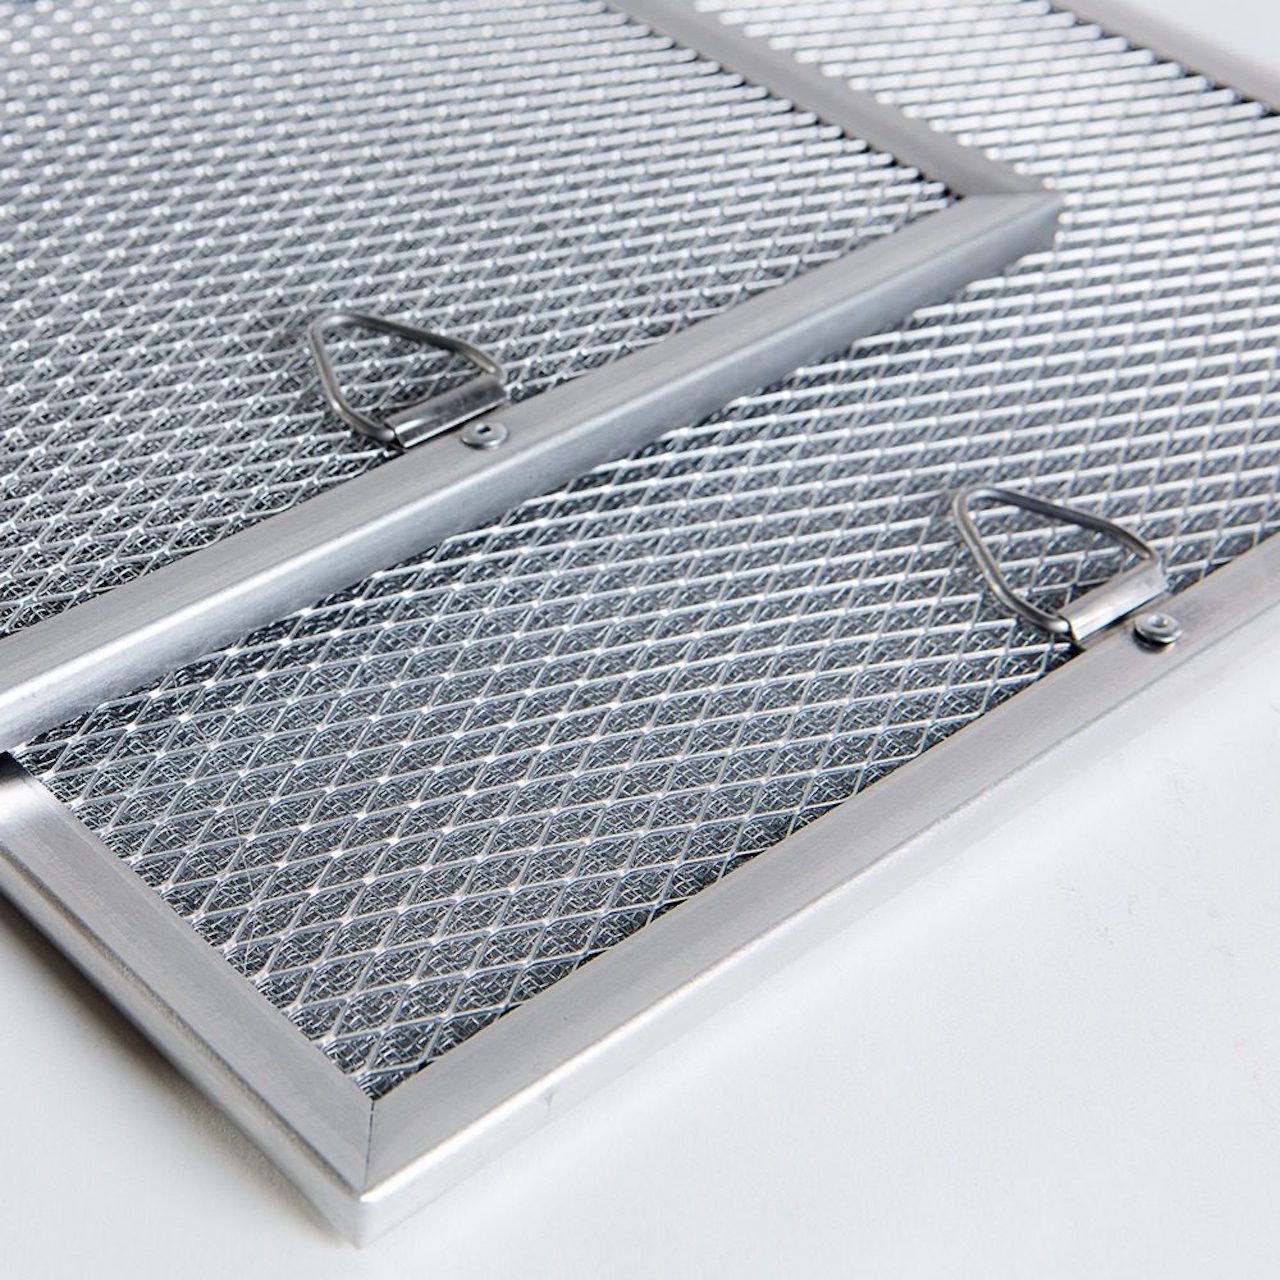
- If the range hood is ductless, there may be charcoal filters that need to be removed. Refer to the manufacturer’s instructions for guidance.
Take extra care when removing the range hood to avoid damaging the surrounding area or any electrical connections. Once you have successfully disconnected the old range hood, you can move on to the next step: removing the old unit.
Step 4: Remove Old Range Hood
With the old range hood successfully disconnected, you can now proceed to remove it from its current position. Follow these steps to remove the old range hood:
- If the range hood is secured to the wall or cabinets with screws, use a screwdriver to remove them.
- Make sure to support the range hood with one hand while removing the screws to prevent it from falling.
- Gently pull the range hood away from the wall or cabinets to detach it completely.
- If the range hood is ducted, check for any attached ductwork or venting. Unscrew or detach the ductwork from the range hood.
- For ductless range hoods, remove any charcoal filters that may be present according to the manufacturer’s instructions.
- Set aside the old range hood in a safe location, as you may need to refer to it later for measurements or reference.
- Inspect the area where the old range hood was mounted and clean any debris or residue that may have been left behind.
At this point, you have successfully removed the old range hood. Now, it’s time to prepare the new range hood for installation, which is the next step in the process.
Read more: How To Replace Range Hood Filter
Step 5: Prepare New Range Hood for Installation
Before you can install the new range hood, it’s important to properly prepare it for the installation process. Follow these steps to prepare the new range hood:
- Refer to the manufacturer’s instructions to familiarize yourself with the specific requirements and recommendations for your model of range hood.
- Inspect the new range hood for any damages or defects. If you notice any issues, contact the manufacturer for further assistance or replacement.
- Measure the dimensions of the new range hood to ensure that it will properly fit in the desired location.
- If necessary, make any adjustments to the range hood, such as cutting the venting duct to the appropriate length or adjusting the mounting brackets.
- Assemble any additional components or accessories that come with the range hood, such as charcoal filters or lighting fixtures, according to the manufacturer’s instructions.
- Ensure that all the necessary hardware and screws are readily available for the installation process.
- Clean the exterior of the new range hood to remove any dust or debris that may have accumulated during storage or transportation.
By properly preparing the new range hood, you will ensure a smooth and efficient installation process. Once you have completed these steps, you can move on to the next step: installing the new range hood.
When replacing a range hood, make sure to turn off the power supply at the circuit breaker before starting the installation. This will ensure your safety while working with electrical components.
Step 6: Install New Range Hood
Now that you have prepared the new range hood, it’s time to install it in its designated location. Follow these steps to properly install the new range hood:
- Position the new range hood in the desired location, making sure it is centered and level.
- Mark the mounting holes on the wall or cabinets using a pencil or marker.
- Using a drill and appropriate drill bits, create pilot holes for the screws that will secure the range hood.
- Align the mounting brackets of the range hood with the pilot holes and secure them in place using the provided screws.
- Double-check that the range hood is level by using a level tool.
- If the range hood has an extended chimney, attach it to the top of the unit according to the manufacturer’s instructions.
- Ensure that all connections, including the venting duct if applicable, are properly aligned and secured.
- Give the range hood a thorough inspection to ensure that it is securely and evenly mounted.
It is important to follow the manufacturer’s instructions and guidelines throughout the installation process to ensure a proper and safe installation. Once you have successfully installed the new range hood, you can proceed to the next step: connecting the wiring.
Step 7: Connect Wiring
With the new range hood securely installed, the next step is to connect the wiring. Follow these steps to properly connect the wiring:
- Locate the electrical junction box at the back of the new range hood.
- Strip the ends of the wires from the house wiring using a wire stripper.
- Connect the corresponding wires from the range hood to the house wiring:
- Connect the black wires (hot) together using a wire nut.
- Connect the white wires (neutral) together using a wire nut.
- If there is a green or bare copper wire for grounding, connect it to the appropriate grounding wire or screw on the range hood.
- Secure the wire nuts and ensure that all connections are tight.
- Wrap the connected wires with electrical tape for added protection and to prevent any accidental disconnections.
- Replace the cover plate on the electrical junction box.
It is crucial to exercise caution when working with electrical connections. If you are not confident or comfortable with this step, it is recommended to seek assistance from a professional electrician.
Once you have successfully connected the wiring, you can move on to the next step: securing the new range hood in place.
Step 8: Secure New Range Hood in Place
After connecting the wiring, the next step is to securely fasten the new range hood in its designated position. Follow these steps to properly secure the range hood:
- Ensure that the range hood is level by using a level tool.
- If necessary, make any adjustments to the position of the range hood to ensure proper alignment.
- Using a screwdriver, tighten the screws on the mounting brackets to secure the range hood in place.
- Double-check that the range hood is securely and evenly mounted.
- Inspect the overall stability of the range hood to ensure it is firmly attached.
- Refer to the manufacturer’s instructions for any additional steps or recommendations for securing the range hood.
Properly securing the range hood is essential to ensure its stability and functionality. It will prevent any potential accidents or damage caused by a loose or unstable installation.
Once the new range hood is securely in place, you can proceed to the next step: turning on the power supply.
Read more: How To Replace A Range Hood Fan Motor
Step 9: Turn On Power Supply
With the new range hood installed and secured, it’s time to turn on the power supply to activate the unit. Follow these steps to safely turn on the power supply:
- Go to the circuit breaker or fuse box in your home.
- Locate the circuit that supplies power to the range hood.
- Switch on the circuit breaker or reinsert the fuse that corresponds to the range hood.
- Ensure that the power supply is restored by checking if the lights or display on the range hood are functioning.
- Test the fan and other features of the range hood to confirm that everything is working properly.
Turning on the power supply will allow you to use and operate the new range hood. It is essential to verify that the power is restored correctly and that all functions of the range hood are working as intended.
If you encounter any issues or the range hood does not function after turning on the power supply, consult the manufacturer’s instructions or consider seeking assistance from a professional.
Now that the power supply is back on, you’re ready for the final step: testing and adjusting the new range hood.
Step 10: Test and Adjust New Range Hood
After turning on the power supply, it is crucial to test and adjust the new range hood to ensure that it is functioning properly and meeting your specific needs. Follow these steps to test and make any necessary adjustments:
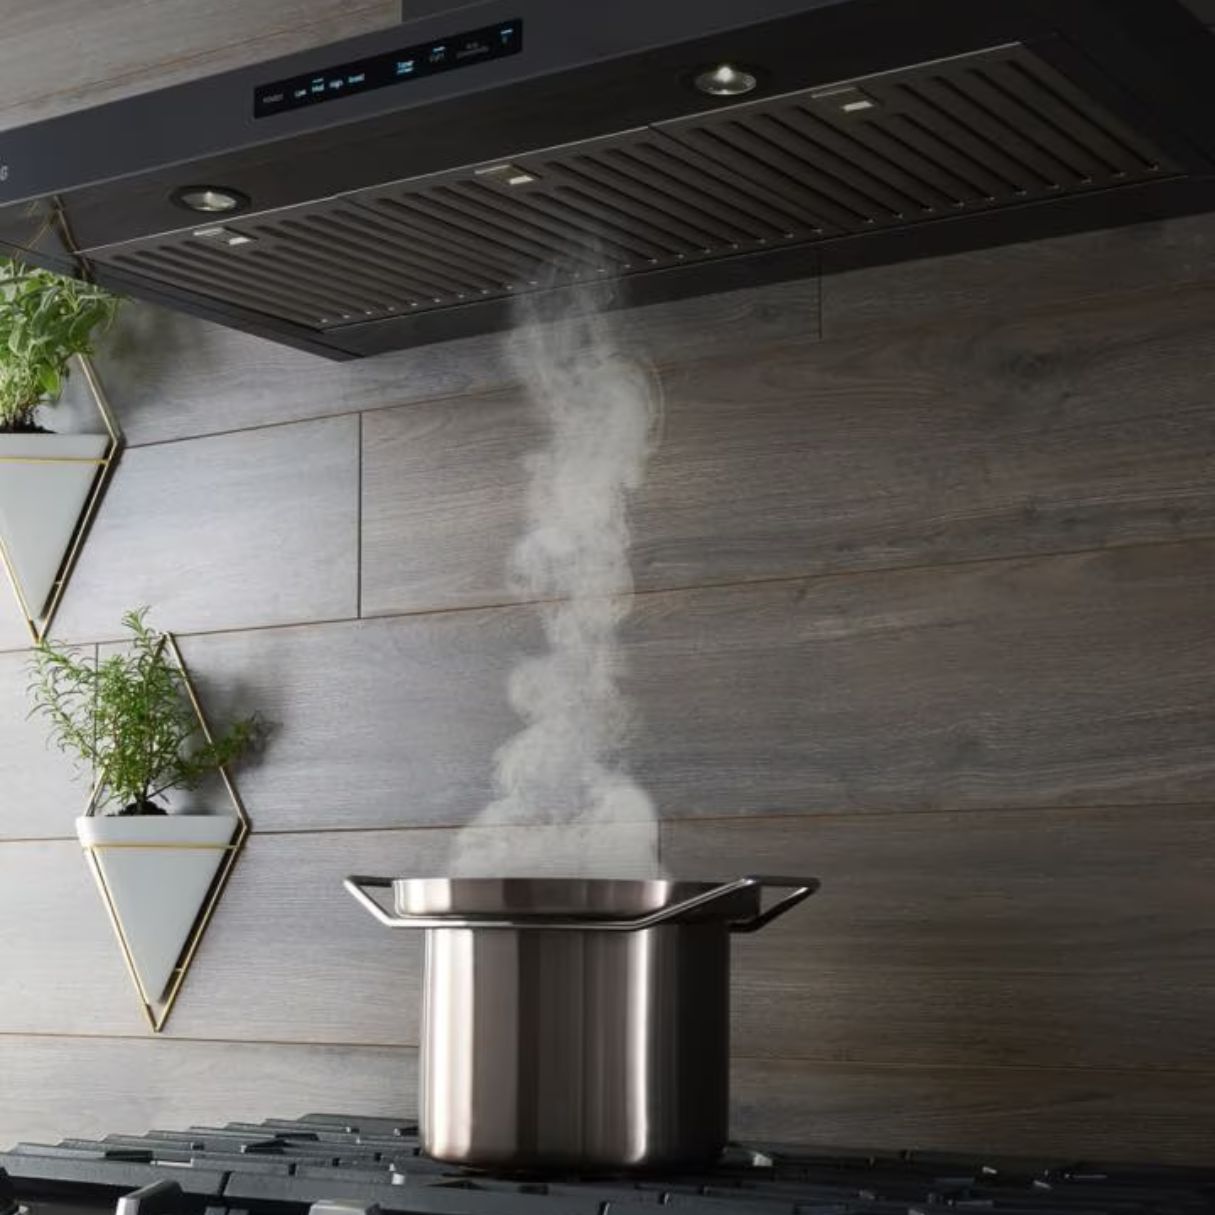
- Turn on the range hood fan at different speeds and observe if the airflow is sufficient and meets your ventilation requirements.
- Check if the range hood effectively removes cooking odors, smoke, and steam from your kitchen.
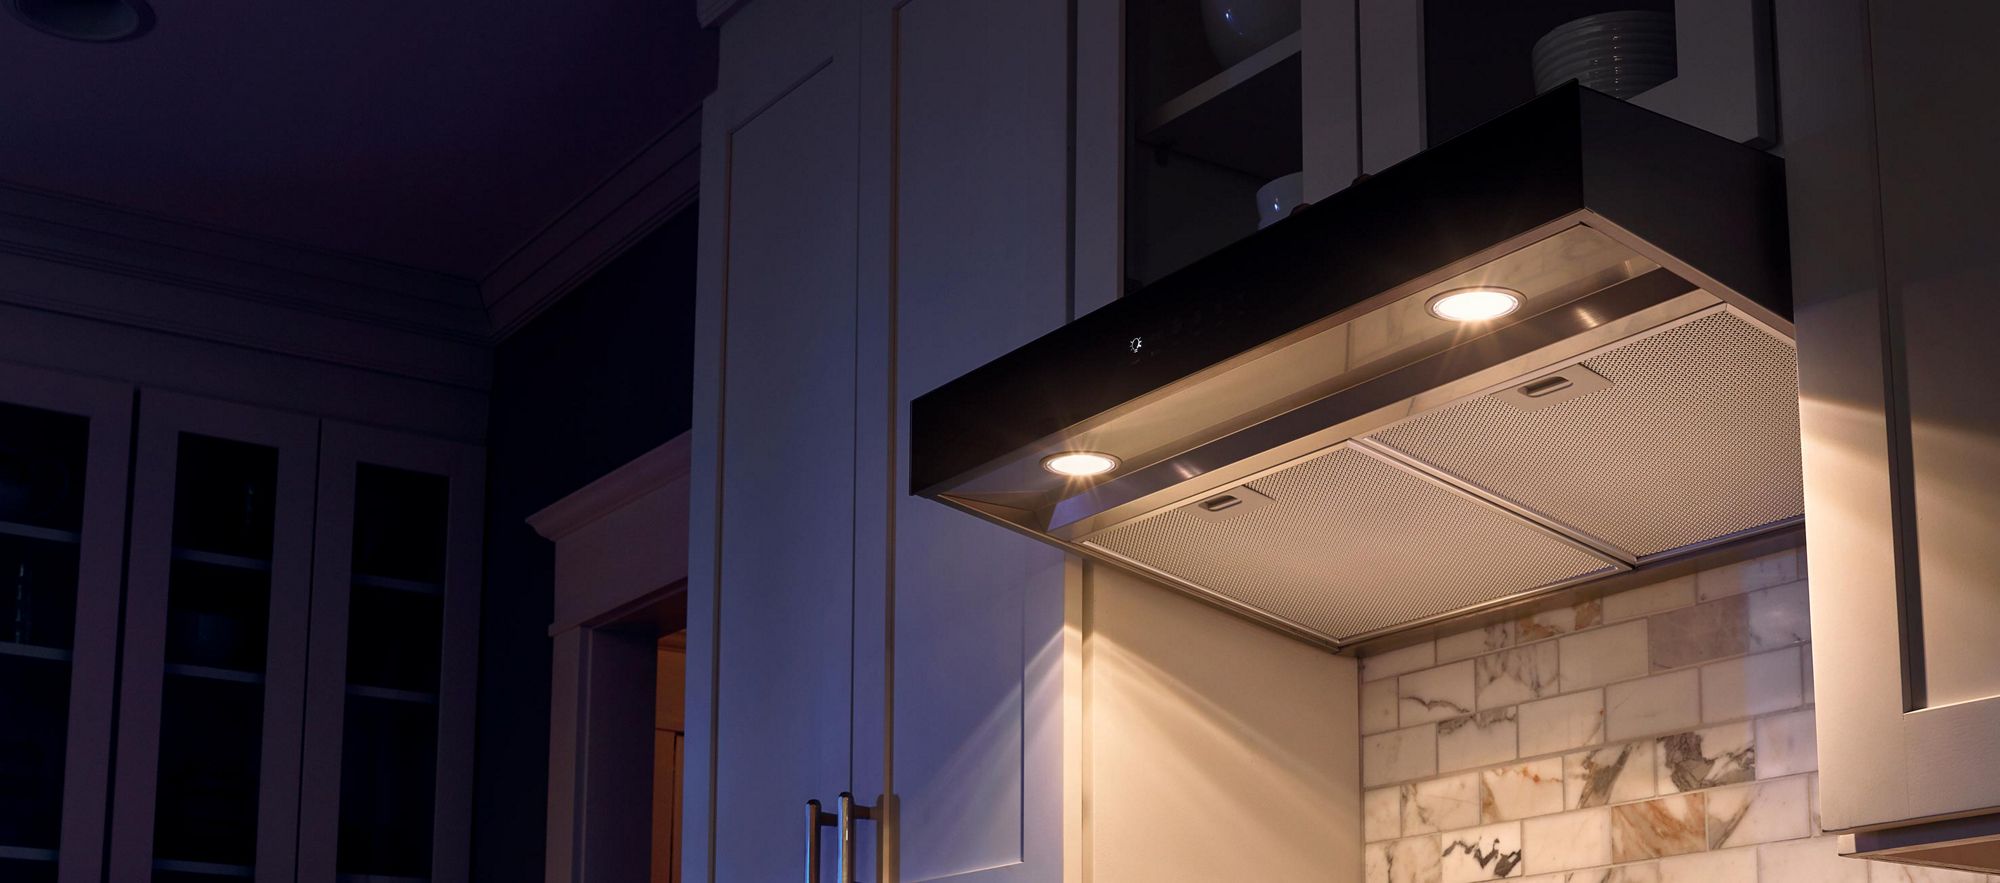
- Test the lighting features of the range hood to ensure that they provide adequate illumination for your cooking area.
- Adjust the fan settings and lighting controls according to your preferences, if applicable.
- Listen for any unusual noises or vibrations from the range hood, which may indicate an installation or operational issue.
- If needed, make any necessary adjustments to the range hood’s position, fan speed, or lighting to optimize its performance.
- Refer to the manufacturer’s instructions or consult a professional if you encounter any difficulties or have specific questions about the range hood’s operation.
By thoroughly testing and adjusting the new range hood, you can ensure that it performs effectively and meets your expectations. It will provide you with a functional and enjoyable cooking experience while maintaining a clean and well-ventilated kitchen environment.
Congratulations! With the testing and adjustment complete, you have successfully installed and set up your new range hood. Enjoy the benefits of improved ventilation and aesthetics in your kitchen!
Conclusion
Replacing a range hood is a valuable home improvement project that can enhance the functionality and visual appeal of your kitchen. By following the step-by-step guide outlined in this article, you will be able to successfully replace your old range hood with a new one.
We started by gathering the necessary tools and materials, ensuring that you have everything required for a smooth installation process. Then, we turned off the power supply to ensure safety before proceeding with disconnecting and removing the old range hood.
With the old range hood out of the way, we moved on to preparing the new range hood for installation. This involved inspecting and assembling the new unit, ensuring that it fits properly in the designated location.
Next, we installed the new range hood securely by aligning and mounting it on the wall or cabinets. We paid extra attention to ensuring it was level and stable for optimal performance.
Afterward, we connected the wiring, taking care to follow proper electrical procedures and ensuring secure, tight connections. Safety is paramount when dealing with electrical connections, so seeking professional assistance if needed is always recommended.
Once the range hood was securely installed and the wiring connected, we turned on the power supply, allowing the unit to come to life. We tested its various functions, such as the fan and lighting, to ensure they were operating as intended.
Finally, we concluded the installation process by making any necessary adjustments to optimize the range hood’s performance and functionality for your specific needs.
By following these steps and exercising caution throughout the installation process, you can successfully replace your range hood and enjoy the benefits of improved ventilation, aesthetics, and functionality in your kitchen.
Remember, if you encounter any difficulties or are unsure about any step in the process, it is always advisable to consult the manufacturer’s instructions or seek assistance from a professional.
Now that you are equipped with the knowledge and guidelines provided in this article, you can proceed confidently with your range hood replacement project. Enjoy your new range hood and the improved cooking experience it brings!
Frequently Asked Questions about How To Replace A Range Hood
Was this page helpful?
At Storables.com, we guarantee accurate and reliable information. Our content, validated by Expert Board Contributors, is crafted following stringent Editorial Policies. We're committed to providing you with well-researched, expert-backed insights for all your informational needs.


0 thoughts on “How To Replace A Range Hood”